Guys! I am wrapping up the Pedraza’s build projects today (yes it’s April and yes I’m always late. Thanks for rubbing that in.) and I could not be more excited to end on this note…..because DUDE I BUILT A HOOD. I mean…I have never EVER thought that I could do this. I make easy builds. This one….a little more complicated. OOOooooh ANGLES! Ooooooh must fit a functional metal insert! Ooooh lives in someone else’s kitchen therefore the pressure is on!
I figured out that on Amazon we could purchase a vent fan insert and build a hood around it and for whatever reason (I must have been drunk on Jeremy Bower when I made this decision) I thought, oh heck yer I can do this. Um. Excuse me. Who are you and what have you done with Katie? Because this is not even something I can possibly explain. So if you came here looking for measurements and a detailed tutorial….sorry. This is a rookie move and I had no idea what I was doing.
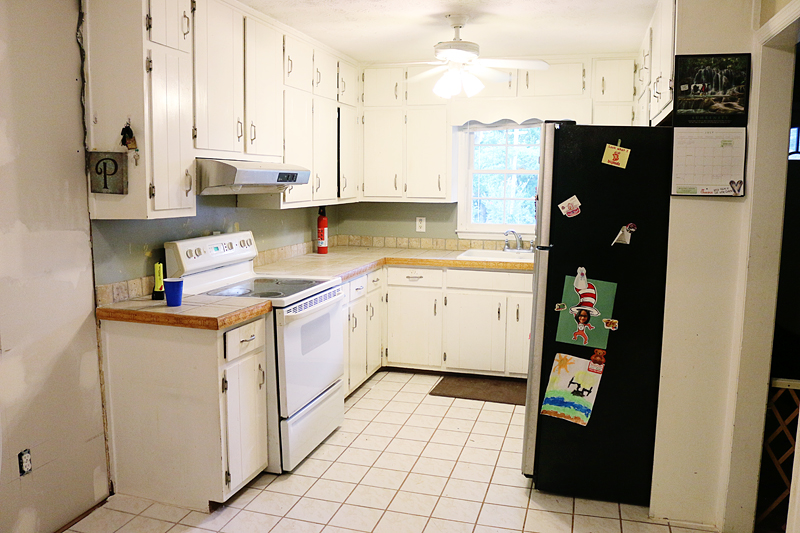
First we ordered the power module range hood and the hood liner. This is the actual functioning part of the new hood. The old hood looked like this….
Just a standard stainless steel undermount.
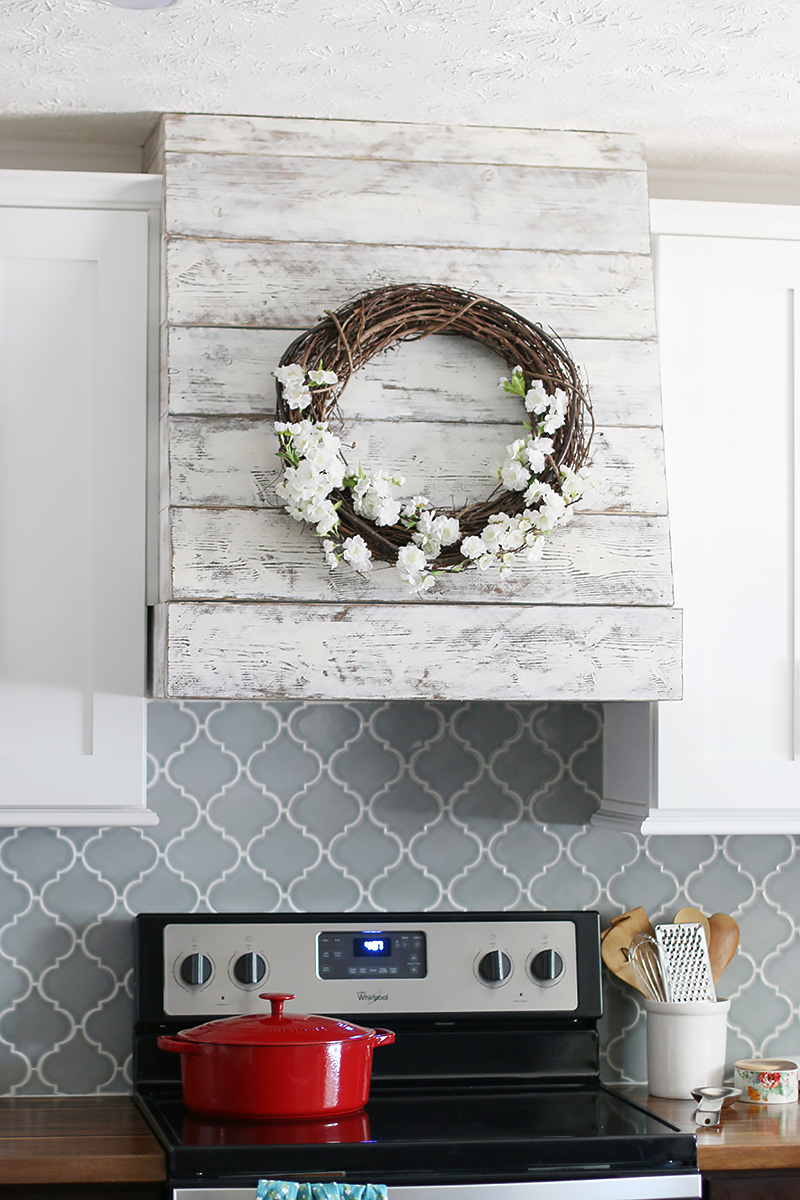
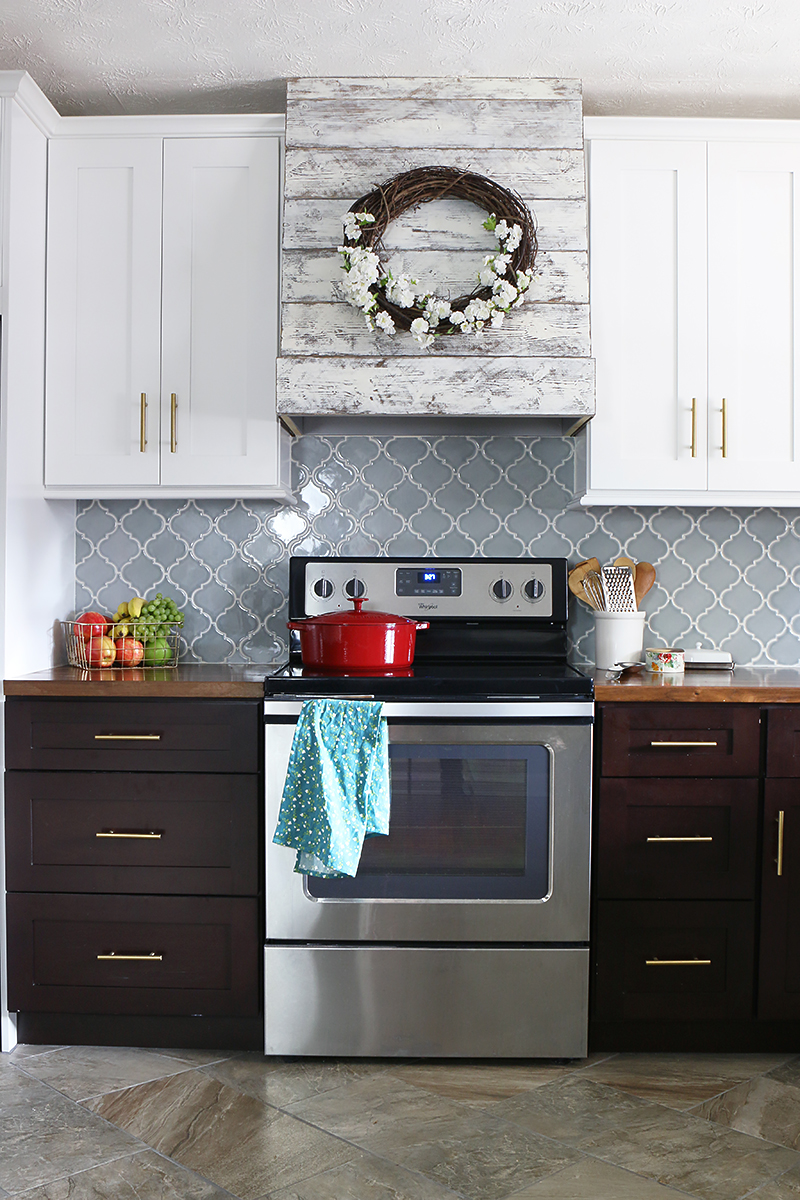
It wasn’t terrible….it worked fine…but we wanted the new hood to be a centerpiece of this wall once it was done. And now it looks like this….
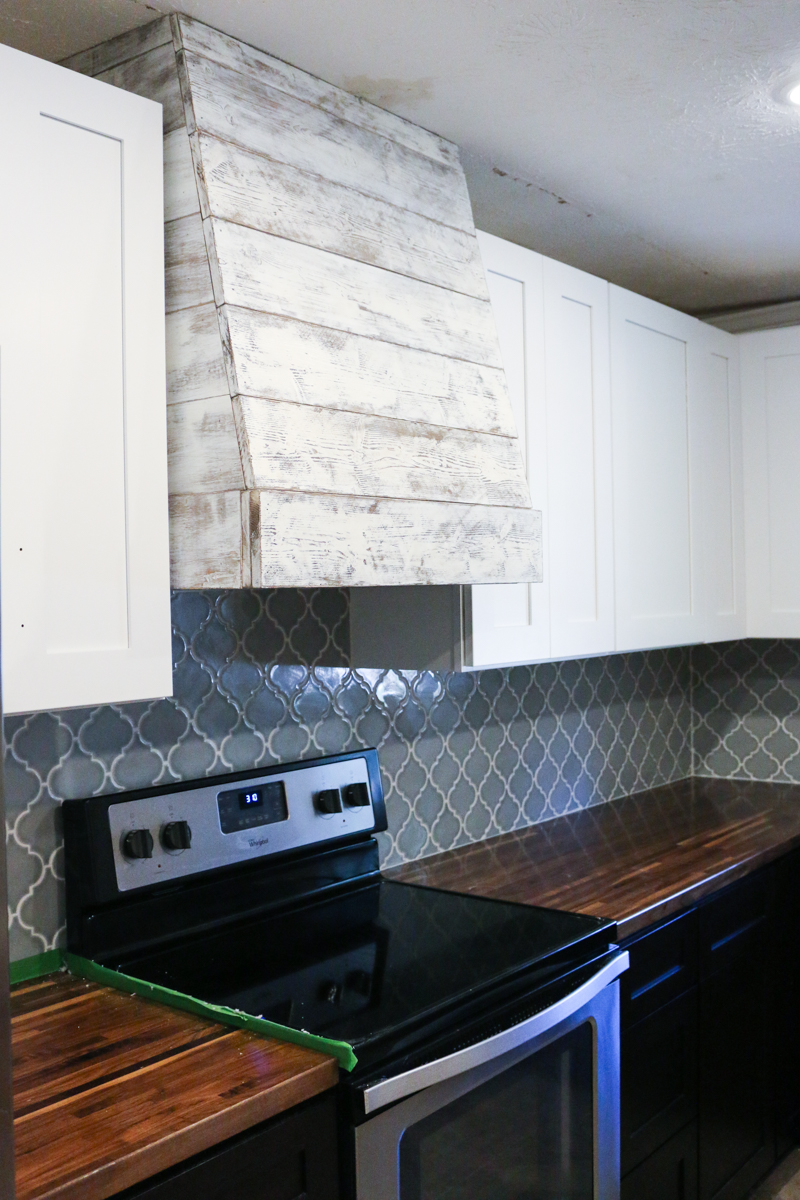
So pretty right? I love that it adds some rustic charm, a lot of texture and is still just as functional as the out of the box version. I am really REALLY proud of myself. Excuse me while I do a twenty minute arm warmup, a little stretching and some calisthenics and then pat myself on the shoulder 🙂
Here is a little play by play of how we did it…
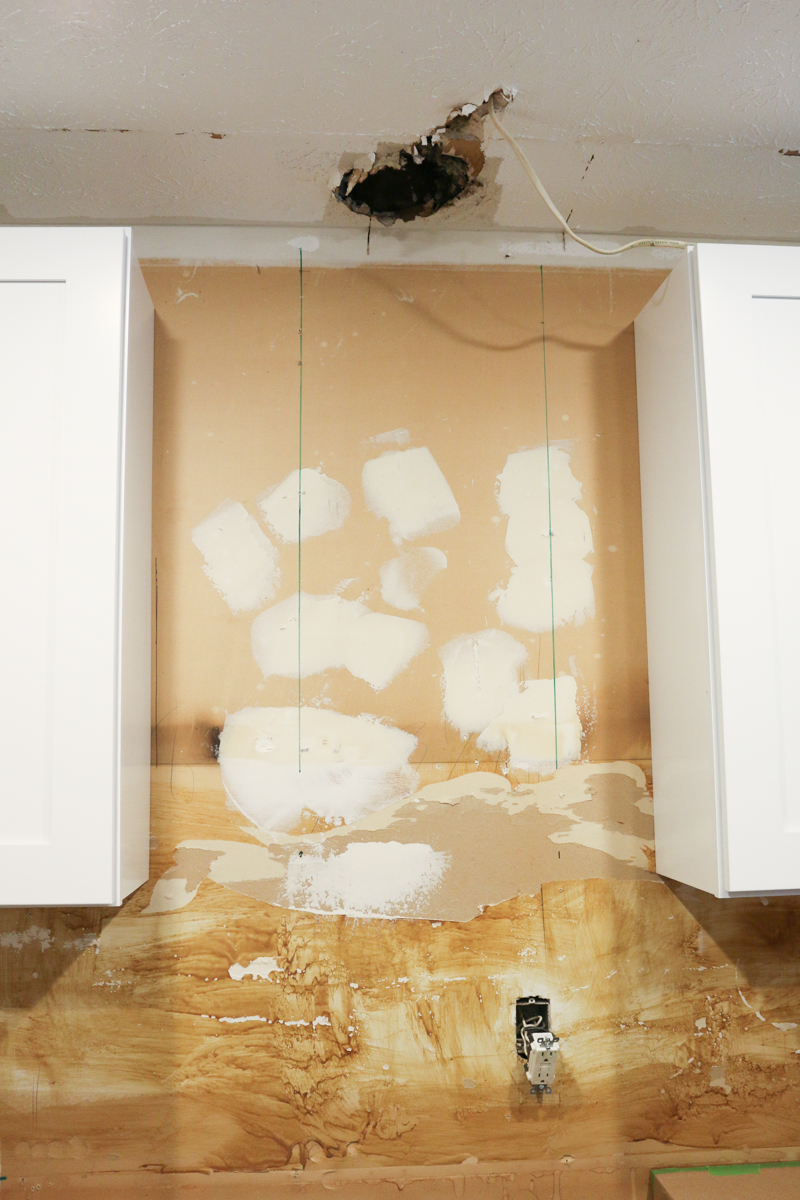
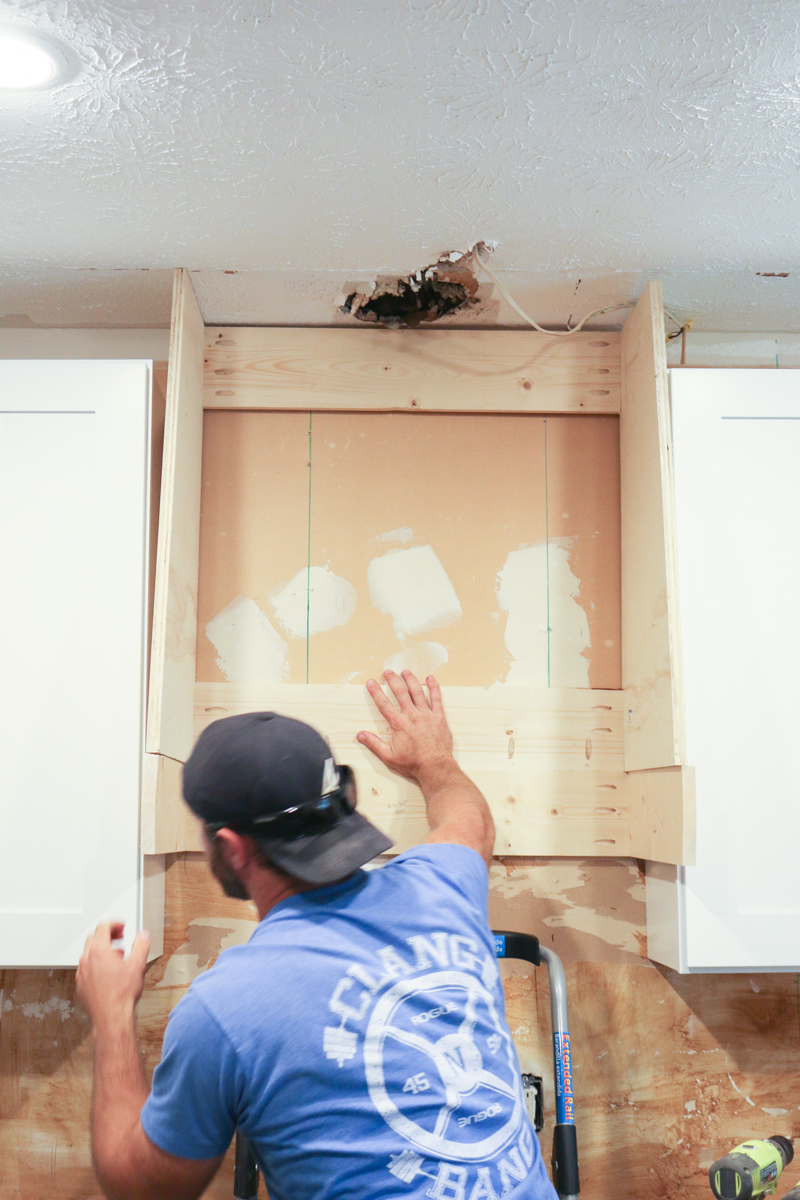
It goes without saying (except I’m totally about to say it) that we removed the old hood and the cabinet above it. Fortunately we still had the duct work and the electrical line to work with….unfortunately someone got a little vigorous with the removal and we had some ceiling patching in our future. Jeremy marked the studs.
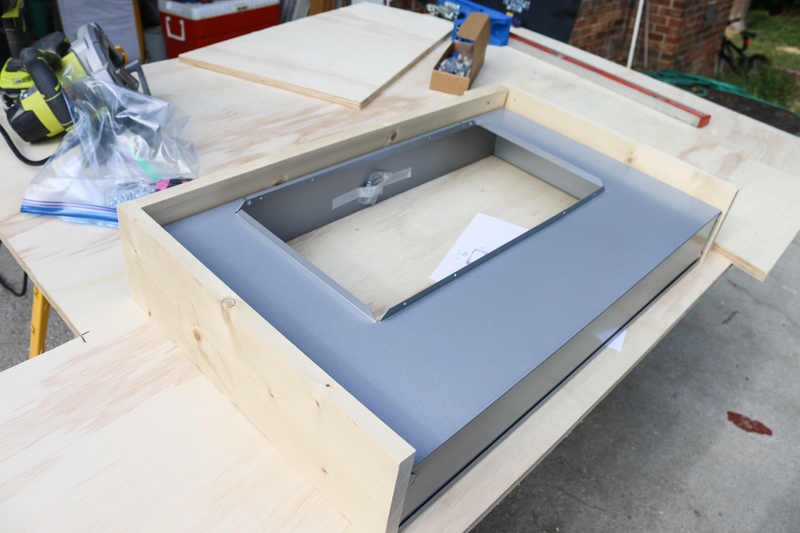
Then we measured out a wooden box for surrounding the metal hood liner. This is the side of the hood liner that would never be seen. The underside is what will be visible…where all the steam and grease and coagulants would accumulate. So the boards we have here are the back board and two side support boards.
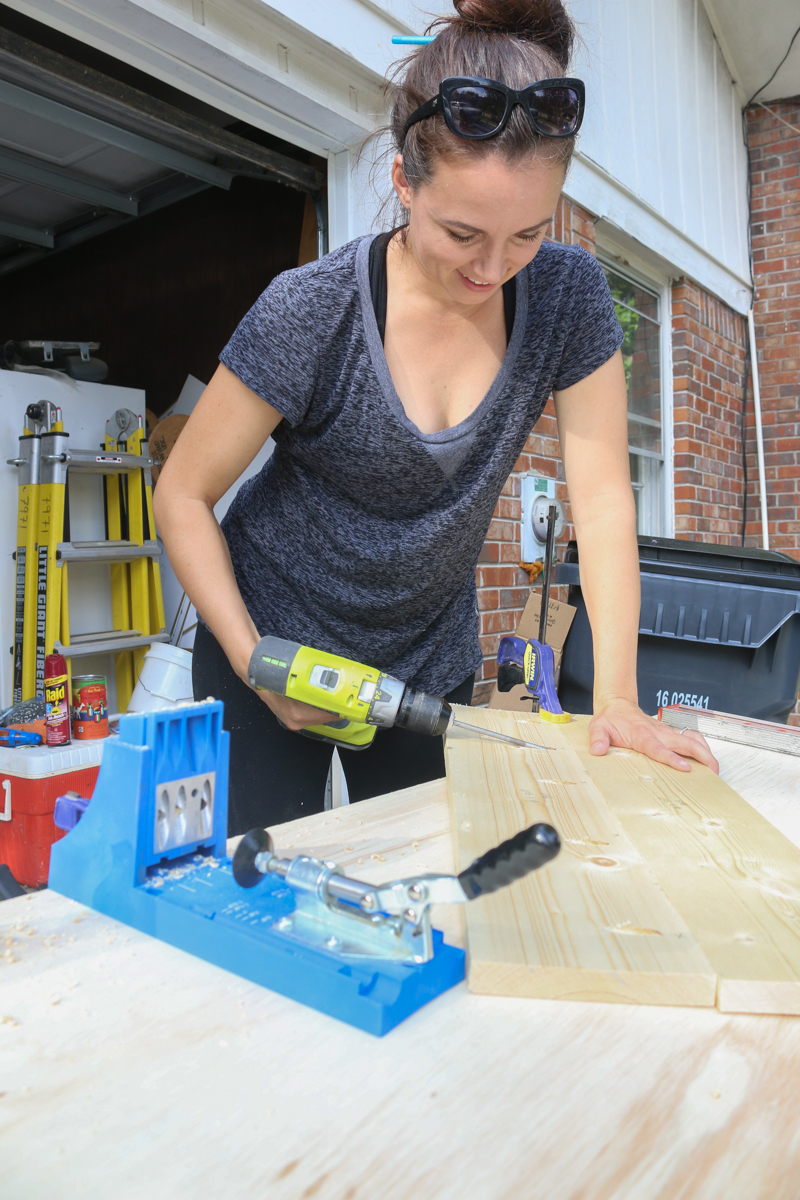
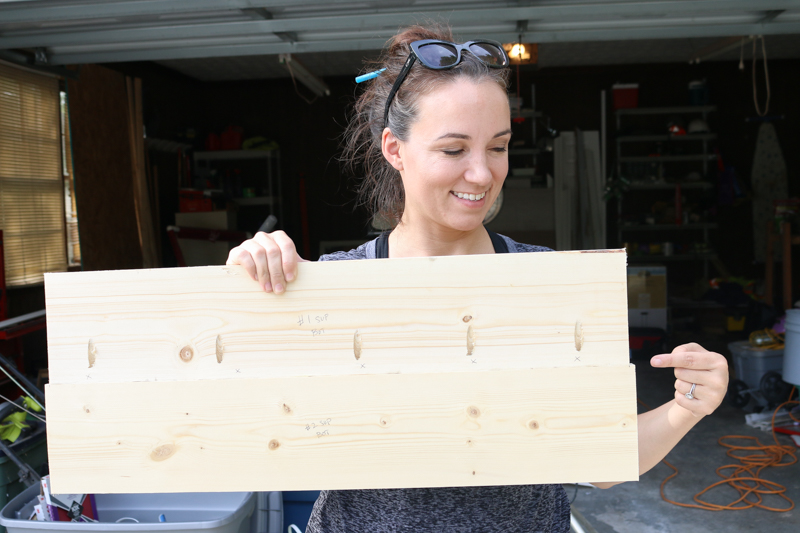
The back board (the one on the backside of the liner where the things-ma-jiggie is taped down) gets attached to another board – we just attached them with a Kreg Jig.
The new board is slightly shorter than the lower board and it will hold this whole shebang to the wall, as well as support the sides of the decorative hood.
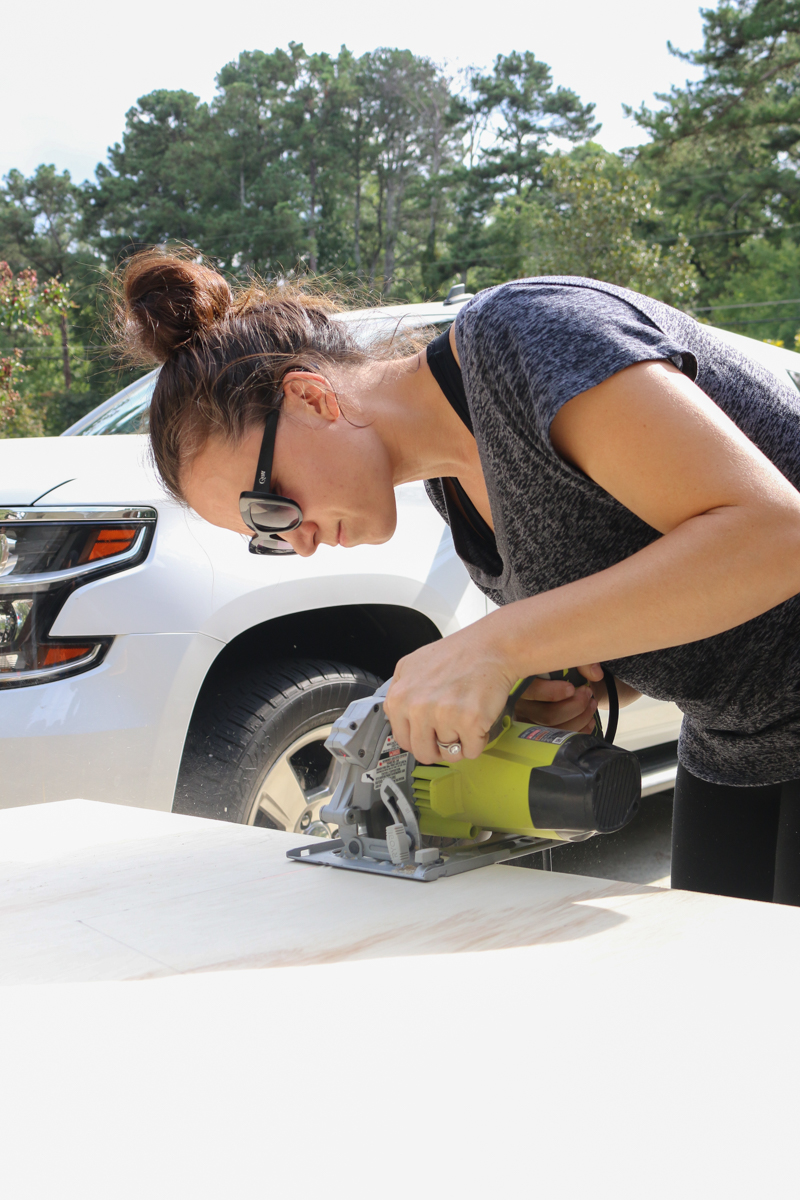
Then I cut the sides out of plywood.
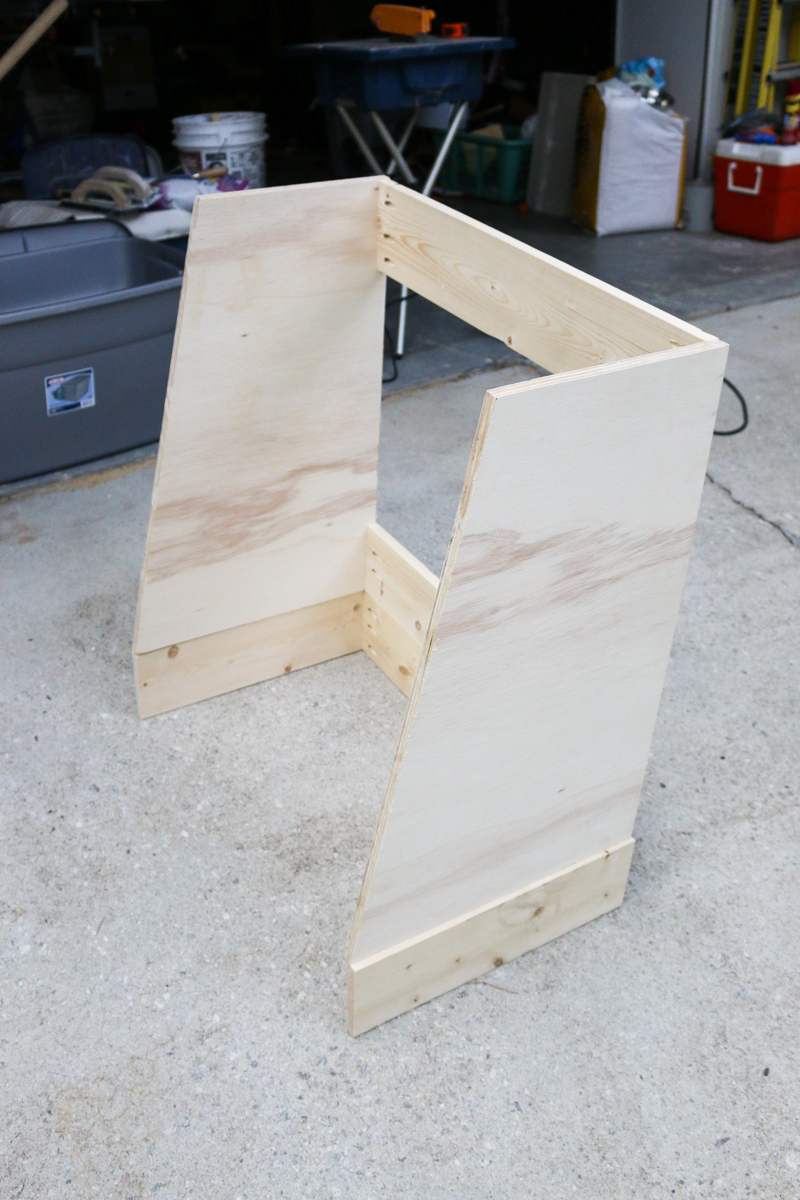
Those were attached to the new back support piece and I added an additional piece at the top. Everything was Kreg-Jigged together.
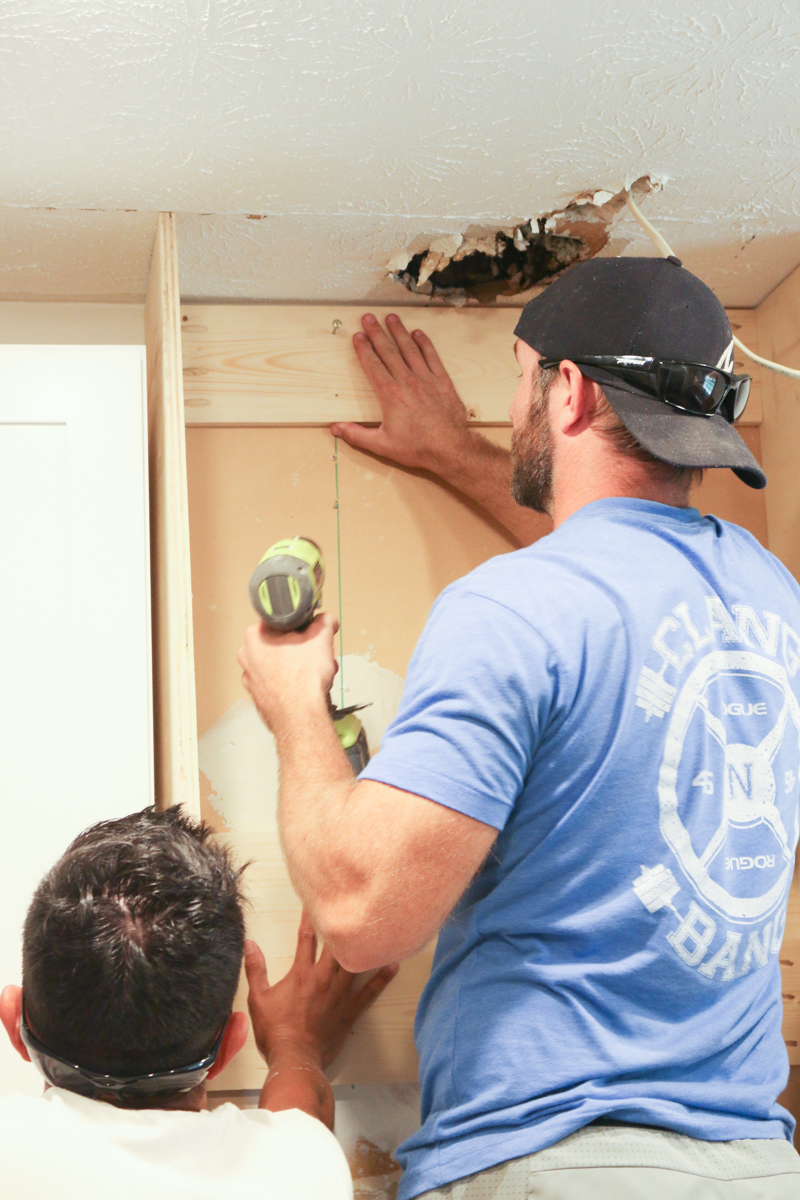
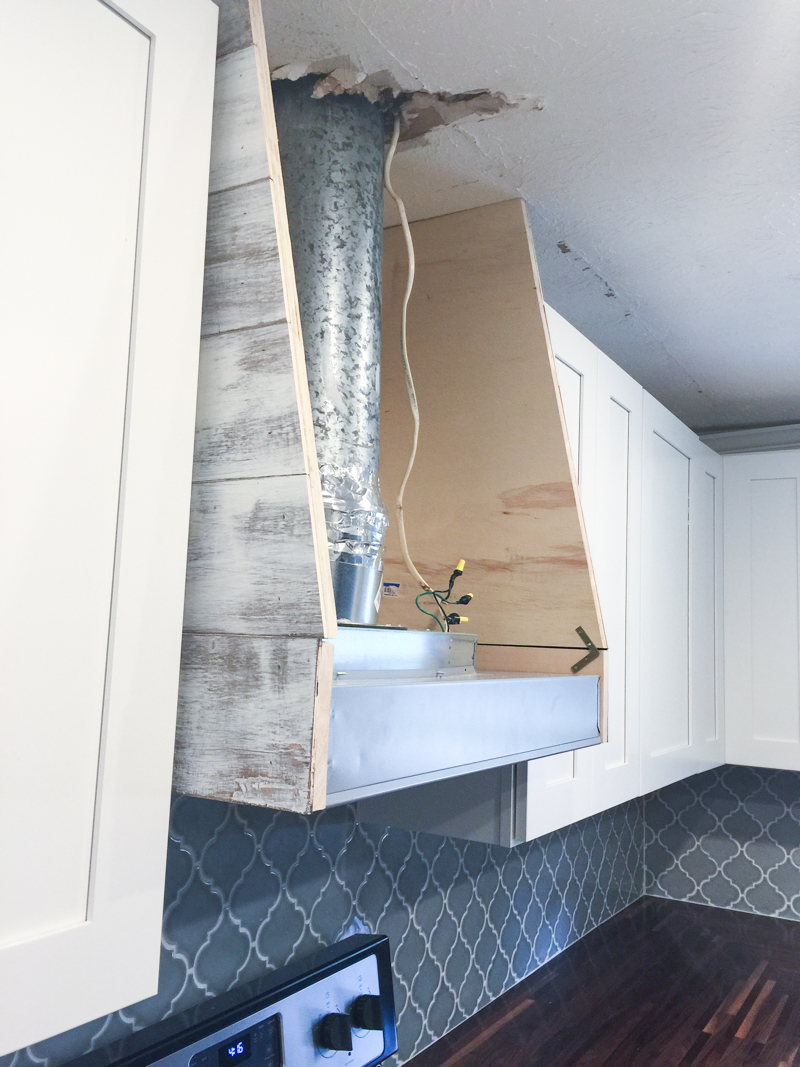
Then came the mounting. The entire thing was mounted to the wall. You have to do this now because all the inner working parts need to be installed.
Jeremy used long screws to go through the support boards at the top and bottom and through the drywall and into the studs.
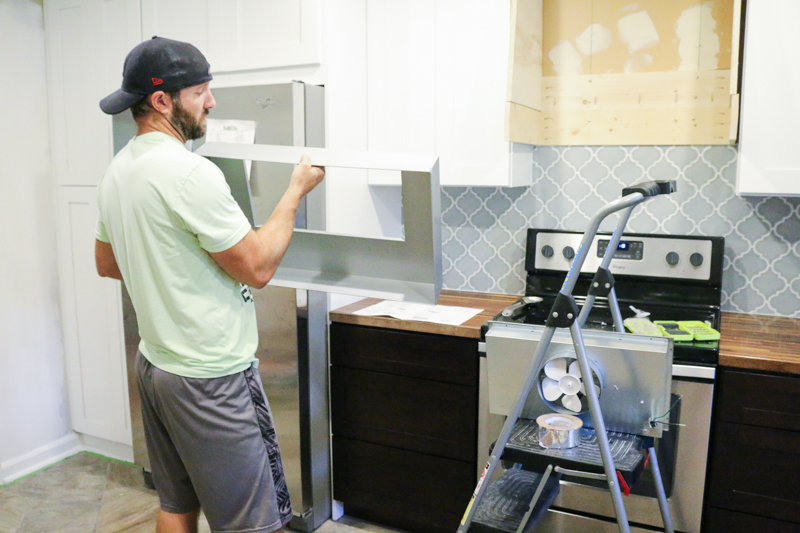
Then came the liner install. There are directions on how to do this that come with the liner. It’s very straightforward.
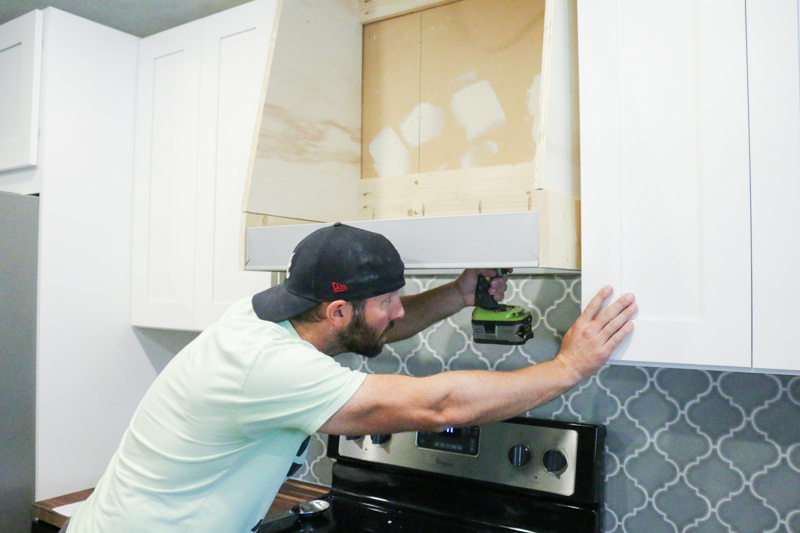
Just use screws to attach the liner to the side support boards.
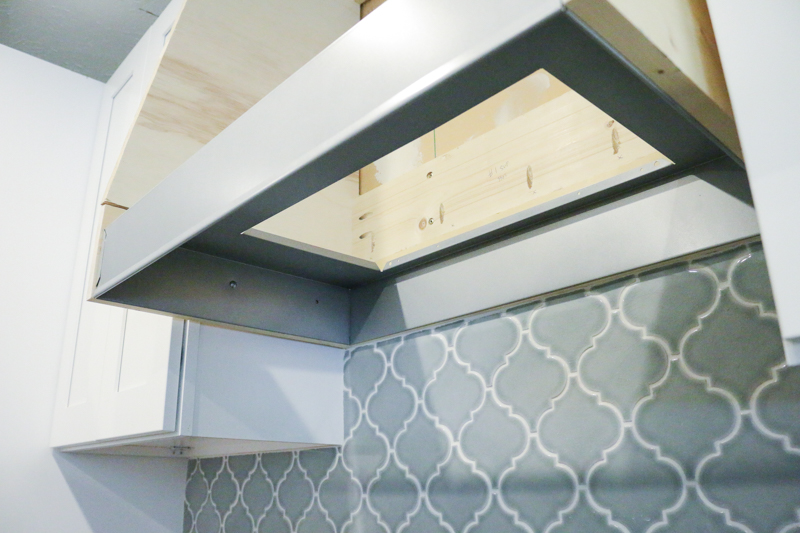
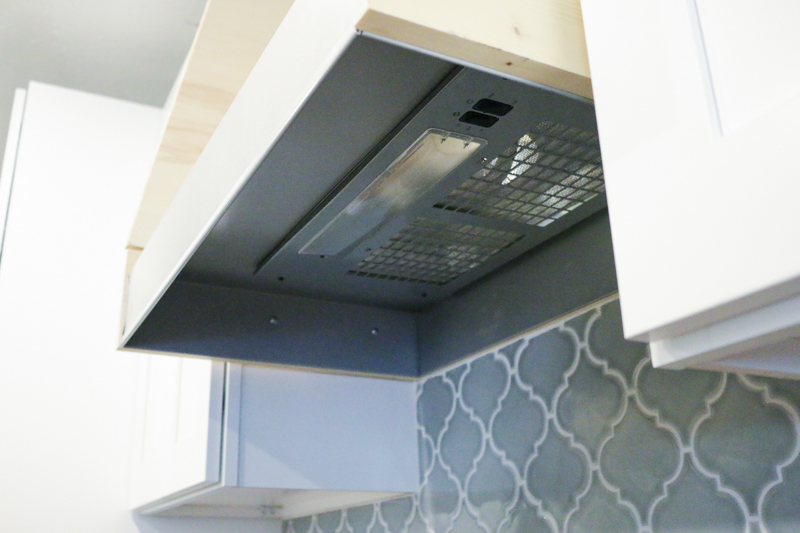
We made it so that the lip of the liner came down past the sides and back. This made for a super clean look.
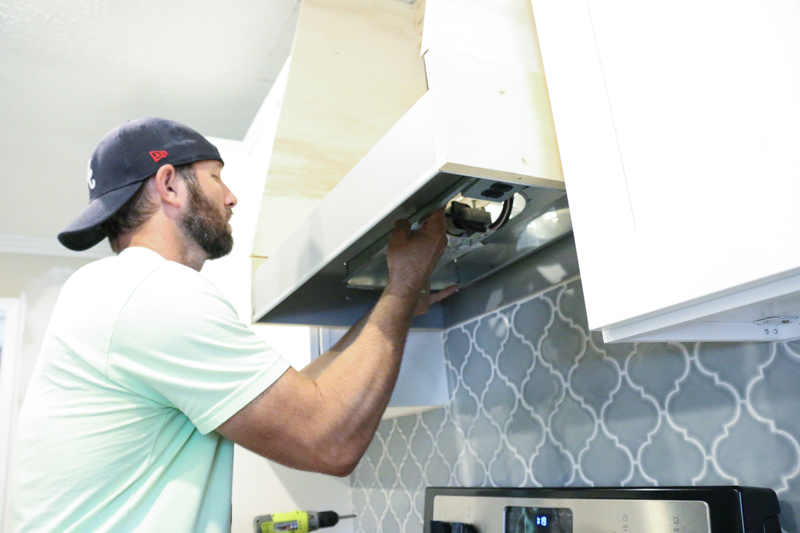
Then Jeremy installed the fan. The fan module is suited for standard ranges but you would have to get a different fan if you had a bigger range.
So as you can see, we opted for the fan in the back of the liner and with the light toward the front. There are no instructions on which way things go….so I went through all the reviews and googled “underside of vent fan”….which is pretty much the most weird and boring thing you can ever google.
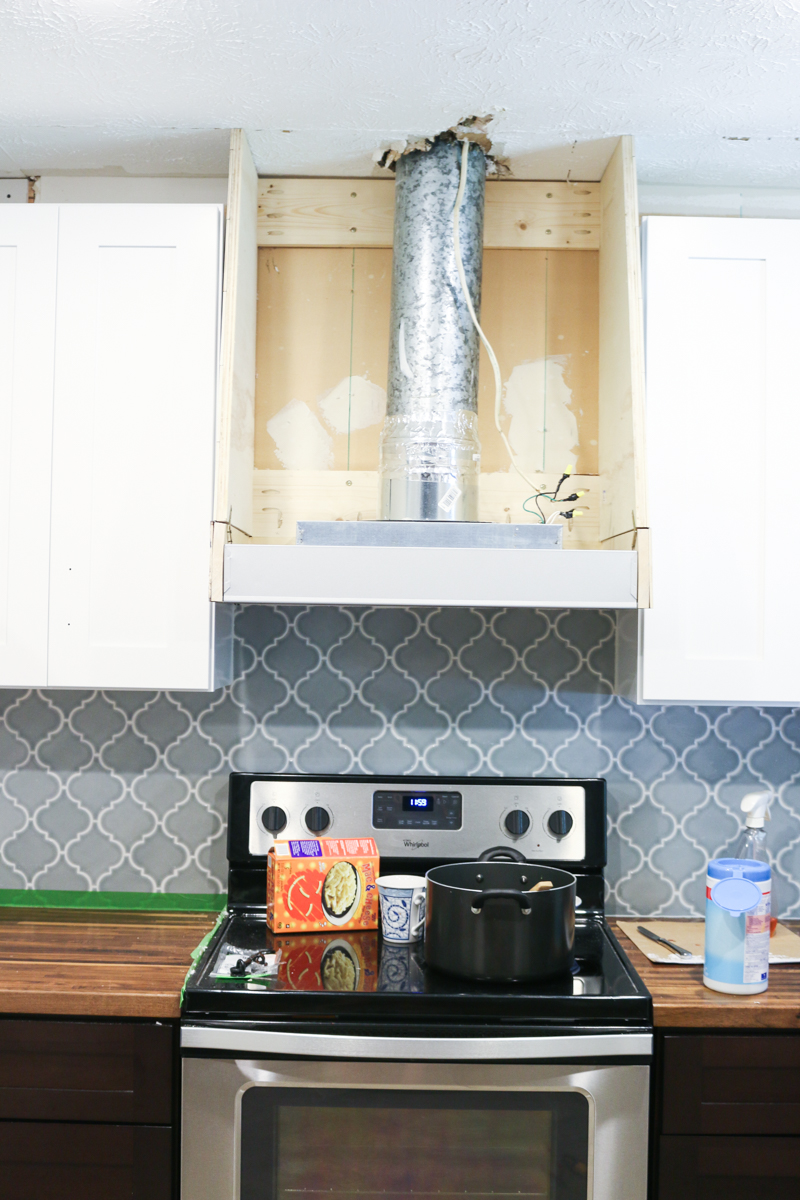
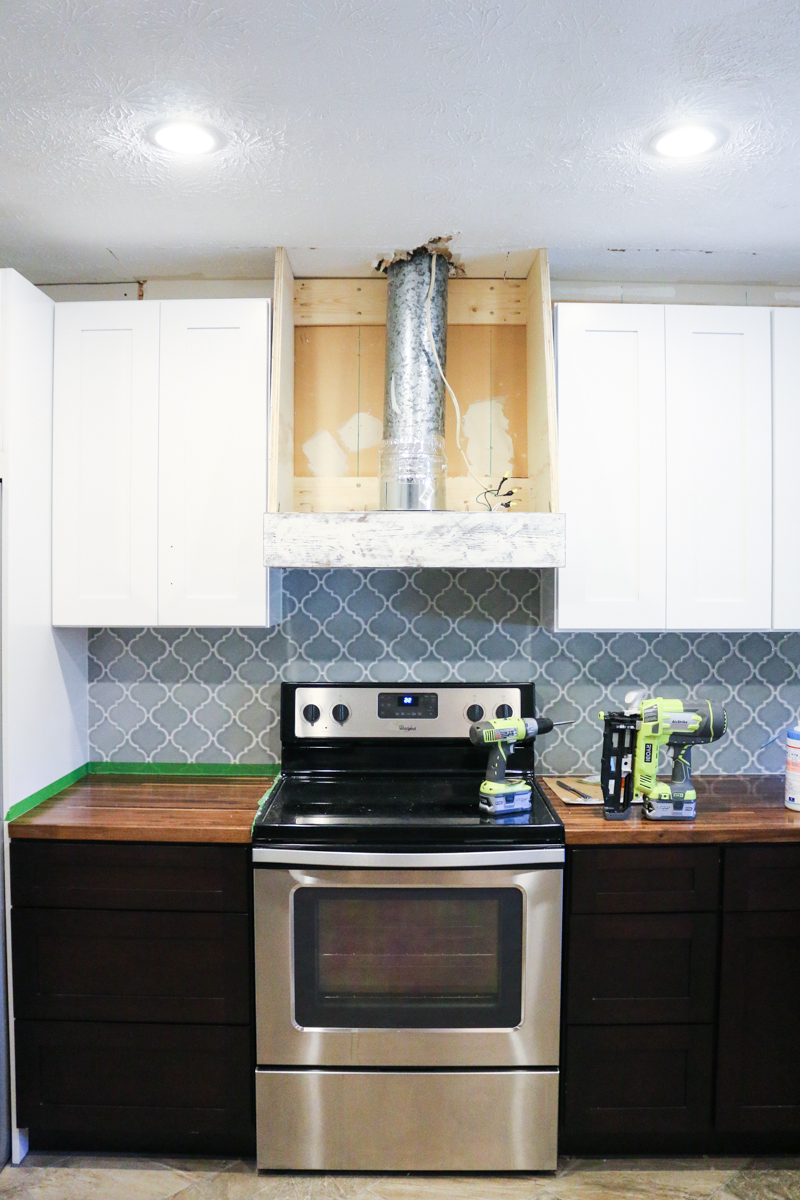
Once the fan was installed, Jeremy reinstalled the electrical and the duct work so that now there is a completely functional albeit ugly hood 🙂
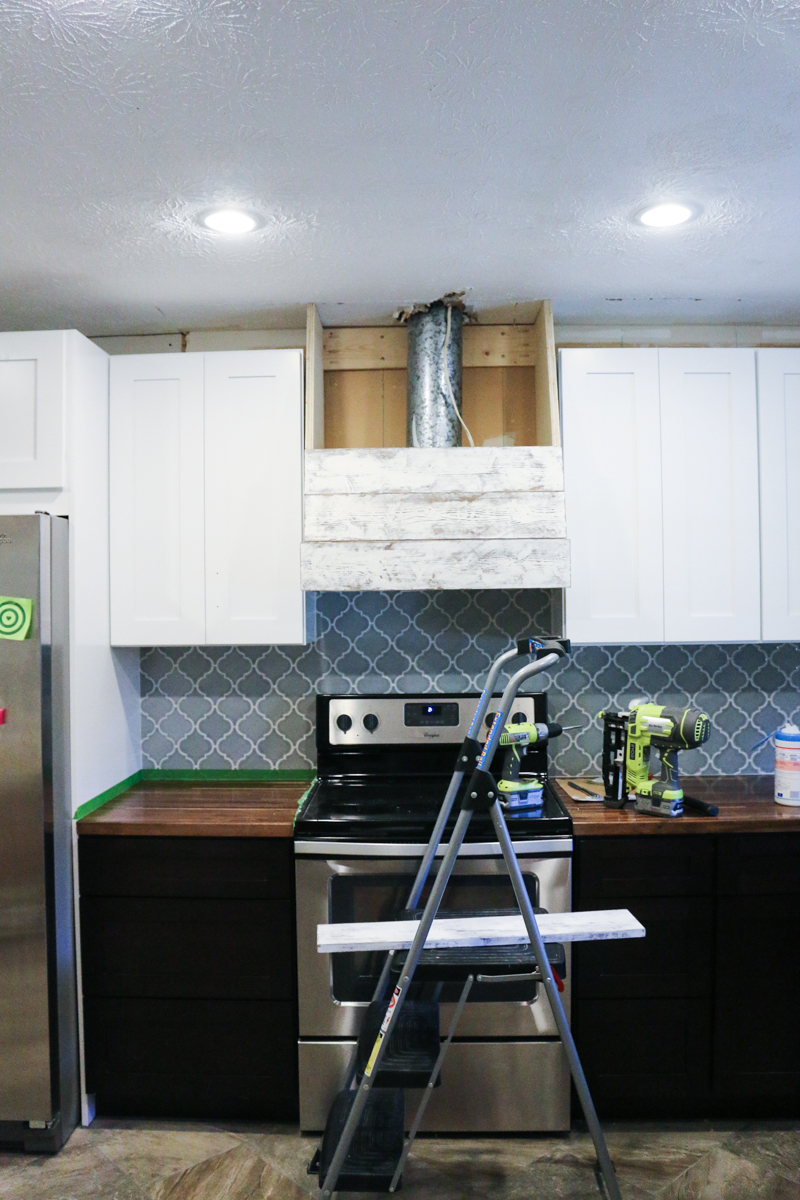
Then we began to wrap the sides with the decorative boards. These boards had to be super thin so we ripped a piece of thin underlayment (it’s leftover from another project but you can get it at any home improvement store) and added a faux barn wood finish to it. Those pieces were mounted to the support sides and the plywood with adhesive and tacked in with a brad nailer (we love the Ryobi 18V brad nailer….if you don’t have it yet, it’s a great tool for all sorts of projects!).
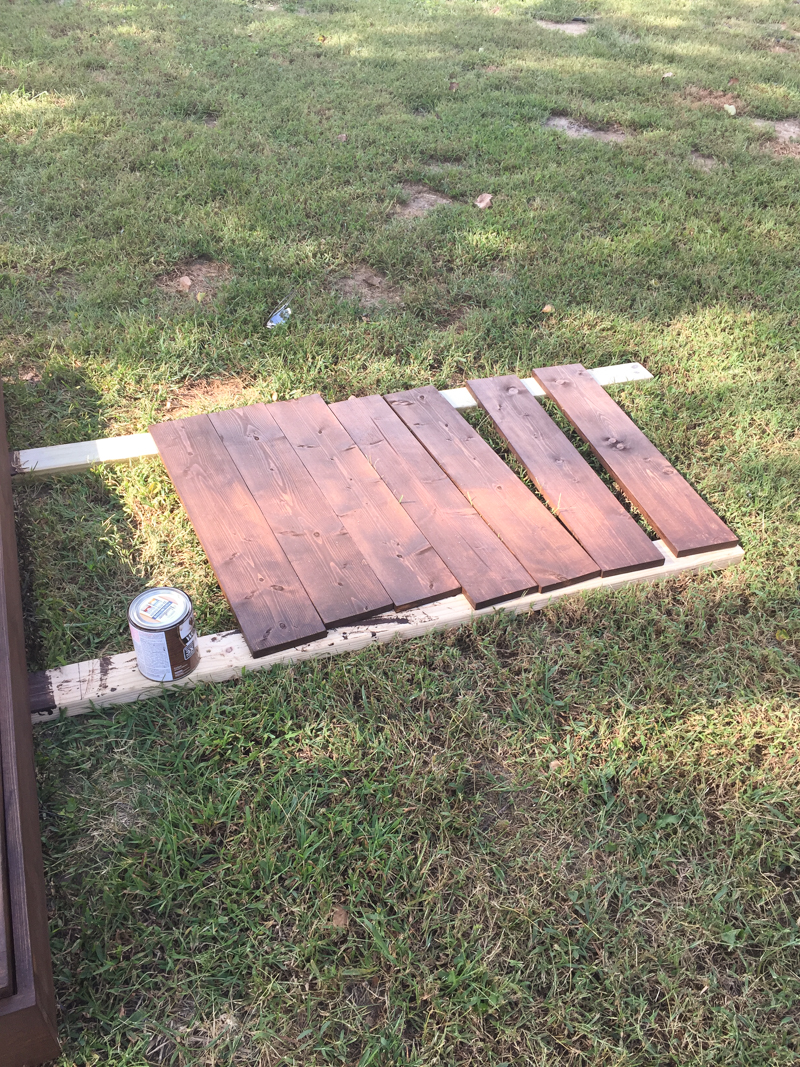
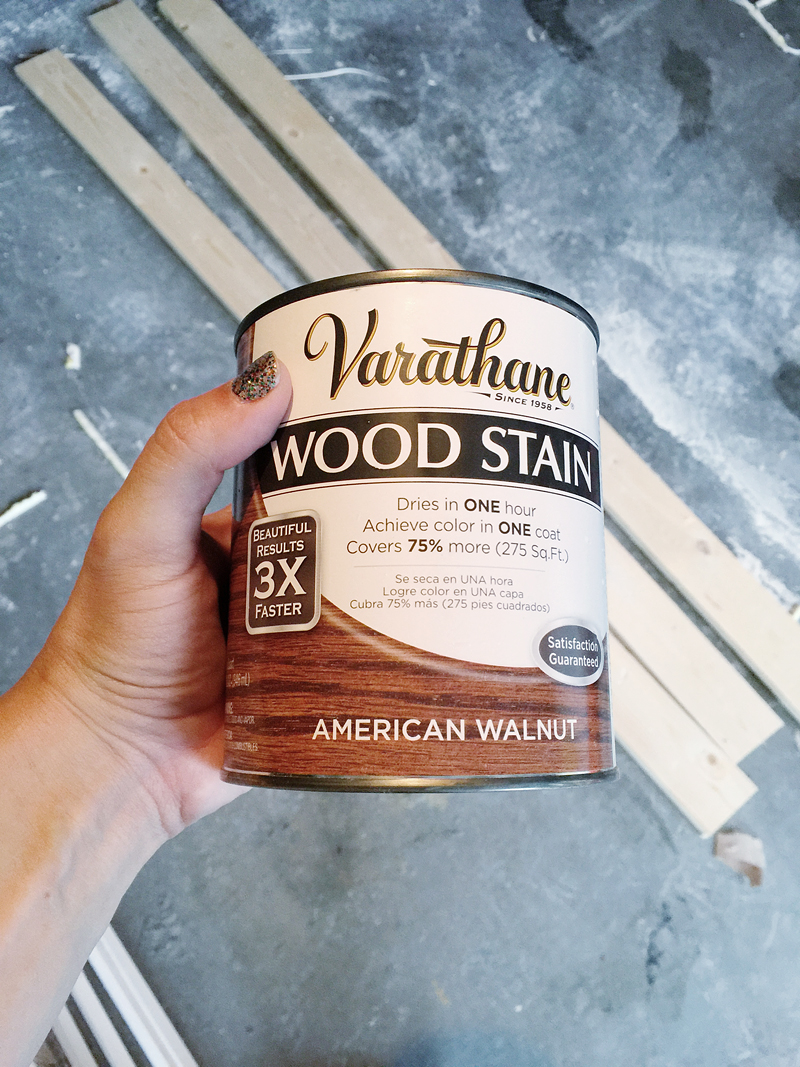
Then I started doing the front pieces. These pieces would keep the entire thing sturdy, together and make it look WAY better. First I measured them all and cut them to length, sanded them and stained them with Rust-Oleum’s American Walnut.
I did one coat and let that dry. This is the color that peeks through the finished paint.
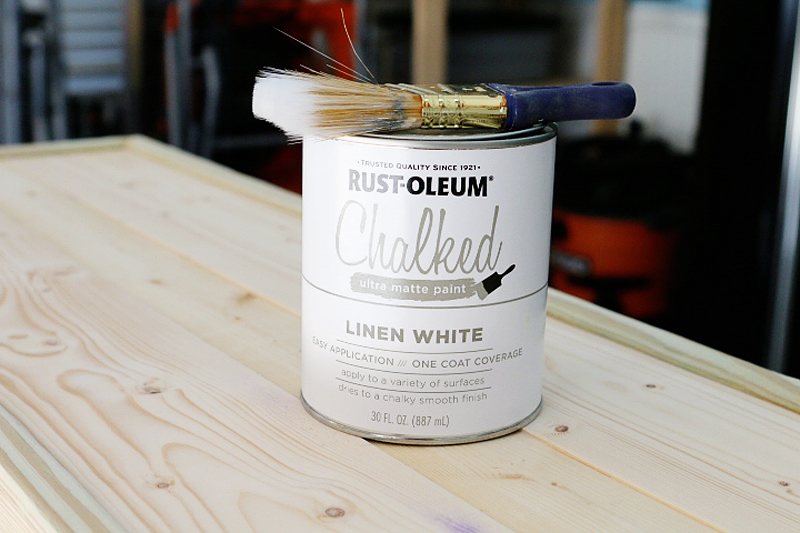
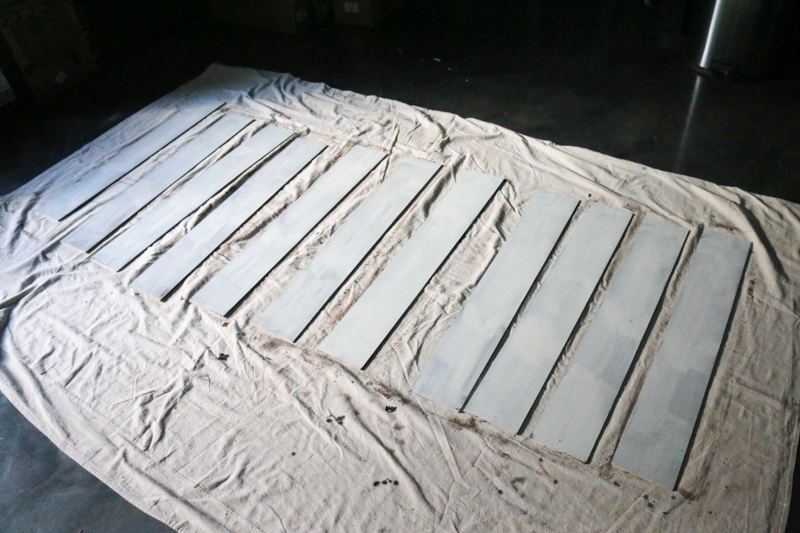
Then I used the Rust-Oleum Linen White Chalk paint to give them a quick coat.
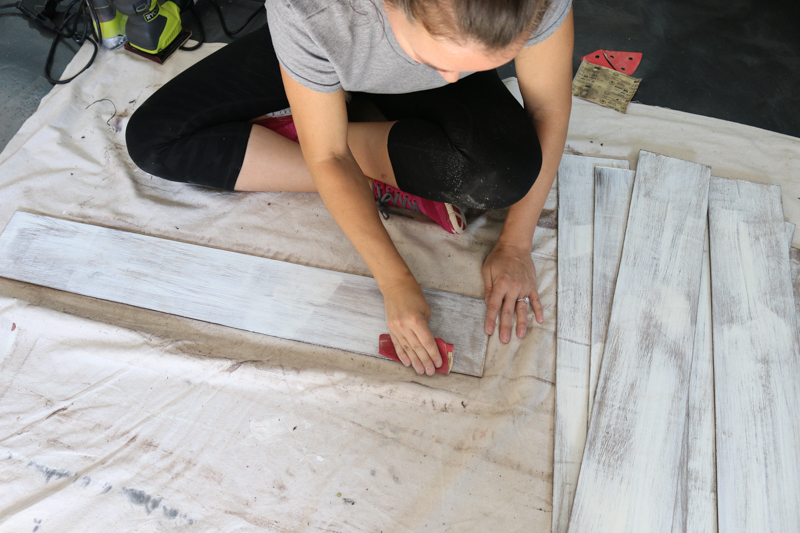
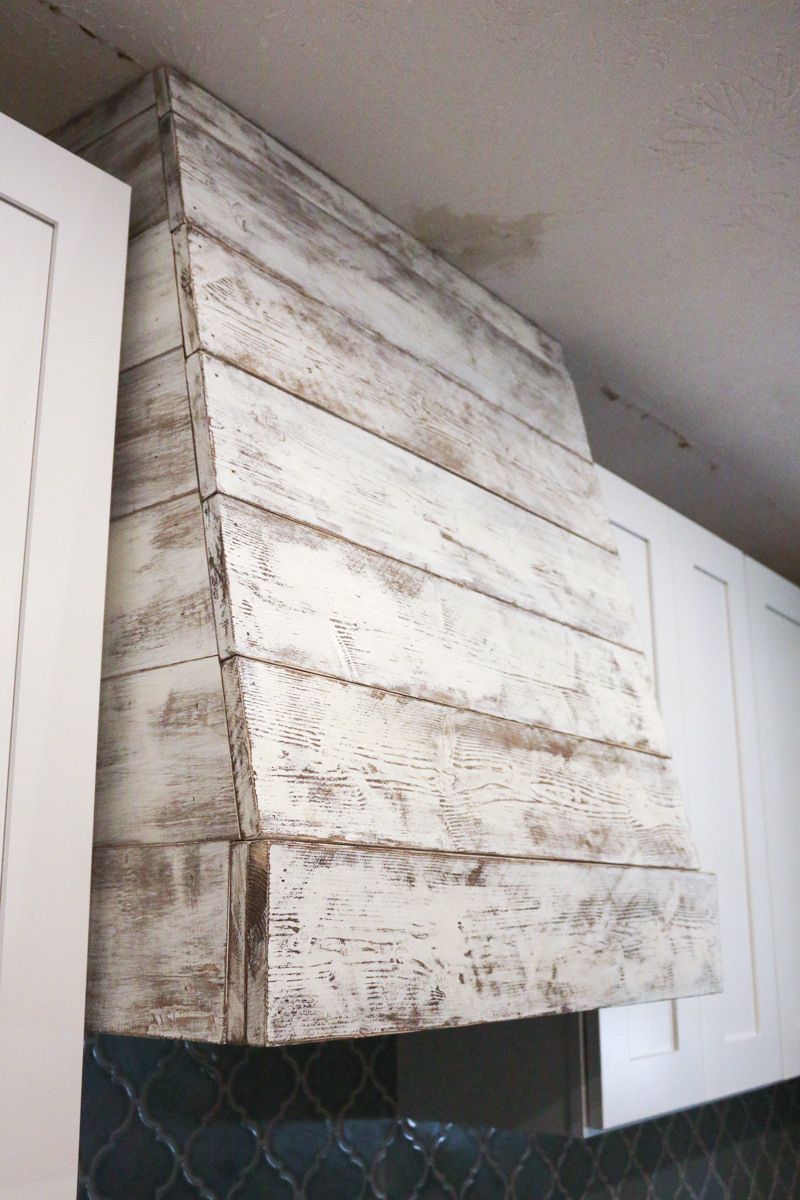
The great part about this is that it distressed really beautifully.
You can use a sander but I like the results of hand sanding better. Remember that you want to go all in one direction so that they get a even distressed look.
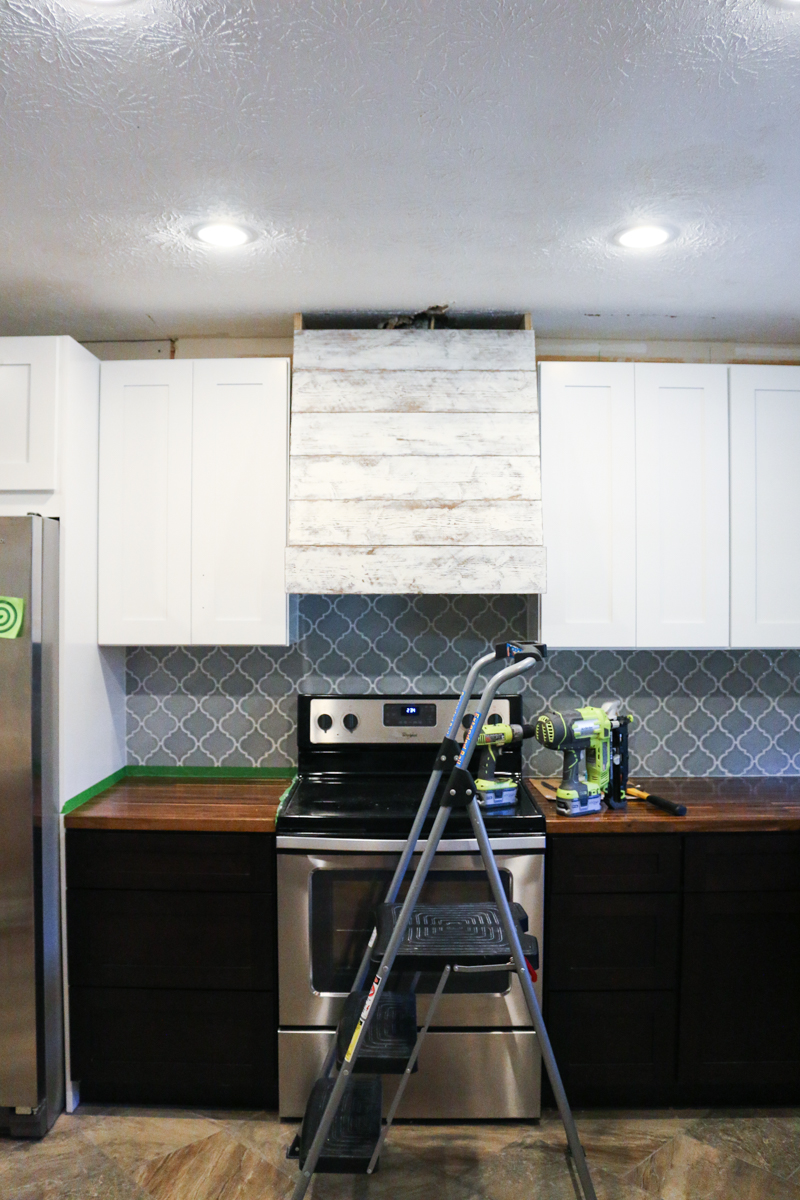
The very first board attaches to the front. This butts right up to the liner and you can use a brad nailer to attach it to each side support board.
THEN I sandwiched another board on that first bottom board to give it extra weight before adding the next level up.
Make sure to plan the boards on the floor first so that you can see the pattern of distressing before they get attached. You might need to switch up the pattern.
When I got to the very top, there was a gap that was slightly uneven (the ceiling is a bit sloped) so double and triple checking my measurements meant I got the piece ripped correctly.
It was a snug but perfect fit. Then I patched the ceiling.
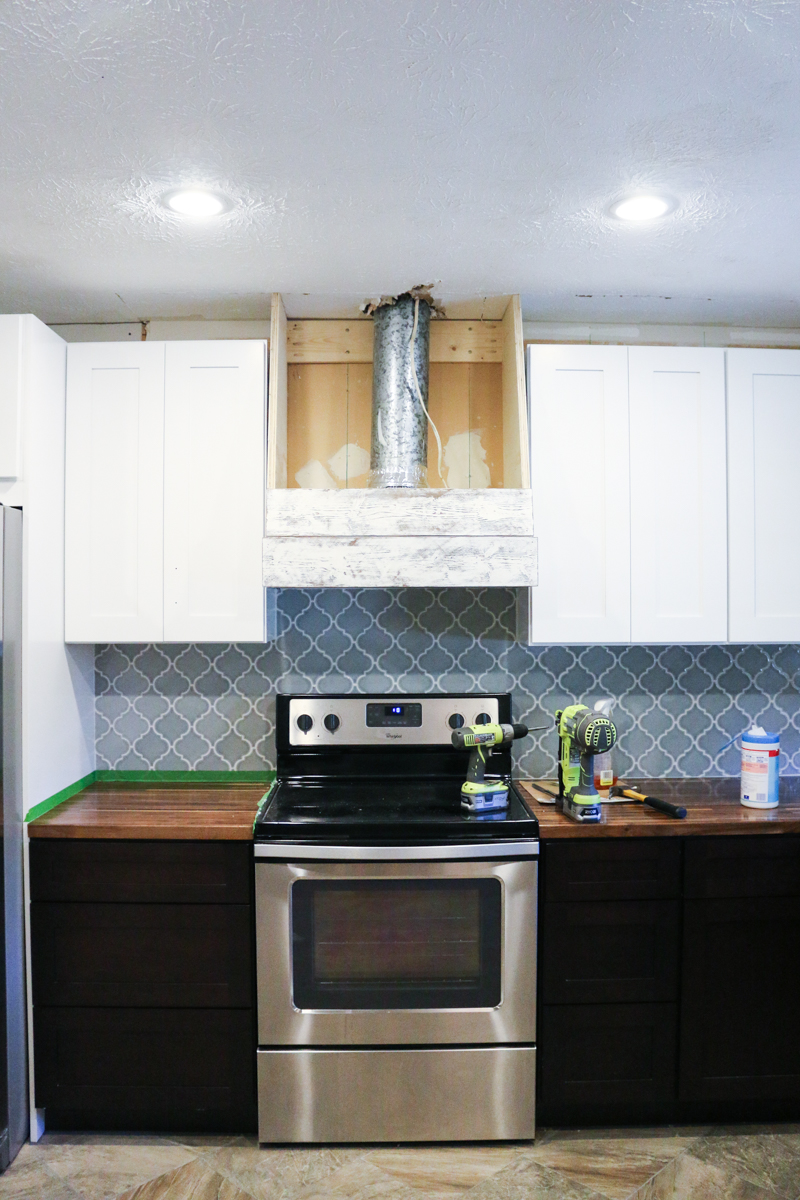
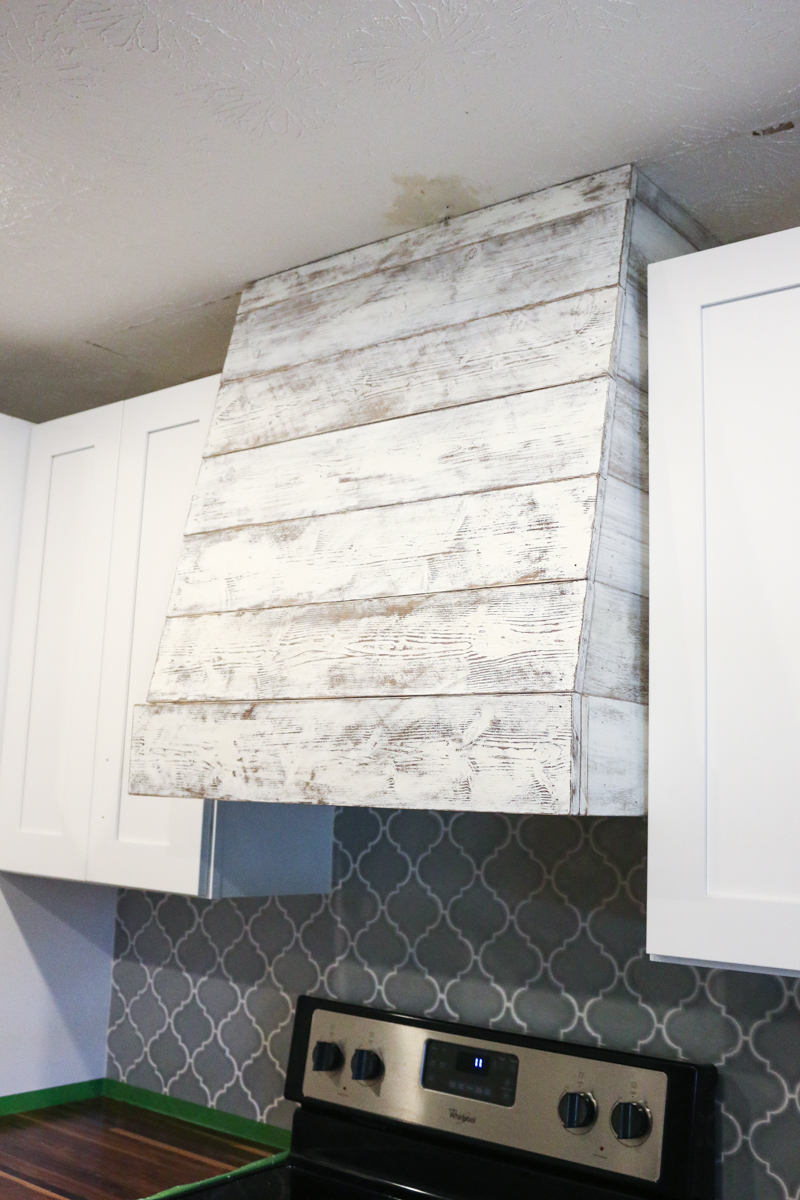
You can see that sandwiched piece on the very bottom and how it adds some weight to that area – making it feel beefier and more substantial.
And the best part is – it’s fully custom and fully functional 🙂 Can’t believe it!
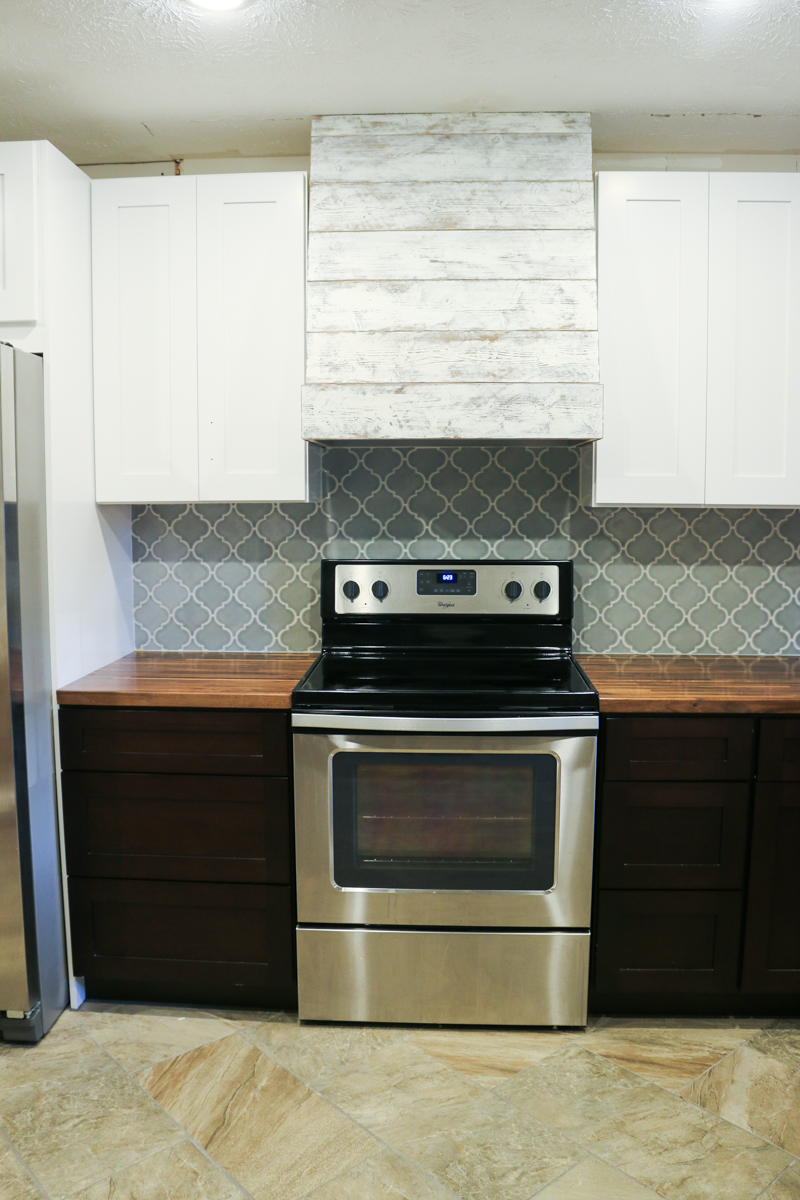
Here is a shot before the crown moulding (both on top of the cabinets and on the wall) was added, any trim or the ceiling was painted….
And here is the final result!
Spectacular right?! I mean…I really am shocked that we pulled this one off because we aren’t professional woodworkers or hood craftsman and this seems well out of our skill set….but with the right products (who knew that they made inserts like that?!) and a whole lot of planning, it was a perfect fit for this space both in design and in function. It does really make a focal point on that big wall of cabinets, tying in the dark lowers and the light uppers and add so much of that rustic charm that feels warm and homey (just as Charity and Danny requested!). Can you tell I’m really proud of this one? Because oh man…it could have been a disaster!
So tell me….is there any project that seems out of reach for you? Anything that seems daunting or crazy hard? Have you tried it? Did you succeed or fail? I love hearing fail stories just as much as success ones because they are the ones that are usually most funny. I gotta tell you…there are lots of fails in our history. Like the time I thought I could ‘fix’ a shelf in my pantry with a piece of ribbon (yes, I was too lazy and didn’t want to unload the whole shelf)….I simply tied it to the next shelf up….which in turn made both shelves collapse and all the cans crashed down and I was left with a much bigger mess. Live and learn people. Live and learn.
p.s. Did you see? The West Elm sale is ending tonight – it’s up to 30% off and free shipping! I’m eyeing these and this. Okay…and this. Only $20! Here is the link.
Katie,you make this look so easy. The hood is the icing on the cake. I’m bummed this house is coming to an end,I love these kind of posts. I believe I could get drunk of Jeremy also.