I shared a super easy craft on InstaStories and since I’m nervous that one day Instagram will decide to take everything away, I thought it would be best to share it here too! This is the easy DIY yarn garland tutorial that is slightly tedious but strangely satisfying! And needless to say…completely adorable 🙂
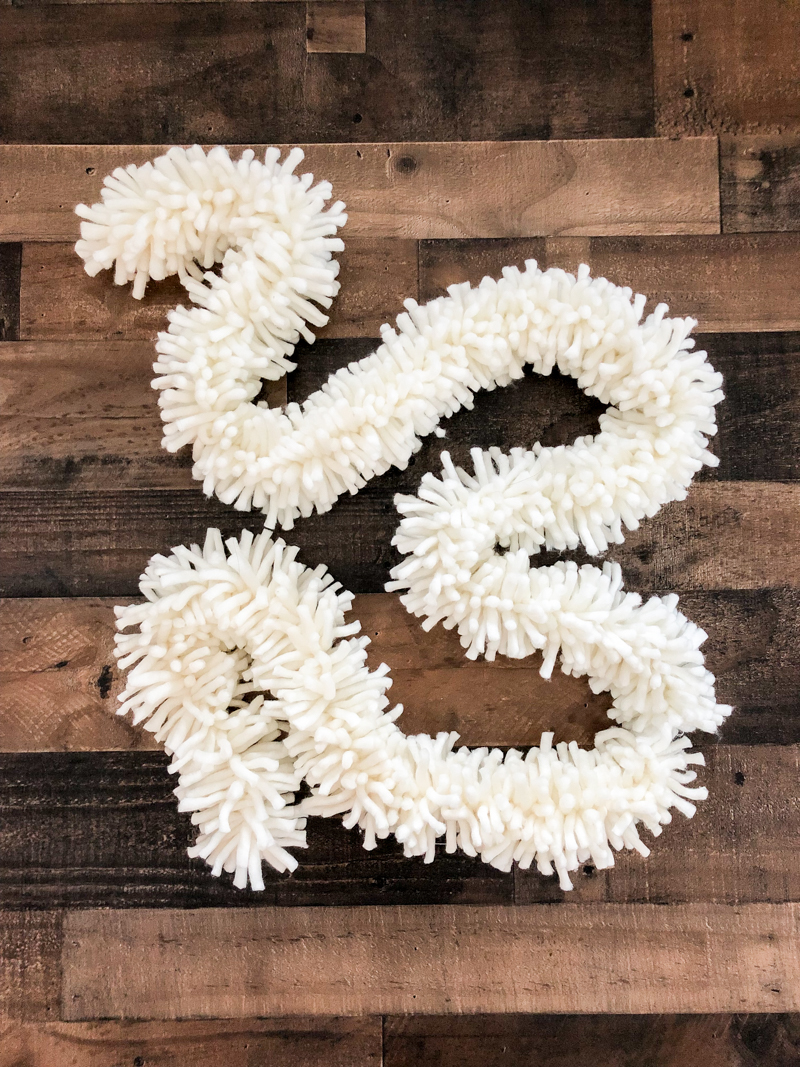
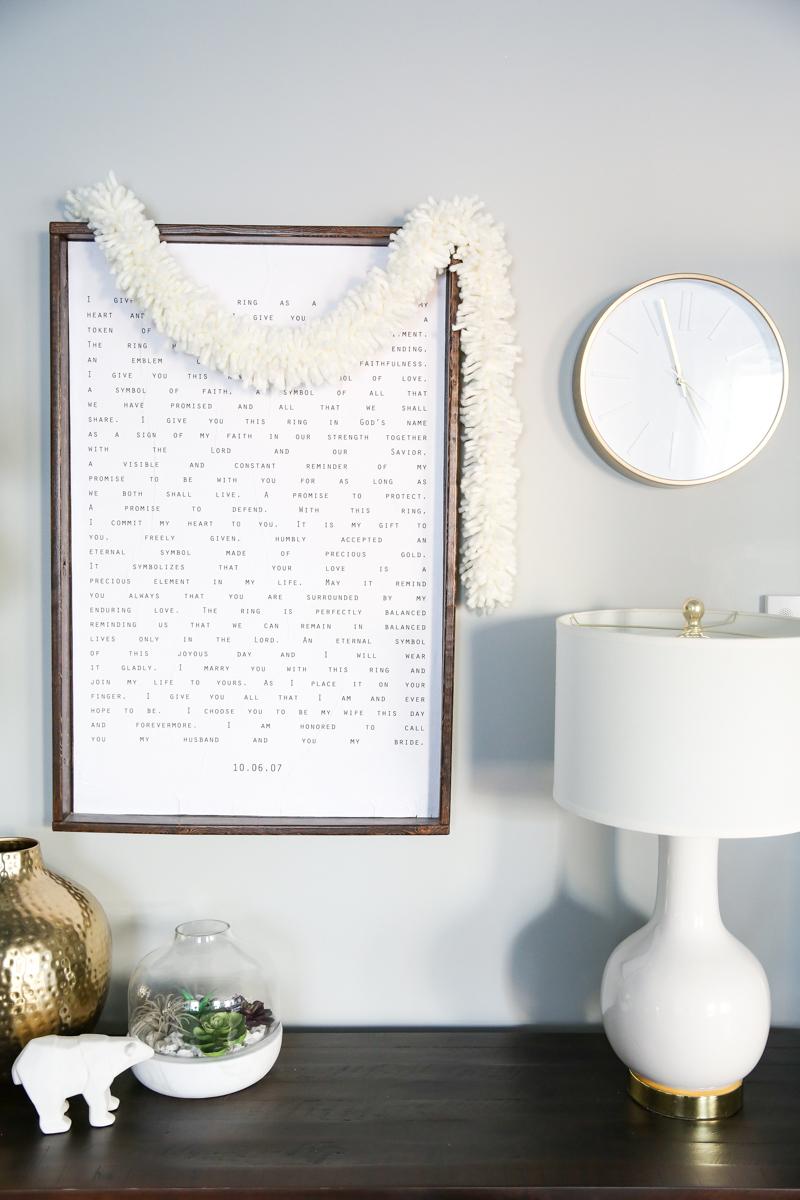
This yarn garland is meant for home decor but it would be cute as a scarf too!
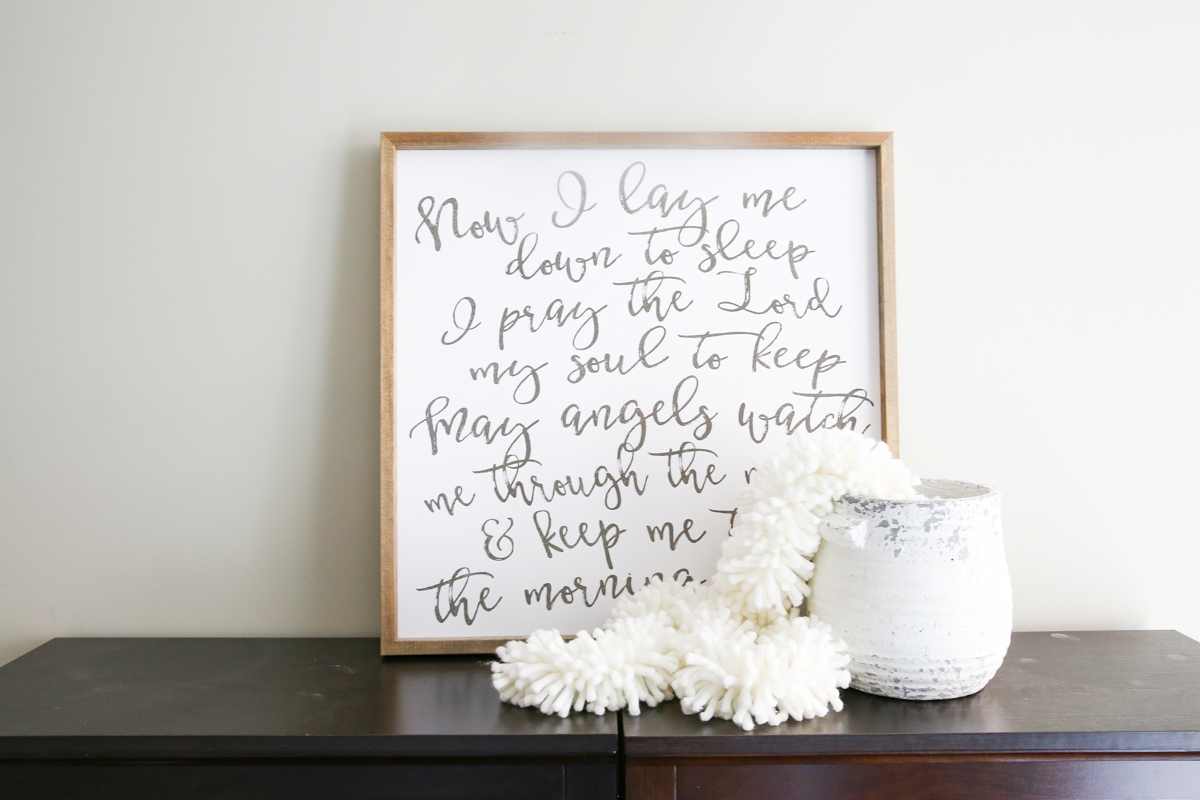
Let’s just start this easy craft because I have a feeling that you will become as addicted as I am!
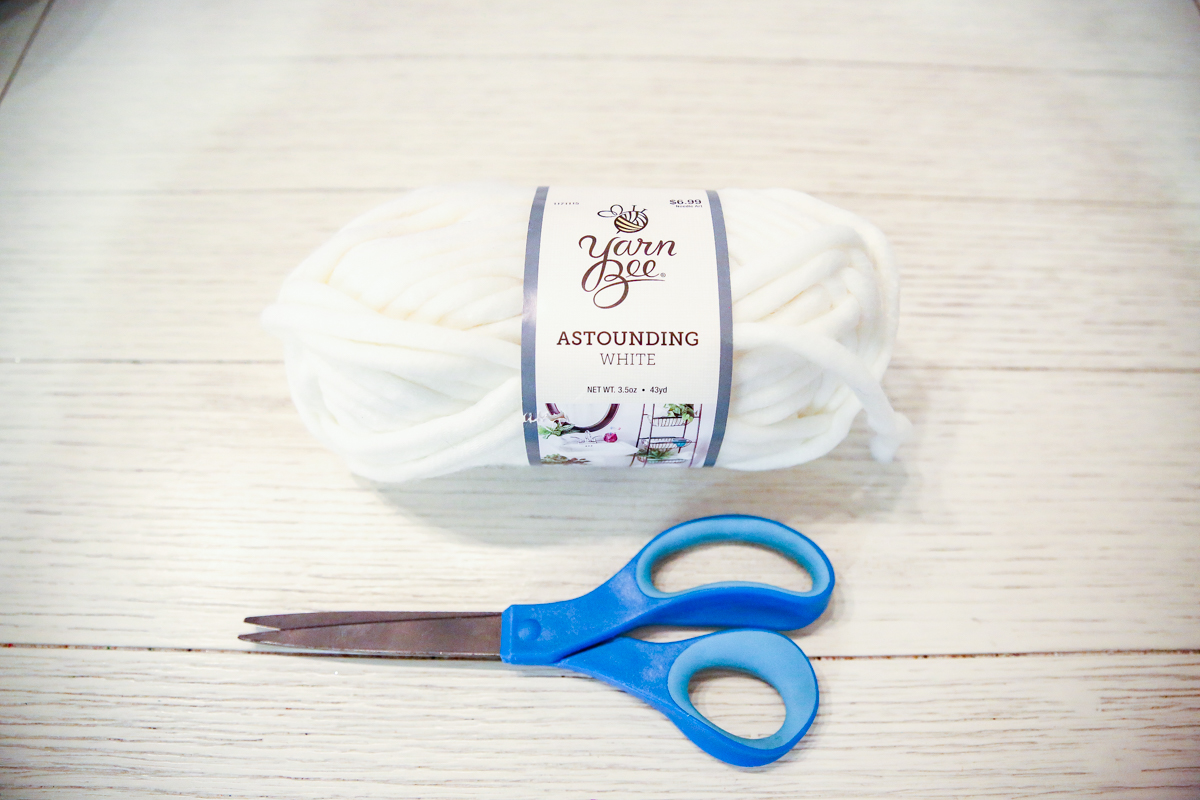
GATHER YOUR SUPPLIES
This is a super simple craft and you will need the following:
- Thick wool – I used the Yarn Bee Astounding White from Hobby Lobby
- scissors
- thread and needle
Note that one ball of this yarn is 43 yards and it makes a 3 foot garland.
CUT YOUR YARN
It’s time to cut the yarn. This is the most tedious part of the garland. It took me roughly ten to fifteen minutes to cut an entire ball. I cut them roughly three inches long but its not really important if they are exact or even close. I had some that were only an 1.5 inches and some at four inches.
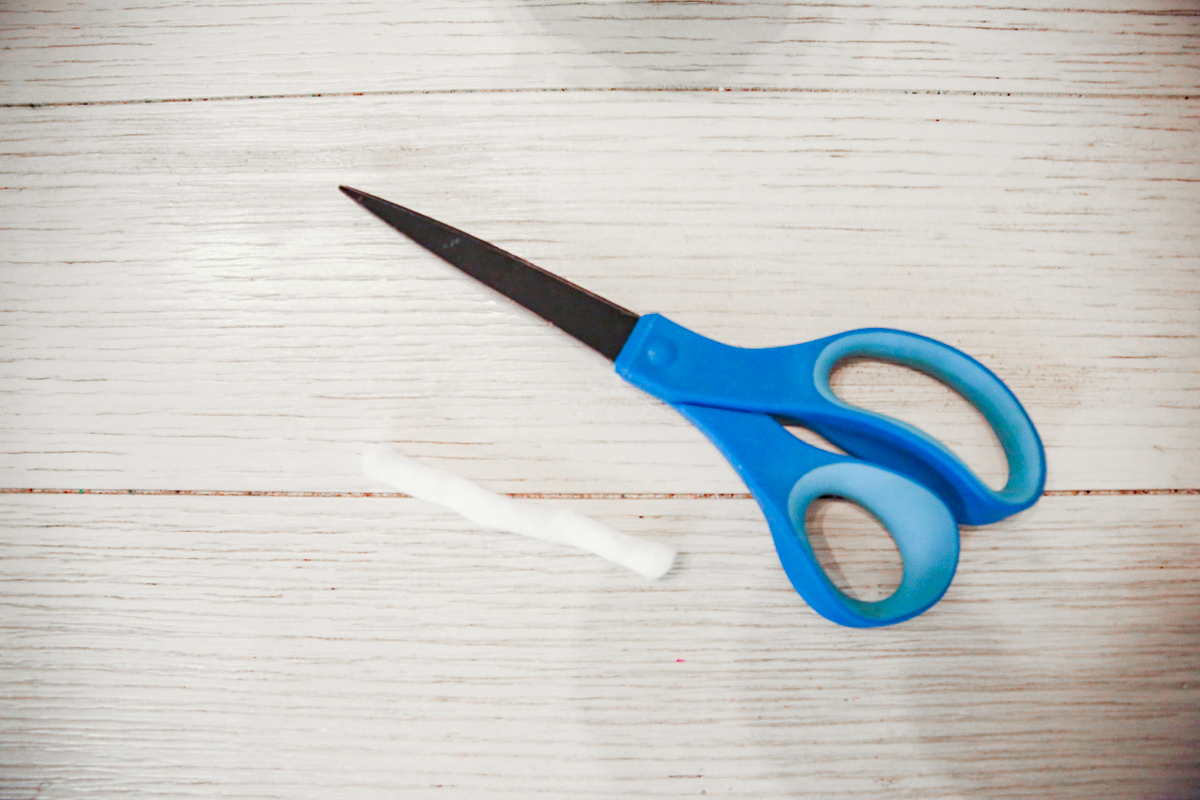
The fastest way for me to cut the yarn was to do the wrap and cut method.
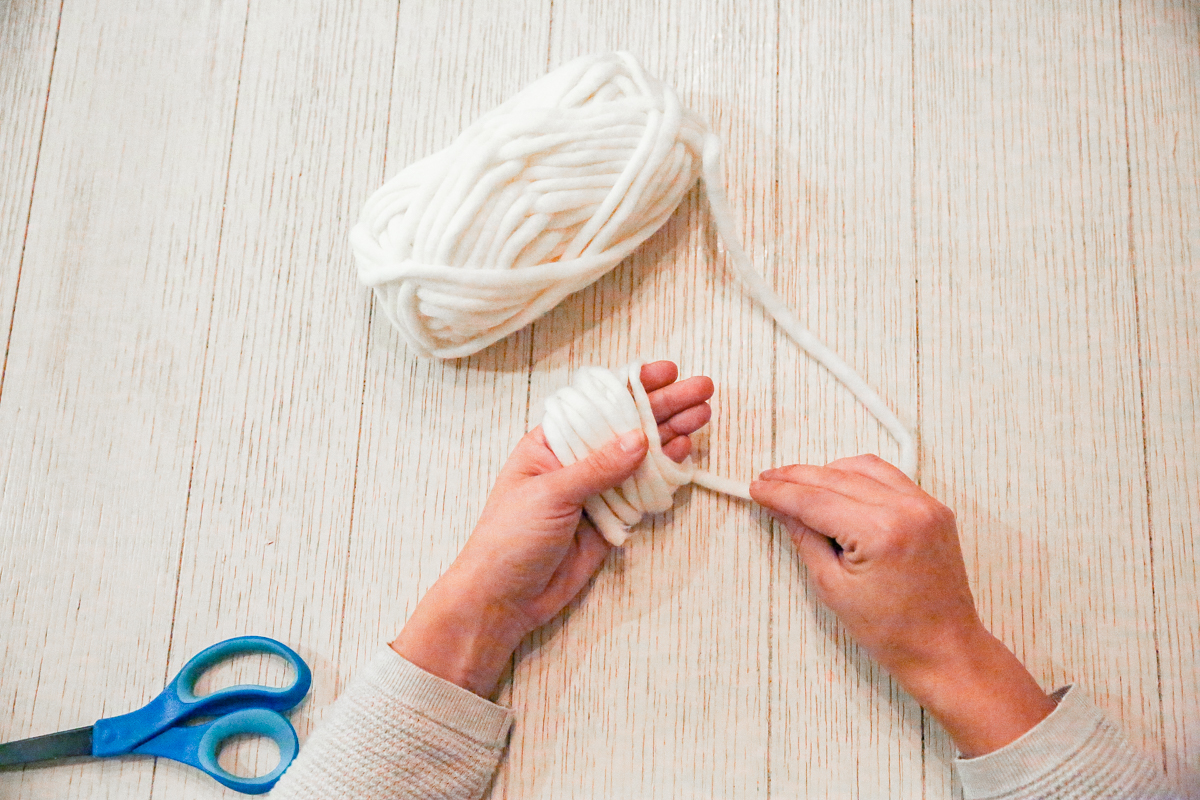
I would hold the end of the yarn down with my thumb and then start wrapping it around my hand.

I would wrap it around rather loosely. If it was too tight then it made cutting hard.
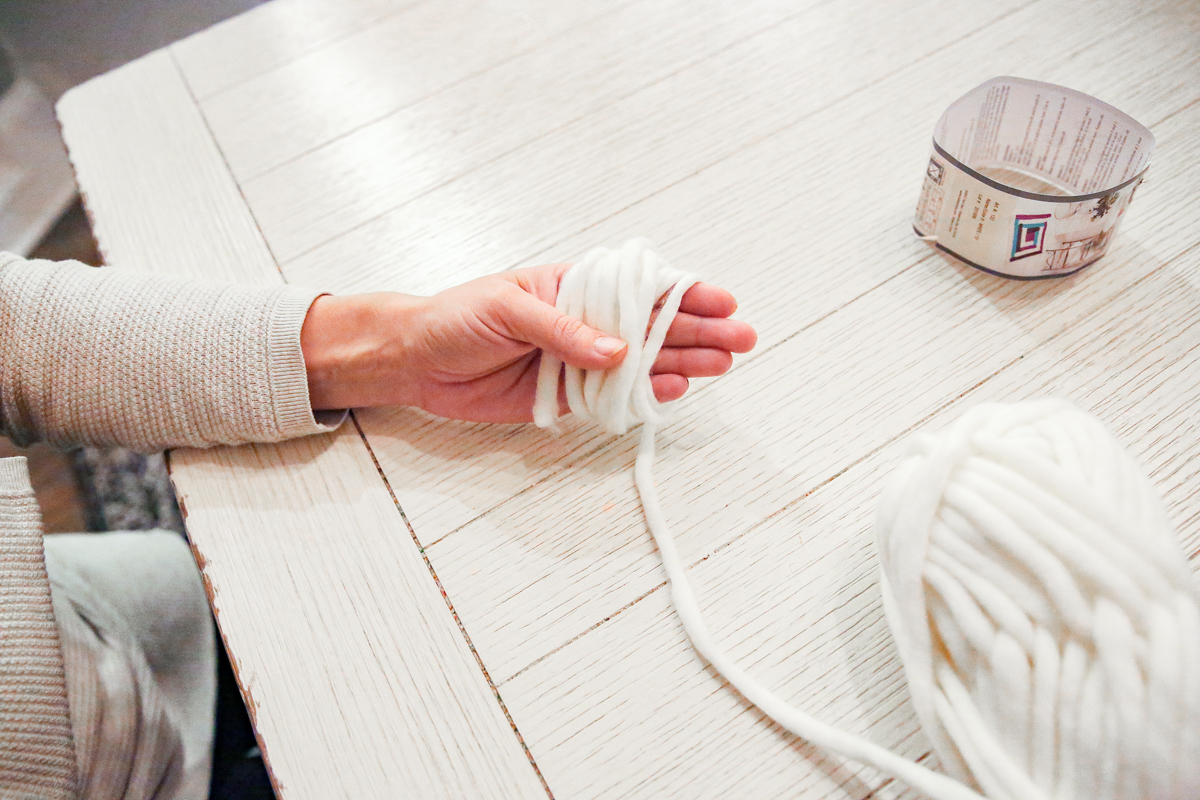
I wrapped it probably about fifteen times.
And then I slipped the scissors between my forefinger and the yarn and cut the whole lot.
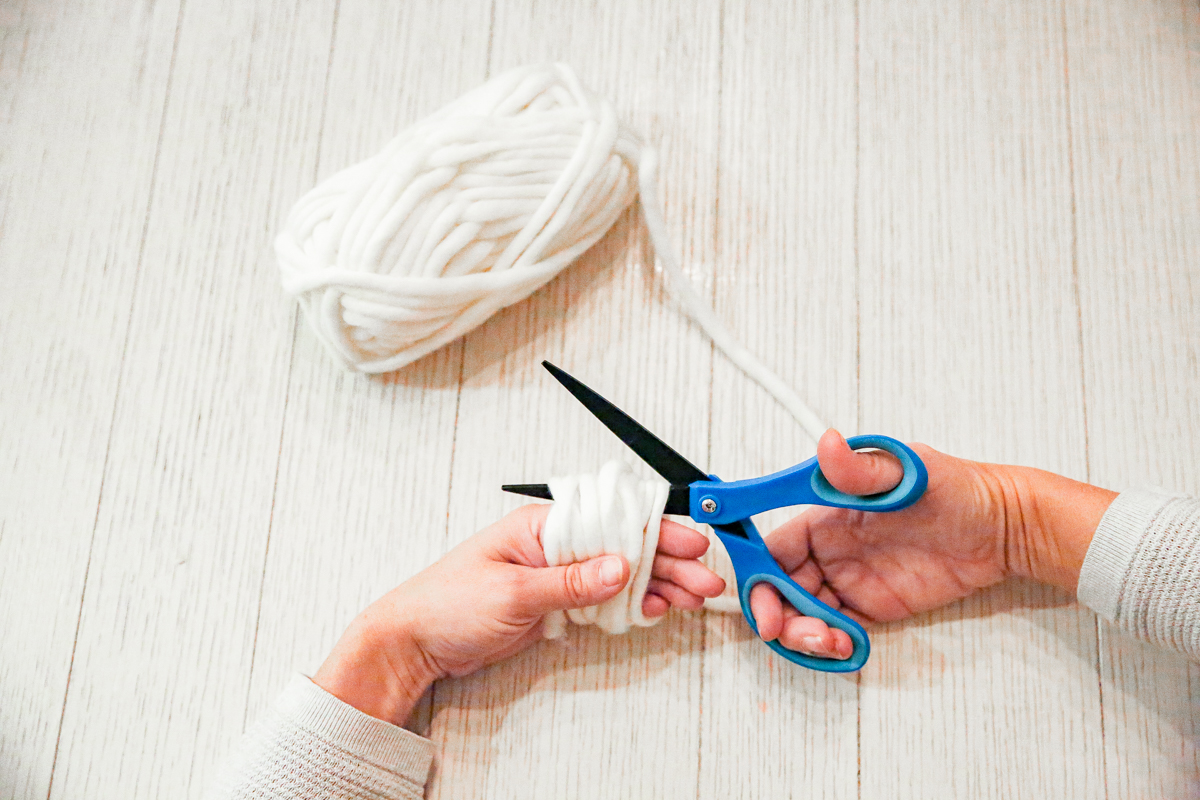
Now if I allow the bottom part of the yarn to fall down, it shows exactly where I need to cut in the middle.
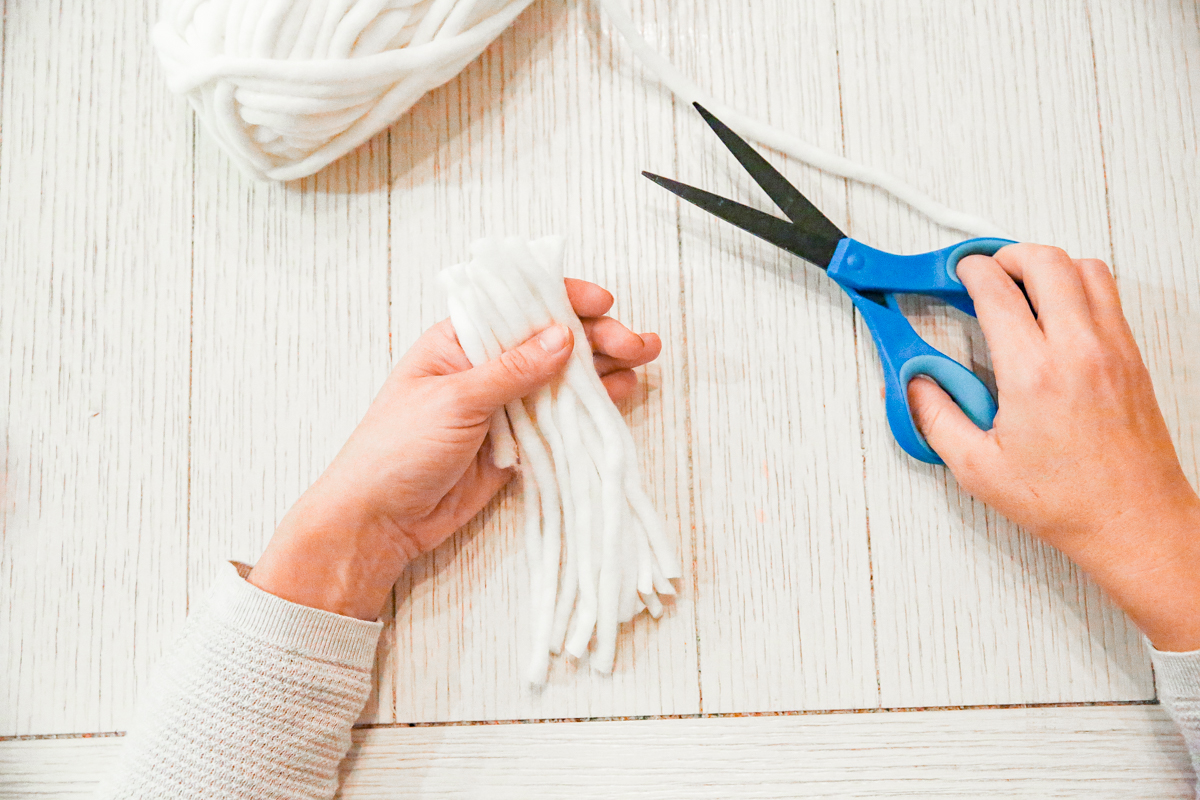
Cut to length and then you have all the pieces.
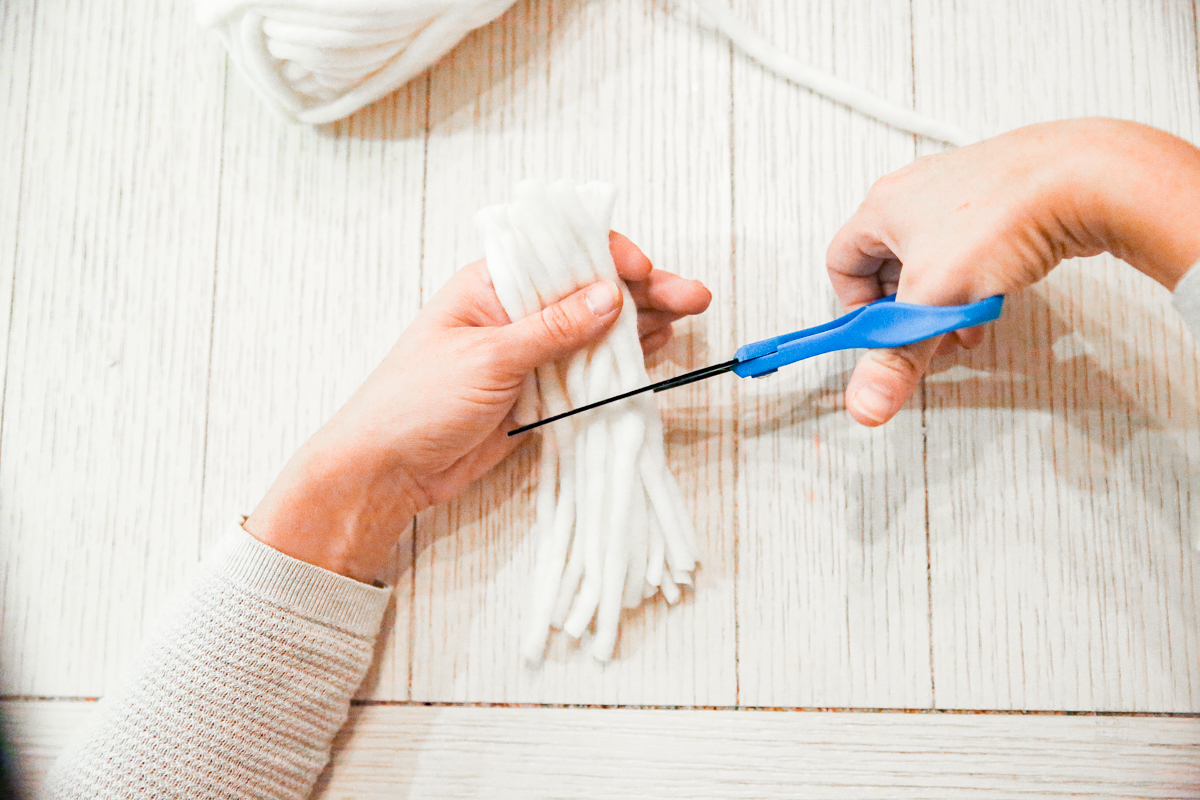
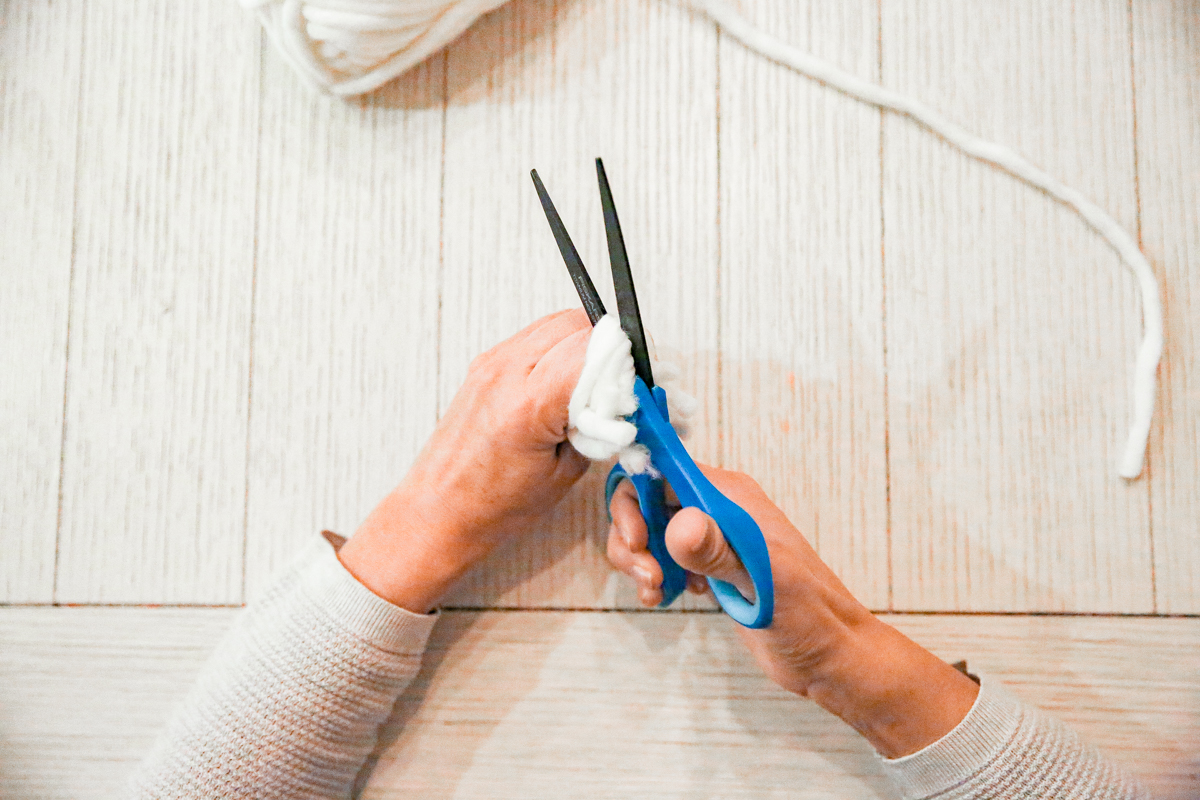
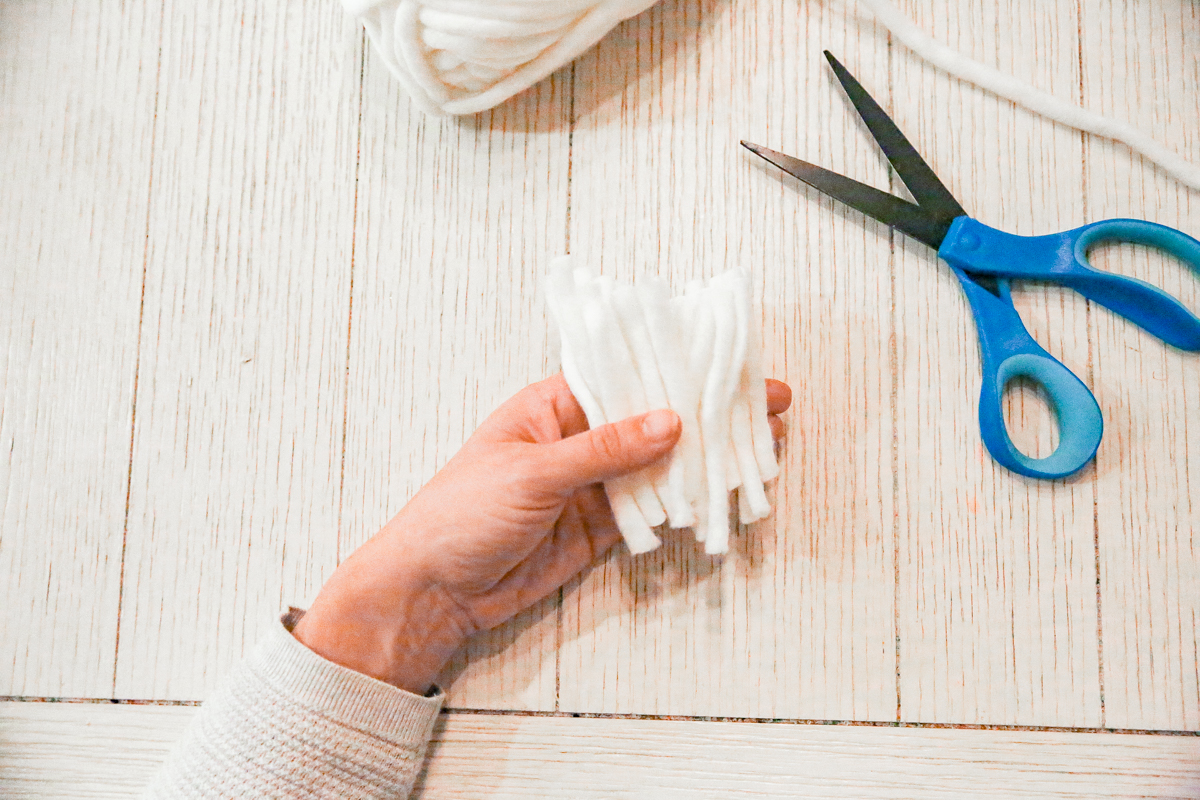
KNOT TWO PIECES
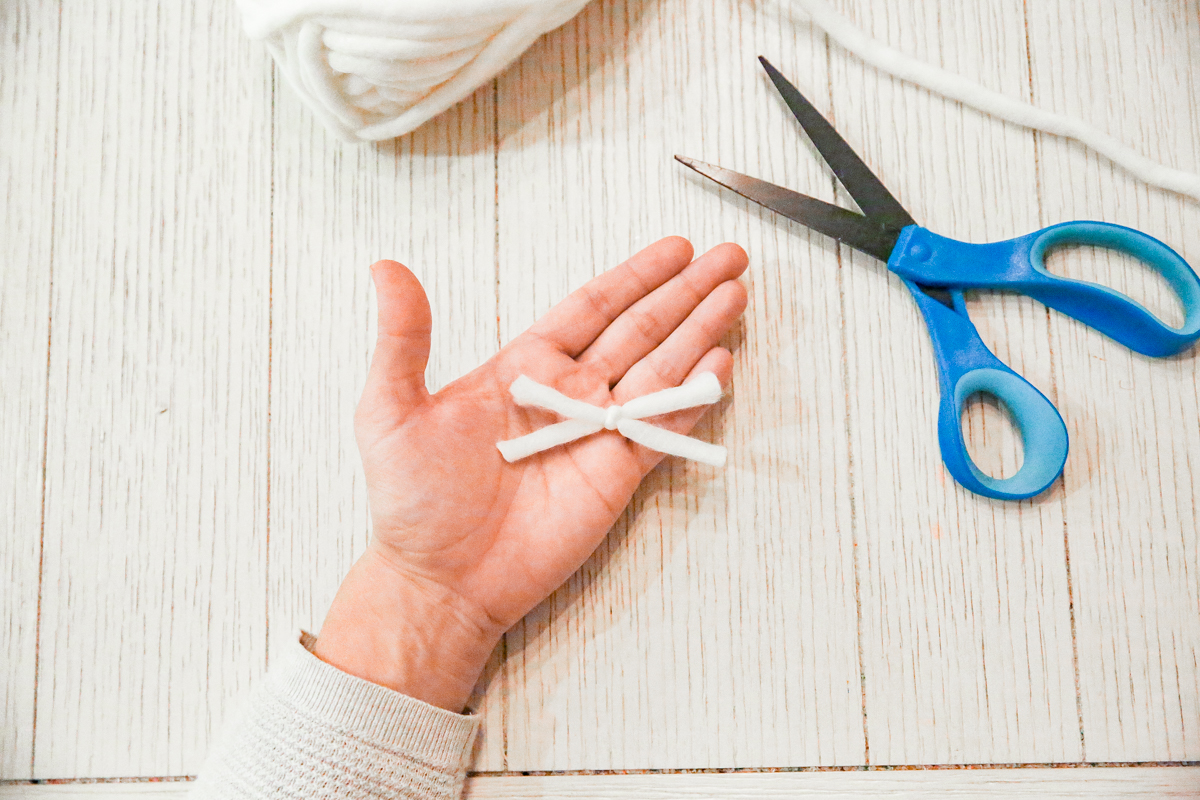
To begin your garland, the easiest way is to tie two pieces of yarn together and have a knot in the middle. This will allow your needle and thread to go and have something to really hold onto.
STRING THE GARLAND
Next I threaded my needle. It was roughly eight feet of thread looped through the needle and tied in a knot. Then my first piece was started by pushing the needle through the center of the knotted yarn and tied off.
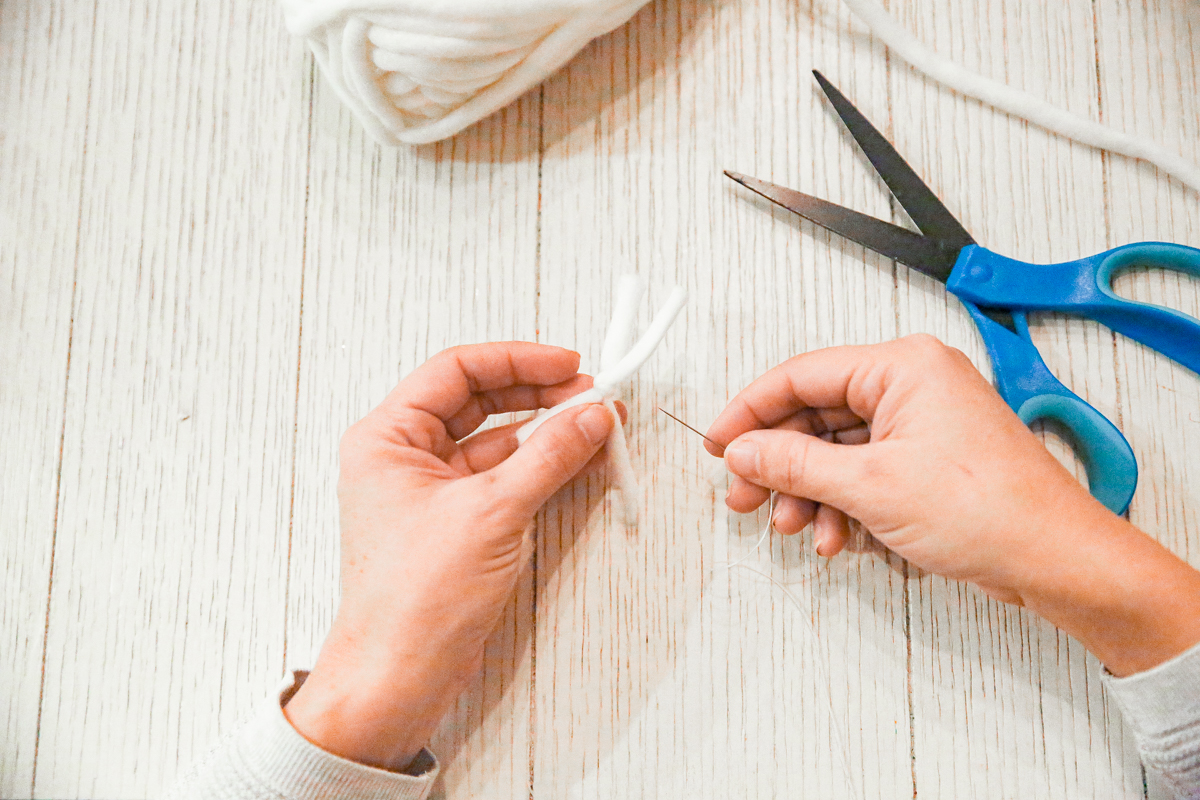
Then I began stringing the yarn pieces onto the thread. It doesn’t really matter if you get it perfectly centered.
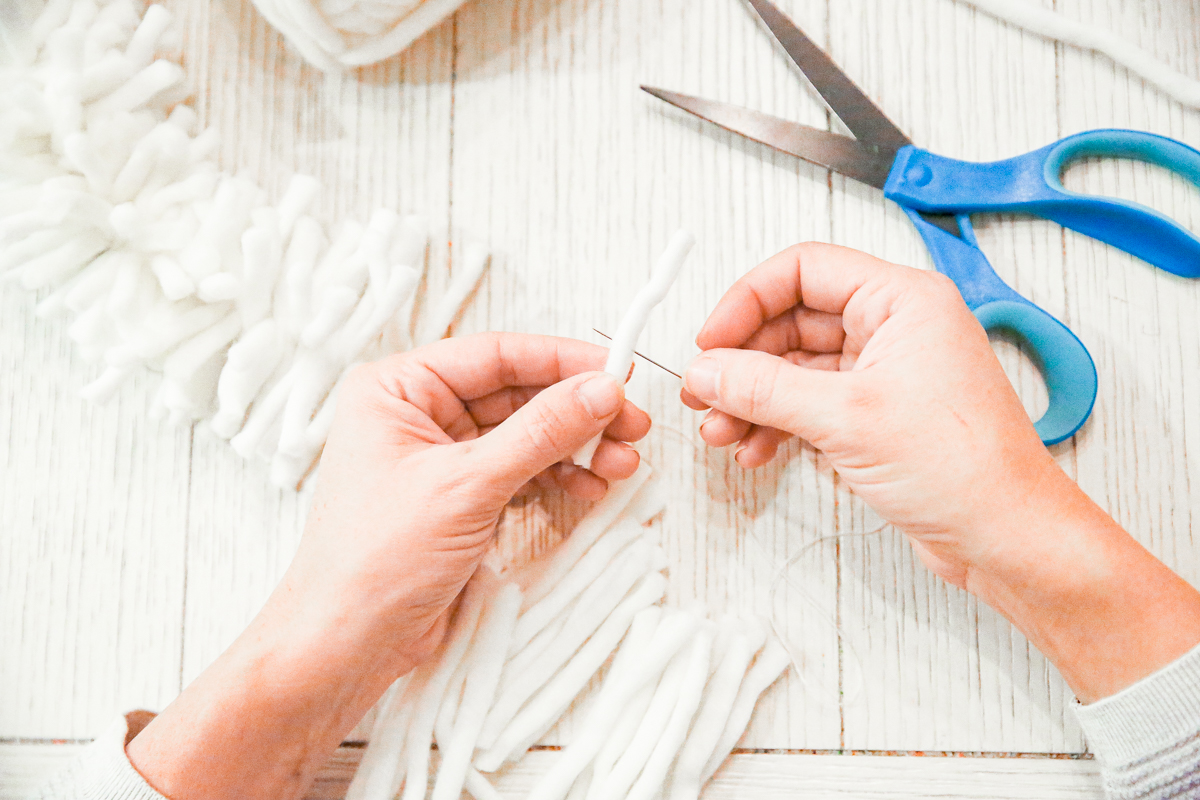
I liked a very tight garland so I pushed the pieces onto the thread tightly but some of the crafty folks who have done this project after I posted it on Instagram, they did it looser and it also looked great!
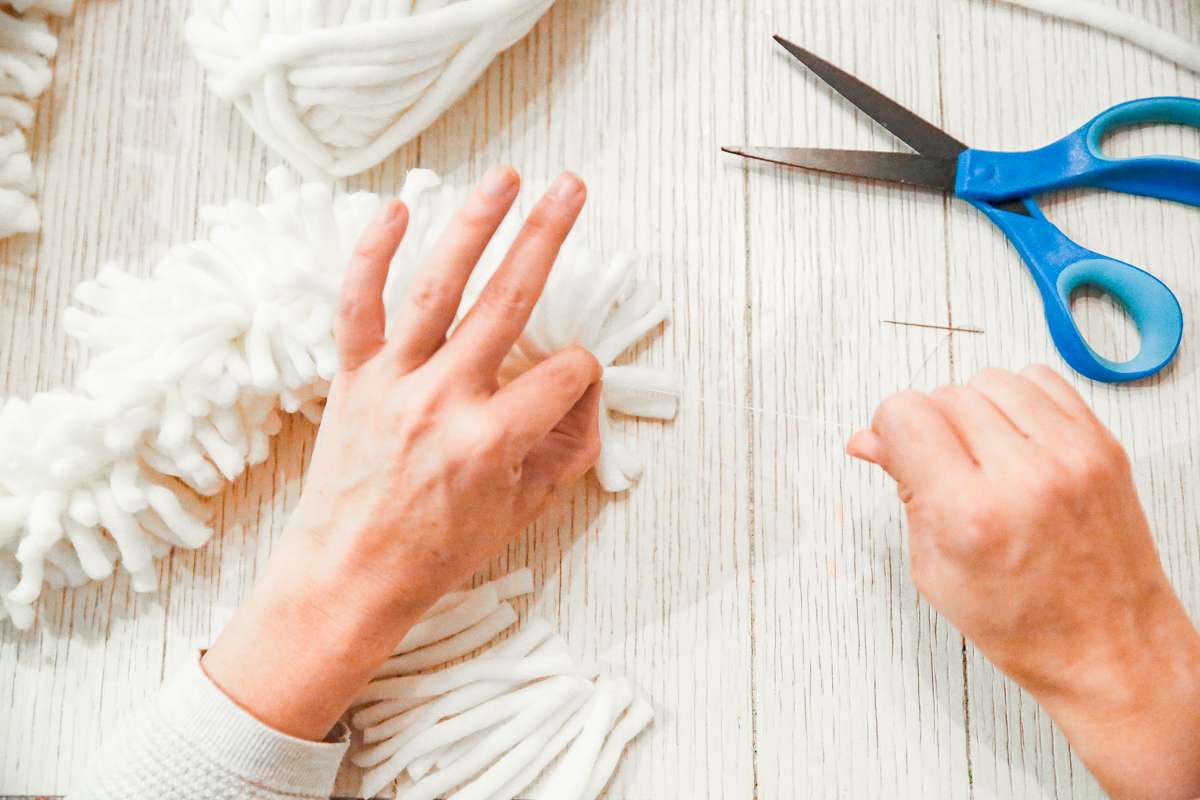
At the end of your garland, just tie off the thread on the last few pieces of yarn. You can extend the garland by just tying the next stretch of thread to the existing garland or you can make a completely new garland and then sew them together.
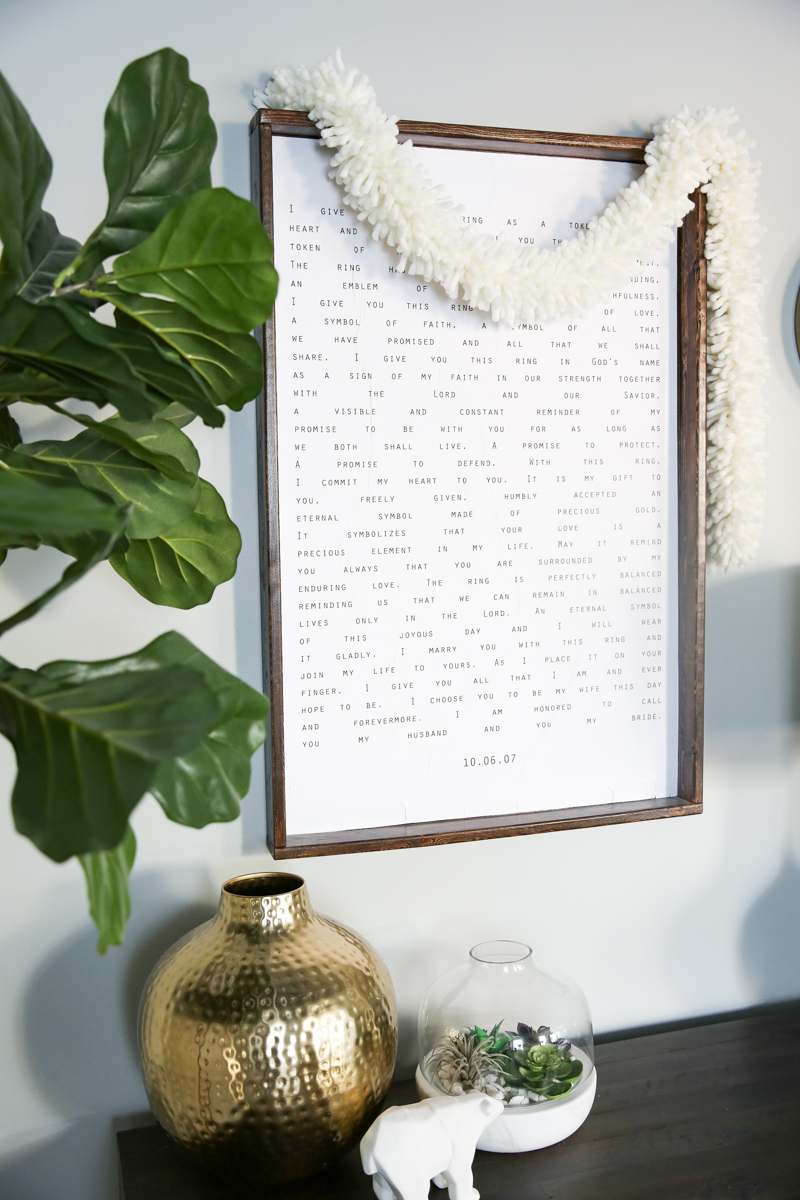
ENJOY YOUR YARN GARLAND
I created a couple in white and also the same yarn in green. I think I might make a bunch of the white ones for a Christmas tree garland. I also loved all the suggestions from friends on Insta…
- use as a scarf
- make in rainbow colors
- make in ombre colors
- use as year round decor in a nursery
- create three inch sections as ornaments
- attach curtain clips and use as a photo display
- use as a centerpiece along a table runner
- hang several from a curtain rod in a playroom
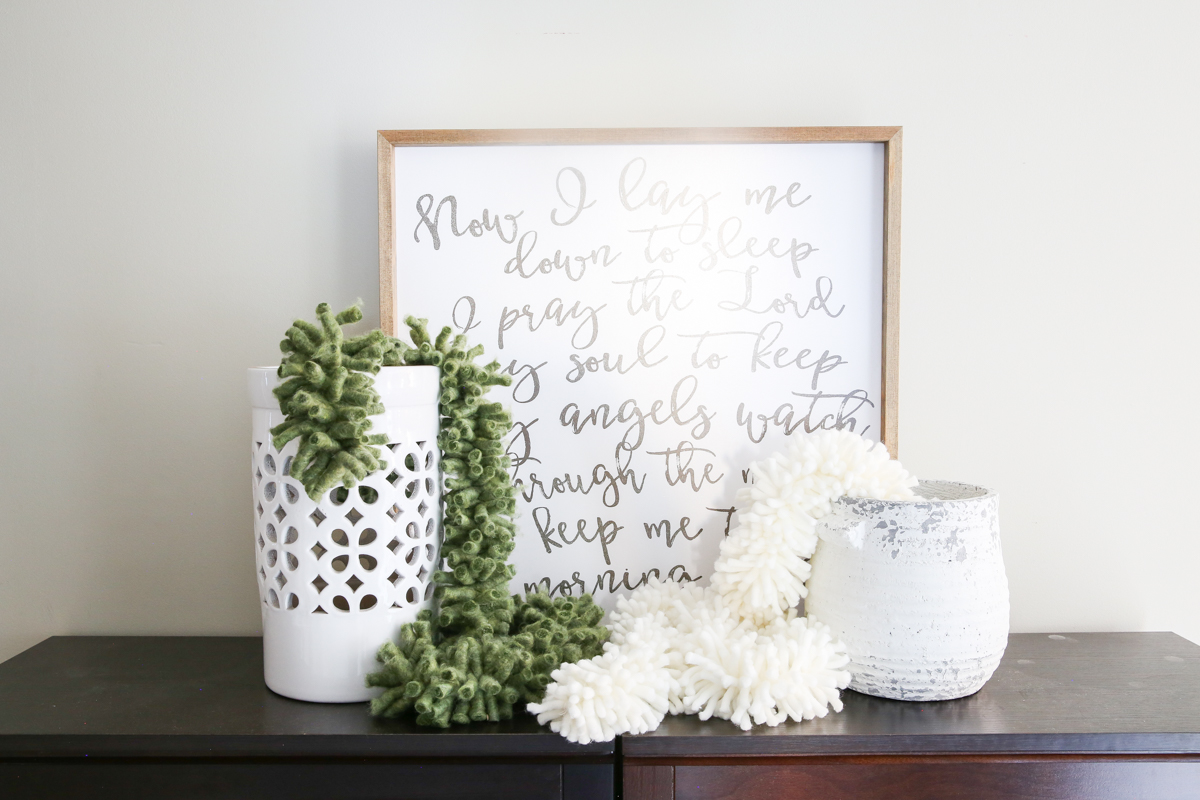
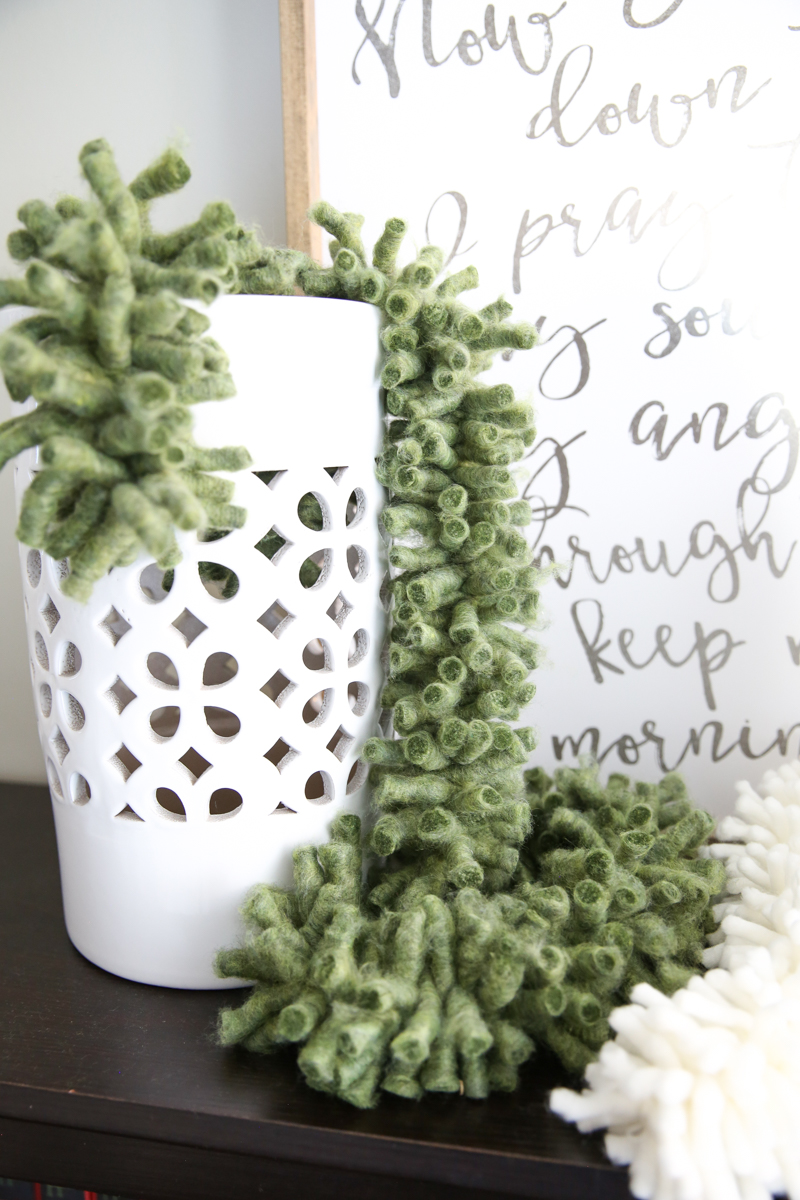
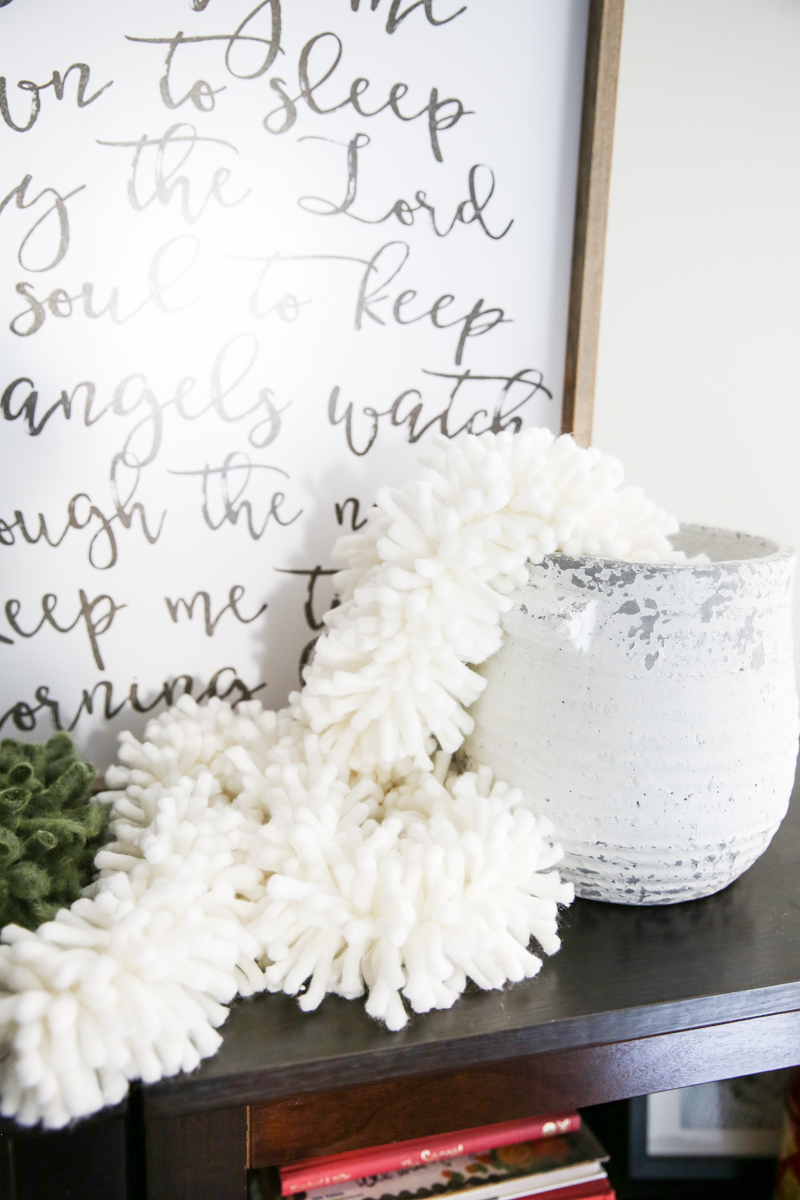
Happy crafting y’all!
So you only Knit the first two pieces together and the others are just strong on singlely?
This would be an easy project to keep busy on a road trip! Thanks, Katie!
I’m wondering why wool? Is there any reason why any bulky type yarn wouldn’t work? I bet it would look great twisted with one of the wooden ball garlands that are so popular. Thanks for sharing on the blog.
Thanks for the tutorial! I love that kind of projects. A few years ago I made a pompom wreath inspired by Anthropologie’s $100+ version. It’s still one of my favorite Christmas decoration.
Btw, I just found this amazing blog post on a renovated Airstream trailer you might enjoy.
https://bonniechristine.com/2018/home-decor/meet-miss-marjorie-airstream-tour/
The first two are tied together in a knot and the rest are just strung! Yes!
xo – kb
Katie! What happened to the comments section? I thought you removed them for 2019 because I can’t figure out how to add them anywhere! I was only able to add this one because this particular post had comments already showing up. Am I the only one having trouble? Hope your year is going well so far!
We removed it. We noticed that most people are commenting on social media instead and we felt like it was necessary to take something off our to-do list so that we can focus more on creating content. We still LOVE your comments on Instagram, Facebook, Pinterest and of course, email.
xo – kb