Disclaimer – This is a sponsored post brought to you by Canon. All opinions are 100% my own.
Sometimes wallpaper can be super expensive and you might need to only have a small amount which leads to waste of product and money. So I set out to discover if I could print some DIY wallpaper at home with my Canon PIXMA TS9521C printer and see if it would be a doable and easy project with a little time and a smidge of patience. Spoiler alert – YOU CAN.
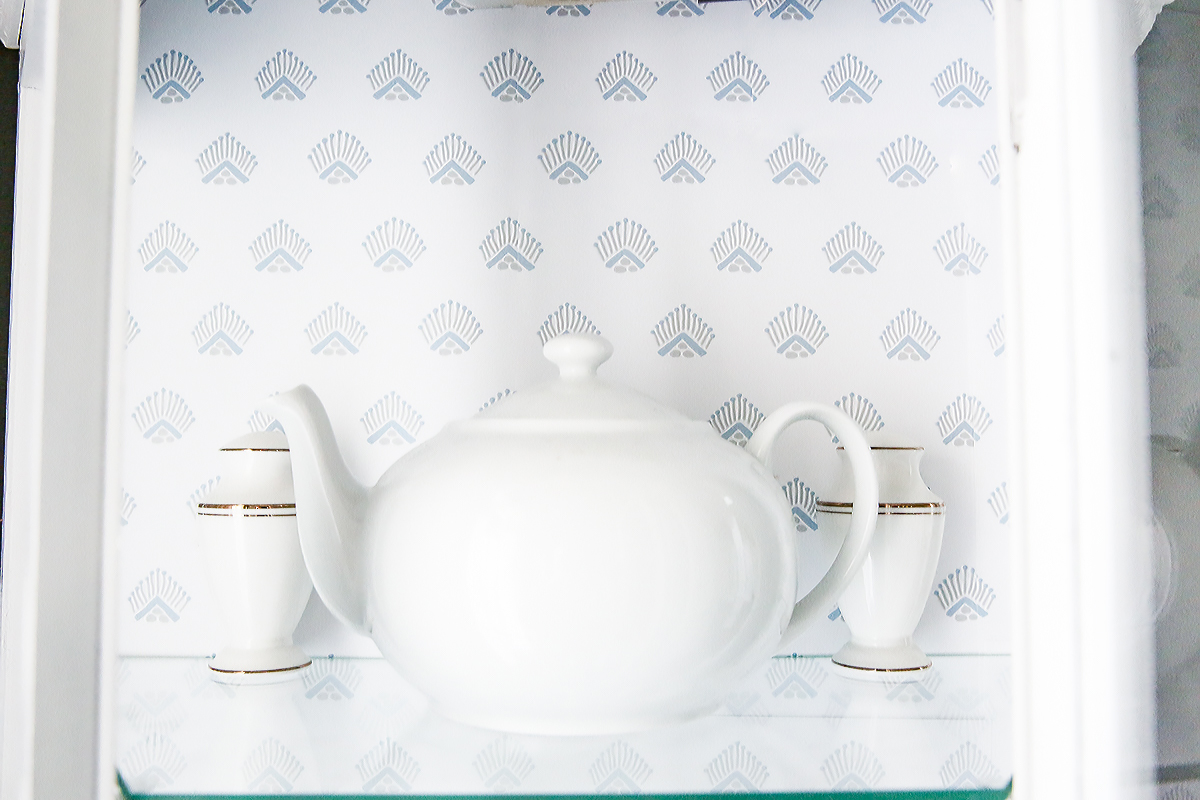
And yes I did it at home with Canon PIXMA TS9521C printer scissors and tape. THAT’S IT.
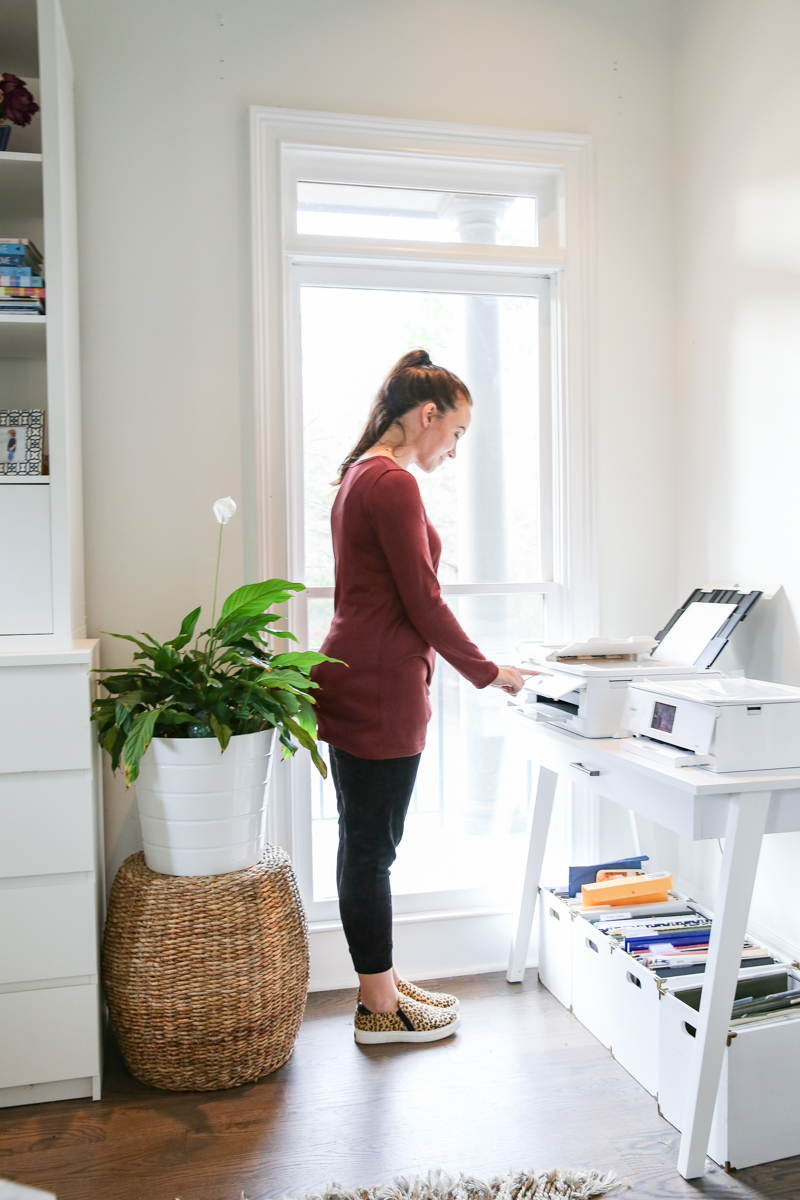
First let me explain what I did. I created a pattern on my computer using Photoshop. You could use any program really. Just make sure that the pattern of it is formatted for 8.5 x 11 and you have my favorite print paper for projects – the Matte letter sized photo paper by Canon. It gives a sheen that looks like you printed it at a fancy printers instead of at home in your messy office.
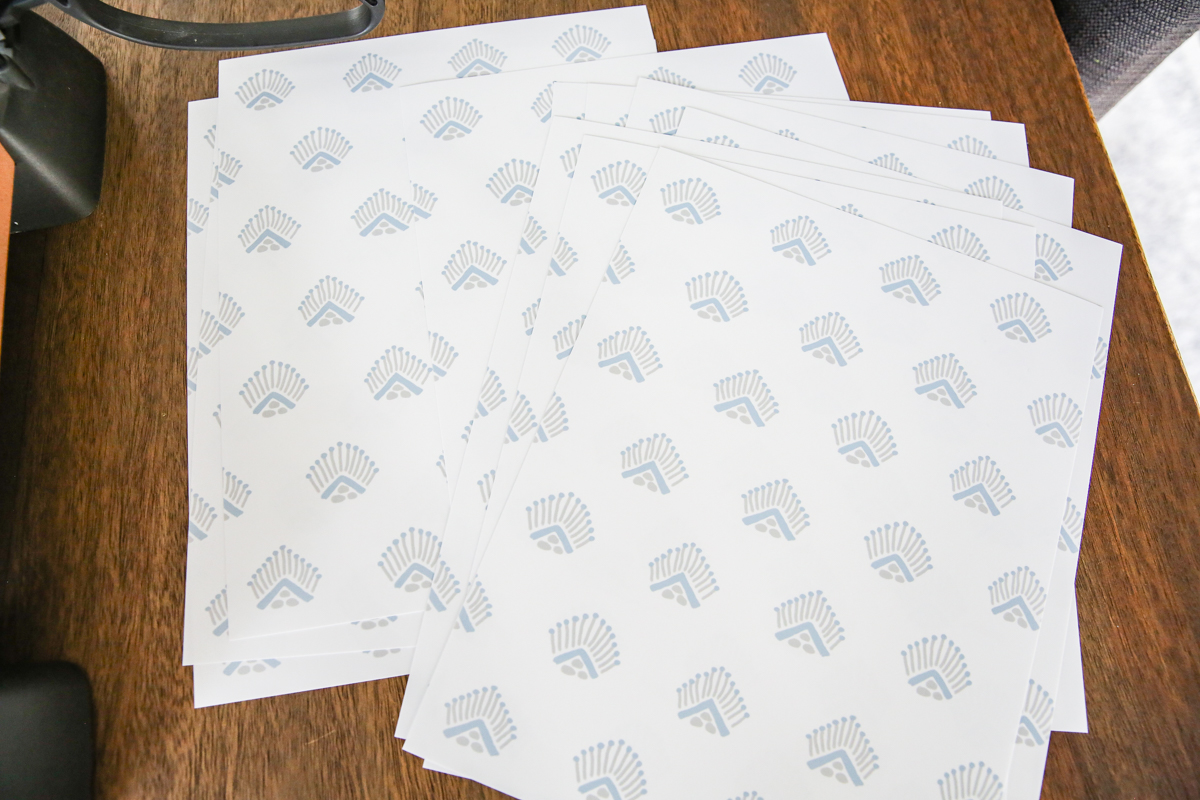
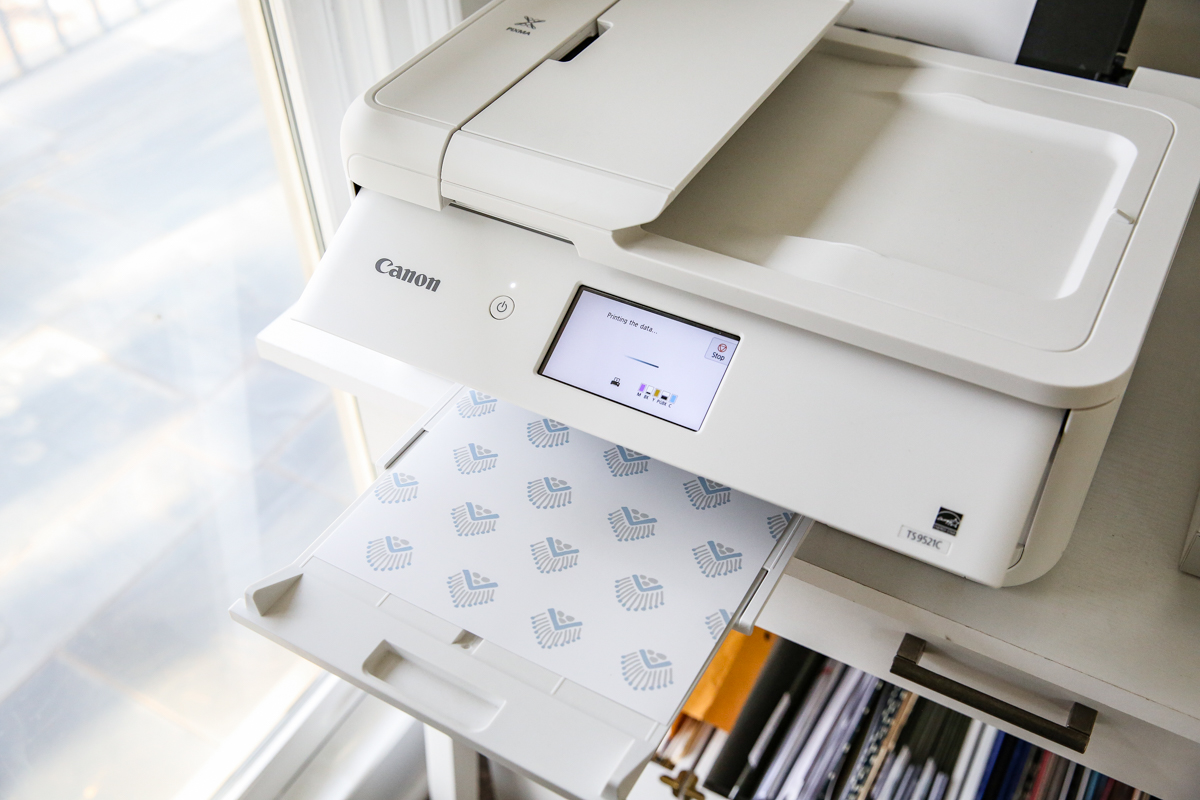
I printed out about 10 sheets of this beachy pattern in blue and taupe on a white background and decided that the best place for this would be in the back of a hutch that I have in my dining room.
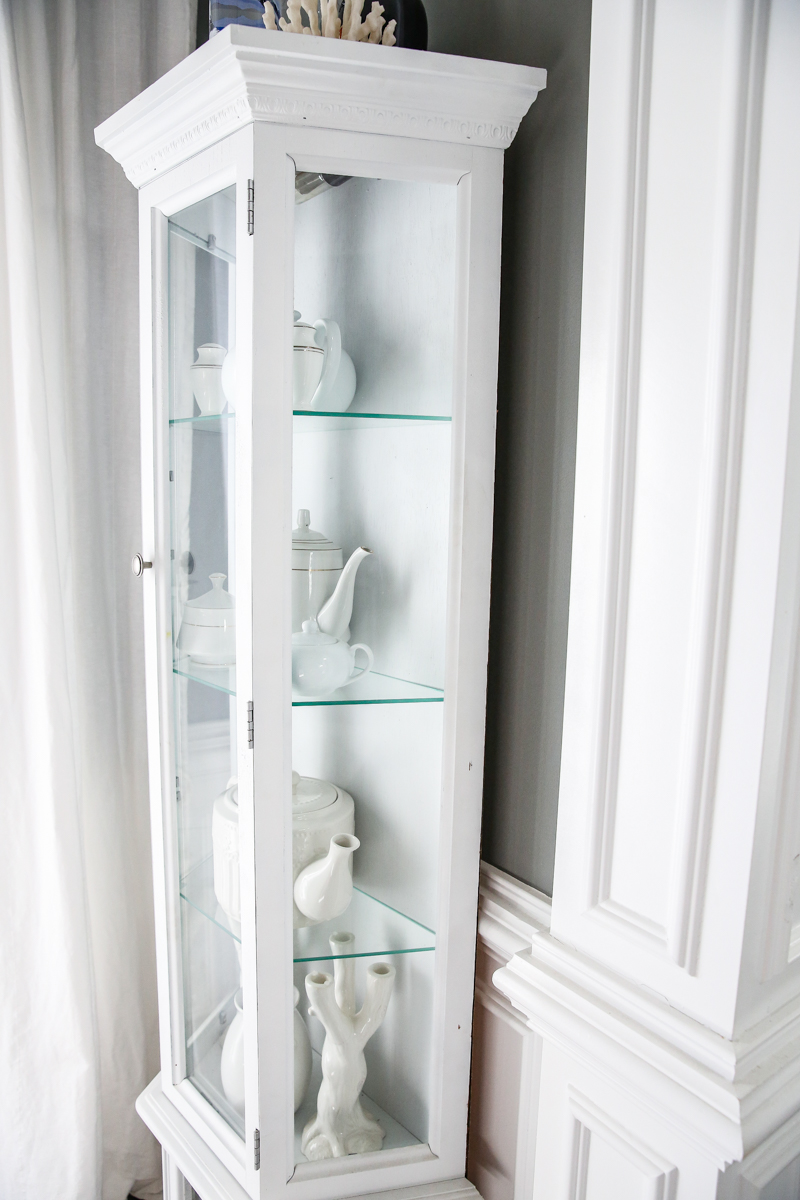
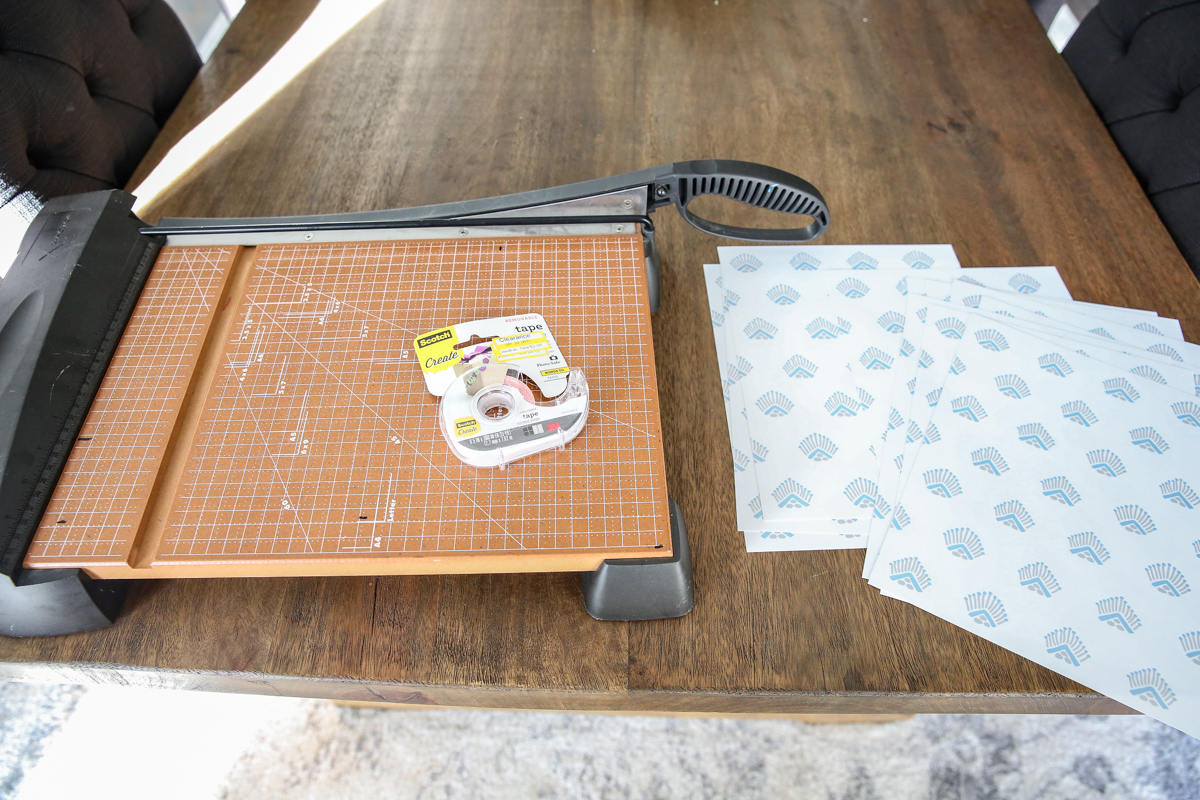
The dining room hutch holds my tea pots (I have a soft spot for pretty tea pots and can’t wait to have tea parties with all my kids when they get old enough!) and the back is just a rough piece of underlayment that was painted white. It definitely could use a little sprucing. I would recommend that you use this type of wallpaper in a smaller area (that’s the whole point! If you needed a lot of wallpaper, you could just order a whole roll….but this is a solution for smaller areas in a pinch!). You will also need scissors or a paper cutter (I just used this big one because it is faster) and some tape. I used both regular gift tape and some double sided tape.
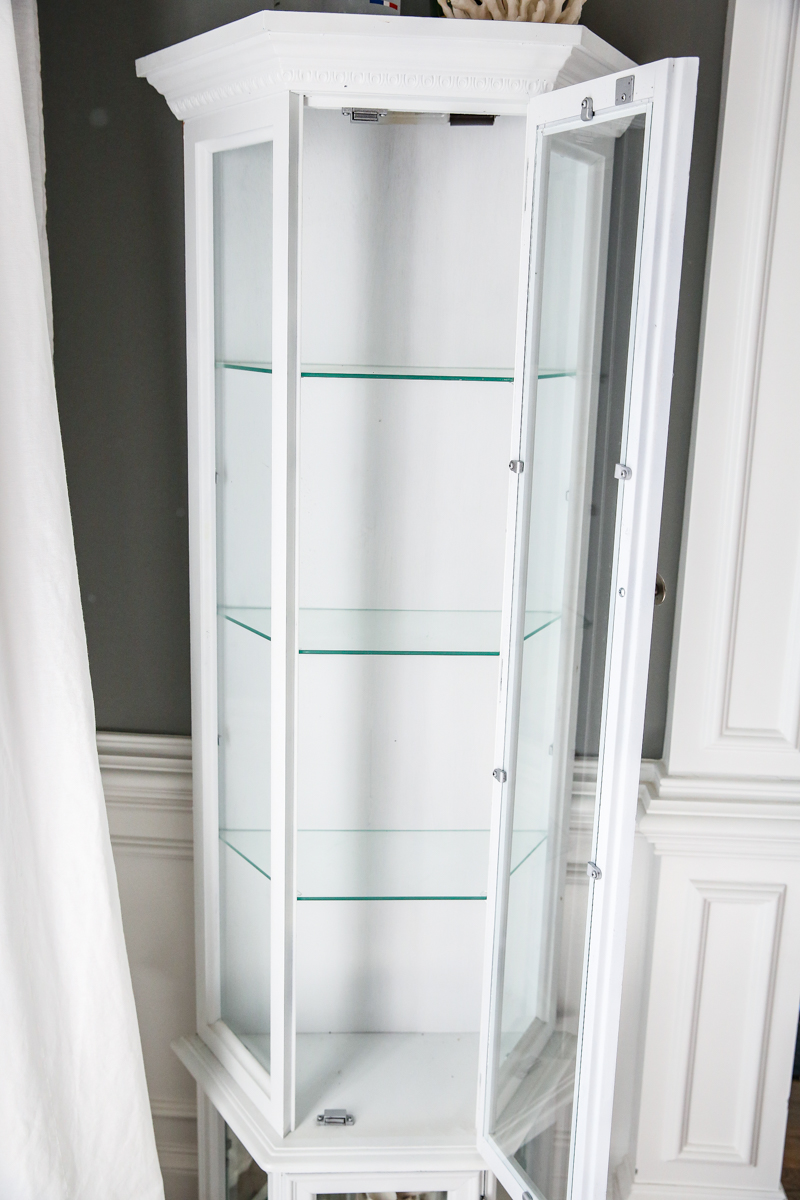
First I emptied out the cabinet completely. Hello blank slate!
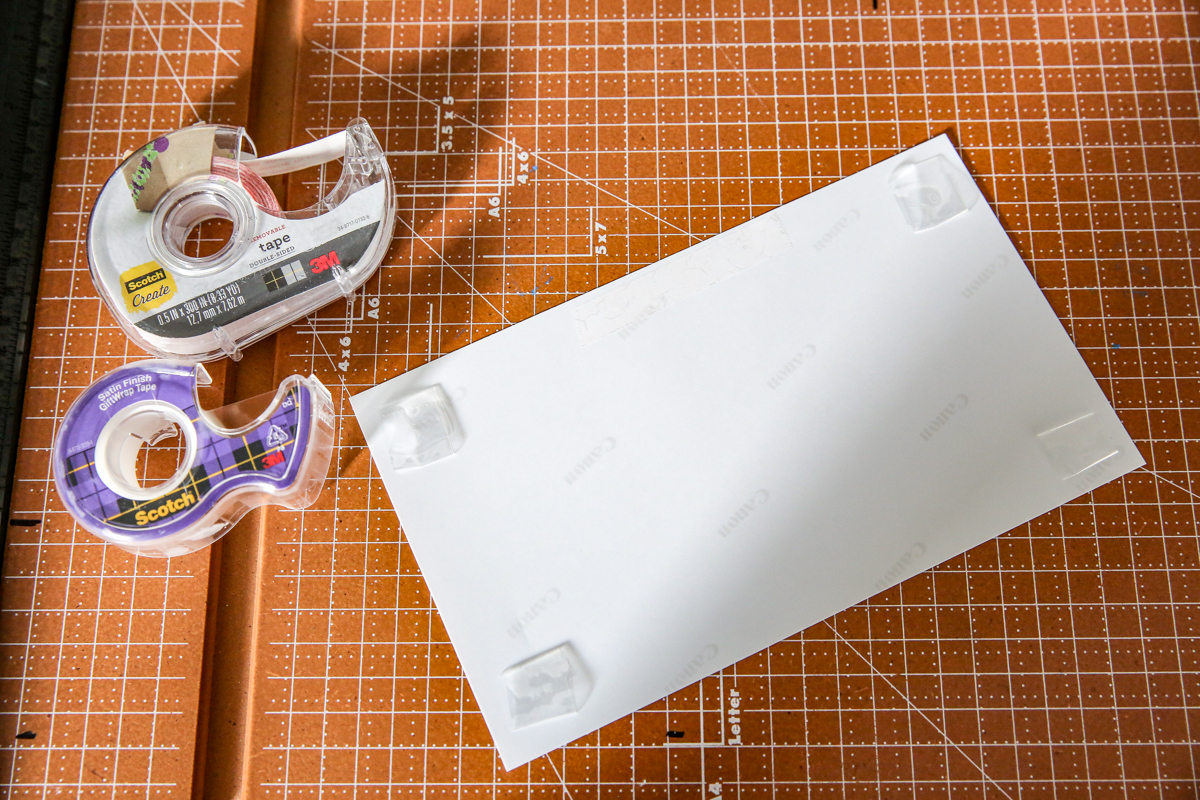
I first started in one corner and just attached the paper to the back with gift tape. I would create a loop of tape and adhere it to one of the four corners and repeat until it had enough tape to hold it in place.
Then when I attached the next piece of paper, I would offset it a bit so that the pattern repeated and the seams aren’t all in one straight line. It was less visible that way.
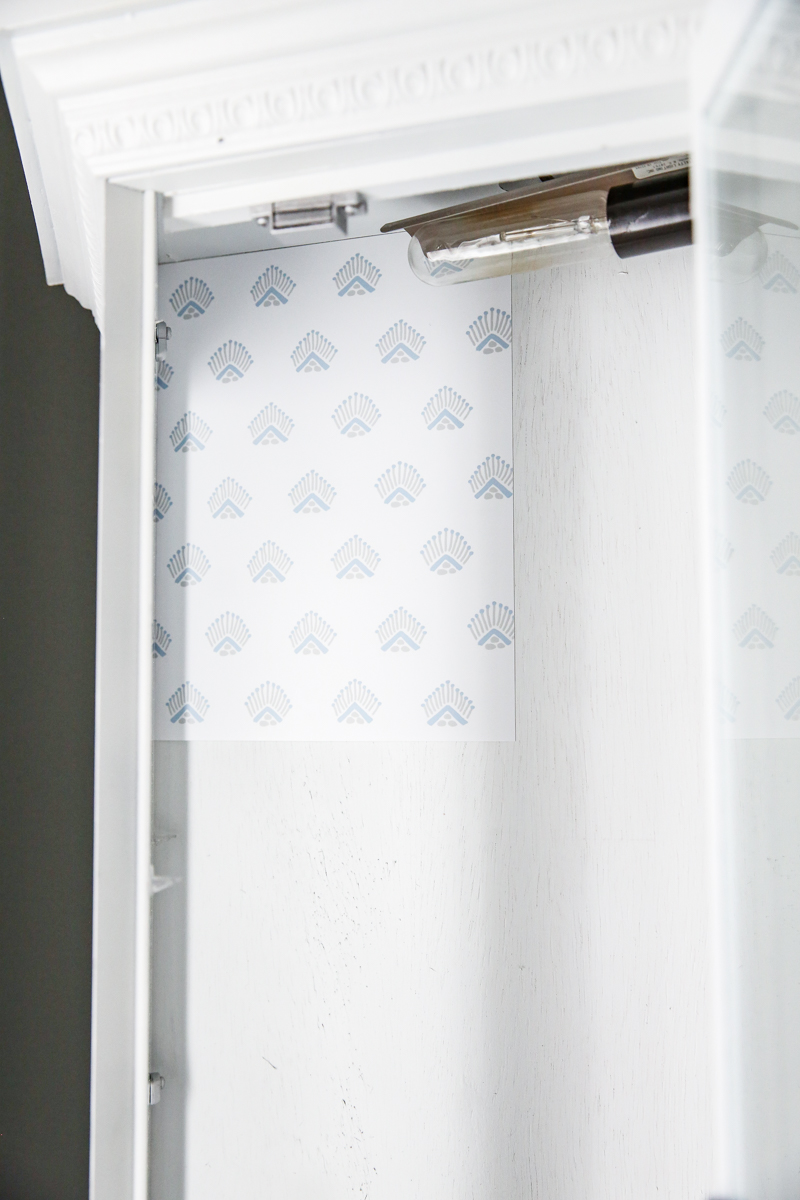
I repeated that process, trimming when necessary.
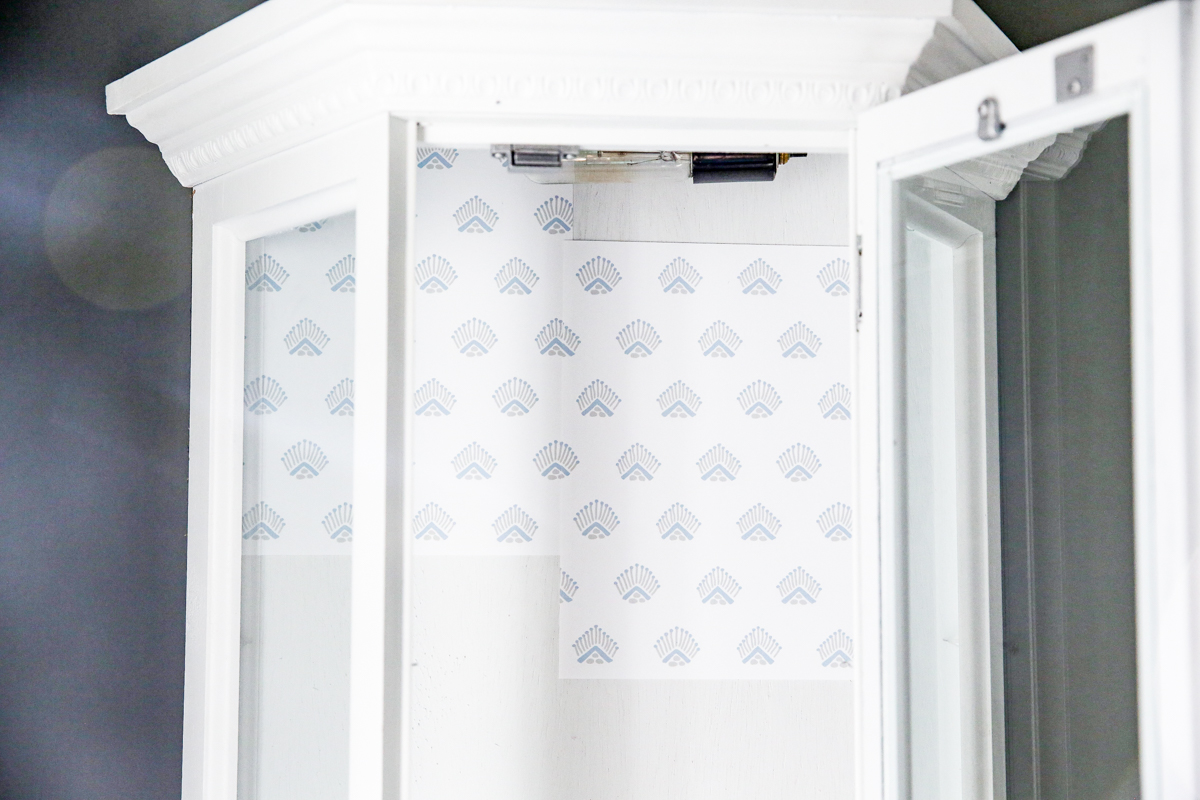
In the end, the back of the cabinet really did look so much better. It had a smidge of personality and didn’t just look like white rough lumber.
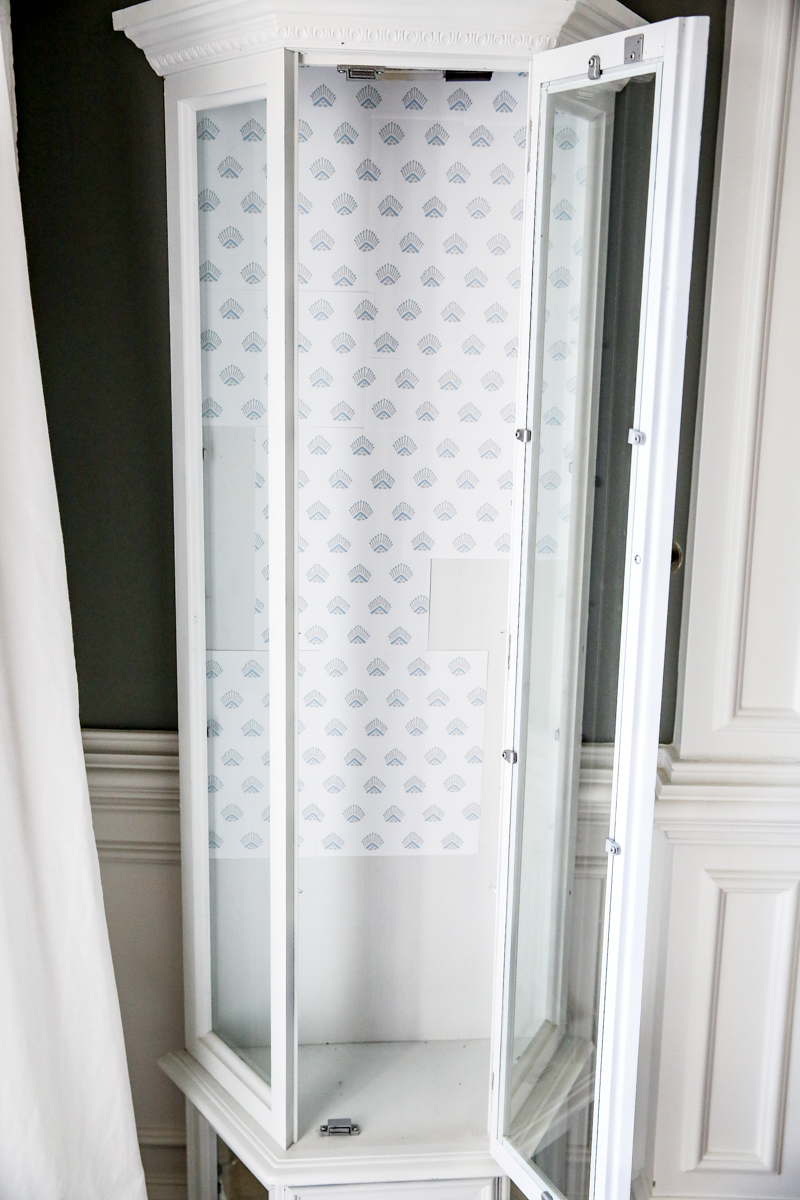
My biggest tip is to trim the edges to overlap. When I had the paper overlap it looked better in real life. If I had the seams meet exactly there is an ever so slight shadow. I increased the contrast on these photos so you can see them. In real life, they are barely noticeable unless you put your face within a foot of the cabinet.
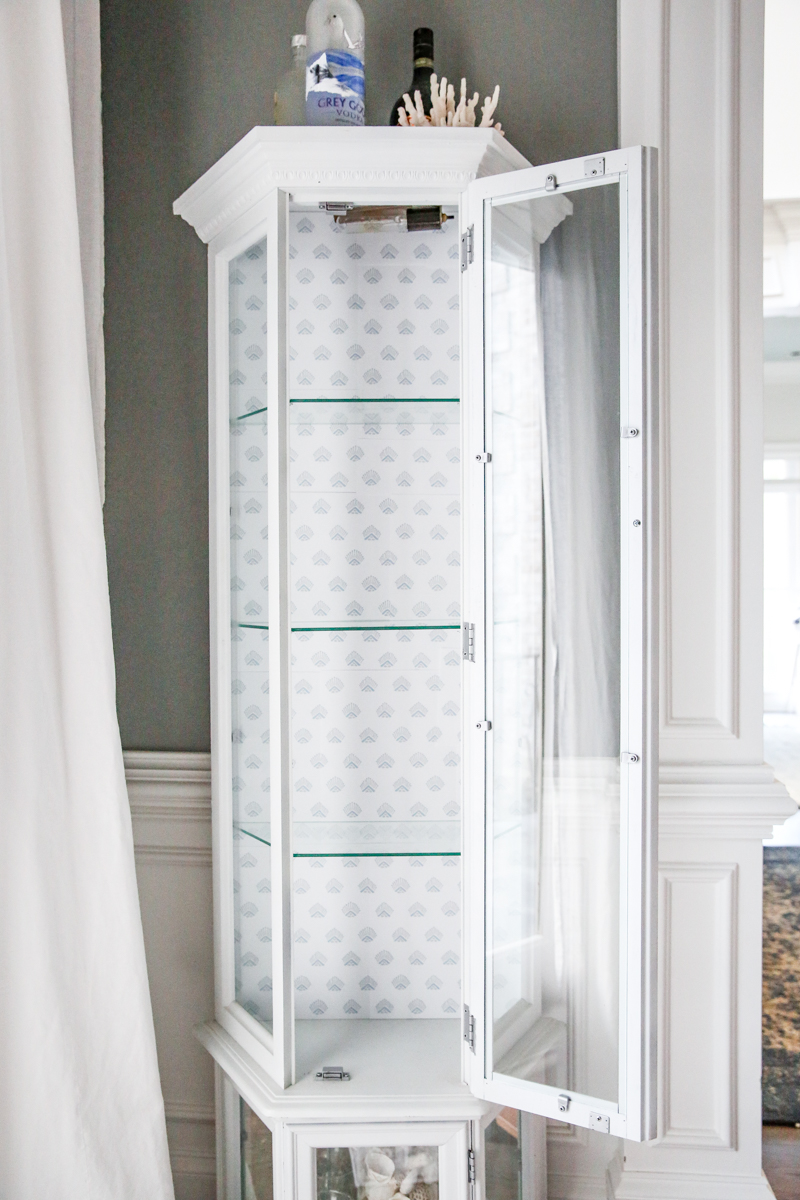
I think if I were to try this again, I would sand the back first to give it a smoother finish and would try to use spray adhesive. The tape worked fine but I would think that maybe the spray adhesive would be a little more flush and allow the paper to warp with the flimsy wood backing.
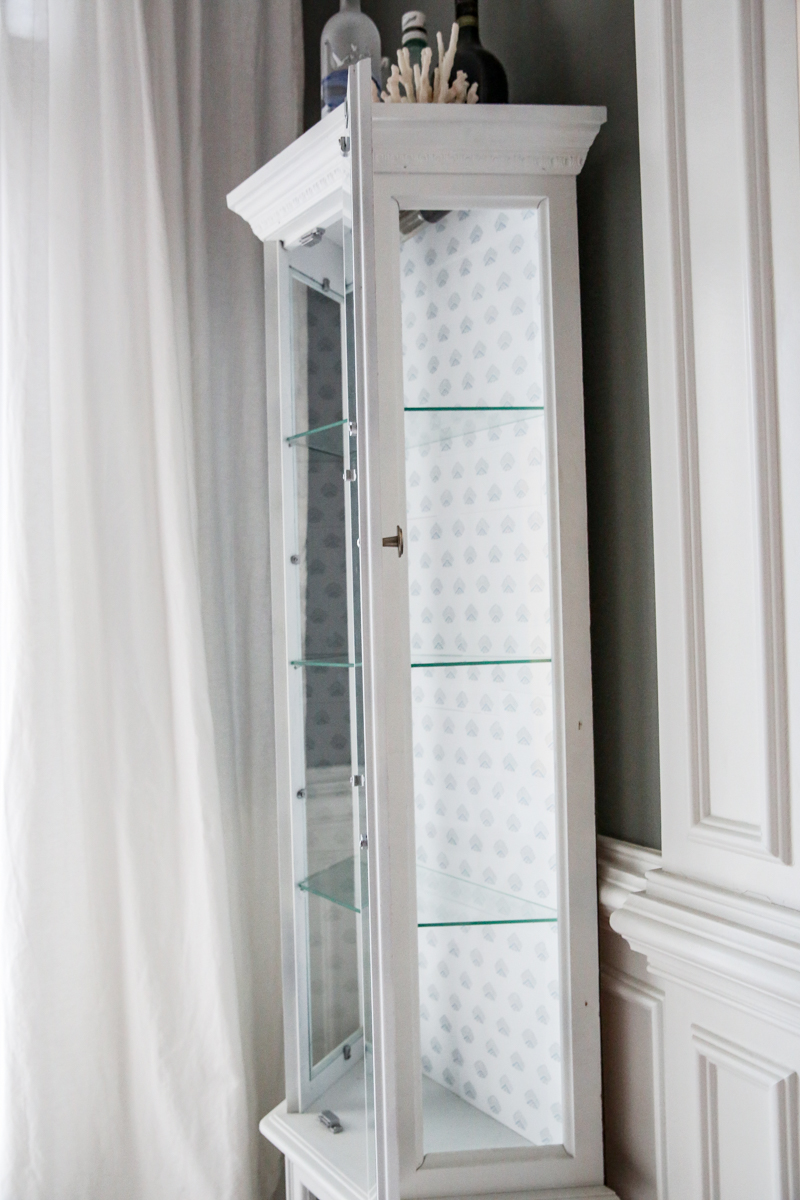
But overall…I love the personality it gives to this otherwise blah cabinet and the paper and print itself was beautiful.
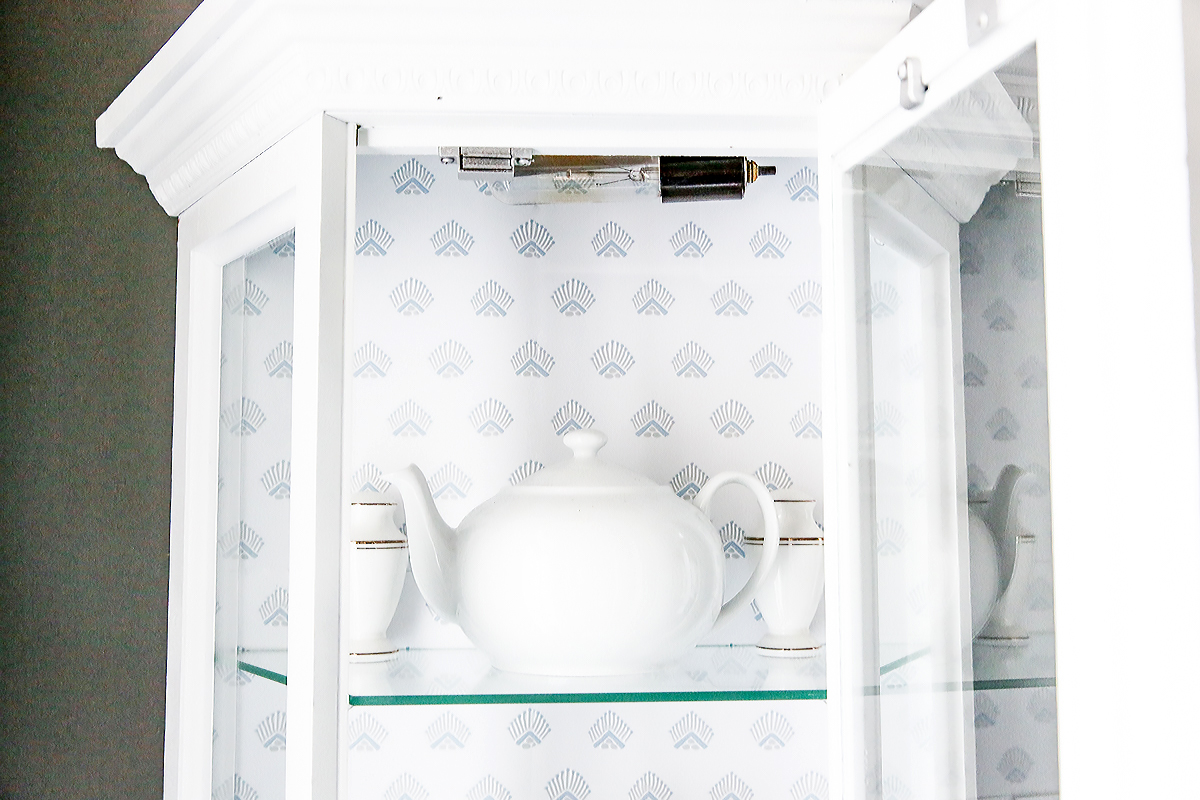
So that’s the easiest way to add a little oomph into an old piece. I think this method would work really well with bookshelves, any small cabinets or hutches. The best thing is the savings of cost. A pack of 50 sheets of paper is $7 (I used 13 in the end) and one roll of very inexpensive wallpaper would be at least $30. So that’s quite the savings! Happy DIYing!
This is a sponsored conversation written by me on behalf of Canon USA. The opinions and text are all mine.