Disclaimer – This post is sponsored by Canon. All opinions are 100% my own.
I know that it’s February. Don’t judge me. I literally have no concept of time and I just came to accept that it’s actually 2017. I just wanted to share a really cute DIY that I recently did and it has been one of my favorites to make and to use. One of the most used things in our house – the lifeline to sanity and the only thing that keeps us on track (again…no concept of time) is our family calendar. In the past we have always bought a calendar…a cheap one that has large enough blocks for us to write our events, birthdays, school items and blog posts. But it felt cold and impersonal. The ones you can order from photo sites were never big enough and so I decided to do what any sane-time-ignorant person would do….make my own.
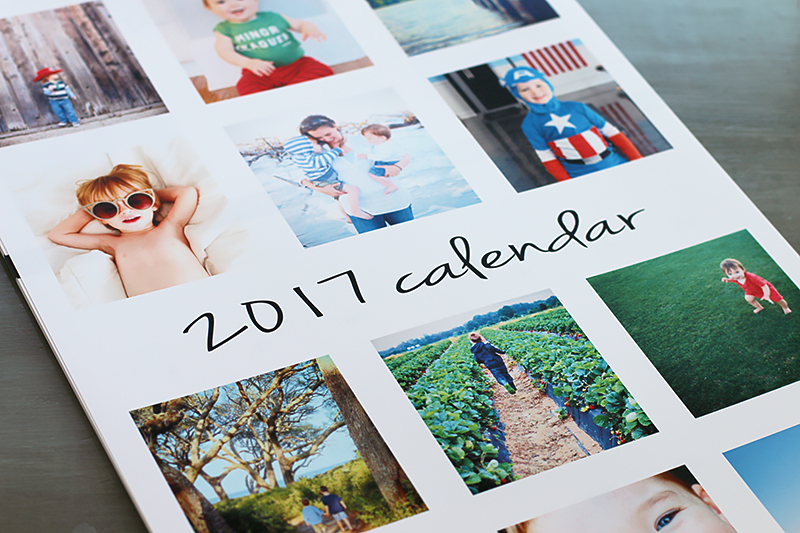
Our 2017 calendar was completely inspired by the generic calendars from the store and the ‘best nine’ photo montage that pops up all over Instagram. Don’t you love those?! It’s usually at the end of the year when people share their most-liked photos of the year. It’s like an entire snapshot of the past twelve months in one post. And I wanted to do something similar with my calendar.
I had to screenshot all my favorite Instagram pics. If you do this at home, you will need 48 photos to fill all the monthly spots and then also do the cover. I made a cover so that each day I could flip back and be reminded of all that happened in 2016 🙂 There are some quick ways to download Instagram pictures on your computer. One of them is DownloadGram. You just need to click on the post with the photo you want, copy the link, and paste it into DownloadGram.
I created the layout with Photoshop, and I can create a downloadable template file. So leave me a comment if you are interested.
Once I uploaded everything into Photoshop, I cropped each photo to be square and then resized them all to be the same. And then copied that photo into my monthly page as a layer.
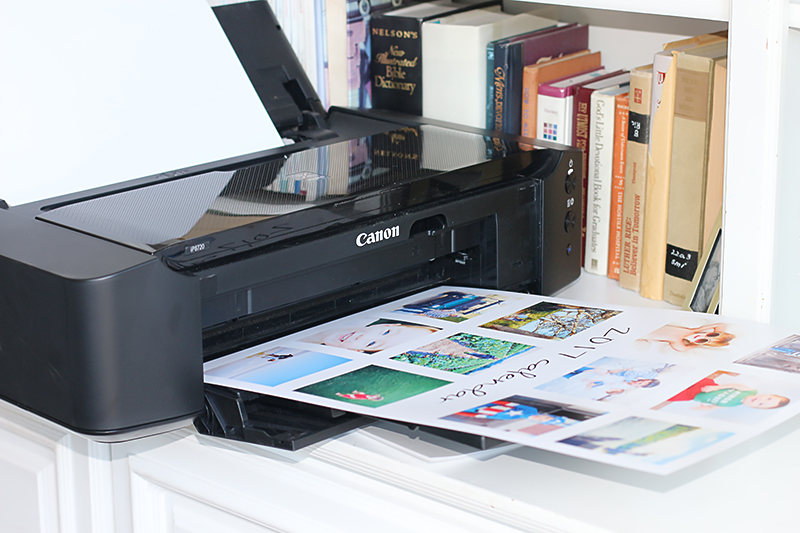
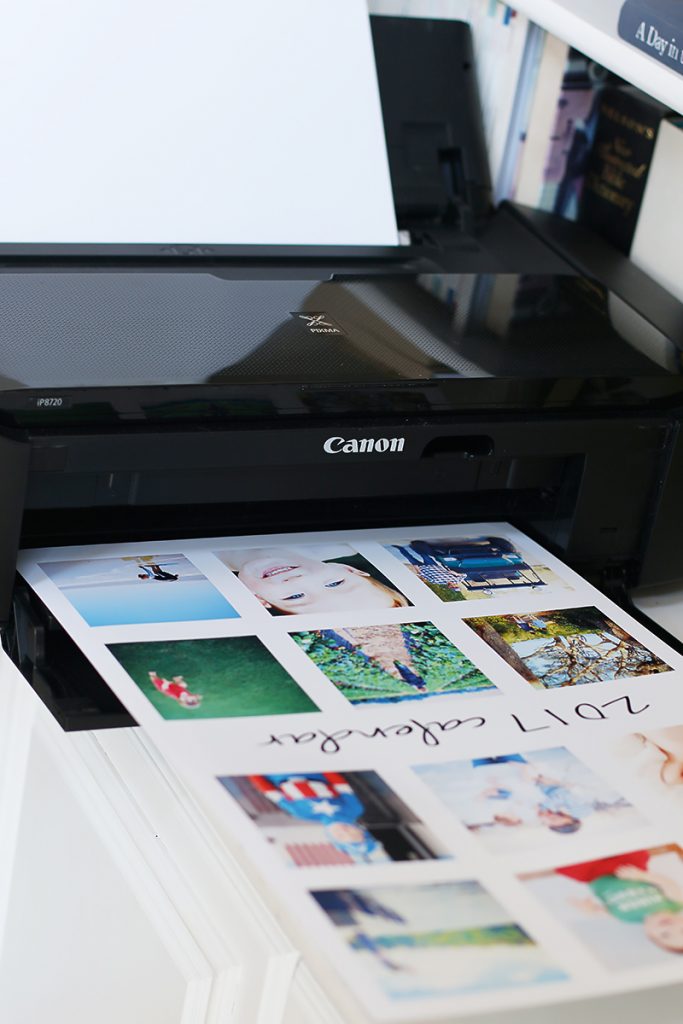
After each month was filled with seasonal reminders of my past year, I used my Canon PIXMA iP8720 to print 13×19 size sheets of each month. Did you hear that? 13×19? The size of HEAVENs GOODNESS. I used Canon’s Matte Photo Paper. It’s great for photos, but you can also write on it easily with pencils and pens.
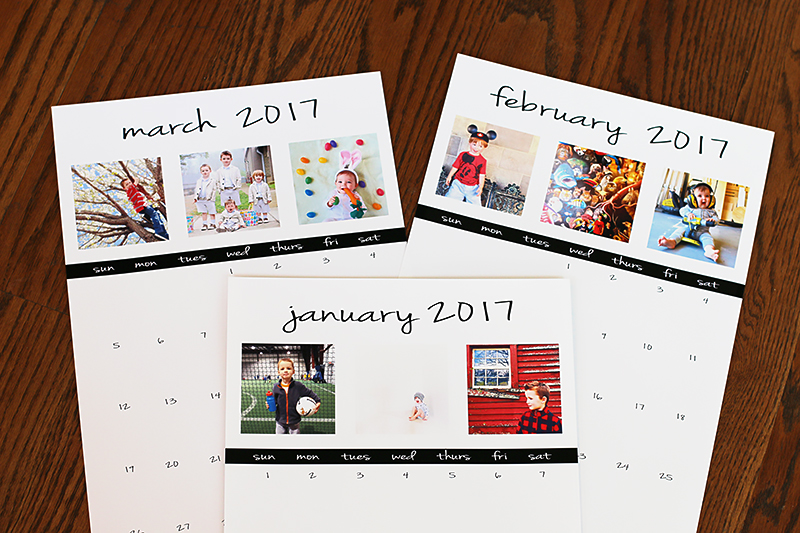
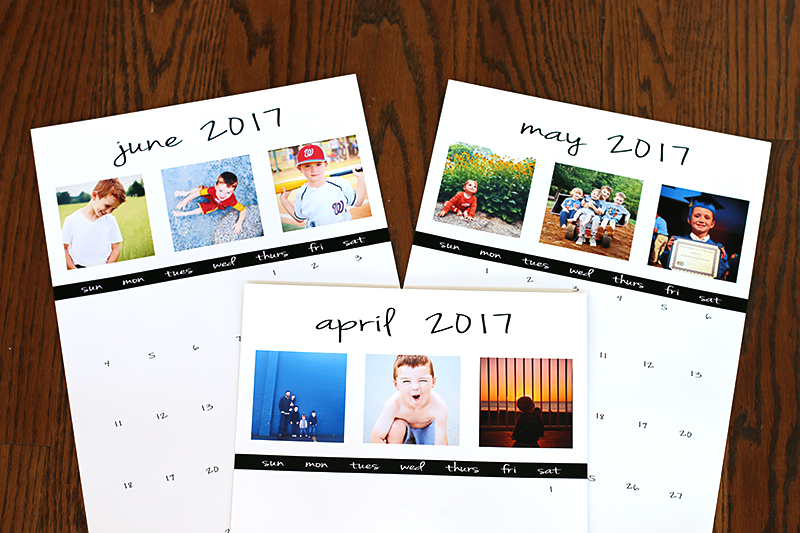
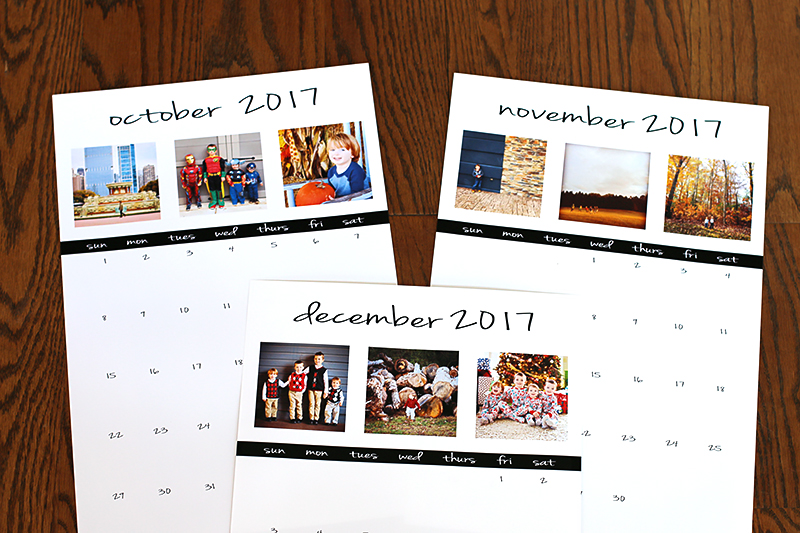
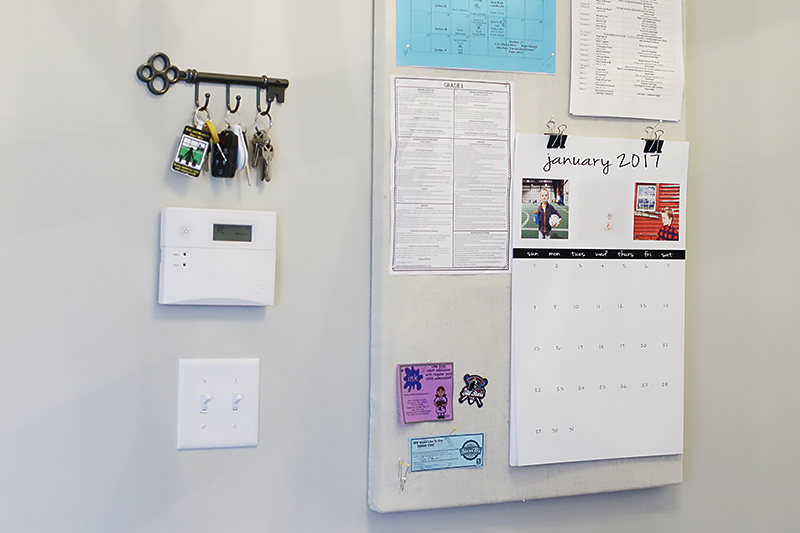
Each month has three photos at the top and leaves enough ‘block’ room for each day to write in our events.
I tried to pick appropriate photos for each one. Summer photos went into the summer months and holiday photos went into their prospective months.
I wasn’t overly picky about the exact dates…like two of those photos in August didn’t actually get taken in August of 2016 but they worked because seasonally they were around that time.
By far the hardest to narrow down were the ones for the last three months of the year. I had so many that I loved but I wanted to choose ones that maybe represented something to us. Oh and you may notice that we didn’t include any extended family photos. We totally thought about it but with such a big family with so many cousins and loved ones, we knew that it would take up at least three months of the year…so instead we just opted for our nuclear family only.
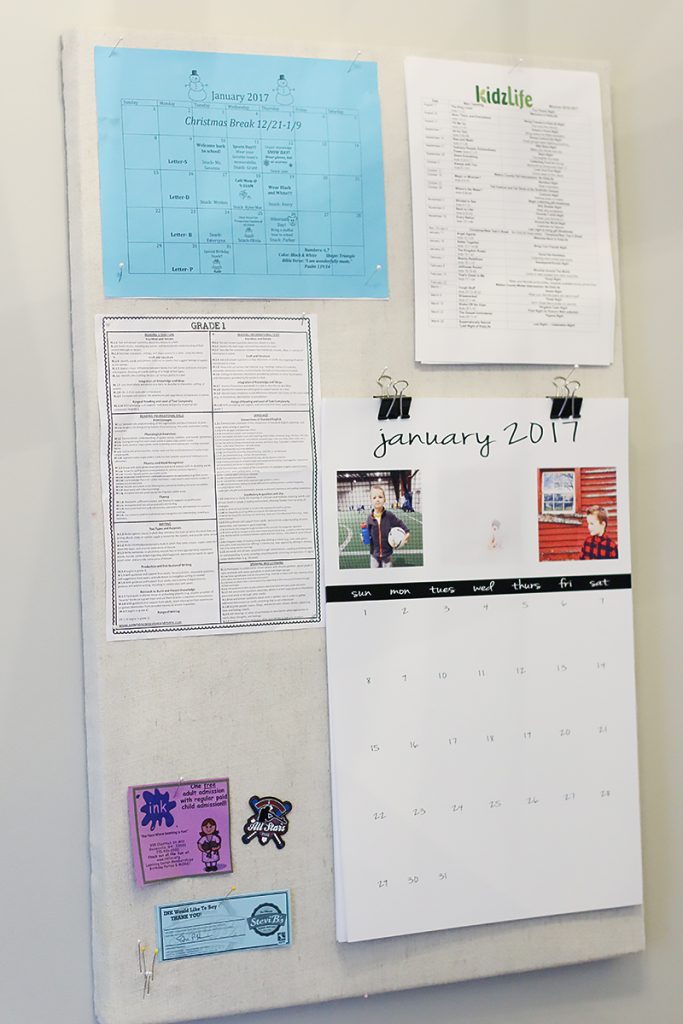
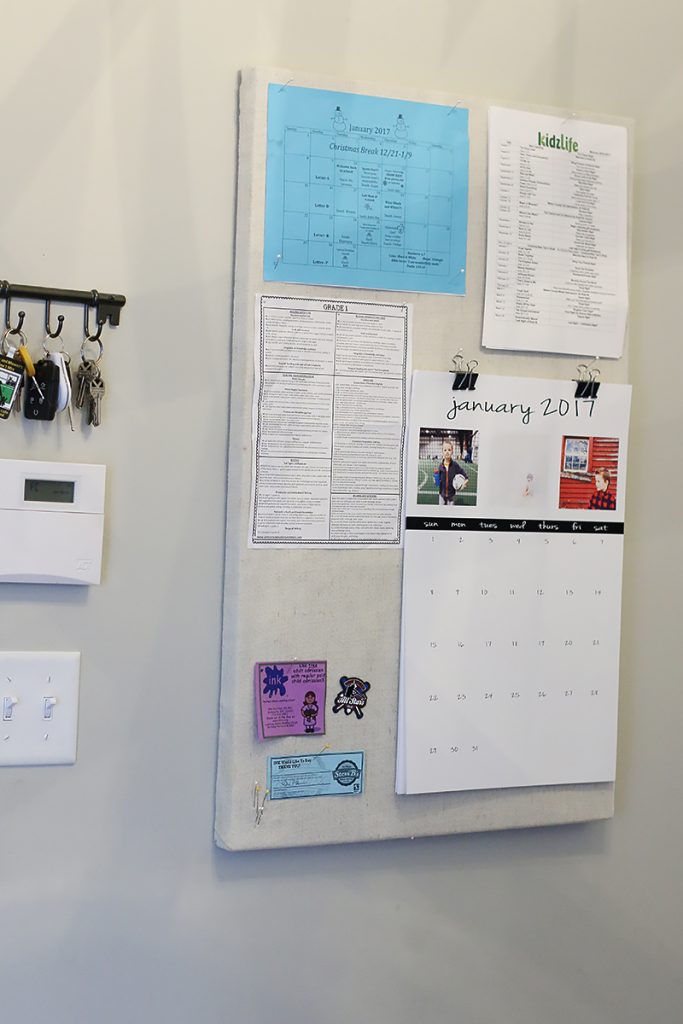
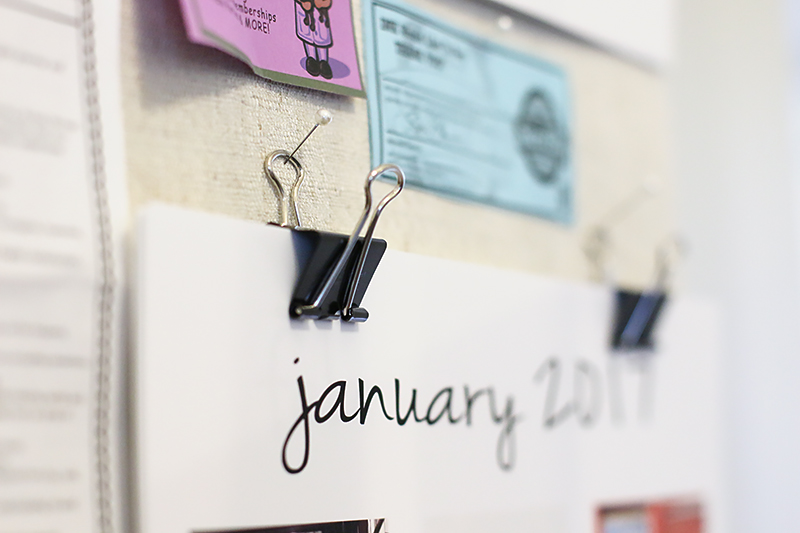
I thought long and hard about how to attach them together. Do I bind them? Do I hole punch and use a metal clasp? Do I figure out a ring system or sew them? In the end, I just used binder clips and so far I LOVE the way I can spread out the entire year to see days and how they fall next to each other. I am definitely one of those people that if it’s in the following month…say March….then I have an ENTIRE MONTH to plan or prepare….and don’t realize that might not be true if it’s say February 27th.
I popped a few straight pins in the inboard and hang the clips on them and so far – SO FREAKING GOOD.
These were all taken the day I printed this bad boy out so it’s blank….booyah stalkers!…but you can rest assured we have filled it up and feel oh-so-organized for the next 12…err…11 months 🙂
So do you guys DIY your own calendars? This is a first for me and it is already a favorite because I know each month I will get to see pictures of my babies and ugly cry over how much they have grown.
*Just remember you will need to download the Jenna Sue font from my sweet friend over at Jenna Sue Design Blog. CLICK HERE TO DOWNLOAD THAT. And remember that you will need to replace each one of my family photos with your own family picture in each separate layer. Also, leave me a comment if your interested in a downloadable pdf file of the template I used.


I would love to have that downloadable file! 🙂
Hi! Love this idea! May I please have the template?
Would love to have your template!
“Their *respective months”
Would love the file! Love, love, love the calendar!
Can I please get the template?
Yes please — a template would be awesome!
I’ve always wanted to do one of these but just can’t take the time to create the layout -please share the template!
I love this! And I’d love even more to make my own. May I please have the template?
I would love the template!! I currently make our own calendars but I LOVE the look of yours WAY more than mine 🙂
I would love to have a printer like the one you have. I wonder how much the replacement ink costs and how long does it last.
thank you
Georgina
I’m interested in the template. Thanks so much for sharing!