Disclaimer – This is a sponsored post brought to you by Canon. All opinions are 100% my own.
Spring has arrived and it’s my favorite season because that means BASEBALL IS HERE! That’s right! With all four boys playing this year, that means the Bowers are at the field every weekend and most of the week! The boys live and breathe baseball and I live and breathe my little ballers so obviously I am now baseball’s biggest fan! Ha! And that is why I wanted to share this project with you. This DIY Personalized Wood Photo Mat is a way you can customize a photo frame to share multiple photos of your favorite spring moments!
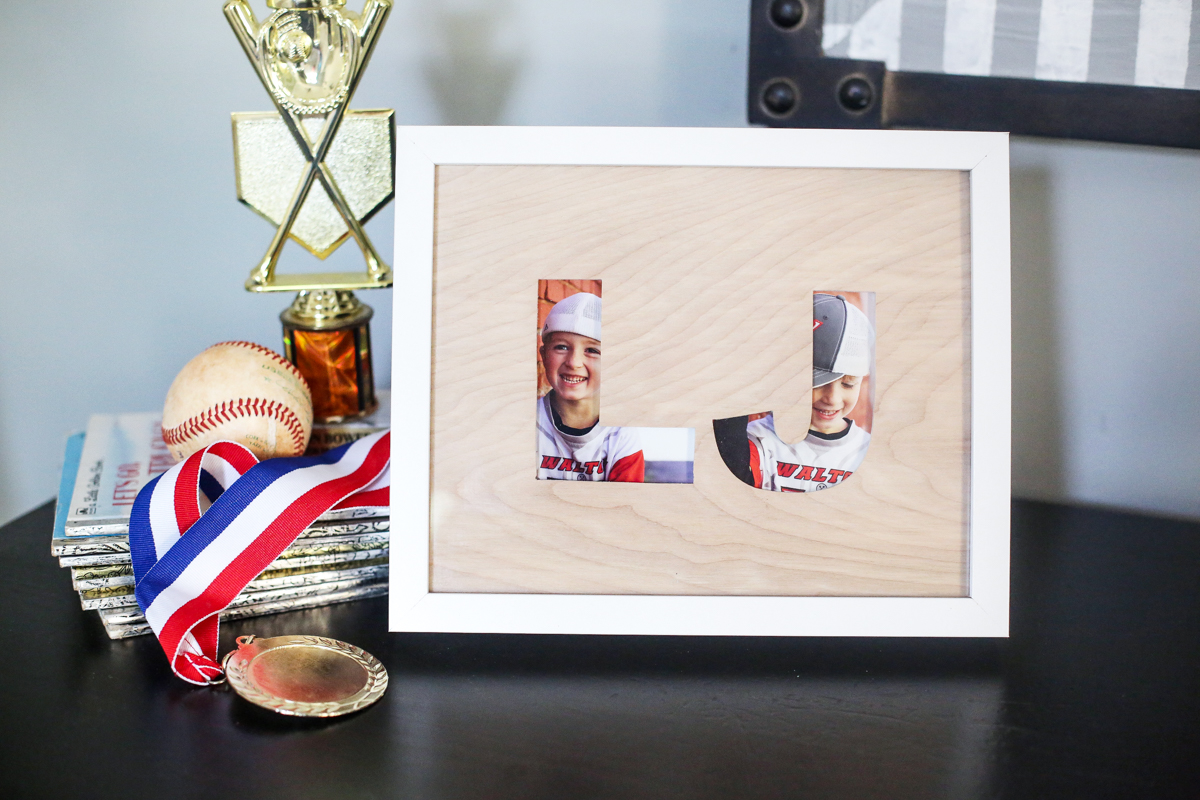
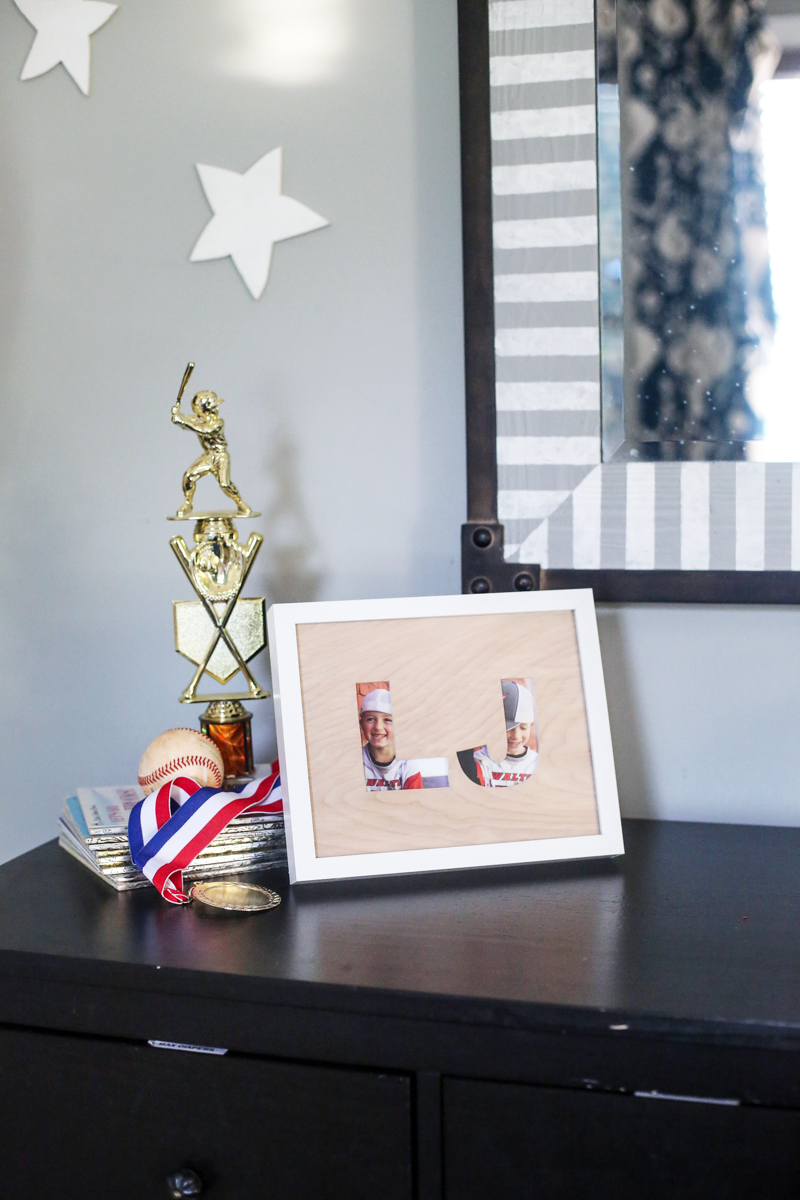
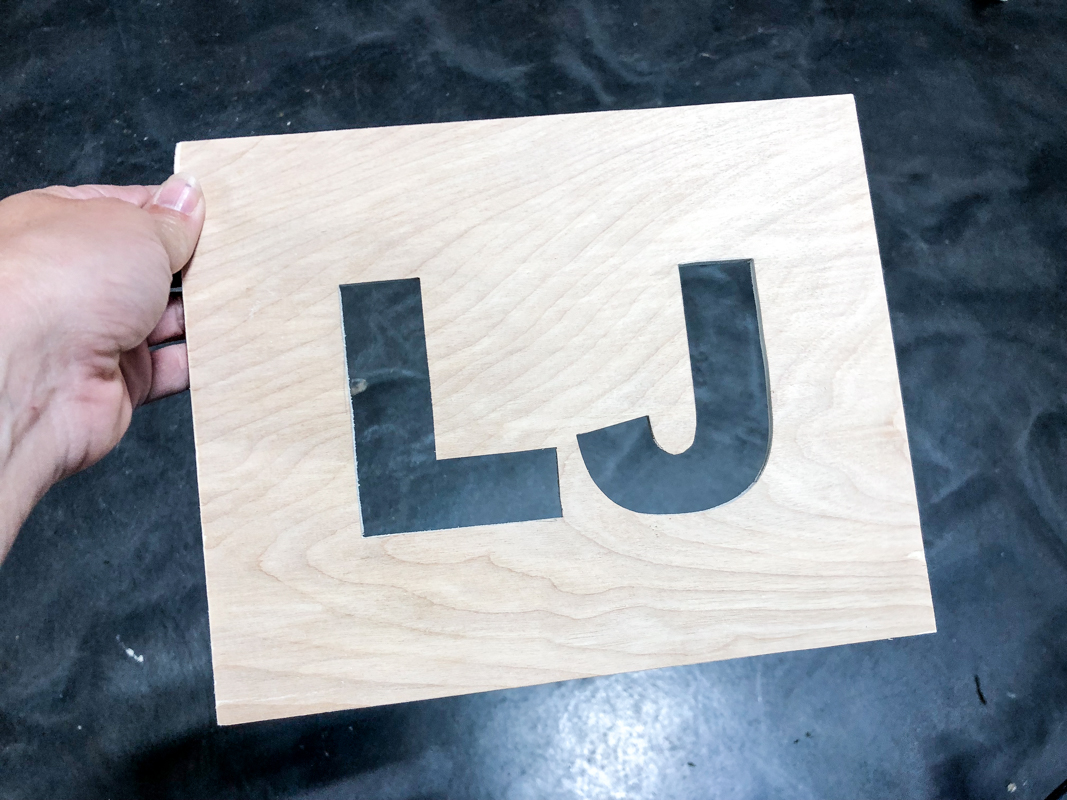
I obviously chose the name LJ but you could pick out shapes, numbers, even initials for a monogram! Whatever you pick to cut out, the photos that peek through are the real star of the show!
Let’s just get started! Here is what you need:
- Picture frame
- Canon PIXMA TS9521C
- 1/4″ plywood or underlayment
- Scroll saw
- pencil
- scissors
- paper
- 4×6 photo paper
- tape
- drill with 1/4″ bit
- sandpaper
STEP 1 – Cut out plywood
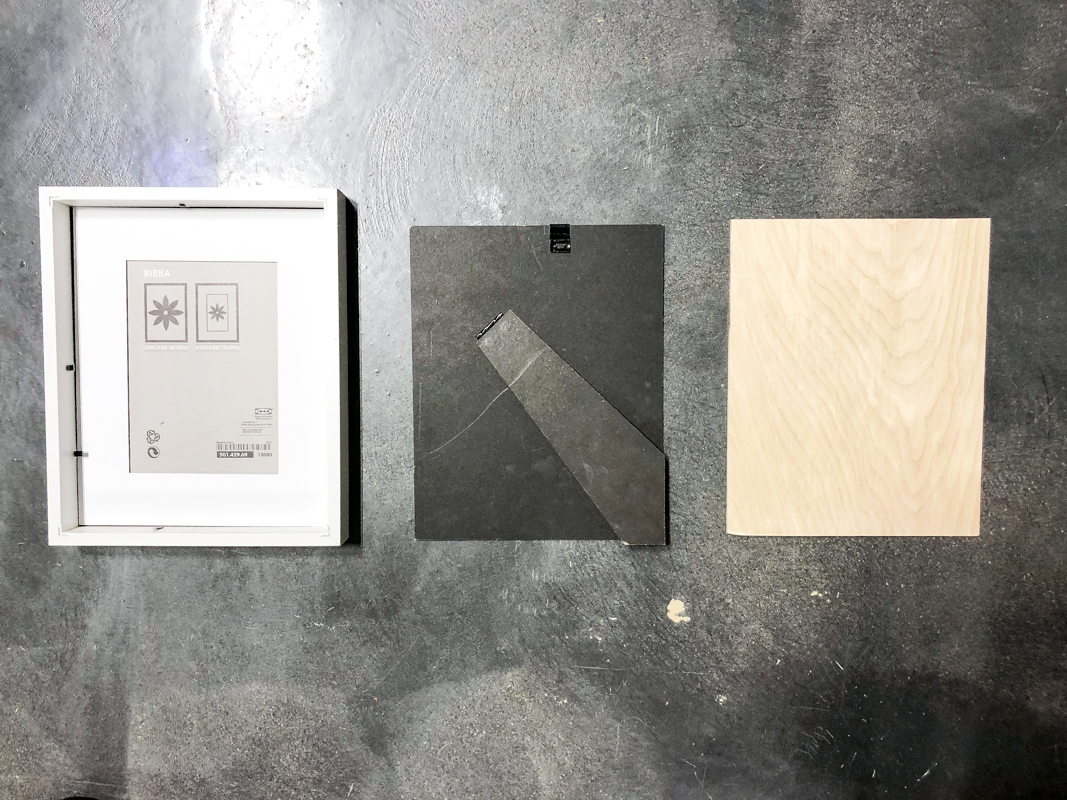
The first step is to cut your plywood out to the exact size of your frame back. You can have them do this at your local home improvement store if you don’t feel comfortable doing it yourself.
STEP 2 – Print out design
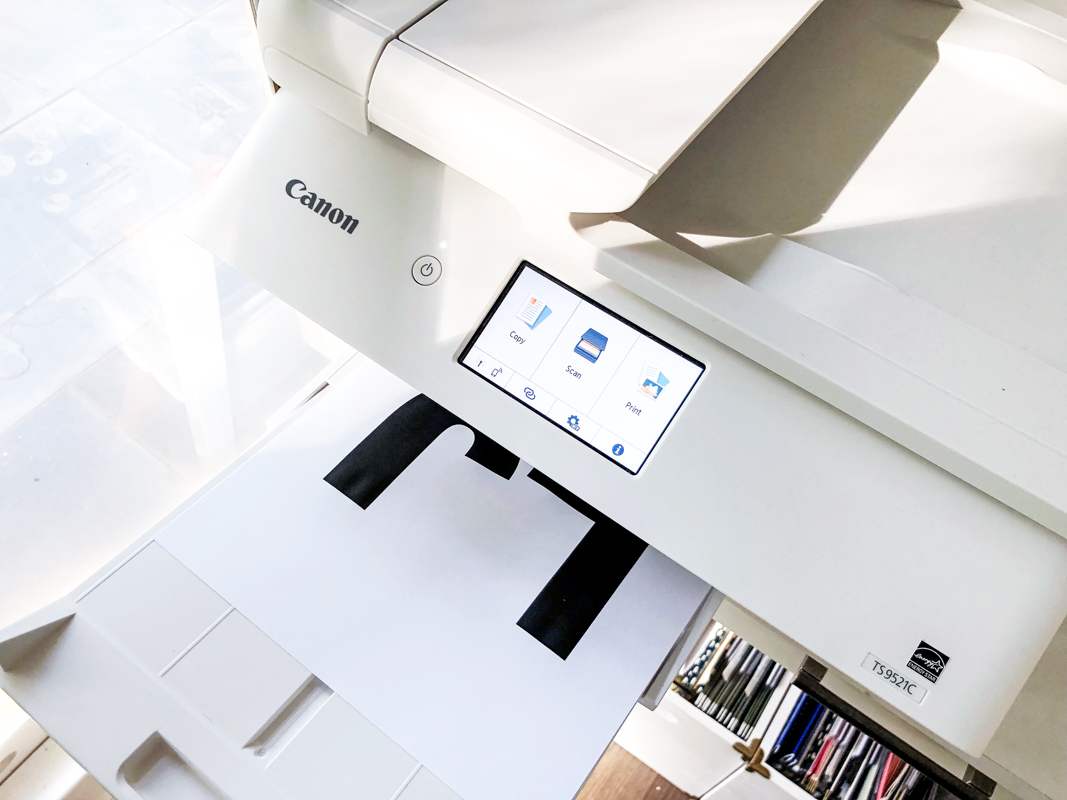
Using your Canon PIXMA TS9521C printer, print out the design you want to cut out from your wood mat.
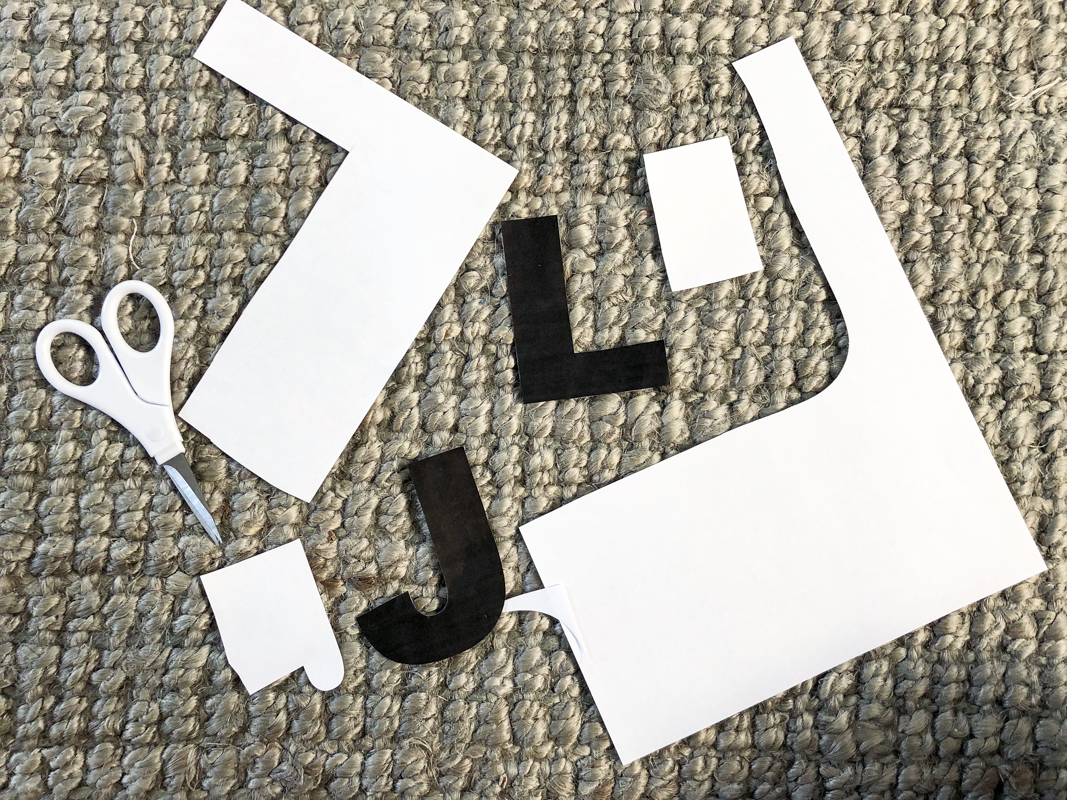
STEP 3 – Cut out paper template
The print is going to be your template for the cut out design so you will need to cut it out of your paper (or cardstock if you prefer) with scissors.
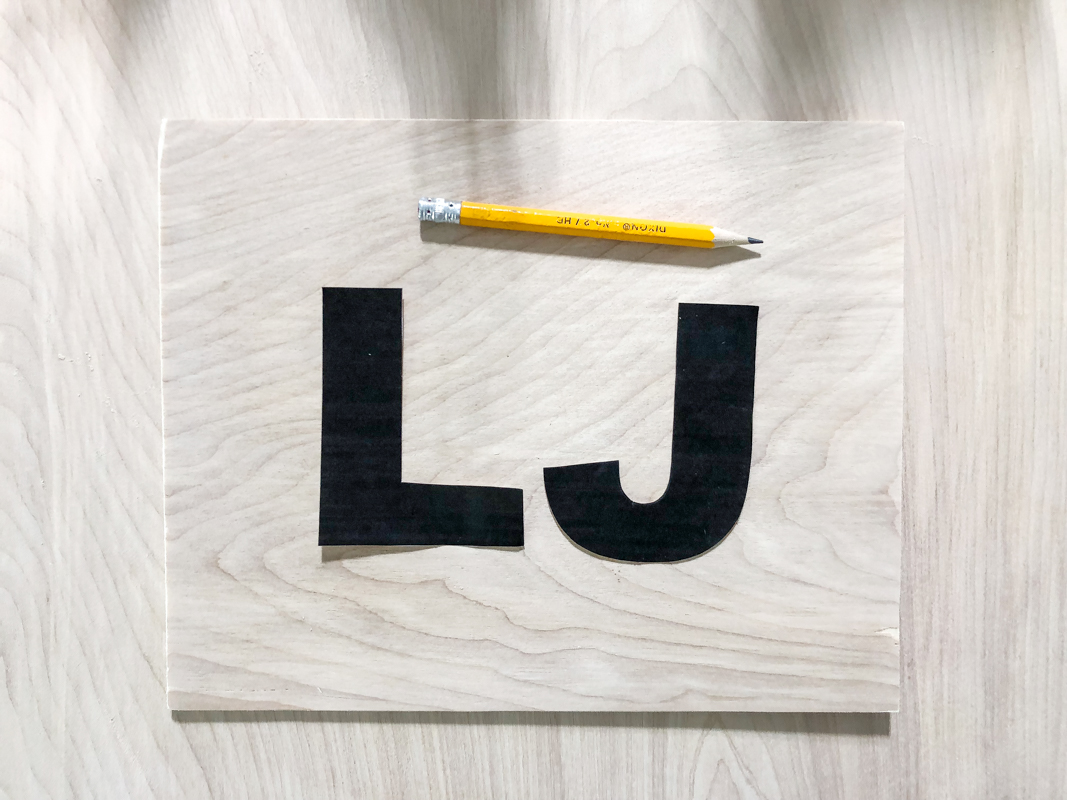
STEP 4 – Center and Trace
Center your letters or design on the plywood and trace them using a pencil. Make sure they are centered both vertically and horizontally.
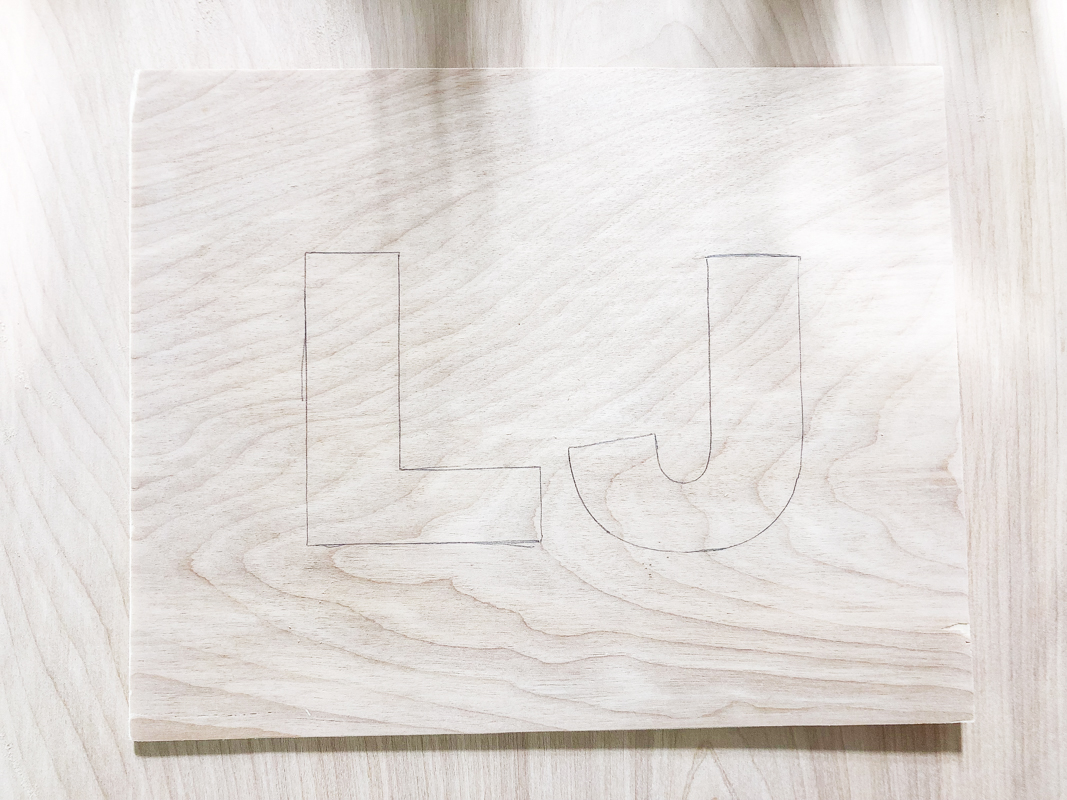
STEP 5 – Remove Paper
The paper template can be thrown away! Your wood piece is now ready for the power tools 🙂
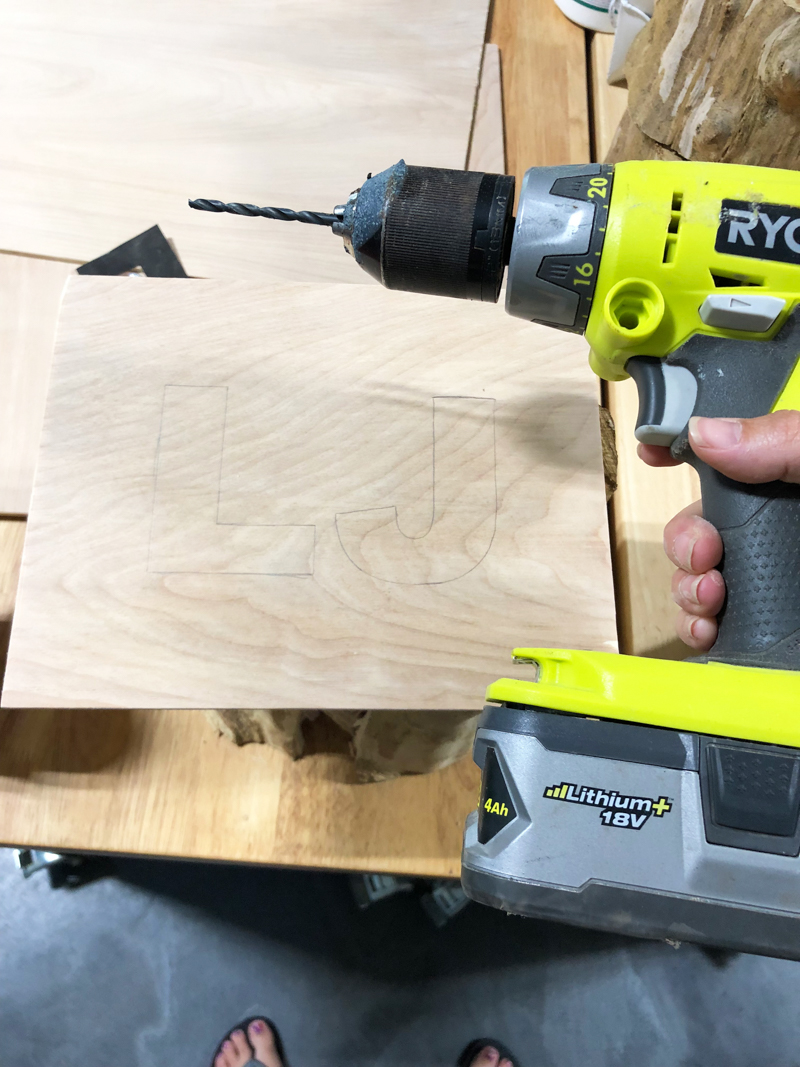
STEP 6 – Drill pilot holes
The design is going to be cut out using a scroll saw. This means that the tiny band of the blade will need to be inserted up through a pilot hole. Now we are going to create the pilot hole by drilling a hole into the wood in the center of the design.
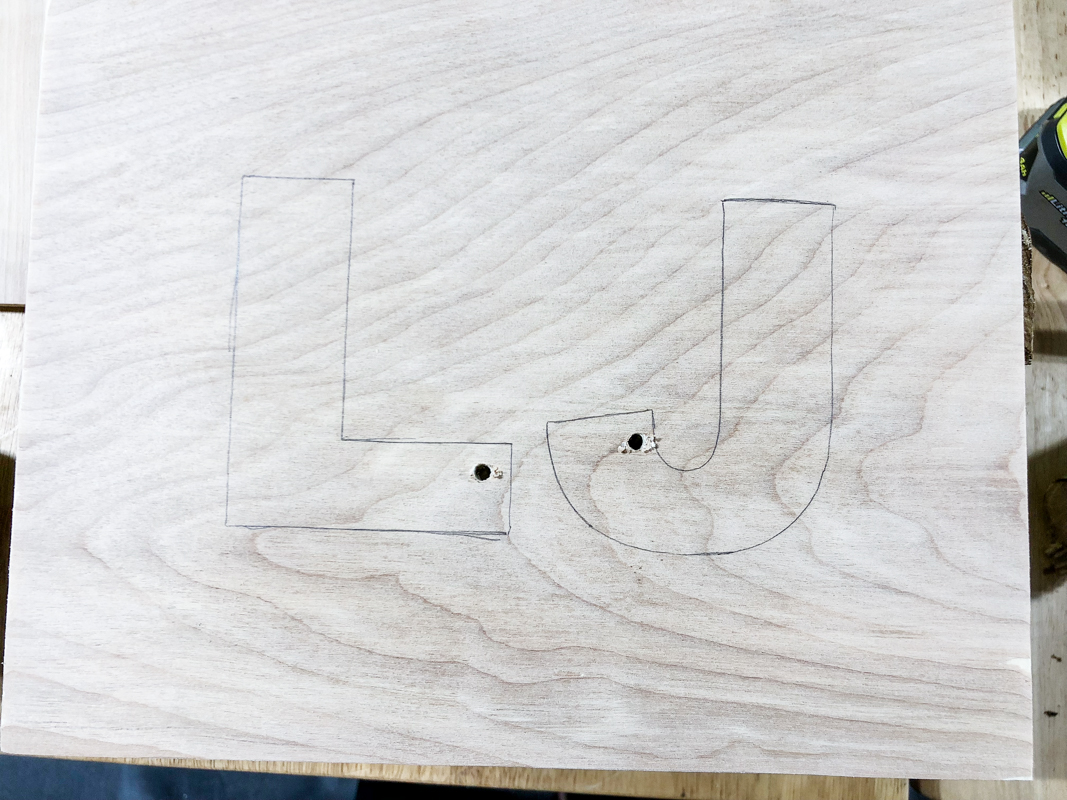
STEP 7 – Cut out design
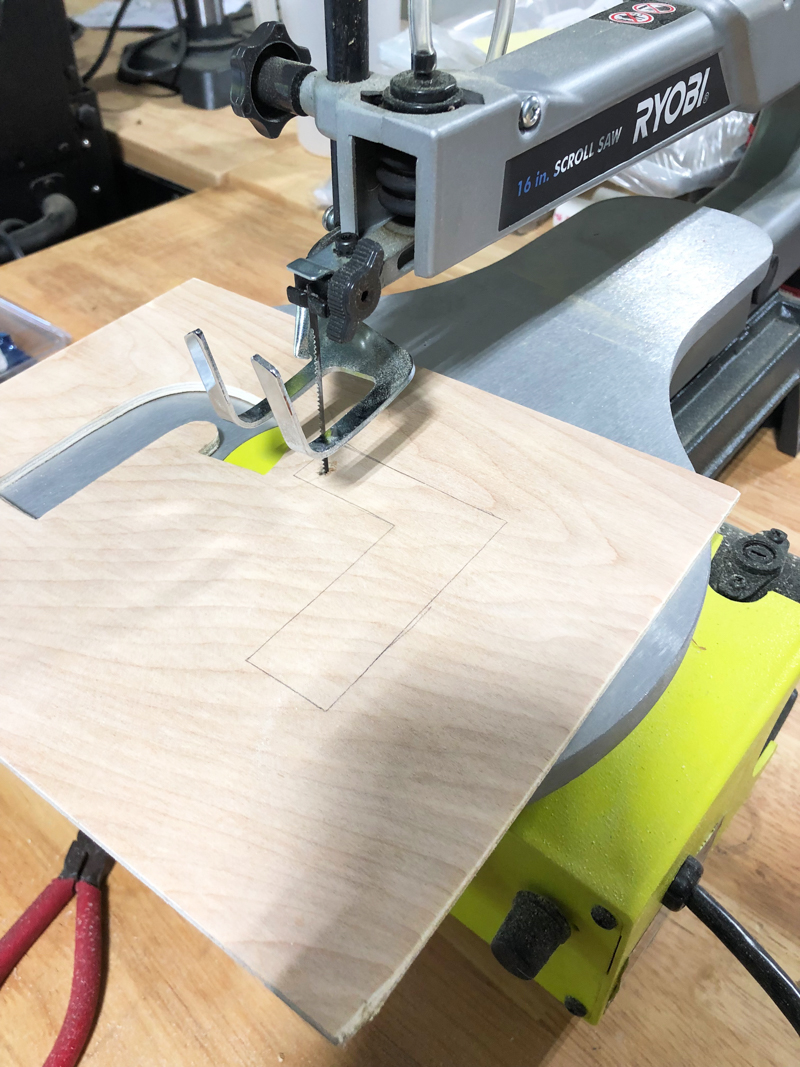
Using a scroll saw, cut out the design from the center of the wood board.
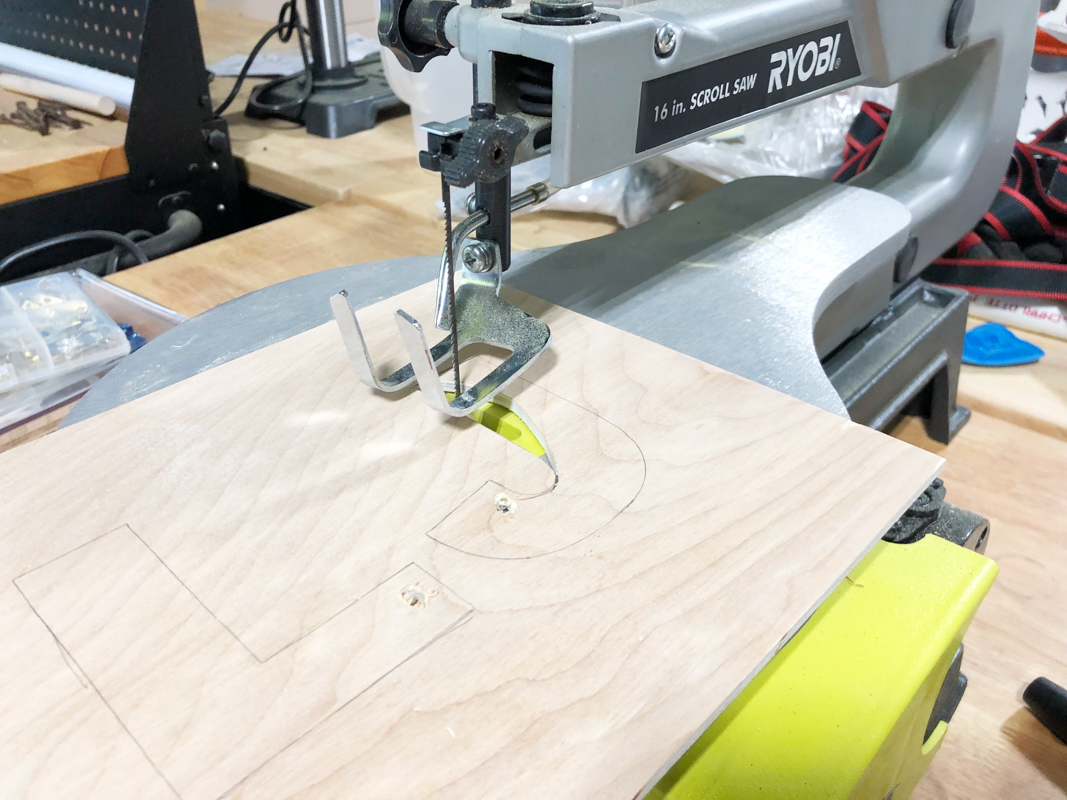
The key is to take your time and make sure that the blade doesn’t travel waywardly on you!
STEP 8 – Sand
Using a high grit sandpaper, sand the surface of the wood mat to remove any pencil marks. It’s also a good idea to sand the edges of the design you cut out.
STEP 9 – Mount Photos
After printing your photos on your crafting printer (it does it all!), you can attach them to the back of the photo mat with some tape.
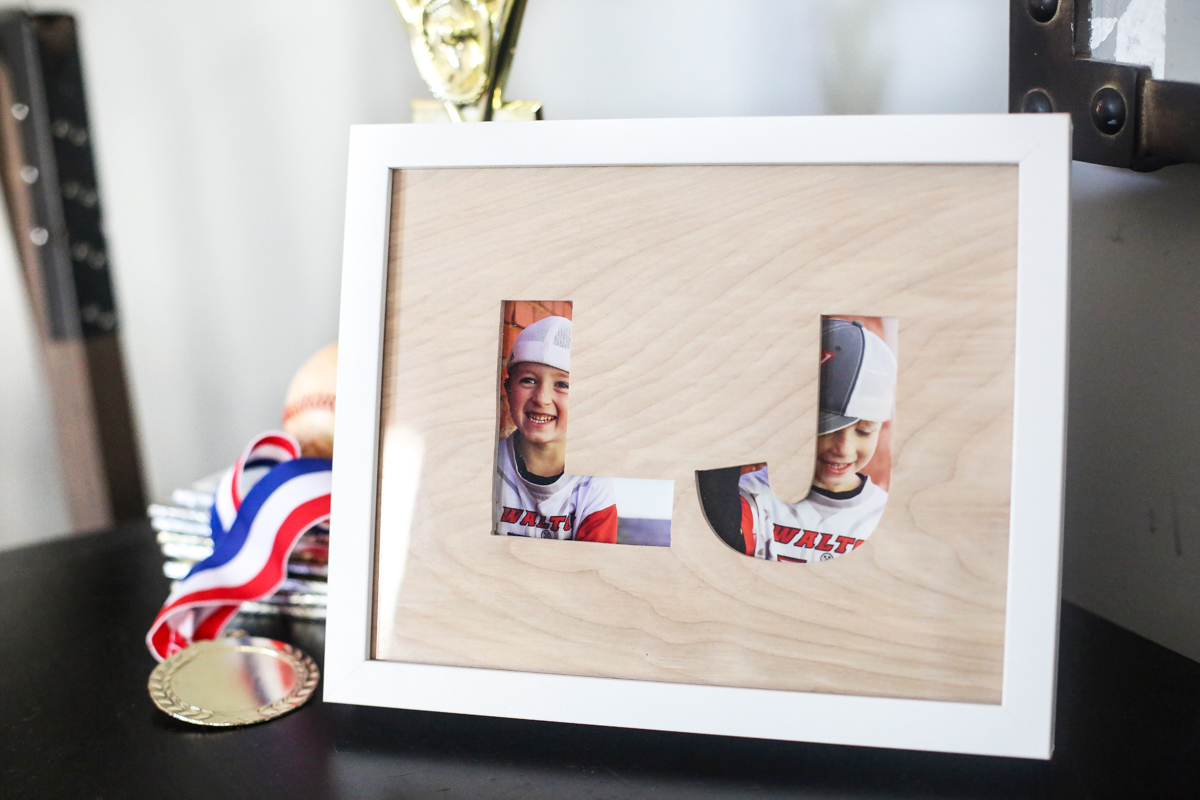
I chose some photos of LJ because he is in this phase where he wants to wear his brother’s old all-star uniform ALL.THE.TIME. It reminds me of that sweet spring season with Weston and I love how LJ celebrates that and this uniform can make him feel so much like a STAR.
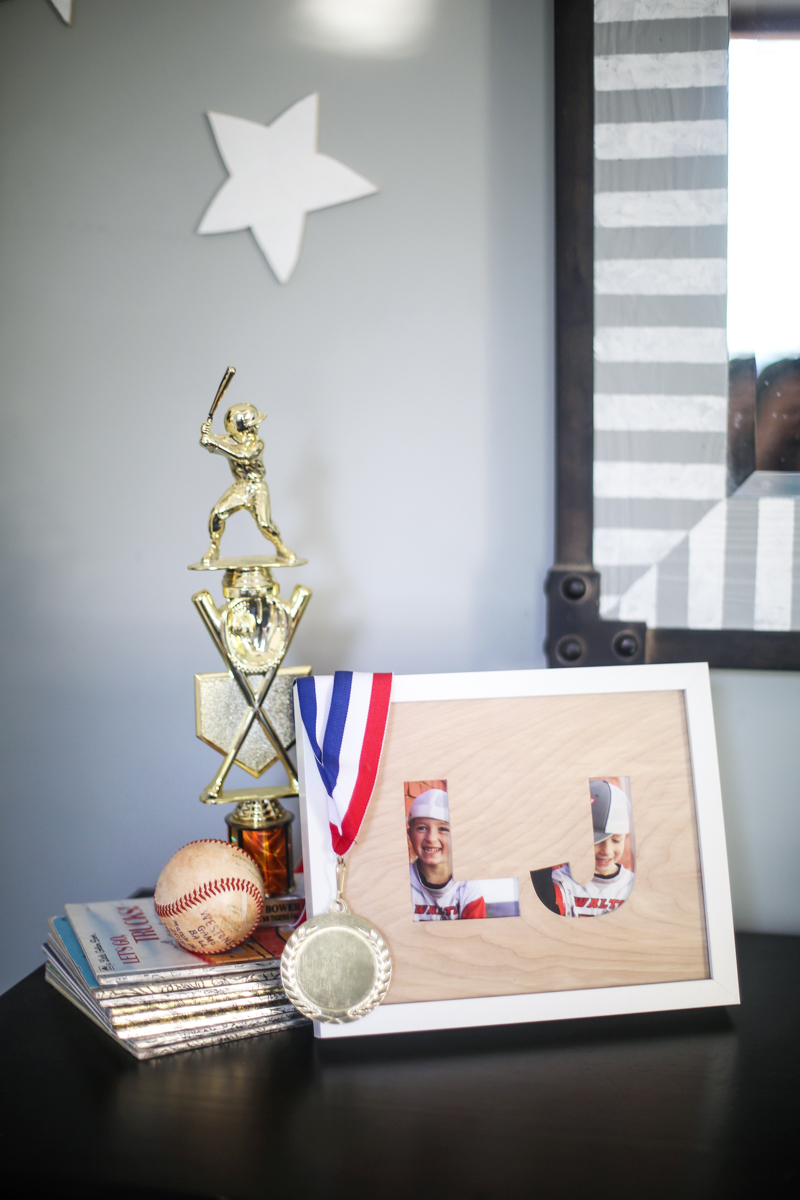
The best part of this project is that it really can be made so cheaply and easily! The custom mats at a lot of places cost an arm & a leg. This you can paint, stain, leave as is….and it all is so affordable. PLUS it gives us all another excuse to sit with our scroll saw….which is better than yoga in my personal opinion.
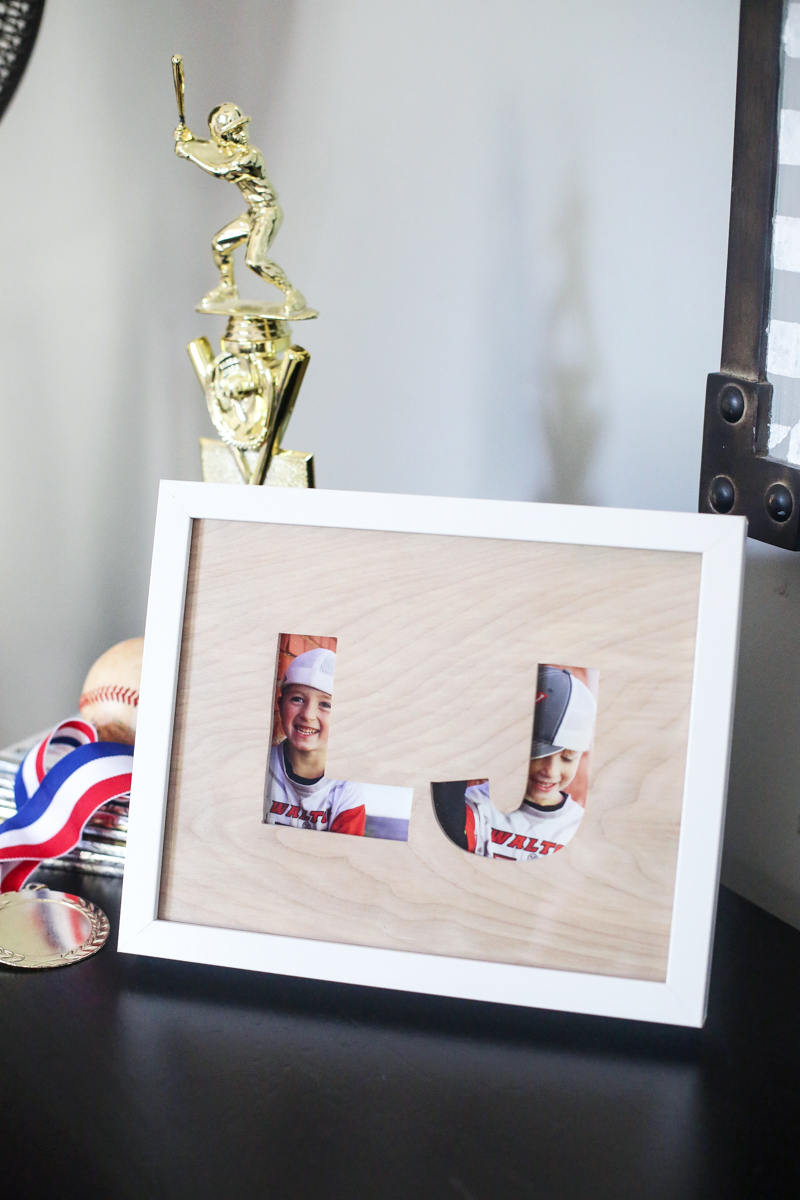
I’d love to see this project in your home! If you tackle it – maybe with spring flowers, or spring baseball pictures or even just prints of your favorite spring memories – I’d be thrilled if you shared it with me on social media! I love seeing you guys tackle these projects yourself. Now let’s go play ball!
This is a sponsored conversation written by me on behalf of Canon USA. The opinions and text are all mine.