How we built a DIY Pergola on a floating deck
Last year we built a DIY pergola on a floating deck and today I’m excited to finally share all the details with you. This project was done for Behr paint for the Haven Conference (it was a booth to host bloggers, influencers and DIY enthusiasts and allow them to learn more about Behr brand items.) Since this booth was inside, we had to specifically design and build it for sitting on carpet inside specific dimensions but you can always tweak this for your own backyard.
I’m so proud of how it turned out and that we had this amazing opportunity to partner with such a great brand for this project. Building a pergola is not a small feat and to have it represent a major nationwide brand and be seen by some of the largest DIYers in the country is a little nervewreaking to say the least. But I think it turned out WAY better than expected and I am so so proud of it!
All of the paint and stain colors are Behr and I will be sharing all those details and more in this post. I hope this inspires someone out there to build their own DIY pergola. Let’s say pergola one more time. Just because it’s fun. Pergola. Not to be confused with pierogis or gondolas….which are also fun but completely different in materials and usage 🙂 Pergola.
Building a Pergola – The Final Result
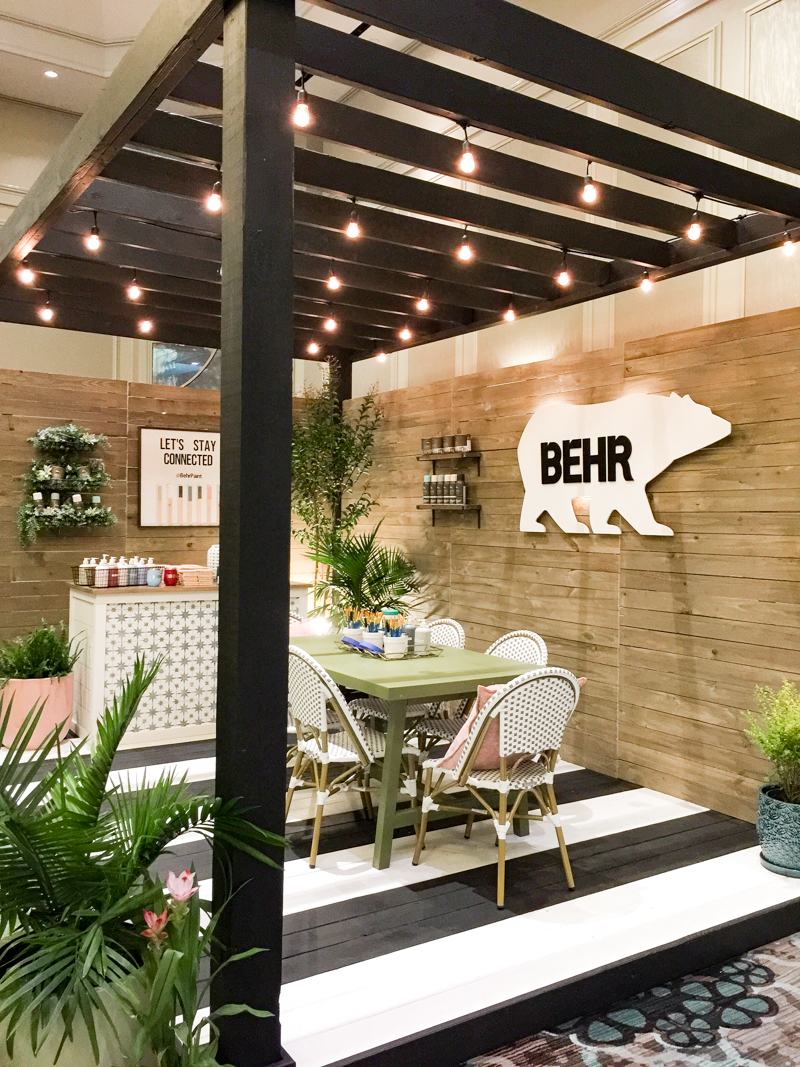
The final result was something that not only looked great but I feel like it would function for any space and required only a few basic DIY tools. It was built to be transported (so it did break down into pieces) and assembled on a carpeted room (so no anchors into the ground) but if you wanted to build this in your space, we definitely recommend anchoring it with either concrete or post anchors. It would need to be built with exterior grade wood (we did not do the deck with exterior wood as it would have increased the transportation weight and was not needed) and all the boards are readily available at your local Home Depot.
The Floating Deck Under the Pergola
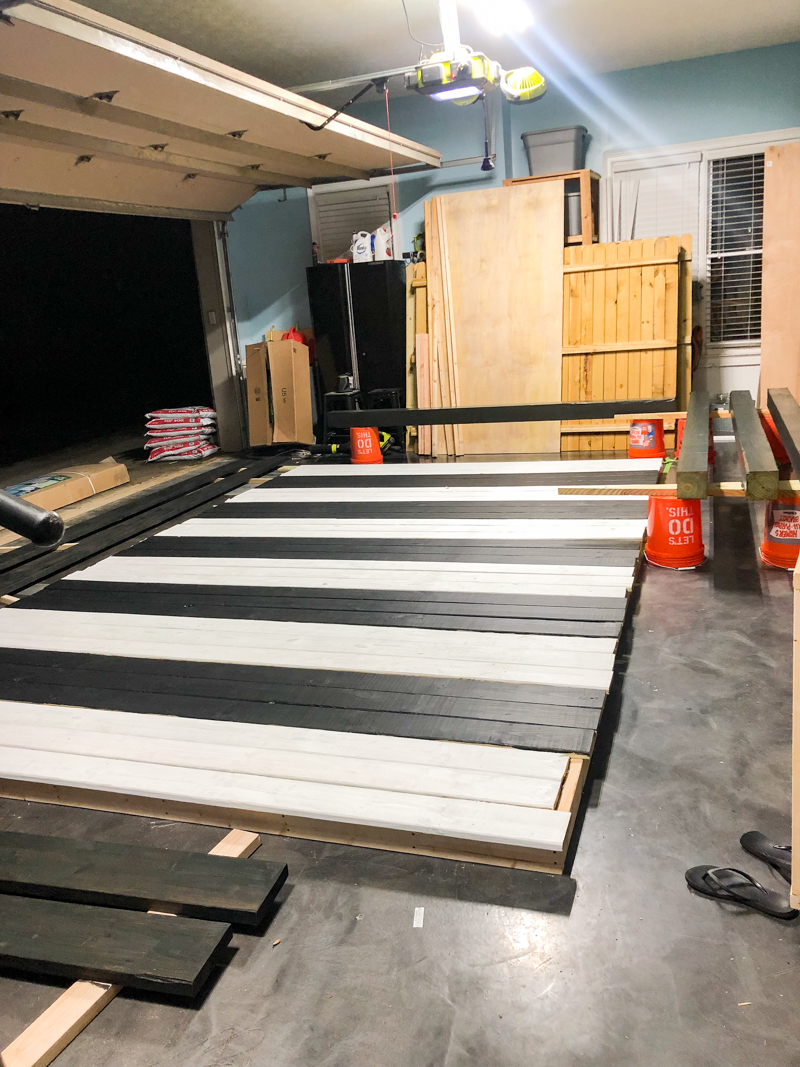
The pergola was attached to a floating deck. In order for the pergola to be structurally stable and not damage the carpeted floor that it sits on, we needed to build the floating deck first and attach the pergola to the deck frame. I shared how we built the deck in a prior post. CLICK HERE TO READ IT.
The basic design of a pergola is four posts and a outer frame that connects those posts. The outer frame is usually called the beams. Then usually there are pieces of wood that extend from one side of the pergola to the other. These wood pieces are called the rafters. Sometimes the rafters sit on top of the beams and support lattice but in our situation we wanted a really modern design and we tweaked a traditional design with less parts. More on this later. For now, know that the most important words to know are POSTS, BEAMS (or frame) and RAFTERS.
Our first task was to put the posts in each corner and fasten them to the deck frame. In each corner we set the posts upright against the deck frame and built around them to create a spot where they would sit. We added an additional 2×4’s around the post so the 6×6 posts would sit on the floor and embed into the deck. These were lag bolted from the outside frame.
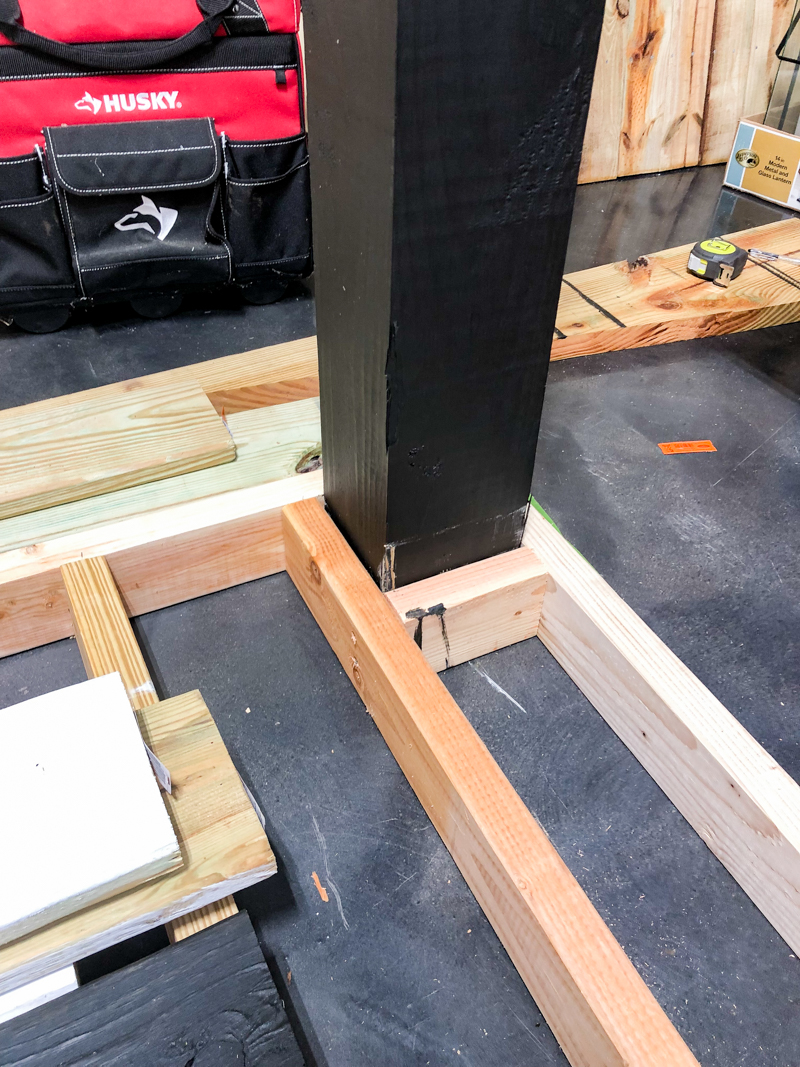
It’s important to shim them and get the posts completely plumb. After you do this, you can jigsaw the deck boards to go around them and hide the 2×4 base from the top.
If you were doing this into the ground, the posts would go down even lower and the deck frame would still be fastened directly into the posts. You may also want to incorporate some deck hangers for the deck since it would be bearing weight.
Staining the pergola
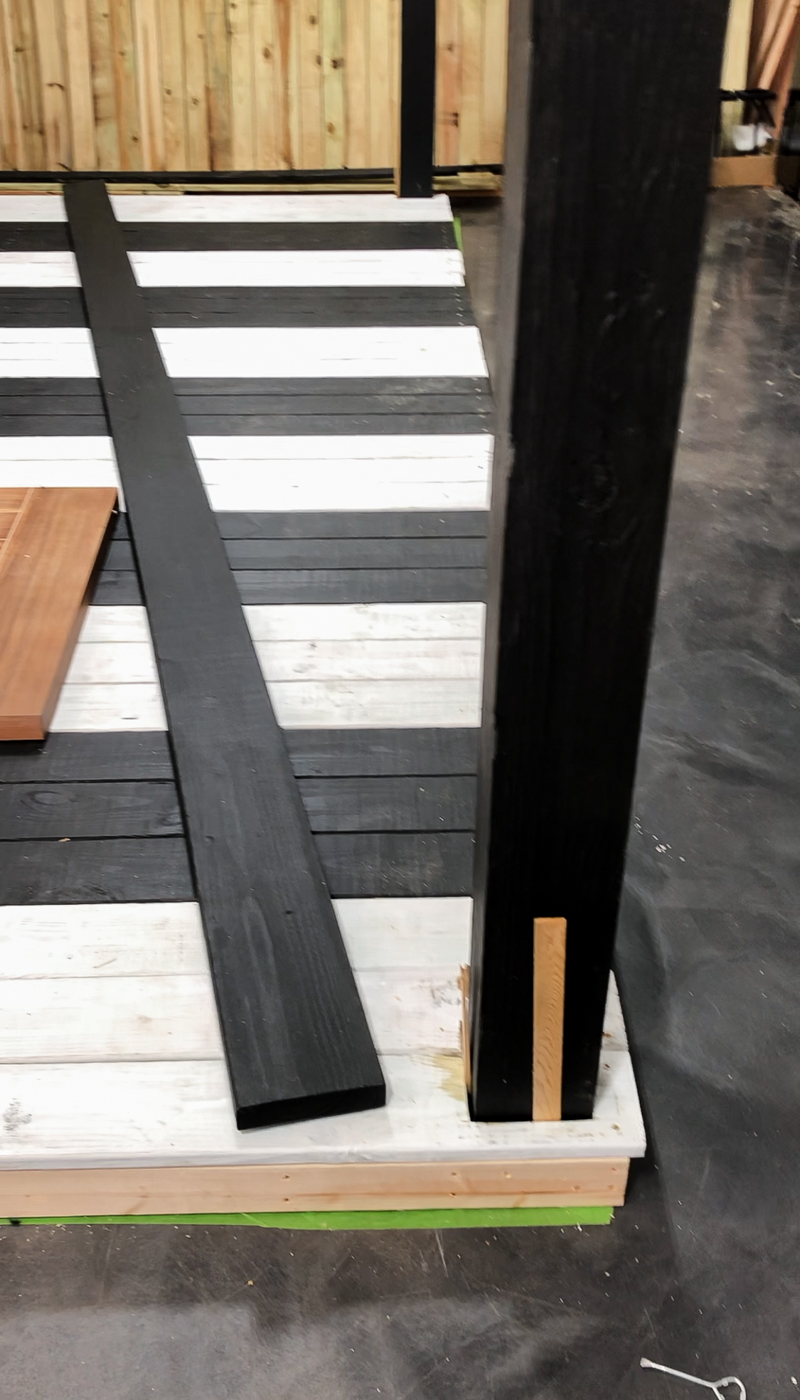
For this pergola I really wanted it to make a statement and go DARK. I feel like the black stain color would really pop and it’s trending hotter than a chillet. (that’s the new cool name for a mullet…just in case you haven’t heard….apparently they are back! :/ Yay…..says nobody.) To save time and energy, we decided to stain everything before assembling.
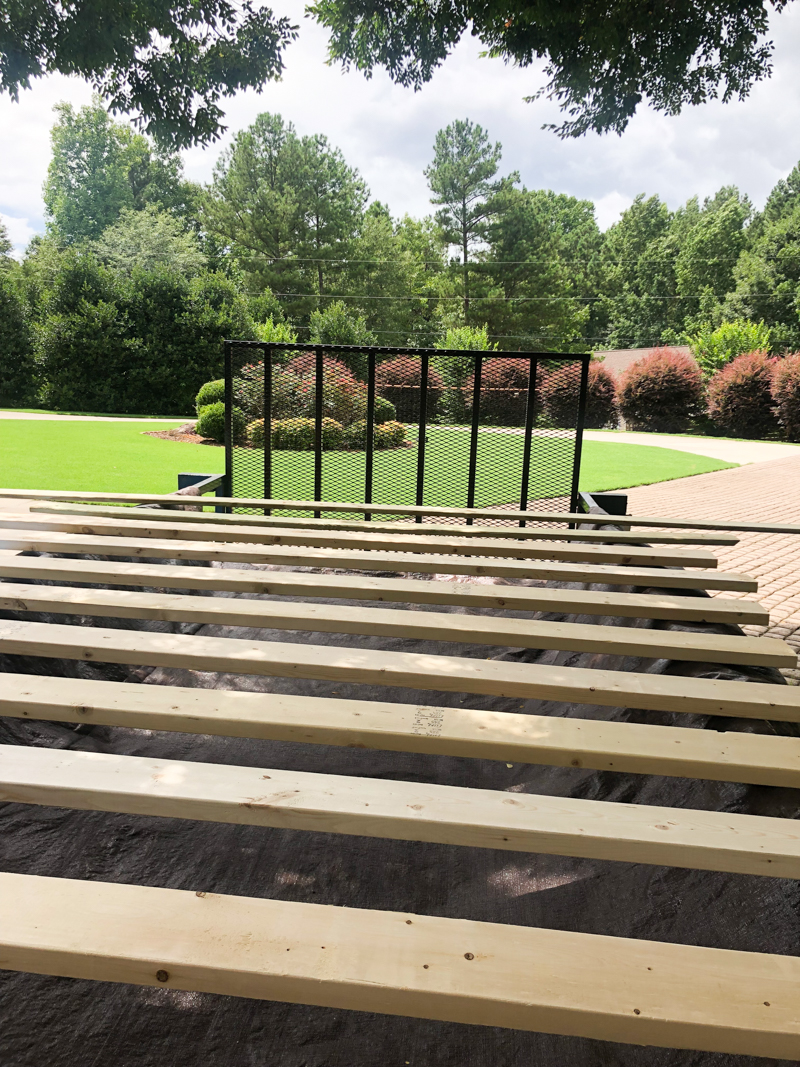
The stain color we used was called Slate and it was a solid stain by Behr. The consistency is like a thin paint and I absolutely love it as a product. I wish I had stained my deck with a solid stain because it lasts for ten years! Also it hides imperfections and is a great way to get full coverage.
I had a TON to stain – all the rafters, the frame and the posts as well as some boards that go around the deck frame so I absolutely could not have done it without my trusty Dollar Tree brush (my favorite!) and my HANDy Paint Pail. If you don’t have one of these, you don’t know what you are missing.
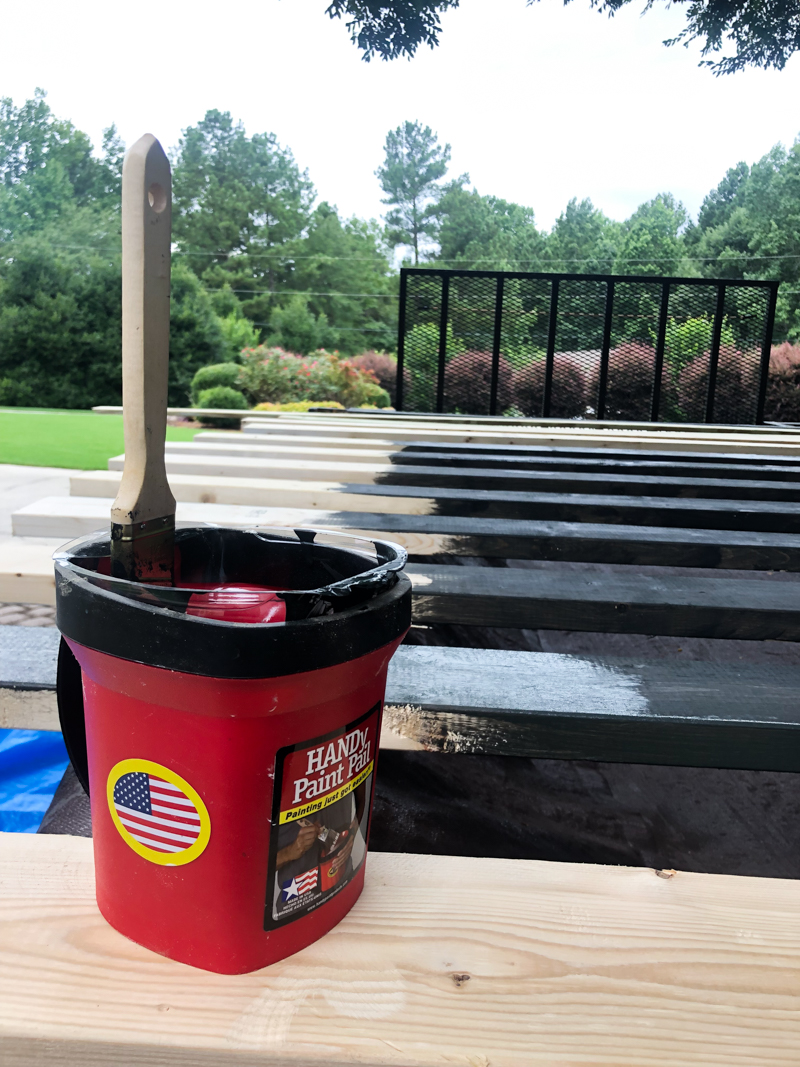
Georgia summers are no joke….neither are those thighs Katie 🙂
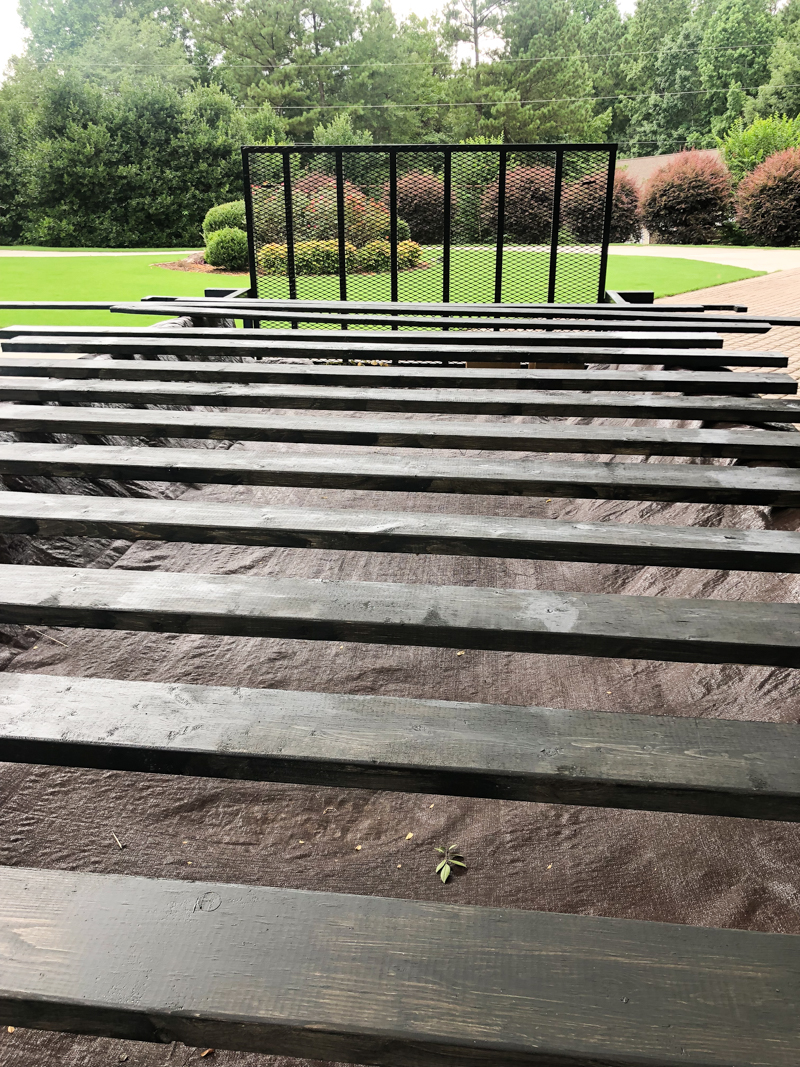
We used our trailer as a paint zone to get it all done and as they were drying, we could rotate more unfinished boards in.
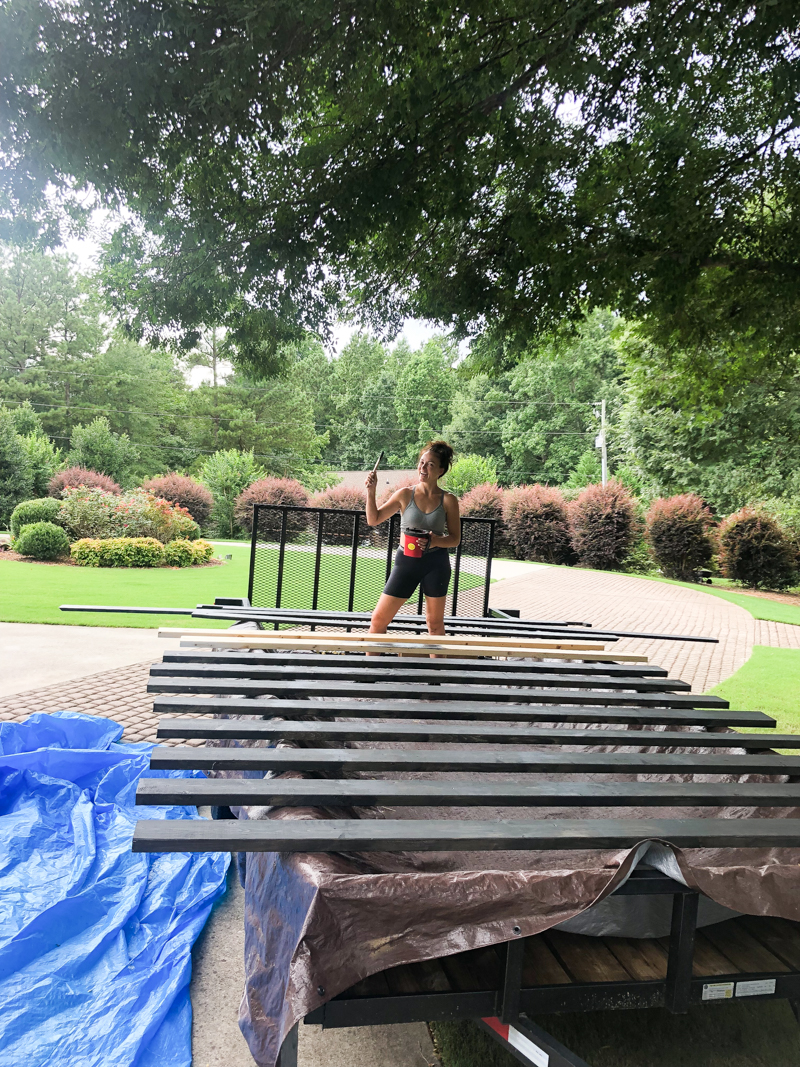
I like to do two thin coats (this is one coat below) for the best coverage and also because if I do it thick….well…I get sloppy. So I check myself before I wreck myself….err….the pergola.
The Structure
The structure we decided on was a simple one. Four posts, the beams that went around the outside of the posts, and then rafters that sat on a small ledge attached to the beams. That top frame (the beams) was a 2×8 and by attaching a 2×2 on the bottom inside face of the beam, we created a perfect spot to have a 2×6 sit on (our rafters). This was the rafters were not sitting on top but were recessed inside….giving it a more modern look.
BUT FIRST….we had to stabilize every part of the frame and make sure we could support those rafters….OH and a fence. Did I mention that? There was to be a “fence” wall on two sides. You could do this with your own and do it on 1-3 walls and it would add privacy and a great look! In order to hang the fence panels we needed support so the posts also had three fence support boards running between them.
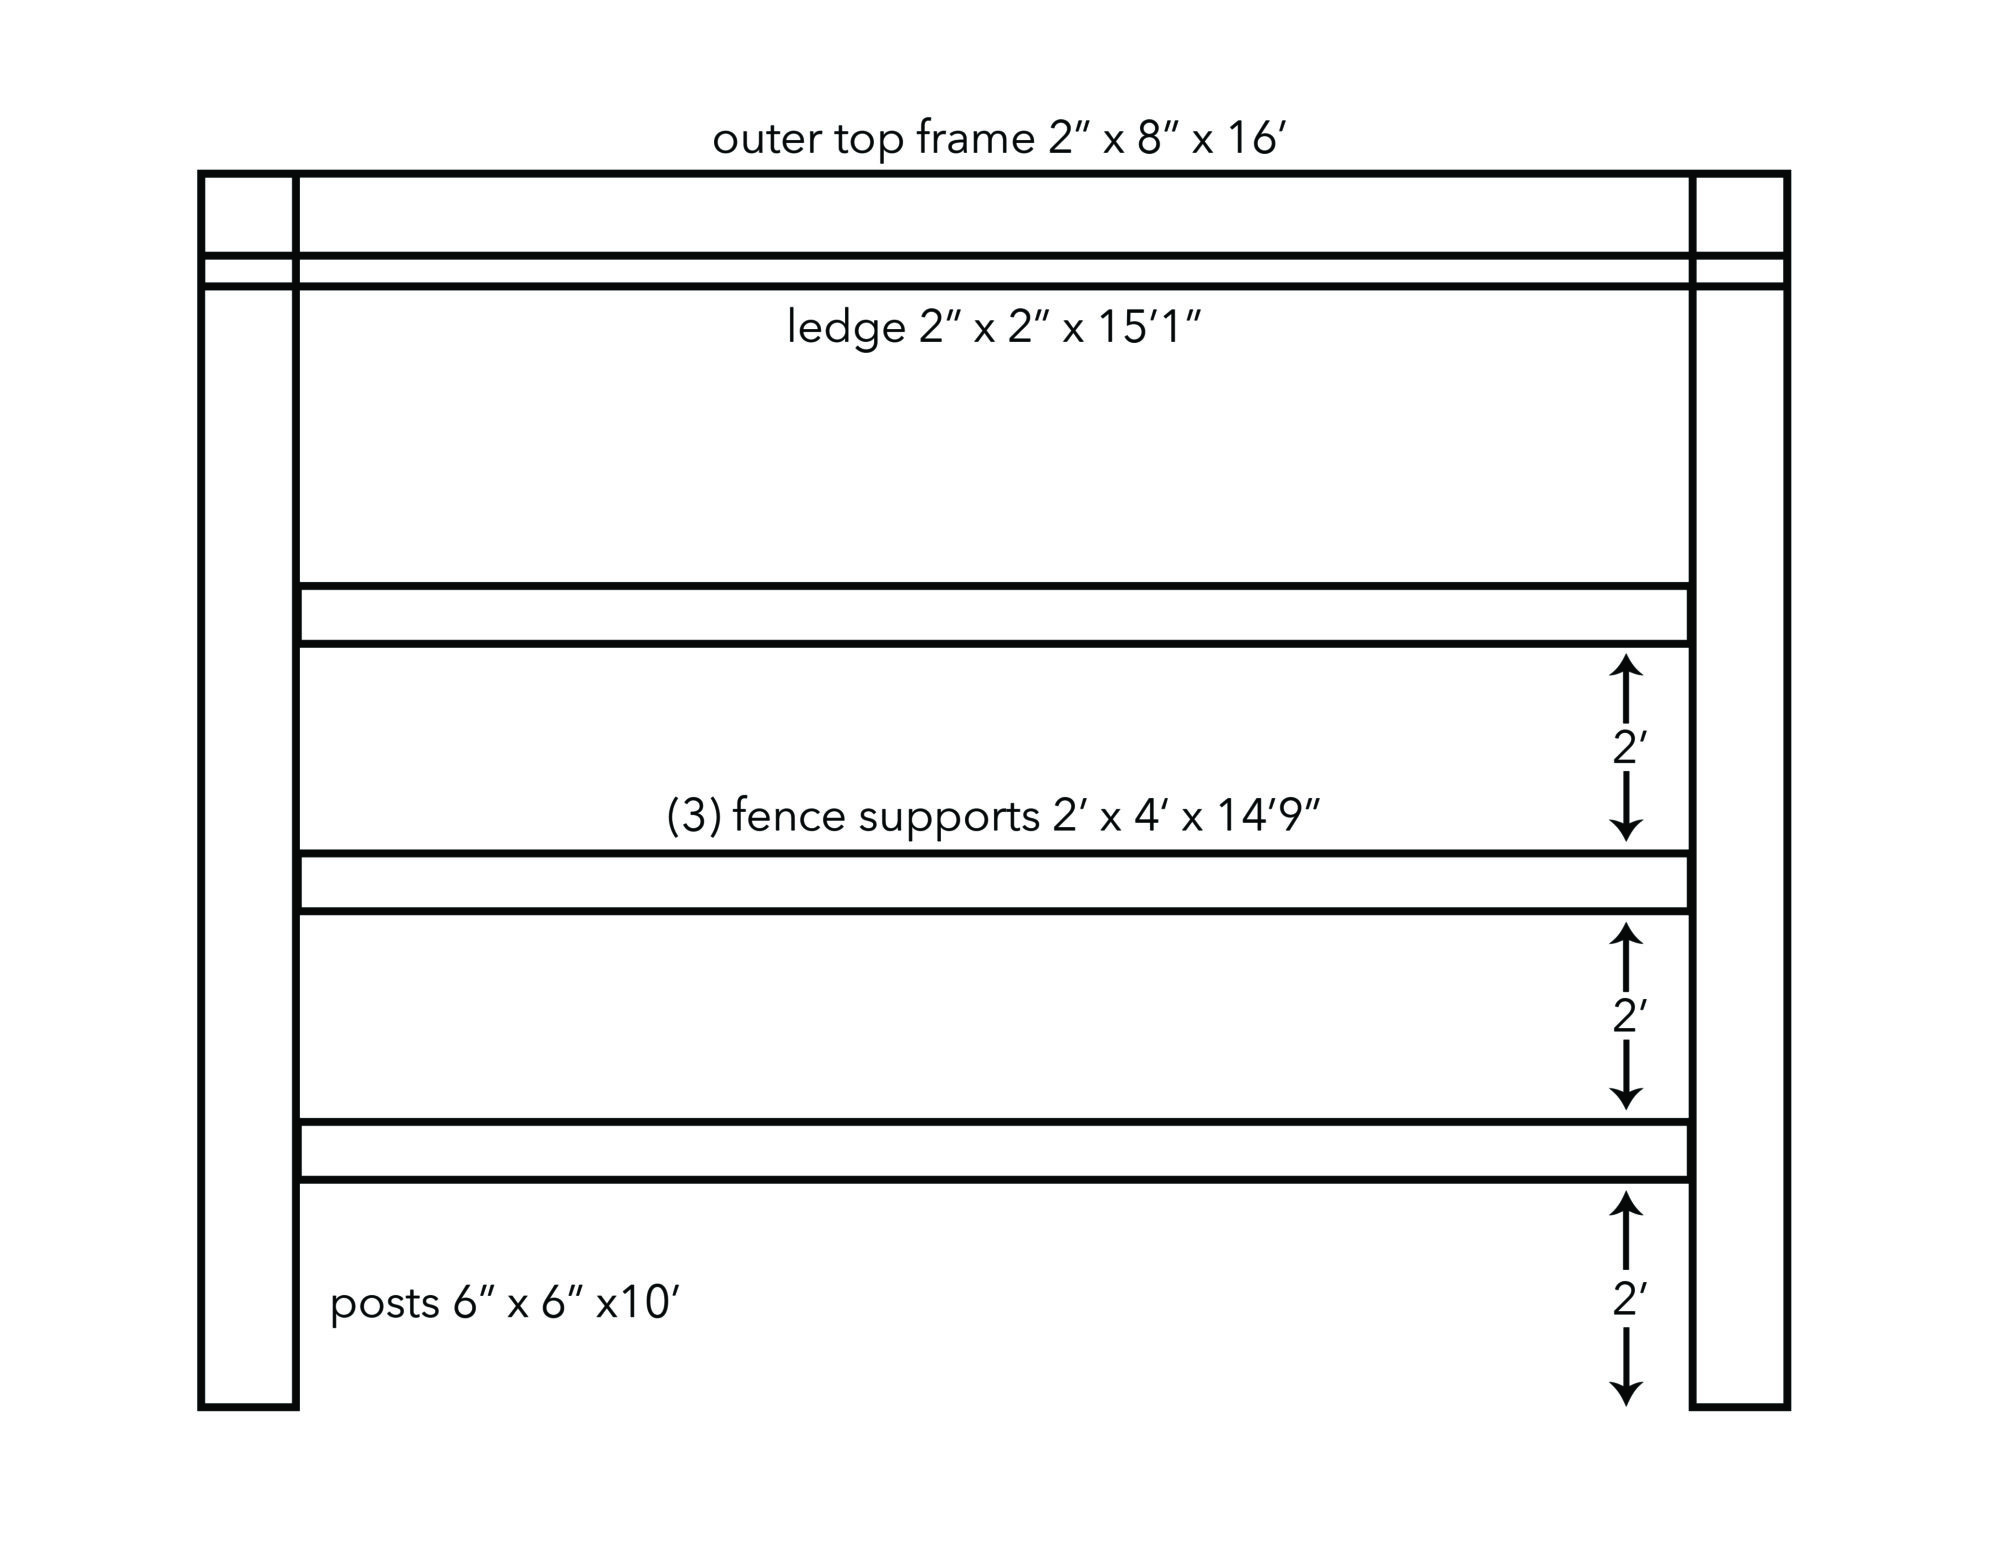
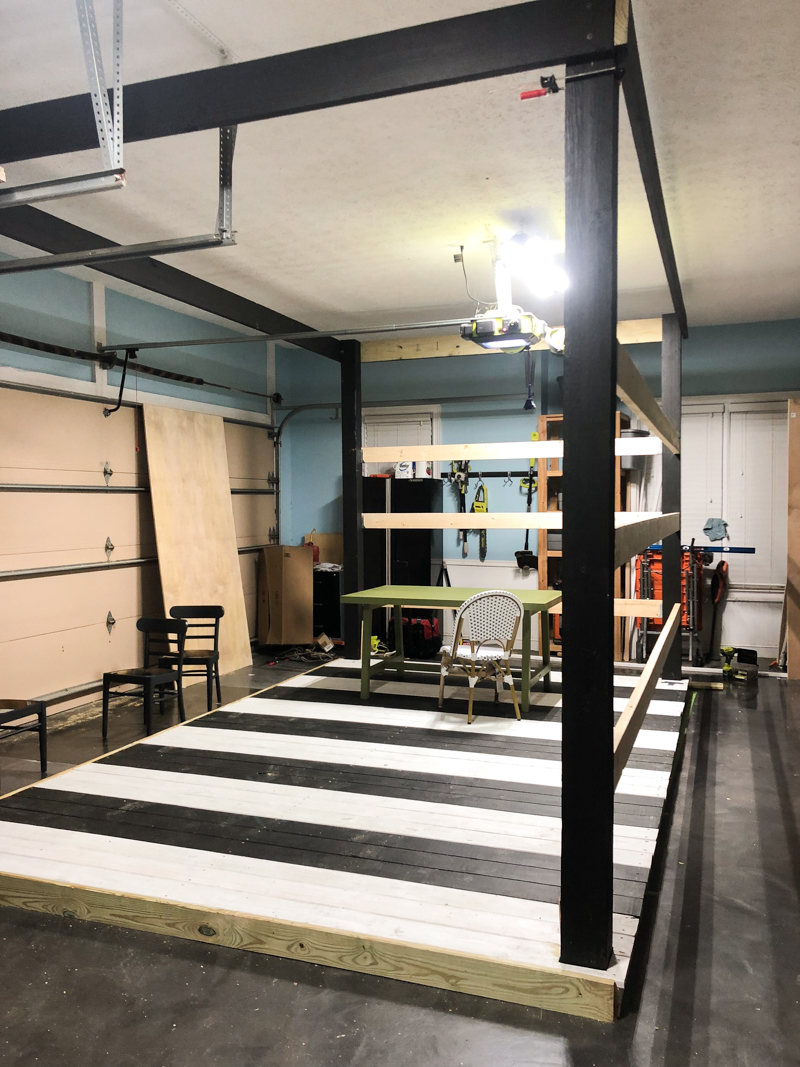
Maybe you can see them a little better in this photo. As you can see….we put up the posts and attached the beams around all four corners to create that outer frame. Then we attached the fence supports that ran between the posts on the inside. These were hung with face mount joist hangers.
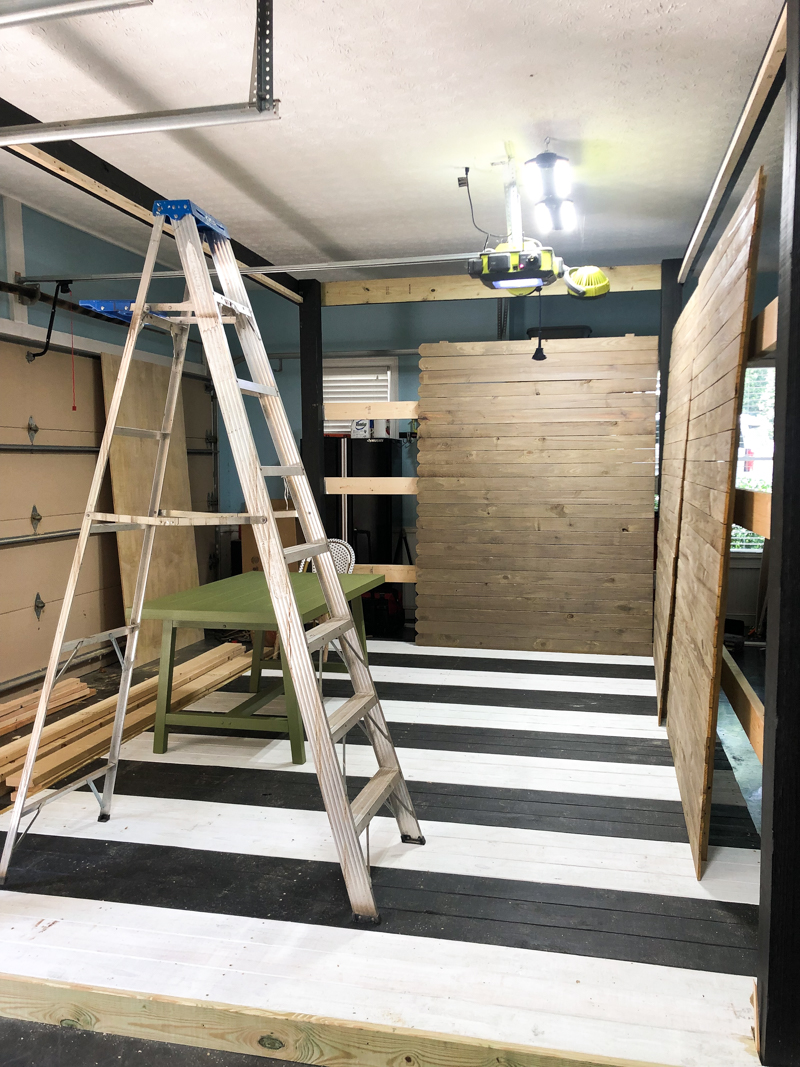
Oh and ignore the fact we have this inside. Obviously it’s not normal to build a pergola inside….but since this situation was unique we had to build this entire 10×16 structure in our garage before transporting it to the conferences
Staining the fence panels
The fence panels that sit on the deck against the deck supports are going to add a lot to the look of this pergola. Obviously you could just build a pergola and call it a day. But the fencing adds color, barriers if you want to hide something and then also it gives you a spot for shelving, art or wall plants. Also the fencing is easier than it looks because we used prebuilt dogeared fence panels.
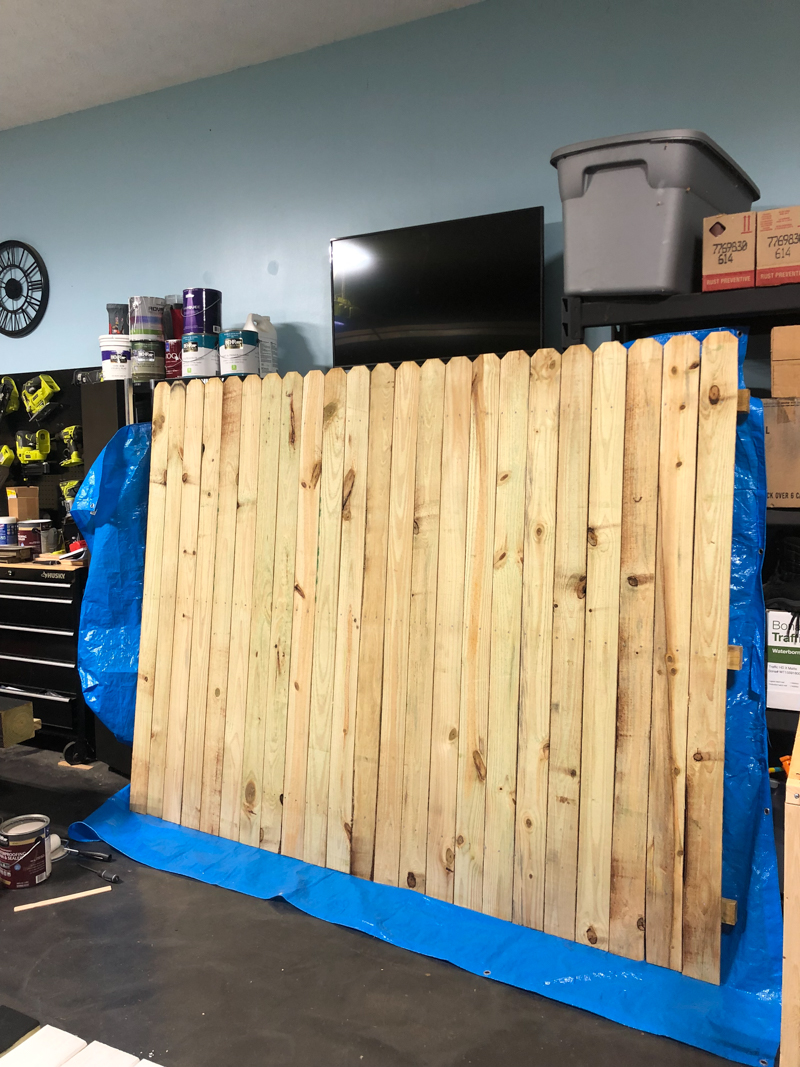
We used five of them and turned them on their side to give a more modern look. Since fence panels are usually made of treated wood, you never know how the wood will accept the stain and how the final result will look. In my experience it is always a good idea to test on the wood you are gonna use….not just scrap.
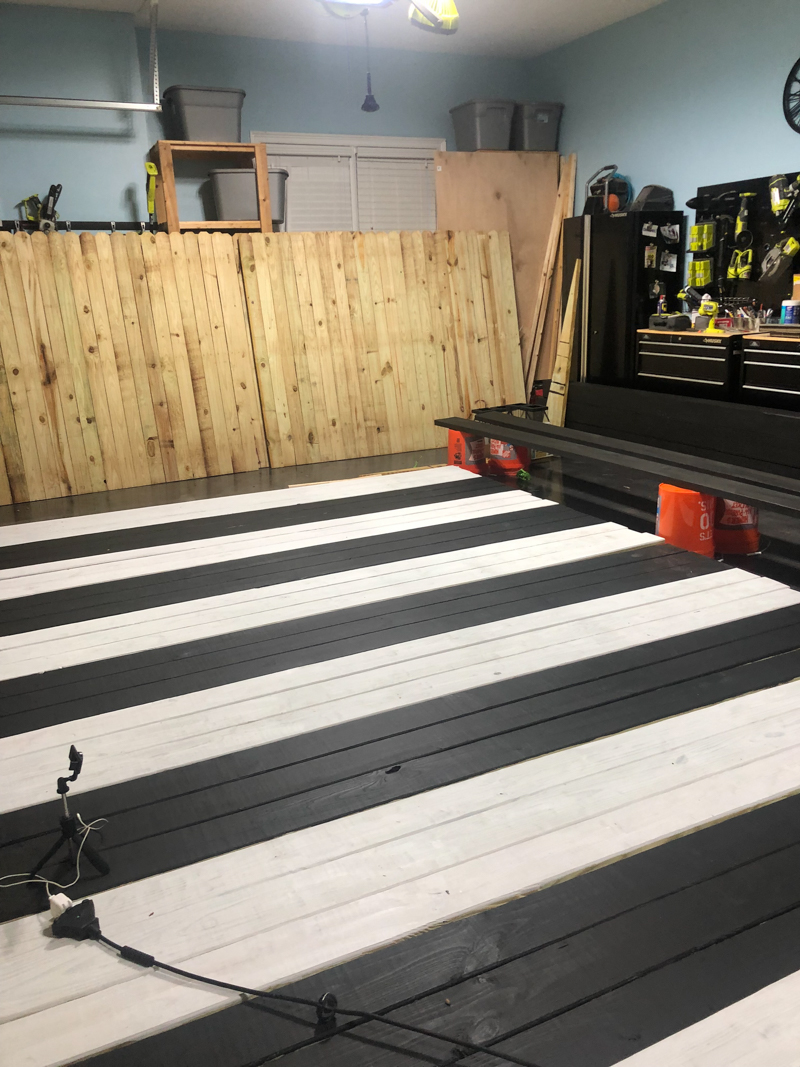
We tested Chatham Fog and it was a little too mushroomy for interior lighting. So we switched stain colors to a warmer gray brown semi transparent Behr stain.
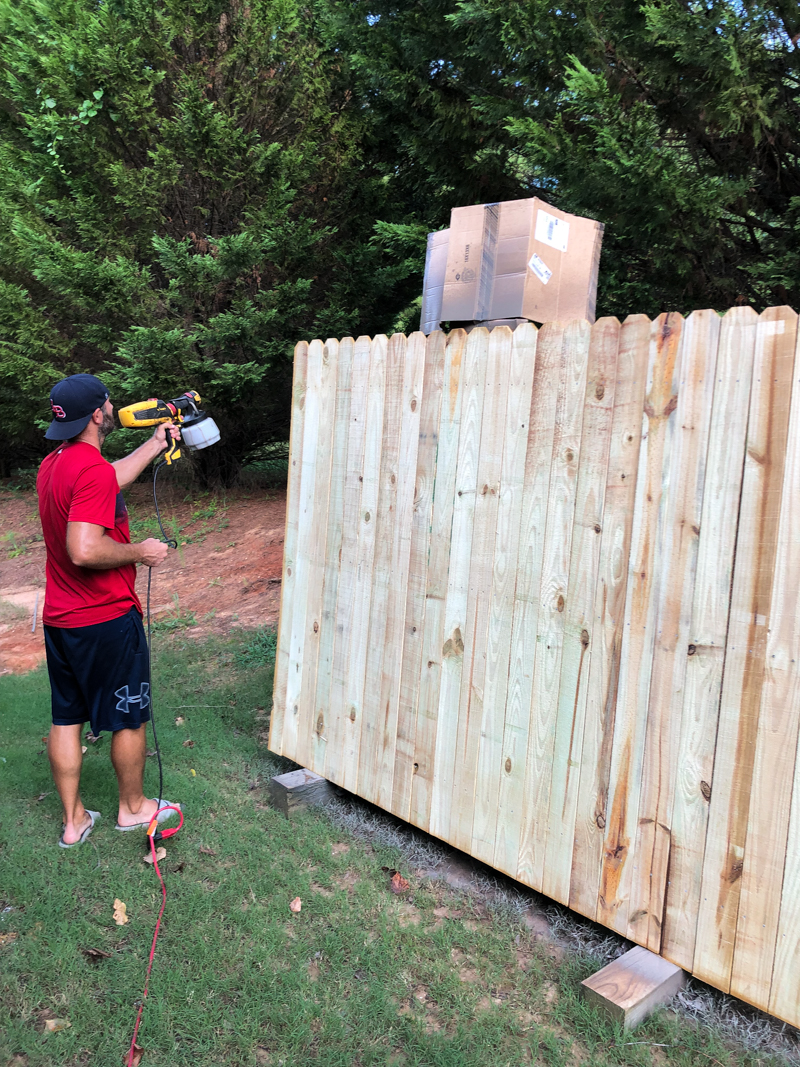
Jeremy set up a fence panel spraying station in our yard with two big wood blocks to put the panels onto of and leaned it against a ladder (that we ‘protected’ with a cardboard box).
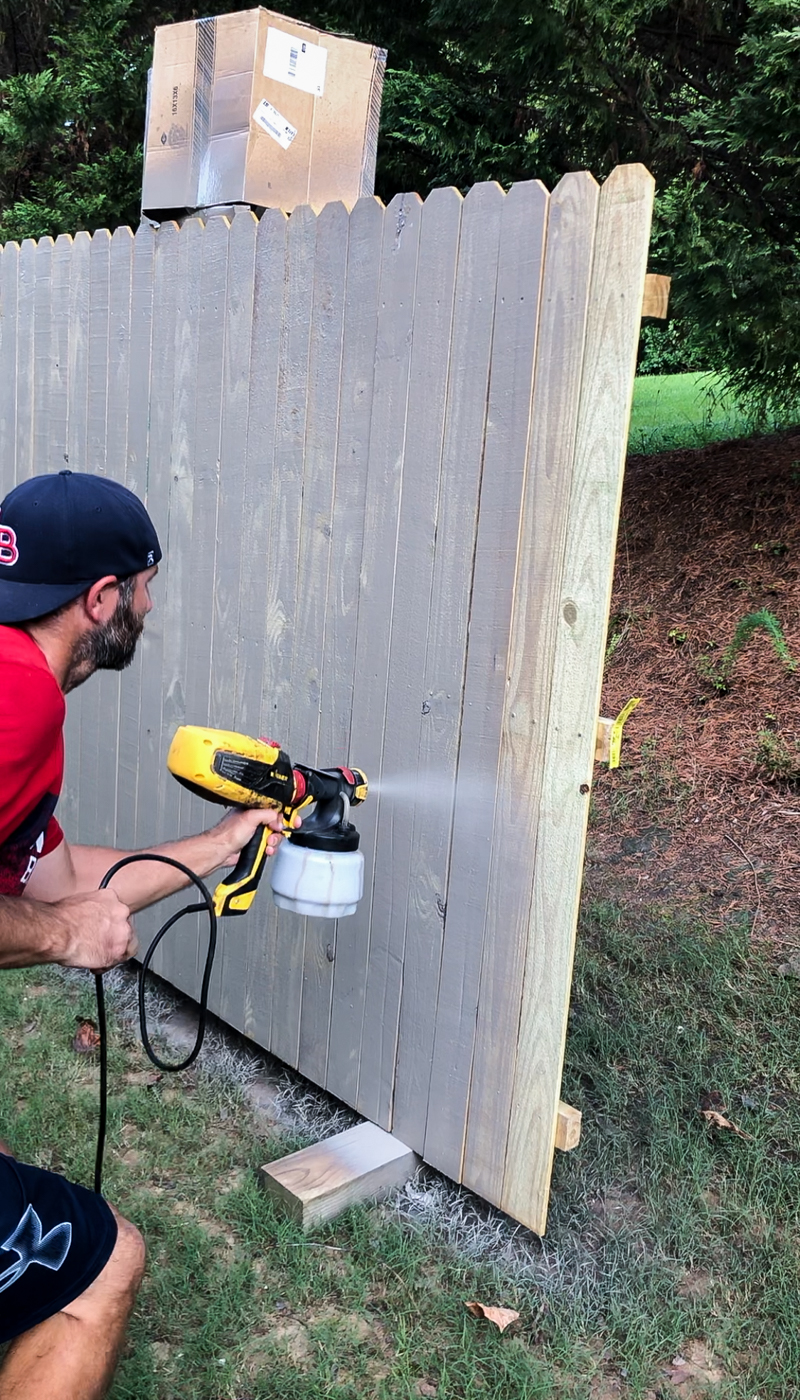
Here is the link to the sprayer we use for outdoor staining. We have had it for years and it works like a charm for refreshing fences and outdoor furniture.
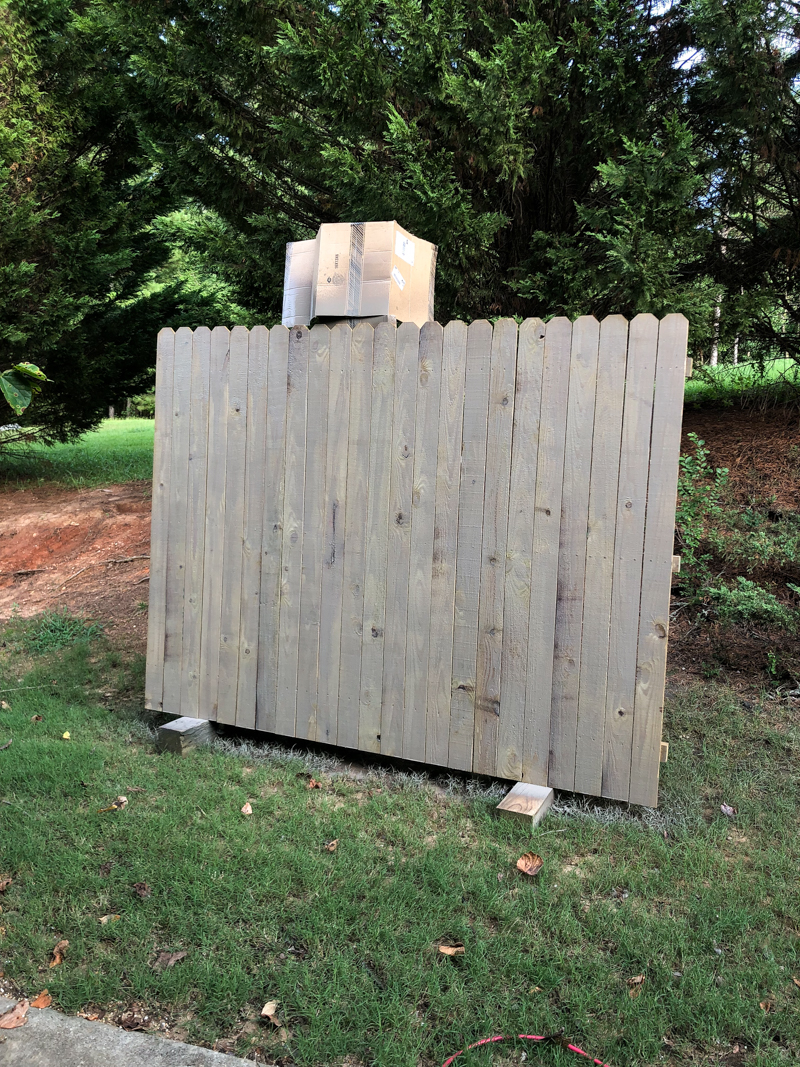
Now we repeat that five times and let them all dry.
After they dried, we moved them in to see exactly how we were gonna decide to trim them down. I wanted them to be as tall as possible to hide any hotel conference room walls and really give the illusion of being outside.
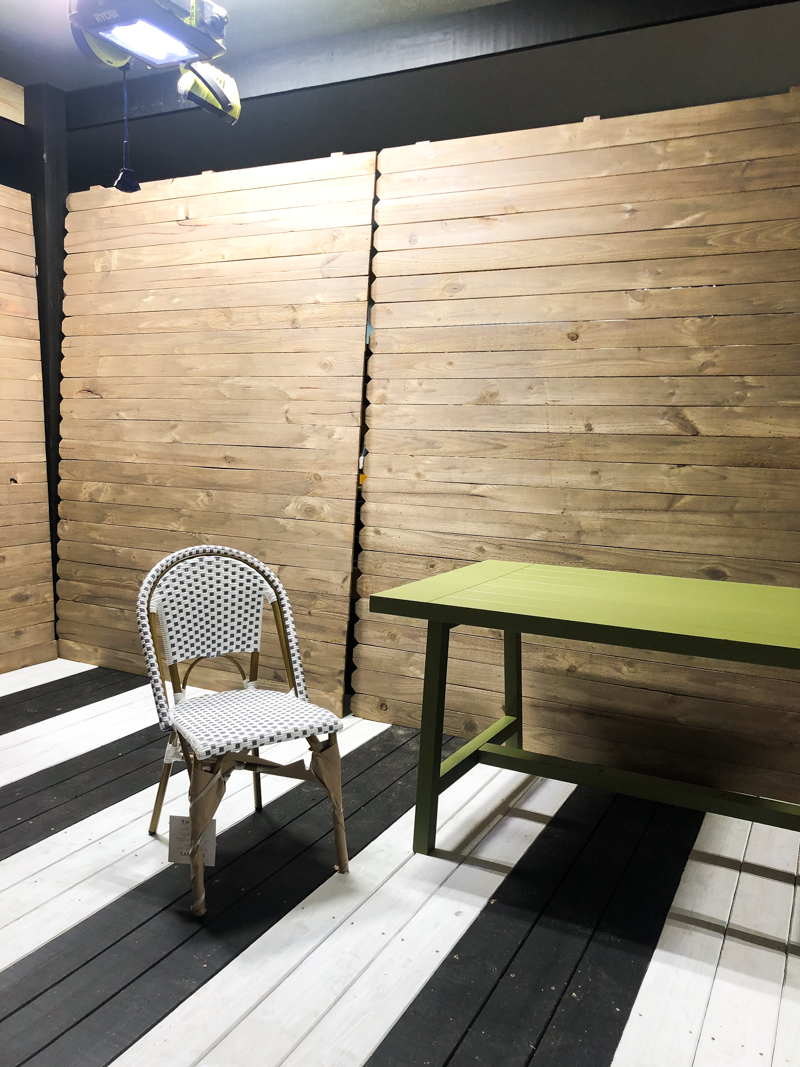
We decided to trim off the dog-ears and then move the seams according to wear we wanted it to fall with the big Behr bear…..of course, most people aren’t hanging large plywood bear silhouettes on their fences so I would just trim yours wherever your fancy lies 🙂
Cutting down the fence panels
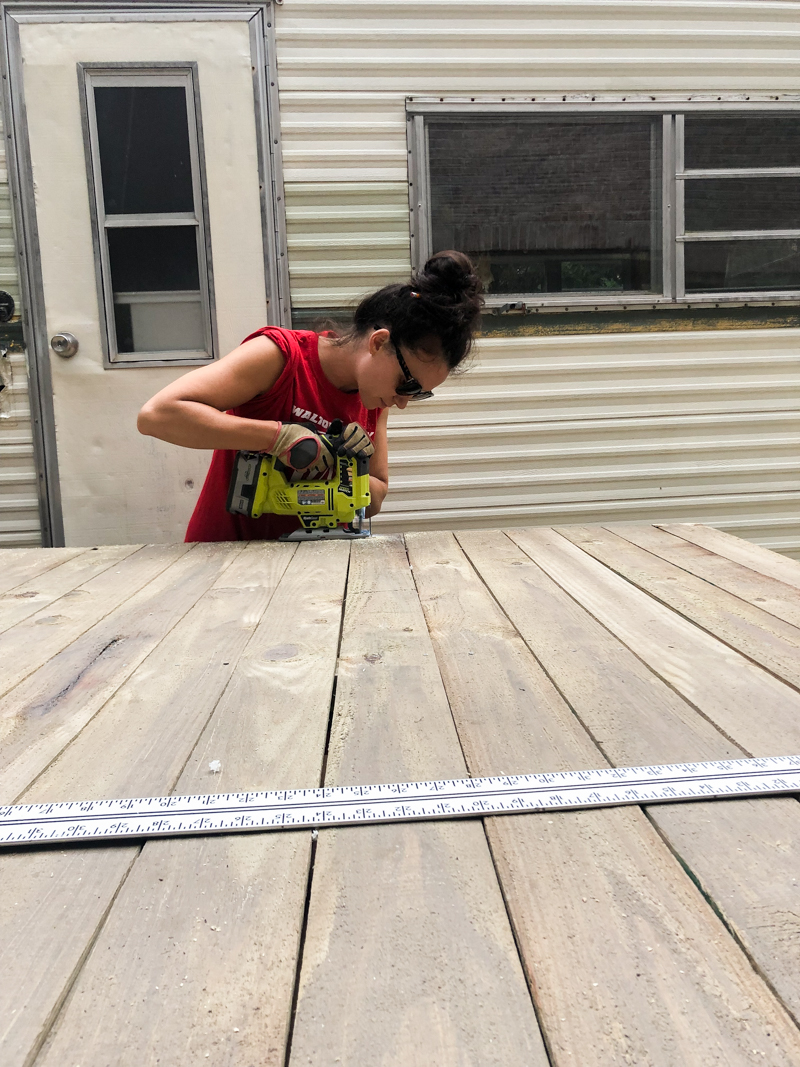
In order to cut the fence panels, you will need to decide your line and then use a jigsaw to cut to length.
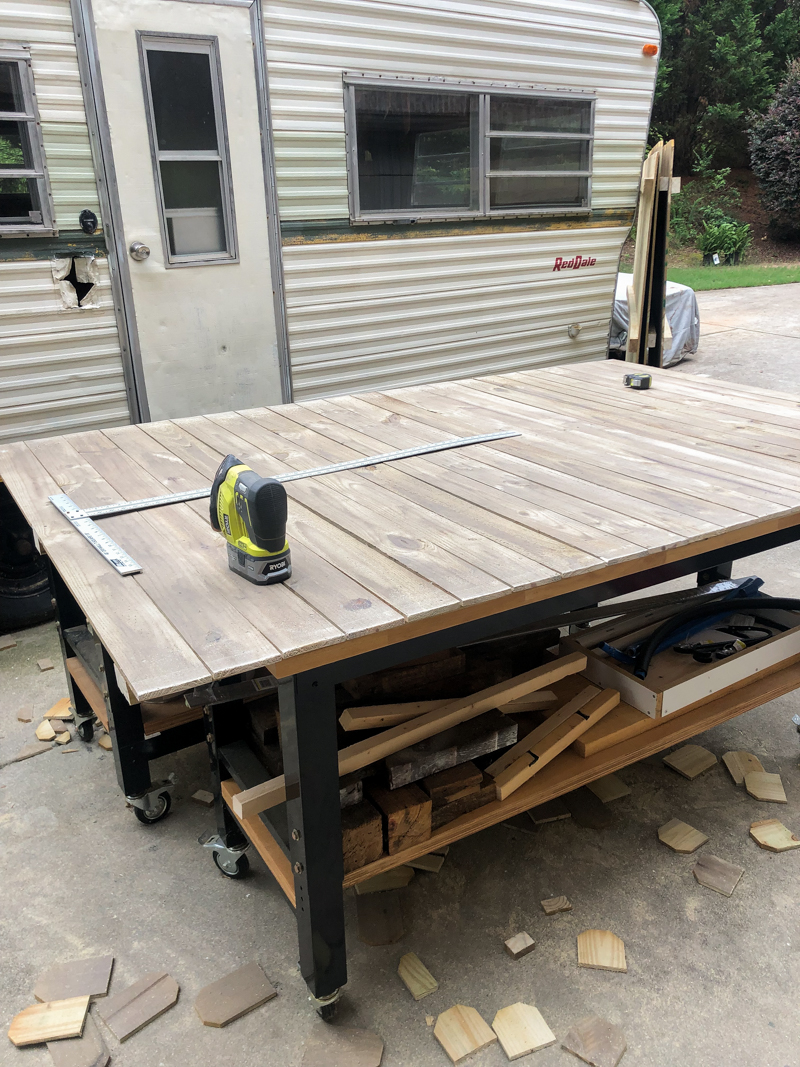
If you trim off the third back support, you can pop the fence pieces off it and reuse it again on the backside. Just make sure you have two back support pieces otherwise it gets floppy. You could probably use a circular saw as well to do the cutting but I felt more confident in the jigsaw considering these fence panels aren’t super flat and have some boards that are bowed and warped.
Attaching the fence panels
Attaching the fence panels is easy. You simply take a few nails from the back or the front and drive through the boards to attach the panel to the fence supports. We loved the end result. It was more modern and definitely added some privacy 🙂
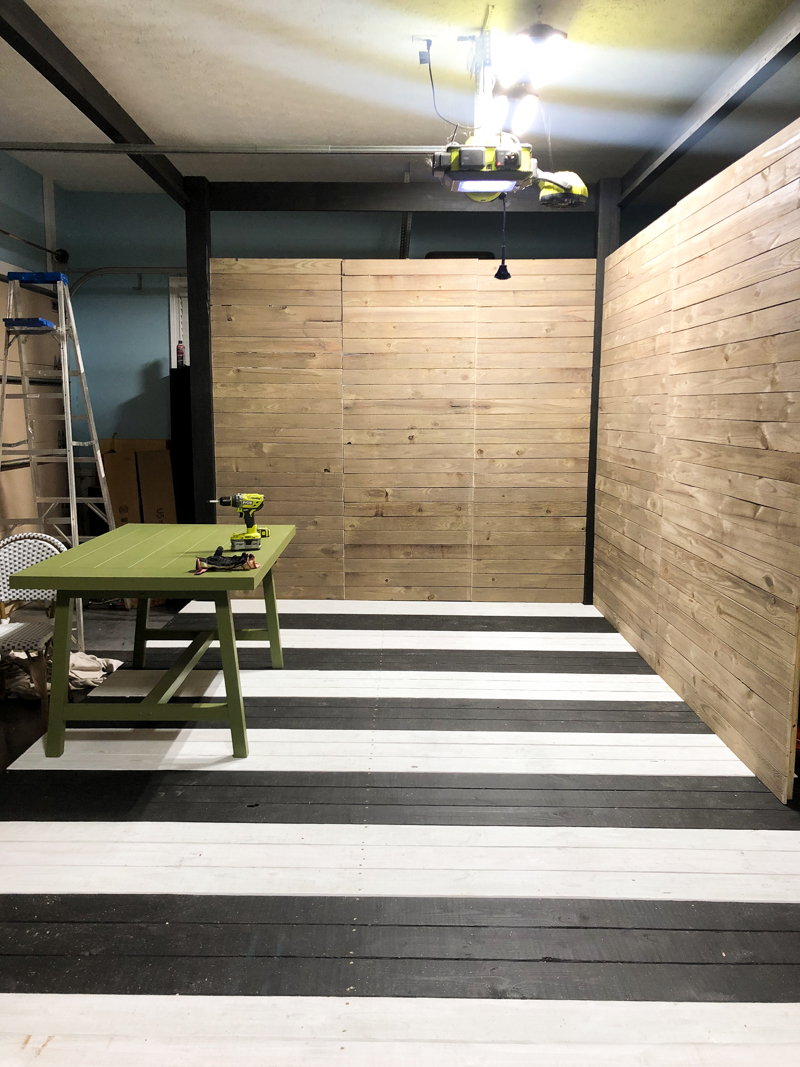
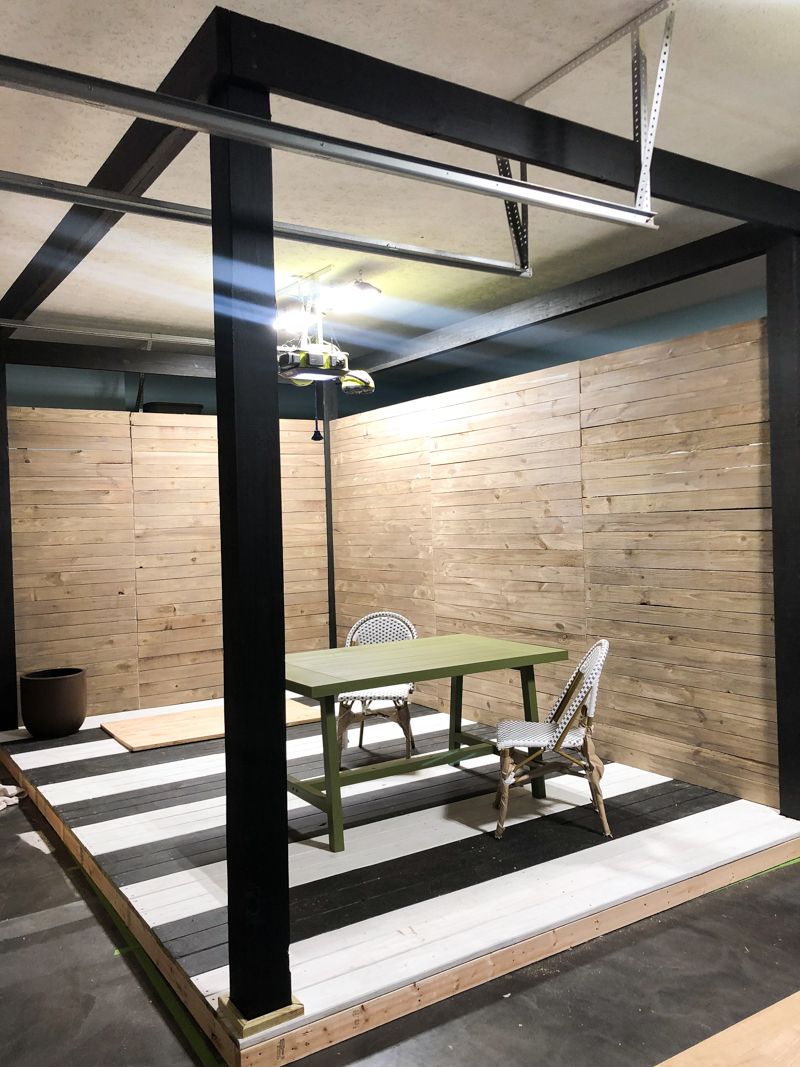
Also I think that adding the fence makes the pergola pop more. The contrast between the black and the warm wood stain is so chic! LOVE it.
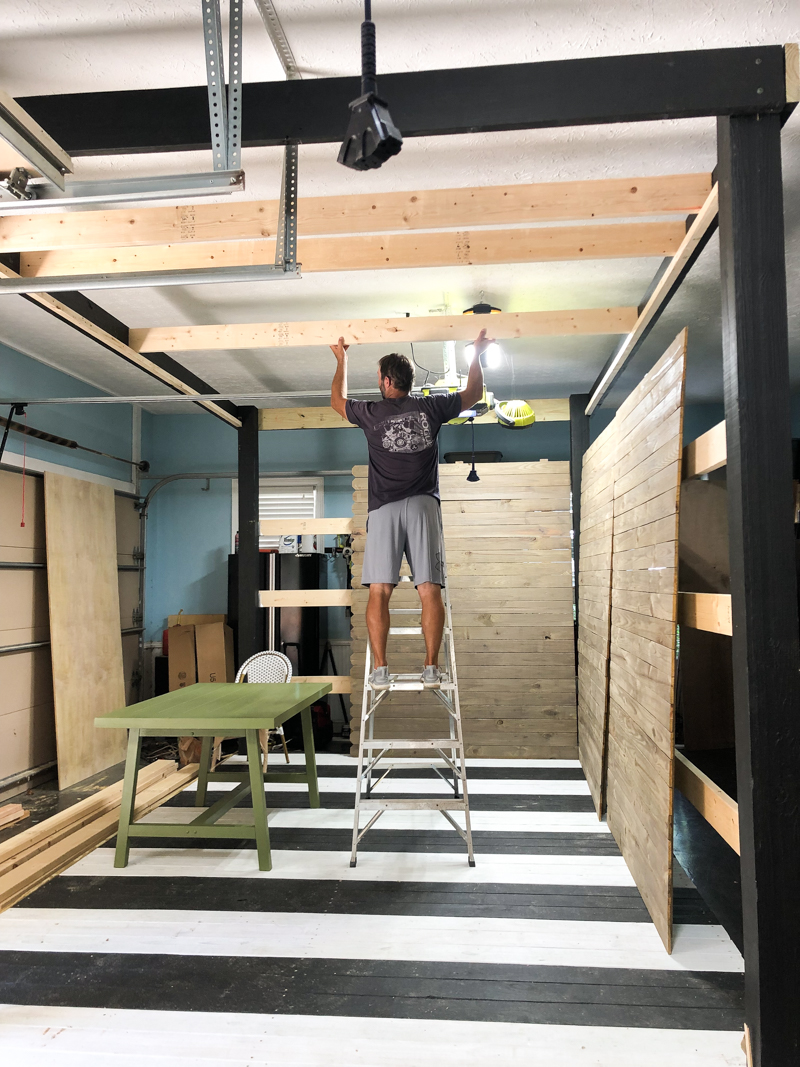
Attaching the rafters
The pieces that go across the top of the pergola are called the rafters and they are actually sitting on a ledge made from a 2×2 and attached to the front and back beams. By attaching the 2×2 to the beam, we were able to have it rest on the ledge and then fasten it with a couple screws. It made things easier for transport and once everything was painted black, nobody even looked at the ledge.
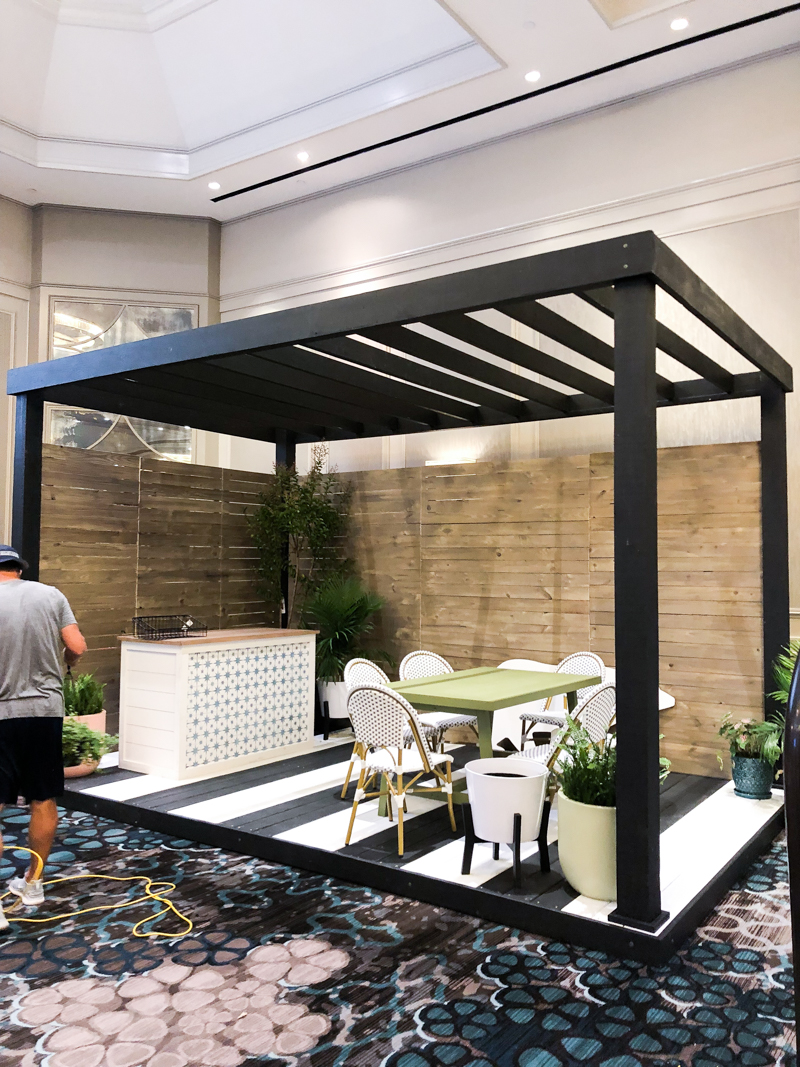
Adding the finishing touches
Once the booth was built to a certain point, we had to break it all down, load it into a trailer and then transport it to the conference. Then we built it back up and decorated the tar out of it. We were going for a modern oasis in the middle of a hotel 🙂 I think my absolute favorite part was hanging the lights off the pergola and making it come alive.
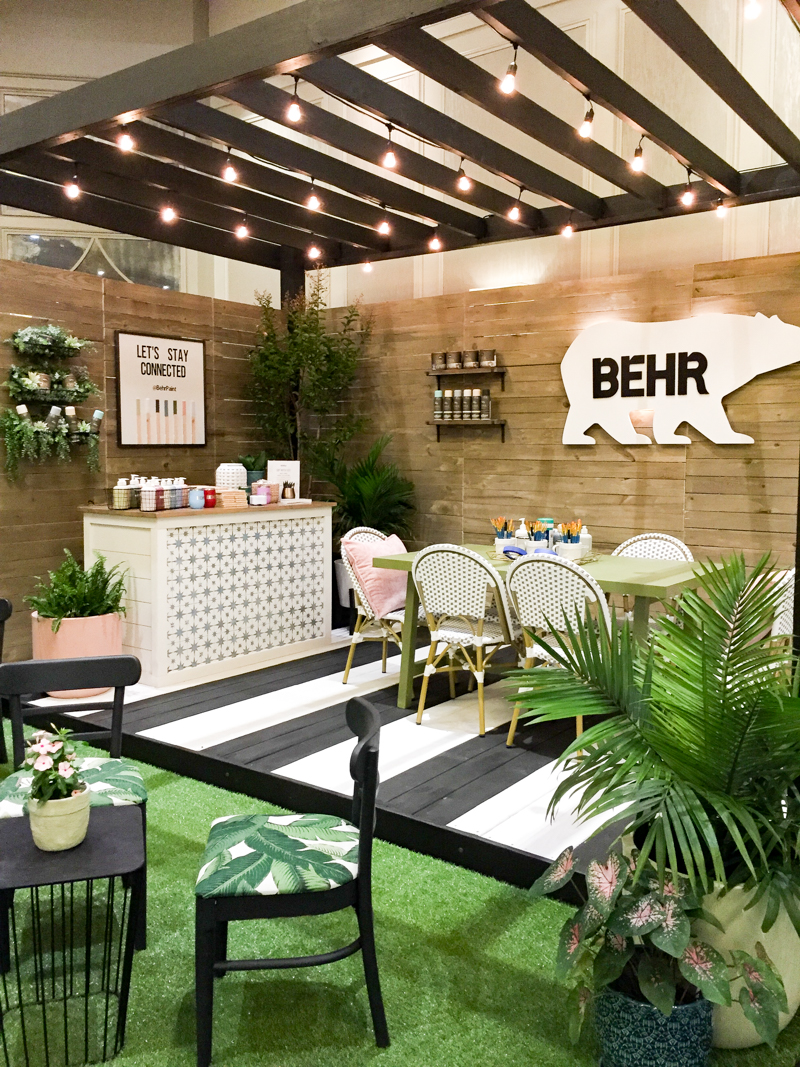
It was such a great experience (stressful but AWESOME) and I would totally do it again. Thank you to Behr for letting us create this space for you and thank to everyone who came to the conference and celebrated the build with us! We can’t tell you how much your encouragement meant to us both! Now go build you a pergola!
