My dear friends Courtney and Aaron recently moved into a nearby house and it was just PERFECT for their family. It has a music room, a huge basement, and is in a super kid friendly neighborhood that is an amazing fit for their next phase in life. But the one thing Courtney didn’t love was the fireplace.
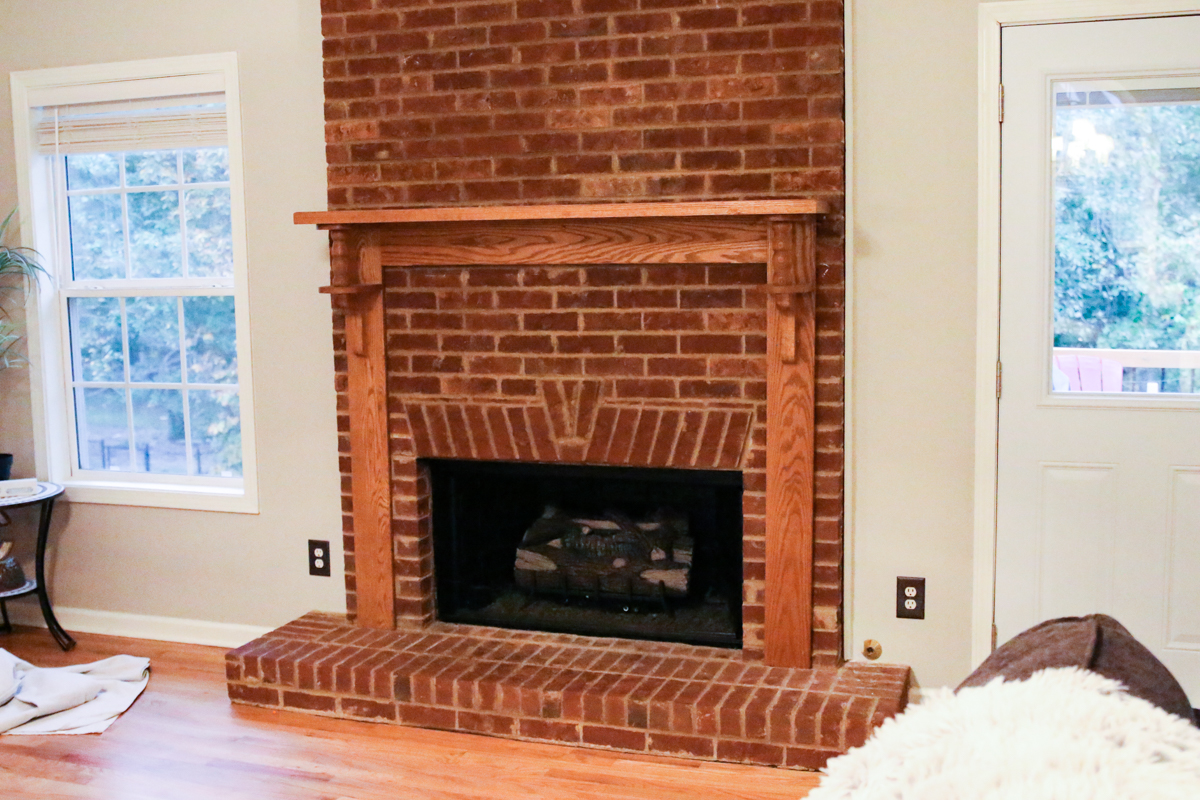
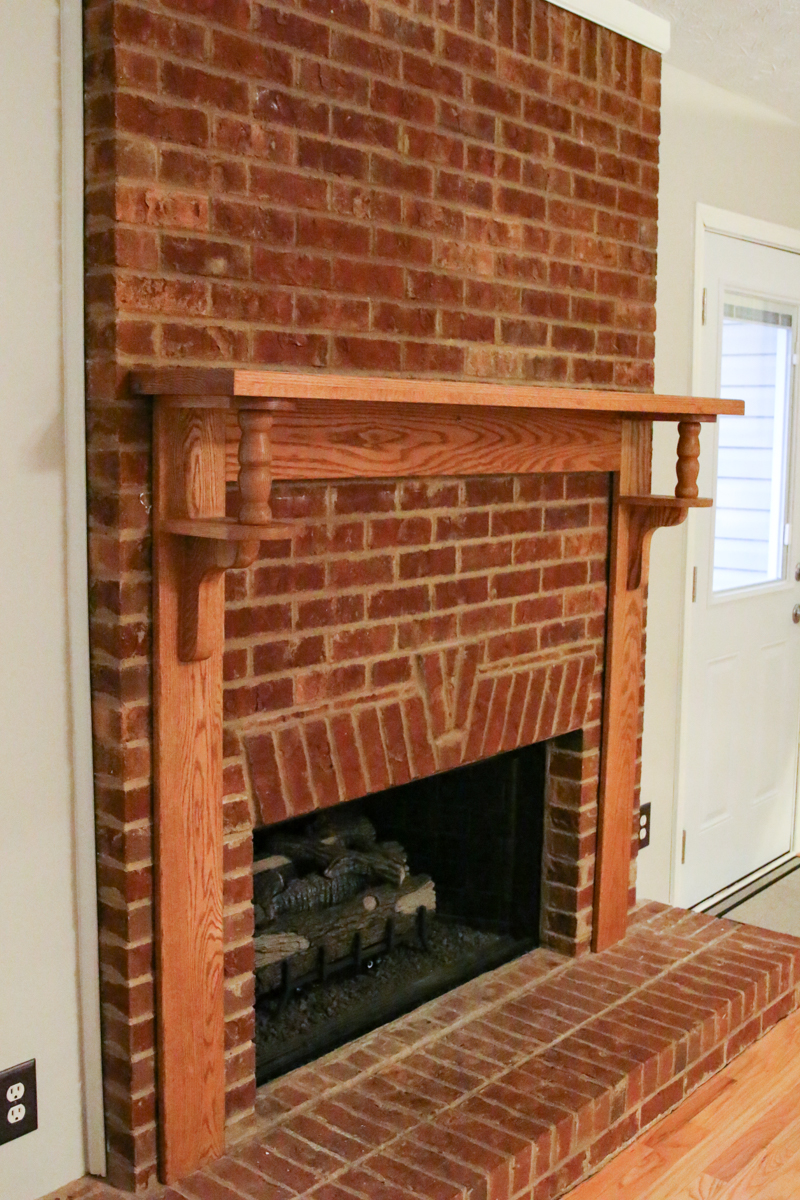
It was front and center in their big open layout living room and very red, very dark, and sported a mantle that would make Nate Berkus cock his head to the right and squint. They hated it so much that they set up their living room furniture to block the view of the fireplace :/
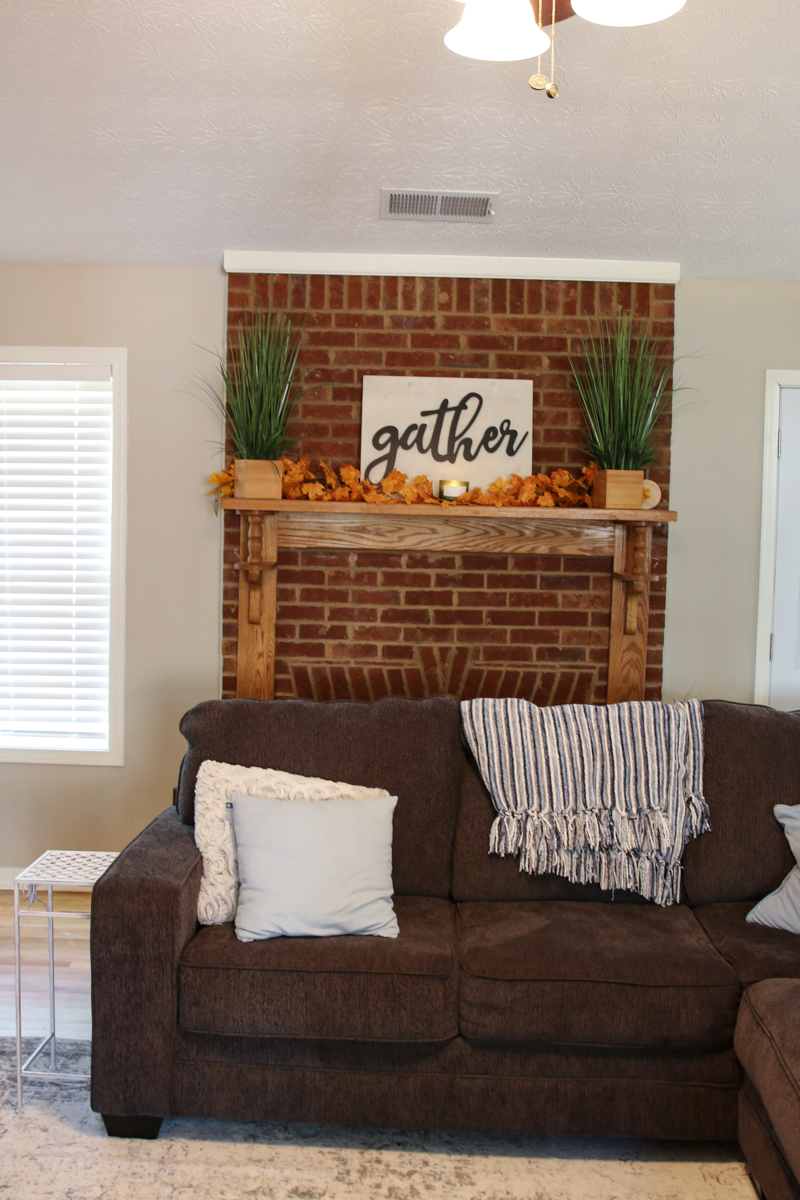
So I offered to help with an easy DIY – let’s apply a treatment to it – and make it a German Shmear Fireplace that would make Joanna Gaines proud.
Ok – so this DIY was new to me and I did quite a bit of research to make sure we did something that would look real. I showed her several options – painted fireplaces, ones that had been repointed, ones that even had been framed out and shiplapped. In the end, we landed on the most inexpensive option and the one that would give it a really textural and beautiful look. It would completely lighten the entire thing and make it look much lighter and more in line with their style.
True German Shmear is a look where the mason used a heavy mortar application in joints. This technique was apparently popular in parts of Germany for stonework and the excess mortar was smeared (or ‘shmeared’) on the face of the stone to create a charming look for cottages and castles. It’s fairly inexpensive because the only thing you really need is the mortar and a few basic tools.
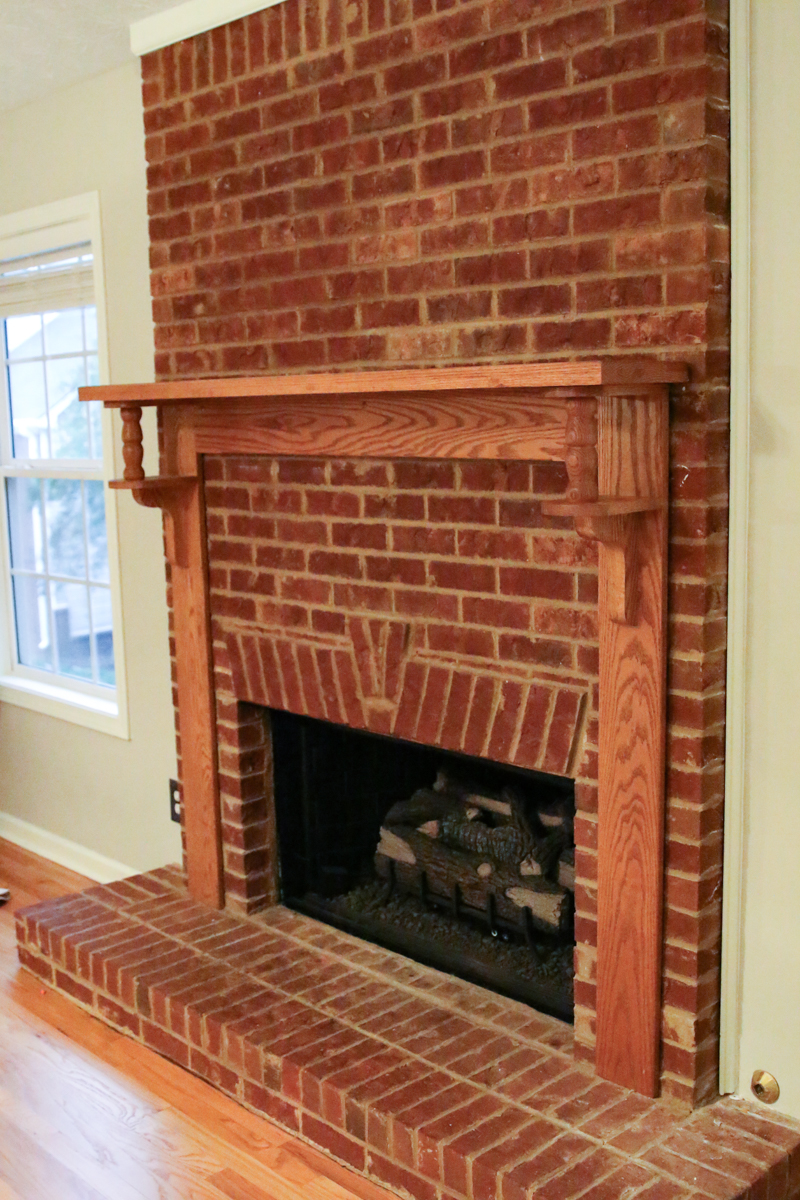
SO let me walk you through how we turned this red baby….
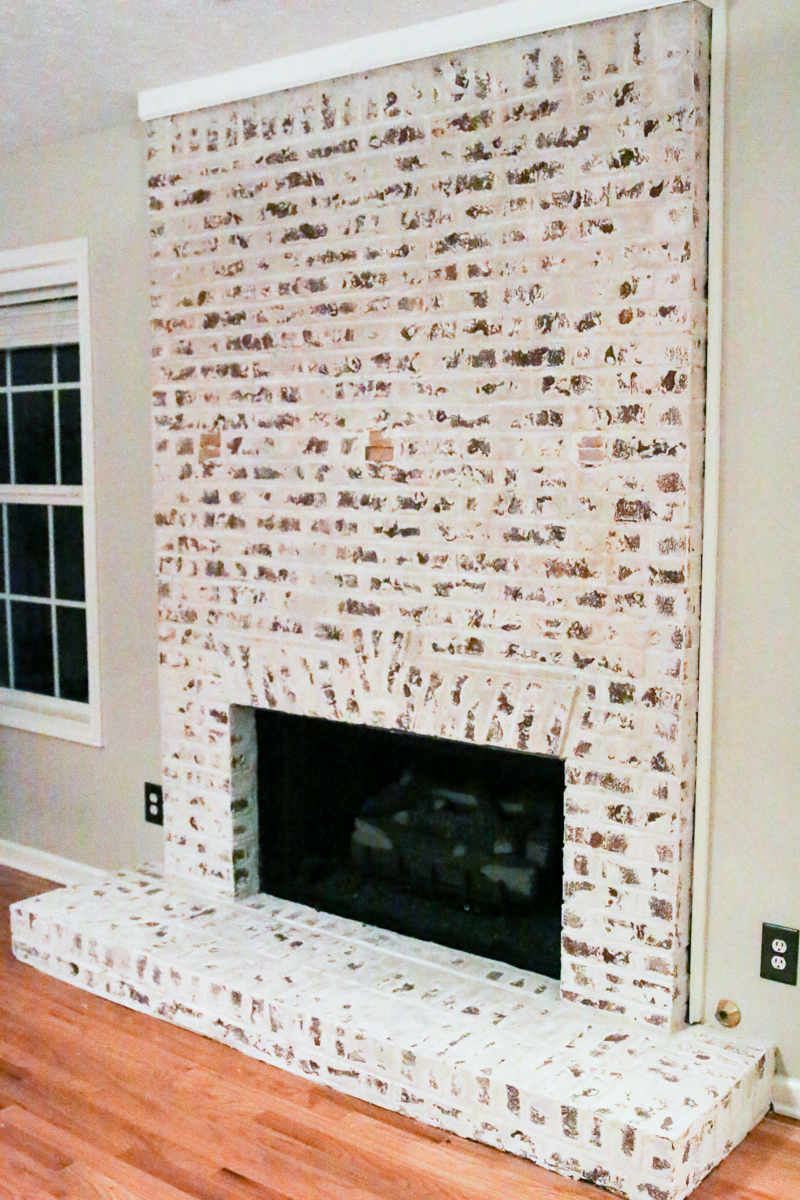
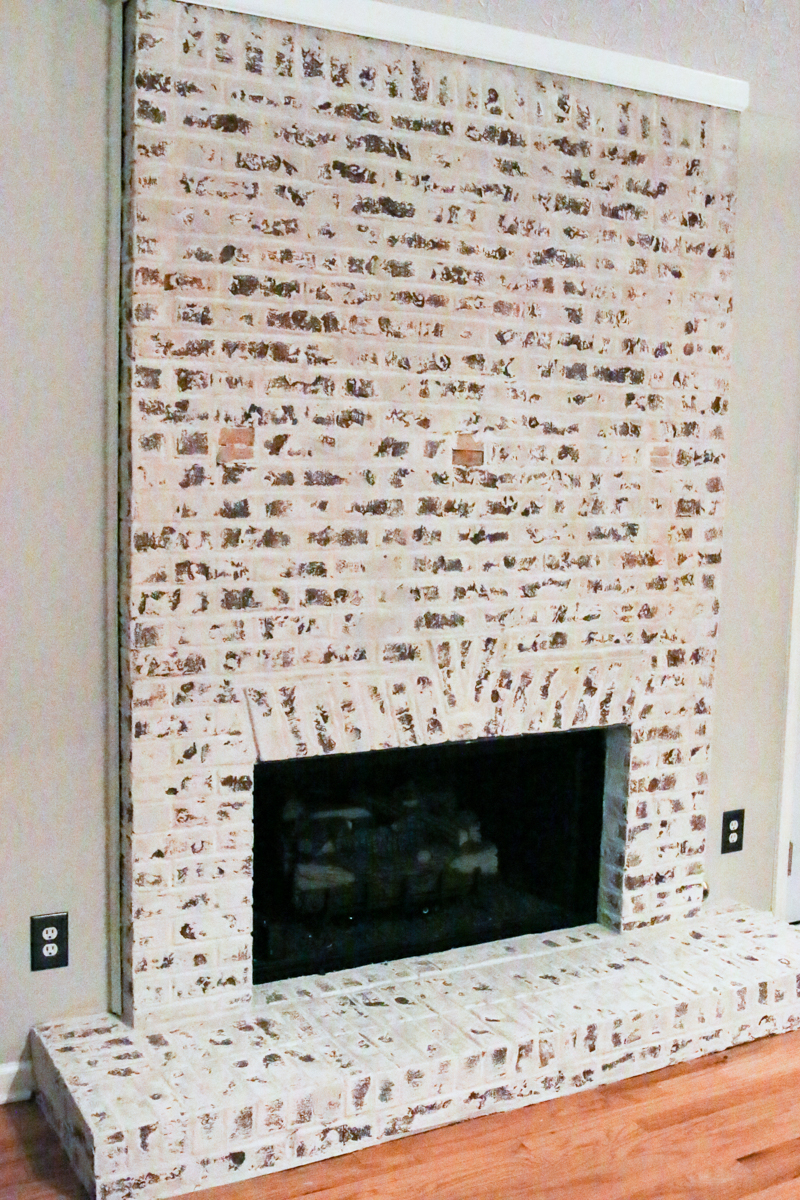
into this gorgeous fireplace….
STEP #1 – Gather your supplies
For this project we used the following :
- drill
- grout bag (it looks like a giant icing bag)
- bucket
- trowel
- gloves
- water
- white thinset
- drop cloth
- painters tape
- paddle mixer
Here is the links to the items we used:
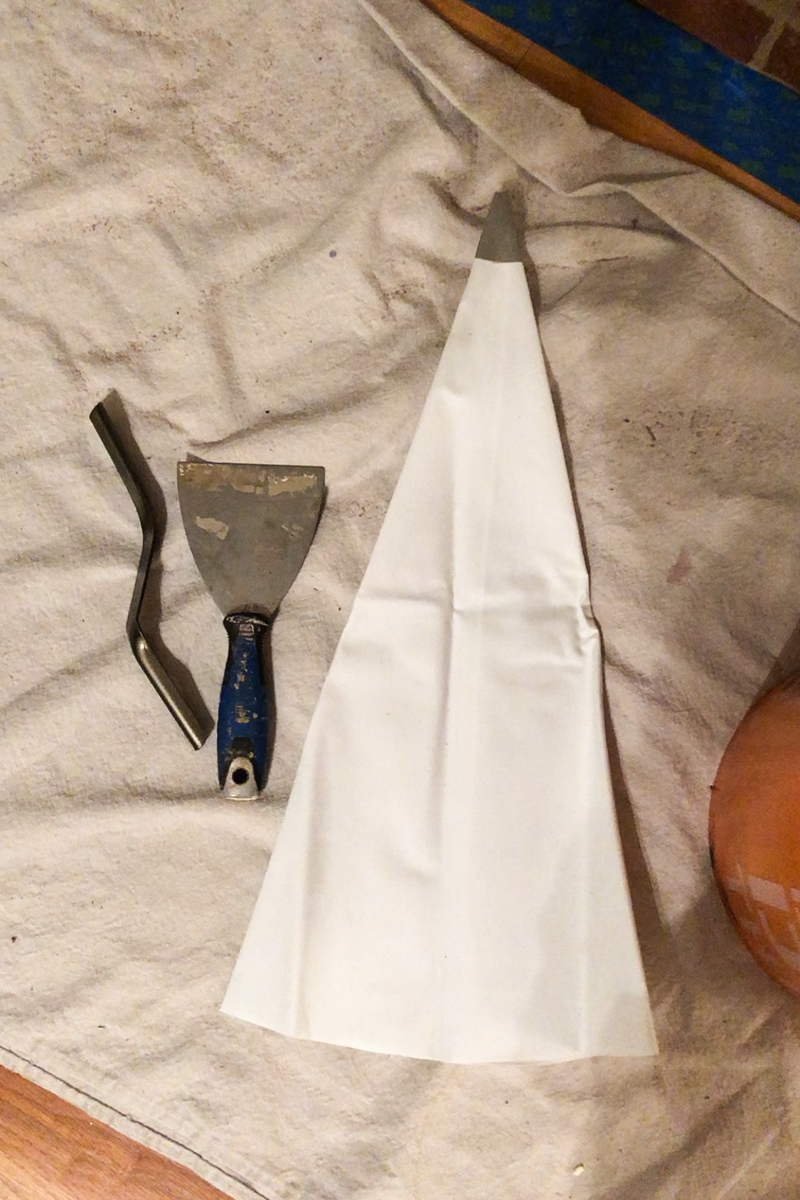
STEP #2 – Prep the Mantle
Courtney decided the existing mantle was not her jam so we talked about replacing it completely. The entire thing was too leggy, disproportionate and much more ornate than her clean style.
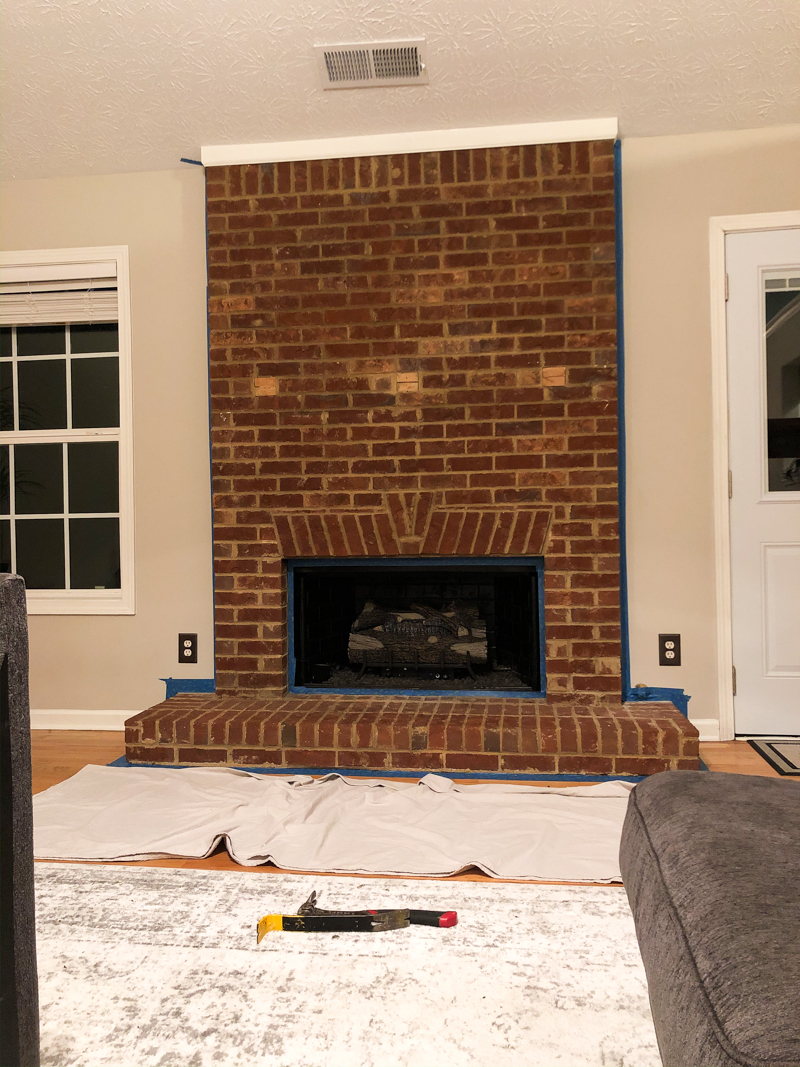
First we removed the existing mantle by unscrewing the two screws that held it in place. We brushed off the fireplace and vacuumed it so that it would be clean to start.
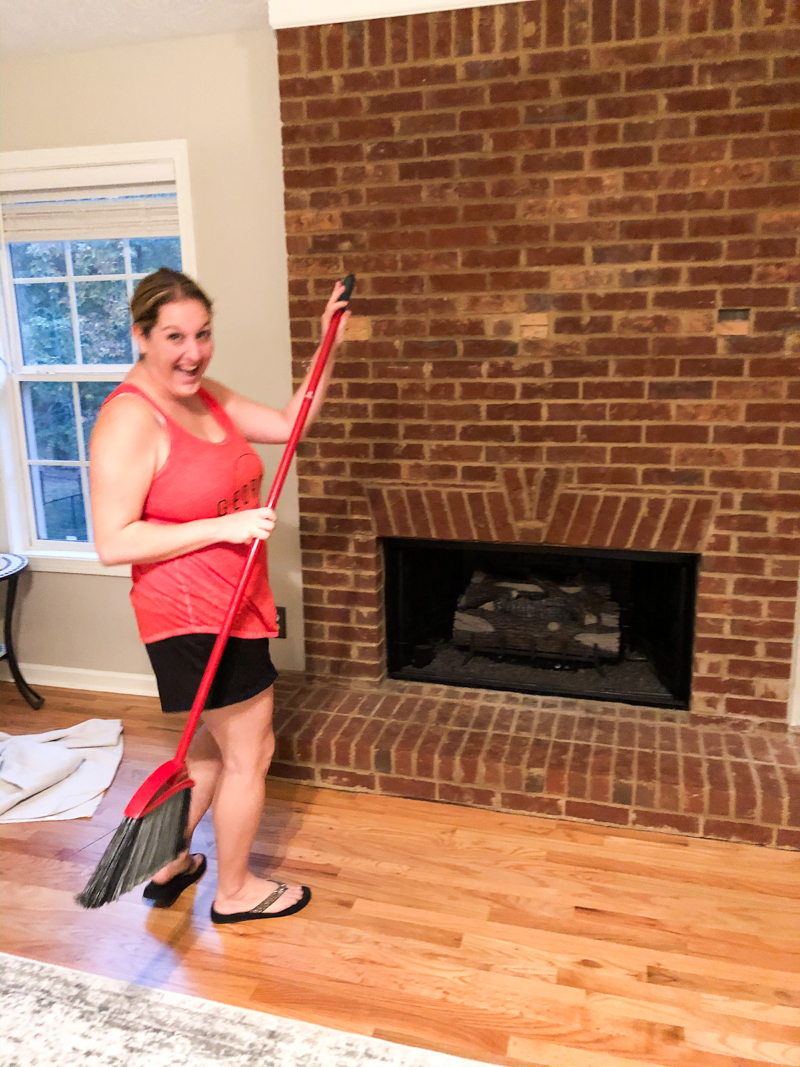
Then I taped around the wall and floor with two layers of tape in case we got a little shmear-crazy. It is a messy process so a drop cloth is really necessary!
STEP #3 – Mix the Mortar
The mortar we used was white thinset available in the tiling section. I got ours at Home Depot – it was
I mixed up about 1/8 of the bag at a time with some water. The key here is to get it extra smooth….kinda like a smooth peanut butter or icing consistency. I did it by hand for the first batch and it was hard to get it extra smooth so I highly recommend using a paddle mixer. Any clumps can clog up your grout bag and makes the process slower and harder.
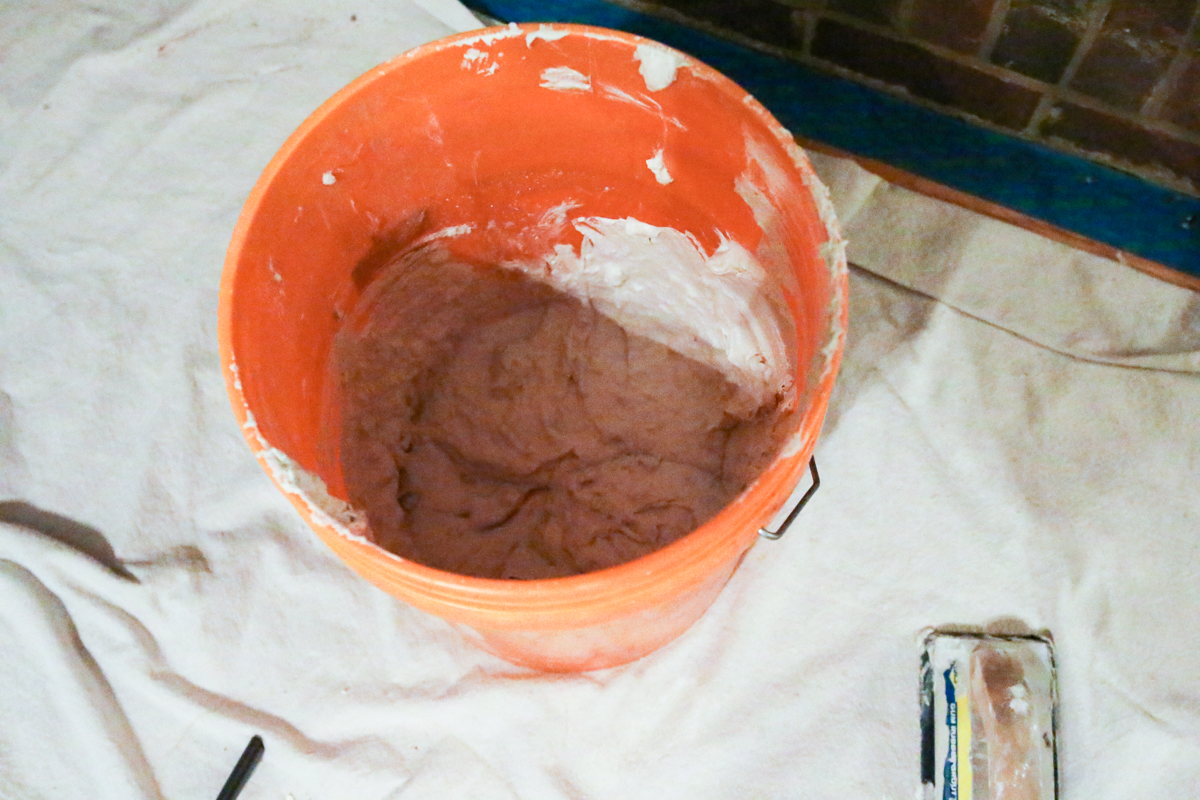
After your thinset is mixed, you need to fill your grout bag about 1/3 filled with the thinset. If you fill it more than that, it does become heavy for lifting and squeezing over your head. Trust me on that. Your upper body will thank me later 🙂
I simply plopped the thinset into the bag with a trough and then exactly like a cookie icing bag, you twist the end of the grout bag to keep it from getting out the backside.
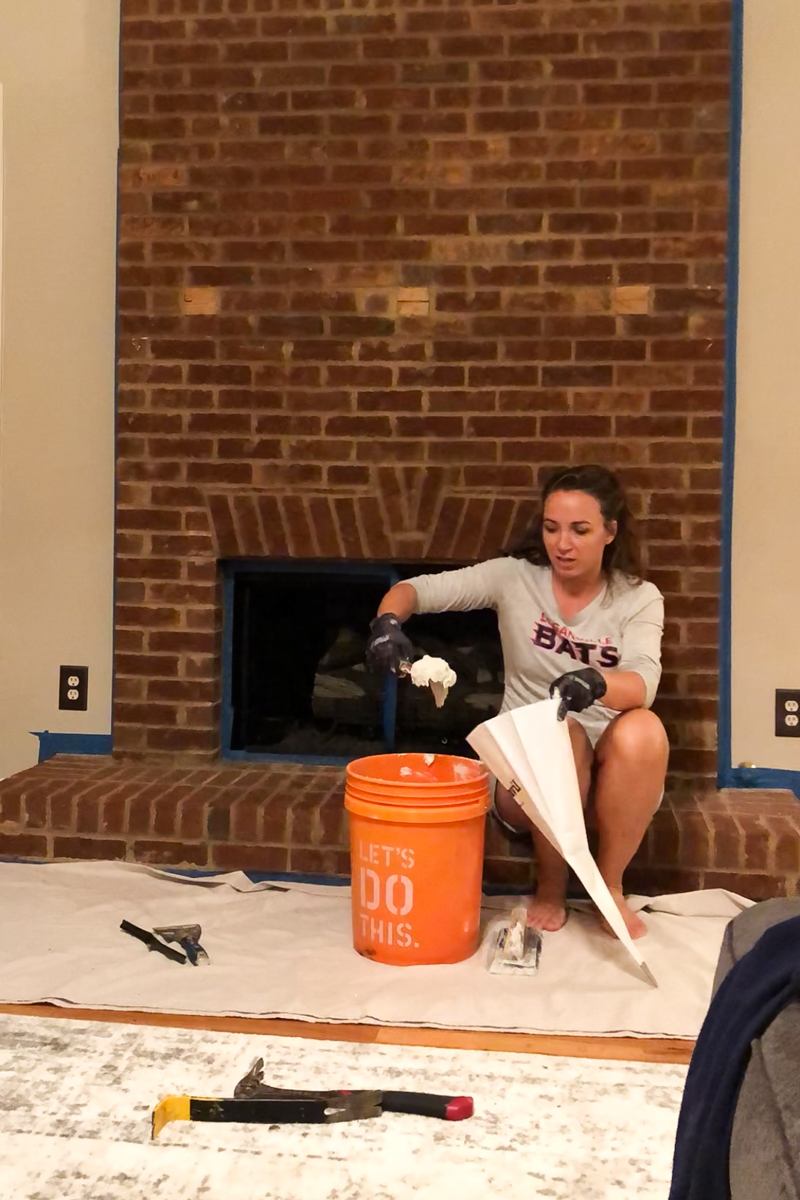
STEP #4 – Apply mortar on grout lines
Applying mortar on the grout lines is the next step and this is the part where you can start conservatively and add more to achieve your desired look. We looked at photos and both liked the heavier shmear look. So we applied a heavier amount on the grout lines.
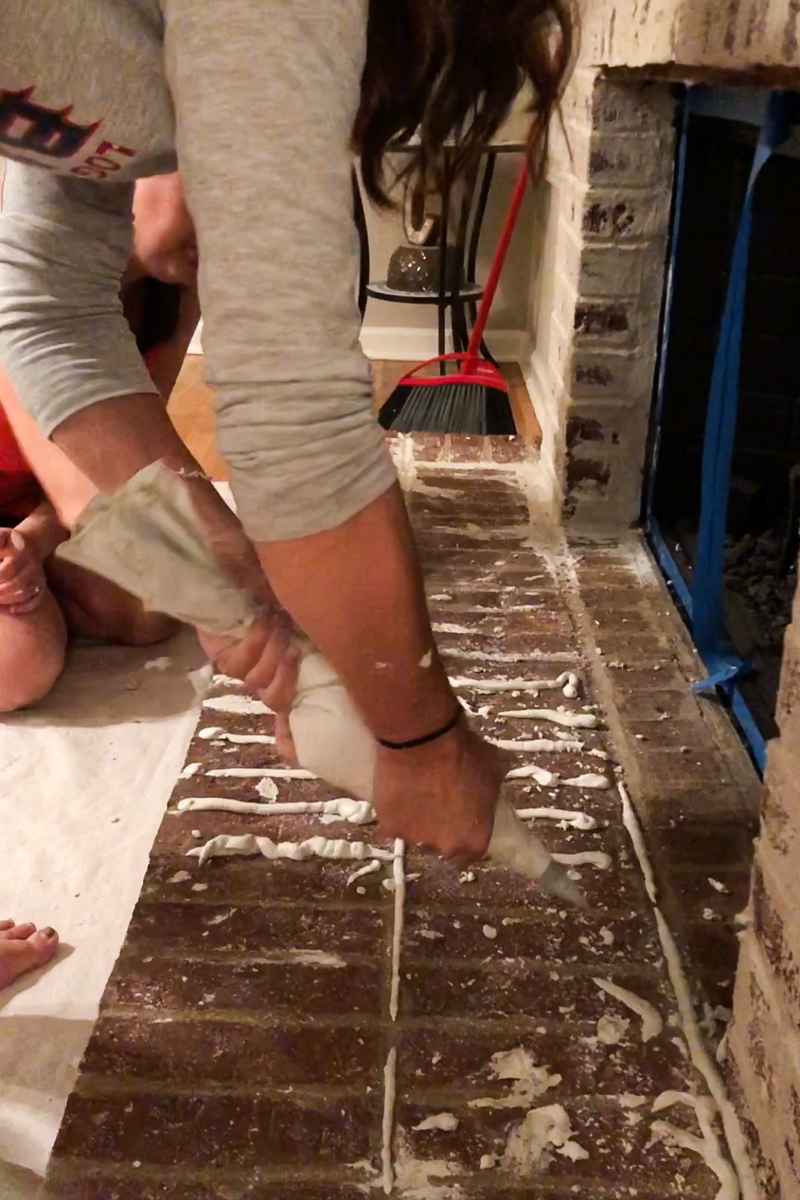
The key is to hold the twisted in one hand and then squeeze the grout bag with the other. It allows the thinset to escape the tip in a very specific line vs. applying with a trough.
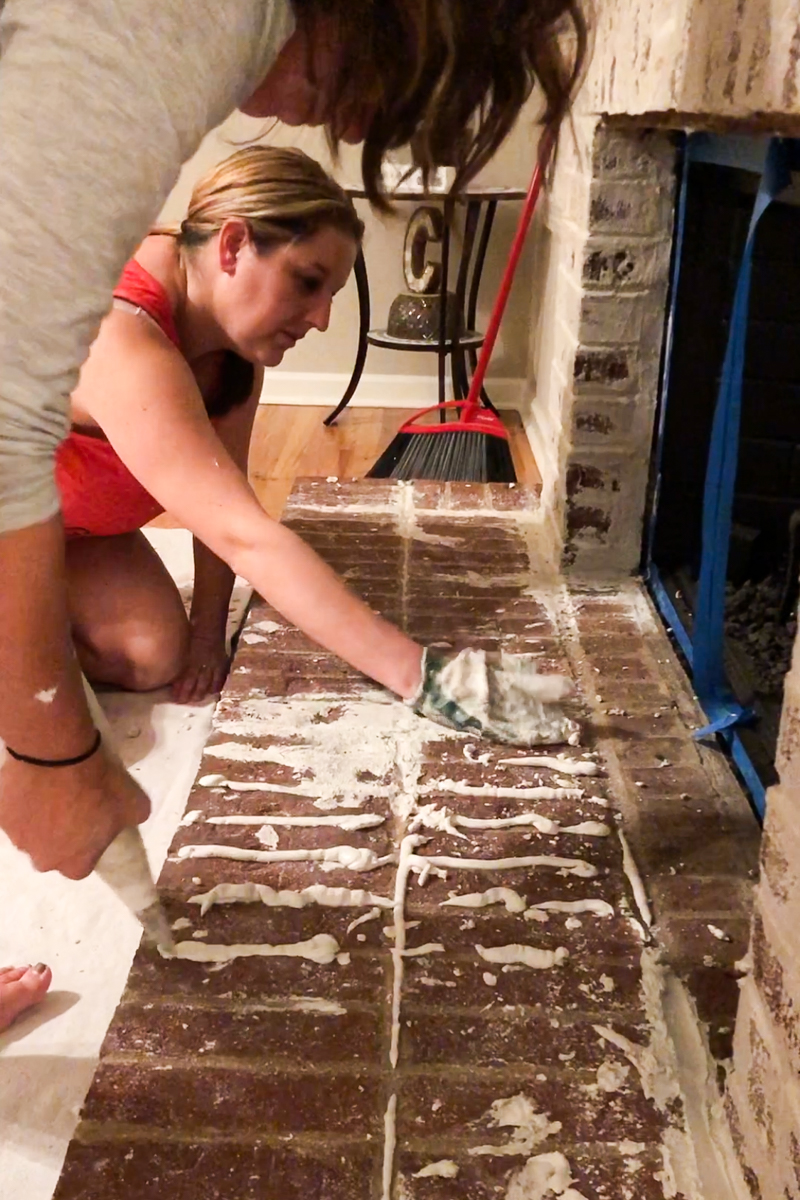
STEP #5 – Shmear the excess
The shearing process was the funnest part. It kinda felt like playing in icing 🙂 Using your hand, you simply rub the thinset into the grout line and smear the excess over the edges and face of the brick.
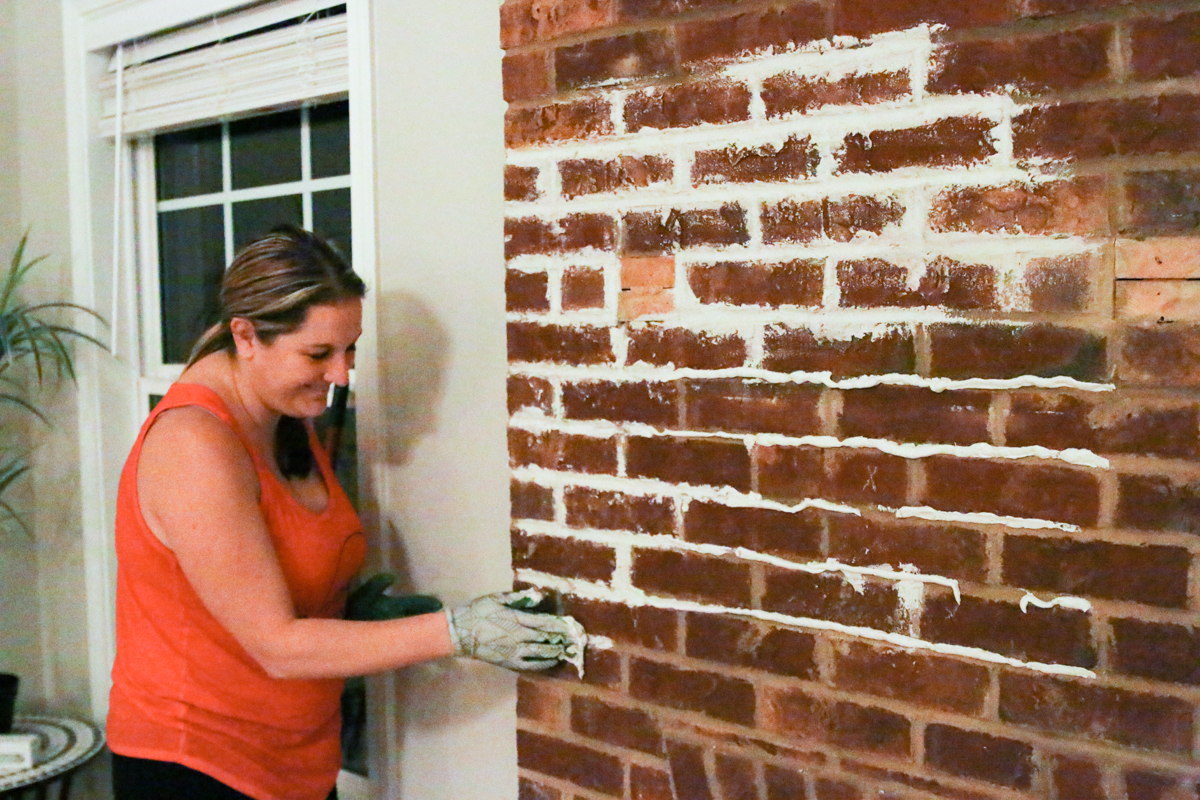
At first, it looks terrible….
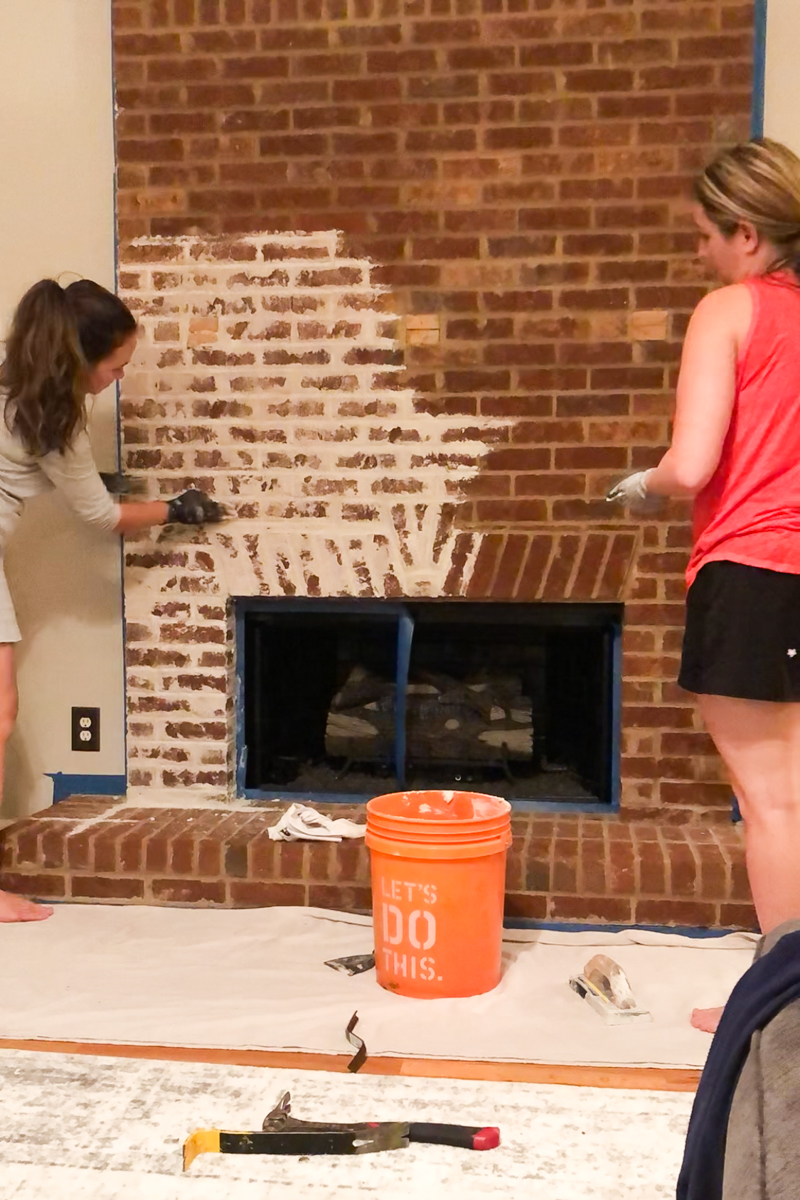
But as you add more and smear it in, it really becomes apparent the amount of exposed brick that you like. As you can see, we did the left side with a heavier surface smear….and the right side still had more brick showing. I would go back and add more wherever needed.
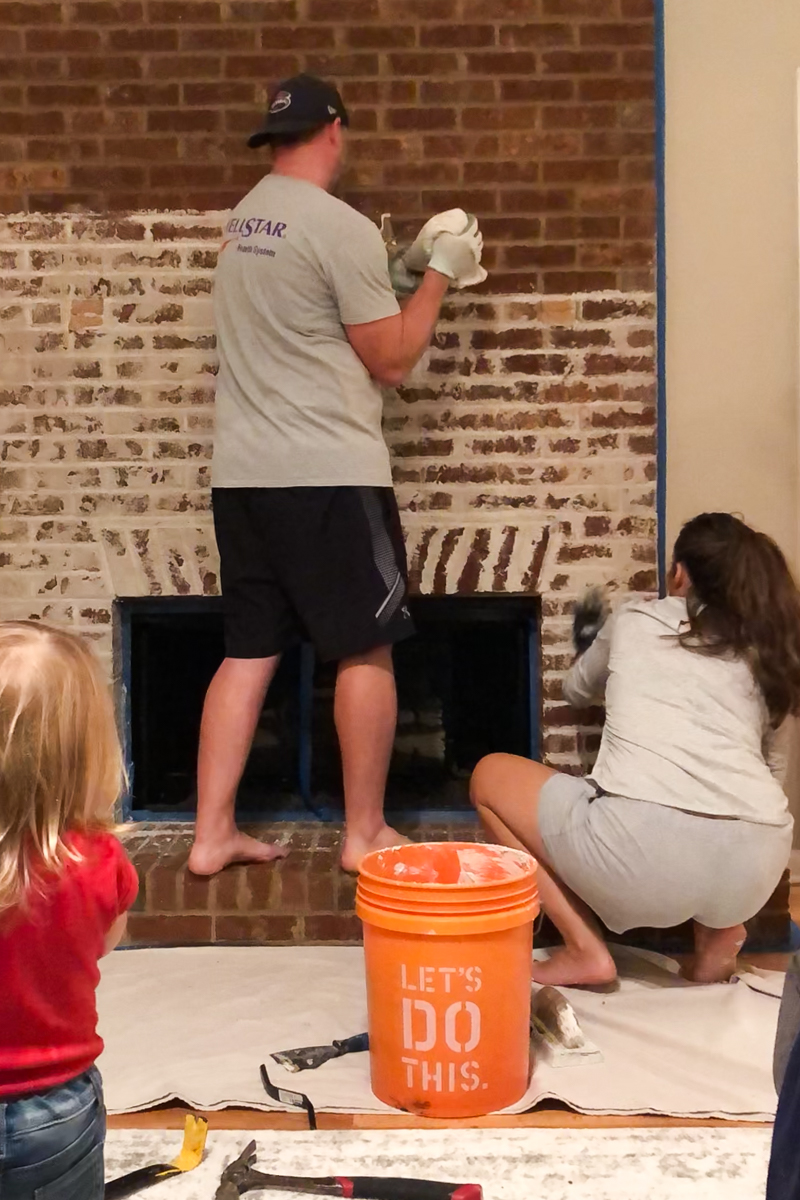
The total process took us about 2.5 hours for the three of us. And mostly because we were also filming and taking photos of the process. I am sure we could have gone a lot faster knowing what we do now.
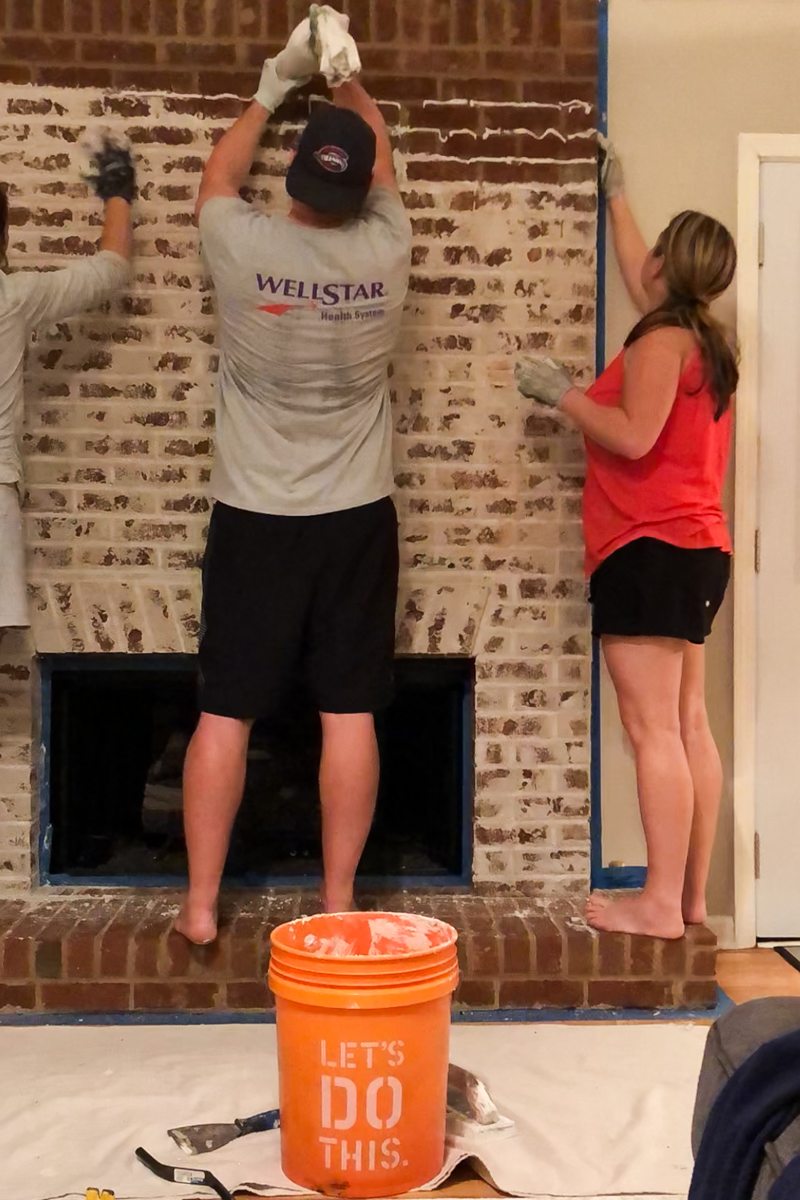
I wanted to share my best tips with you so that your project can also be successful….so let’s go….
Bower Tip – remember to have heavy duty gloves for the smearing process. Rubbing hard on the brick surface can tear up your hands really quickly and rip through gloves as well….so either have extras or choose heavy duty ones that you can toss later.
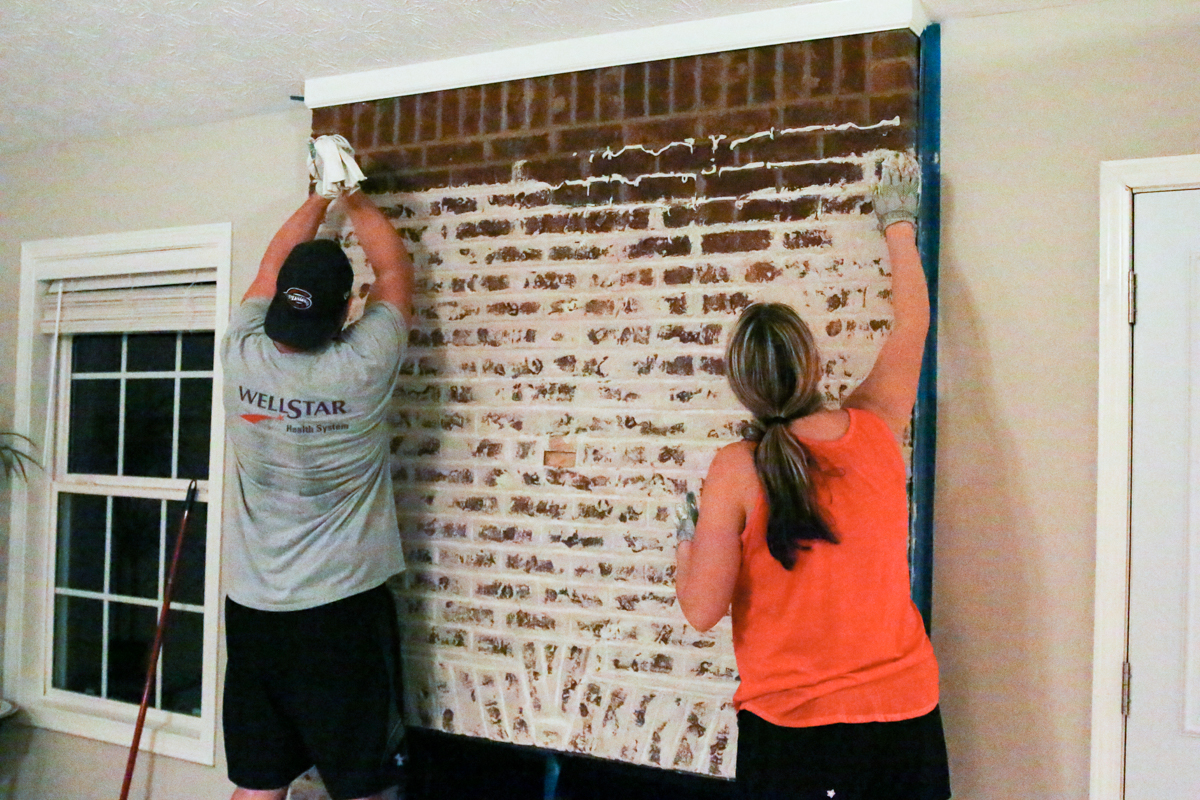
Bower Tip – Get the thinset all the way to the edges of the brick and use a trough to sneak it behind any trim. The key to make it look really finished is that the edges are done well.
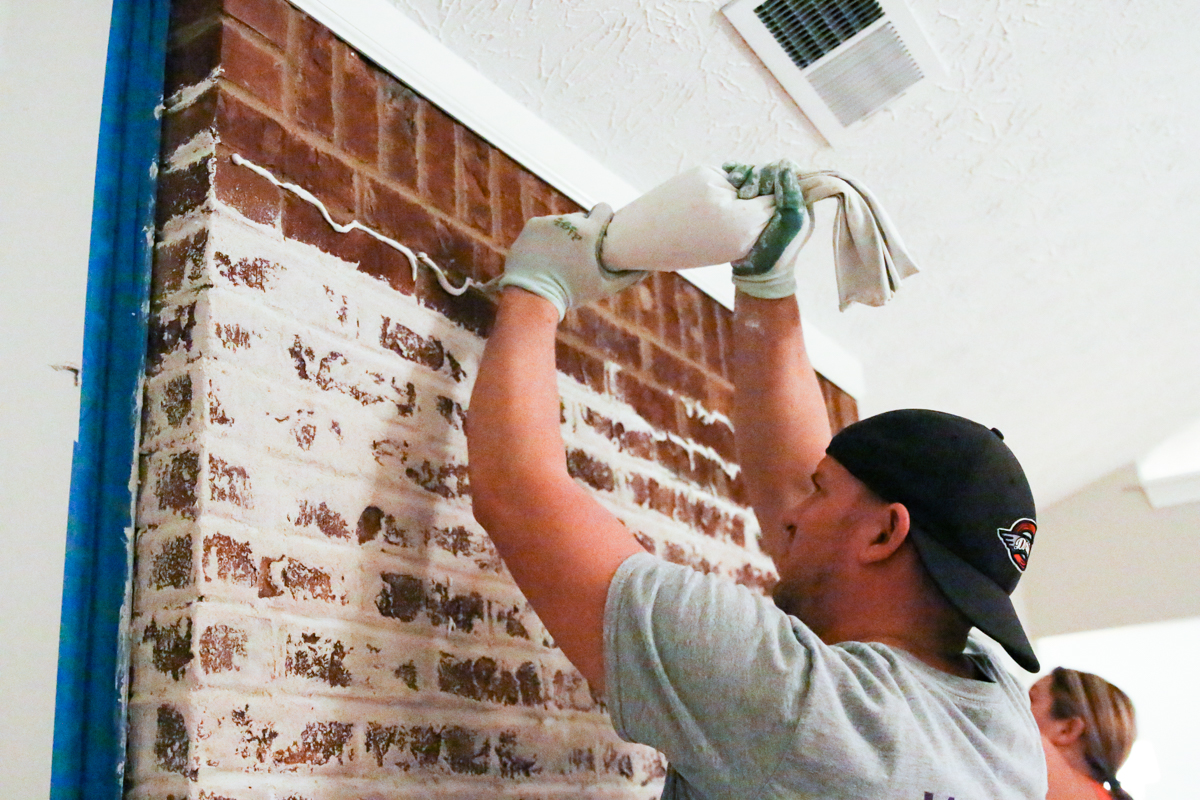
Bower tip – use your finger pads to recreate an indented grout line. Pushing that thin set in just a bit really makes the finished product look the best. If you don’t recreate the grout line, it takes away from the appearance of bricks….which you still want. Also step back from the fireplace and view at different angles throughout the process. This allows you to see what areas need more mortar. Sometimes the bricks can have a whole section that doesn’t have enough surface mortar to add variety.

The final step is to let everything dry for at least a couple days and cure. And just for kicks….the before one more time….
and the after –
After we finished, I helped them rearrange their sectional so that they could have a better view of the fireplace. They were so happy to have an open airy view of this beautiful centerpiece! So much better right?!
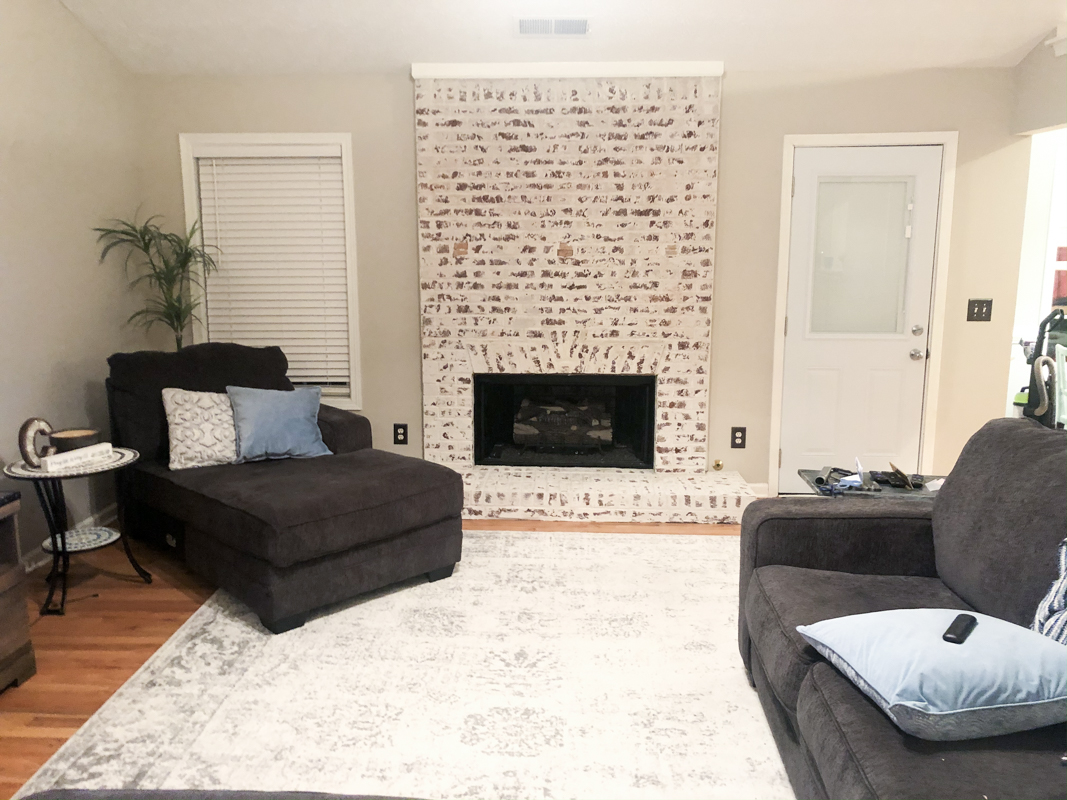
And just in case you were wondering, we have plans for a beefy modern mantle that will add a more modern feel to the space. There was no chance I would let them put the original back on! Also I haven’t shown Courtney this yet but I am gonna talk her into adding curtains and painting the door. I think it would add a lot more sophistication to the space and make it look more finished. Here is a rendering in case you were wondering what that would look like
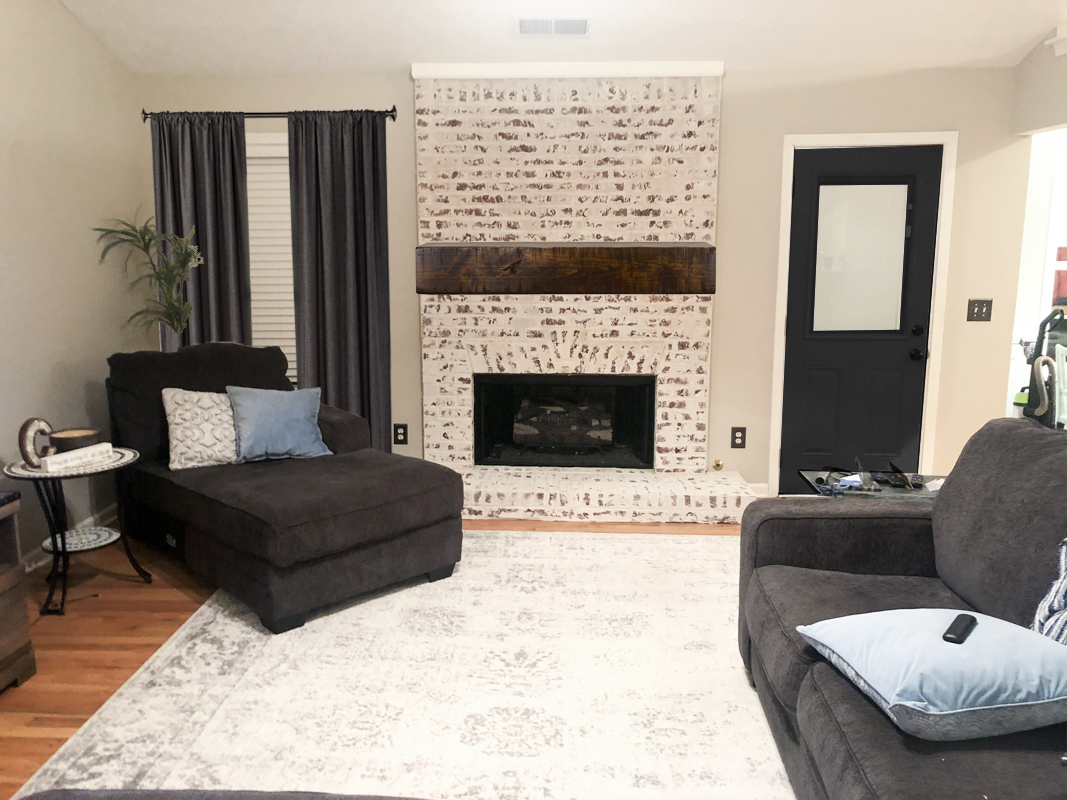
In the end it was a super easy diy and one that had a huge impact on the room. Stay tuned till we get done with the mantle! I’ll be sharing that here too!
