Disclaimer – This is a sponsored post brought to you by Canon. All opinions are 100% my own.
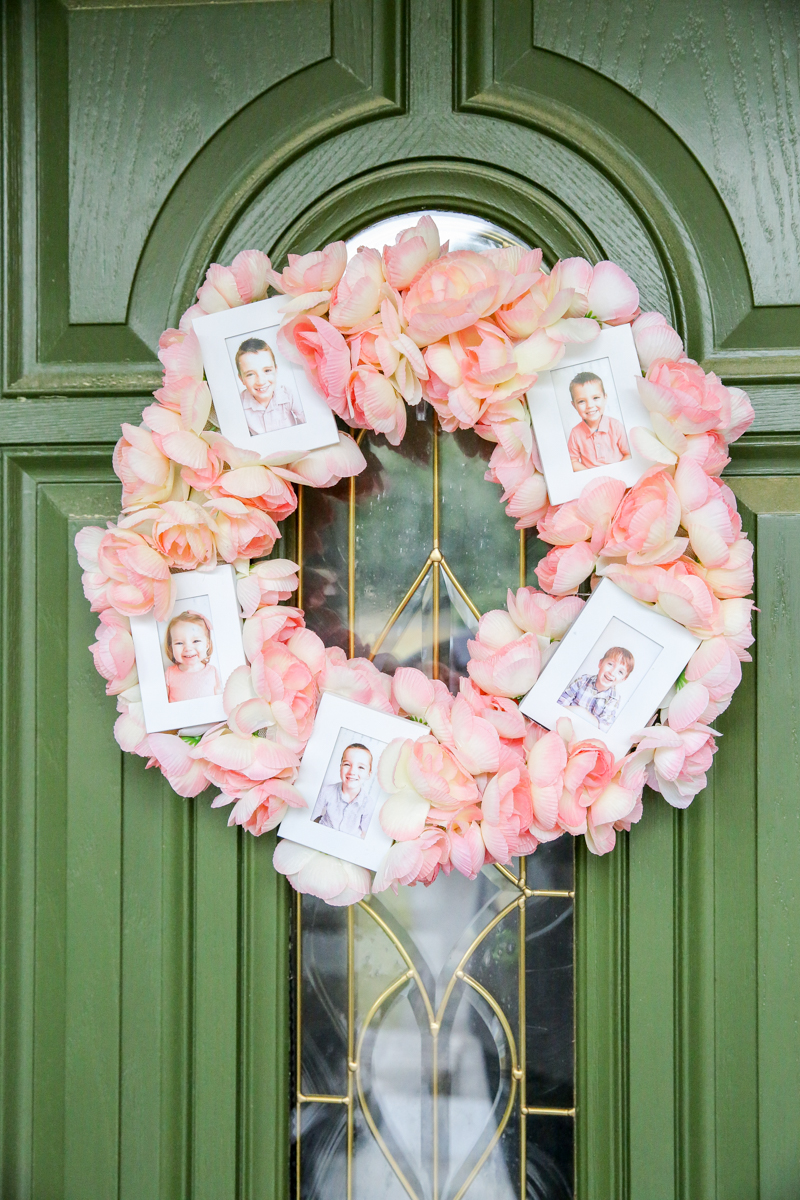
I’m always up for making a seasonal wreath and this one is super fun! I put together two of my favorite things – fake plants and photos to create a floral photo wreath that is worthy of your front door. It makes a great grandparents gift or an indoor wreath. This would also be sweet for a birthday party decor or even a Mothers Day gift! Either way – let’s SPRING into action and make this floral photo wreath.
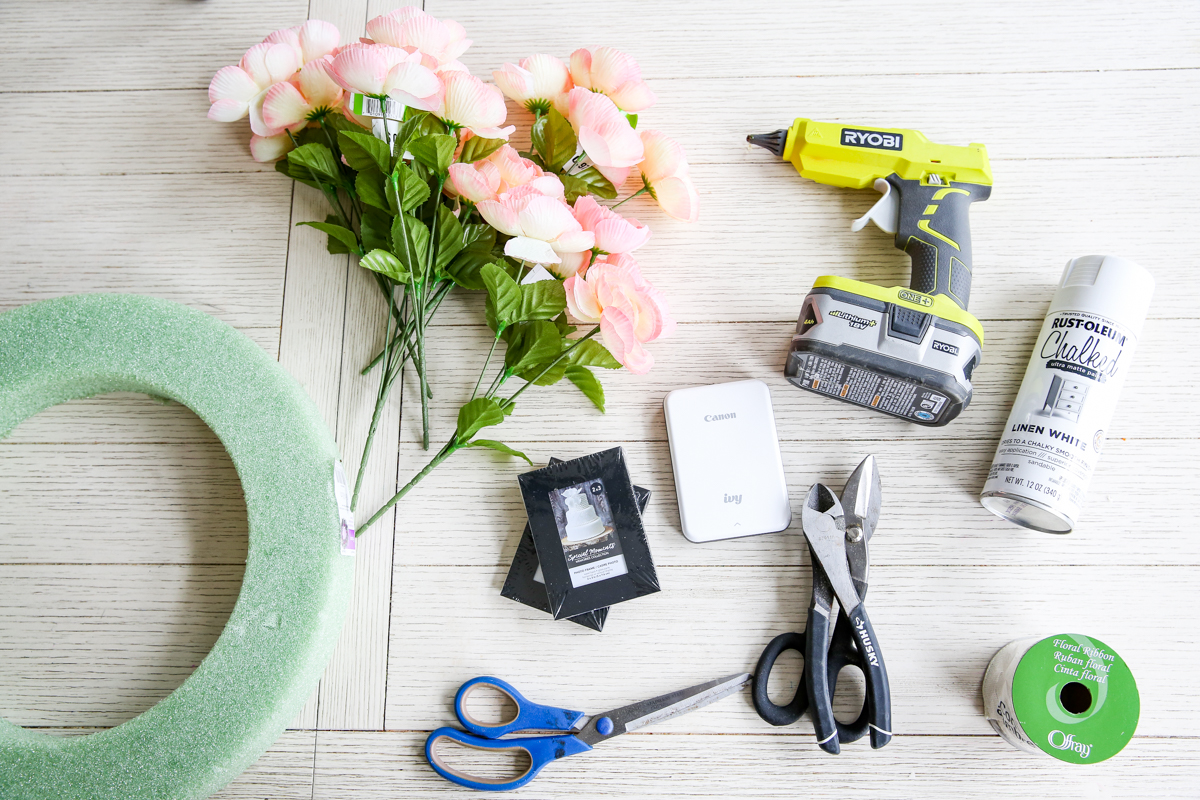
First gather your materials. I used the following:
- 14″ foam wreath form
- 14 fake floral picks from Walmart
- 5 photo frames from Dollar Tree
- Wire snips
- Scissors
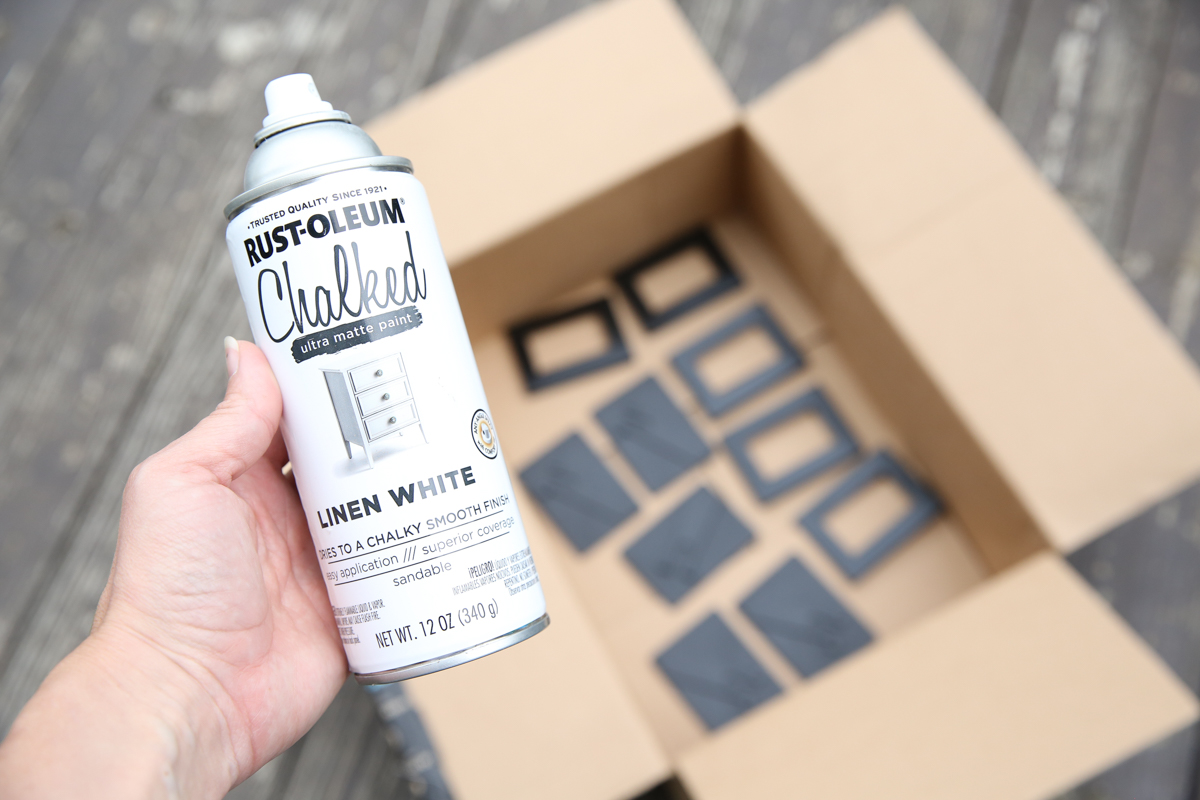
- Rust-Oleum Chalk Paint spray paint in Linen White
- Wire floral ribbon (2 rolls – 12′ long each)
- Hot glue gun
- IVY Mini Photo Printer to print wirelessly from my phone
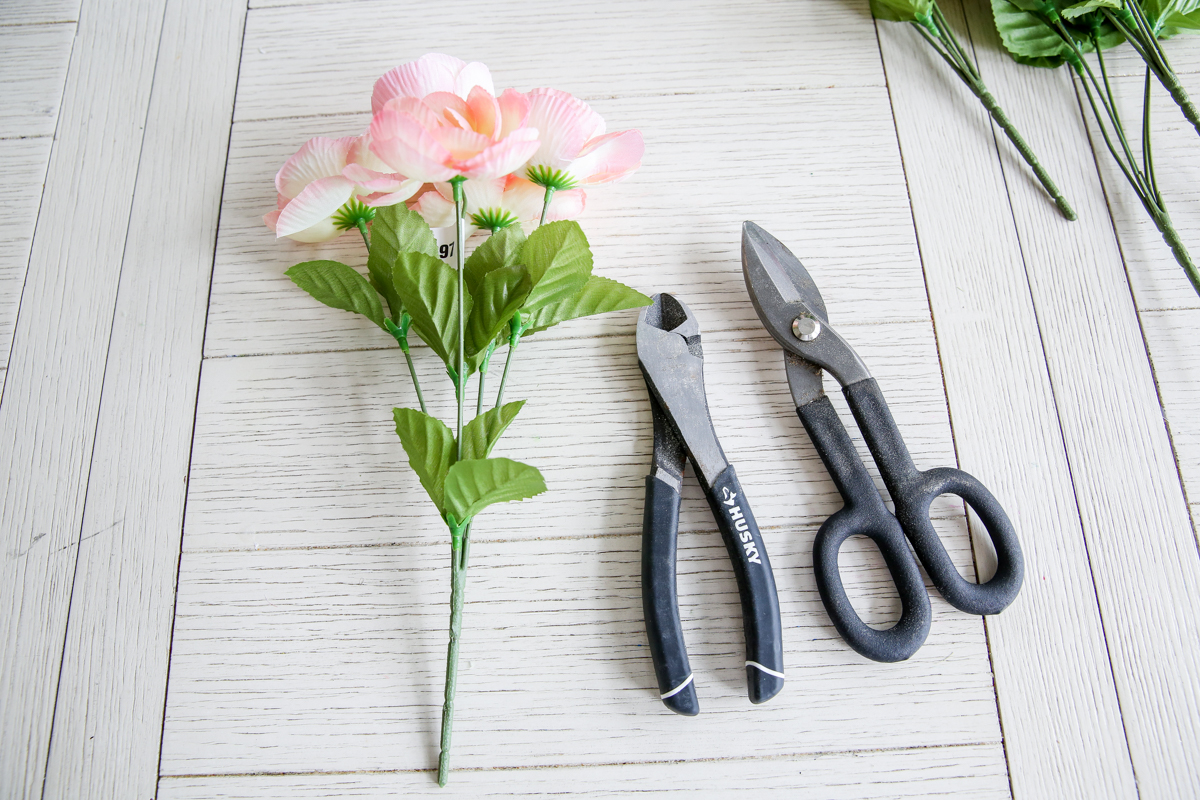
The first thing I did was cut all my blooms off the floral pick. I pushed the leaves all the way down and clipped to give me a 4-5″ stem. I discarded the leaves and the connecting stem bottom. After I did that, I had roughly 70 blooms to attach to the wreath form.
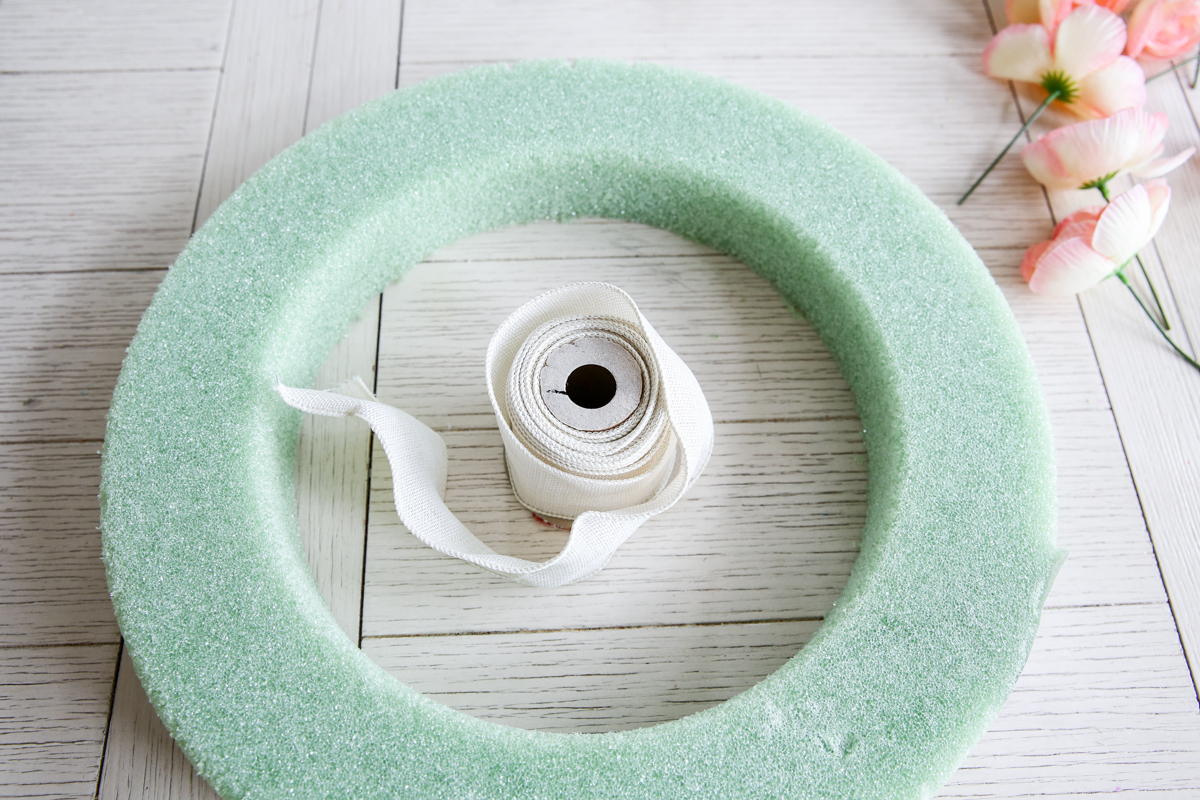
The wreath form is foam and you want to attach your ribbon to it by wrapping the end around and securing it to itself with hot glue. I wanted the entire wreath to be wrapped with the ribbon – I think it looks a whole lot cleaner and more professional that way. But I’m also using the ribbon to secure the floral pieces.
After wrapping the ribbon around the foam a few times, you want to lay 3 stems down and then wrap the ribbon around the stems.
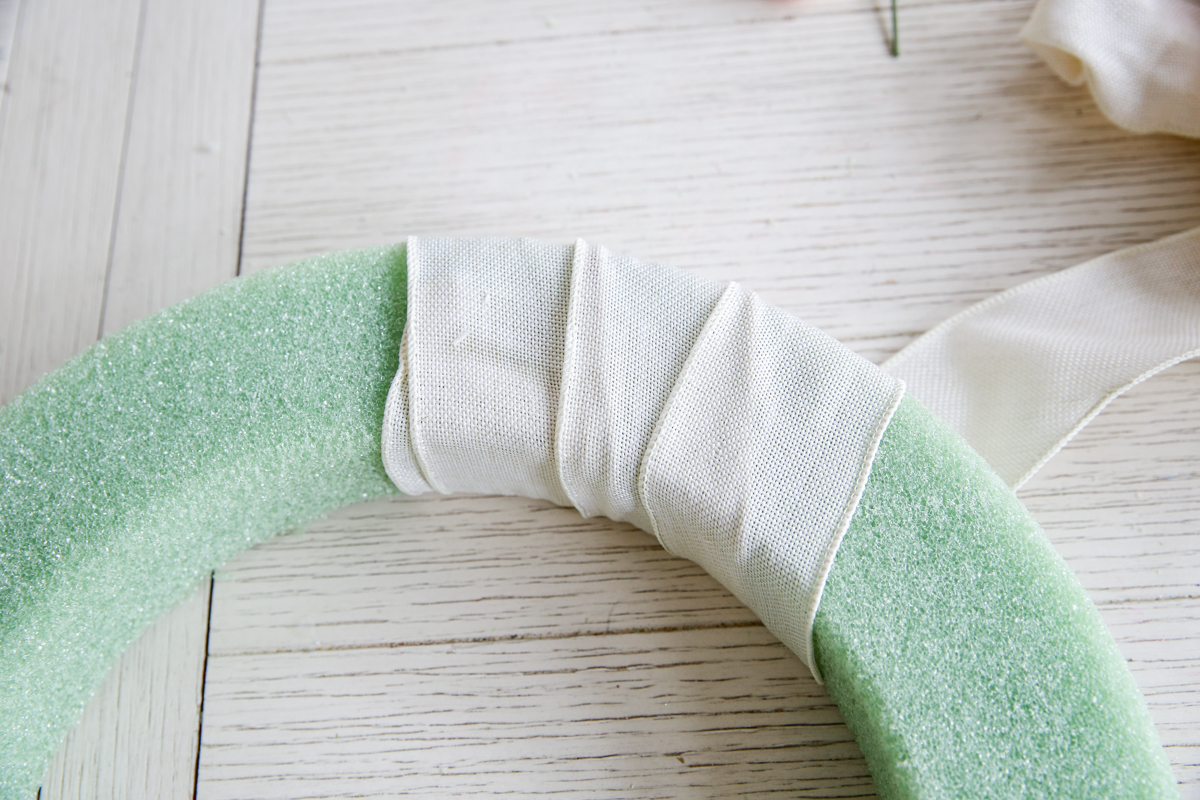
This secures them to the wreath while still allowing a lot of flexibility. If one area is too full of blooms, you can still remove it easily.

The blooms are laid in small clusters and then the ribbon is wrapped over them taking care to slightly overlap the edge of the previous section.

Eventually you work around the entire form until the wreath is completely wrapped and completely full of flowers. Secure the end of the ribbon to itself at the end with more hot glue.

Next we are gonna do the photo frame part. I got these mini frames for $1 each at The Dollar Tree. The size was perfect but the black wasn’t whispering sweet spring nothings in my ear.
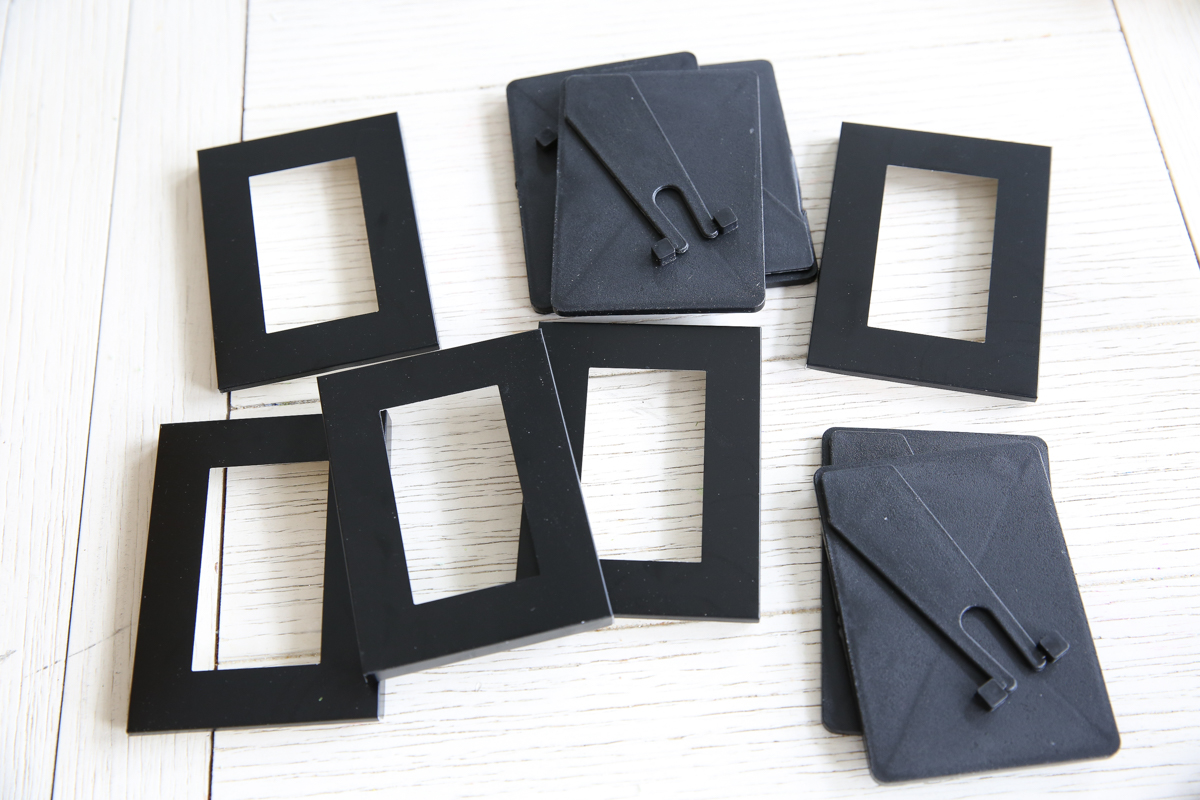
Nothing a little chalk paint can’t handle! I simply spray painted several light coats of paint on the fronts, backs and sides of the frames using this Rust-Oleum Chalked paint in linen white.
My favorite part is that the frames were the perfect size for the prints from my little pocket printer – the IVY Mini Photo Printer. It is completely wireless and I can print directly from my phone. You heard me. It’s incredible.
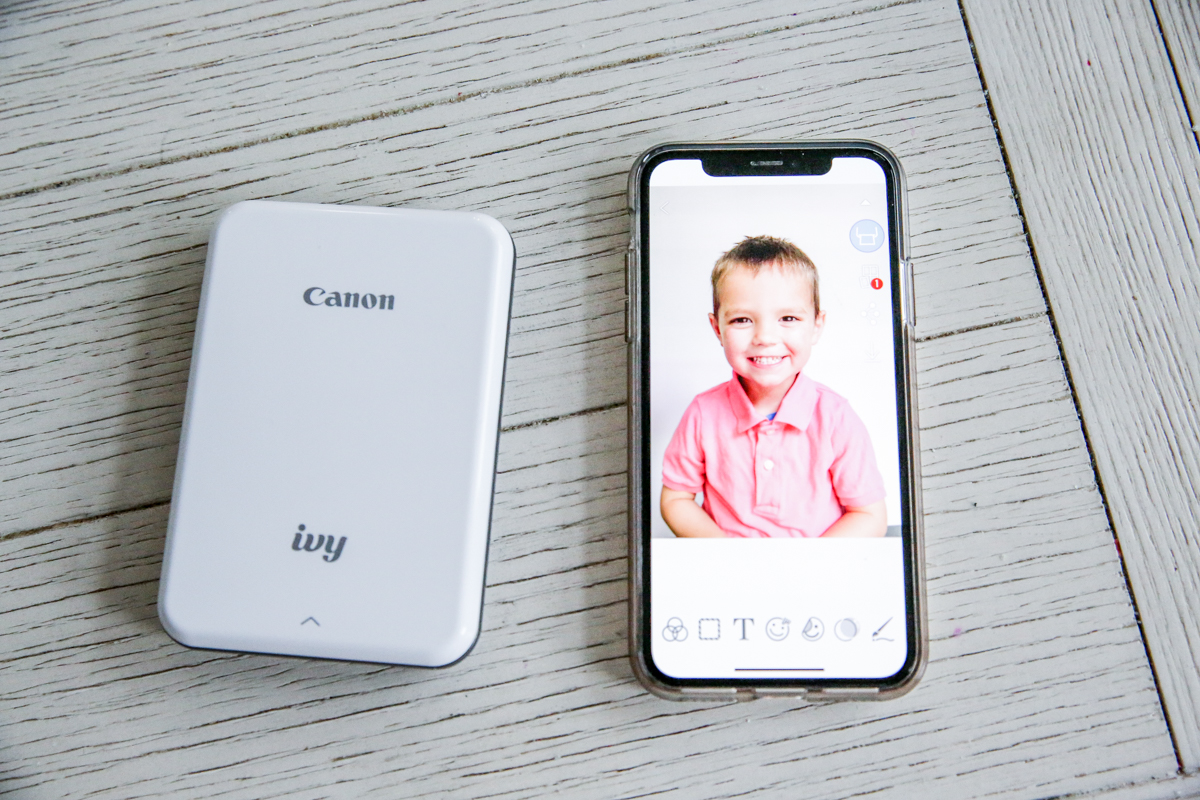
The prints are perfect for any small frame – oh and did I mention that the paper it prints on is also a sticker?! Think about all the times you could use that!

After the prints were popped into the newly white frames, I simply squished the flowers to the side on the areas I wanted the little frames to live.

I secured them by adding some hot glue to the back of the frame and then holding it against the ribbon until it dried just a bit.

The end result is a very sentimental and personalized spring wreath!
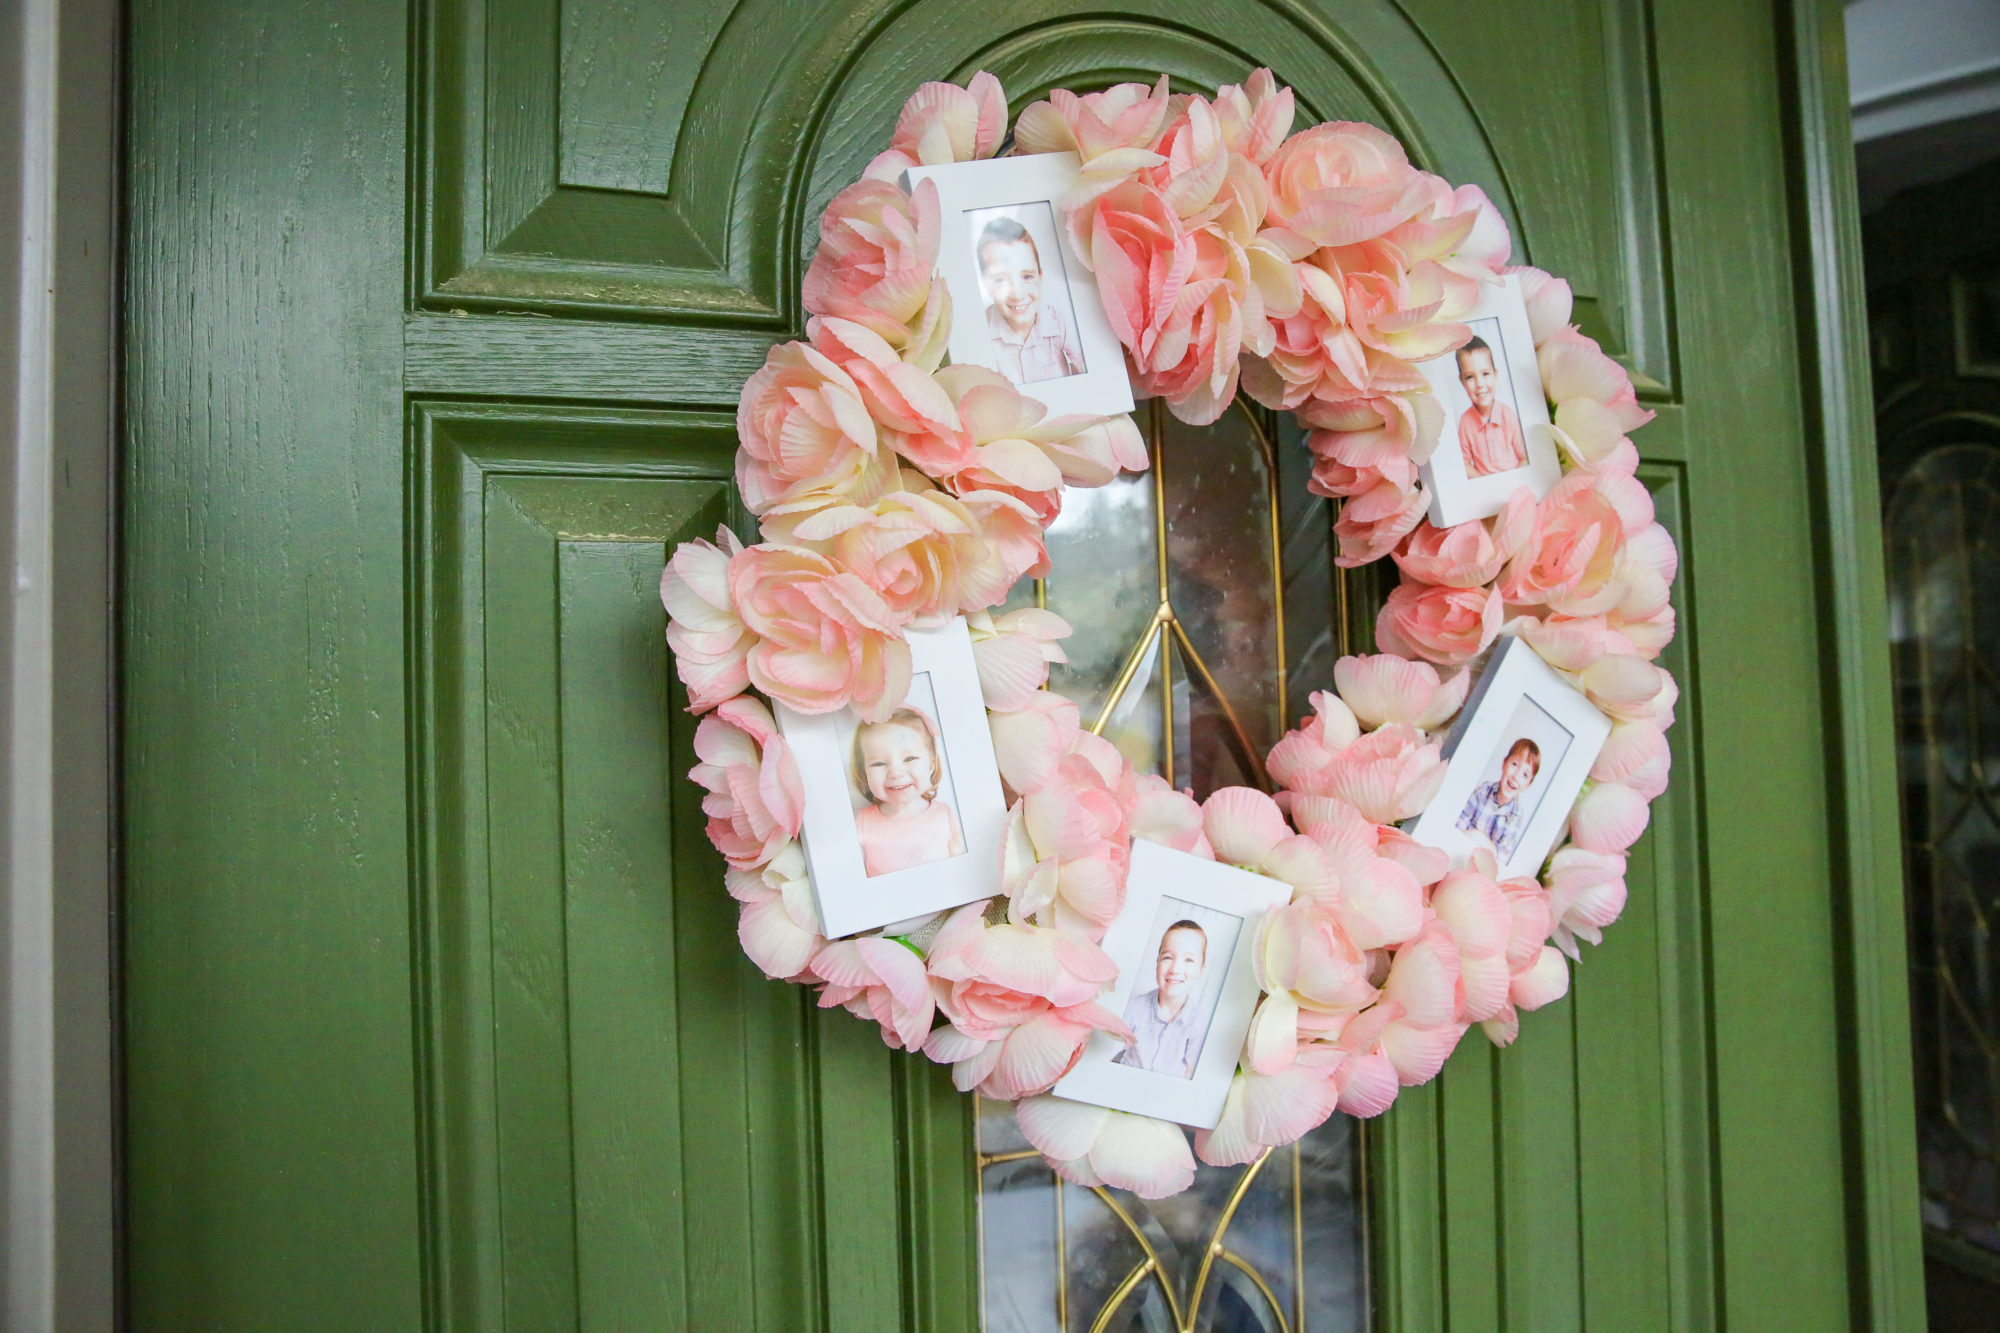
Not only does it make me smile but the kids love it too! They kept saying….its a kids wreath!
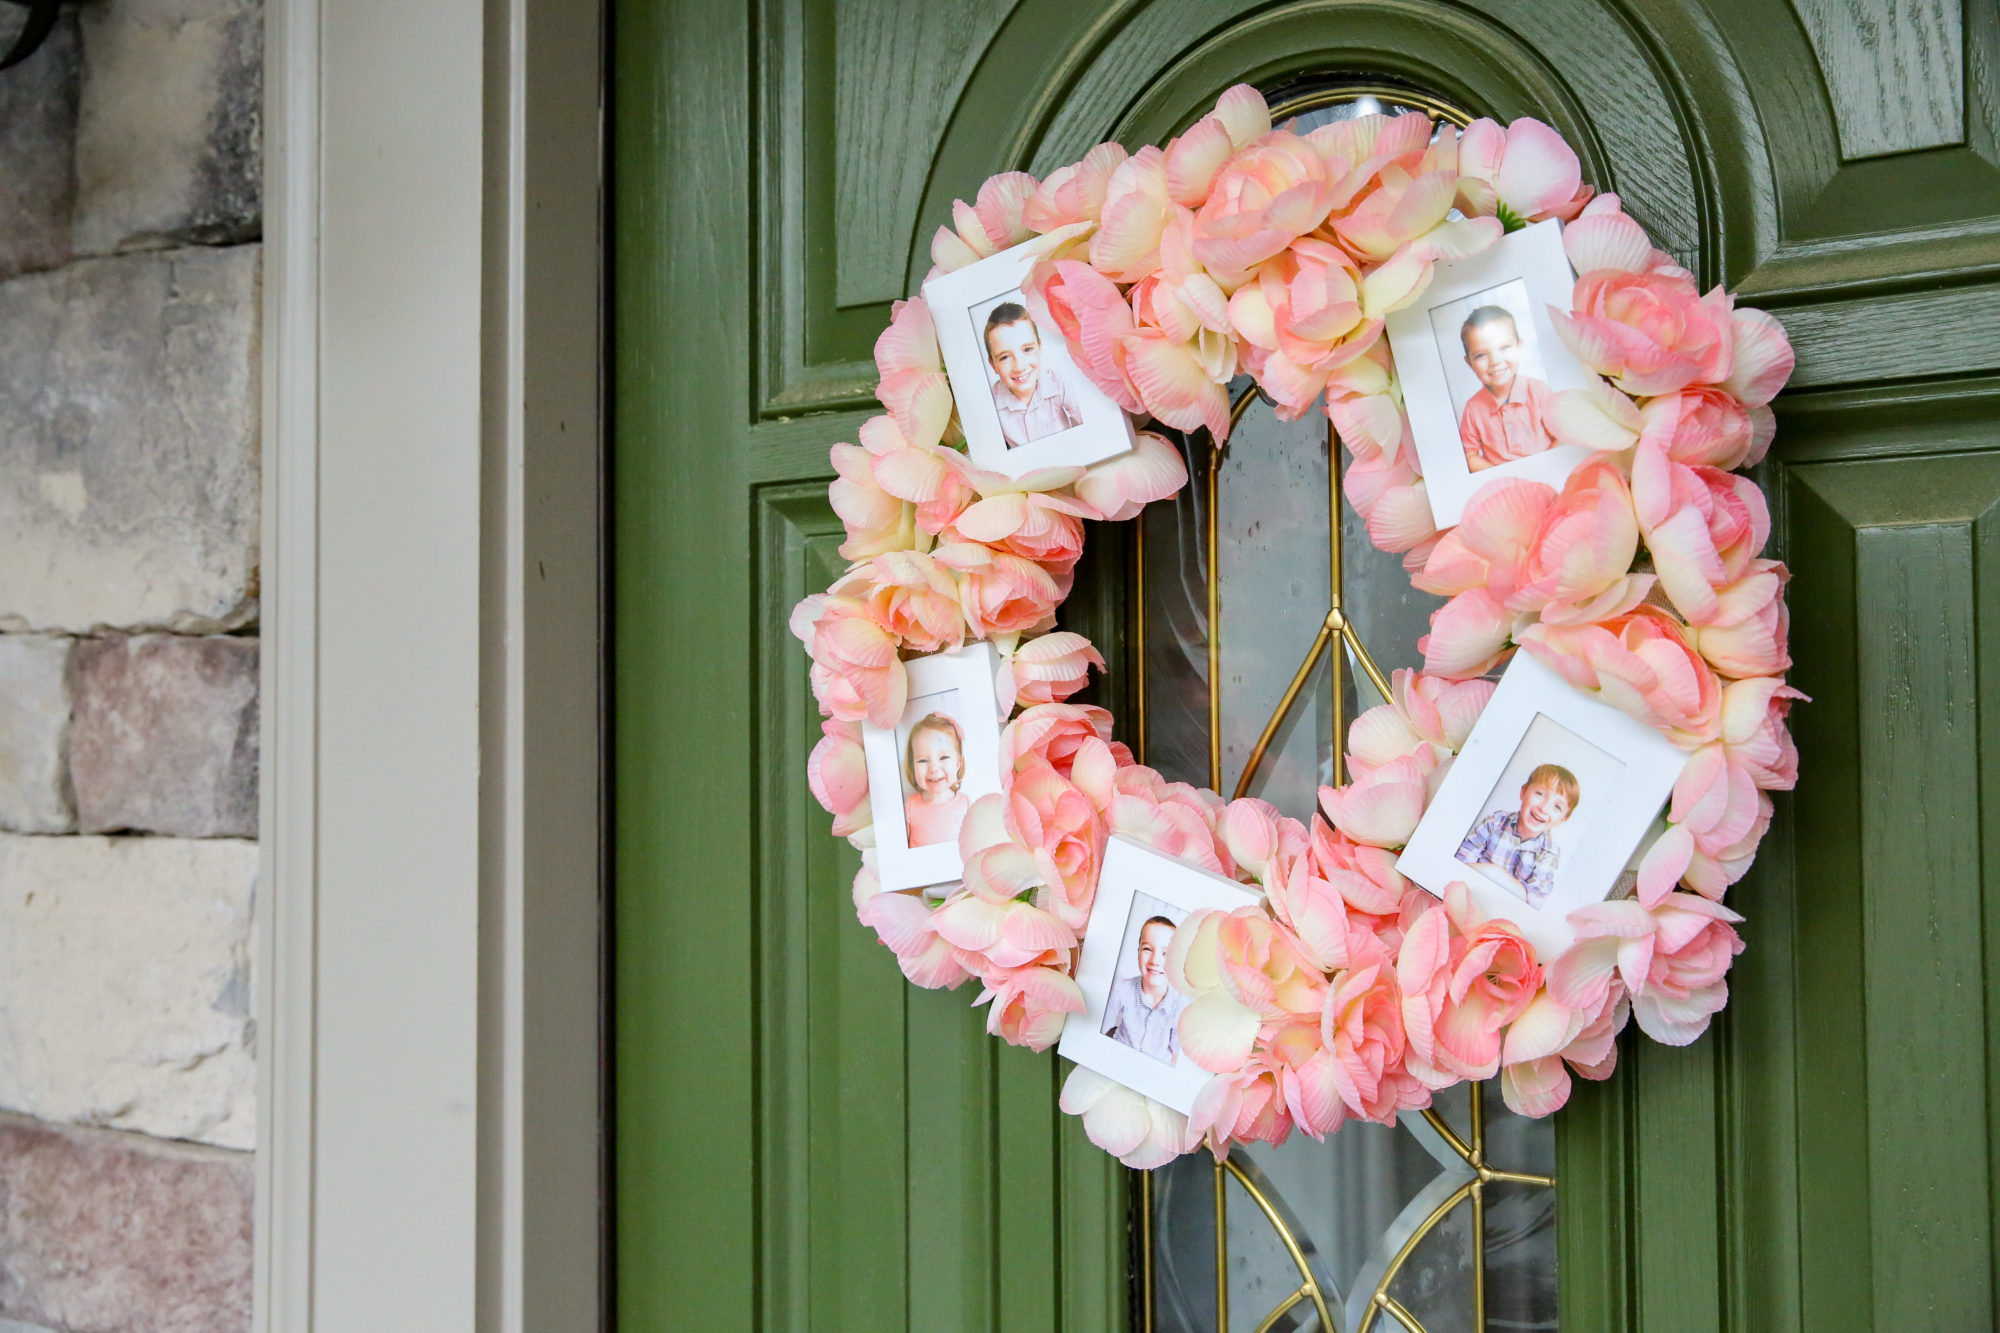
Overall – a great way to remind us that a new season means celebrating the best parts in life….flowers, babies and home decor 🙂
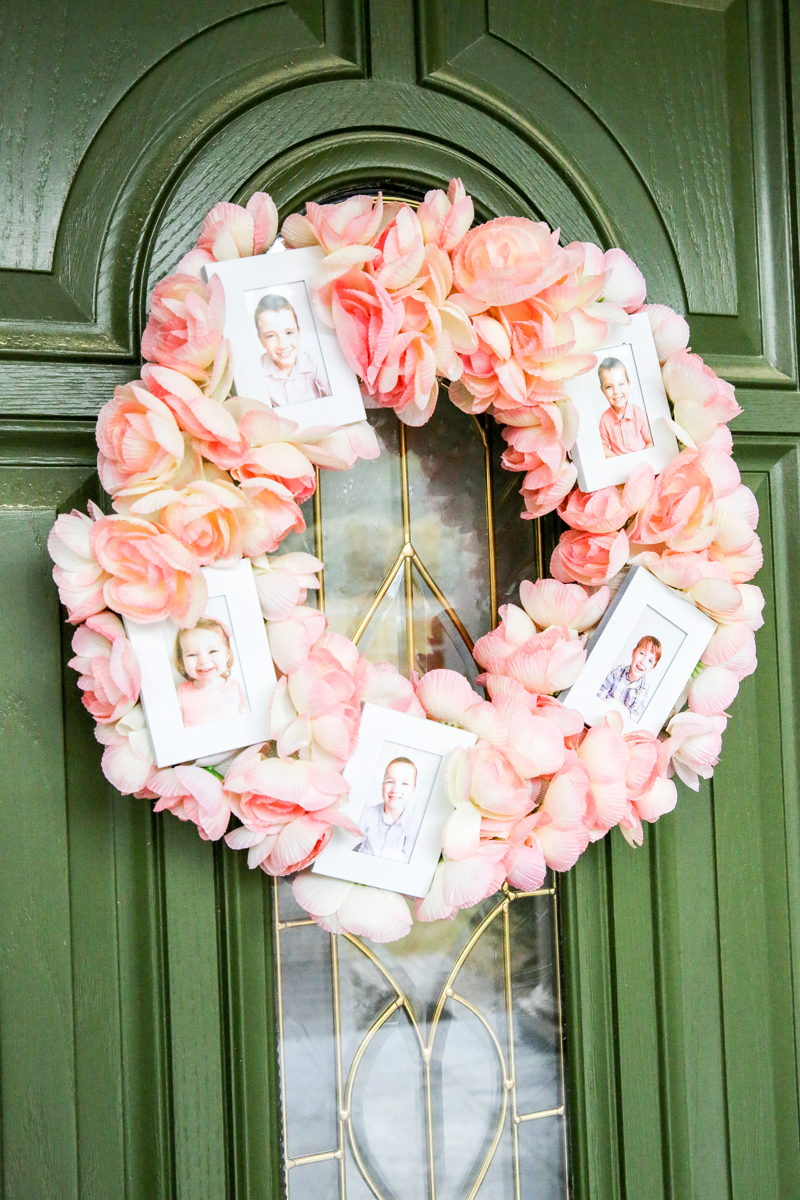
And if you want to watch the video – here is the how-to in action….
Happy spring crafting my friends!
This is a sponsored conversation written by me on behalf of Canon USA. The opinions and text are all mine.