This is a sponsored post written by me on behalf of Canon. All opinions are 100% mine.
One of the biggest home trends right now is using acrylic gallery frames in the home. I’m sure you have seen them everywhere! Major home decor sites sell acrylic gallery frames, photo printing sites charge an arm and a leg for them and designers are loving the clean, modern feel that they add to walls. I noticed that in general they are very pricey (most of the time I fully acknowledge that you get what you pay for….but in this case, it didn’t seem that complicated!). And the ones that were more in my budget were not as pretty…the bolts weren’t as nice. The bolts matter. Just ask Frankenstein 🙂
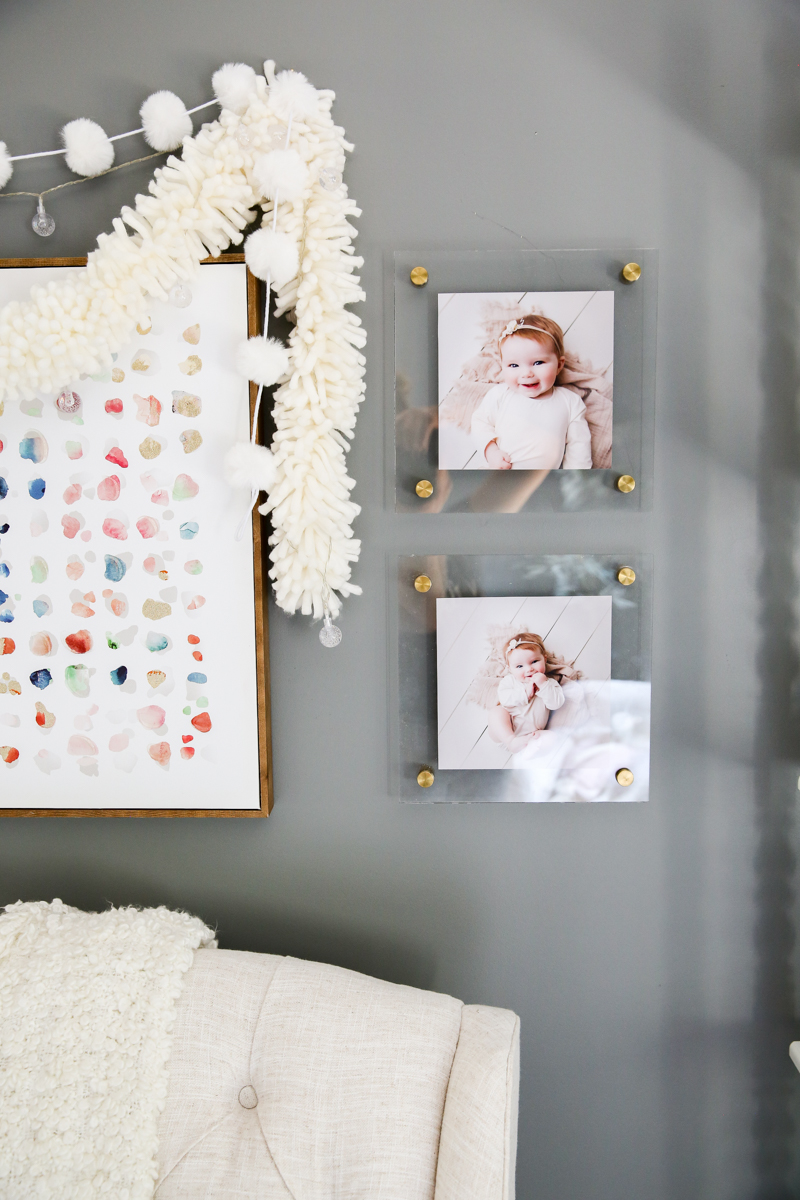
So I set out to make my own DIY custom acrylic gallery frames to use in my own home and I’m here sharing exactly how I did it. Since I love printing my own photos at home using my Canon PIXMA TS9521C printer– it makes perfect sense to also customize your frames and change the photos whenever the idea strikes your fancy.
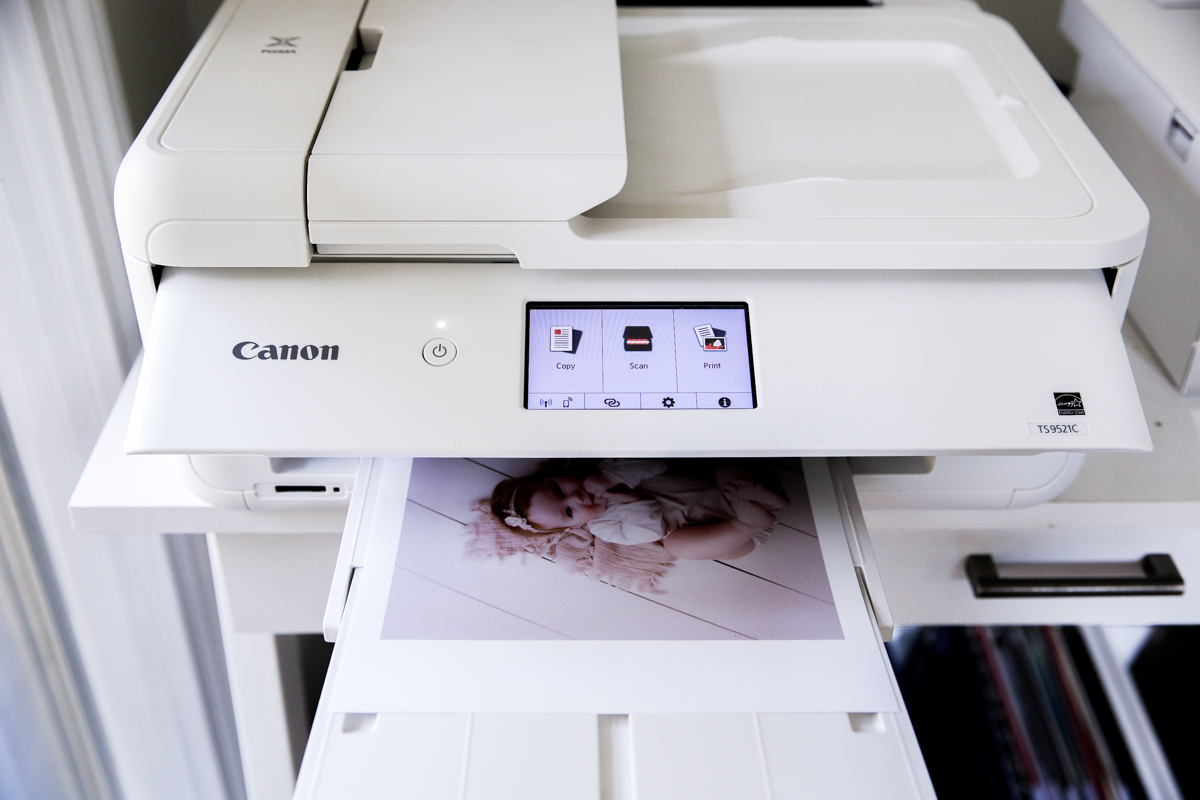
DIY Custom Acrylic Gallery Frame Materials
First you will need to gather your materials for this project. I used the following for each frame:
- (2) 11×14 polycarbonate sheet
- (4) stand off wall bolts
- drill
- straight edge or ruler
- acrylic knife
- Canon PIXMA TS9521C printer
- Canon Matte Photo Paper
- scrap paper
- painters tape
- scissors
STEP 1 – CUT YOUR POLYCARBONATE
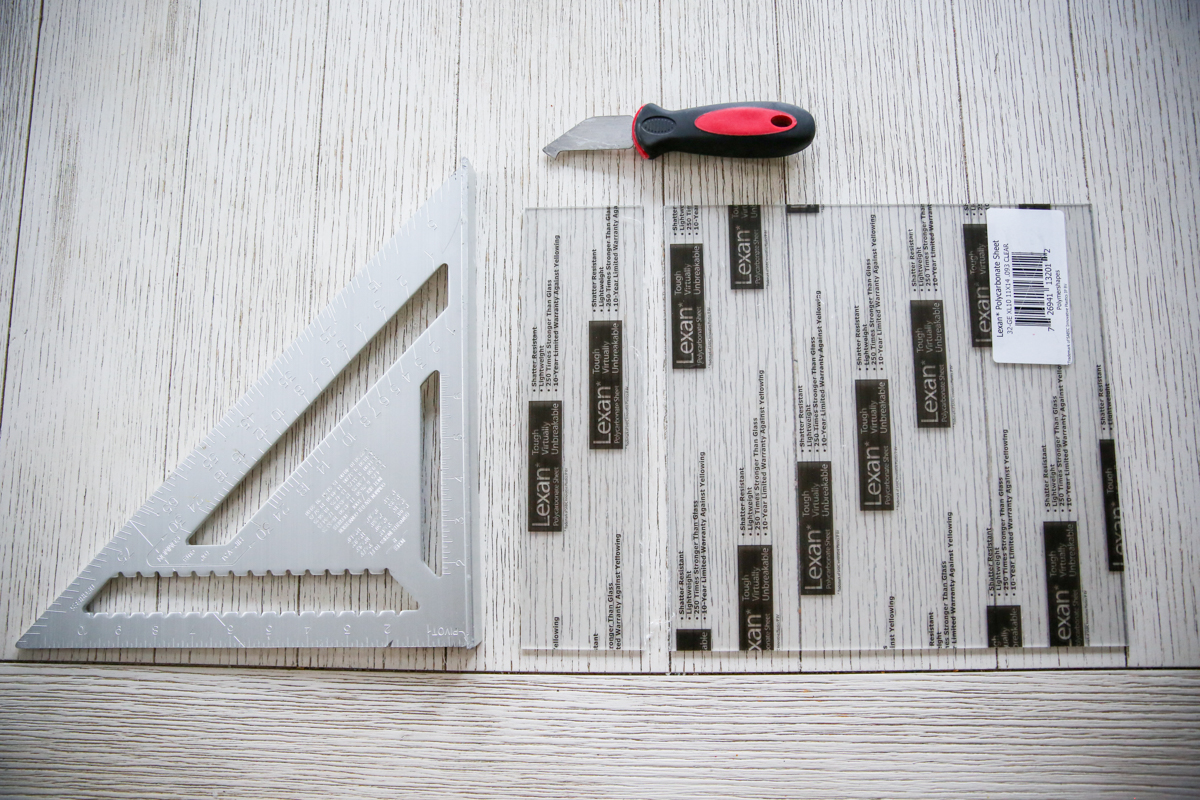
Using a straight edge and an acrylic knife, cut your frames to whatever size you like. We chose an 11×14 piece of polycarbonate so we cut these into 11×11 squares.
In order to cut it, measure it to the exact measurements you want and using a straight edge and a plastic knife, run the ‘hook’ end multiple times along the line. It should produce little strings of polycarbonate and then after multiple passes, you can snap the piece along the line.
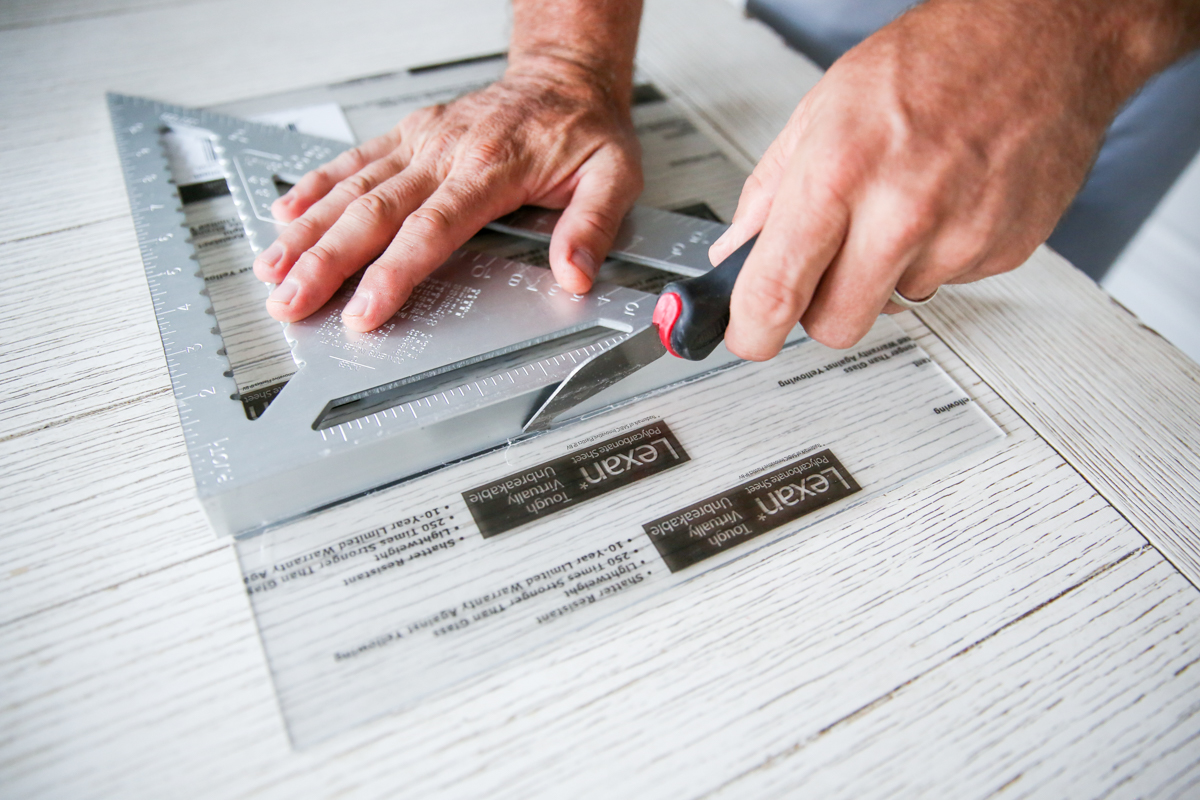
STEP 2 – PREP FOR THE BOLTS
For this project you are gonna use these stand-off bolts. They come in a bunch of different sizes and finishes. I ordered mine in a bunch of 12 so I can do three different frames with the ones I have.
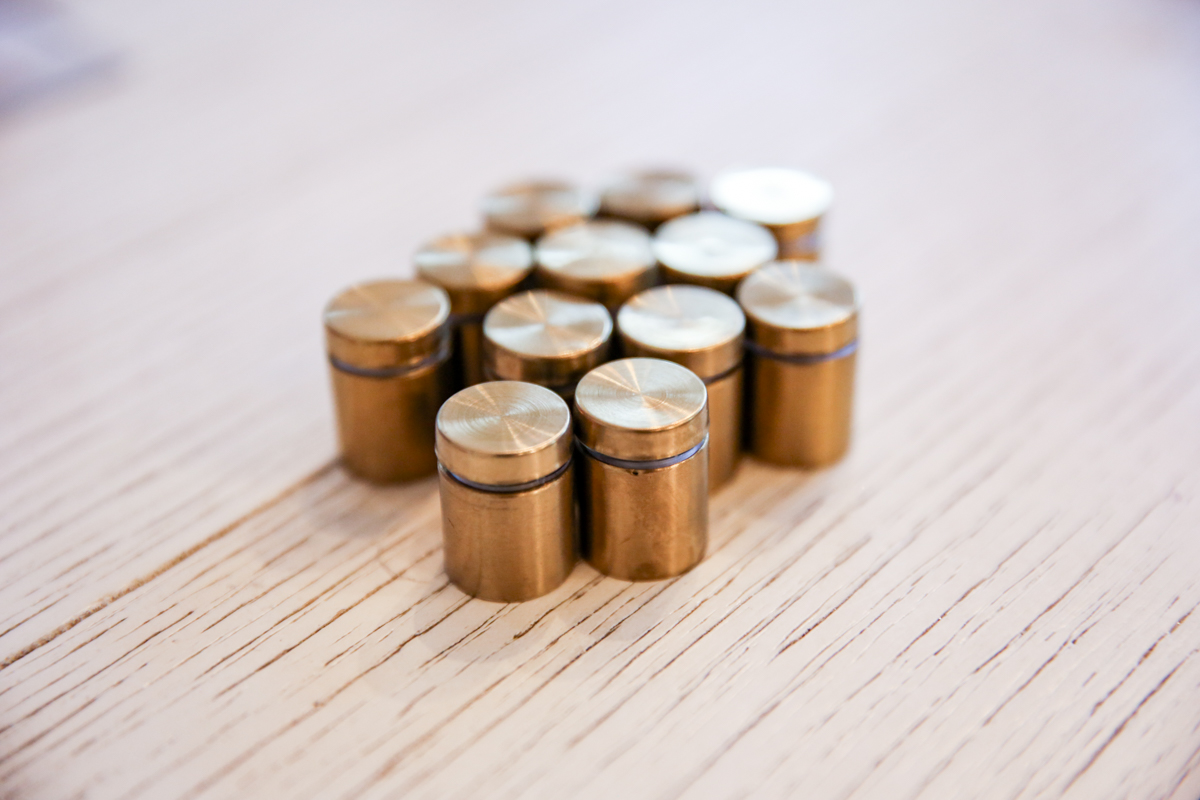
The bolt has two parts and two rubber washers. The top part has the bolt end and is the part that goes through the acrylic. The bottom part has the threads and it is the piece that is going to be attached to the wall.
I wanted the location of the bolts to be 1″ from the corner. Using a 1″x1″ piece of paper as a template we marked the location before drilling the holes.
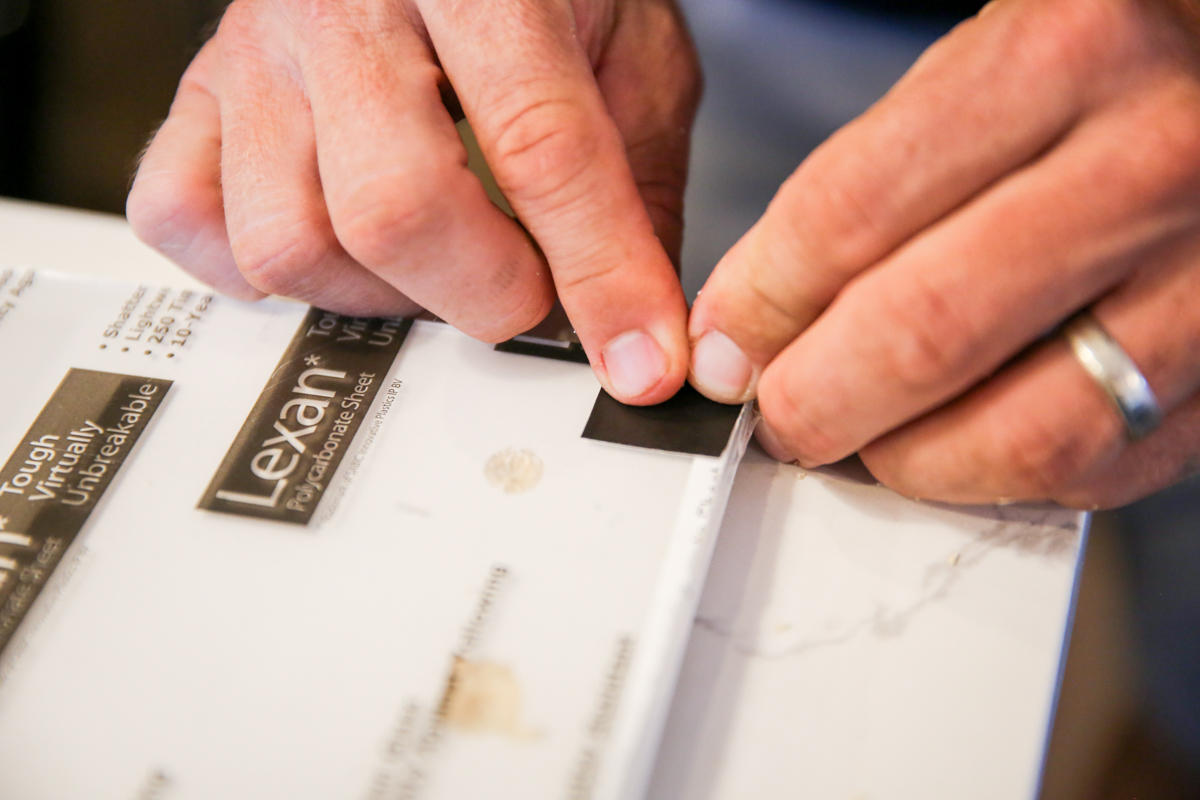
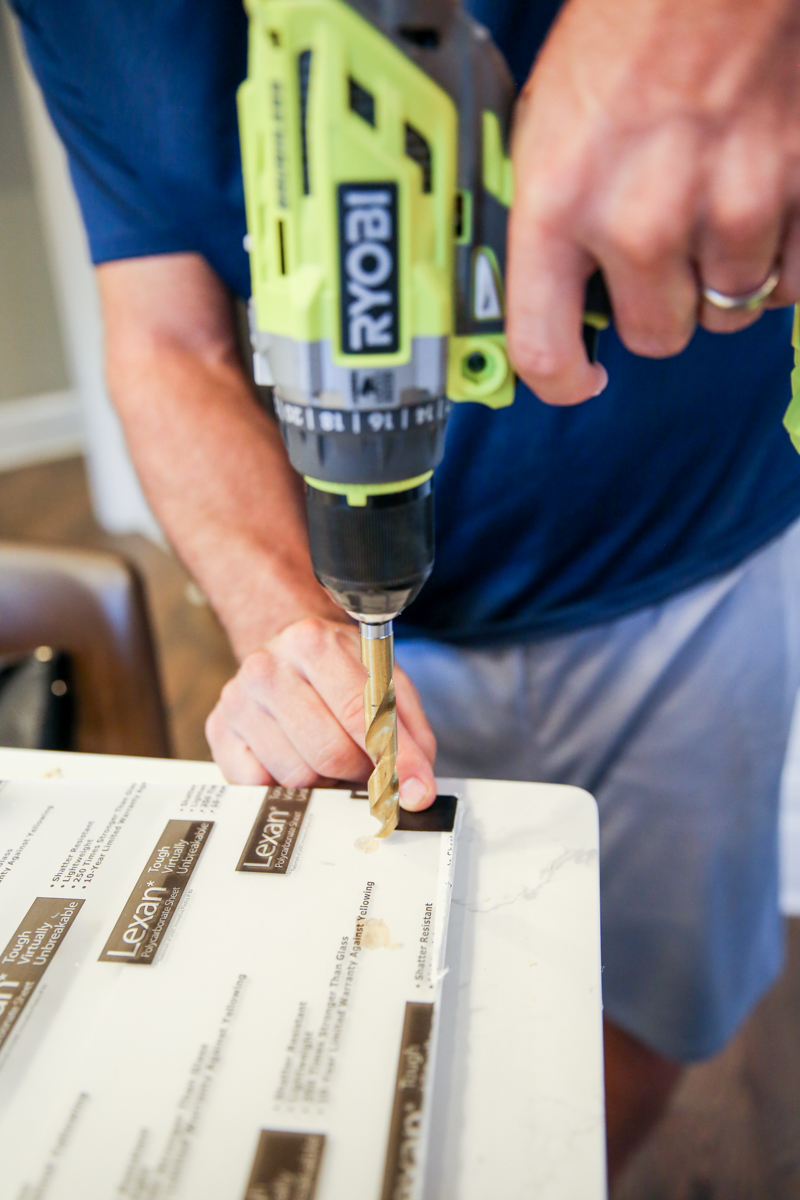
We used a standard drill bit and a scrap piece of wood underneath the acrylic to protect the counters.
STEP 3 – PRINT AND CUT YOUR PHOTO
The photos I used were from Jamie Sapp– she is a local photographer and friend who produces the most beautiful images.
She is crazy talented….

My only piece of advice for this project is to choose images that you can crop to a square and also photos that look great against your wall color. If in doubt, go black and white!

Since I had images that didn’t need a dang.thing I turned on my Canon PIXMA TS9521C printer and a couple minutes later I had the most beautiful prints of my baby girl.
That is the joy of printing at home! Instant gratification!
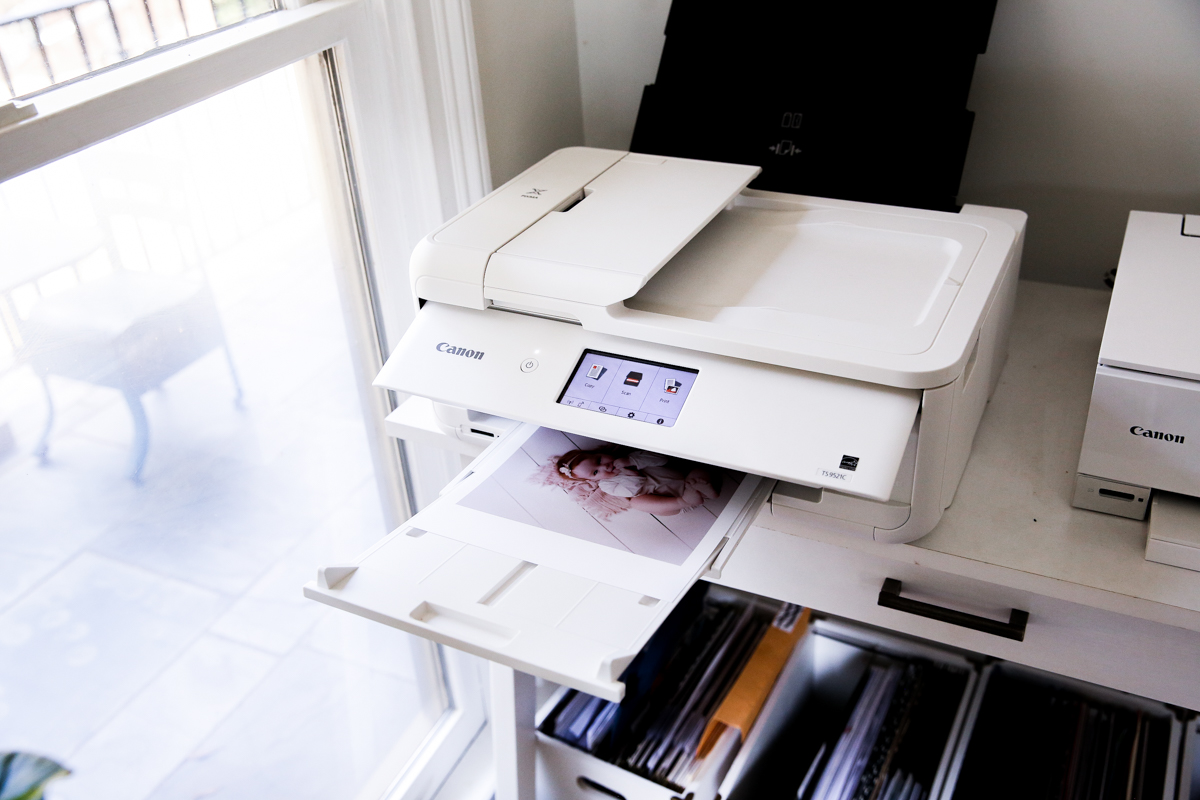
Just as a little side detail – I printed these photos in a specific size for this frame. If you are wanting to copy me exactly – here is what I did….
- photo on photo paper
- letter size (NOT borderless)
- horizontal orientation
- scale to 50%
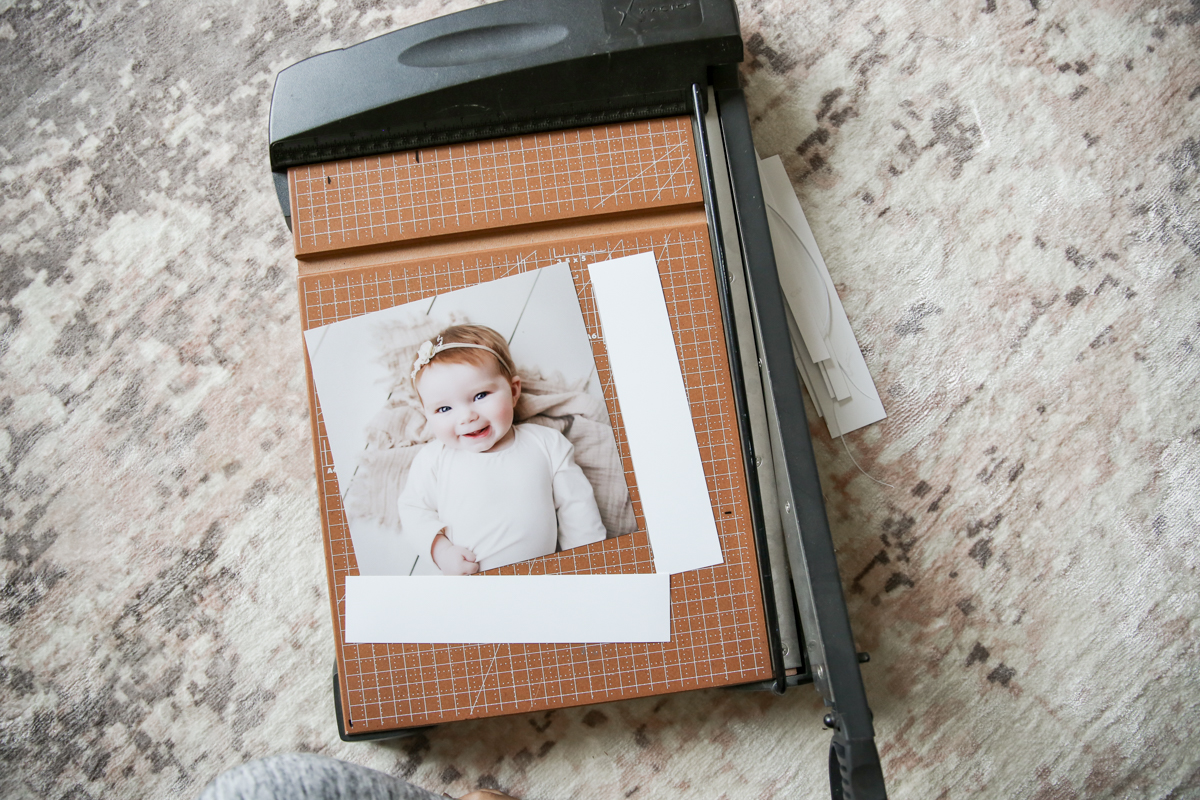
Since I used Canon Matte Photo Paper (8.5″x11″), it did have some margins that needed to be trimmed off.
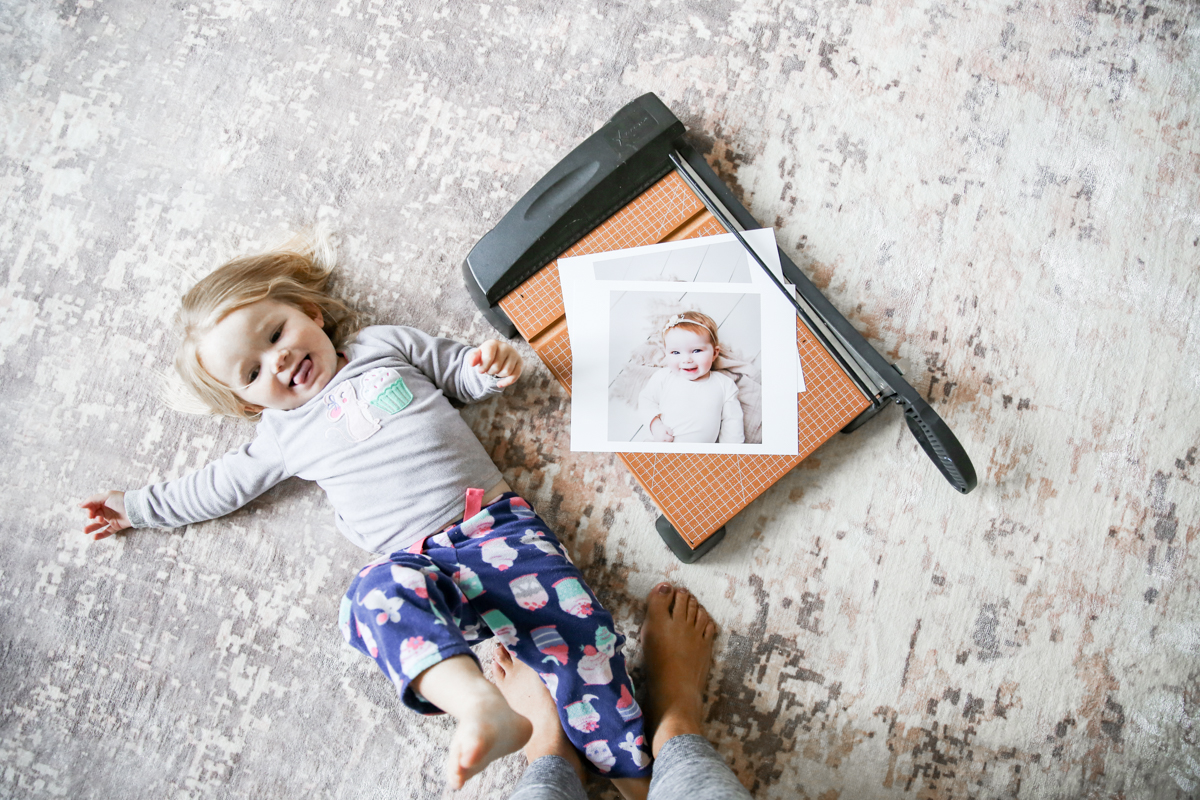
I used my paper cutter but you can do the same thing with scissors.
STEP 4 – MARK & MOUNT FRAMES
I knew I wanted to use these photos in Ella’s room, so I decided to place them above her rocking chair as a gallery with a piece of art.
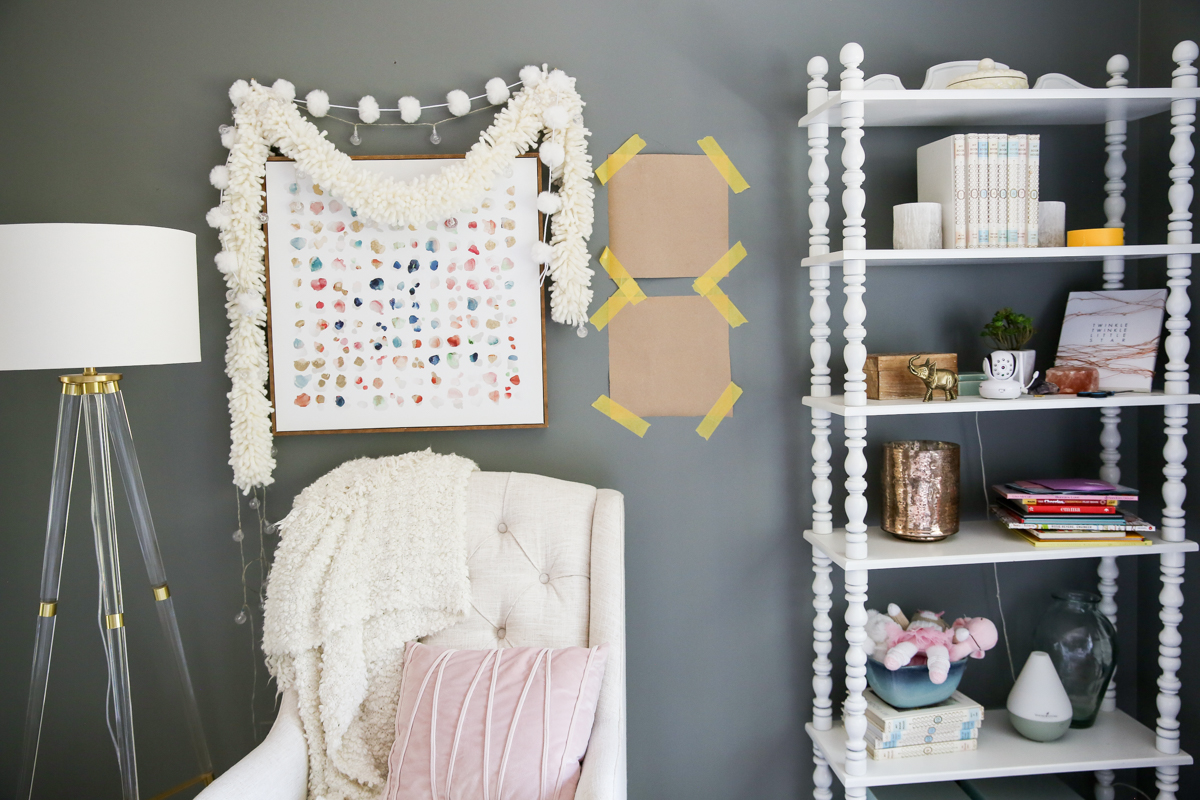
Since the art was already hung, we cut some scrap paper to the exact size of the frames and used painters tape to create the location for the frames on the wall.
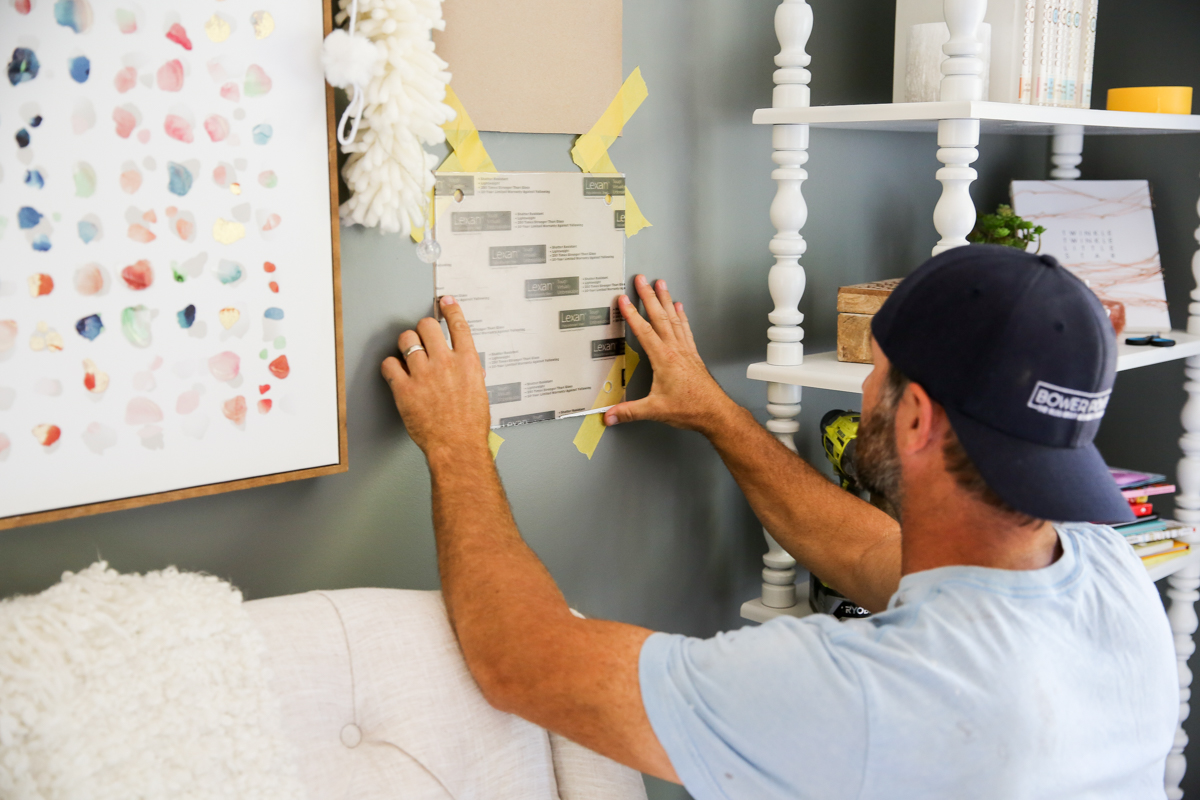
Then Jeremy marked the location of the bolts by placing the polycarbonate on the scrap paper and pushing the end of the screw in the very center of each hole.
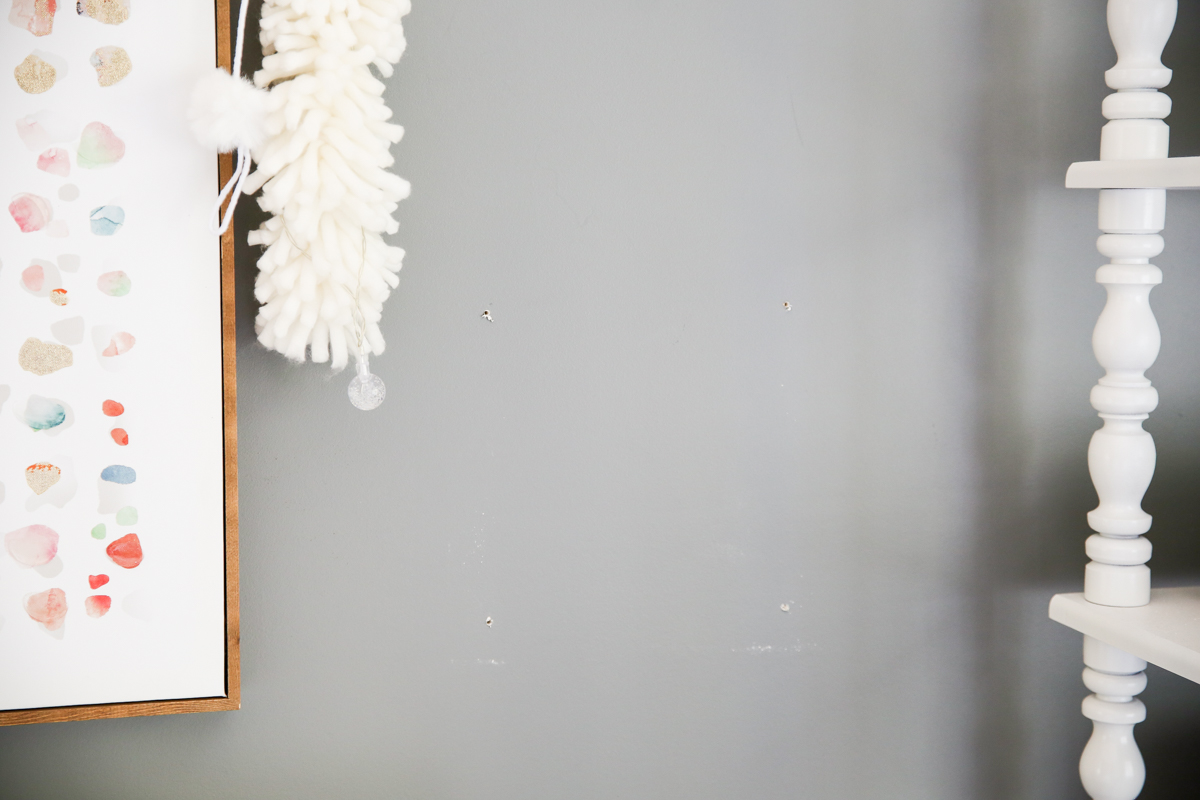
Then it was time to secure the top two bolts to the wall.
YOU DO NOT NEED TO ATTACH THE BOTTOM BOLTS TO THE WALL.
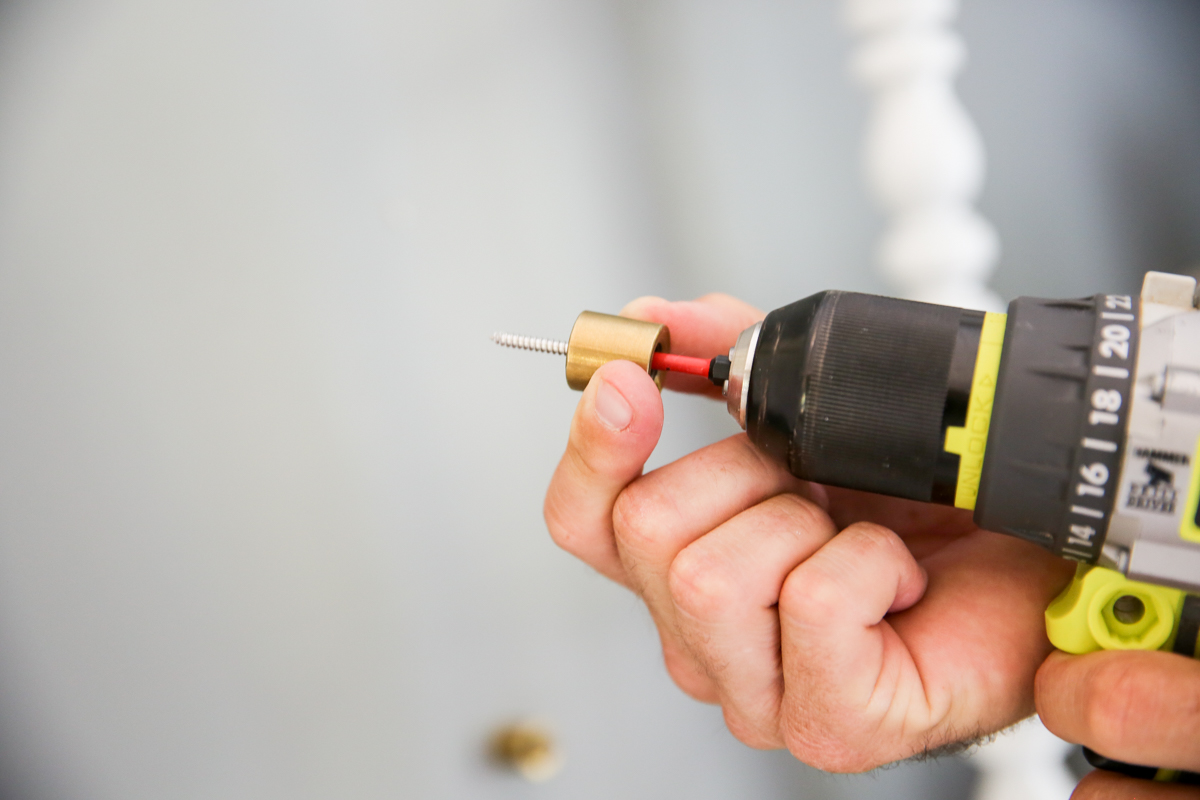
Unscrew the top piece of the bolt from the bottom piece and place the screw into the bottom piece. It should push out the bottom hole like the photo above. The drill bit goes into the hole of the bolt and now you can screw them into the wall. Use an anchor if needed. Once your top two bolts are attached to the wall, move to the next step.
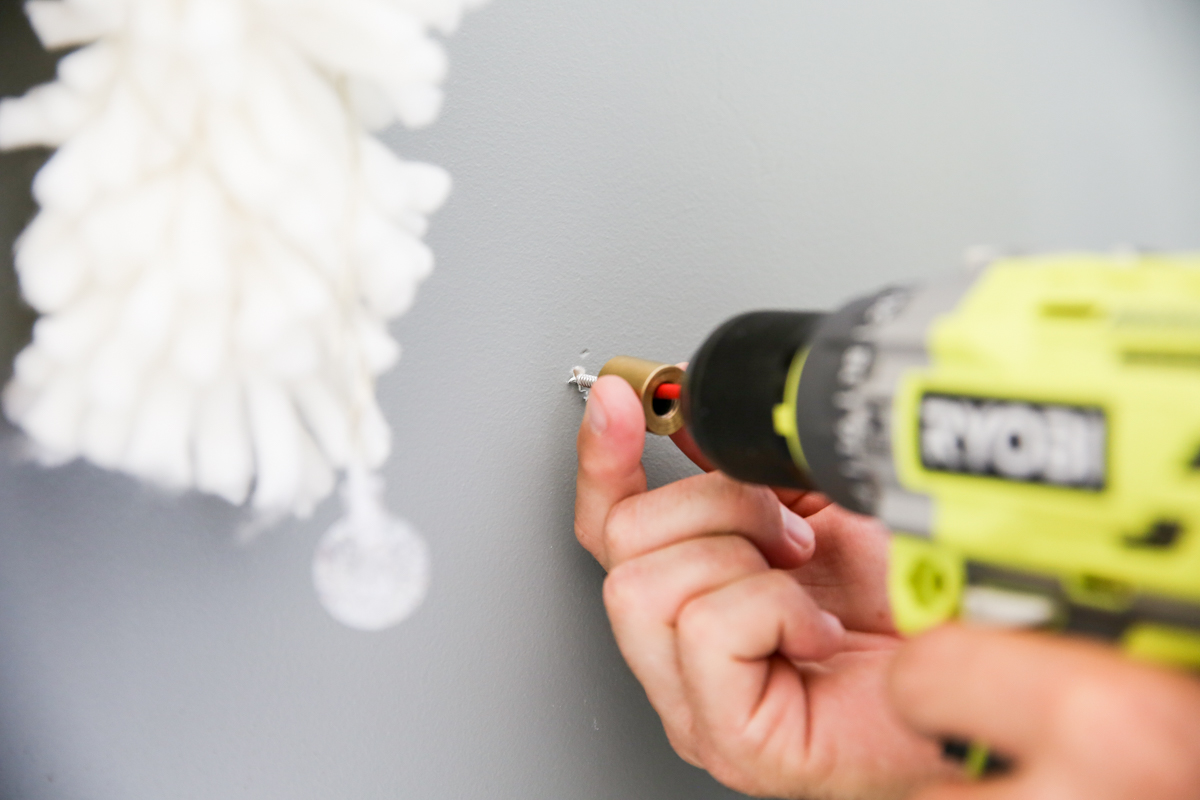
STEP 5 – ASSEMBLE YOUR FRAMES
Peel any protective layers off your frames.
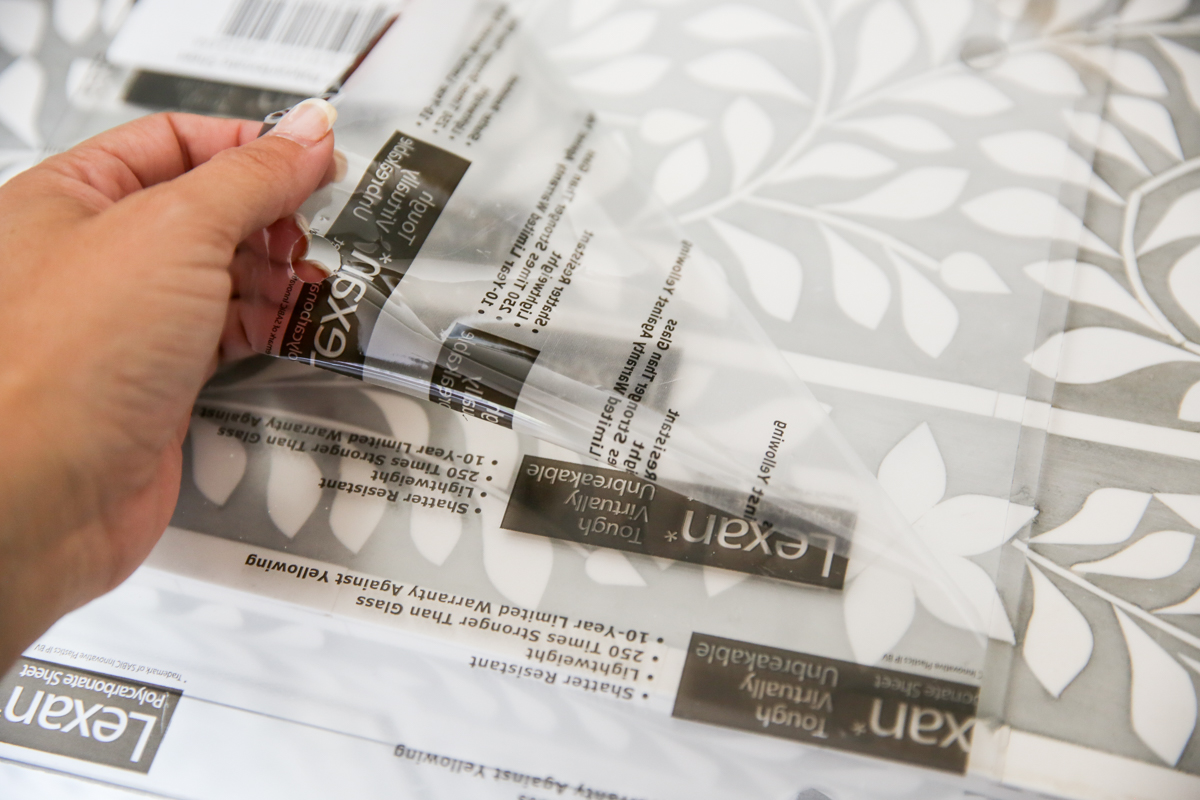
The photo you have trimmed is going to be sandwiched between the two pieces of polycarbonate. Go ahead and make sure it is perfectly centered and straight. Then attach the bottom two bolts to the frame.
Make sure that you place the rubber washers on either side of the acrylic.
From top to bottom the order goes –
- top piece of bolt
- rubber washer
- acrylic sheet
- photo
- acrylic sheet
- rubber washer
- bottom piece of bolt
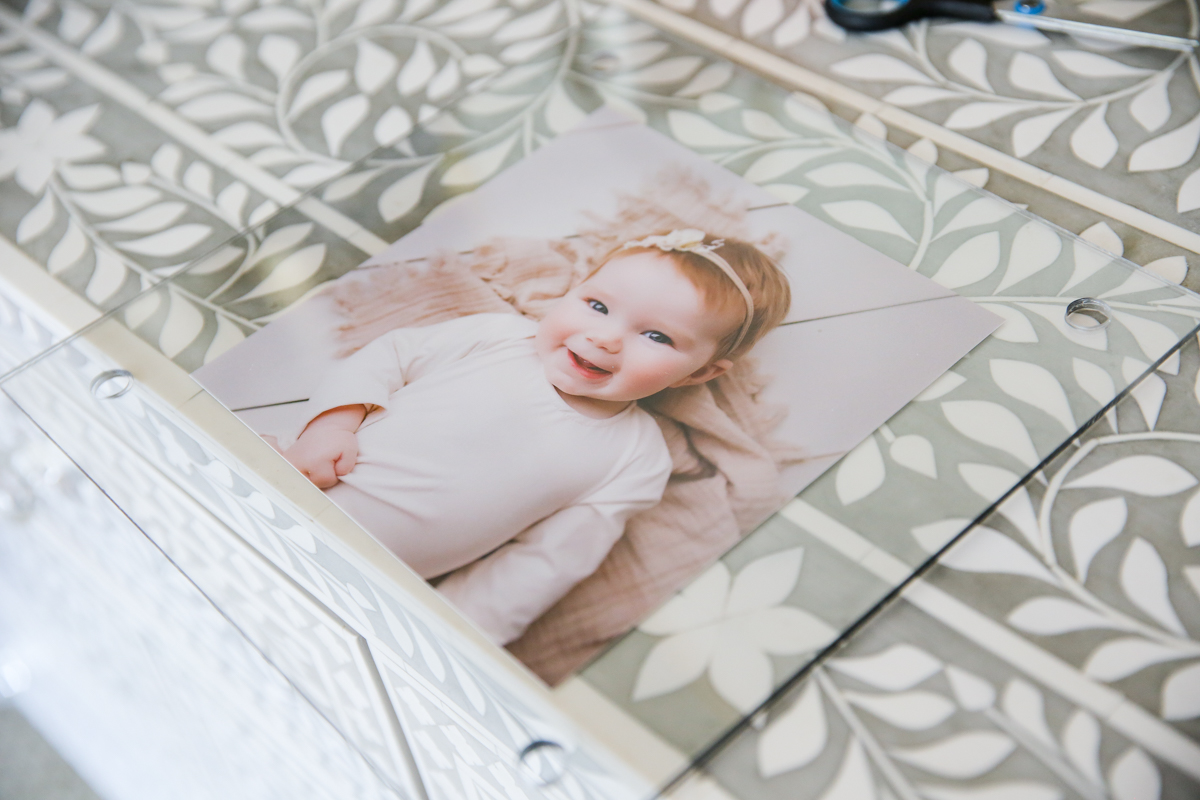
Then the top bolts go through your photo and those get secured to the bottom bolts that are already mounted on your wall.
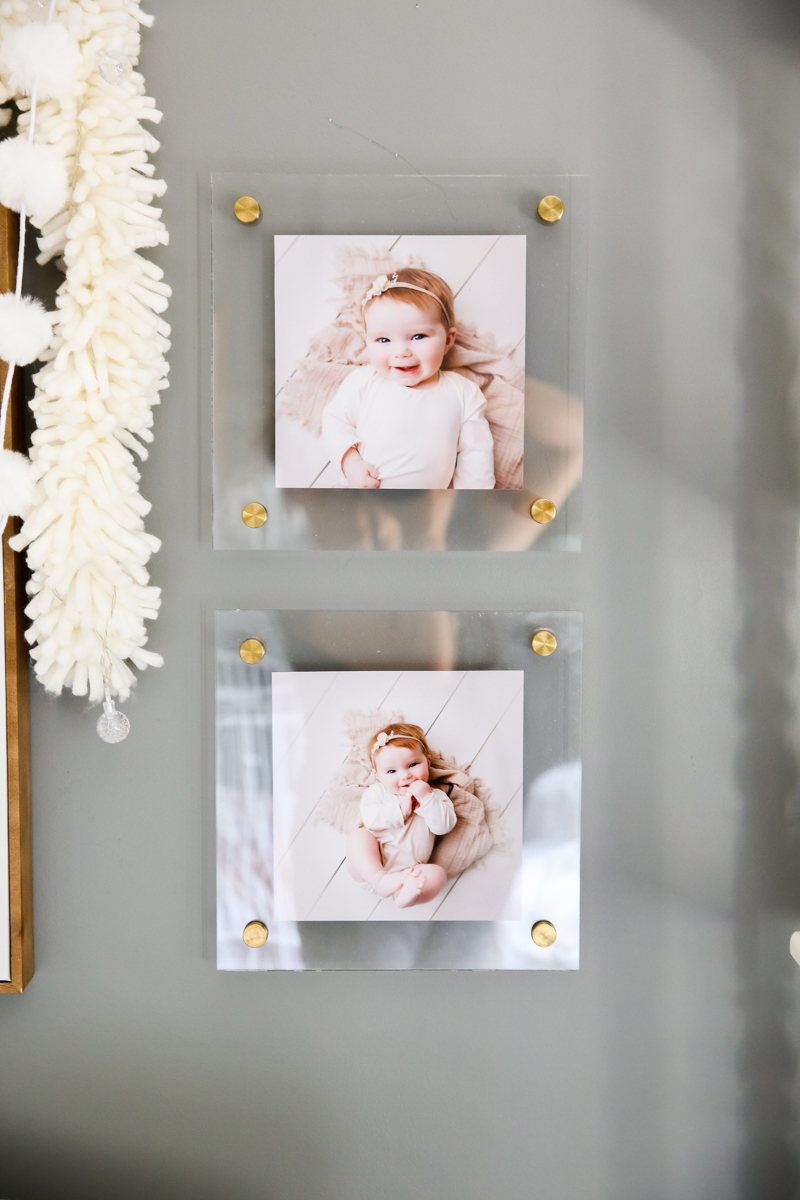
The end result is something so simple and stunning and truly beautiful! I think that the real joy in these is that you can easily change them out with other at-home photos whenever you like and the timeless look is something that will never go out of style. It’s like these photos were straight from a gallery!
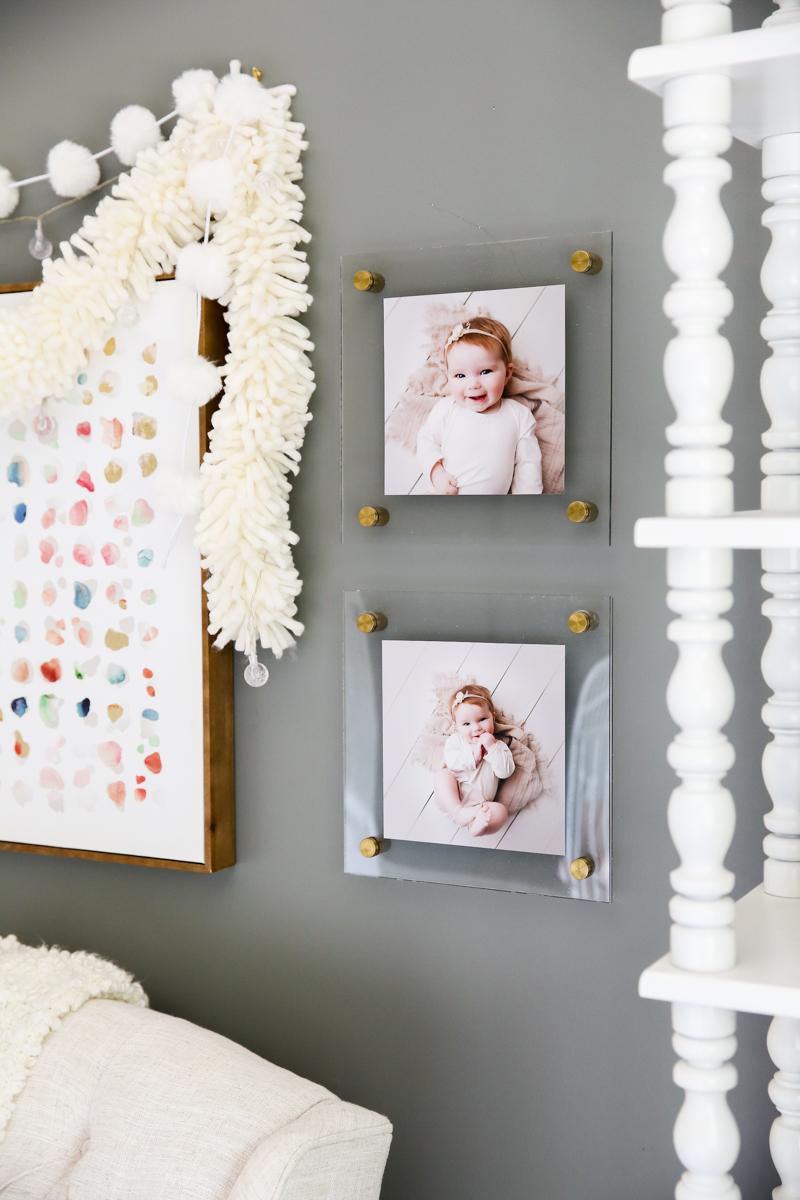
I hope you all enjoyed this tutorial on how to make custom acrylic photo frames at home and will share with me if you tackle this project too!