What do you get when you combine wood, crud and one week of Bower Power?
One heckova deck transformation! That’s what! That IS what! THAT is what. (trying difference word emphasis to signify the gravity of this transformation…the point is….we made over a deck and you get to see it. commence celebration.)
Seriously though….we love doing makeovers and this is one of our all-time favorites. It was crazy hot and we squeezed so much into a short amount of time and we worked all the way past my due date but it was SOOOOOOOO worth it. It’s like when you make the effort to load up the kids in the minivan and get to Sonic during happy hour and all seven slushes are under $5. It’s that good. I gotta admit though…this is going to be one beefy post and there is more to come. Since there is so much information about this deck, I had to break it up! This post is all about the actual process of how we took a really grungy and worn deck and married it to the right product to get a space that looks brand spankin’ new. It literally was a match made in heaven 🙂
To see before photos of this space….CLICK HERE.
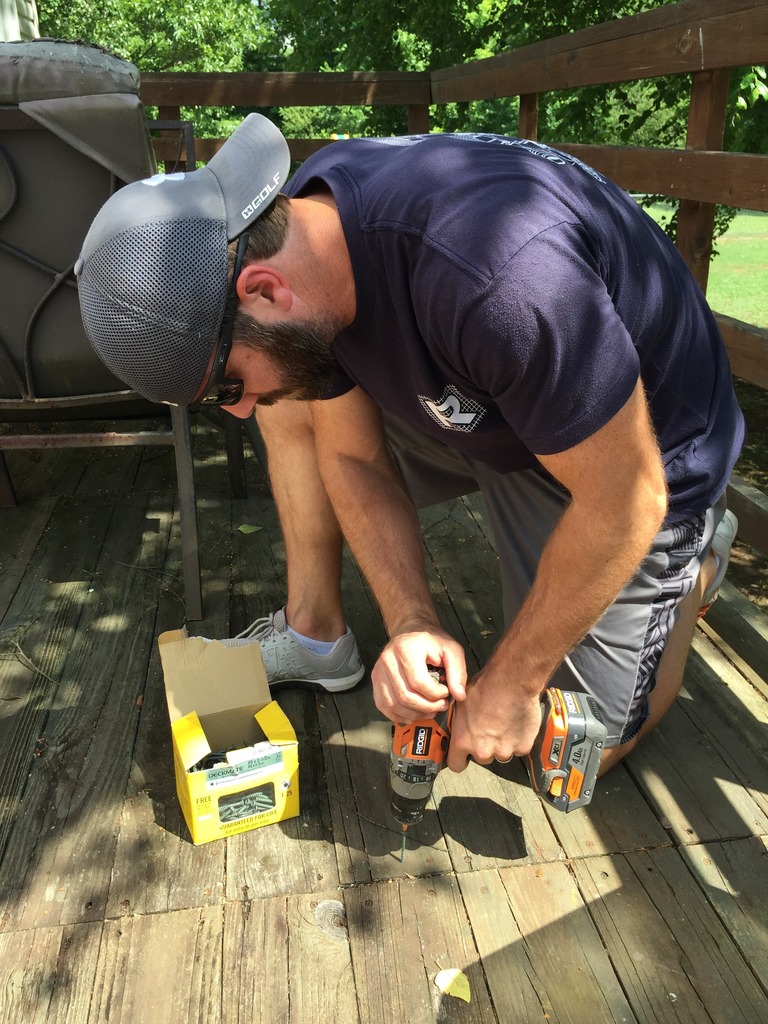
So the actual process began during filming (we were creating a short commercial for Rust-Oleum who sponsored this entire makeover) and we didn’t have much to do before the cameras came out. In fact, we were scrambling around doing the shopping and the only thing we did to the deck itself was screw down a few boards with decking screws one day when it rained and the boards were still damp. Here in GA, when the deck boards are wet, they tend to lay down properly and then when we have a dry hot spell, they warp like crazy. It’s good to put a little thing of painters tape where they bend so that next time you have a rain shower, you can go out and fasten those bad boys down.
So then the filming began. I will tell you all the behind the scenes stuff about filming later. This post is just the deck step-by-step process.
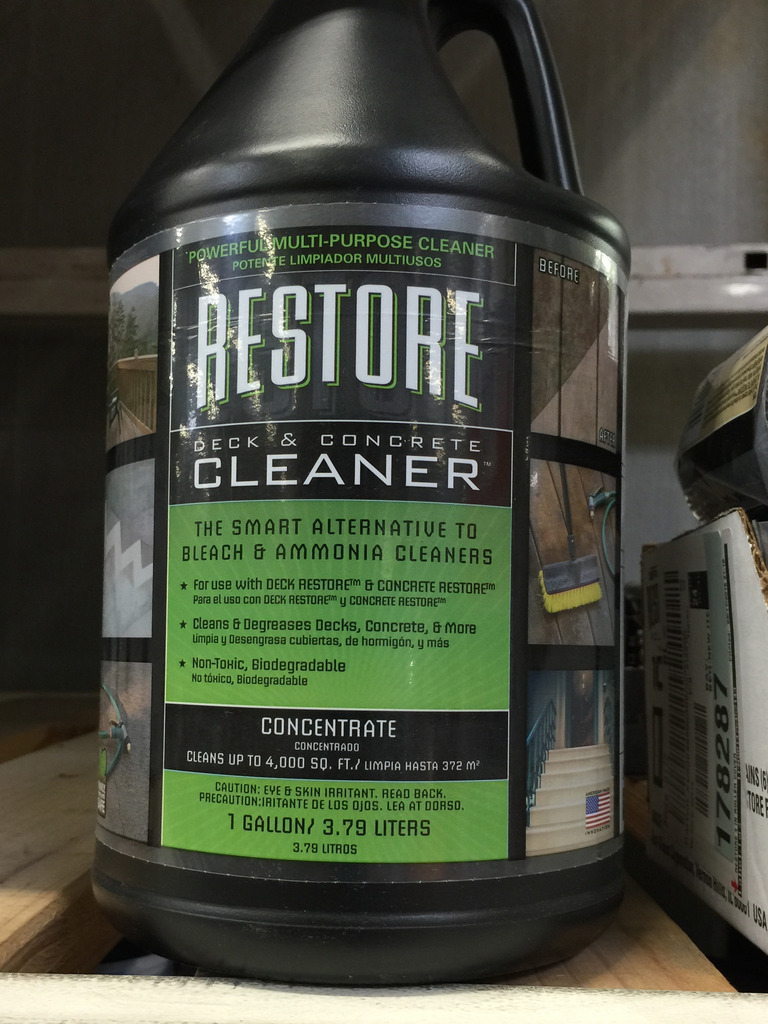
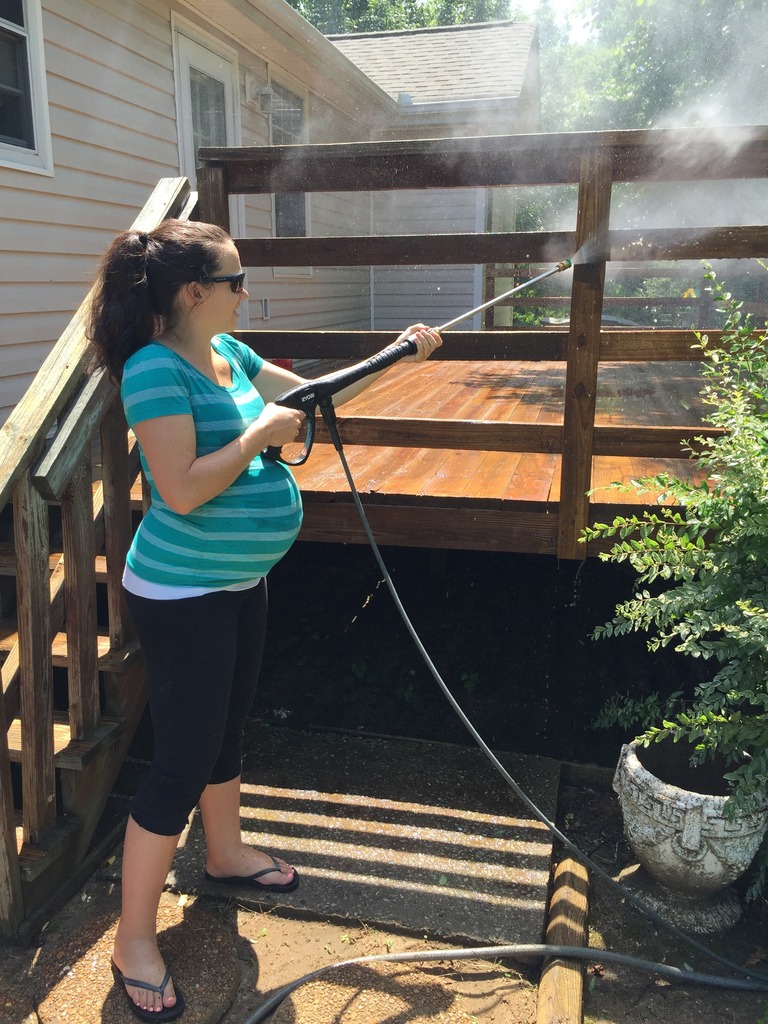
The first thing we did was pressure wash the deck. Rust-Oleum has a cleaning solution that we poured right into the pressure washer.
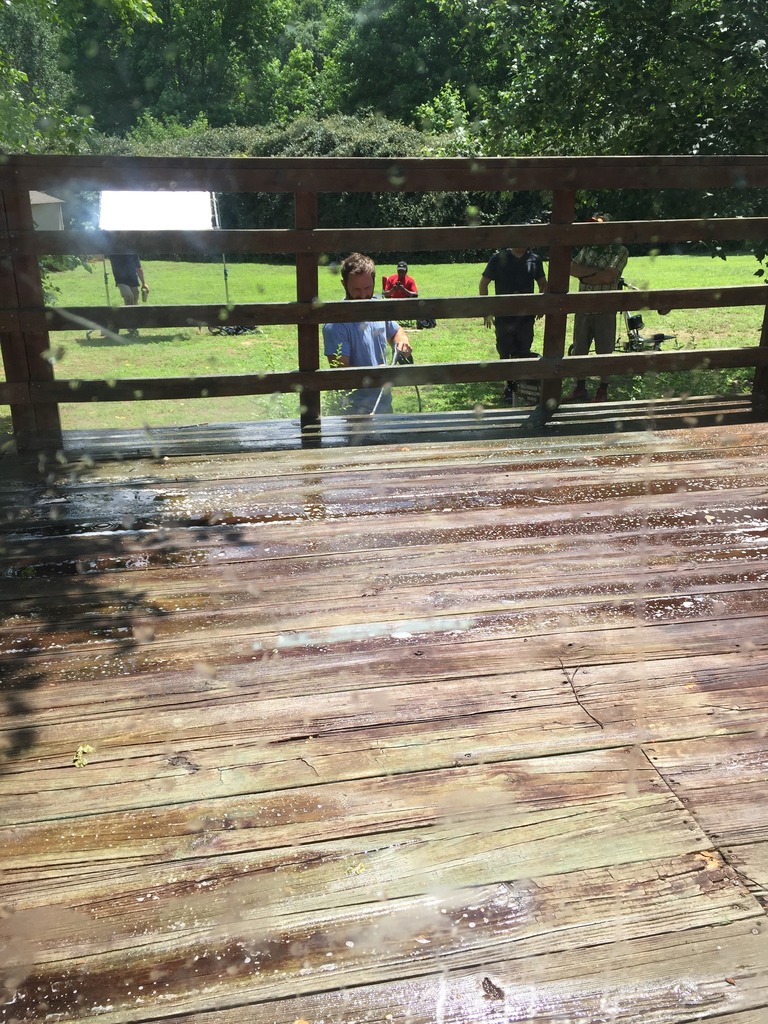
Oh and the funny thing is….in the commercial, Jeremy says that he does all the work. #hahahayeahright The truth is we had an entire group of people tackle this bad boy including the homeowners, some friends and family, the director and even a Rust-Oleum pro! This was truly a group effort and we are so thankful to everyone who came out to help!
Okay so back to it. Jeremy is not a huge fan of pressure washing….not like me…I want to pressure wash all the things! So that first day I pressured washed up till it was time to get the kids and then I handed the task off to the homeowners, Karen & Brian. The next day I came back and did more touchups before Jeremy blew off all the puddles and started working on the stair railing. (a full blow-by blow of that later)
You want your surface nice and dry for the primer application and taking a blower to any standing water is a good idea.
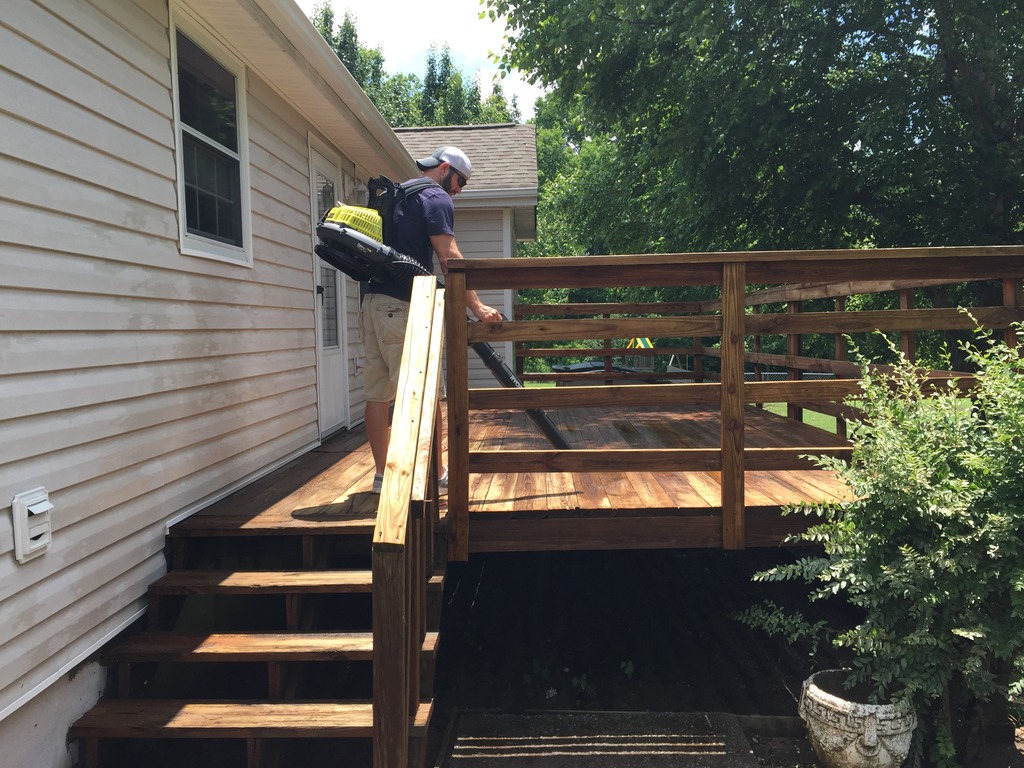
While Jeremy did the railing, I sanded any areas that were really high or full of shards. I only sanded for like three minutes so every little splinter isn’t addressed….it’s just the giant stuff. If you have cracks more than 1/4 of an inch, Rust-Oleum has a filler that you can put in them but we didn’t have any that large.
Also….giant belly.

Then came time for priming. We used the Rust-Oleum Restore Deck Start wood primer. This product was made just for this process and developed by the scientists who make other paint primers. This is what makes the Restore product stick! It’s super important to apply is according to the directions (it can’t be too cold or cure too long, etc.)
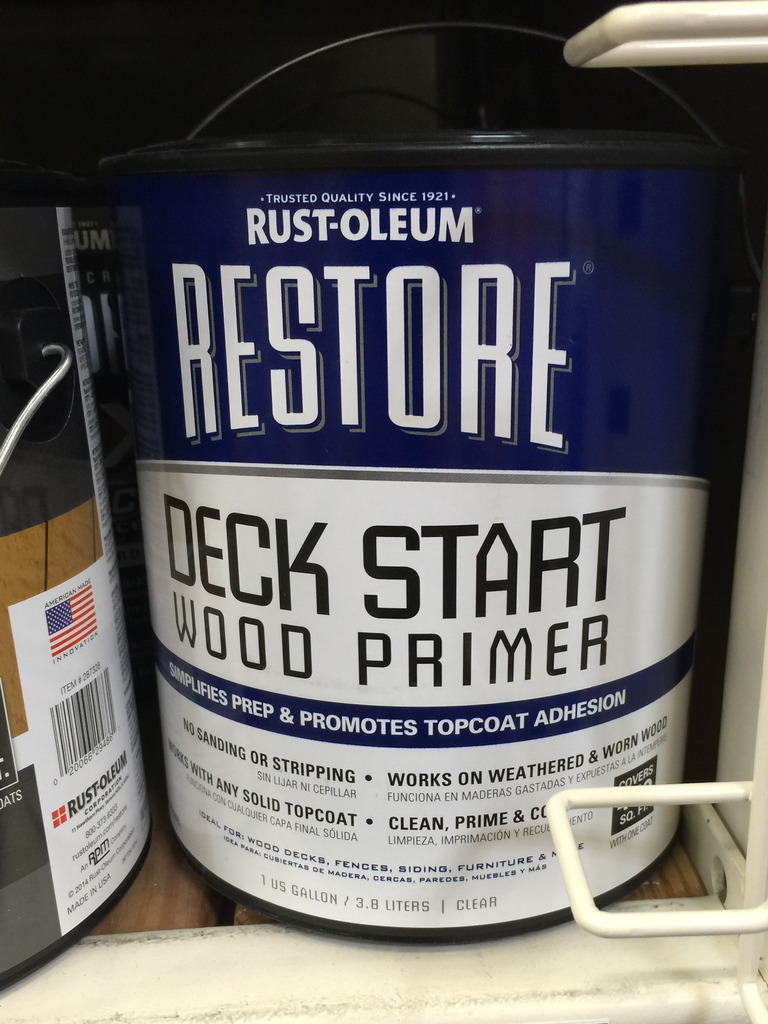
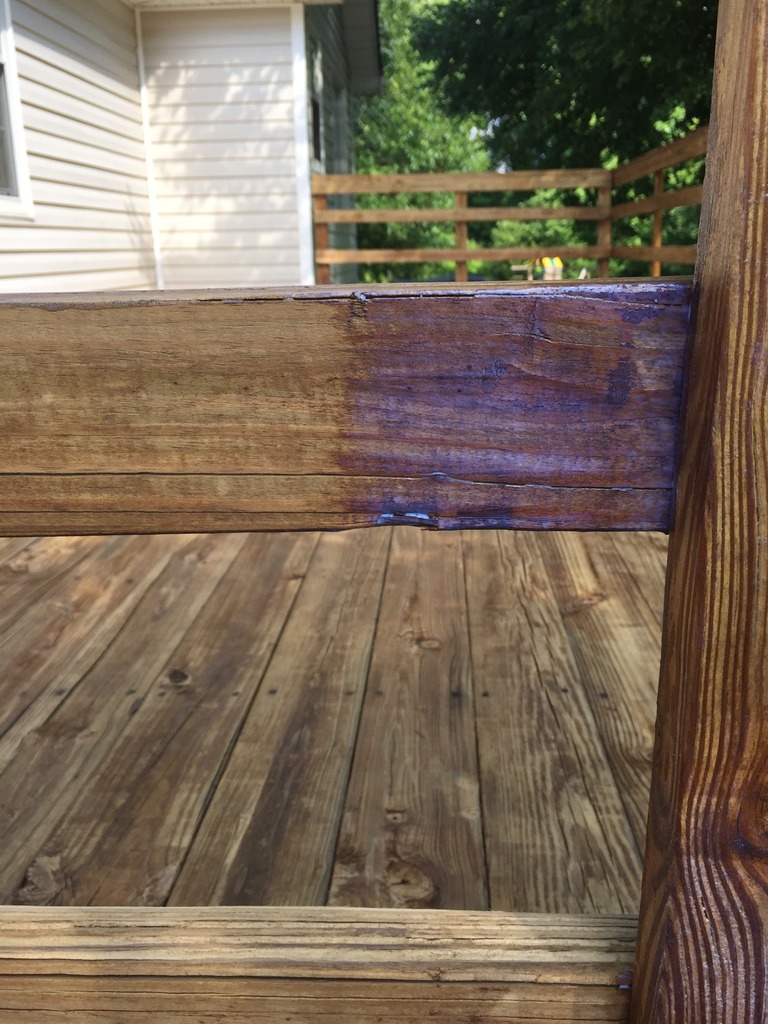
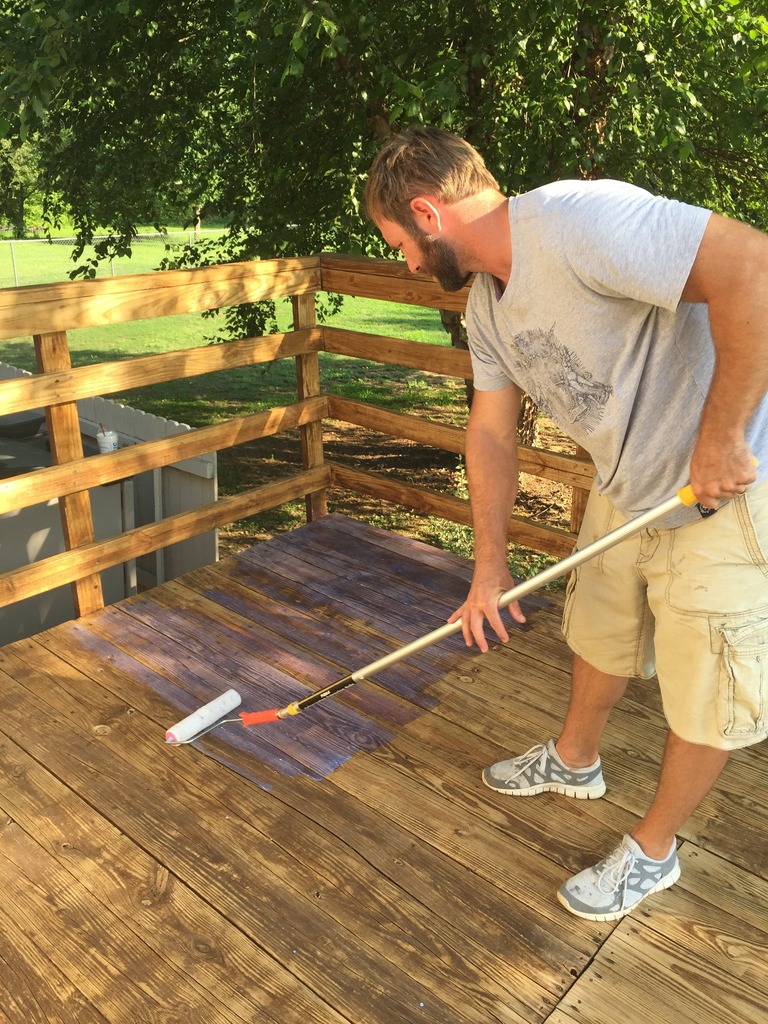
You can apply it with a brush or a regular roller. It’s really simple and the surface will look milky white before drying. We all said that it was like school glue going on….thin and easy to spread but dried clear.
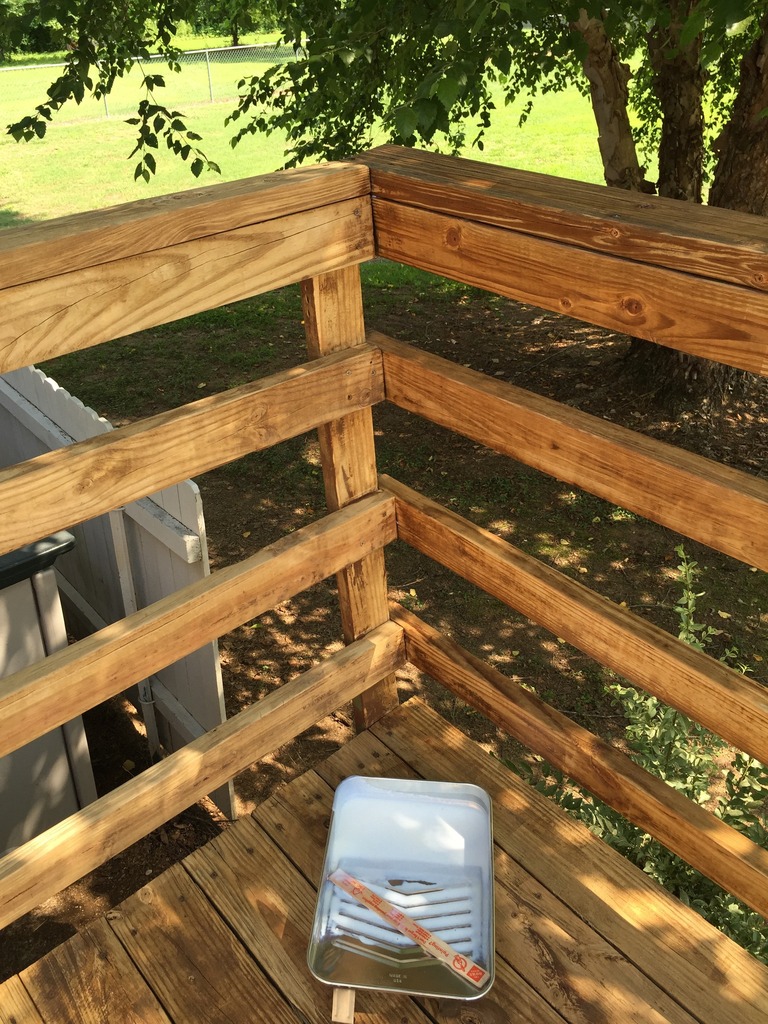
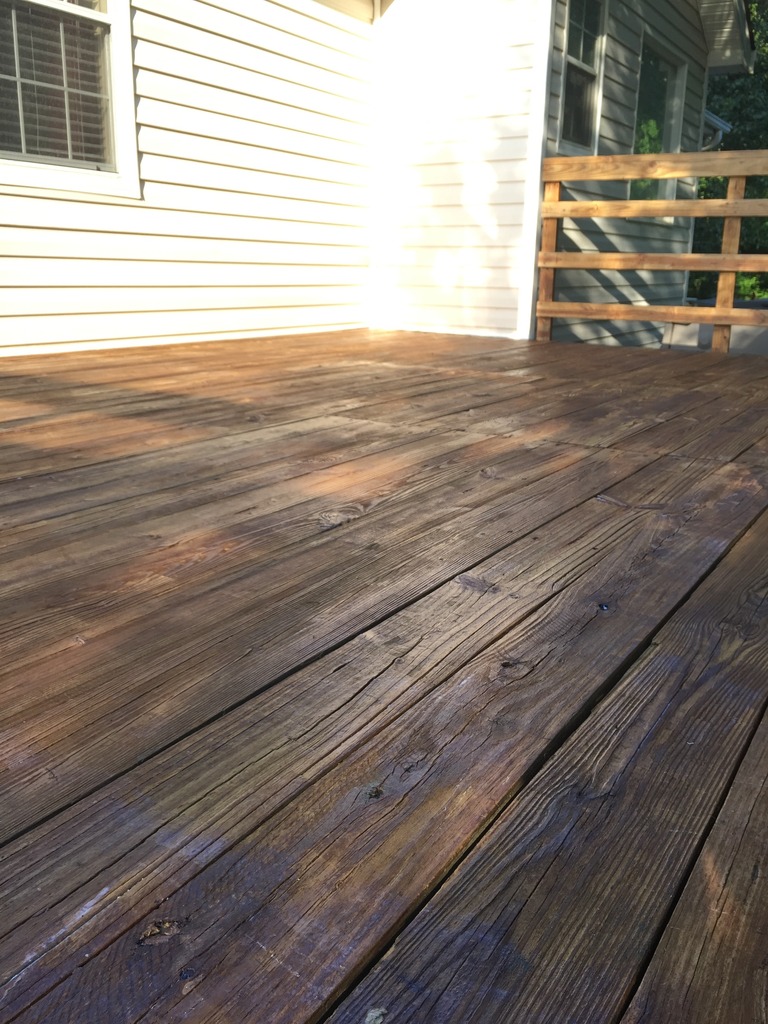
This is what it looks like primed compared to not primed. The railing on the left is not primed and the one on the right is primed and it is dry. It slightly darkens the color of the wood.
This is Brian…the homeowner and he got in on the priming action. Also…he swears those aren’t women’s sunglasses 🙂
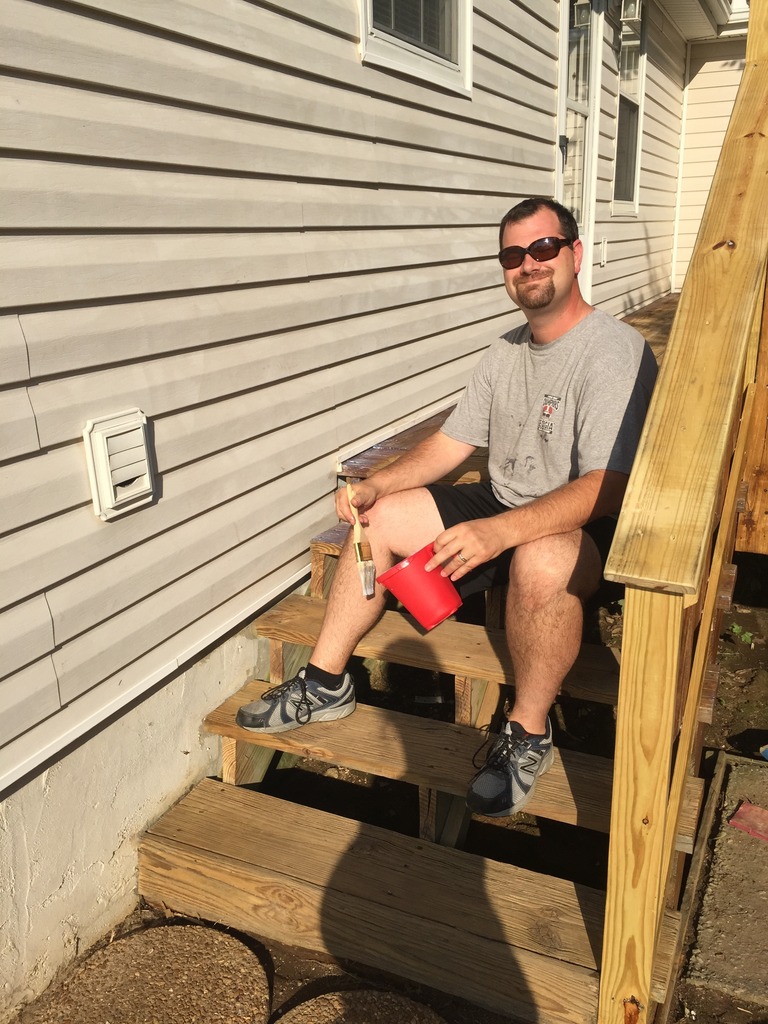
This is what I call the Prime Time Team. We were the ones that did the railings and the steps….that took FOREVER.
Also…notice the ever fashionable support belt I am wearing. I do not miss that thing 🙂

And here are some of those after priming shots….sneak peek of the stair railing too!
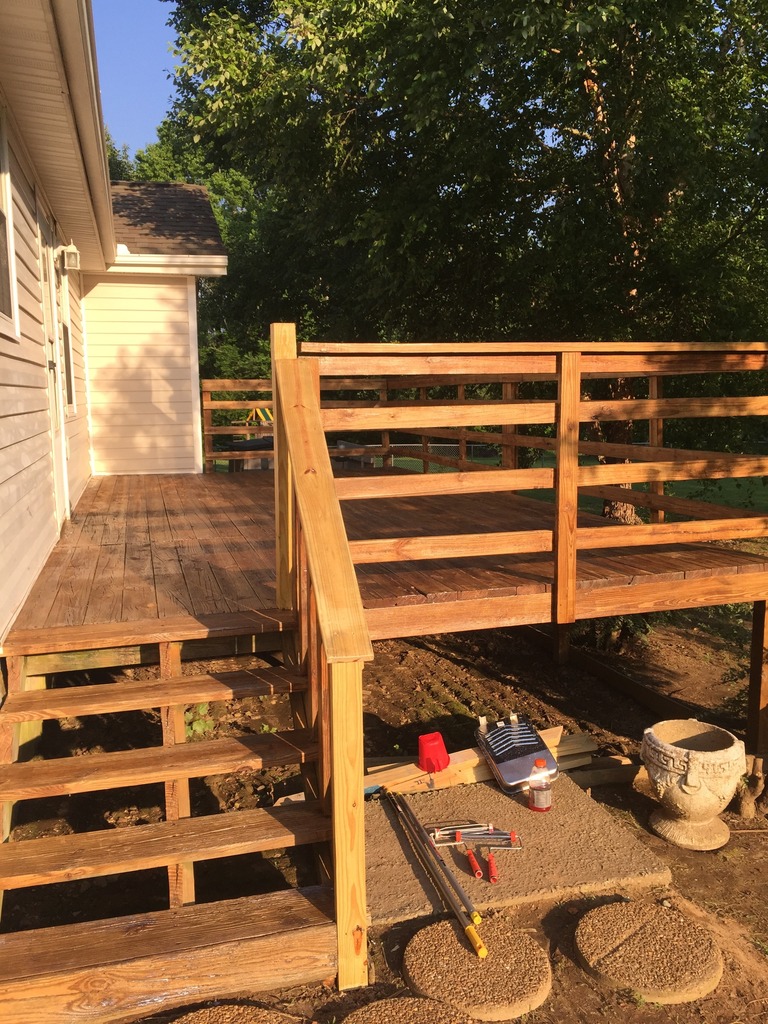
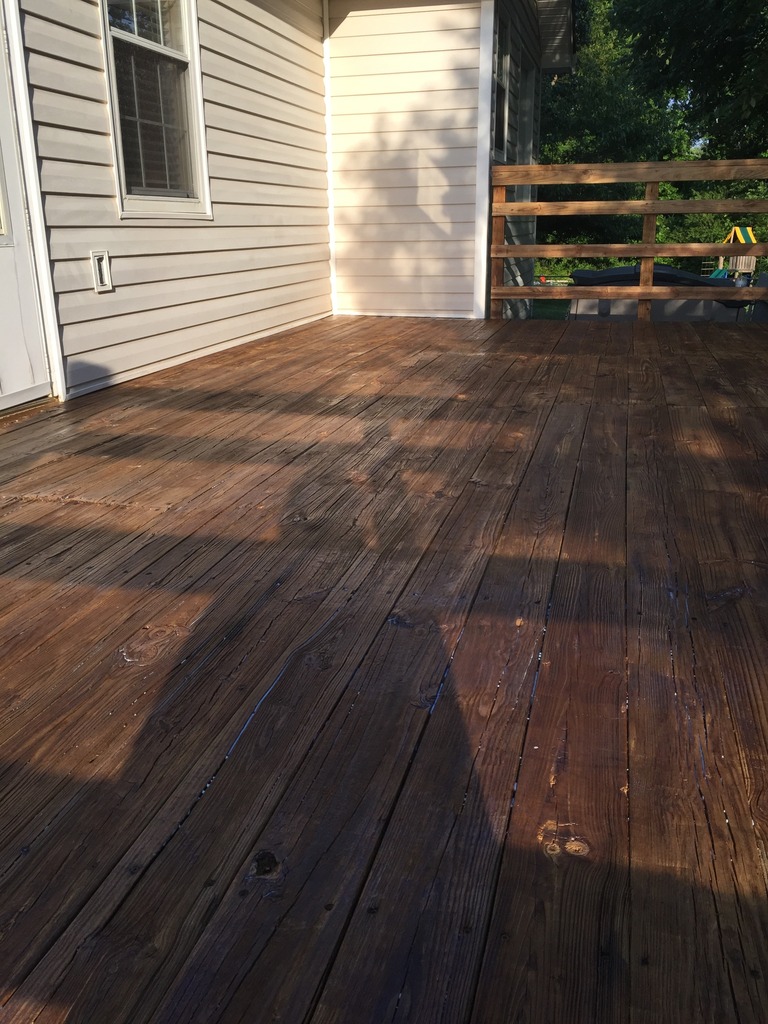
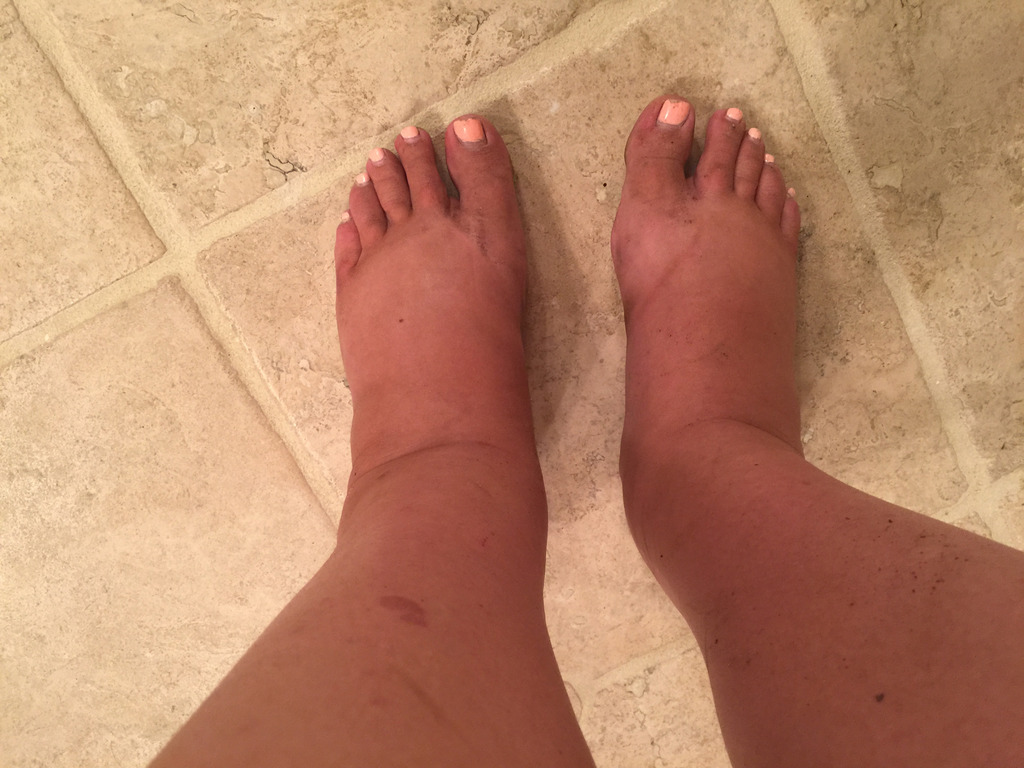
Also….39 weeks pregnant and working outside in the Georgia heat in the middle of June? It gives you awesome sized ankles. I asked Jeremy if he thought it was possible to get stretch marks on your ankles because DUDE.
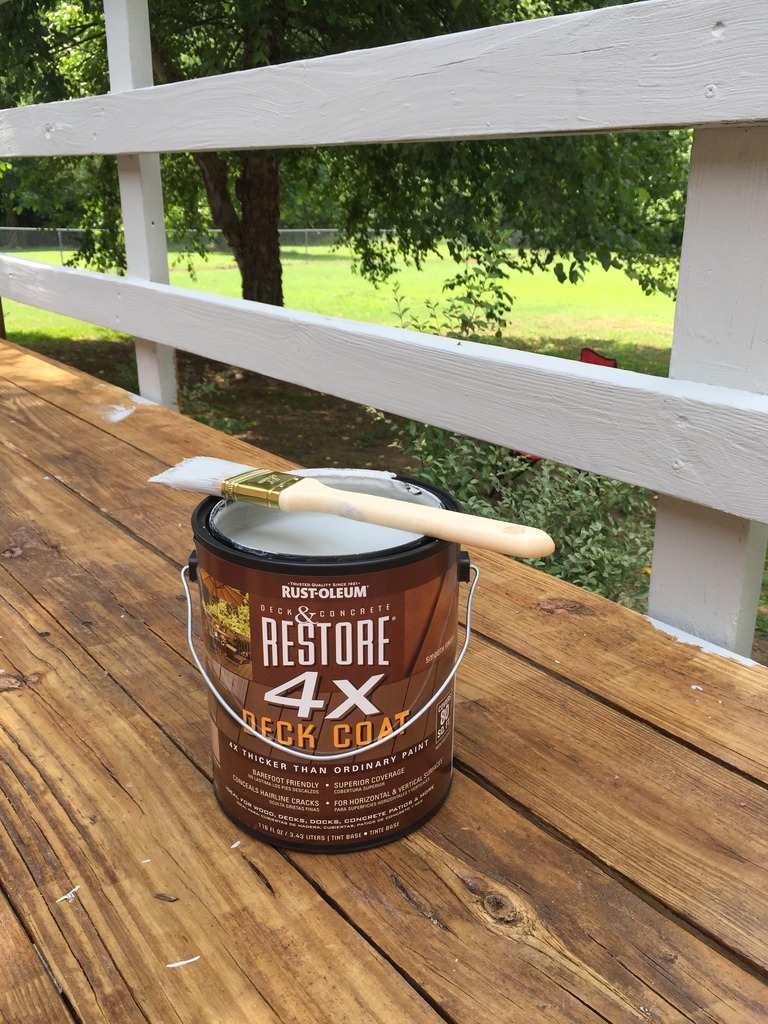
After the primer was dry, it was time to put the Restore product on. First of all…you should know that the 4x means four times thicker than normal paint. That’s right. This stuff is THICK. The Rust-Oleum people are really adamant that you shouldn’t use the 10x product on vertical surfaces and they recommend the 4x for all railings, balusters and risers. We had it colored to Gray Wash to make it light and bright. Also, light surfaces don’t get as hot and here in the south, that is super important!
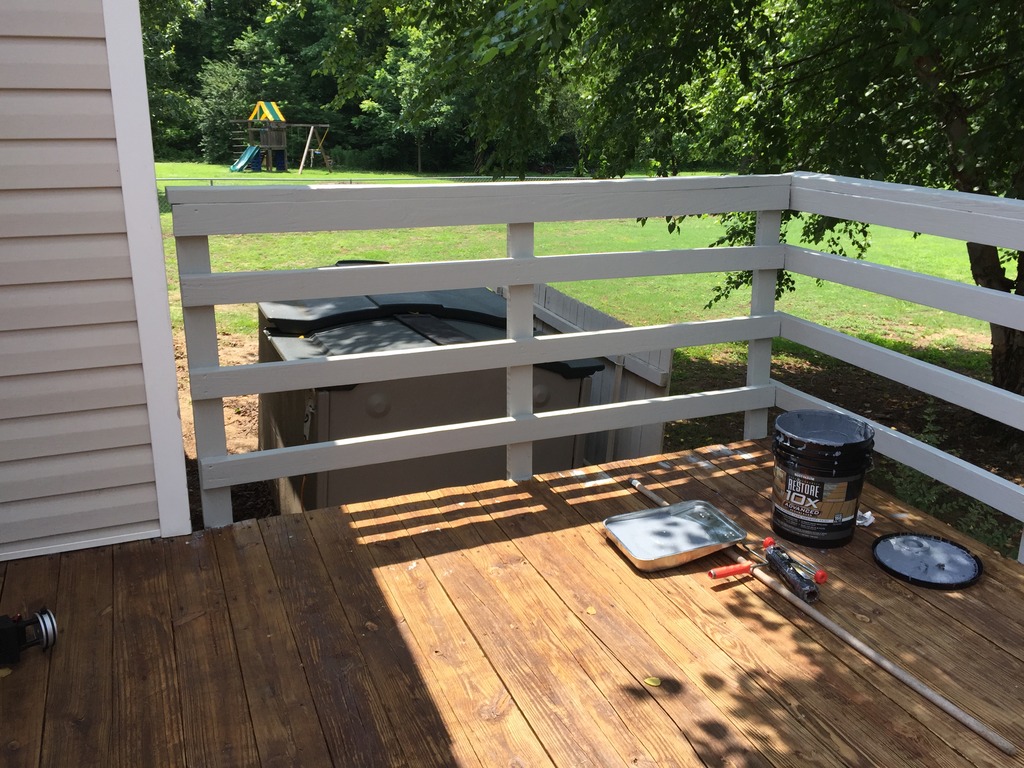
We got all the railings done and then it was time to move to the floor.
For the deck floor, we used the Restore 10x Advanced in slate and as you guessed…this stuff is TEN TIMES thicker than normal paint. It’s like smearing on icing…it’s that thick! For this particular deck, we had some MAJOR cracks that disappeared with the 10x. It was crazy.
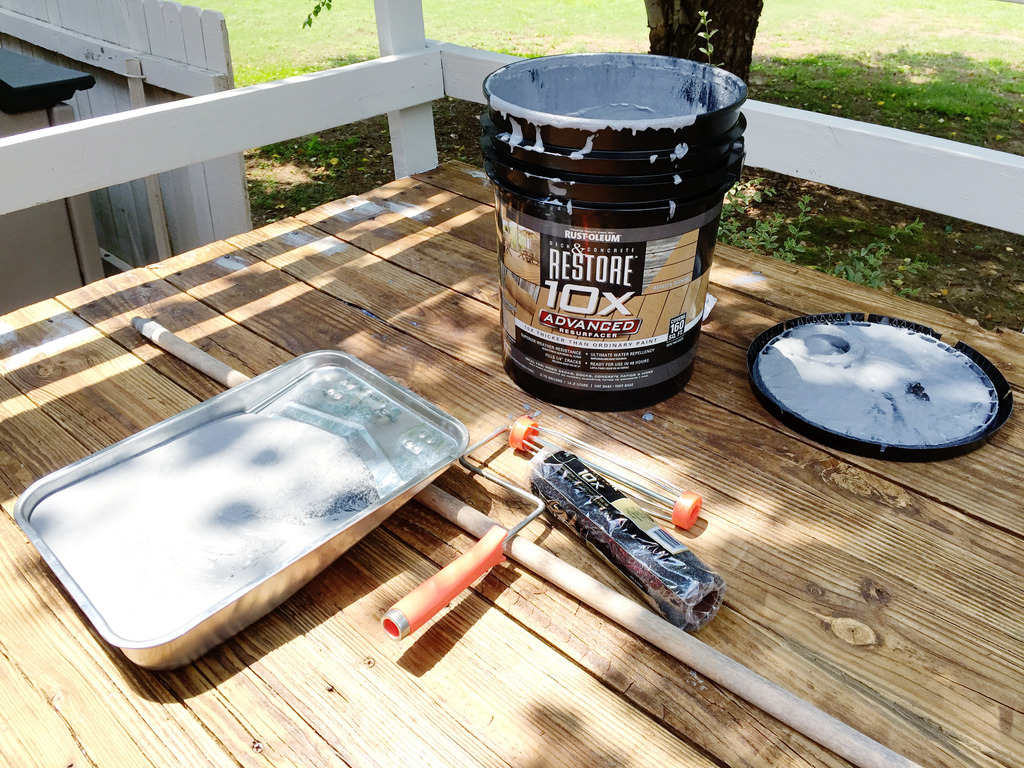
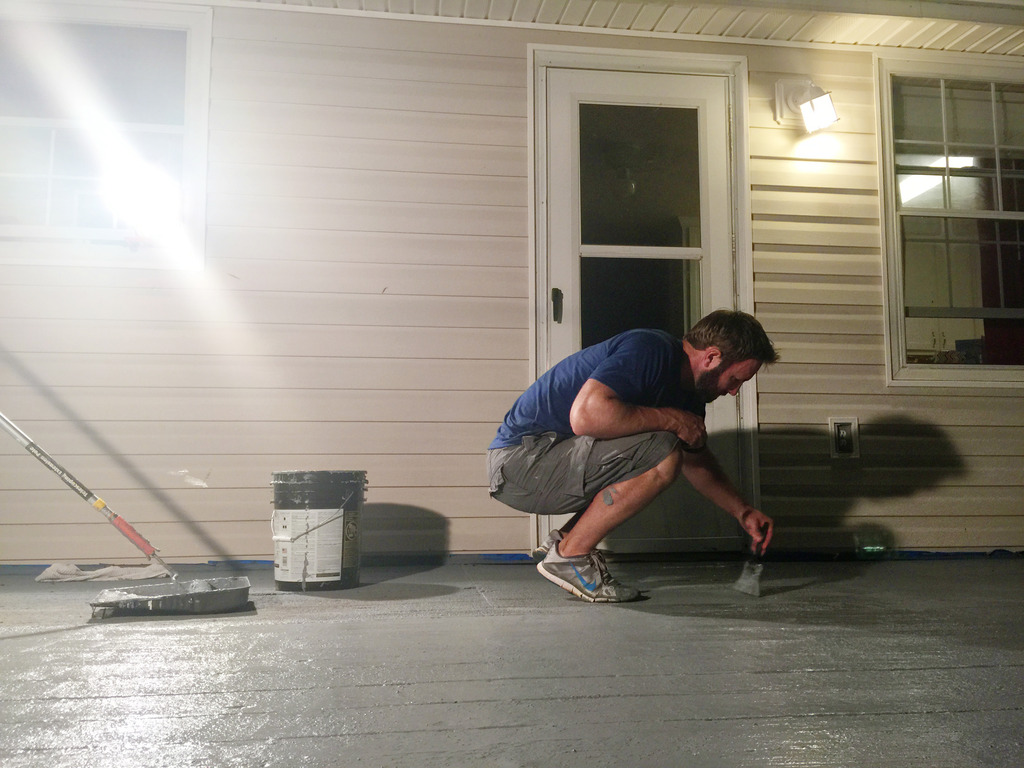
You need to apply the product with a honeycomb roller….it’s made for getting this stuff on the correct thickness. Also, this stuff takes time to apply. You have to load up the roller and then push it down into the deck till a bead appears on the front side of the roller….then super slowly and super firmly push the roller along. Also, you want to ‘cut’ your seams. We used a drywall knife to push the 10x down into the cracks. This helps by creating a spot for rain to go down!
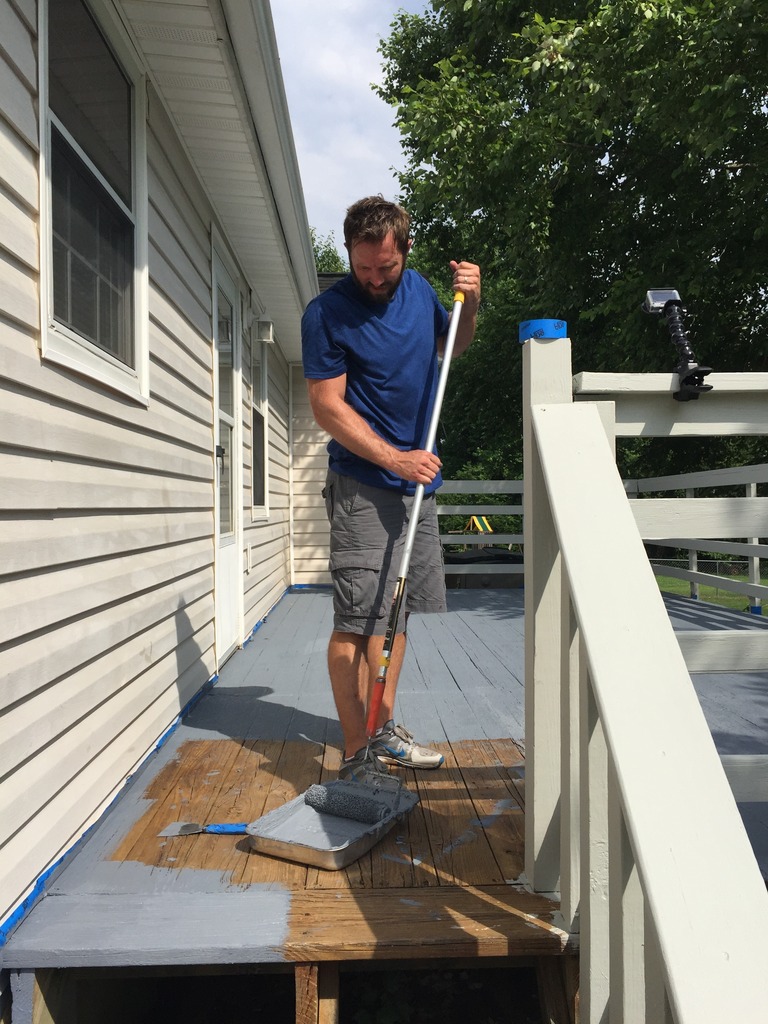
That is how it all looked on the second day of filming.
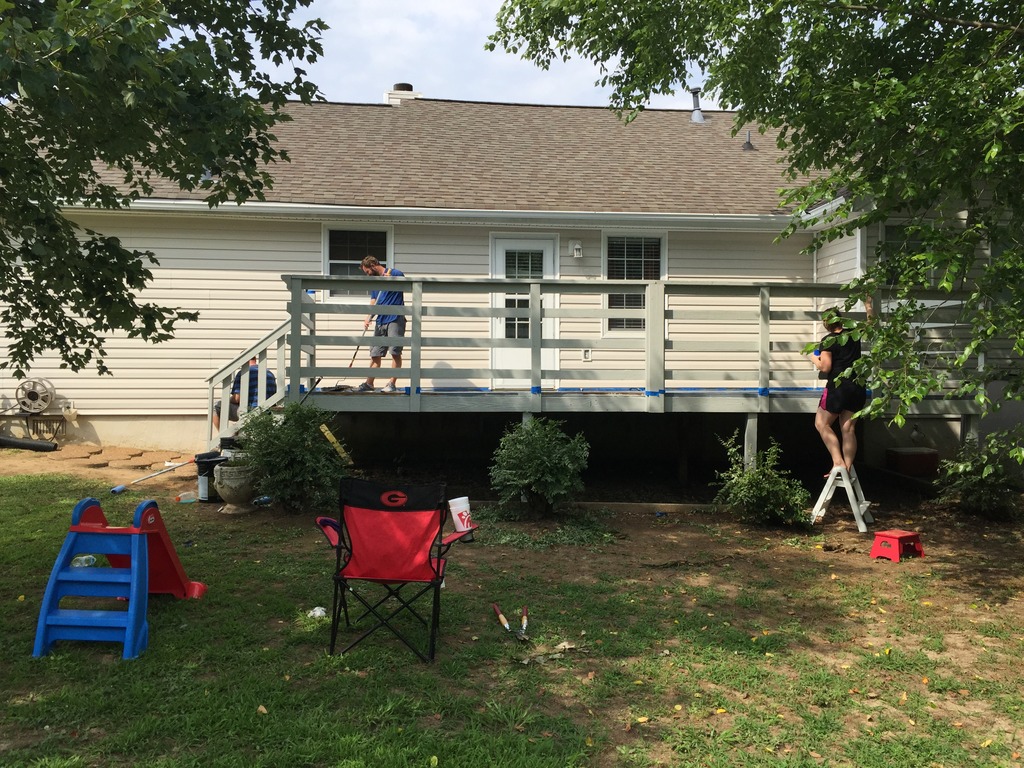
And after we called it a night….
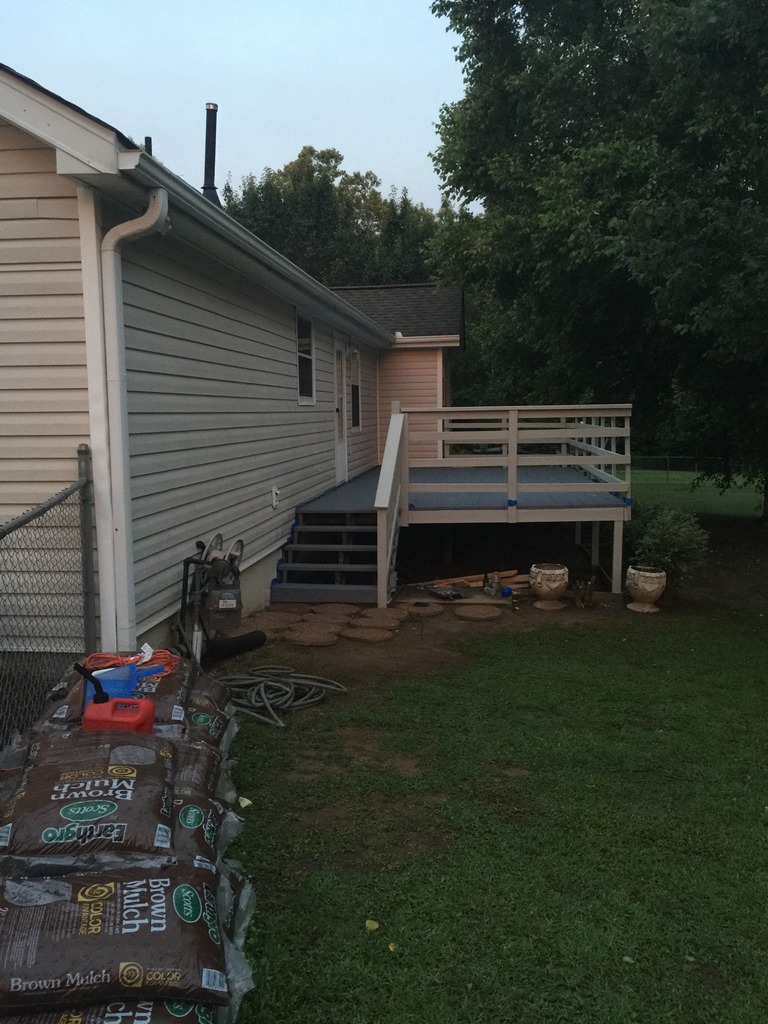
You can see that all the railings and supports are the nice light color and the decking and steps are the slate…which is really more blue than gray.
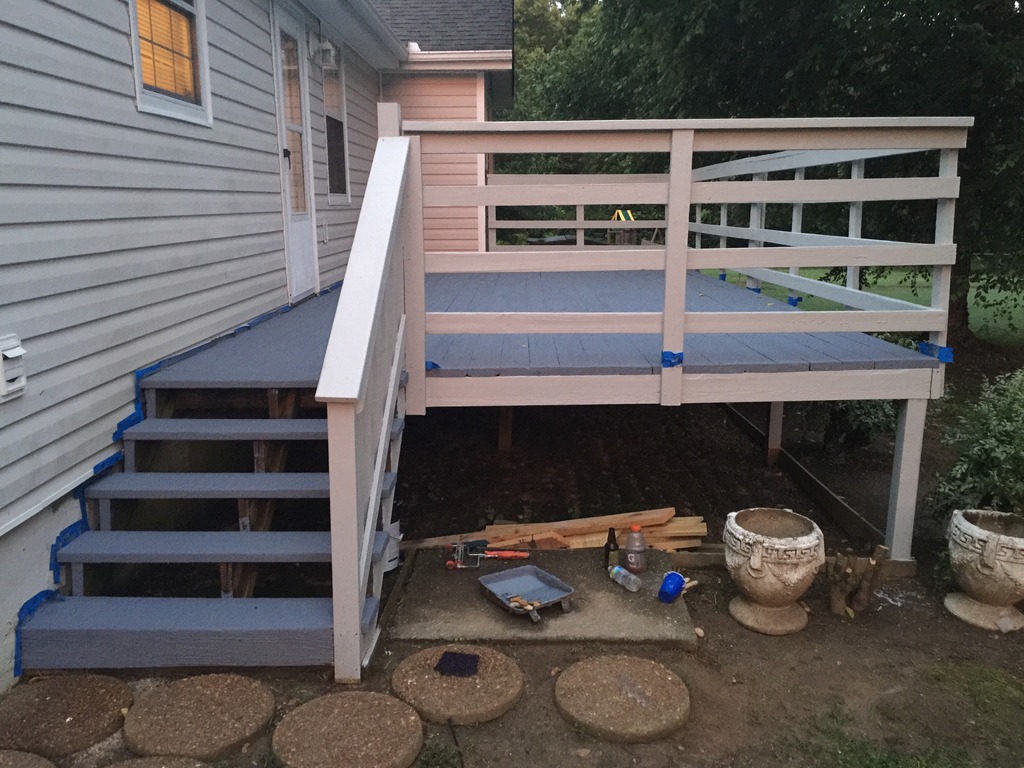
Then came time for a little demolition.
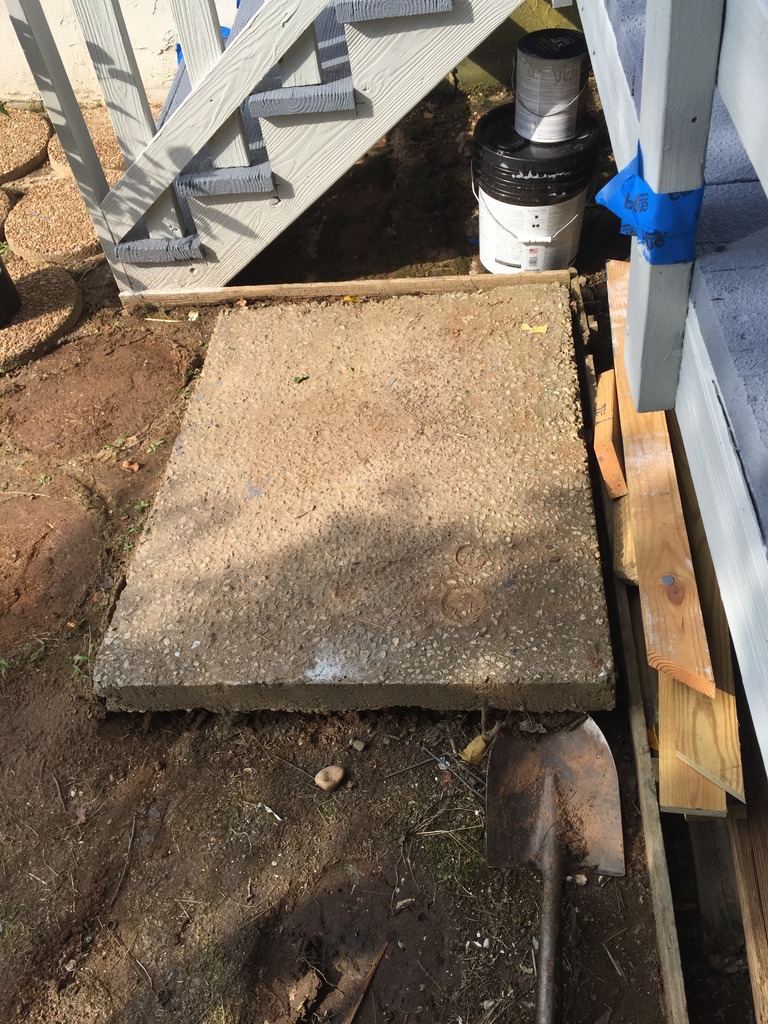
HULK SMASH!
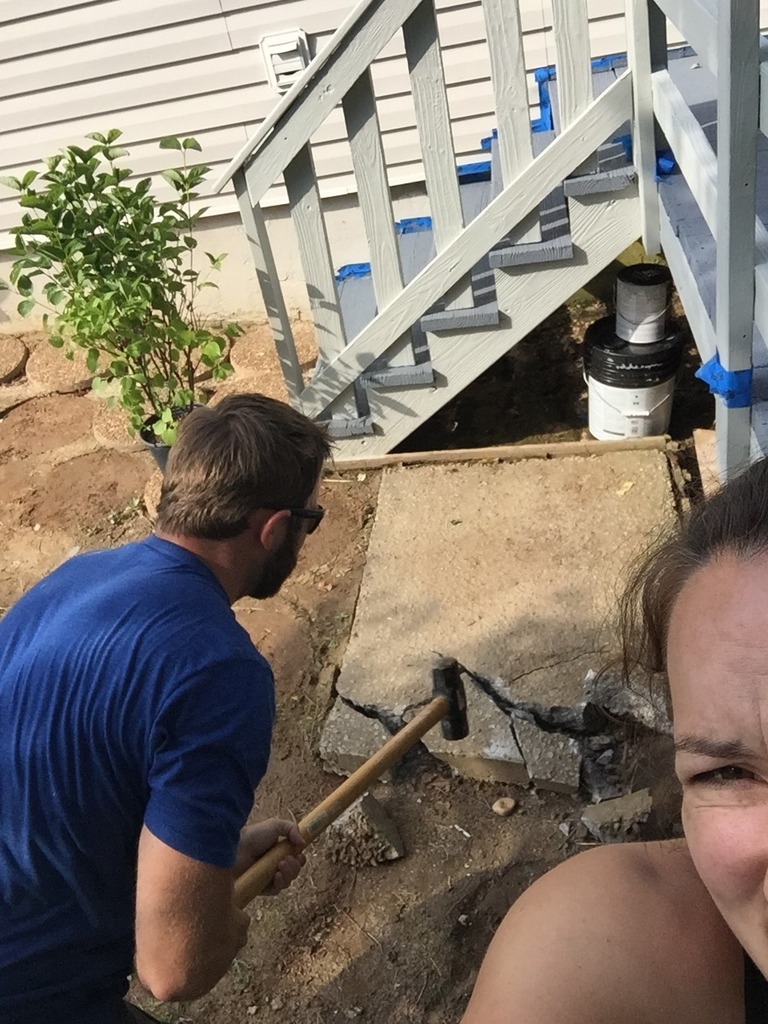
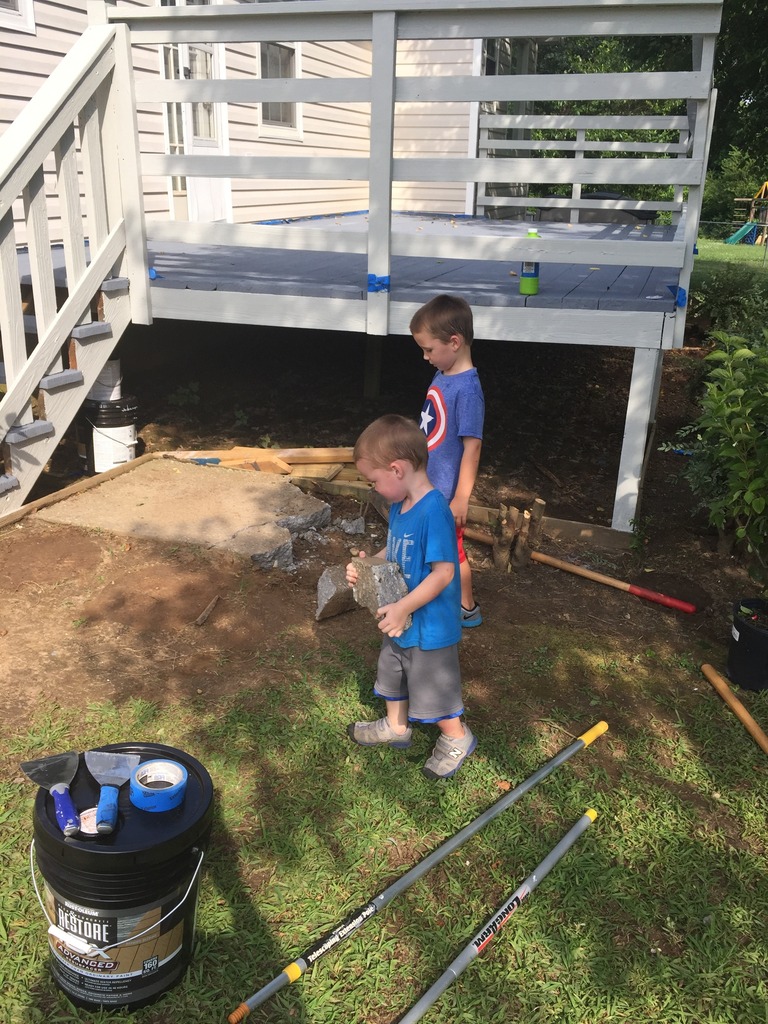
Exciting news. Jeremy taught me how to smash concrete. Seriously. I let loose 34 years of pent up aggression on this concrete pad and it was AMAZING. He smashed it first and then showed me how and I loved every second. Don’t go to a therapist….smash concrete. (just kidding, you really need your therapist!)
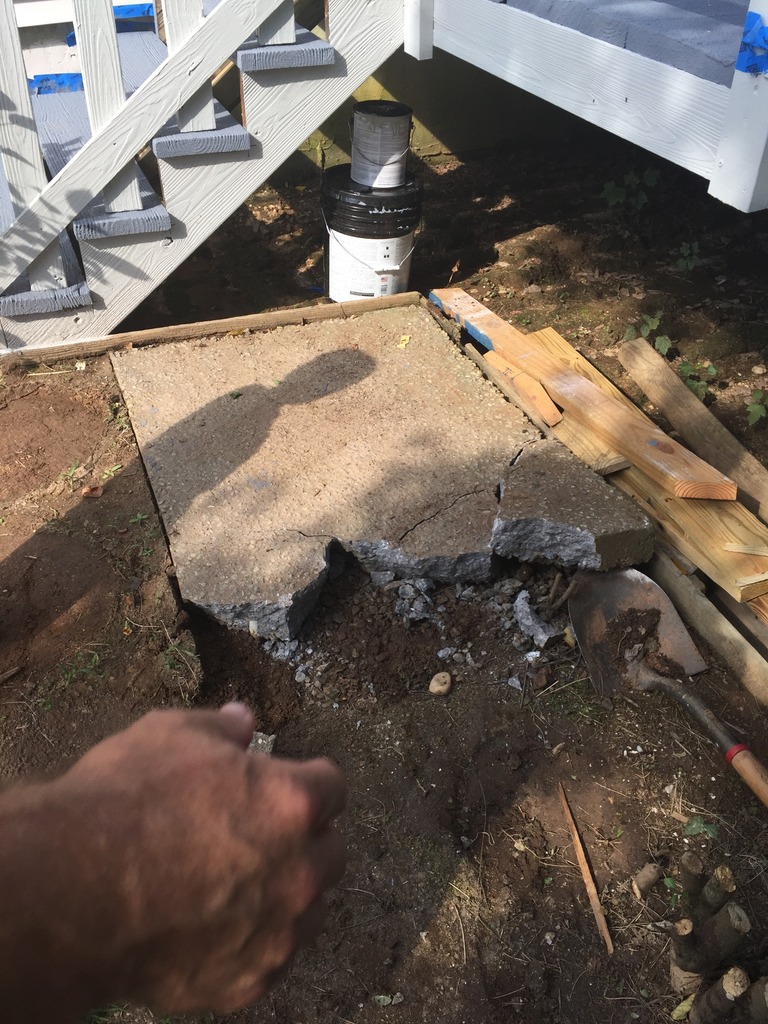
We also had the cutest little helpers haul away the rocks. Of course, they didn’t last very long. Bubbles win over manual labor every time 🙂
So during this project, we unfortunately had to go to Chattanooga for Jeremy’s grandma’s funeral. We had known for a while that she was fading and finally the alzheimer’s won and she went to be with Jesus. So we rushed to get everything done a day early which meant that we called in reinforcements and worked till the wee hours of the night. The entire deck needed a second coat. The second coat we wanted to back brush so that it would have a brushed texture vs. a stippled texture.
We also had to tackle the landscaping and the lattice. Thankfully we have a good friend named Shawn that we could call and he came over with his truck full of tools and he did the lattice for us. The homeowners parents live down the street and they also helped with the kids and the landscaping. I also had to call my dad to come in to watch my kids so that I could help do final touches too. Overall, that was a long LONG night but usually crunch time is when Jeremy and I make the most progress and make quick decisions.
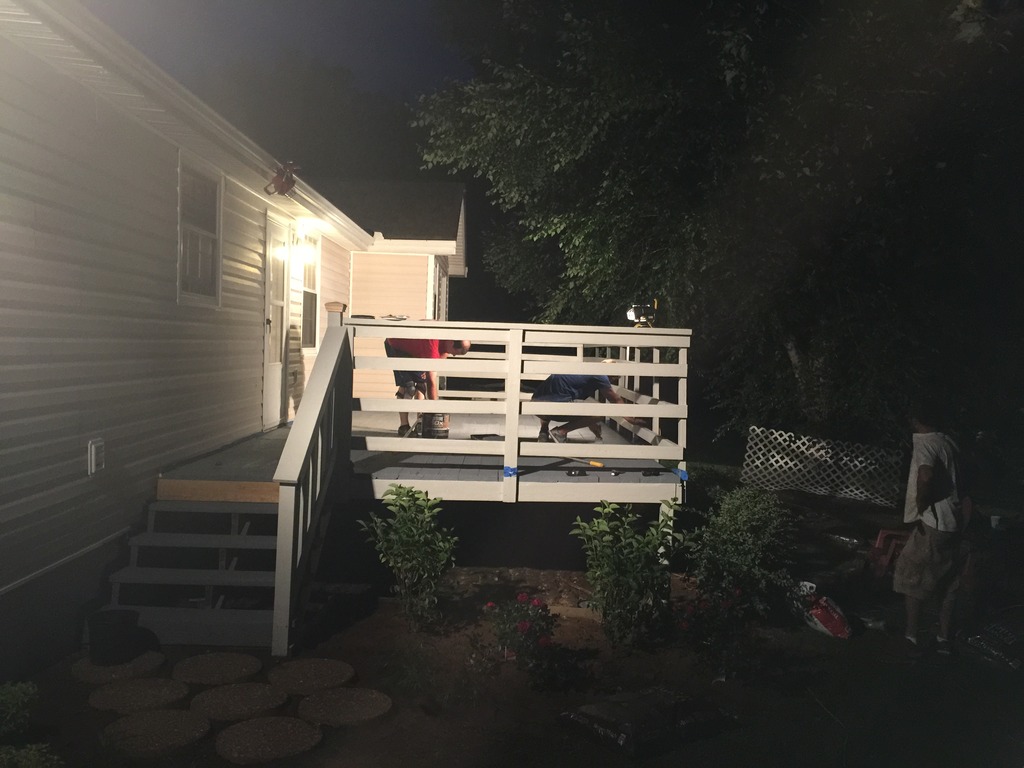
I know you want to see this thing with all the landscaping and the furniture but you will have to wait! Here she is with the two coats and ready to be staged….
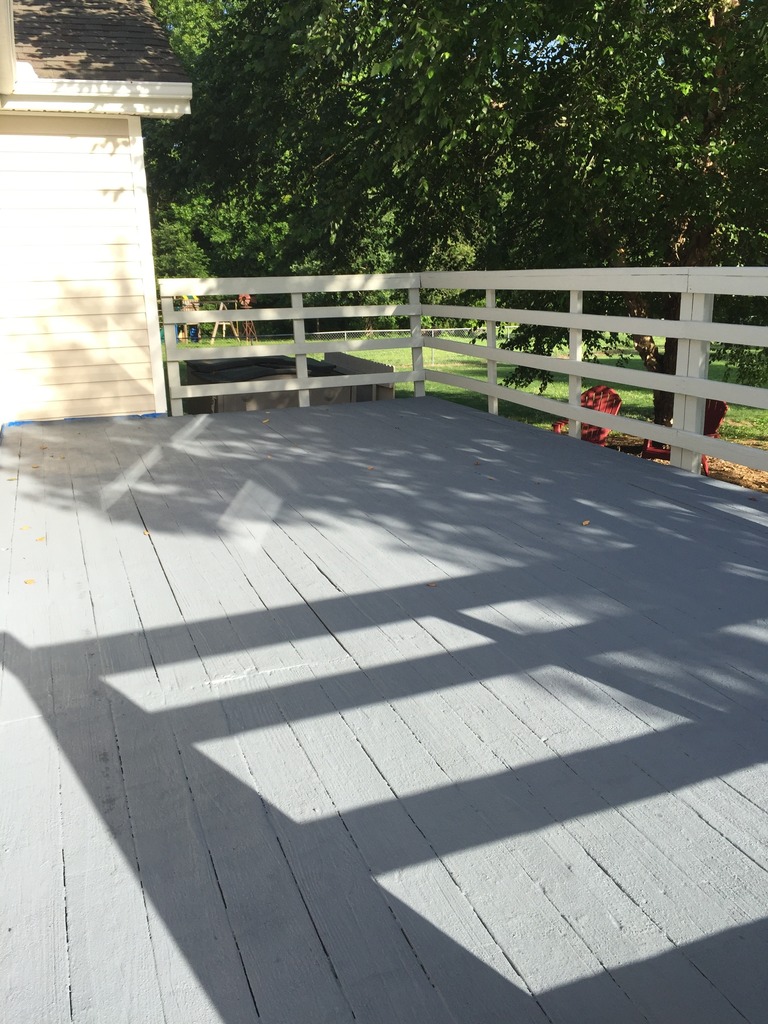
What a transformation, right?! Do you even remember the befores?
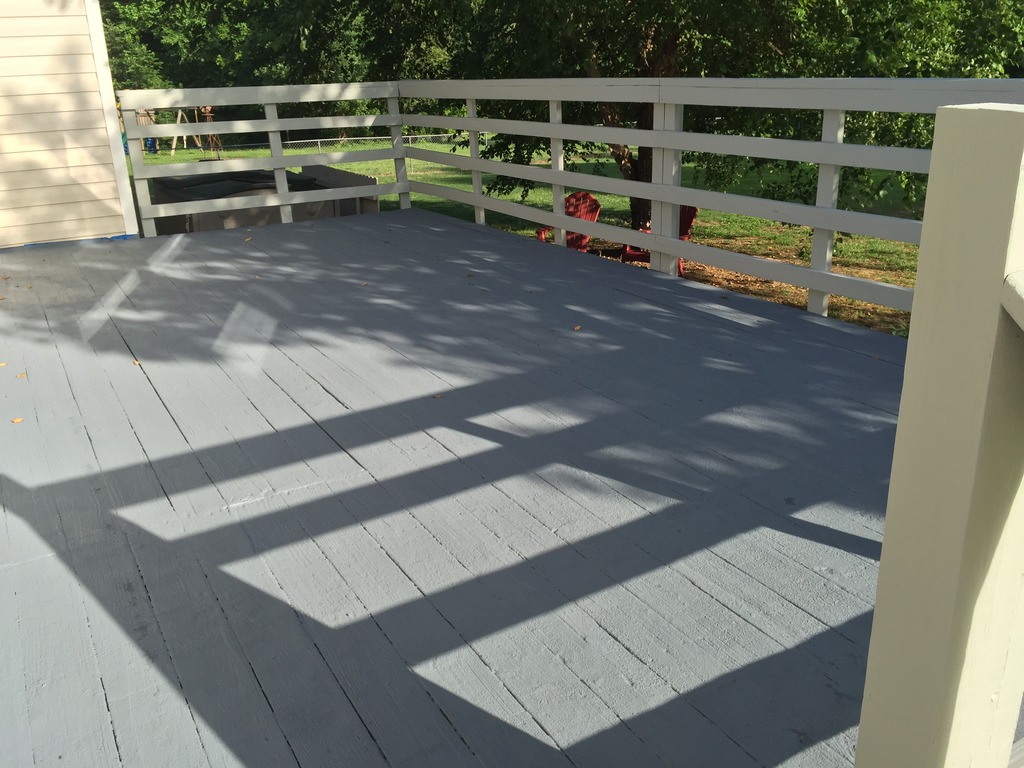
Here is what it looked like before next to the after….
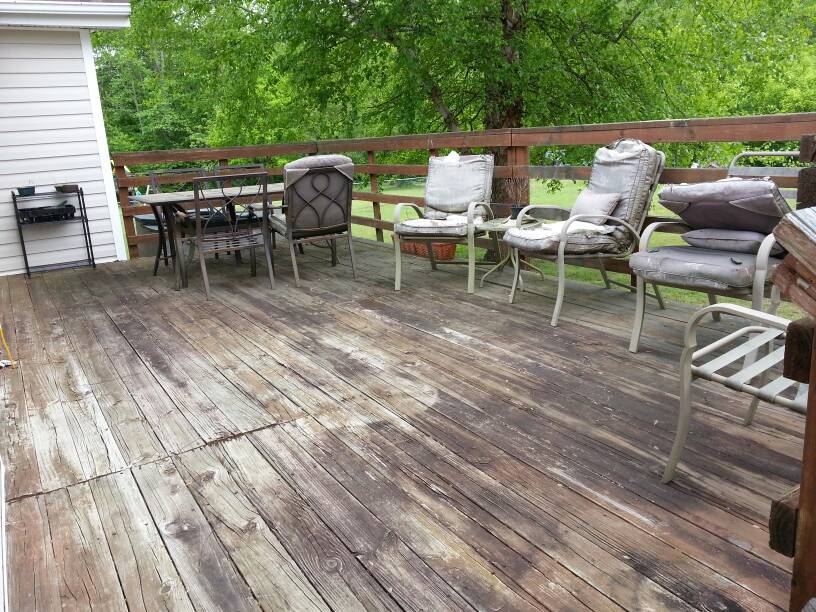

Even with the crazy shadows it was TONS better and safe for all those little toes! Plus, the product did exactly what we were promised…it locked down all the little shards and filled cracks and holes. Oh and did I mention that this should last a lot longer than traditional stain? Yeah. So with exterior wood stain, you have to reapply every other year or so. This? It should last anywhere from 5-10 years! I KNOW. And since it comes in 60 different colors, the sky really is the limit 🙂
So that’s how we did the deck and rails….just wait till you see the AFTERS! They look so good! I love this space so much and I know that it’s gonna be such a good fit for their family as their daughter grows! I mean….it’s a giant backyard and now they actually have a place to chill and enjoy it!
Stay tuned for tomorrow!
What a fabulous transformation so far. Makes me wish I had a deck to transform, just a patio for us. Those ankles Katie. I was pregnant June July and August and I know exactly how you felt! You still looked wonderful kankles and all, lol. Can not wait for tomorrows installment. On a more serious note, I am truly sorry for your families loss, May she RIP always in the arms of our Lord.
It looks great! How does it feel on your feet? In the store I got the impression that it felt a little rough so I wasn’t sure what it felt like to walk on it barefoot.
I might have to use this stuff, it seems legit! There’s been a lot of complaints online about the stuff flaking up weeks later, but I assume if you follow the preparation directions, it should work just fine.
Also, is there a way to prevent the paint build up between deck boards?
One other question… was it the homeowners who preferred the back-brush texture vs. stippled? I’m wondering if there are benefits to one over the other.
Do you know whether the Restore 10x that’s on the market now is the original formula? I read something that made it sound like maybe Rustoleum had adjusted/improved the formula, but their website doesn’t specifically say.
I looked into this product for our deck, too, which is in pretty bad condition. I love the idea of not having to re-stain every year to keep the deck looking great. We don’t stain every year (I mean, I have little kids, who has time?), and our deck was splintery and looked pretty similar to your friends’! But after finding all of the terrible reviews (and the class action suit against Rustoleum for the Restore 10x), I’m too worried to commit. Every review I saw that was more than 6 months out from application was HORRIBLE–the paint bubbles and peels away, but the parts that stick are nearly impossible to remove.
If Rustoleum has changed the formula, I’d definitely be willing to give it a try, but if it’s the same product people are suing over, I don’t want to risk it. Maybe the primer is what’s new and makes the difference?
We used the restore on our deck too. It looked beautiful! For a few months. I’m actually really unhappy with the product and will be contacting the company soon. It is peeling up all over, and we followed ALL the directions. Hope this pretty deck holds up better than ours did!
Am I the only one who thought Rustoleum was just spray paint? Whoops. Does anyone have favorite wood stains? My deck is looking really faded and sad, but I have an HOA that restricts us from painting decks.
Gosh, Katie. I can’t believe you had the stamina to do all this in the heat, being 39 weeks prego ( your poor swollen feet! and back ), along with all the other stuff you had to do for your own family. You are about the most unselfish person I know. One of God’s givers. I certainly hope they appreciated it. As well as the family that is living in your basement. What you and God have bestowed upon them is pretty amazing in my book.( and more importantly, in the Book of life.) May the Lord continue to shower all of His blessings and favor upon you. Amen.
That looks great. Please get the Rust-Oleum team and you guys ~ ~ come to Kansas to do mine. I don’t want a color on it though. Just clear coated please! Would it help if I told ya, that I only use Rust-Oleum Painters Touch 2 X spray paint? Love that stuff!!
Jeremy and I did a touch-test in the store and we definitely preferred the brushed…the stipples could feel really uncomfortable and even though it was more work, we urged our friends to let us do the back brushing. They agreed!
xo kb
The stippled is definitely more foot unfriendly so we encourage the back brushing! I even did a barefoot test and it seemed like walking on concrete…not smooth like hardwoods but not uncomfortable. Maybe Karen can chime in?
xo kb
I can’t get over how much better it looks after all that hard work! And honey, those poor cankles…………. 🙁 I felt for you!
Oooo i want to check out what other colours they have available. Can’t wait to see the afters!
Love the color choices! You should’ve inserted a side by side before and after of your ankles. :).
That’s what so many people think but actually Rust-Oleum owns a ton of different brands…everything from spray paint to cleaning products!
xO – kb
I just checked in with Karen and it’s still going strong. I hear that it’s all about the prep work!
xo – kb
You can cut the paint in between the boards with a box cutter knife or a drywall mud knife.
xo – kb
I don’t know if they changed the formula or not. That is a good question that I encourage you to ask on their Facebook page! The primer is new!
xo – kb
We did this to our deck and it all seemed perfect until large chunks started to peel off- even after following directions to a T. Same thing happened to our friends’ deck on their cabin in Blue Ridge. Hopefully, the company has worked out the bugs because after all that work, it’s a bummer to have it not do what it’s supposed to.
Looks amazing! You mentioned that their is a product to use on cracks larger than 1/4″. Do you use that along with the 10x paint or is that a different deck finish completely? I have a few large cracks on my deck and was curious. Thank you.
Our neighbors used this product on their deck last summer and were meticulous about following the directions. It looks awful this summer! Peeling up in some sections, etc. They contacted Rustoleum and were told they would reimburse them for the product only, not for the many hours it took to apply plus now they are stuck with a deck that looks awful and are going to have to spend many more hours to remove it and apply another product. Hope your friends have better luck!
Your feet! I’m so glad that you are beyond that now.
First of all, Holy Cow! You are one hard working lady! I’m quite certain that I didn’t even leave my house when 9 months pregnant in that kind of heat, much less do hard manual labor. It’s no wonder I love your blog. It’s written by Superwoman!
Also, I would love, love, love it if you would give us a 6 month to a year progress report on this deck. I have considered using similar products on my own deck but the reviews have given me pause. The long term durability of the product seemed to be a big problem for a lot of people. I REALLY hope that’s not the case here seeing all the hard work you guys did. So if you think about it and get the opportunity I would be really curious to see how it’s doing. For now though, it looks amazing! Good Job!
I’ve always hated that “red deck” look but didn’t realize there were other products out there. I don’t have a deck currently (townhouses are so much easier) but I’m filing this away for future DIYs .
Maybe the primer is the new key ingredient to making this product work. I applied this product following all directions to my old deck in the summer of 2013. NO primer was mentioned anywhere. In less than a year it had all peeled off leaving an awful mess. I hope they have corrected the problem with this primer, but I will be interested to see this deck in six months to a year.
The crack filler is something for the cracks on 1/4″ or larger that you want to have filled. You would use that AFTER the deck is completely clean and free of any residue. Then the primer, then the 10x. The 10x is really thick and it filled all the cracks we had.
xo – kb
I will! I just texted Karen to see how it is holding up after one month and she said that it still looks great.
xo – kb
Got it! Thanks!
This project looks amazing – and exhausting. I read through this post because we are considering using this same treatment on our deck in September. Thanks for covering all the steps so well. Now I just need to get motivated to tackle our much larger deck. Yikes!
You put a lot of work into your project. I hope it last longer than than my project and the hundreds (if not thousands) of homeowners who have had their property ruined by Rustoleum Restore.
You used the latest version of the Product (Advanced Formula) which requires a primer to be applied first.
It looks like you did everything correct.
It will be interesting to see how it holds up.
Please keep us posted.
Best of Luck
Ed
That is definitely I will do!
xo – kb
Question: Did you use new boards to fix the stair railing and did you just apply the product to it? We are researching using this for our deck, which looks so similar to your friend’s deck in terms of condition. We need to replace some of the step boards that broke first though. The instructions say to not use it on new wood, but to let it age 6 months. Do you know if there is a work around? Or if we can get aged wood somewhere? This would be our first really big DIY tackle with our house we’ve been in for 1.5 years.
Our wood was all old…it was from our deck makeover which we did start over 6 months ago so our wood was aged. And we did use the product on those aged boards directly. I think that some stores do have older wood…you can call them and ask. I know that one of our local ACE hardwares did carry older wood and so did one of our local Home Depots but you have to be sure that it is the stuff that is kept outside.
xo – kb
So it’s almost a year out from when I read this post and I’m starting to think about using this product on my deck but am hesitant due to reviews. I always trust you to tell it like it is even if you work with rust oleum. So please tell me how is this deck holding up?
I actually had a visit with Karen the other day and she gave me an update. The deck is holding up great. She said that there is one area where a few nails came up (they were old nails – not the screws we put in) and she could see that the paint is weakest around those areas – I told her that I think removing those nails and then putting a little leftover primer down in that spot and then a coat of the paint would seal it down – but she said no chipping or pealing yet. I plan on getting an update again after the one year mark so I will let you know!
xo – kb
Is there any 2016 evaluation of the adherence of Rustoleum Restore using the Restore Wood Primer that has been recently available? Does Rustoleum have their testing results you can access for us?
That is a good question. I will ask them!
xo – kb