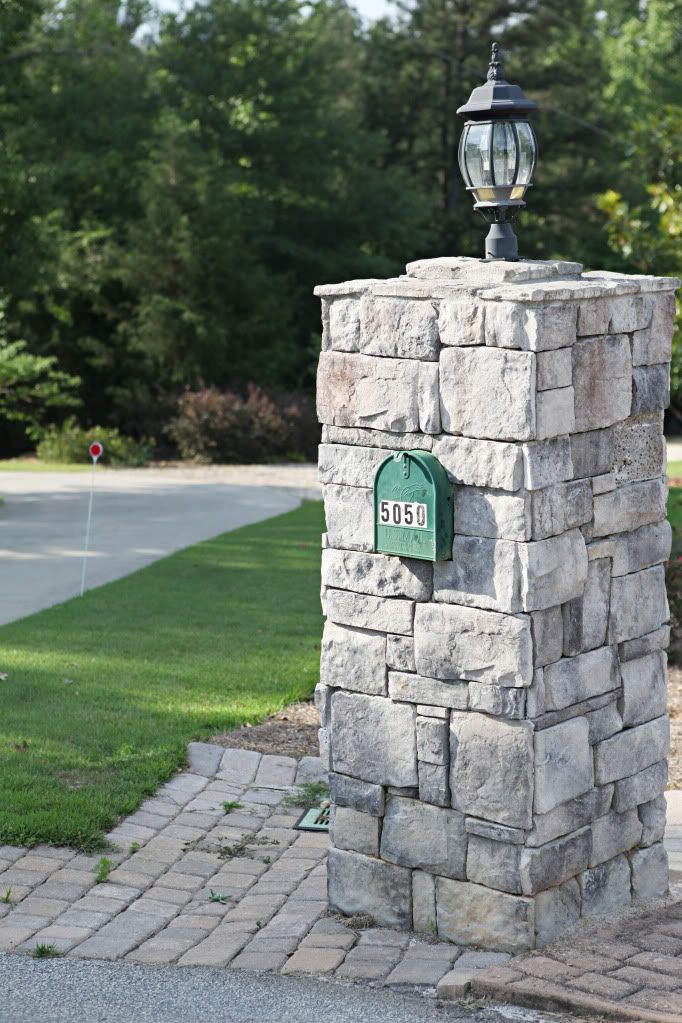
Project curb appeal continues with the next step in apeal-i-fying our mailbox. I explained yesterday how we have very little curb…so every little improvement packs a punch.
Yesterday I used the feul from a Lowe’s Creative Ideas Magazine challenge, some Frog Tape, paper and Rustoleum’s spraypaint in Hammered Black to transform the lights…
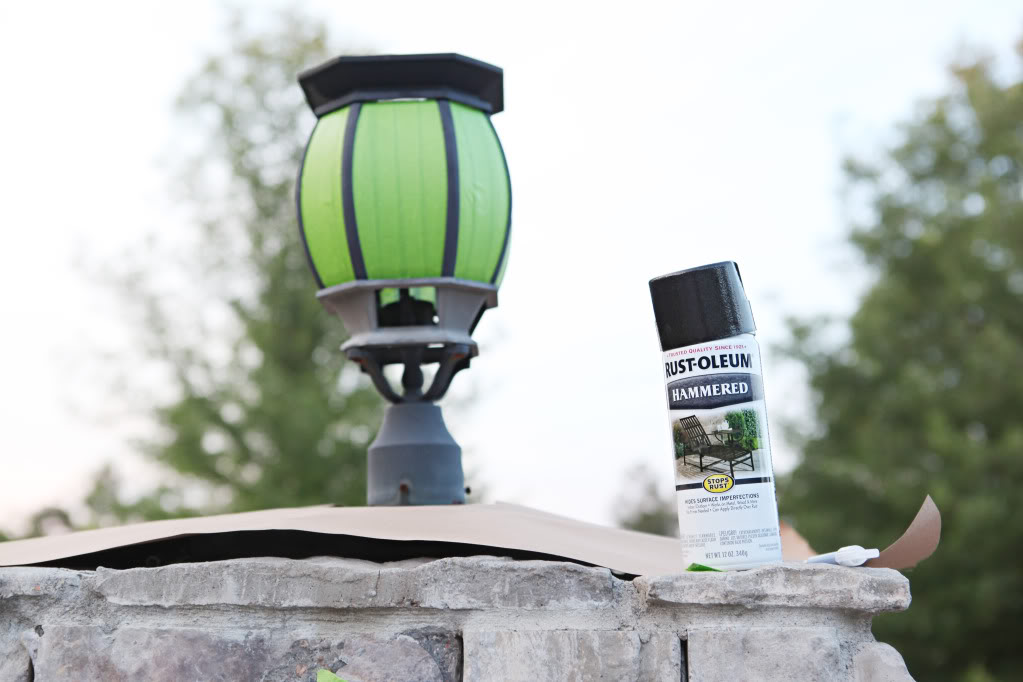
and today I wanna chat about the same transformative power on our mailbox.
As you can see, our mailbox numbers were uber classy. like riding an ostrich to a red carpet event. ugly off center sticker numbers are not exactly fitting for our style house.
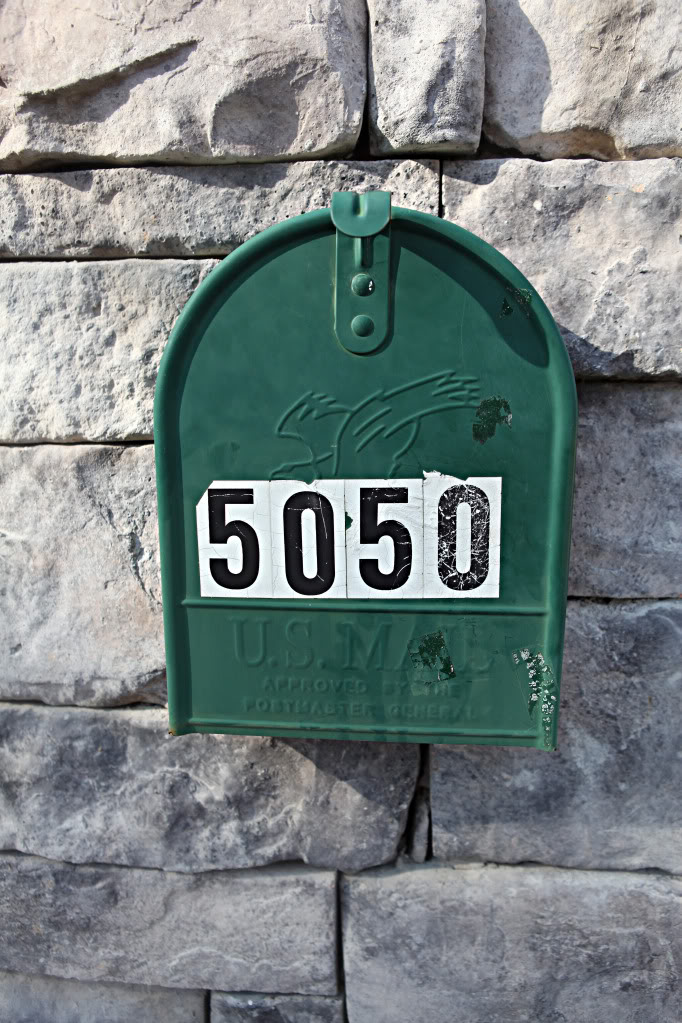
I began with the fun task of sticker removal…
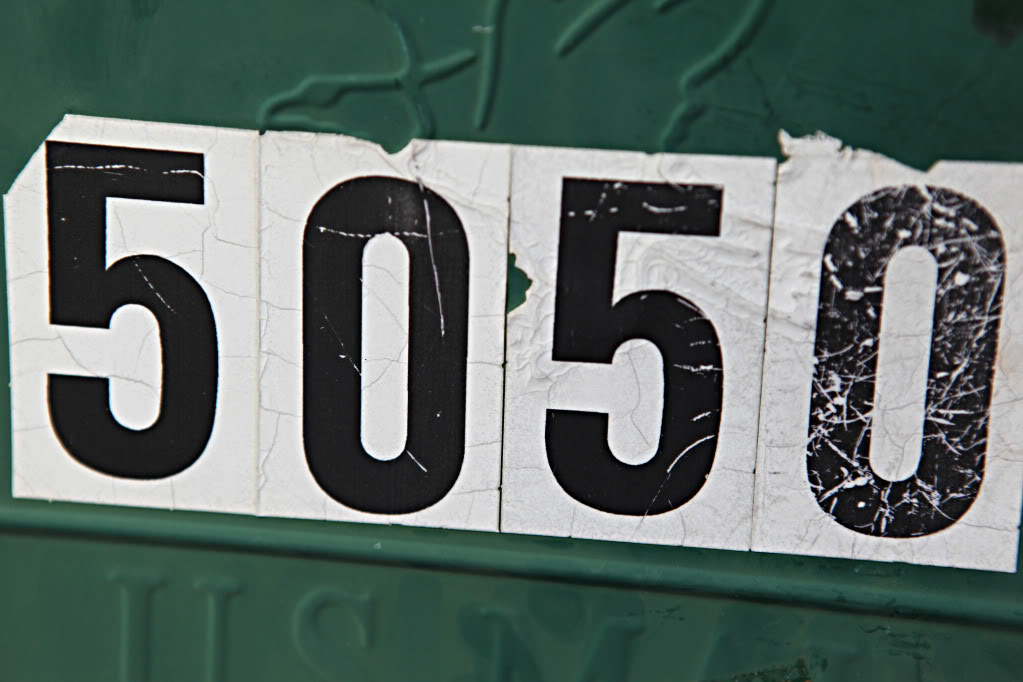
I tried out this De-Solv-it first with a straight razor. I knew it worked wonders on some gum that got on a stroller wheel and then into our SUV’s trunk upholstery so I figured it was worth the try.
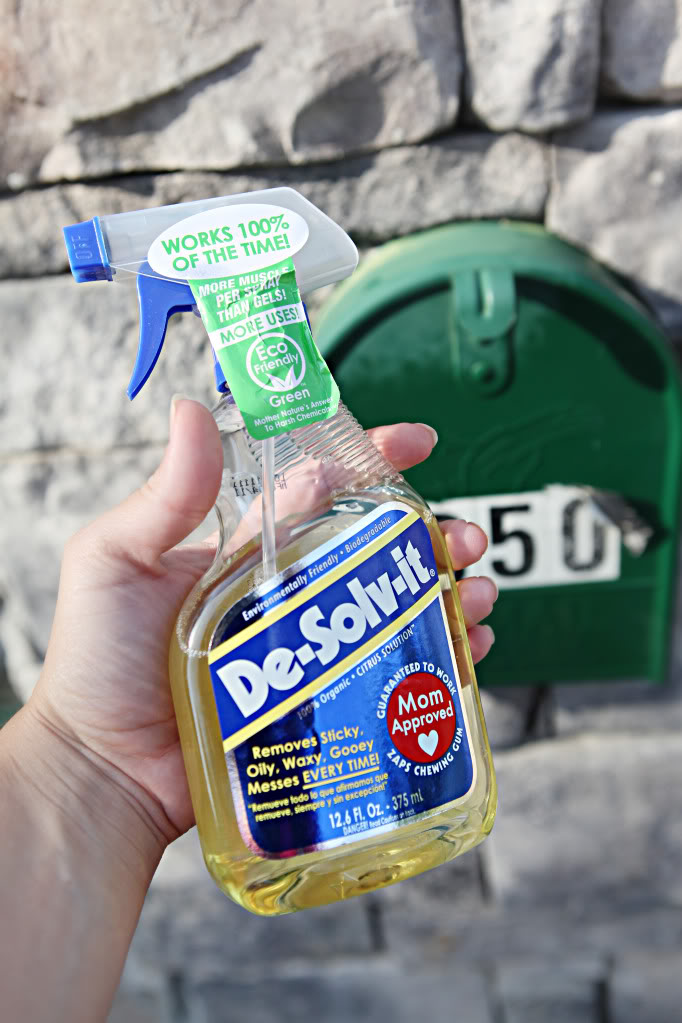
I just sprayed down the entire thing and used a straight razor to work the numbers off as well as a paper towel to get some random tape residue left behind from flyers attached to the face of the mailbox.
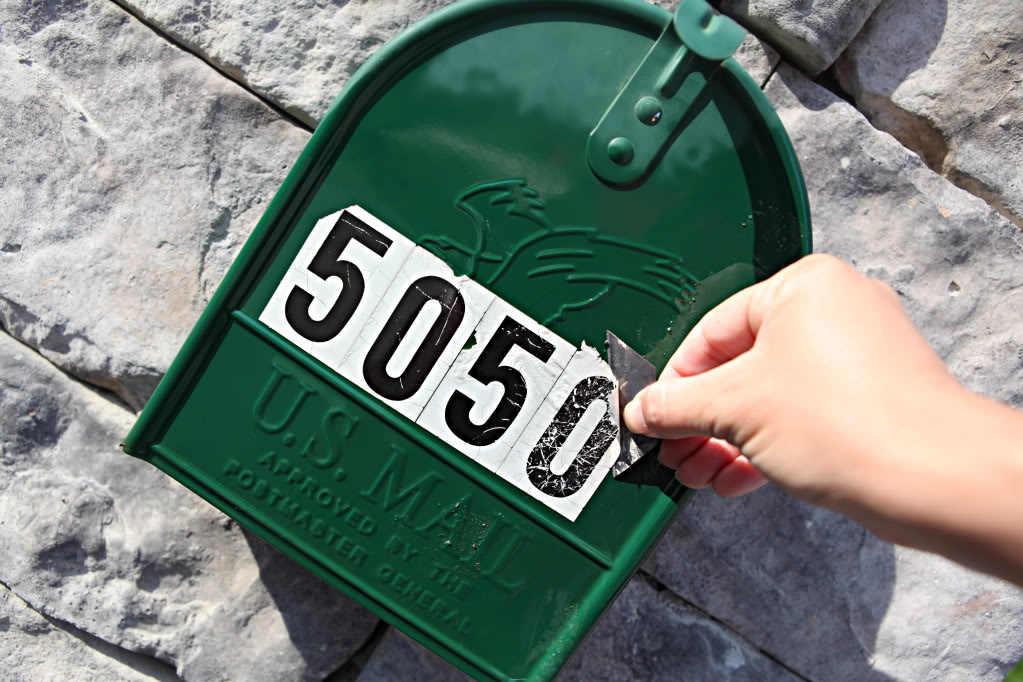
Around the eagle was the hardest because it was raised but eventually the entire face was clean and smooth. See how it discolored where the stickers were? It’s just the non-faded bits and we made sure it was ultra-free of any debris.
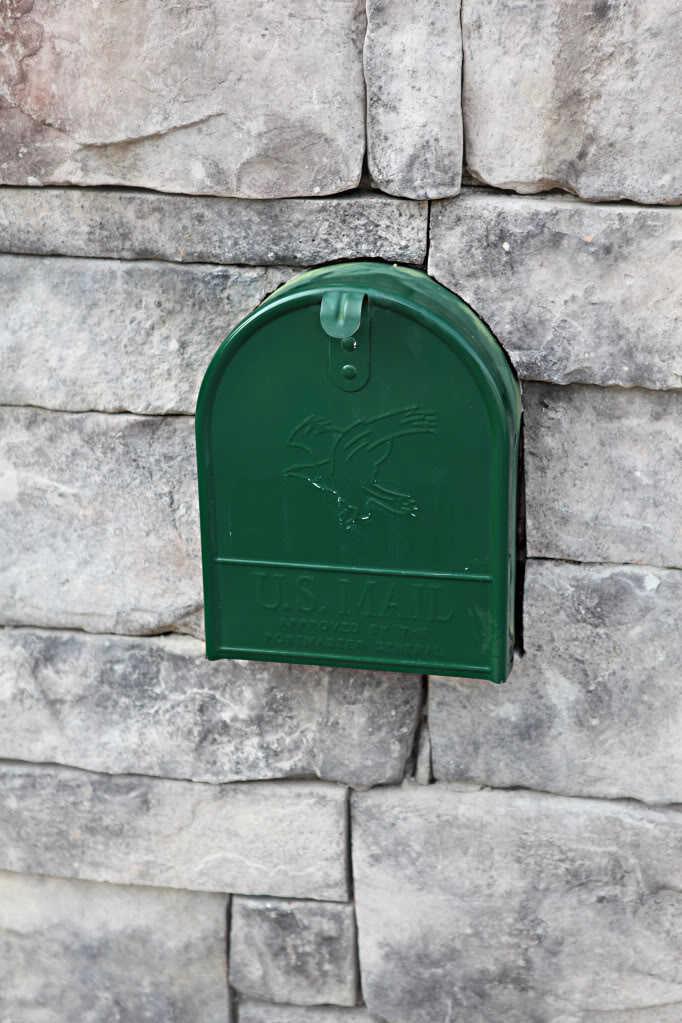
Next I whipped out my frog tape and took extra-special care in covering all the rocks around the mailbox. Mailboxes aren’t that pricey to replace – but since this one is cemented inside the pillar – that option is out. So spraypaint it is.
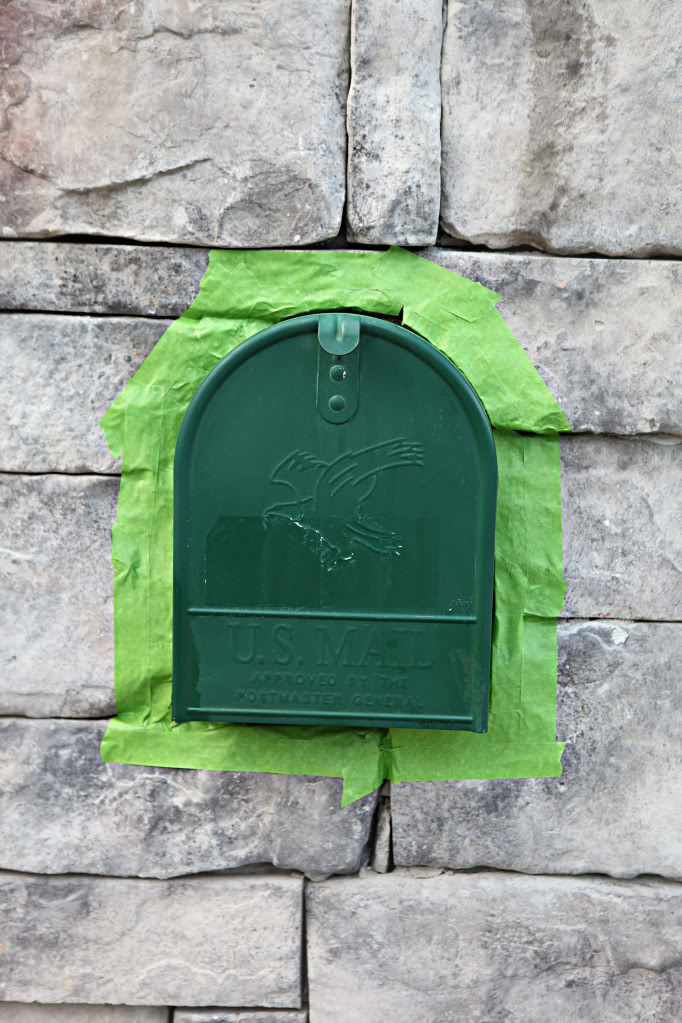
I was worried that the overspray could get the rest of the stones black…so extra paper and tape did the protective job. Between the tape and the paper, my stones were safe. No glove, no love my precious mailbox 🙂
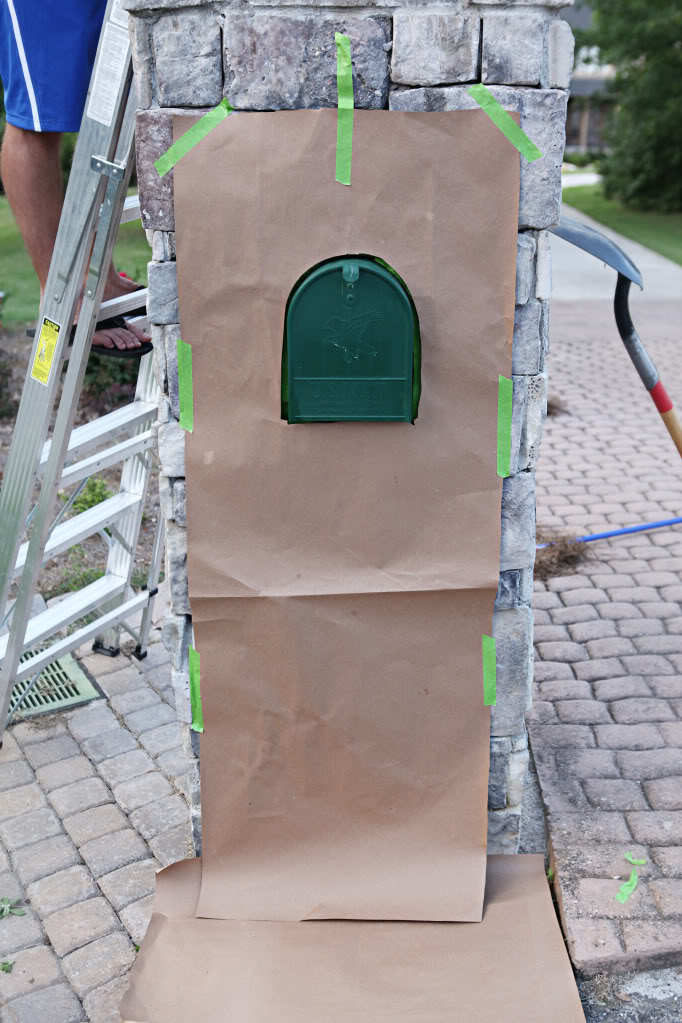
I started on the inside with slow even strokes of the paint can and then worked my way out.
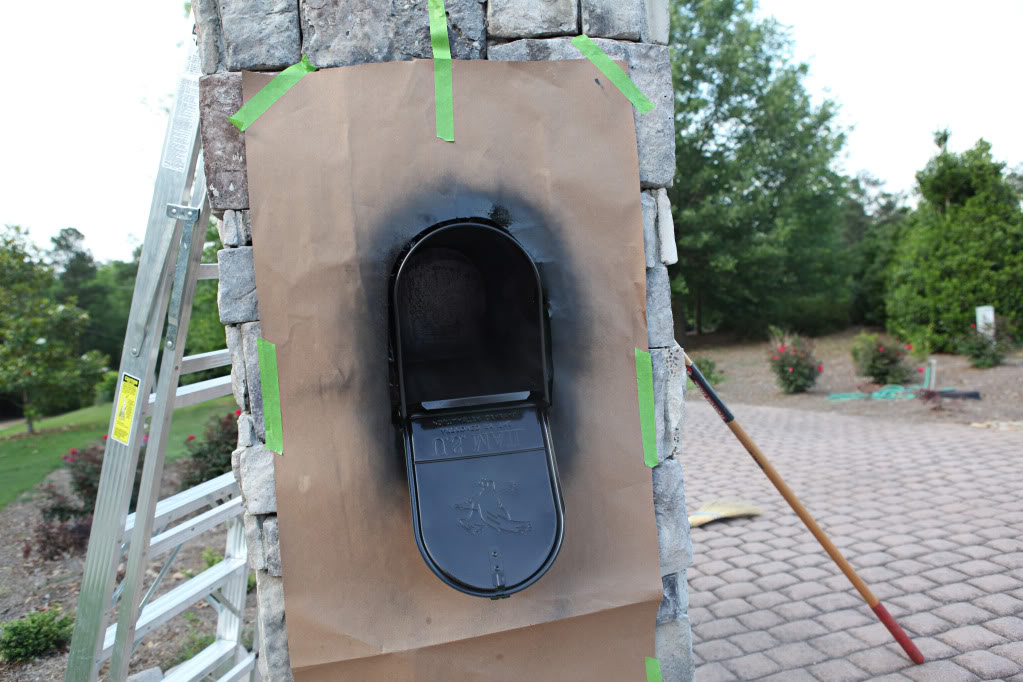
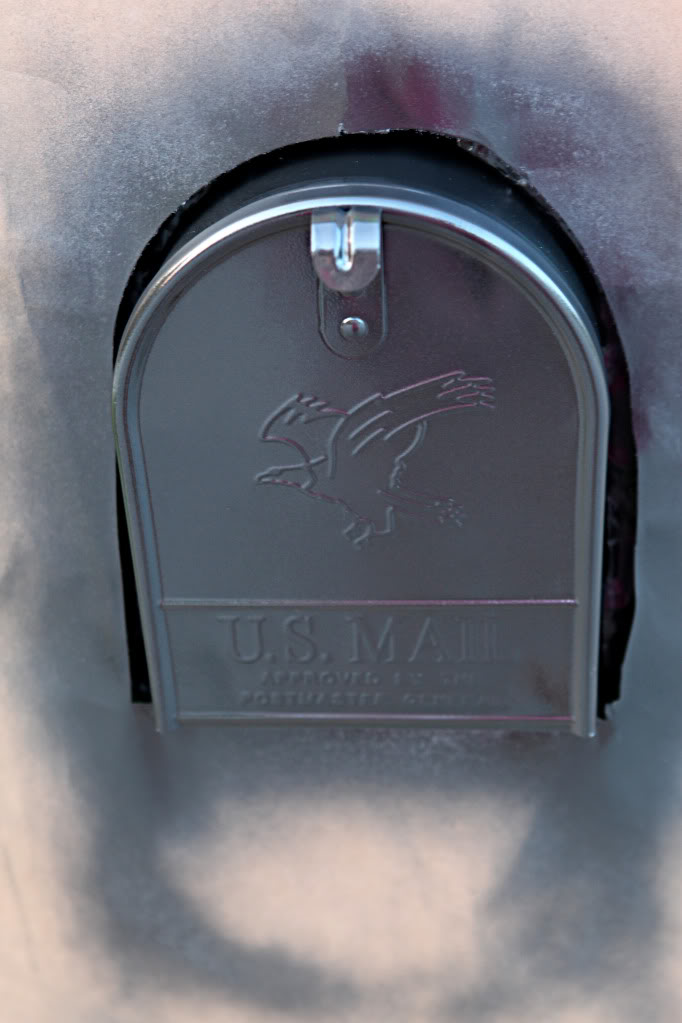
After that was dry, I started with the front of the lid. I know it looks like there is some pink in the paint but it is just my shirt reflection.
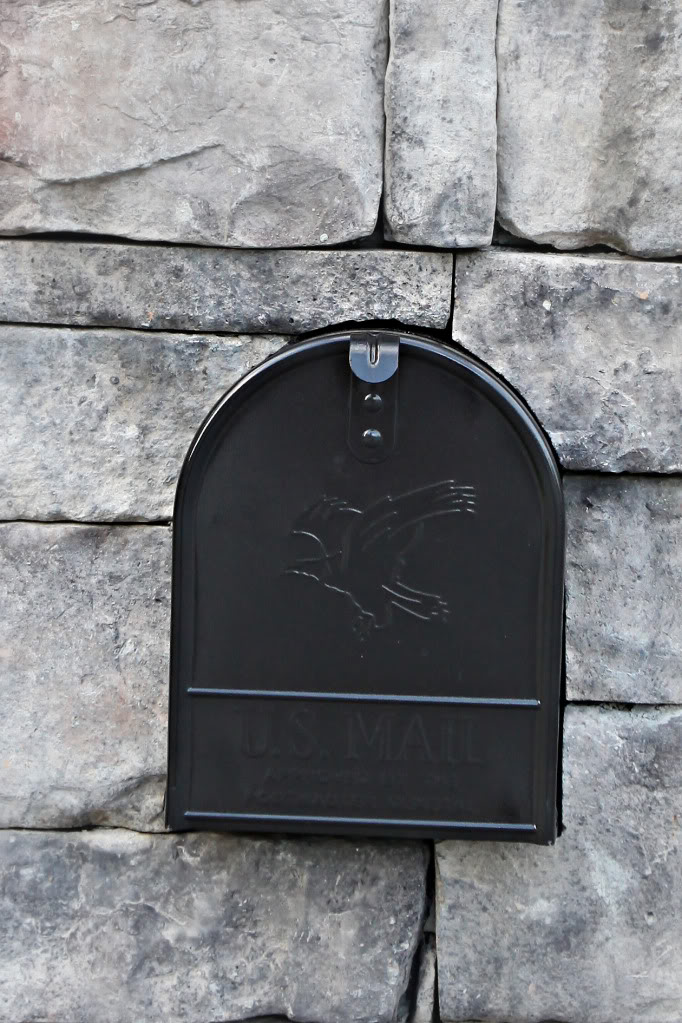
After tape removal – we got a chance to see the finished product…and we ADORE it. It looks like a brand new box. Even our mail lady Margaret told us that she loved the new box – and really that is the ultimate stamp of approval, right?! That’s like Ken Paves telling you he likes your haircut. High five to me!
While we were working on the box, we also tackled another curb appeal issue…a broken stone from the mailbox pillar. This isn’t our first time around the stone-repair-block…so we knew exactly what would work. (here’s a video on how we fixed one before!)
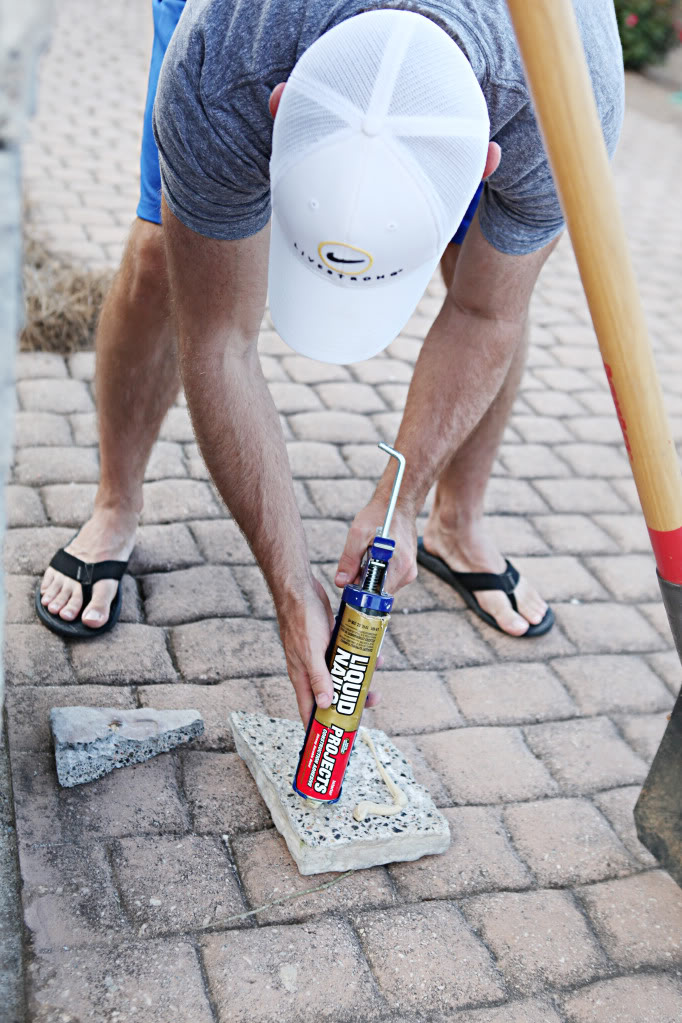
A little liquid nails and a whole lotta pressure got the first piece in place…
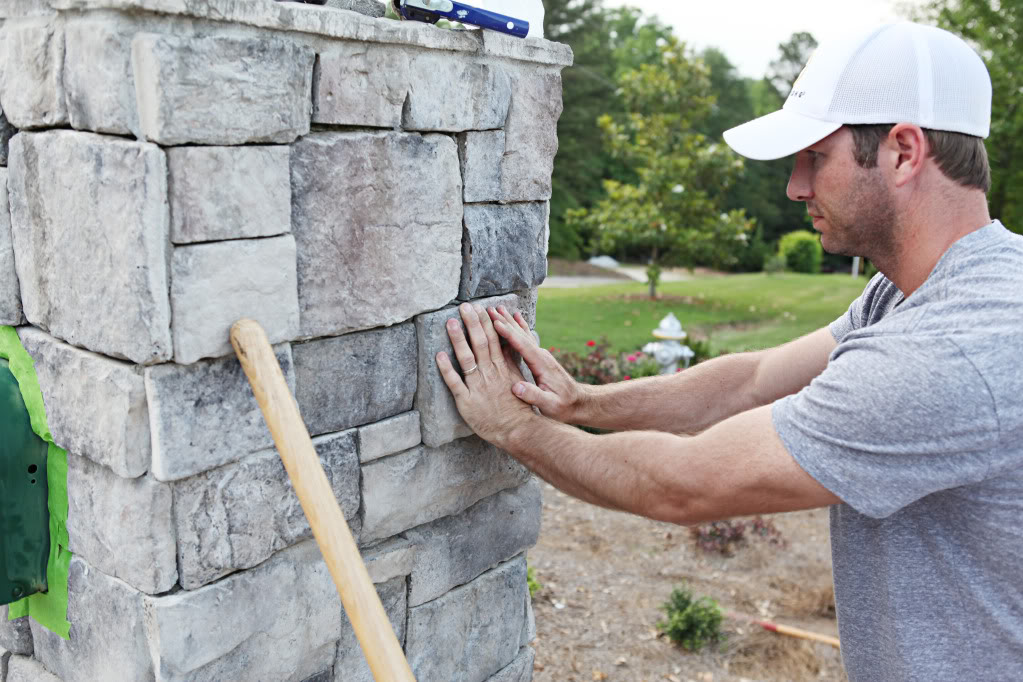
Then Jer placed the second piece in and wiped any excess glue away quickly with a damp paper towel.
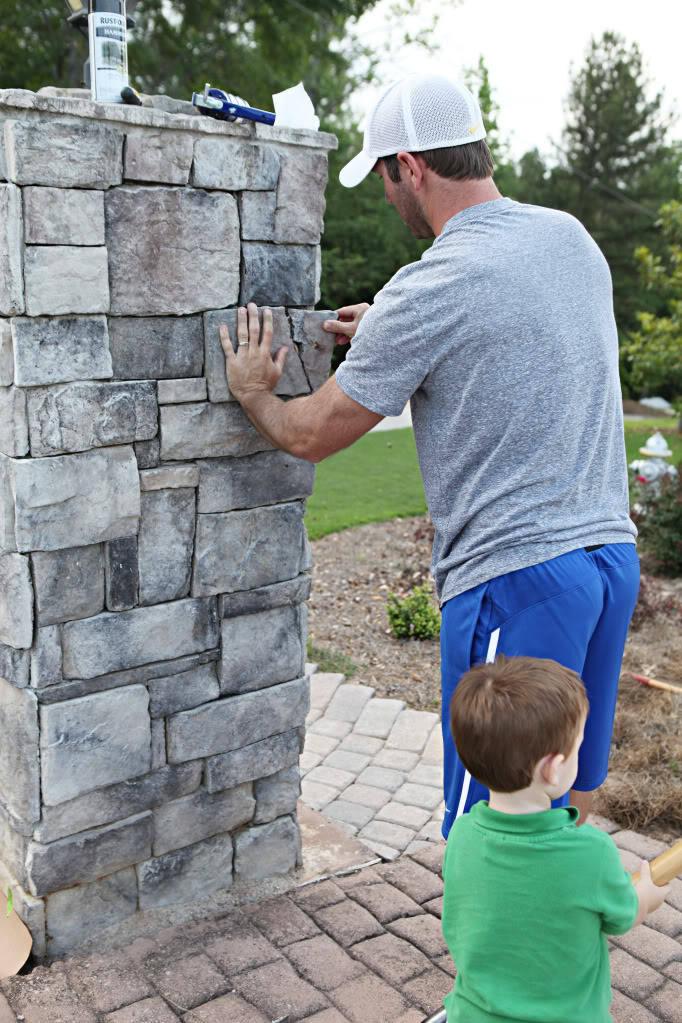
Note the very fancy support system to hold it in place while it hardened fully.
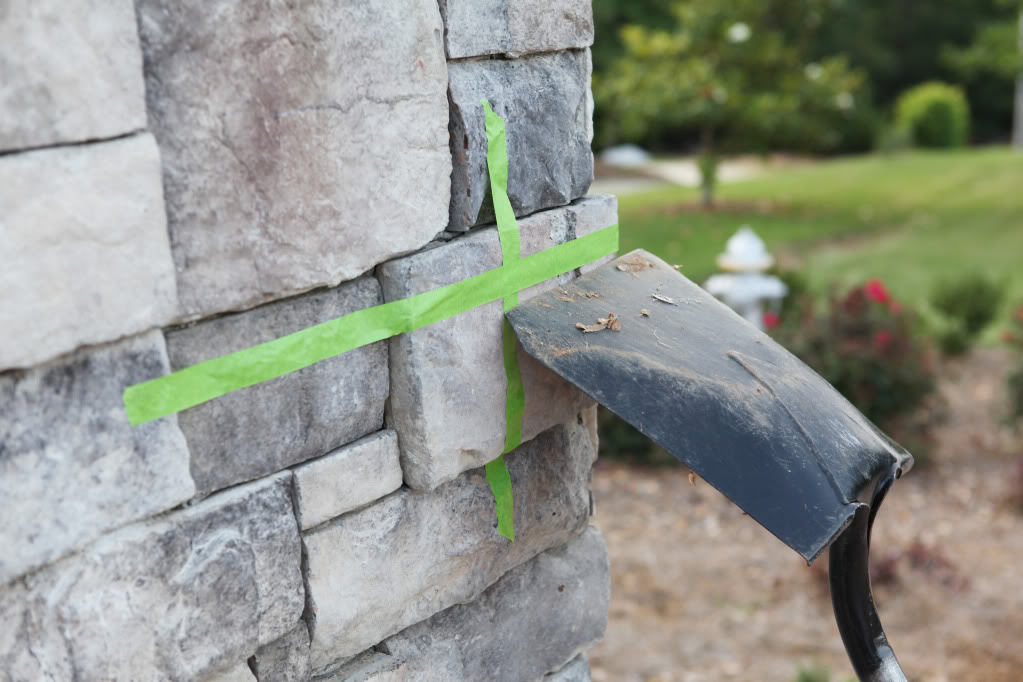
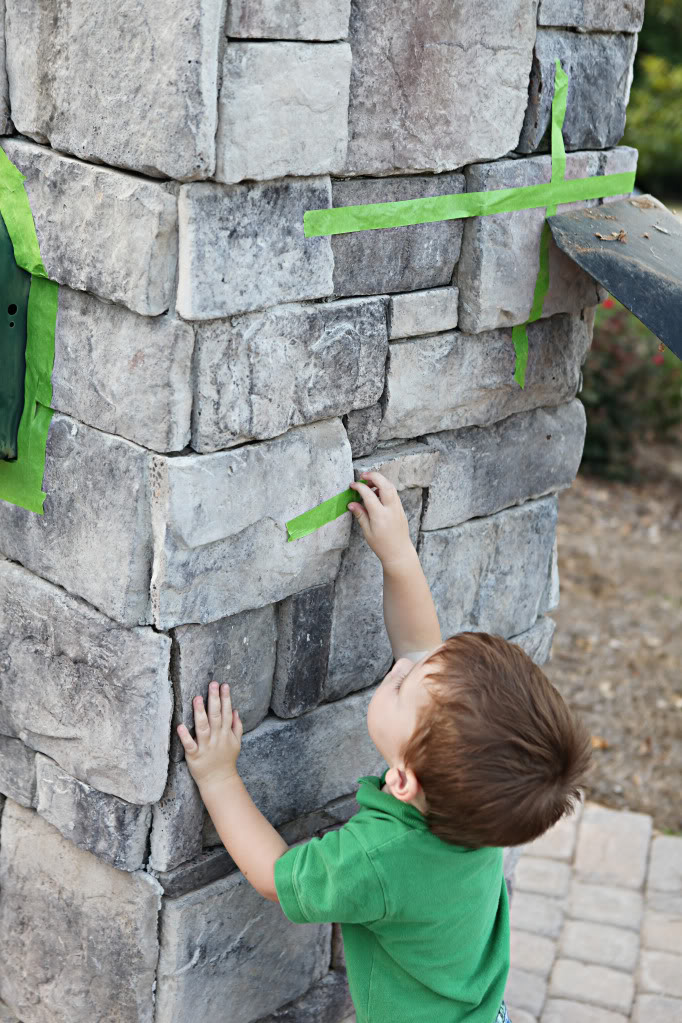
Some else is learning the joys of Frog tape….also known as Froggie Tape around here 🙂
So that’s how we repaired a little stone work, revamped the mailbox and prepped the front for the final beautification efforts….namely a new number plaque and a way to hide that weird transition between our drainage pavers and the neighbors. Coming tomorrow, mmkay!?


Have you guys been tackling any curb appeal projects lately? Or perhaps you are working more on inside appeal projects? Do tell.
The mailbox looks great! Are you planning on adding new numbers to the mailbox or pillar??
I’m not sure how you get anything with that trophy husband strutting around. 🙂 It looks great though! It really does look like you replaced the mailbox.
Wow. What a difference! Great job 🙂
We did the same thing to our mailbox last year and I can’t believe the difference it made. Whoever lived here before thought it’d be super classy to paint tramp stamps all over the mailbox. Yeah, we left it like that for two years because it cracked us up, but then we just got embarrassed. We have a tiny circle drive, so there’s this crescent shaped patch of grossness that’s at the front of our drive. I’ve made it my mission to beautify it this week! Of course, I planted the three flowers I found for it around the weeds instead of digging them up….but hey, it’s a start!
Amazing what a can of spraypaint will do. Can’t wait to see what you do with the new numbers!
Love it!! It’s always amazing how the little changes can make such a big impact!
Looks great! What are you going to do for house numbers now that they aren’t on your mailbox?
What a difference spraypaint can make!!! Looks so good Bowers – you two work nice as a team 🙂
We’re trying to get our planting beds in better shape – moving plants and bushes that have gotten too big and out of control to our back hill so they can grow free and planting smaller perennials in the garden beds. We were novice gardners back when we planted everything and had no idea how big things would get! But after reading blogs and researching plants in our area, we are trying to plant smarter this time around and hopefully will improve our curb appeal too 🙂
What a difference!
I have an unrelated question… when I got my power bill today (already $135 for only 1600 sqft, but that’s florida heat for ya) it made me wonder how much yall’s is each month. Do you do anything special to cut costs, like solar shades, cfl bulbs, etc?
Thanks and God Bless 🙂
Love this!! Great work. what a difference!
Looks great–can’t wait to see the new number plaque! At first sight I was afraid that the little “ugly plastic things” were solar collectors to turn the lamps on @ dusk, because we have those.
Yay! Love adding curb appeal in simple & inexpensive ways. We just limbed up our trees {again} this past weekend, I repainted our front door & hopefully I’ll install the slate soon on the front porch. This doesn’t include ripping out & replacing our landscaping, making cedar shutters, repouring our porches foundation (boo Texas soil), adding cedar to the front porch columns, painting the brick, and Oh a new roof & gutters…almost forgot our mailbox too, and light…and now I’m getting tired!! We’ve been busy the last 3 1/2 years with this house…
Wow, I didn’t plan on saying that much… I just wanted to say I have serious nail envy over here. Your nails always look so fabulous!!
Looks great!!! Our mailbox needs some serious TLC!!! The mailman is the only person who can get it to shut. It’s been on the “honey-do list” for longer than I’d like to admit!!
mailbox looks very nice! great post!
Looks great! “No glove, no love” heeheehee
Big impact for (relatively) little effort. Can’t wait to see what else you have up your sleeve.
A little spray paint goes a looooooooooong way! It’s a miracle worker! 🙂
“No glove, no love my precious mailbox”. haha, I totally giggled when I read that 🙂
Looks so much better!
It looks so new and fresh. Are you planning on painting the numbers on the curb since they don’t really fit on the mailbox?
Well I don’t rightly know. If I had to guess it would be about $200 to $375 for electric & gas on average for a month (in the summer, our gas is like uber low and the electric is higher….and in the winter, the reverse happens)…we do use cfl bulbs, manage the ac, and try to turn off all lights and unplug anything not in use 🙂
xo – kb
Hey, love the new addition to your cute home 🙂
This might be kinda random, since you did your pallet wall forever ago, but I have been researching pallet walls since that is my plan for my two little boys room (I have untreated pallets pulled apart in my garage and ready to go right now). I can’t find anything on how to clean the wood before bringing it into the room, just that they need to be cleaned with soapy water and bleach. I was curious to know how you cleaned your pallet wood? I know that you sprayed them with a hose, but how wet did you allow them to get, and how long till they were dry?
Thanks so much!
Megan
We sprayed them with a hose, and we let them get super wet…then we let em sit out in the sun to dry. It took a couple days for them to fully dry with the GA sun…but it’s really humid here so if you are in a drier spot of the country, it might take less 🙂
xo – kb