Do I really need to remind you of our kitchen? Aka the Box o’ Brown.
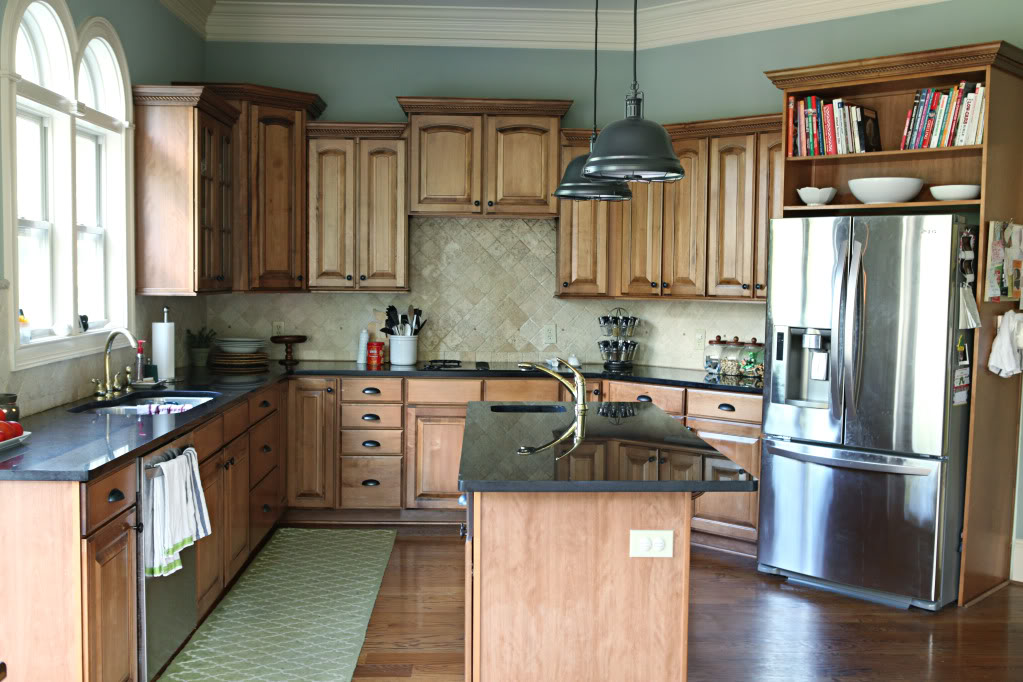
Well, we’ve been traveling down this road of renovations for quite some time together and this was one biggie step that made me REALLY excited to wrap up…GROUT. Oh yes. My favorite part of tiling 🙂 Seriously. I love me some grout. at least I love it when the grout step is done!
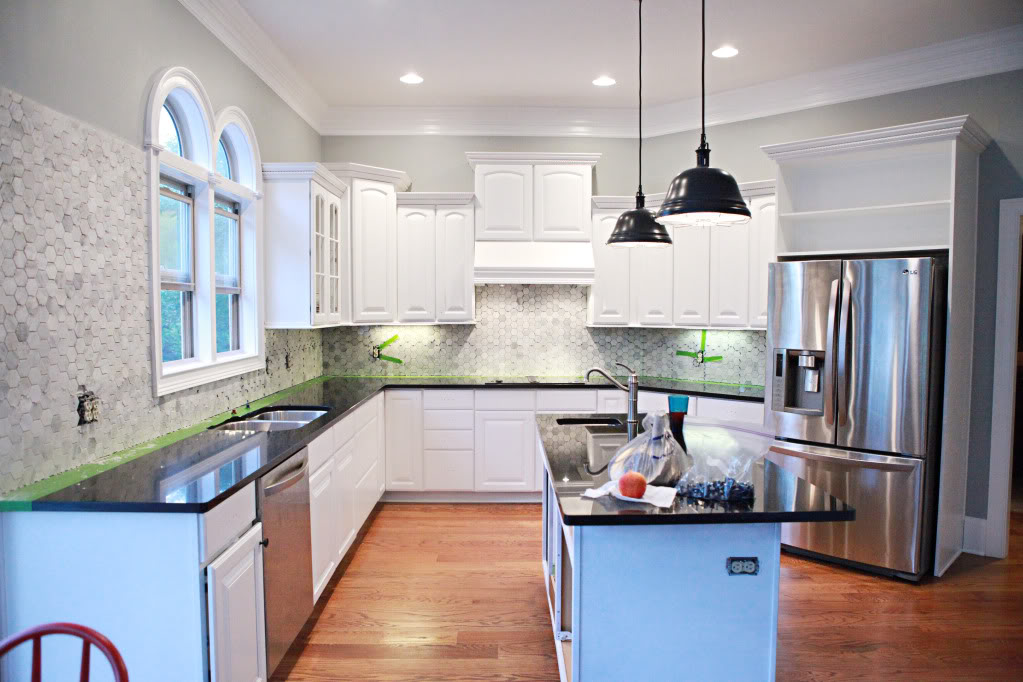
We had chosen to go with the hex tile as a backsplash (you can read all about that tiling adventure here) and came to a little bit of an issue. You see, sanded grout is used for tiles that have spaces or grouting joints larger than 1/8th of inch in size…which is right for our hex tiles (which has a 3/16th inch space). BUT….and this is a Sir-Mix-A-Lot style ‘but’…aka, a big one….it’s sanded grout….it’s made with SAND. Sand can actually scratch polished marble. So I did what any normal person does when they have a question about sanded/non-sanded grout, a weird body growth or a secret fettish…I googled it.
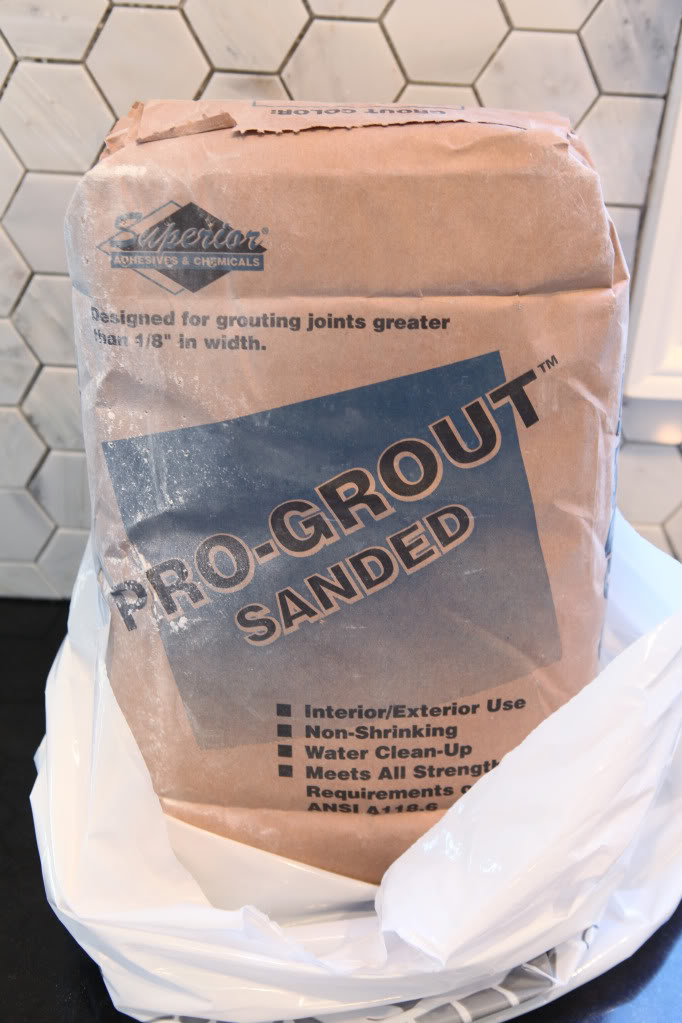
I read all these message boards about people using sanded grout on their polished marble tile and realizing too late that it was like ultralowwaisted pants on a large bottomed girl….a terrible terrible decision. Spoken from personal experience. What’s the problem? Well, non-sanded grout is only recommended for itty bitty grout lines. If we went with non-sanded grout in our fatty grout lines, we run the risk of the grout shrinking and cracking when it dries. So basically I would end up with either scratched tiles or cracked cracks. Pick your poison.
In the end, I decided on choosing the cracked cracks as the risk I would rather take. After all, I figure I could always go back and regrout…filling in the cracks and there is no way I could polish tile back to it’s glorious shine. Two minutes after my decision, Jeremy ran to the home improvement store to pick up a bag of non-sanded grout in white. He’s the prompt one in this relationship.
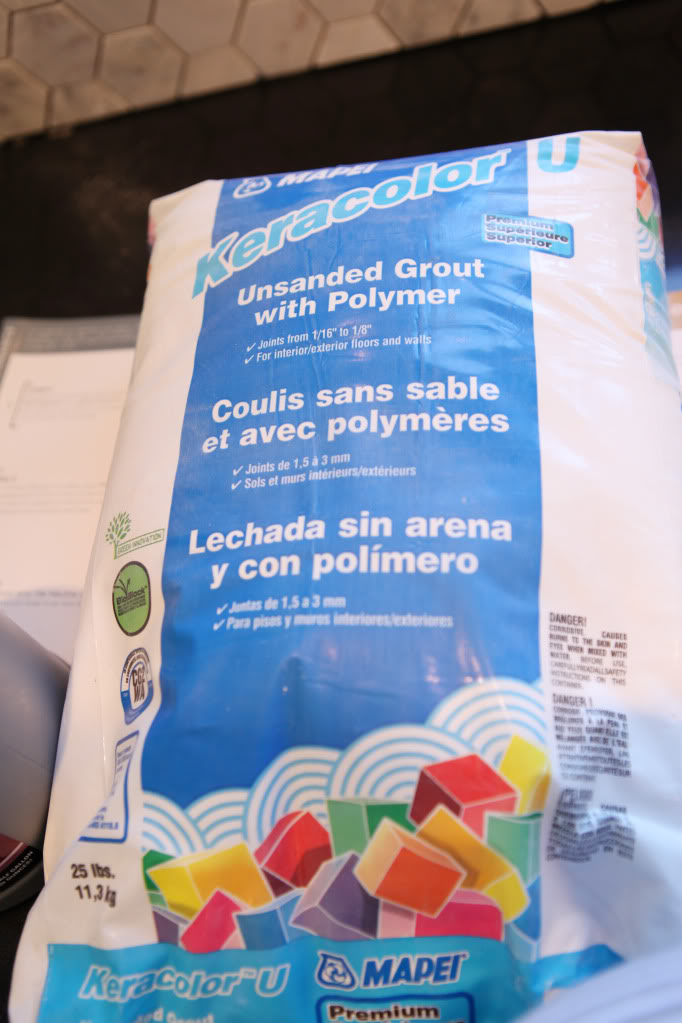
We got everything together to mix it all up…our newly purchased bag of grout, the admixture which was supposed to help our grout stay flexible, a measuring cup, a bucket, and a drill with a mixing attachment.
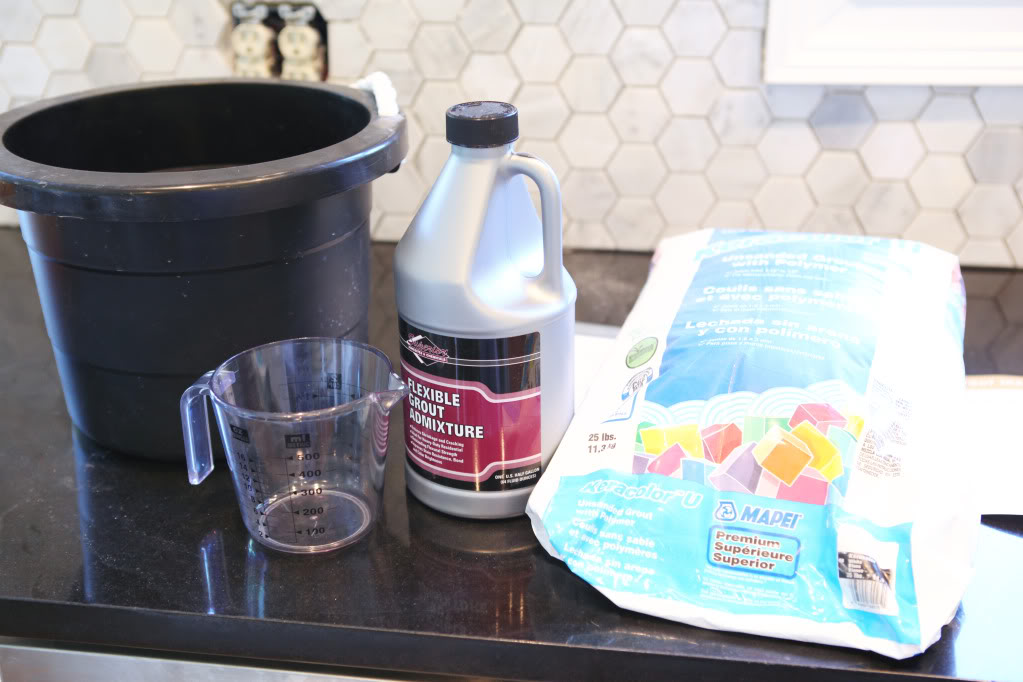
We measured everything according to the admixture instructions. I’m SO SO happy that the Tile Shop people added this bottle of admixture to our pile of stuff we needed because I would have never thought to use it….but after reading all about the cracking crack situation on the internet, the fact that the bottle says “Reduces Shrinkage and Cracking” was like music to my ears.
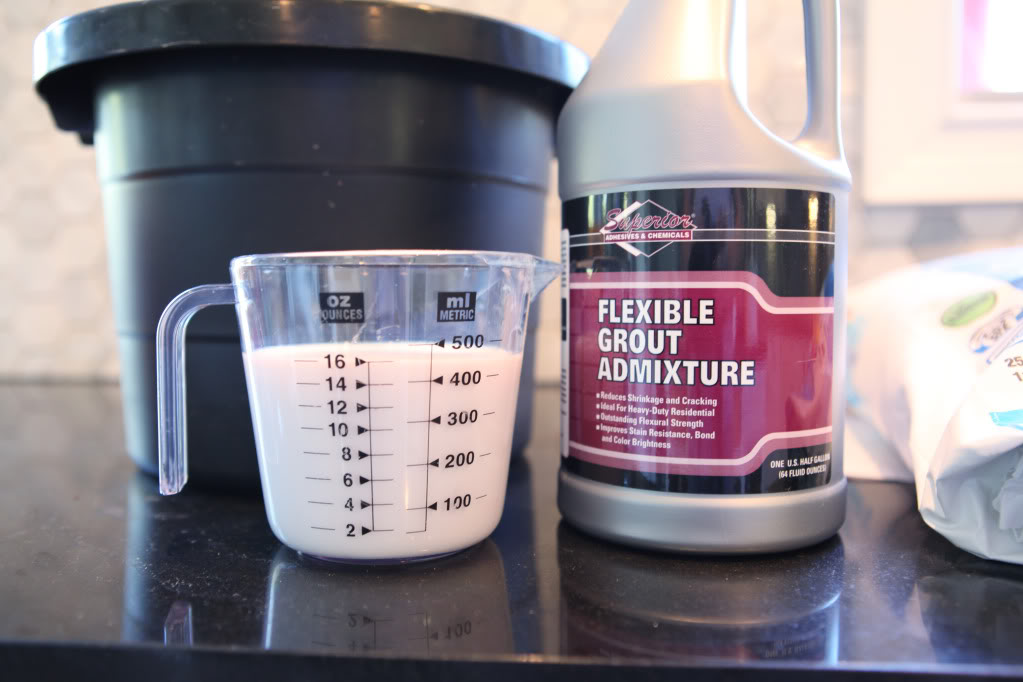
Now I have a big problem with consistency…like I have no idea what grout is too thin or too thick. Let me tell you right now…if you are like me and have no idea what peanut butter consistency is (even after pulling out the jar of Jiff) then you are not alone and it’s always best to err on the side of loose 🙂 It’s gonna dry a little over time…so if you start out stiff, it’ll be down-right hard by the time you get to the end of your bucket.
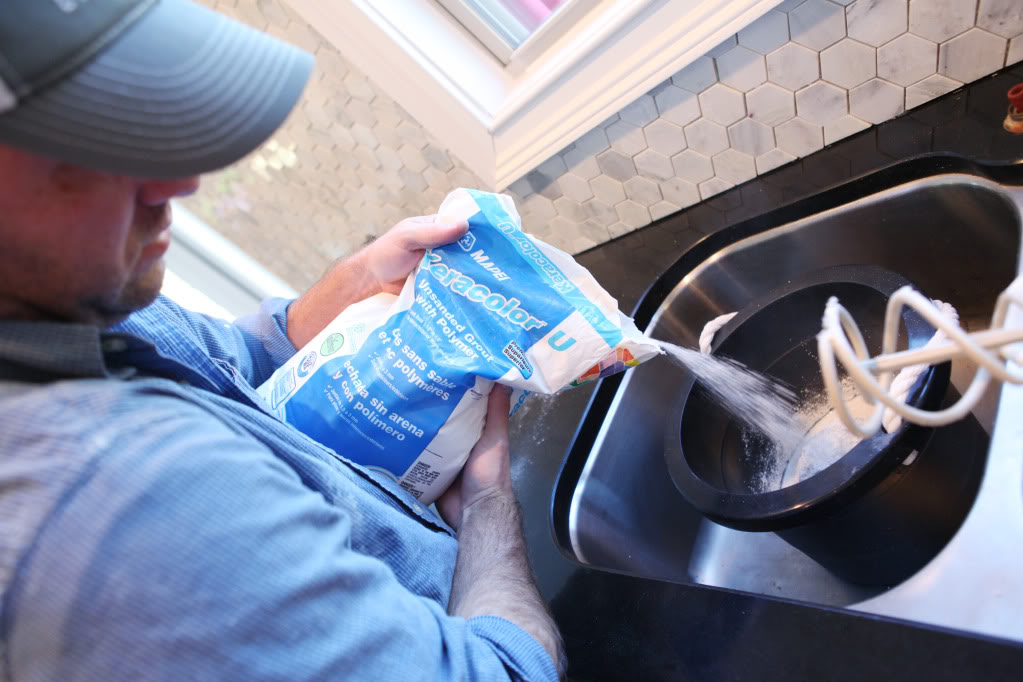
Mixing this stuff up with a drill attachment is amazing. I also recommend this thing when mixing 5 gallon buckets of paint. Buy it.
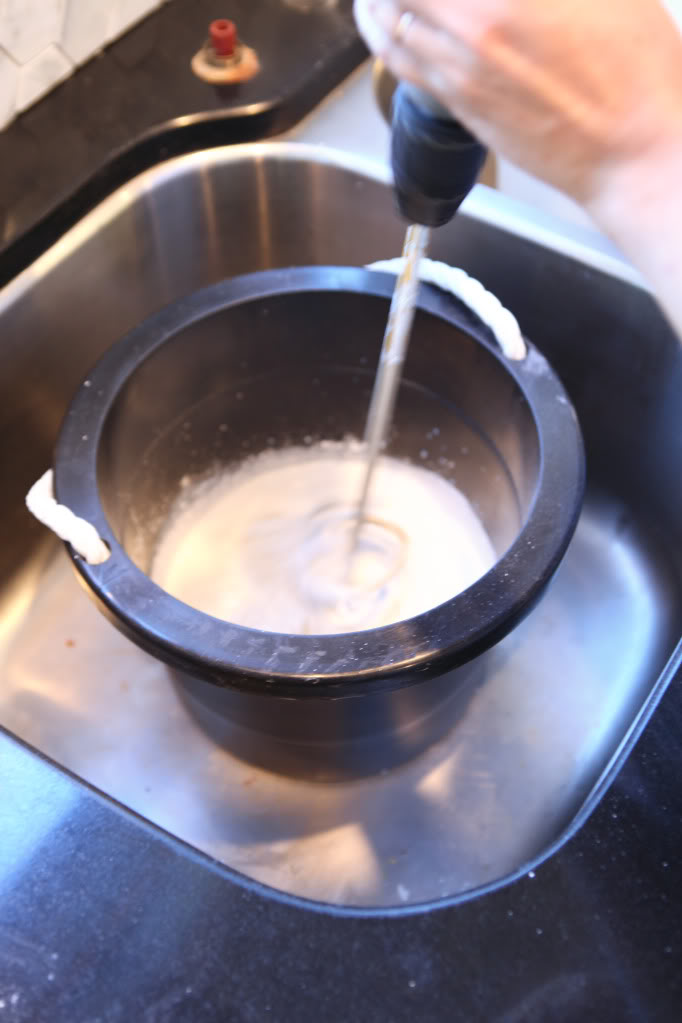
I am not gonna give you a full blown tutorial. I’ve done that already when it comes to tiling. You can read it here. The grouting process is the same…push it into the cracks with your float and then take a slightly damp sponge to wipe. It’s brain-easy and forecep-difficult. And it’s best as a couple-of-people activity.
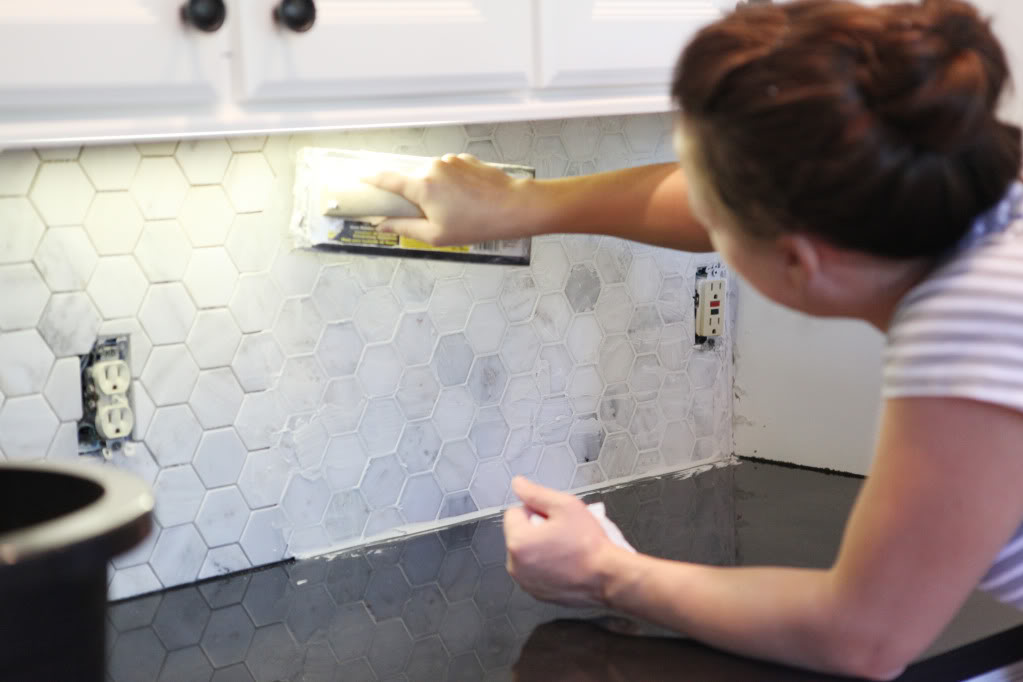
For tight spaces, I used a small foam brush to remove the excess grout. It’s a sponge on the end…works perfectly! Also – it’s a really REALLY good idea to make sure all your electrical outlets are still OFF. Nothing will spoil your grouting experience like bleeding from the ears.
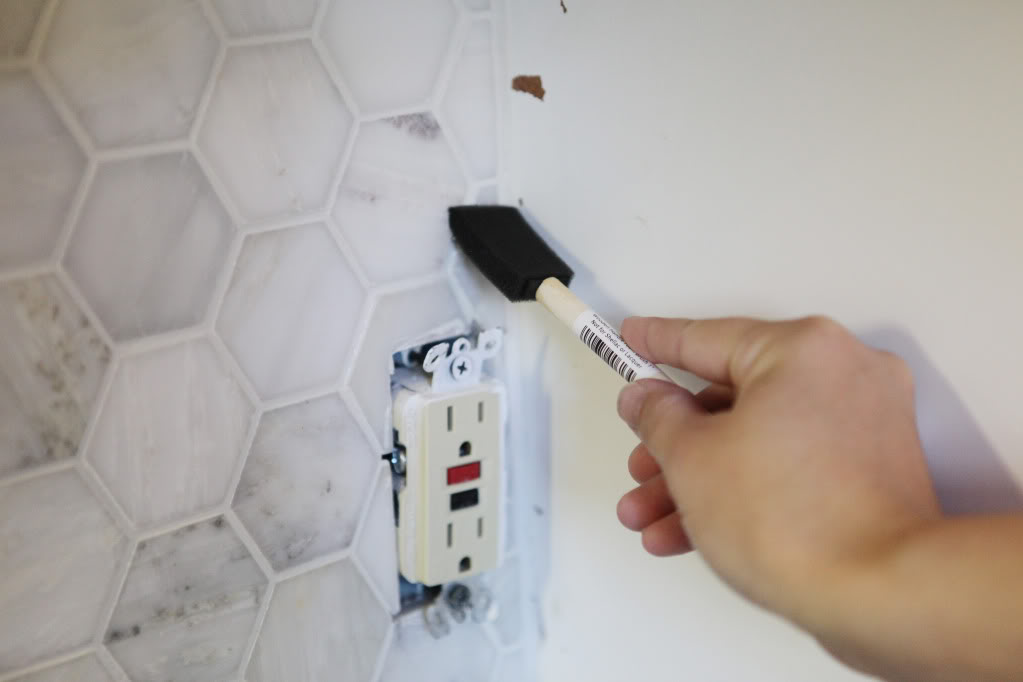
Oh yes, I was very very pregnant while tackling this. There you have it. My mother should be proud. She went into labor with my brother while painting the exterior of her house. True story.
Okay – back to grouting….most times, you want to hold your grout float like this….at a forty-five degree angle…
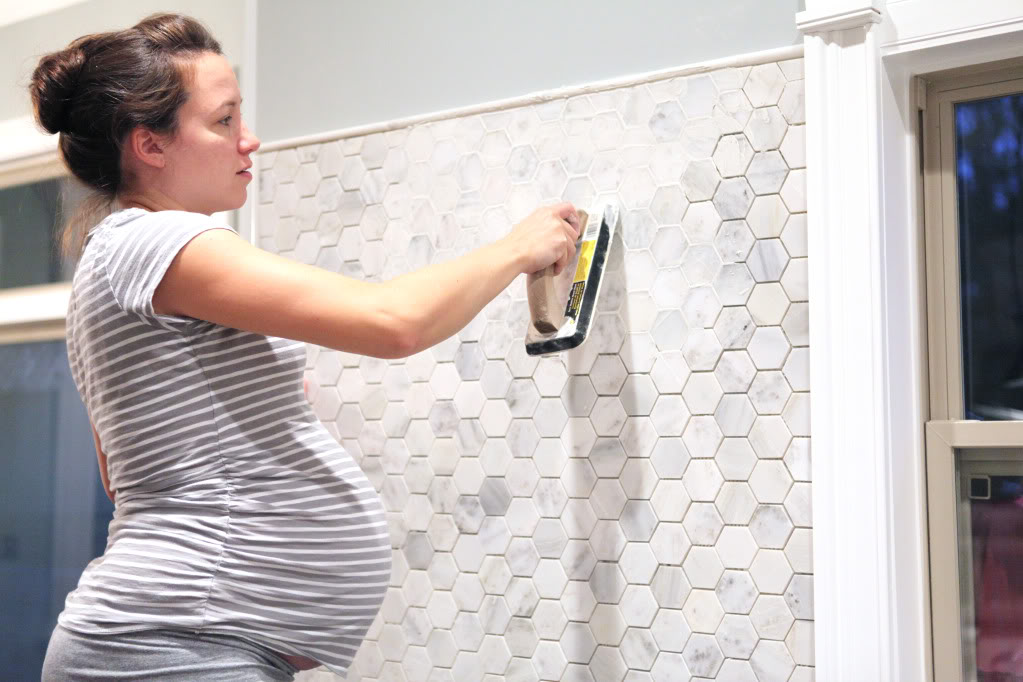
(leggings are not pants katie. geesh)
but if you have a really really hard spot to get the grout into, first load your float and then push it into the space straight on….this will really jam that grout into the spots you want it to be…then do the 45 degree thing to push away excess.
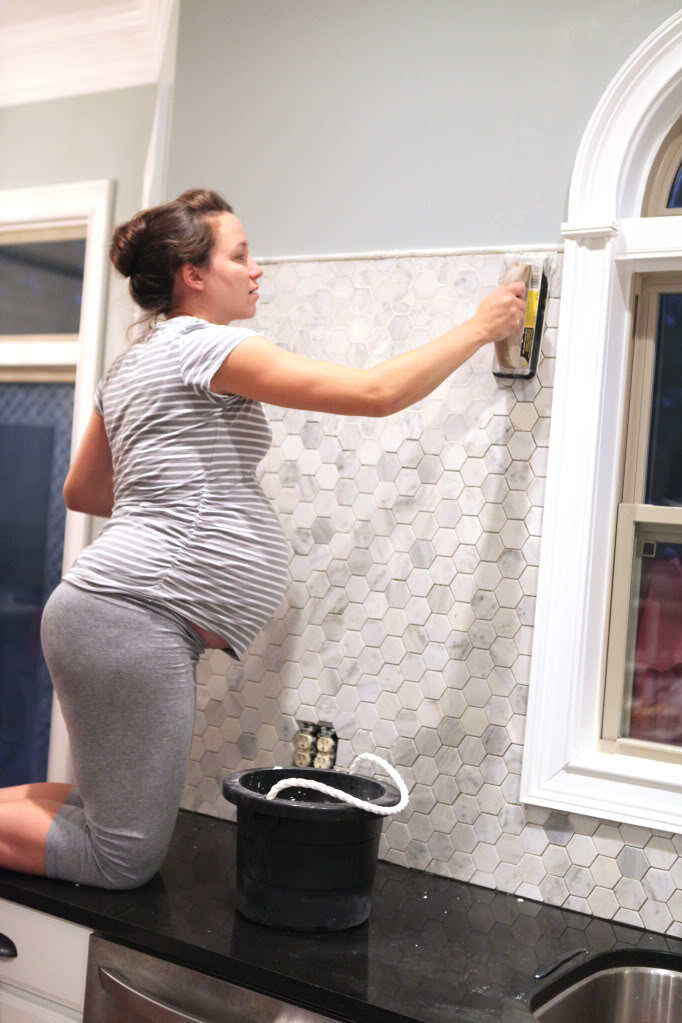
The hardest part about grouting a kitchen? The corners. Especially when you have a fully-grown baby inside of you counter-blocking you from the grout lines. But don’t neglect them or do a poor job on the wiping because wet grout it 100times more easy to remove than dried grout.
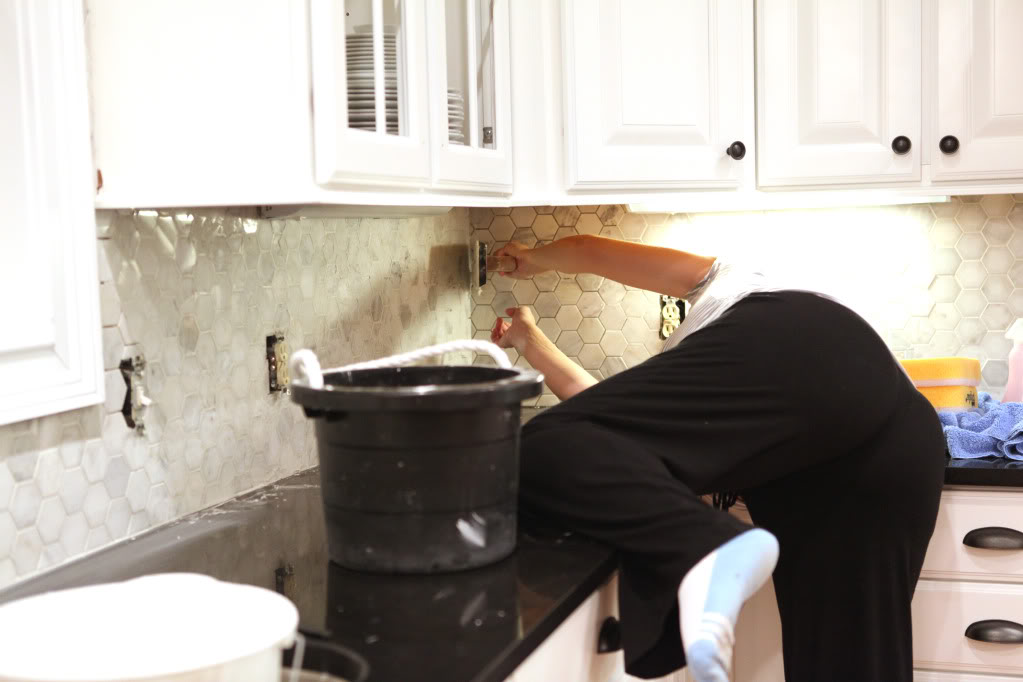
Sir Mix A lot and girls with self-esteem issues…You’re welcome.
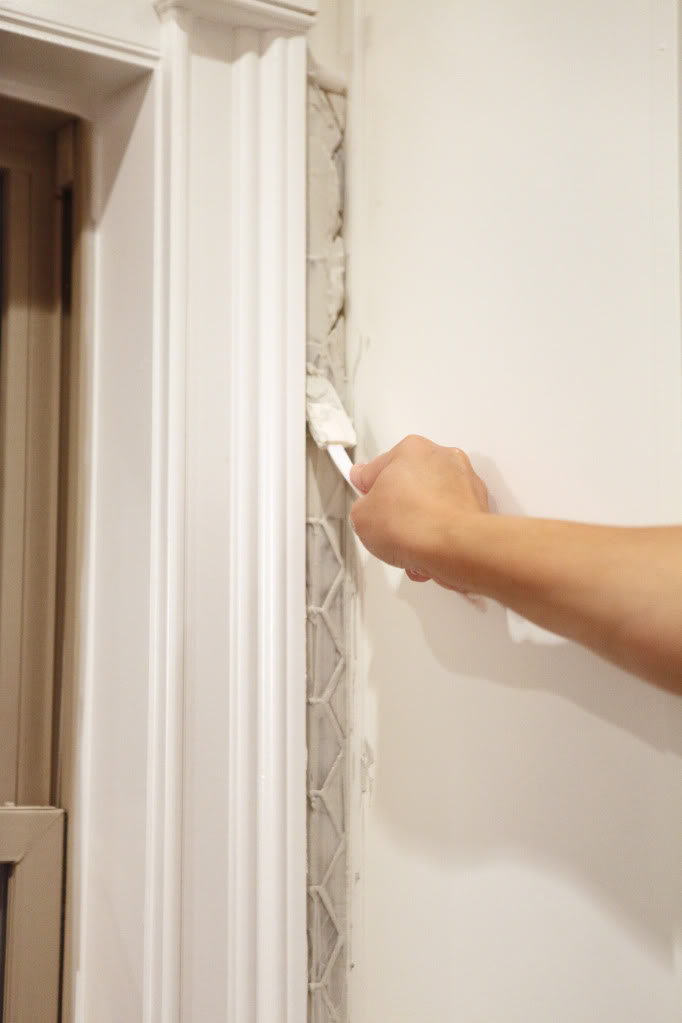
Here’s how we tackled the itty bitty space between the cabinet and the wall…a cheap spatula. You can get a five pack of these at the dollar store…this one was old, groudie and no longer food-worthy….perfect for the trash can after applying my grout.
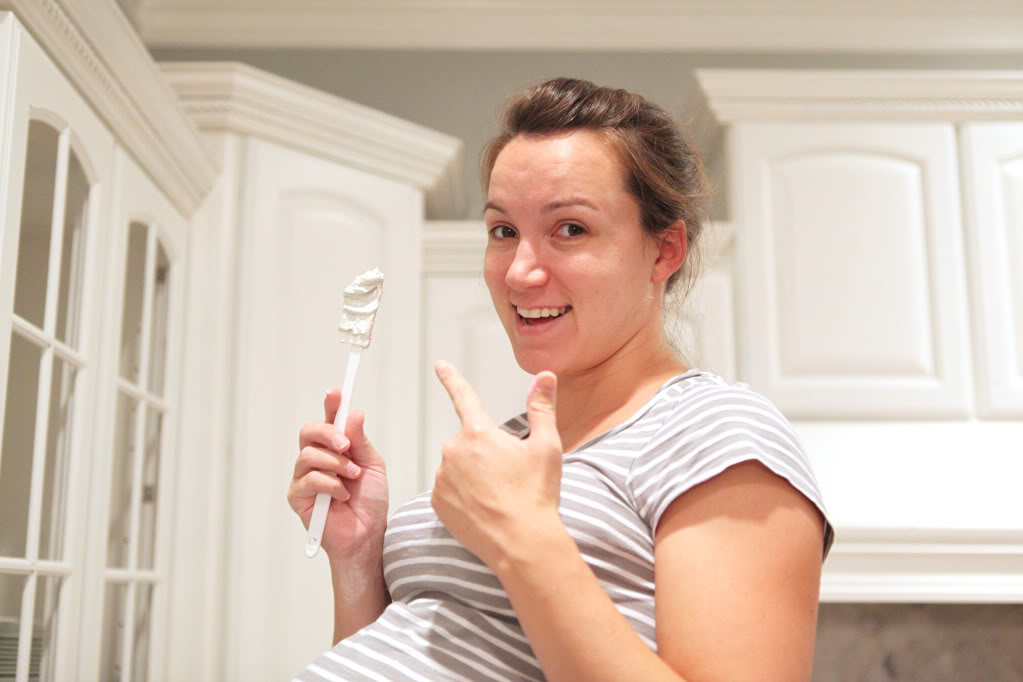
You can be a little messy because you are gonna go back later and wipe it with a sponge…
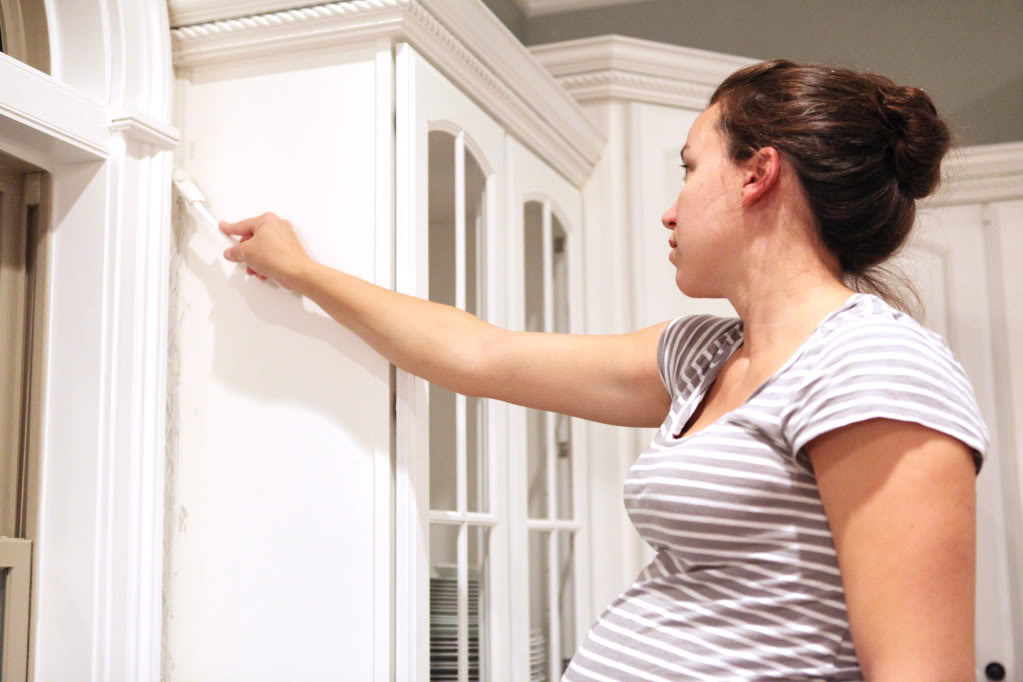
The key is to get it firmly pushed into every little line. Again – the best tip in this situation is to start at the bottom and work up. Since we are naturally inclined to push or wipe things in the downward direction, building the grout from the bottom up means that you will push the maximum amount into those cracks and crannies.
After you wipe it all down and get the haze off, the end result is really quite stunning. I love it. Like to the point that I might be found laying on the counter just to press my bosom against it.
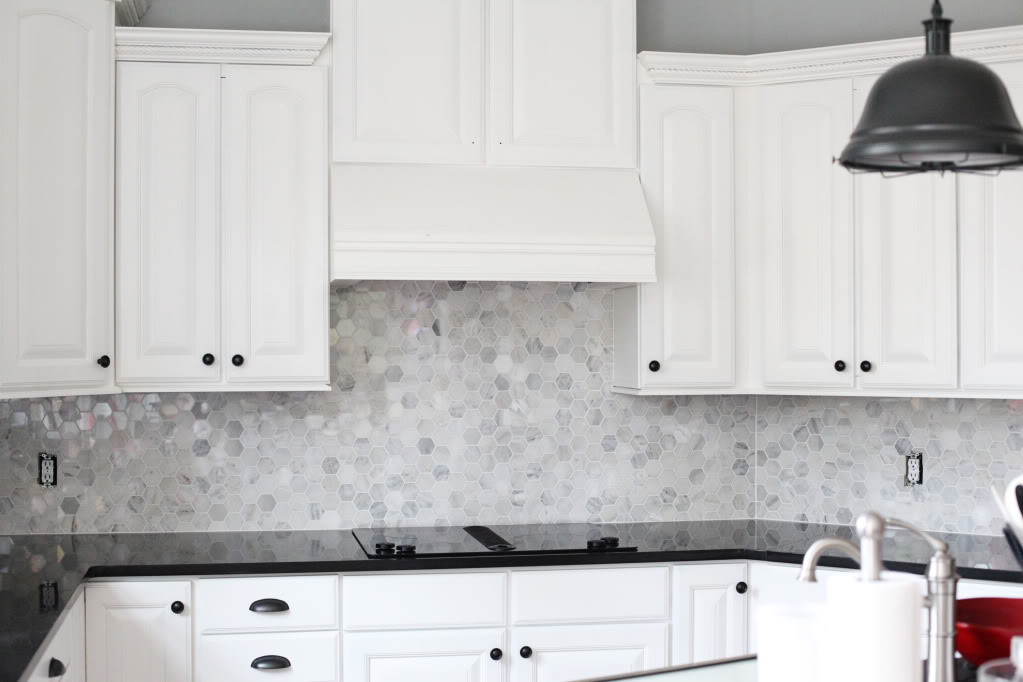
And the wall of tile turned out really nicely too. I’ll let you know later show ya how we tackled the bottom pencil tiles that we were struggling with earlier. Read up on that so you don’t forget…this is vital to life stuff here people.
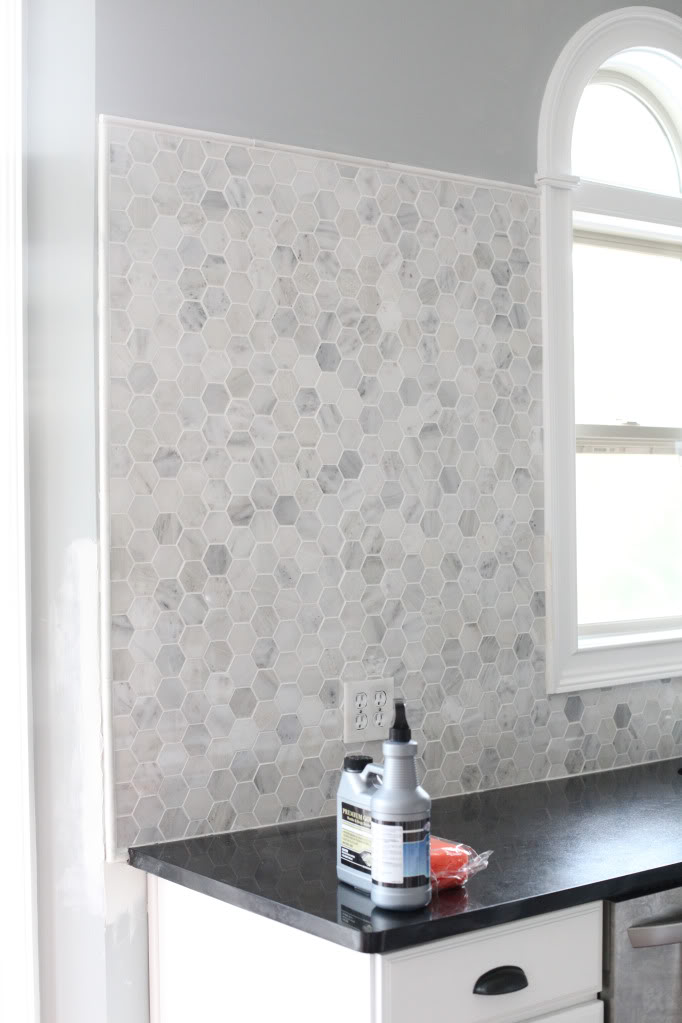
Oh and you may have noticed that we put the hardware back on. We had to…it was driving us looney not having handles. It’s funny how you can live without something for a long time and then once you have it, taking it away again is TORTURE. So basically I am a two-year old with that mentality but it’s true. oh so true.
There’s a lot more to share…little and big stuff. Oh and forgive me going forward…some of the posts in the coming month are gonna have some cray-cray photos (remember mom – cray cray means crazy 🙂 ) because my good camera is getting cleaned and the focus was off….oh and yes, I dropped my good lens…I cried…so now I’m waiting for them to be ready to come home. In the mean time, I’ve been iphone camering. Camering is totally a word now.
Looks a-maz-ing!!!!!!!!!! Wtg, especially at 9 months pregnant!
Oh man! It looks beautiful! I am always surprised by how much the grout really finishes the look.
Also, as a 6 month pregnant woman…do not tell me that leggings are not pants. They are the only thing that fit comfortably and since I have 3 months to go, they ARE pants! 🙂
Gorgeous!!!!
Looks STUNNING! And, you never fail to crack me up. I just spit out my tea at work after I read the Sir-Mix-A-Lot line.
I love grouting! Second favorite next to caulking trim. I have seen a lot of tile go in and have to say I’ve never seen anyone add the grout flex? How come you decided to do that? Love new tricks that people find out!
I love the tiles you chose!! Good job on the grout. 🙂
Nothing to do with your actual post 🙂 but I’m curious how you knew there was something wrong with the focus on your camera? I’ve been having focusing issues with my Nikon lately and I thought it was me..but maybe there is a mechanical problem?
Grouting is such a pain in the behind – but man – can’t argue with those results! Good to know about the sanded vs. unsanded with the marble tile. We’ve got a few projects lined up w/ marble tile, so I’ll have to make sure get the right stuff. 🙂 Love the look!!
HOLY BLEEPITY BLEEP!!! That looks INCREDIBLE!
I was sort of kind of iffy (totally a word) on your tile choice….loved the hex but not so much the finish. OR SO I THOUGHT…..I am totally head-over-heels in love with it post grout.
You have a great eye for the finished product!
LOVE the tile. Very impressive, and it was a DIY (super points for late pregnancy DIY)! I have been hesitant to try tile work. Our backsplash is dated, and I’d love to update. Now maybe I will! Oh, and I remember when I was big and preggo and a little bit of belly showed under every shirt I owned. Good times. 🙂
Yay! Of course it looks better as each step gets completed, but really it’s looking better and better each post. Good on you, for getting your baby belly up on that counter and then posting a picture, from an angle only your gynaecologist should really see! HAha. I love the dark hardware, with the counters.
Love it! Looks so good! We bought a similar tile to use on the floor in our half bath. 🙂
It’s so pretty! The overall spreading of the darker tiles is really balanced and pleasing to the eye. Looks like all the time you took to make sure things were just so totally paid off!
I have a picture of myself in a similar position when we did our back splash. Amazing what a difference that grout makes. Looks beautiful! http://bit.ly/103khSD
Ahhh Counter-Blocking!!! That.Really.Just.Happened!! Love it!
Shannon
Shannon Loves Design
Fabulously Vintage
Your kitchen looks beautiful!
I wish I had read this post a few years ago, because at the time we were renovating our bathroom. We chose marble tile for the floor (quite possibly the same that you have in your kitchen, I’m too lazy to get up and look right now!) and as we were out of town (actually living out of state, long story) we hired a handy man neighbor to lay the tile and grout it. He ended up using a sanded grout… and alas, we have the scratch marks. It took me a long time to figure out why the floor didn’t look right. Later, we did our second bathroom with the same floor and figured out to use the grout without sand. One shiny bathroom floor… one, not so much. Oh well, it adds character 🙂
Thank you for doing all of your kitchen posts- I’m planning on stealing some of your cabinet refinishing tips to help my mom in her kitchen someday!
I thought there was something wrong because the Mark II’s are notorious to have focus issues so when I took it in for the annual maintenance and cleaning, the camera guy told me there was a focus issue. It’s always a good idea to take it in each year to have the sensor checked…it’s pricey to get it all done (about $150 for a complete check…and they can make adjustments when they have it so this time around my camera body cost about $170 to get fixed).
xo – kb
Bummer! Did you ever tell him?
xo – kb
Oh I love the backsplash so much! And your blog too – your posts are hilarious and I feel like you are talking to me in person. Ok – this sounds so crazy – love your blog mkay.
AMAZEBALLS!!!! Y’all did a great job!
Speaking of cracks…you crack me up! 🙂
Wow I love that backsplash! And wo you were very pregnant! Ha!
The finished tile looks BEAUTIFUL!!
LOVE it! It is amazing how grout really changes a look and makes it complete!
So stinkin’ impressed that you did this while prego! You are officially my hero.
Still loving your kitchen!!! Can’t wait to see how you decorated it!! xoxoxoxo
That is some gorgeous tile!
I LOVE IT!!!!!! Preggers Katie Bower is a superwoman!
I want to touch it. Is that bad? It’s beautiful!!!
I love this! And kudos for doing it while pregnant! I used pregnancy as an excuse to sit back and watch everybody do the work for me lol. But umm…when are we getting Birth Story – Part 2?? 🙂
I like Jeremy’s butt and I cannot lie!!
And leggings are totally acceptable as pants…I don’t care what anyone else says!!
Did the unsanded grout hold up and dry ok? Did you have to re-grout at all? We are using the same tile in our kitchen and now I’m a little scared.
I second that…an also 6 month pregnant woman! I am wearing leggings at this very moment! And you looked amazing by the way!
It’s so beautiful it makes my heart beat fast 🙂
You definitely could make out with your tile just as John did with his bike art! (http://www.younghouselove.com/2013/01/my-most-favoritest-art-ever/)
You kitchen looks wonderful. I love the backsplash. And also, I hope I look half as adorable as you at 9 months pregnant..Me thinks I won’t though. Haha!
Ugh, grout! My first grouting experience: I used 1/16″ spacing between my faux wood ceramic floor tiles so I needed unsanded grout. But no local stores had the color I needed in unsanded, so I had to special order ultra dark brown which took 2 weeks to get to me. Moral of the story, get all your supplies in order before starting your project. Drove me nuts to not be able to finish my floor for two weeks. But I’m happy I held out for the dark color, I think I would have hated the tan I had originally purchased at the store.
Love the kitchen! Y’all did such an amazing job! And I cannot believe you did it while super pregnant. Happy Friday 🙂
Your old kitchen is pretty much exactly what my kitchen looks like now! So brown and green. I’ve been trying to talk the husband into letting me paint the cabinets … and now I’m sending him your final product! So bright! Love it
Beautiful.
You look so cute in your leggins 🙂
Oh my goodness, you just made me laugh so hard! Oh, and it looks fantastic!
Pretty, pretty, pretty!
You and the tile.
And you’re making-me-snort-and-choke-on-my-coffee hilarious!
I can’t believe the transformation of you kitchen! I love it!
Oh, it looks BEAUTIFUL, Katie! Y’all did an awesome job. Looking forward to see the rest of the reno as it unfolds. 🙂
so pretty Katie… just love it… can’t wait to see how you decorate and what you decide to do with the shelving on the tiled wall… sooo pretty.. you guys deserve a big high five for how you transformed this kitchen… just amazing… well worth all the effort… xo P
I’ll be the first to say I’m not much for marble, but that is simply gorgeous! If you see a tall blond peeking in your windows, I promise it’s not me stalking your new back splash!
So who else can’t stop staring at that second to last photo and drooling all over themselves? Katie Bower…my real American hero.
No cracks yet! It did separate a little from the countertop (we noticed that after we had to hammer out our faucet so we don’t know if it’s because of the grout or the countertop shifting)…but nothing a little caulk wouldn’t cover.
xo – kb
Your backsplash looks amazing! It’s brilliant. I love the marbe look.
You should try to confuse people by telling them that these pics aren’t from a couple months ago.. you’re magically 9 mos pregnant again.
Wow, is it possible for me to die from enviousness (totally a word)?
That backsplash is sooooooo dreeeeeeamy.
Just had to say it.
😉
We went through that debate with our bathroom, sand and non-sand, because the lines were so thin. We went with non sanded. My contractor cousin told us we should always go sanded, when possible. I don’t know, we shall see, it looks nice right now. One thing to mention, since you talked about the cracking grout at the counter — I always thought you caulk at a change of plane, for the problems that you are experiencing. So, you would expect cracking in grout where the tile meets the countertop, and caulking it there is the way to go.
I love it, looks like fish scales in the one picture, the way the light is shining off it. Fantastic job!
That’s what we read too…always caulk. But in our last house we grouted up to the counter and it worked great…so we went for it and decided that if more caulk was necessary – well, that’s what we would do (and did).
xo – kb
Great! We will have to forge ahead with unsanded grout as well. I’ve had that happen with it cracking at the counter seam before with sanded grout. So I think caulk is just a necessity there with whatever you use.
love your kitchen!! it is beautiful – looks great!! great job.
First of all, I think leggings are pants when you are 9 months pregnant. I’ve never been pregnant, but I think that is something we can all agree with. Especially since you were in your own house! Using the drill attachment to mix the grout, thinset, or concrete is so much fun! I love that thing!
I love your “new” kitchen! I think it is awesome that you were able to use what you have! And that backsplash is awesome. I want a backsplash so badly but my wall isn’t straight. 🙁 I can’t wait to see what it looks like when you’re 100% finished!
I’m so sorry to hear about your lens! I hope your camera comes back soon! I had to send mine off a few years back and I hated that it was gone. Luckily, they were super fast about getting it fixed. Thank goodness.
ahhhh i love it even more. im sorry if you find me on your kitchen pressing my bosoms against it… it can be like a thing between the two of us… i have no tile here for you to bosom though….
Katie, you are too “adorbs”! It is what the kids are saying, I am not sure I am using it correctly, I will have to ask my students on Tuesday. Great work on the kitchen and that handsome new baby of yours. You will have to beat the ladies away with sticks, when those two cute boys of yours get older. Can’t wait to see what you tackle next.
Wow! I love how you brought the backsplash up so high. Love the color too. It looks great!
Katie–
next big drywall sanding job you have, get an drywall attachment sander for your shopvac. we did for our laundry room and L-O-V-E-D it! so worth the $17 @ Ace. so much less dust!
So- I am in the same conundrum – polished marble with 3/16th spacers. My sheets of tile predetermined the spacing so I can’t alter that. The tiles are white carrerra diamond shaped with little black squares at the tips- it’s beautiful! I have the same concern as you and read the same horror stories- sanded vs nonsanded grout- but my tile is on my master bathroom floor- not a backsplash- so it will have foot traffic. My question is- would you have made the same risk with the non sanded if it was a floor? It looks like it’s been a year since you did this- any cracks in the splash yet?
I’ve spent so much painstaking time laying this beautiful tile, I don’t want to wreck it by scratching it with the grout, but on the same hand I don’t want cracked grout lines…. Advice please 😉
We have had absolutely no cracks in our grout lines. Honestly…I don’t know what I would do in your situation. I might do a test on one sheet of extra tile with the sanded and see if it shows scratches and then make the call. On the other hand, if you did grout with the non-sanded, filling any grout lines in the future wouldn’t be too hard. I don’t know.
xo – kb
What color grout did you end up with? Looks great. We also have to figure out how to solve 3/8″ joints on polished marble on the floor. Looking into urethane grout but may try the unsanded.
We went with white. I’ve seen light gray on marble and love that too.
xo – kb
Hello Katie,
While browsing on Pinterest, I came to see your beautiful backsplash. Really something I would like for our kitchen, but I was wondering if the grout lines don’t get dirty easily, especially behind the cooking area. Is it easy for you to keep the groutlines clean?
We have had zero problems with our grout lines. I credit it to sealing them once a year! Hope this helps!
xo – kb
thnx for the respons! What do you use for sealing it? I’ve never heard of it, sounds like a great solution!
We use a sealer that is just for Marble and grout. It’s usually available at home improvement stores…just make sure you check the back label for your tile.
xo – kb
We will! thanks again!