Disclaimer – This is a sponsored post brought to you by Canon. All opinions are 100% my own.
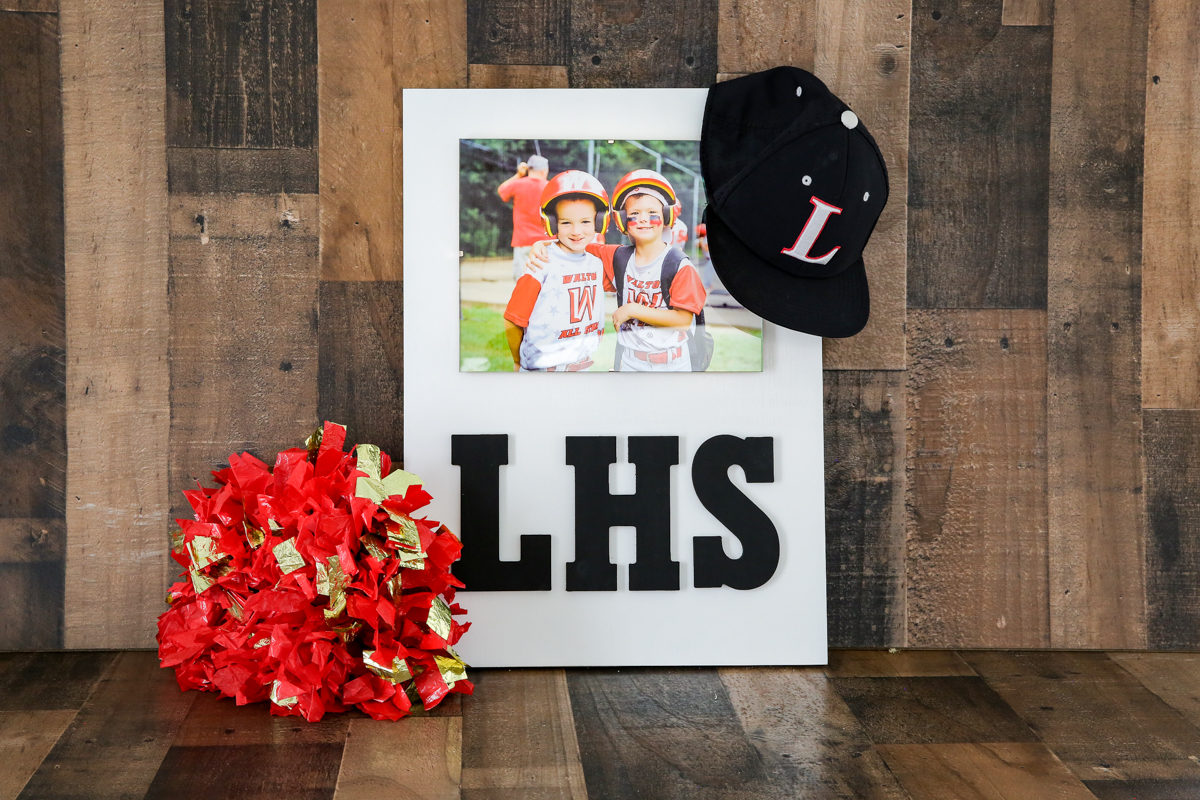
School is in and the year is going to FLY BY. You want to know what else flies by? Their entire school experience! Right now they might be learning what a verb is but tomorrow they will be applying to colleges and going to Senior night. The school experience is one that they will want to remember and I wanted to make something perfect for their room at home, their dorm or their college apartment. Here is a DIY that is sure to be the top of the class. I like to think of this as a Class Photo Frame but it could work equally well as a diploma frame or a sports team frame. We made this one as a gift for a friend but I am certain that as soon as William sees it, he will want one for his baseball team picture 🙂
Let’s get to it!
Here is the supply list –
- The New TS9521C Crafting Printer from Canon
- 3/4″ x 15″ x 27″ Square Edge MDF Board ($6 at Home Depot for 48″ piece – have them cut it for you and you can make two!)
- 5″ MDF letters (available at most craft stores and cost about $1)
- 8.5″ x 11″ clip frame ($3 at Hobby Lobby)
- E6000 glue
- paint and brushes
- 220 grit sandpaper
- saw tooth hanger for back of board
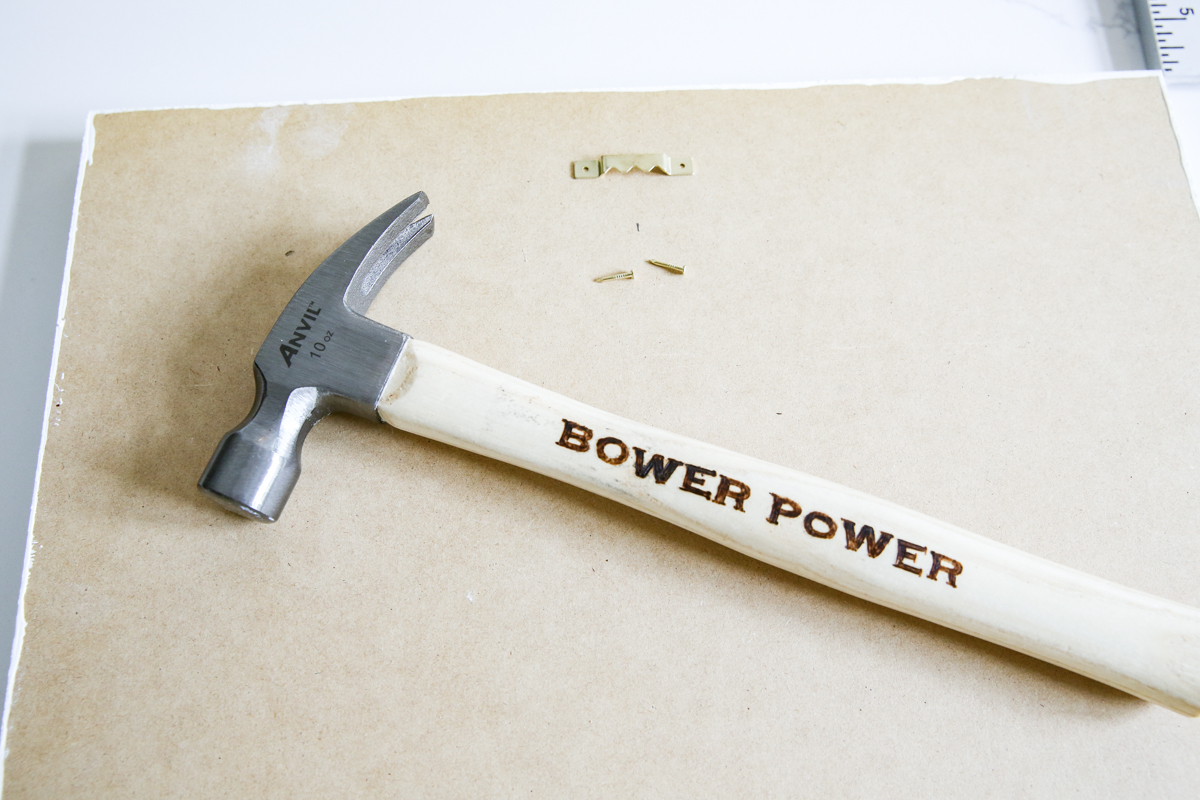
- hammer
- nail for hanging clip frame

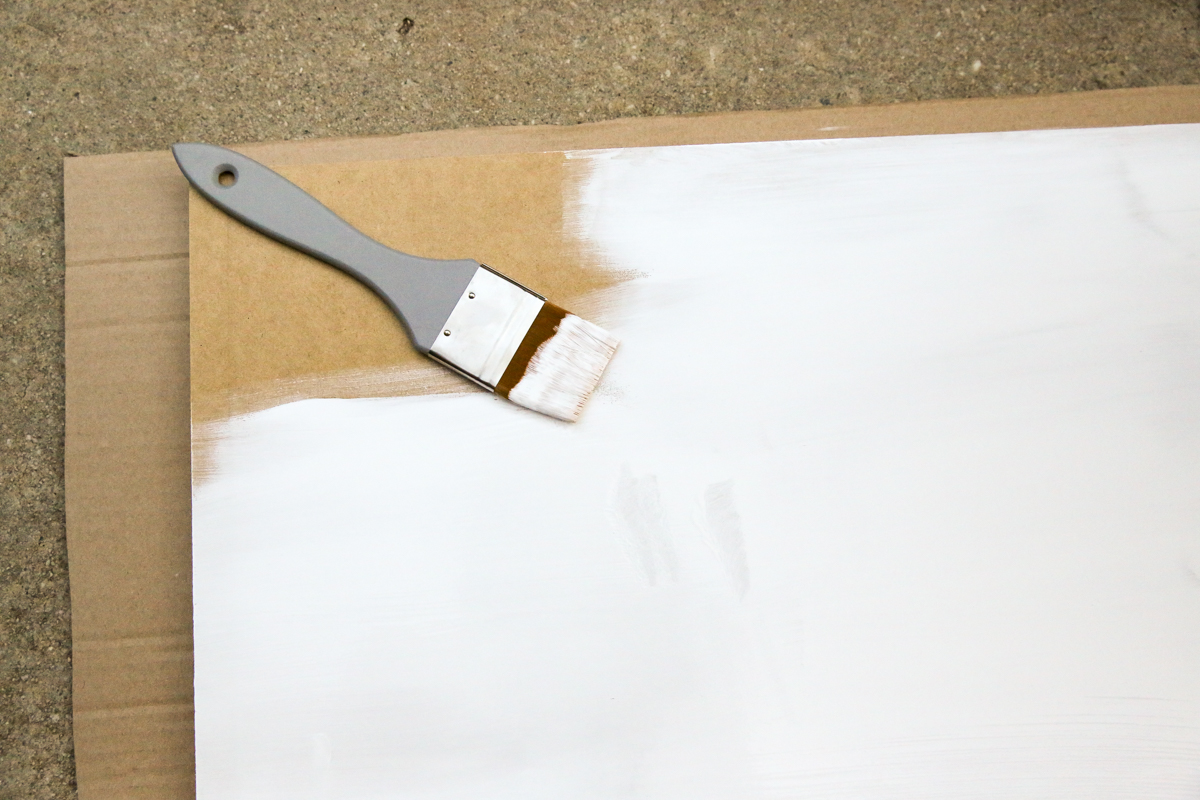
First you want to make sure your MDF board is cut to the correct length and then you want to paint it. I painted mine white because I liked the pop with the dark letters. After the second coat dries, you will want to give the entire thing a light sanding to knock off the rough edges.
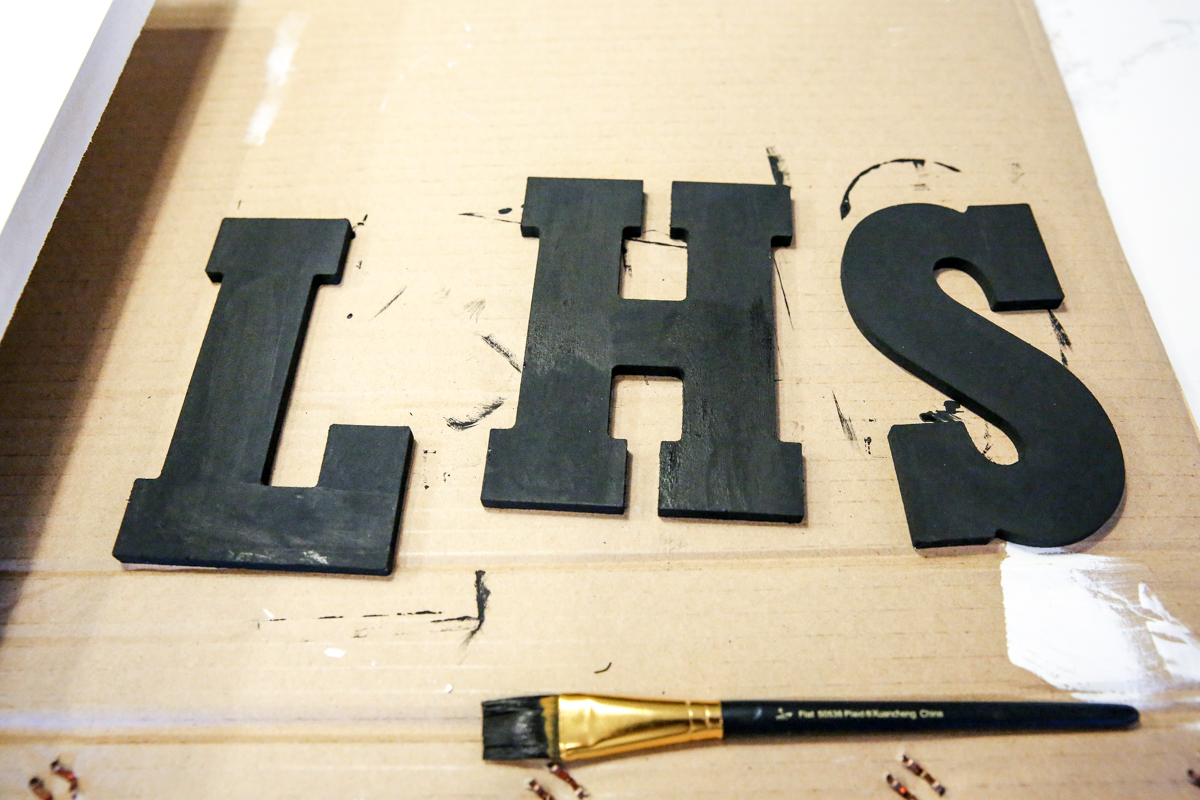
Time to paint the letters. I chose the letters of our local high school where our friend plays ball but you could do a monogram or “class of 2019” or even the school mascot!
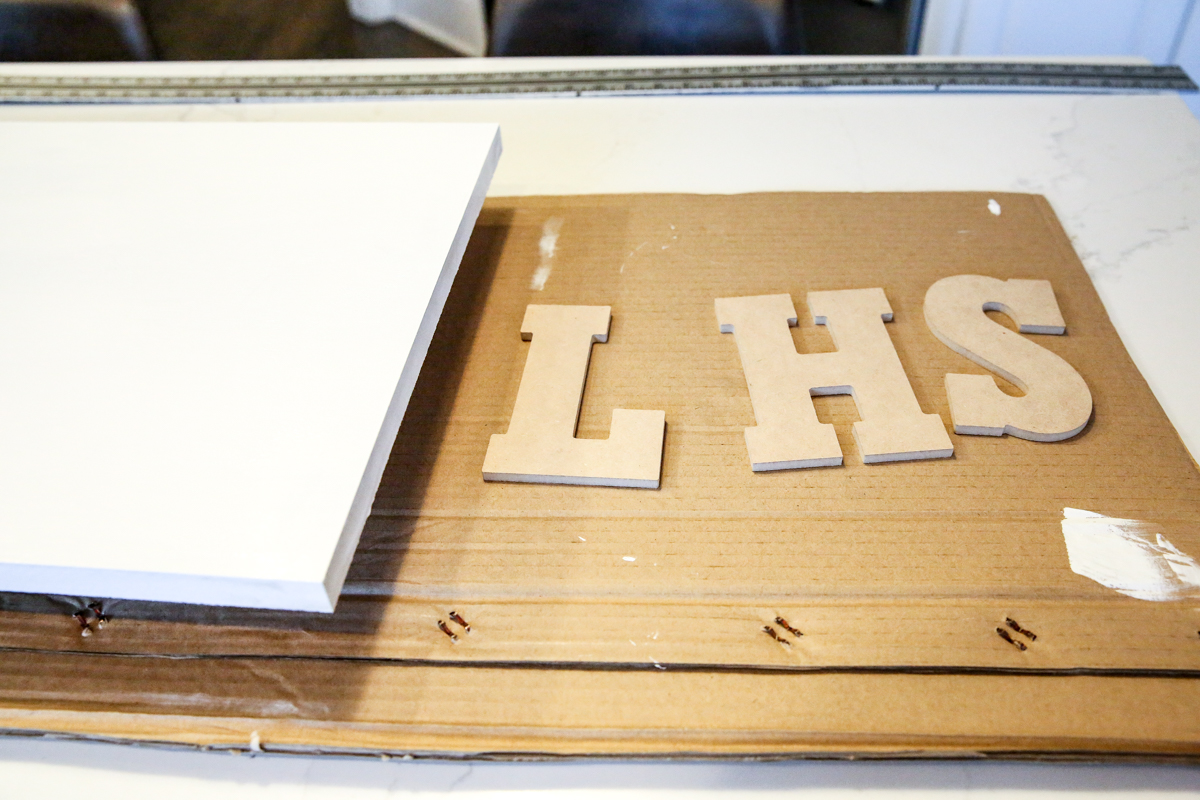
I painted the board with a semi-gloss and the letters in flat and I think looking back at the project I would like them both in the same finish. Just a helpful tip if you make this at home.
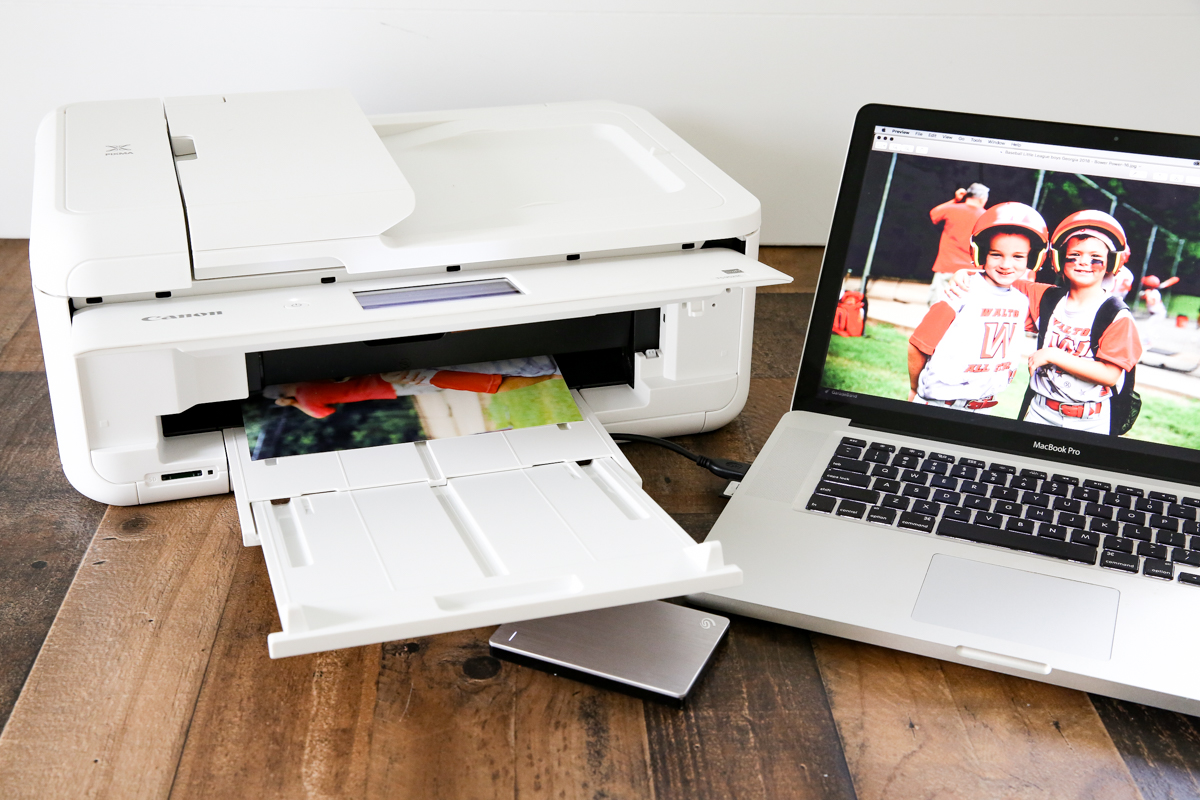
Then it’s time to print out your photo. If you give this as a gift to a coach, a teacher, a student or just about anyone….you will want to make sure you pop a beautiful photo in the frame to make it really look impressive. I got a new printer (I AM VERY EXCITED ABOUT THIS ONE!) and felt like this was the perfect time to give it a try!
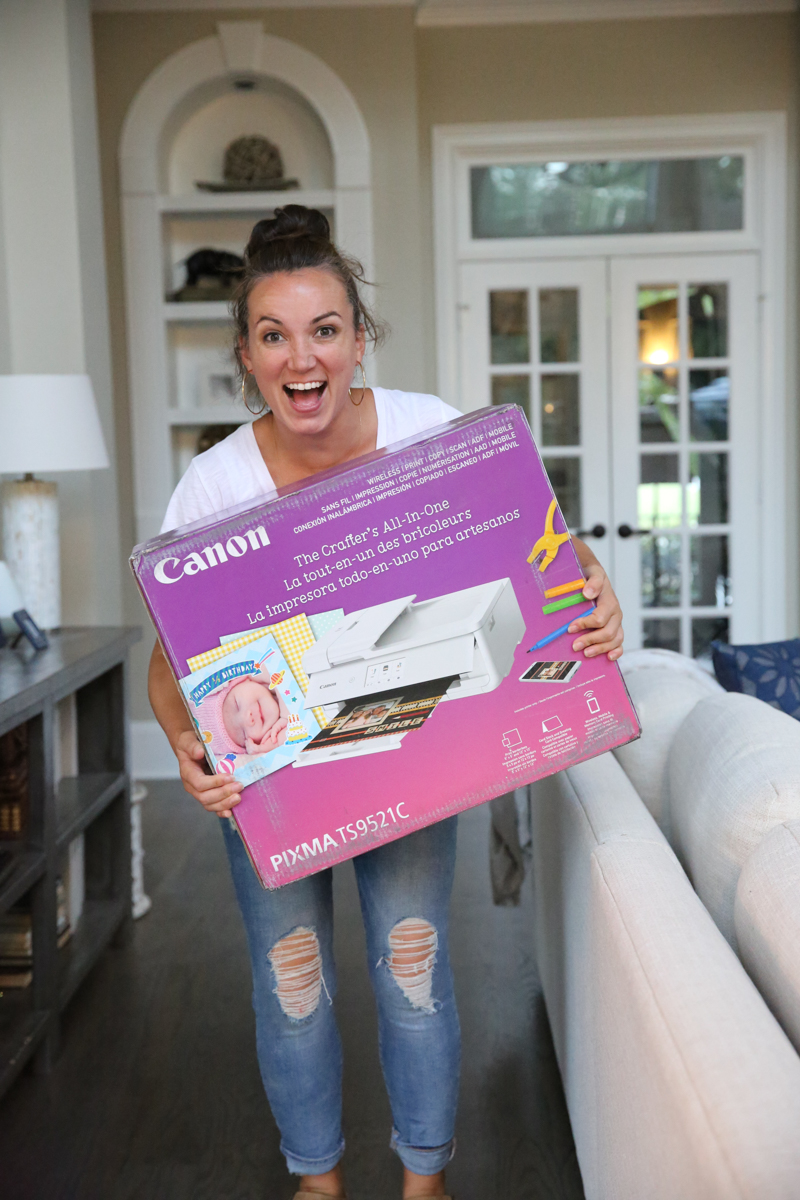
This printer is bring out the crazy eyes in me….obviously. It is the PIXMA TS9521 and I am really excited about this one because over a year ago I got to go to the Canon headquarters and basically sit down with the brains behind these printers and talk about what I really want in a printer and THIS IS WHAT THEY MADE. It is a crafting printer that prints 12×12 borderless (PERFECT FOR SCRAPBOOKING) and has built in printable patterns and has a spot for a memory card and is wireless and connects with Alexa – I could literally GO ON AND ON. The point is – this is my dream All-in-One. And I am super excited to give it a whirl.
So I snapped a photo of my Weston with his buddy back in the summer. I edited it on my laptop and then wirelessly I printed it to a 8.5″ x 11″. And it looks ridiculously good.
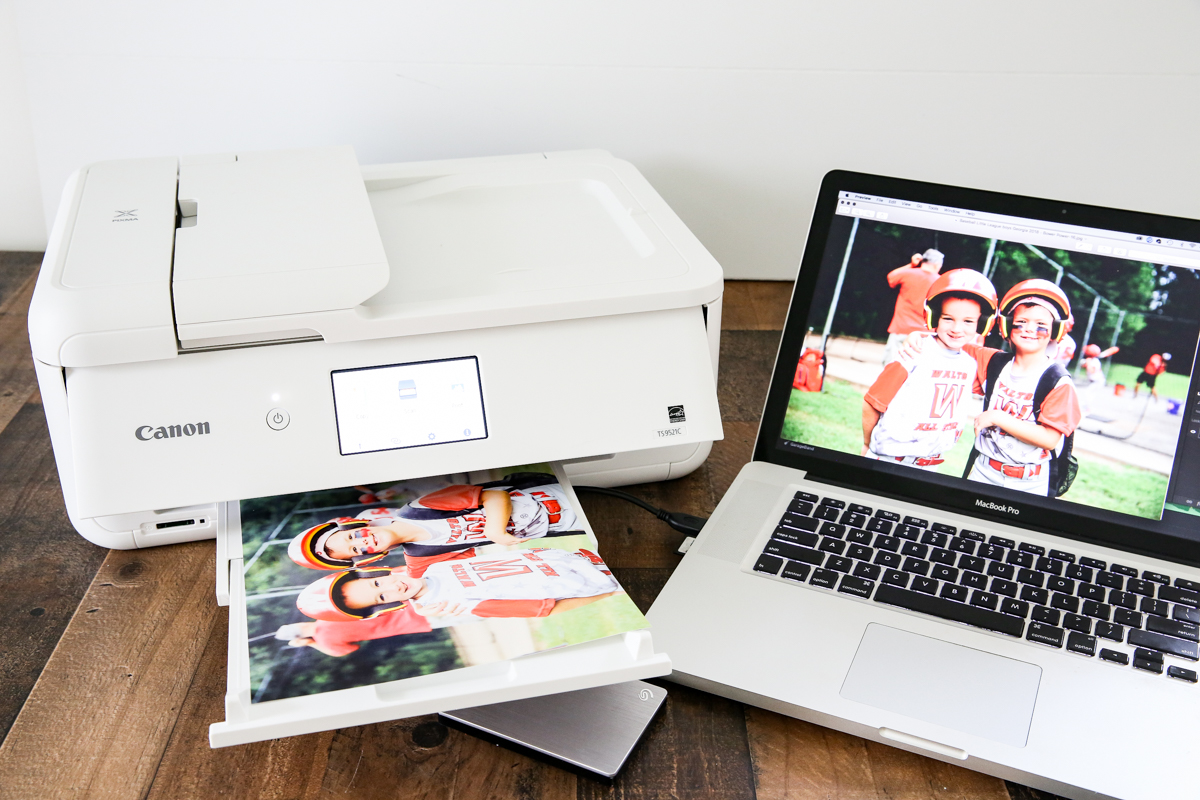
That being said – you definitely need to check out this printer if you are in the market.
Let’s get back to the project. Once your boards and letters are dry and your photo is ready…it’s time to assemble.
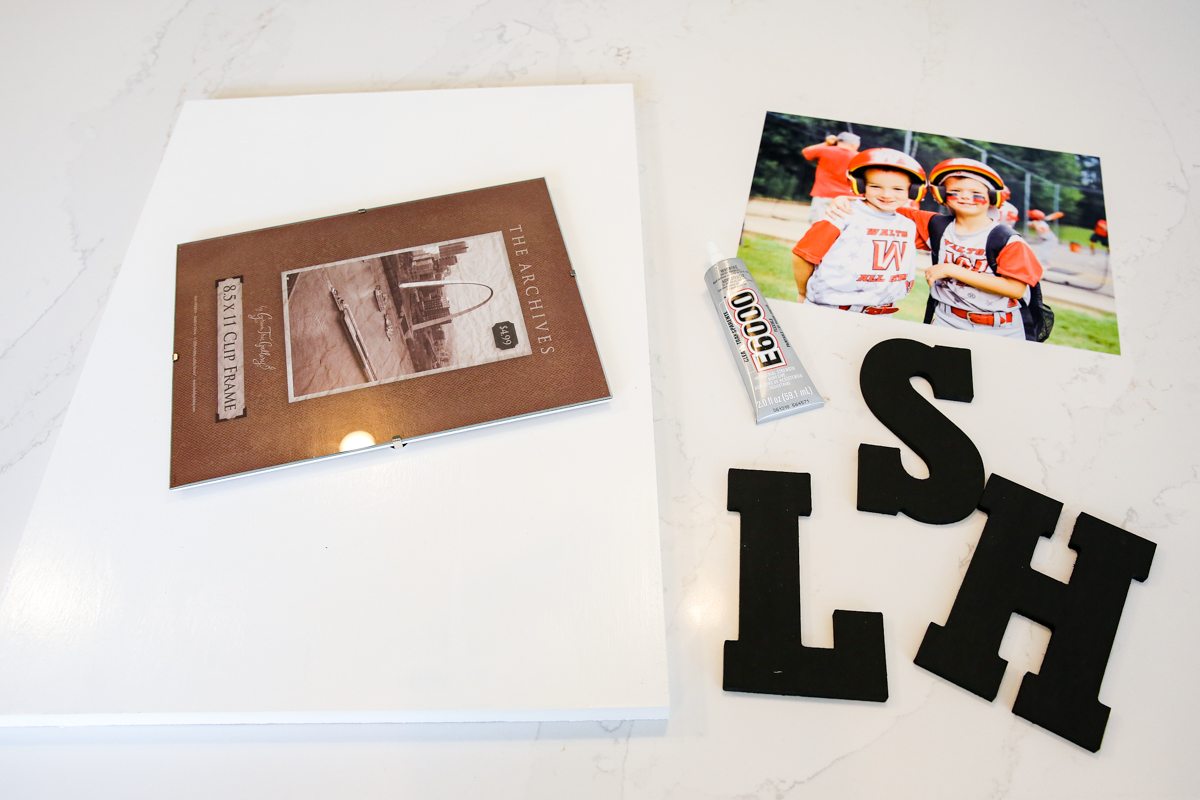
I eyeballed the placement of my letters first so that I had enough margin on the bottom, middle and top to feel balanced.
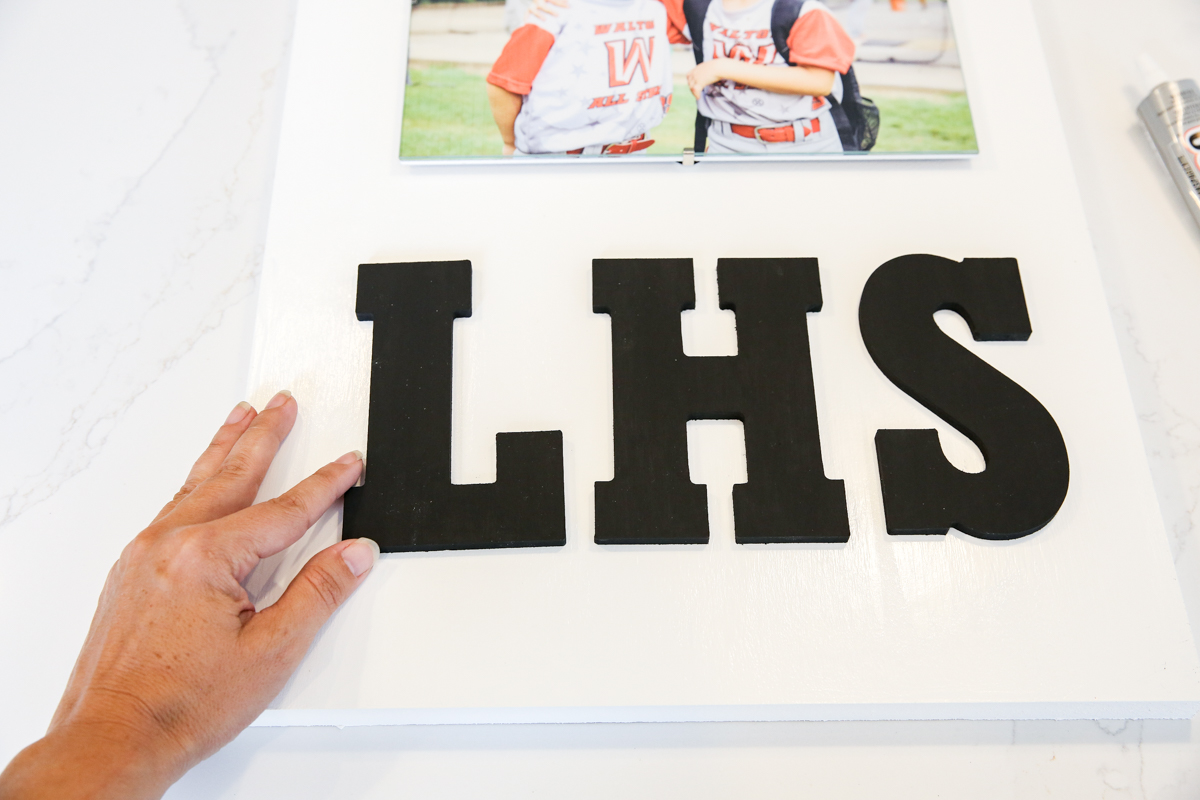
Then I used a ruler to align everything to make sure it was straight. I had my letters placed 1 7/8″ from each edge and 2 3/4″ from the bottom.
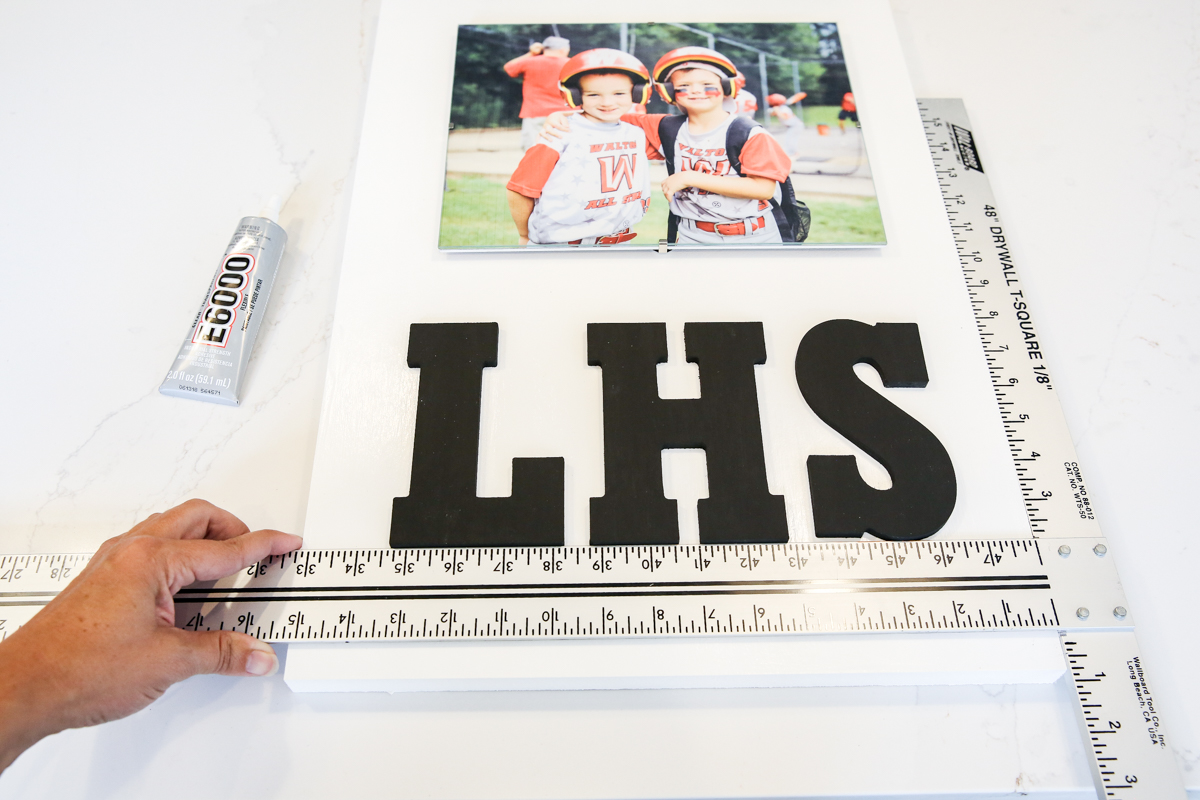
Then I applied a little glue to the back of the letters before placing them firmly on the board.
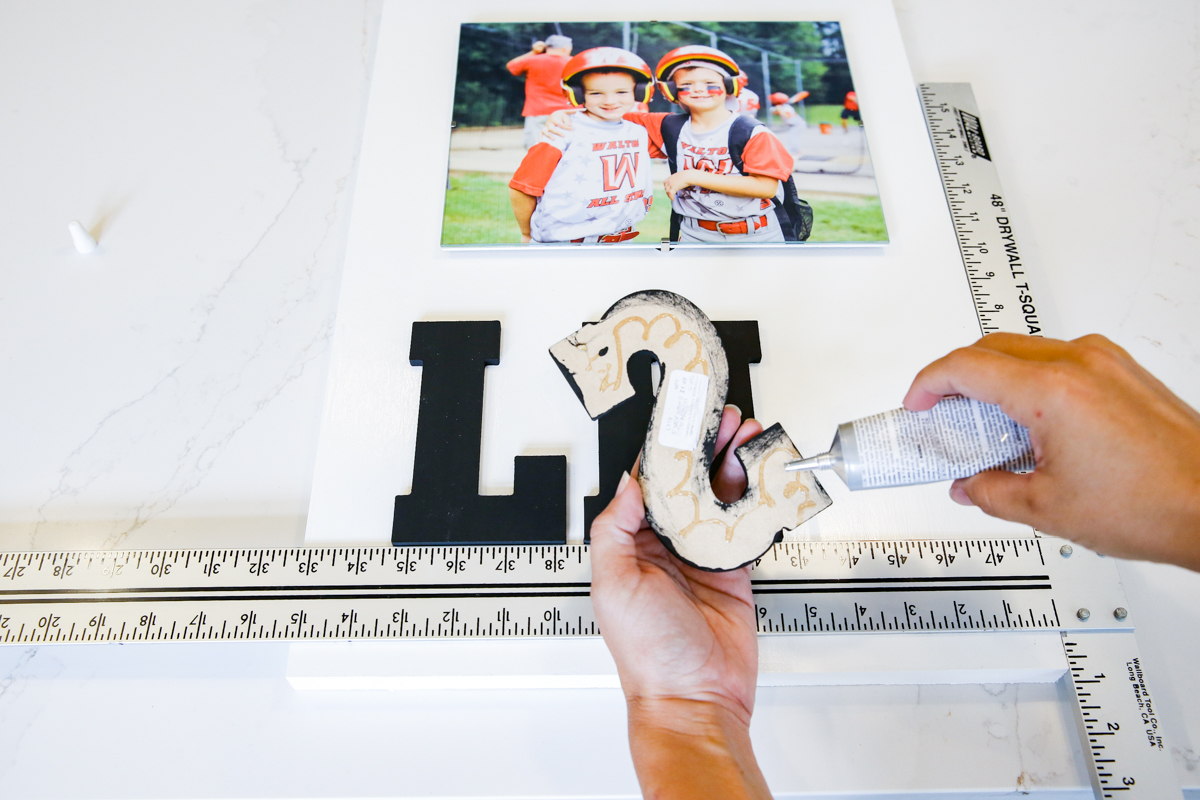
These can be moved so make sure you let them dry fully before doing the next steps.
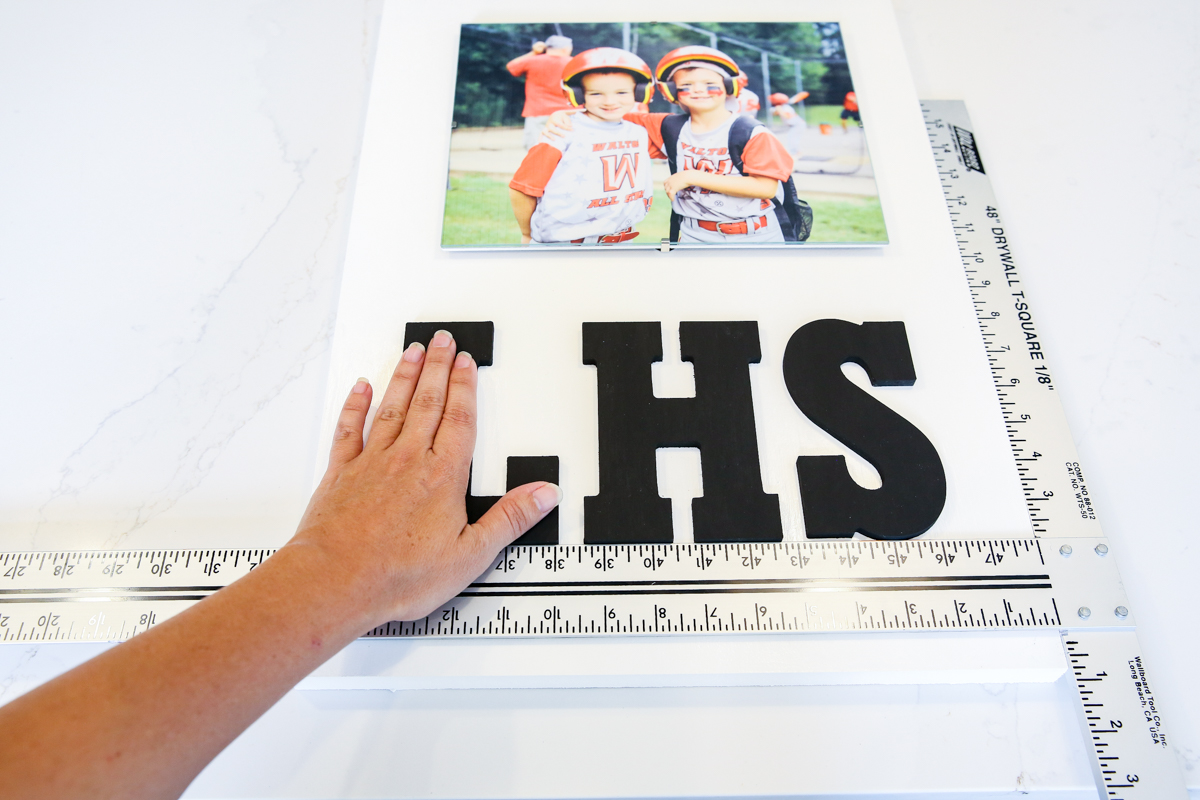
Now that the letters are on…it’s time to make this into a frame that can hang on the wall. I attached a saw tooth hanger on the back about 1 1/4″ from the top and made sure it was centered.
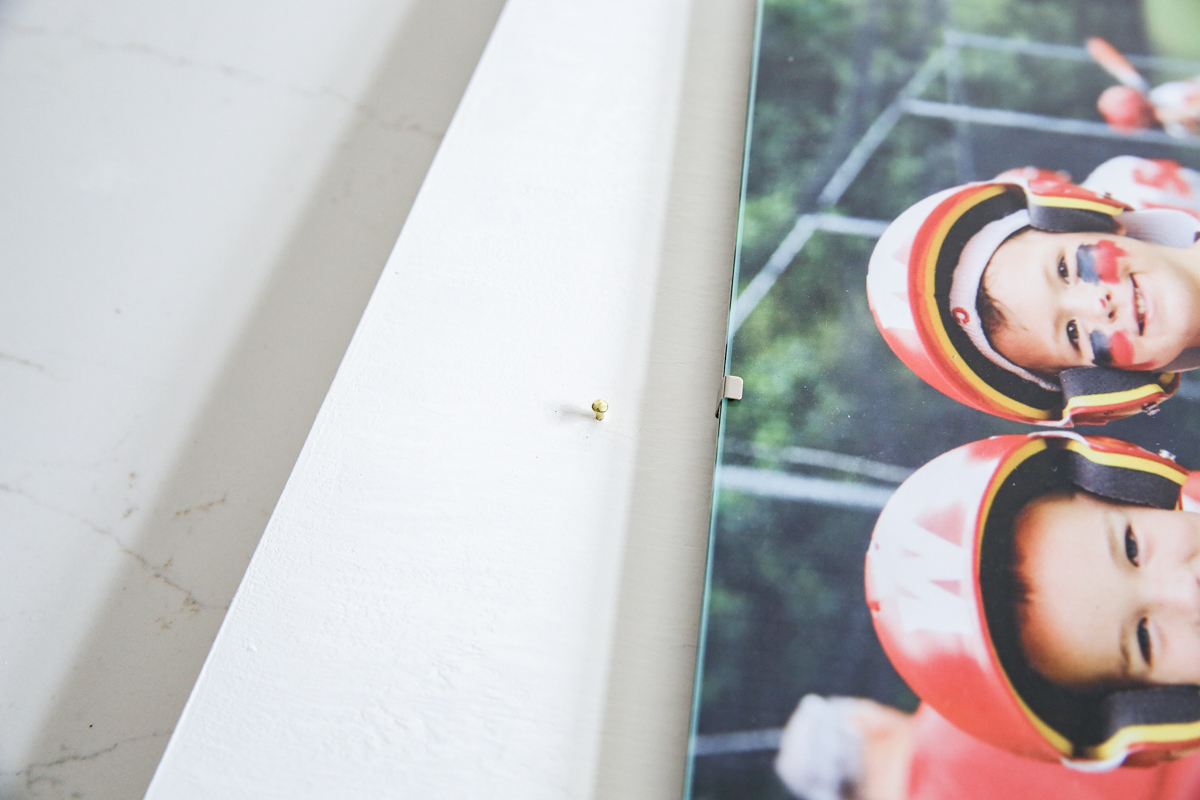
Then I put a nail on the front side in the center about 2″ from the top. Once I had the picture in the clip frame, the clip frame hangs on the nail and it looks like it was all one 3 dimensional piece.
And here is the final result. Isn’t this photo seriously adorable?! I just can’t with these sweet boys! And before you know it, these kiddos will be grown and it will be senior photos!
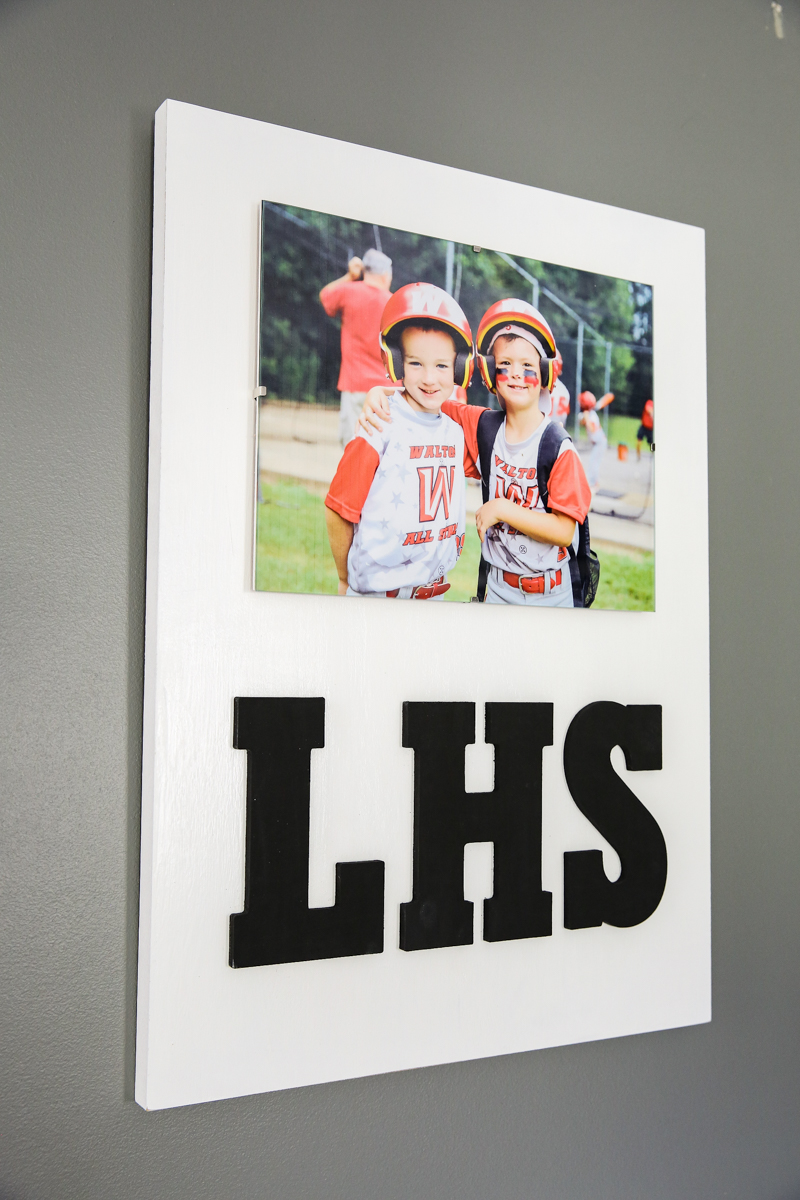
The best part about this is the fact that it cost about $10 to make and it is very personal and perfect for celebrating the best parts of school – the graduation, the friends, the sports, the people, the memories!

And I would love to see you tackle this one and share your creations with me on Instagram – just tag me @bowerpowerblog or send me a DM with your frame! I jump out of my chair and do a little dance anytime you guys take on one of the Bower Power projects! It’s not the cutest dance (I tend to look a little more like a drunk octopus) but I sure am happy!
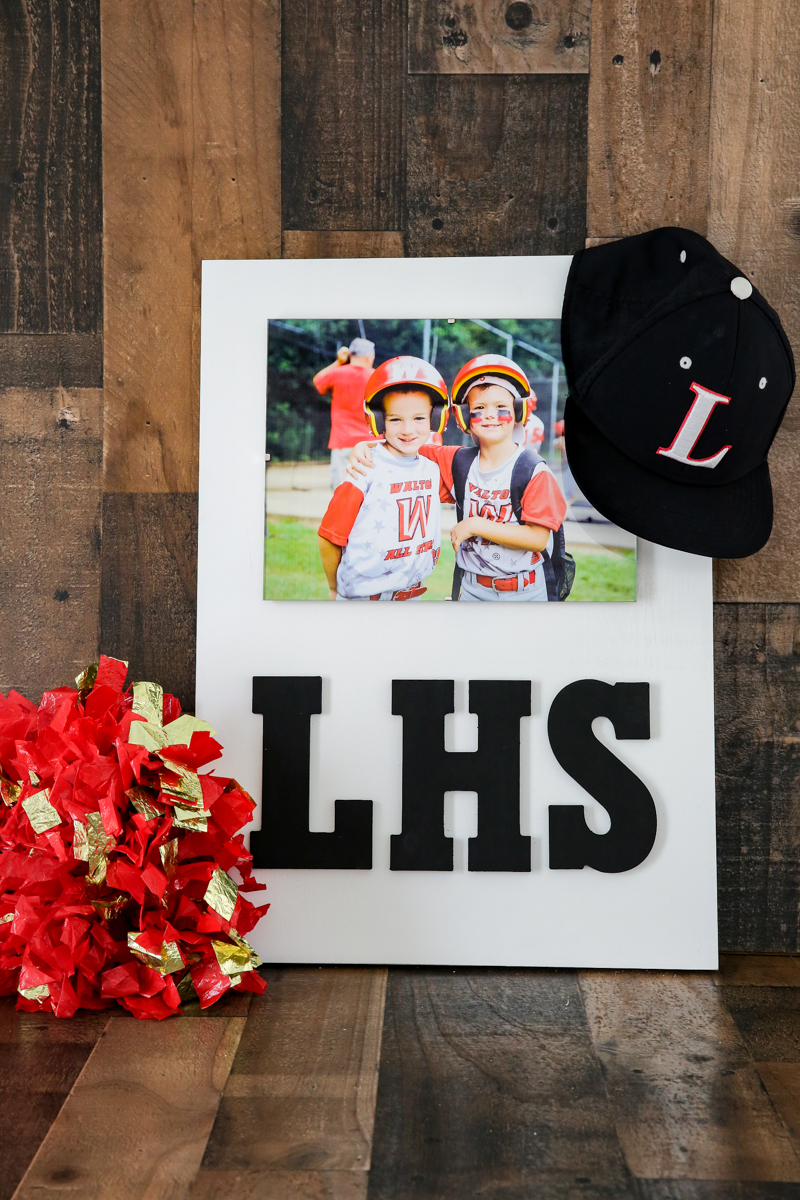
Now who needs one of these? Who has graduating kiddos right around the corner? Or maybe team photos you know your son would love in his room or maybe a class picture your daughter would love to hang up? I love hearing about your kids! Spill those details and happy crafting!
If you are willing to do what you want you can do it! This piece of art is fantastic…
Cute! You could put BOO and a picture of last years Halloween costumes.