Disclaimer – This post is sponsored by Canon. All opinions are 100% my own.
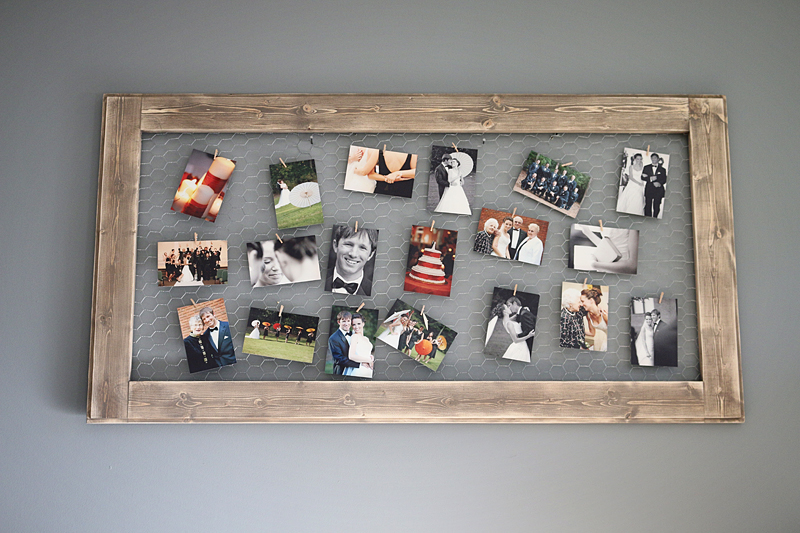
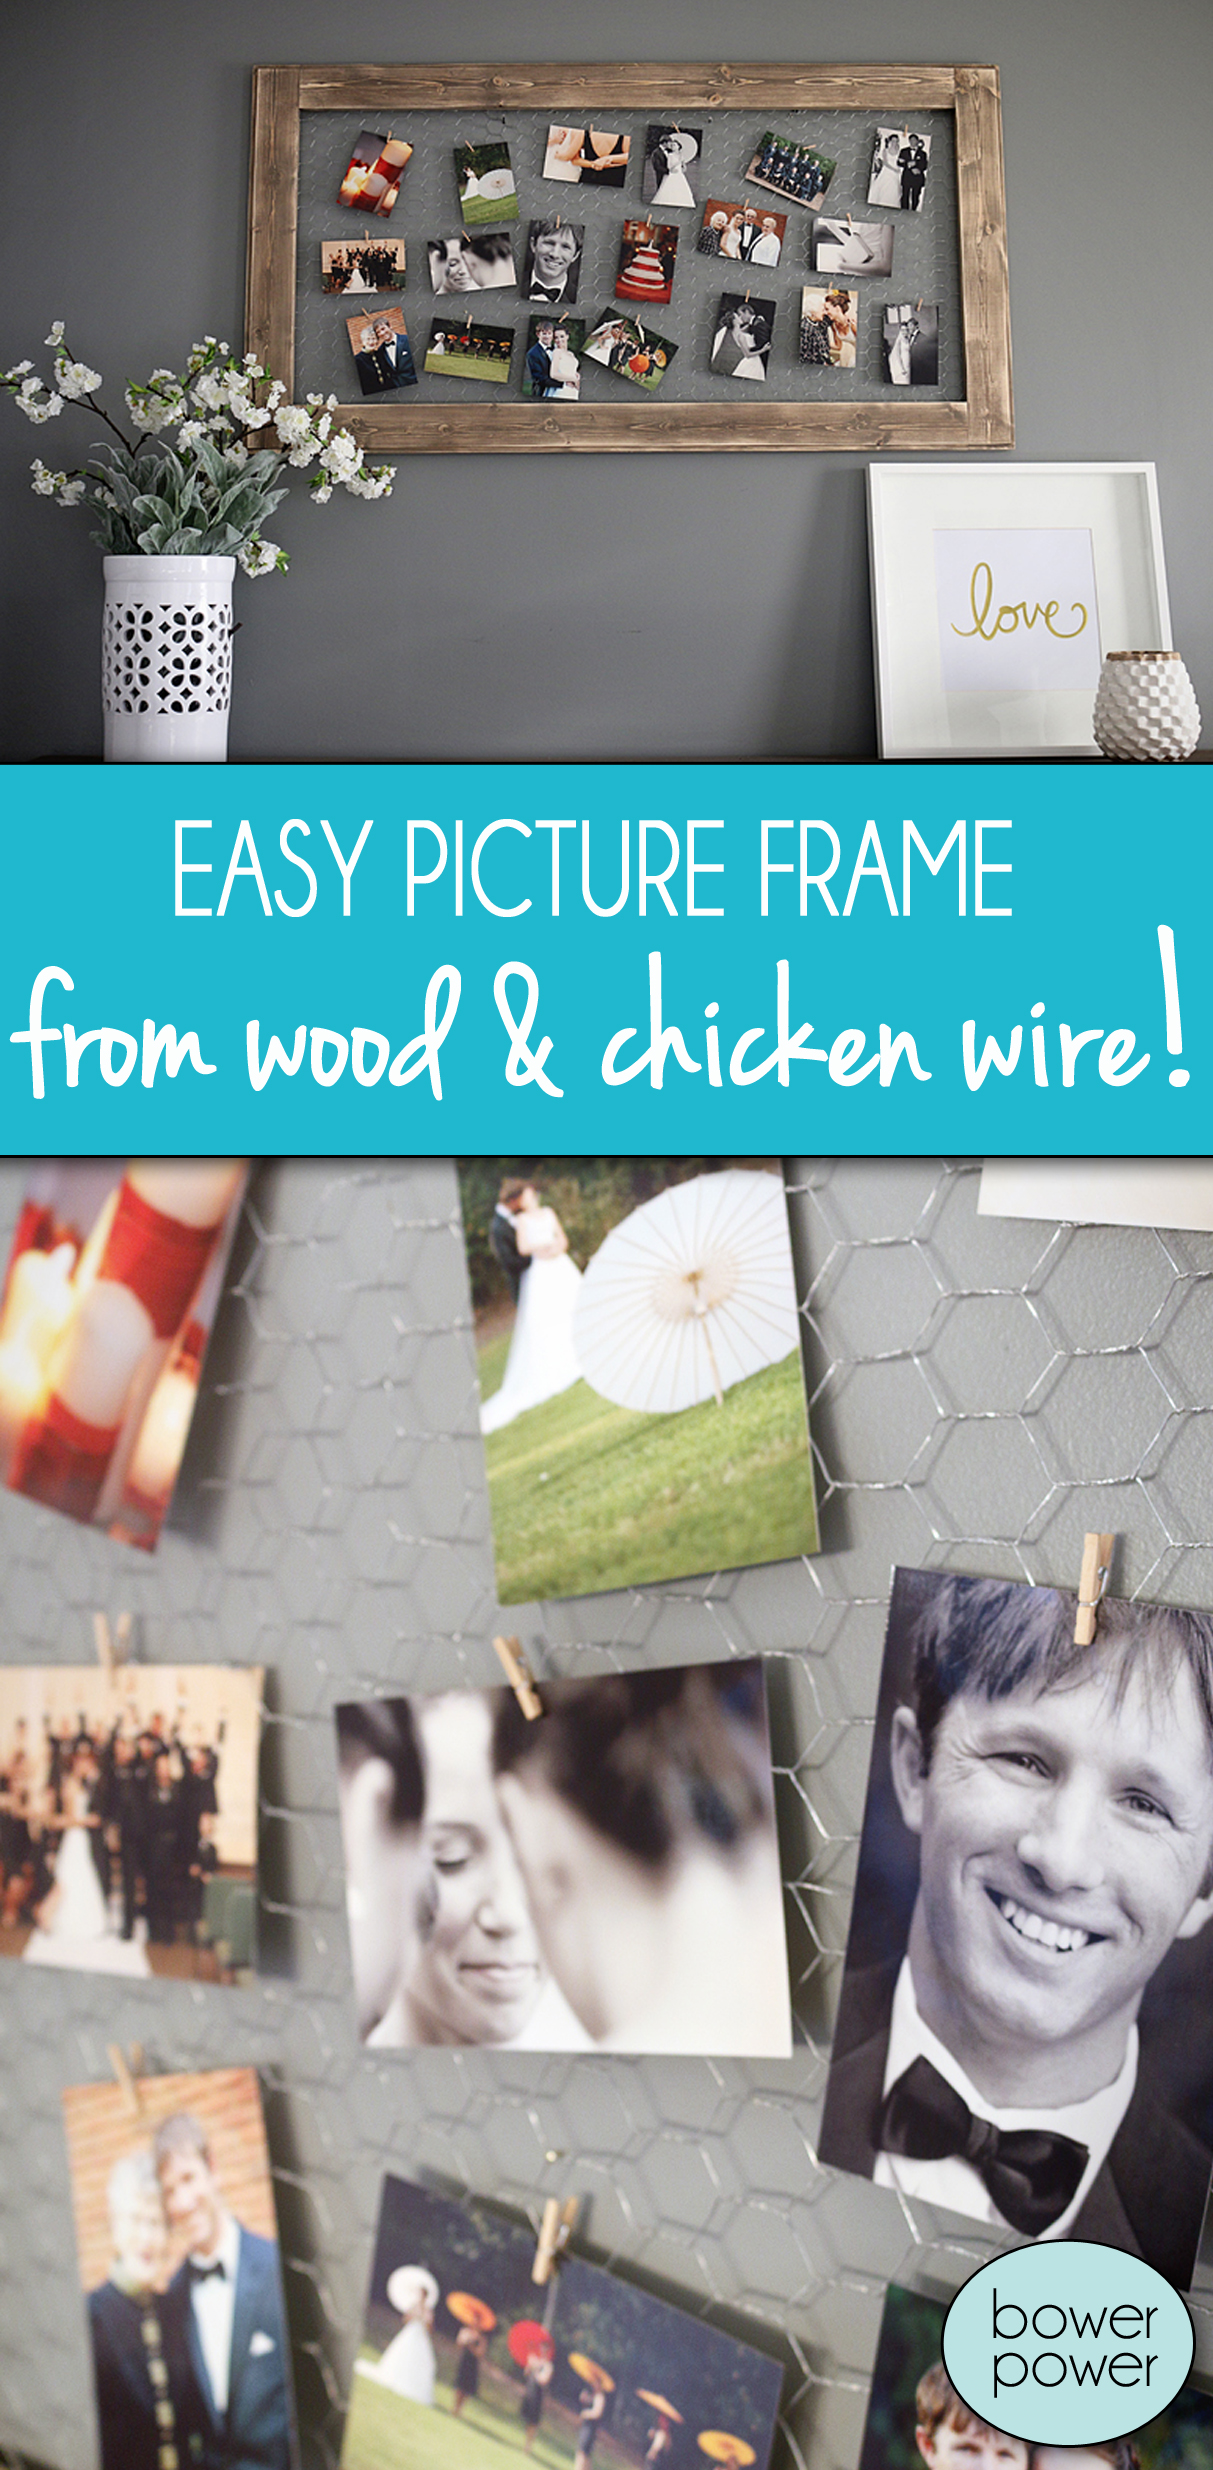
This past week we celebrated our NINE YEARS of marriage and I gotta be honest….there is nothing that makes me more weepy than looking back at photos of our former younger and slimmer selves to see how happy we were and how we were filled with hope and love and eagerness to live fully and deeply. The best part is…we still have that same giddy look in our eyes. And I am so excited to make this DIY project because it shows off a ton of photos all at once. It’s a chicken wire photo frame!
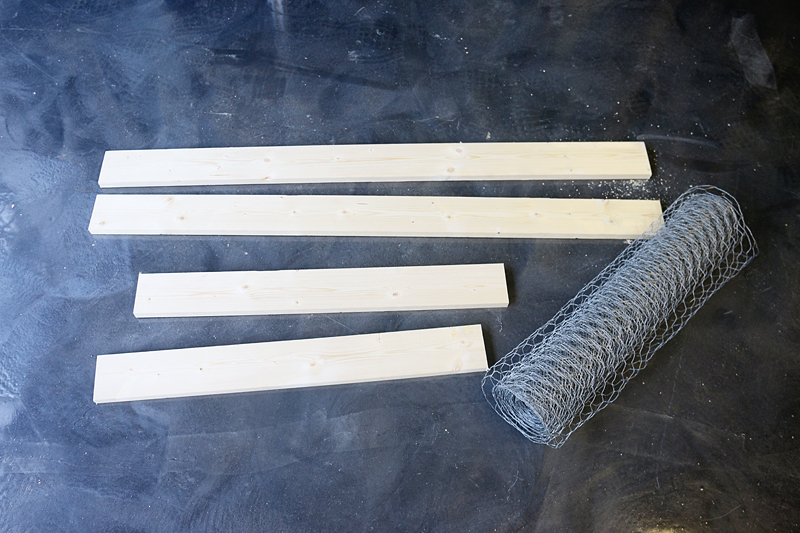
The materials you need are simple. I made this with 1×4’s and chicken wire. I bought two 8 foot lengths and I had some lumber left over.
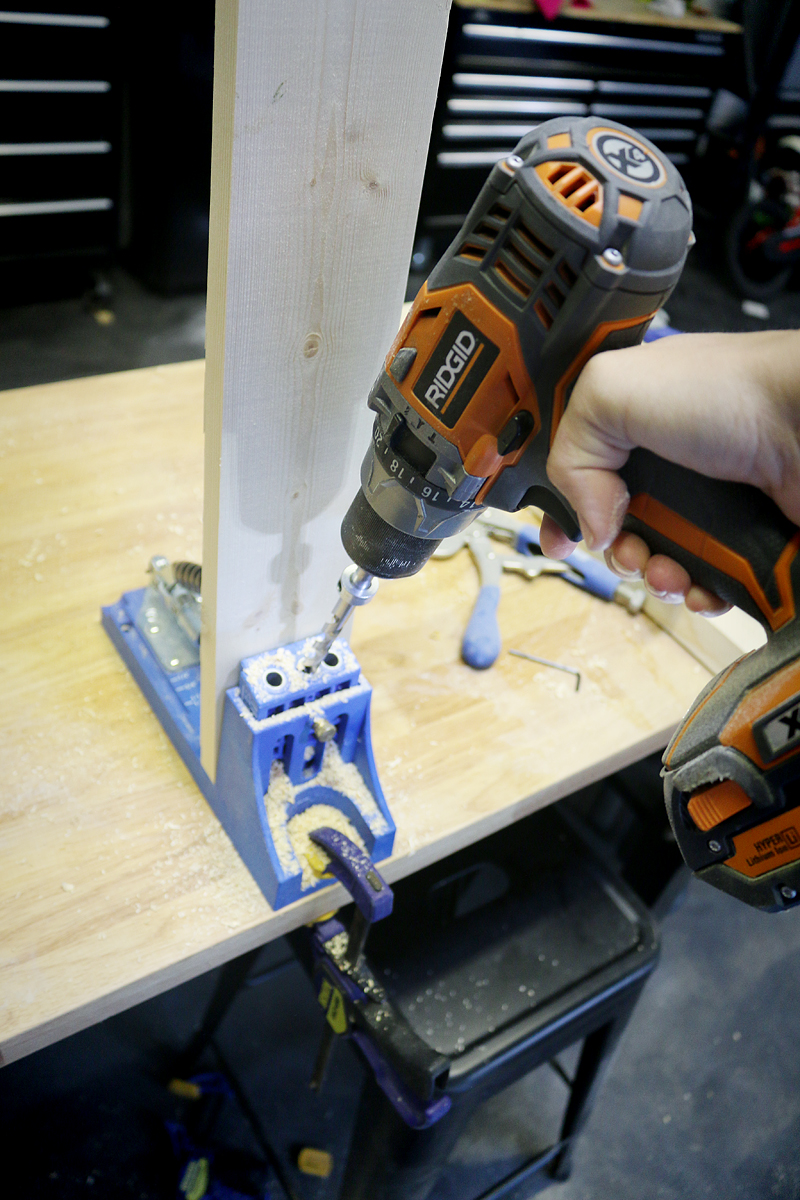
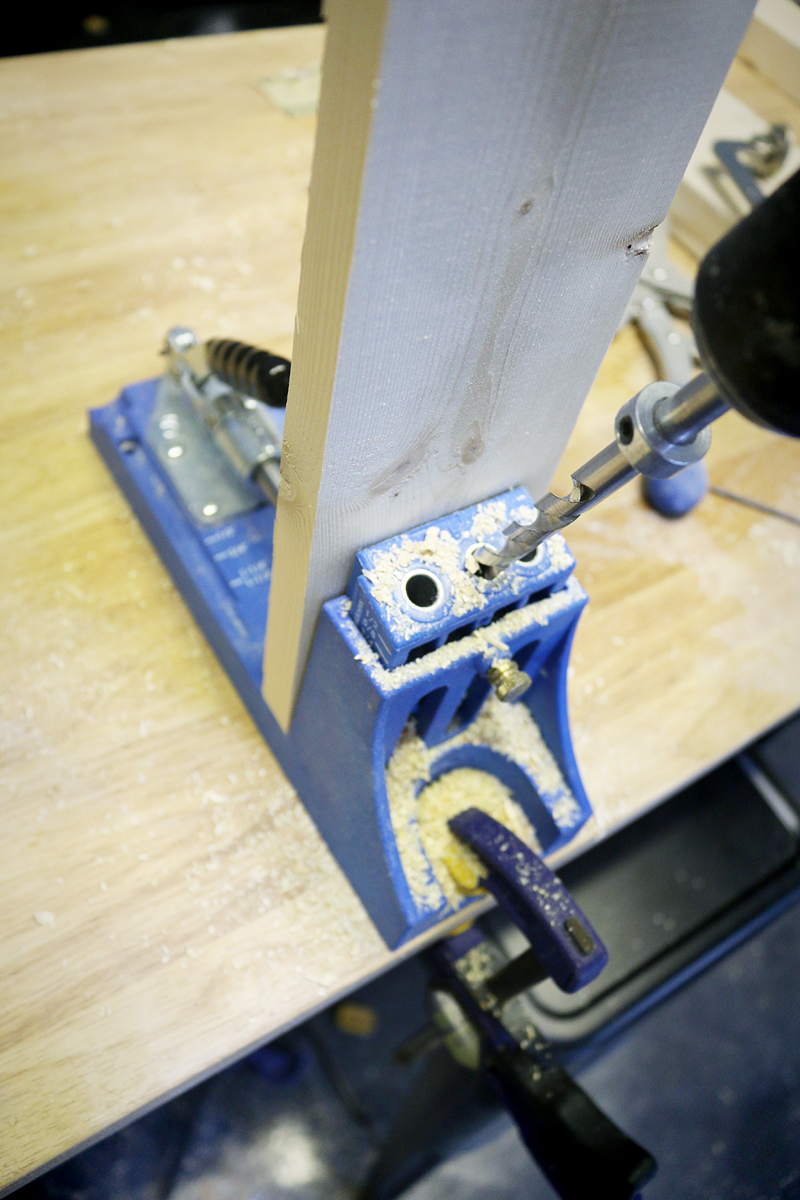
The boards are 48″ and 30″. It’s best to sand them now and get ready to pocket hole. I used my Kreg Jig to pocket hole the two longest boards.
So exciting….this shot…I know this is as thrilling as a herd of running cattle.
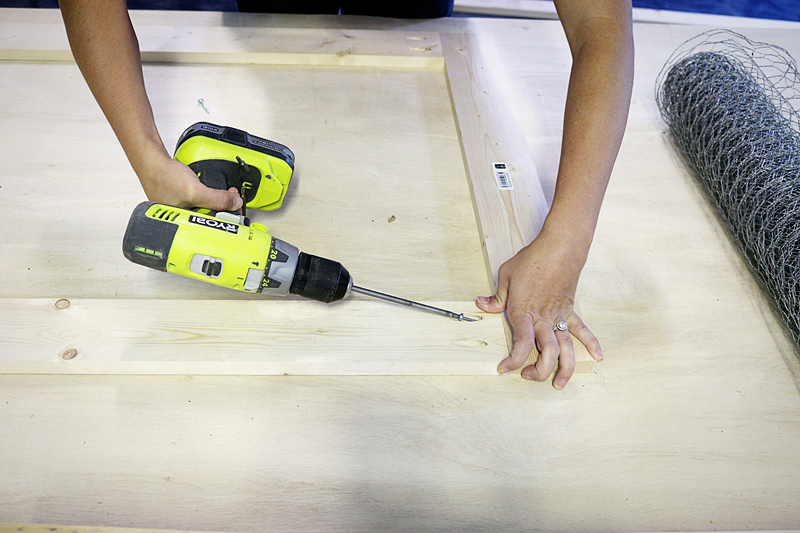
Next you want to attach everything together. Make sure you use your best claw hand.
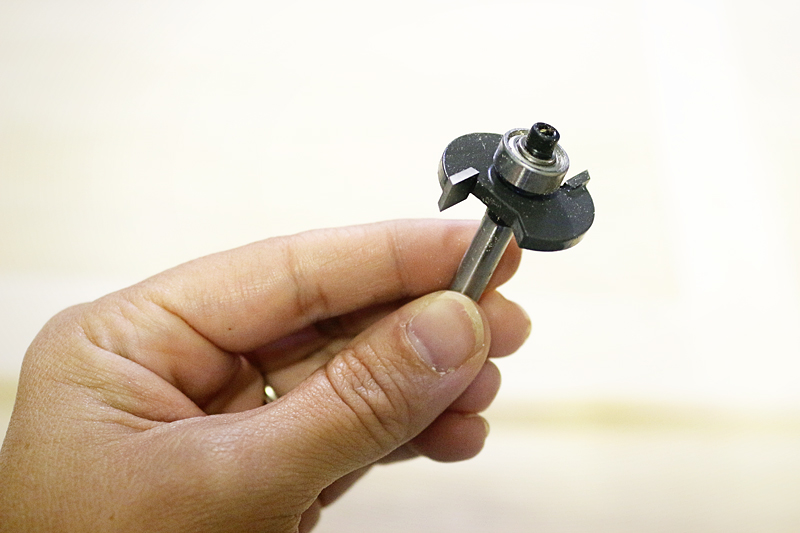
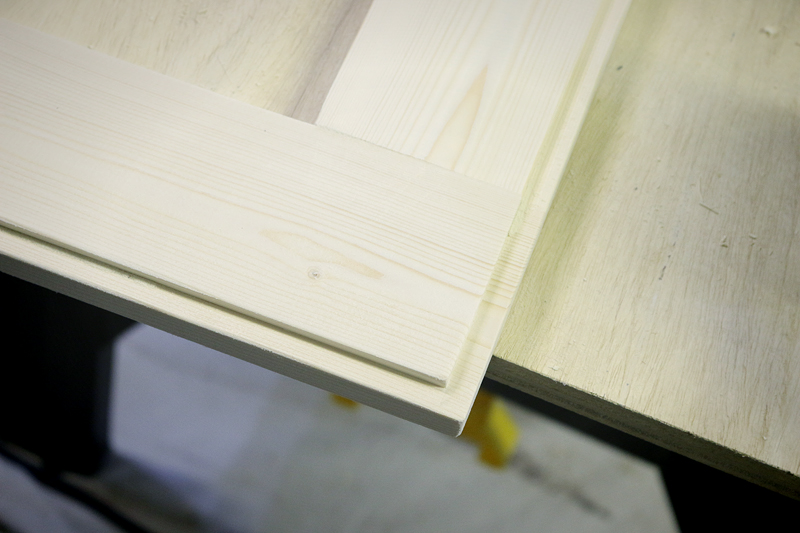
I wanted a really special edge….not just a straight flat frame….so I broke out my new favorite tool – the router. The bit I used was this one. It don’t know it’s name. I think if I had to make up a name – I would call it the straight groover.
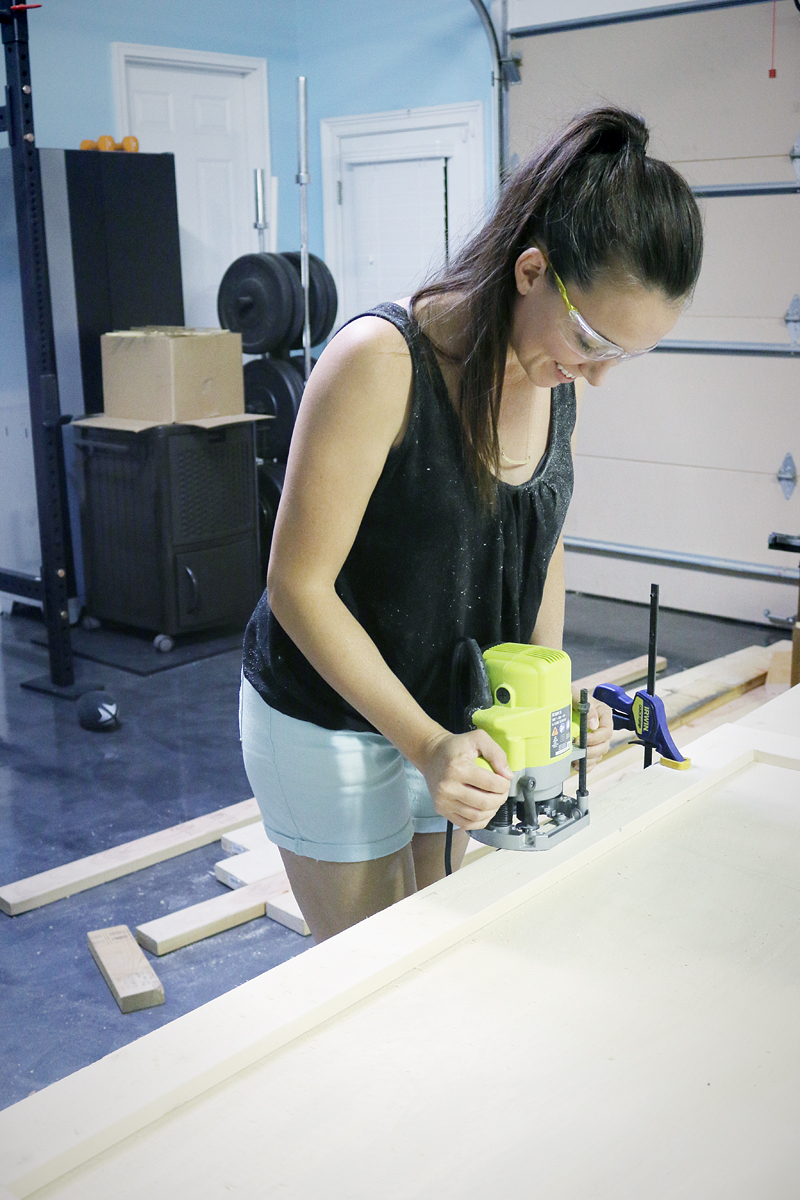
Also it should be known that when routing, it makes an obscene amount of saw dust. It’s a thing of beauty…
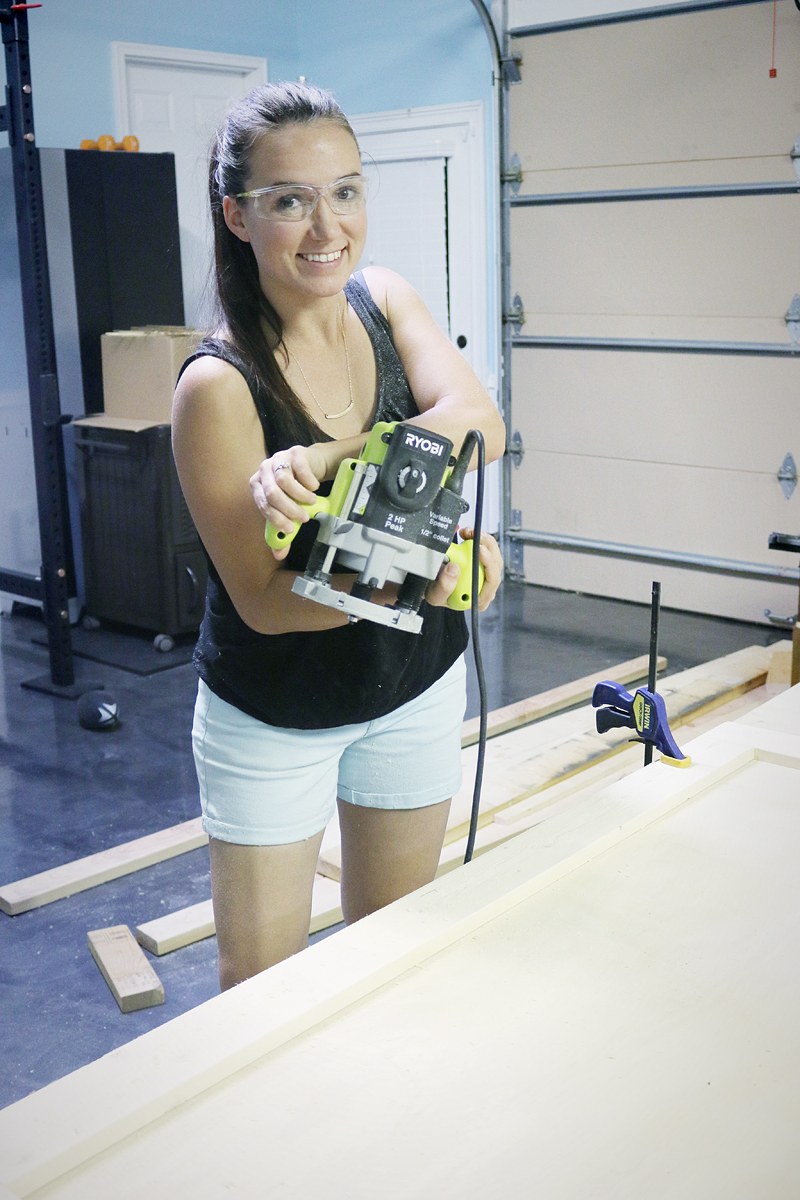
Also my best tip with the plunge router for edges is to lock it in place when you get the depth just right. Lock it in and then start routing.
After all four edges were done, I sanded them all lightly by hand with a 120 grit and they looked so pretty!
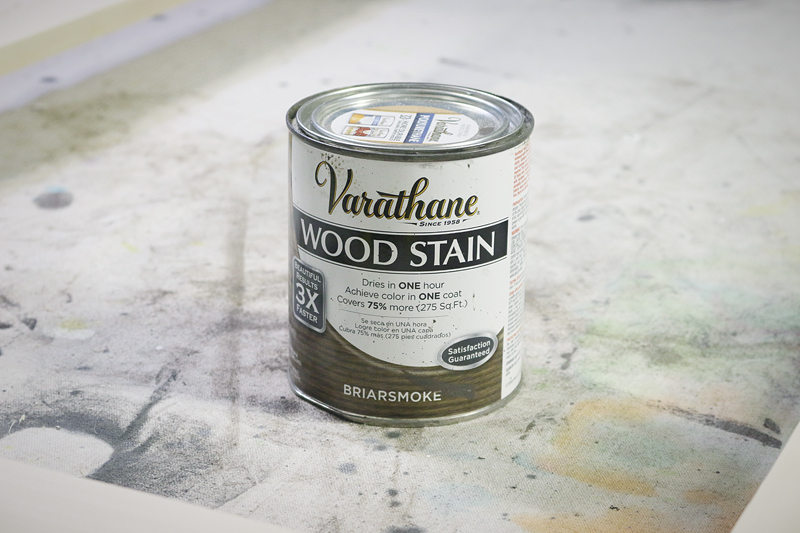
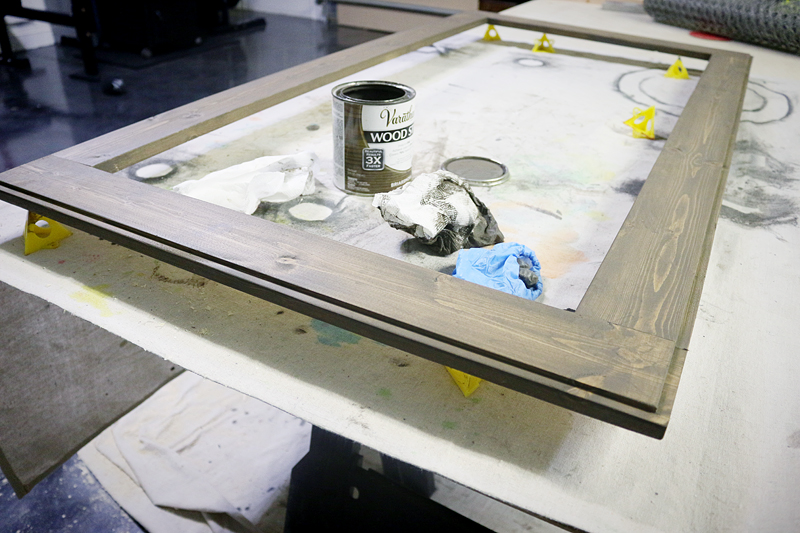
Next came stain. I’ve been preaching Briarsmoke for a few months now and it just doesn’t disappoint. Also…there are a million variations on finishing with this color and this is another different way to get a completely different look.
Stain the entire thing normally….isn’t that so pretty?
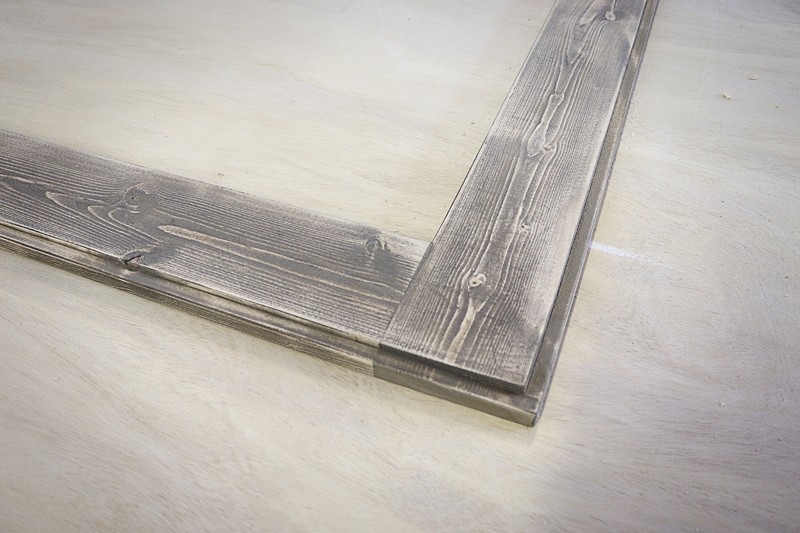
Then after it is dry, take a sander and knock off about 50% of the finish. It will make the wood grain pop and give it a distressed look that is so pretty. Also, it takes a lot of the yellow out of the stained wood…which is weird but true.
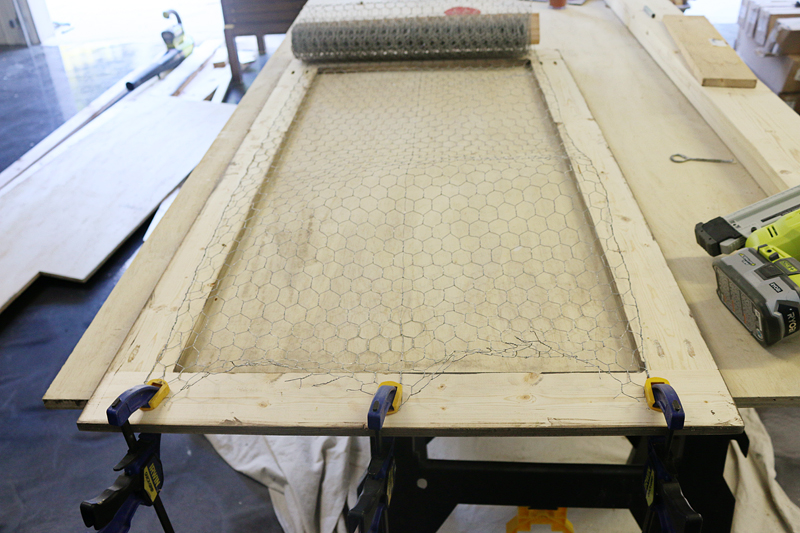
Time to attach the chicken wire. I have found that the best way to attach it is to clamp it down to one edge and then unroll to the full length of the frame. There was some definite tweaking for the wire to be straight but the clamps made that easy.
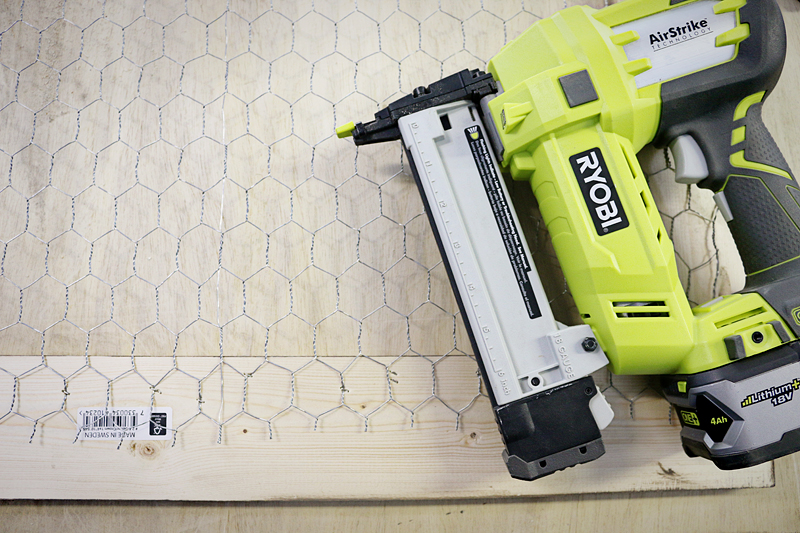
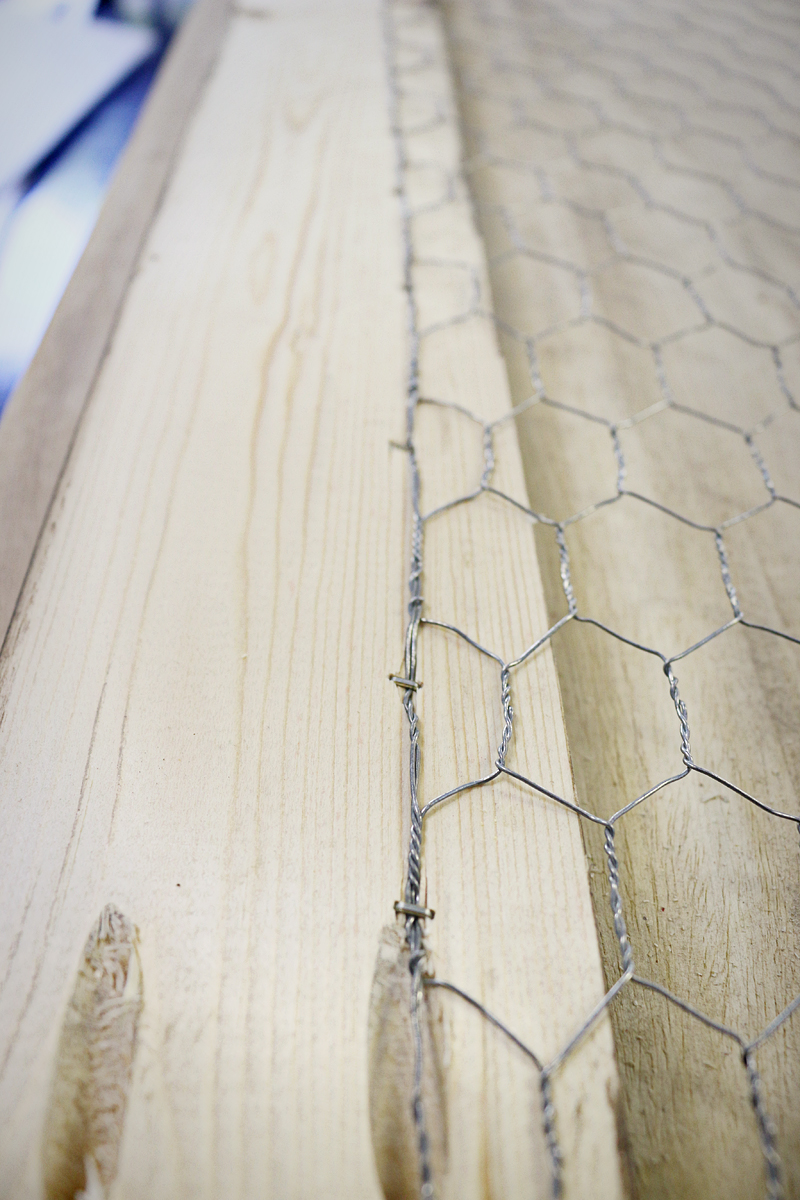
Then I used a narrow crown stapler with 1/2″ staples to attach everything in place. You can use a regular staple gun too – just make sure that you have 1/2″ staples because you don’t want it to go through your wood and be visible on the other side.
With the narrow crown staples, I had to have really good aim…..which sometimes I didn’t and so there is like eight staples in one corner 🙂
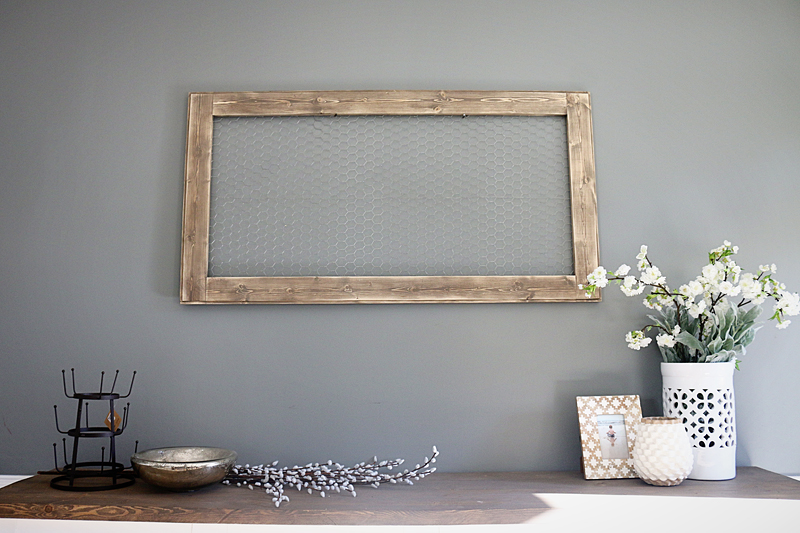
I hung my new frame by putting two nails in the wall and just allowing the frame to sit on those.
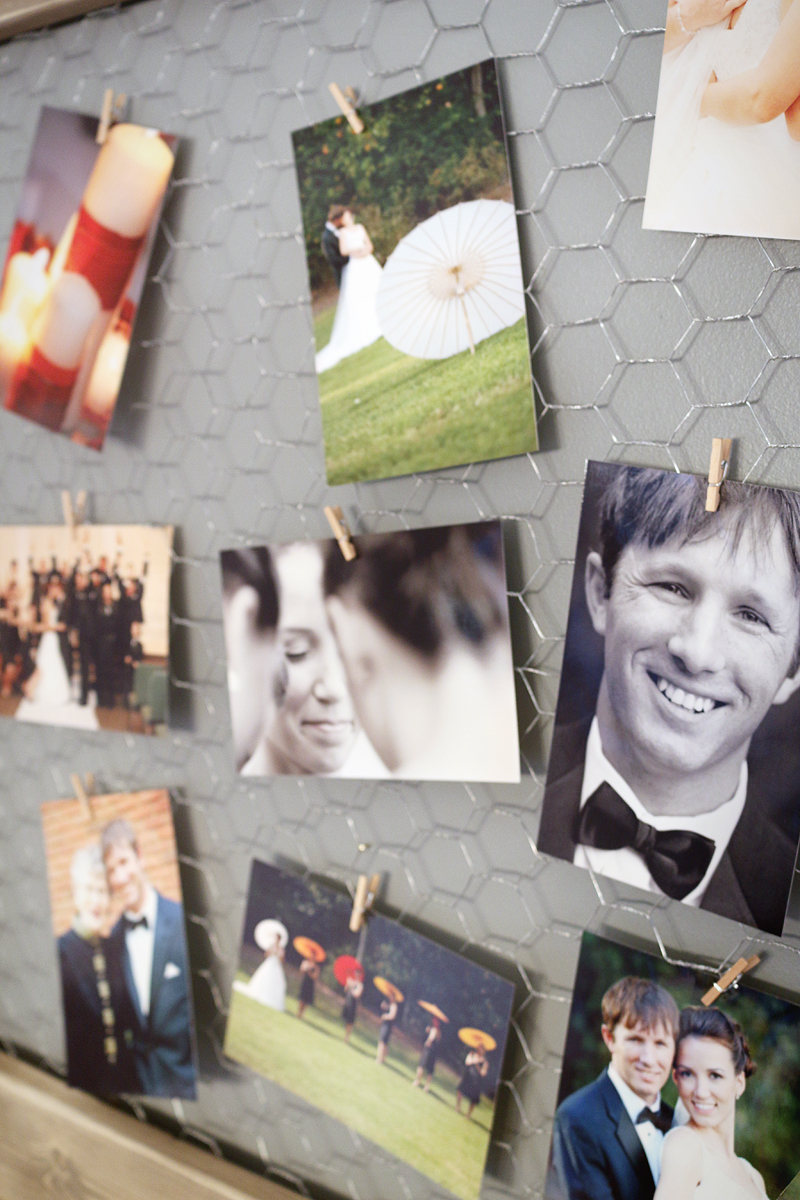
Next came time for my prints. For a frame so pretty, I wanted to be sure that my pictures were great quality. Can you even tell that I printed these at home? I mean. I actually compared the same prints that I had from a drug store and I liked the color and clarity of the ones I printed at home better. I’ll have to show you the comparison one day…it’s nuts.
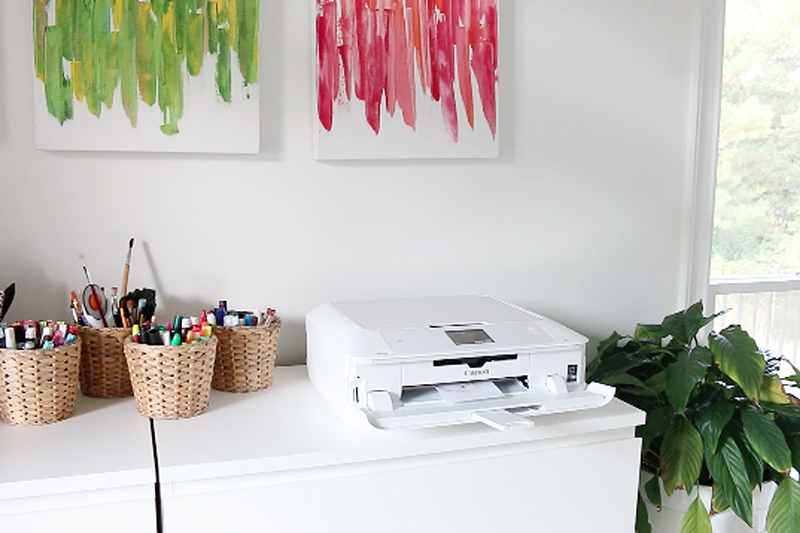
For these, I used my Canon PIXMA MG7720 and high gloss 4×6 paper. I chose some of my favorites for that day. Forgive me….I’m about to cry all over my computer again and short circuit something.
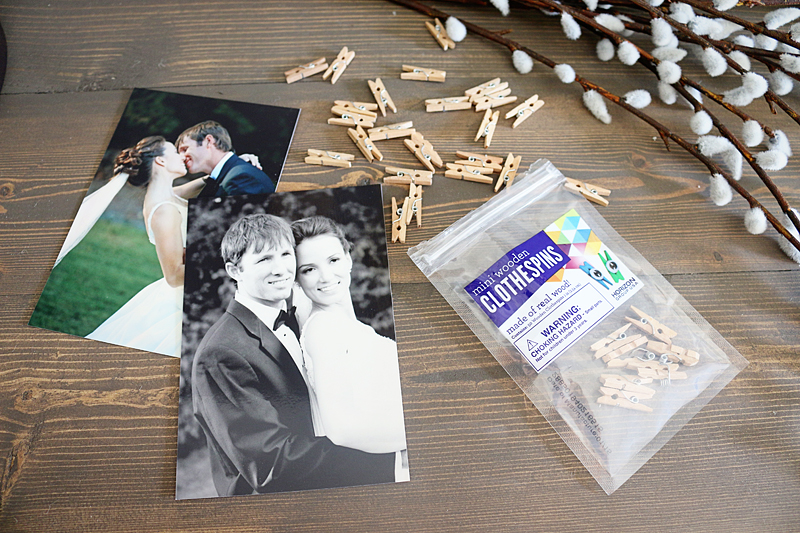
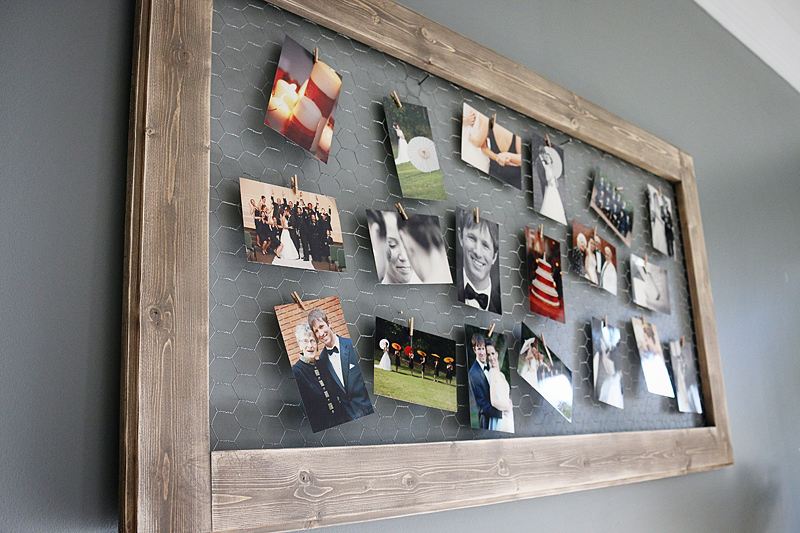
Each photo gets a tiny little clothespin to attach it to the frame and BOOM! Instant gallery!
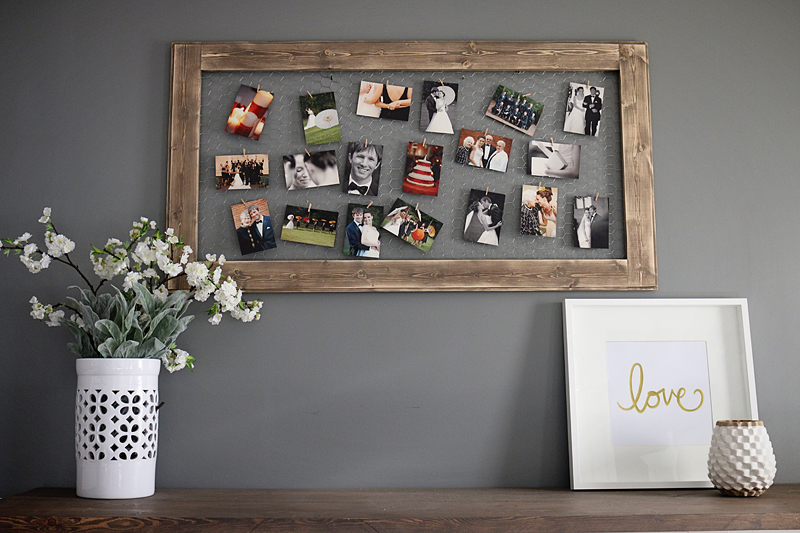
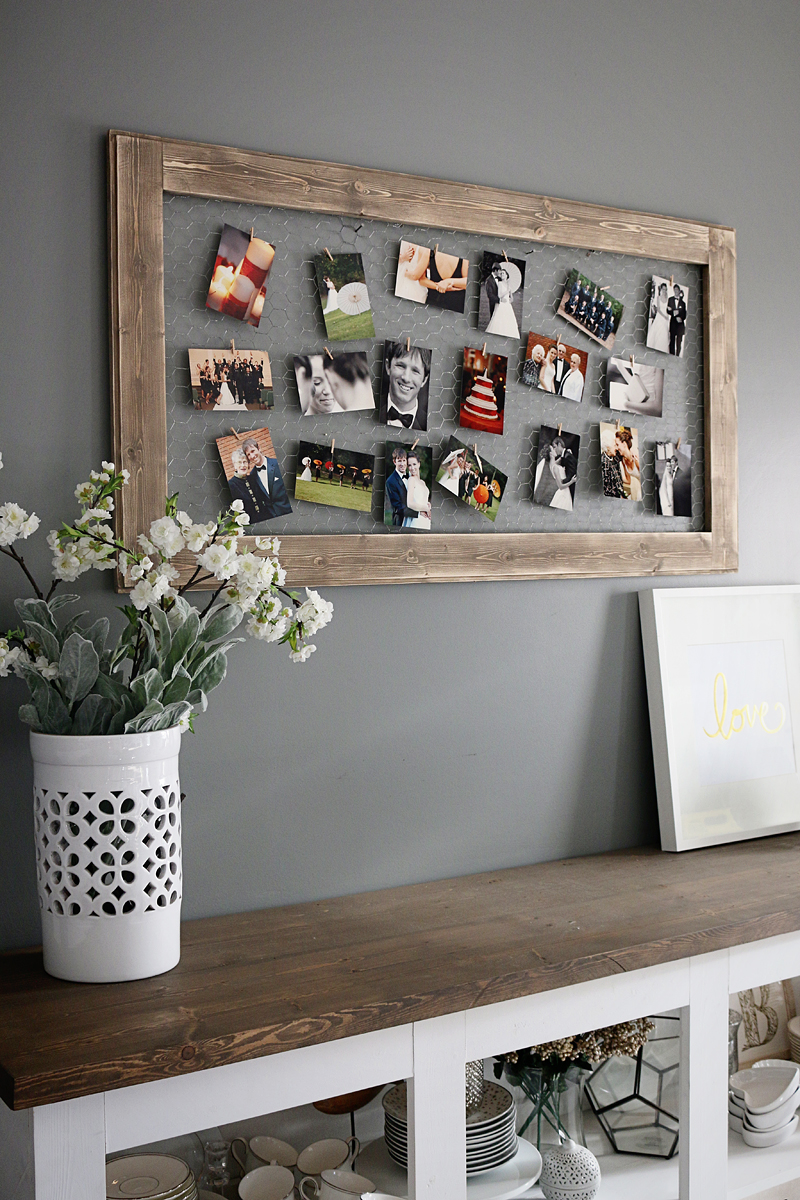
I love love love how this looks above my dining room buffet. It’s so easy to change out for different events and for other holidays too!
I can see how you could put up photos of the birthday boy or girl, use it to hang Christmas cards, hang banners or special messages or print out pictures of that month’s special events.
And one of the biggest things I get asked about the printers I use is….why Canon?
Well, it’s better because of the following reasons….
- it’s an all-in-one….meaning, you don’t loose the functions you need to run a home office
- it’s wireless…so I don’t need to connect a cord to print ANYTHING
- it has two print trays so I keep 4×6 photo paper in one and regular paper in the other for quick print jobs
- it is really easy to switch out other sizes in the tray and it prompts you to switch settings with a touch screen – so it is easy for people who have limited computer skills (like me!)
- it has proven that it produces great quality for photos
- so far, I’ve changed out the ink cartridges once…and I’ve done a ton of prints….a whole scrapbook and more!
- and it comes in WHITE so the printer actually matches my office. I don’t mind having it out in the open!
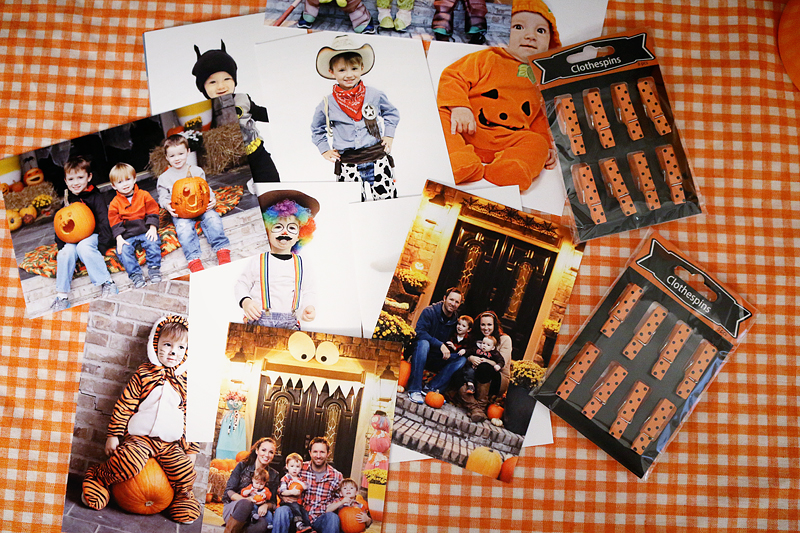
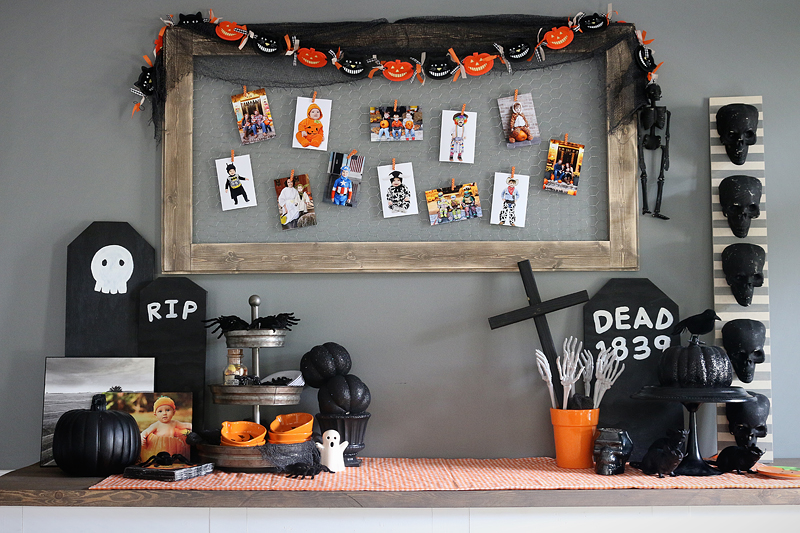
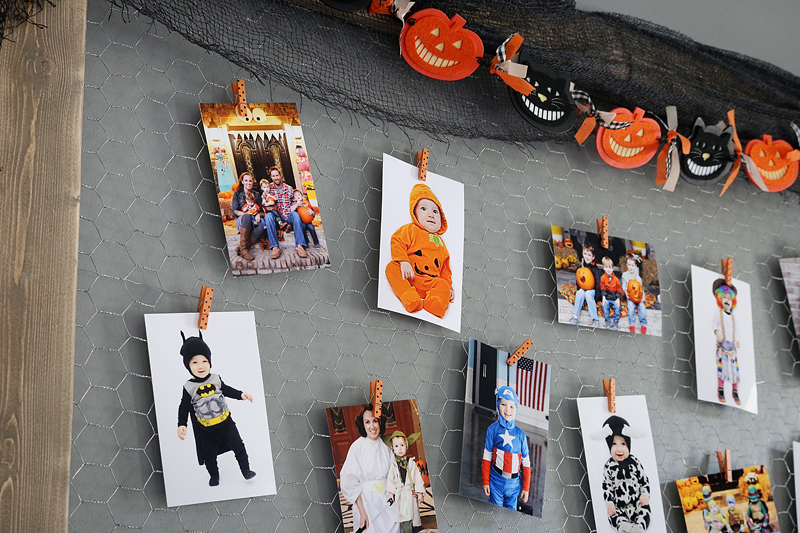
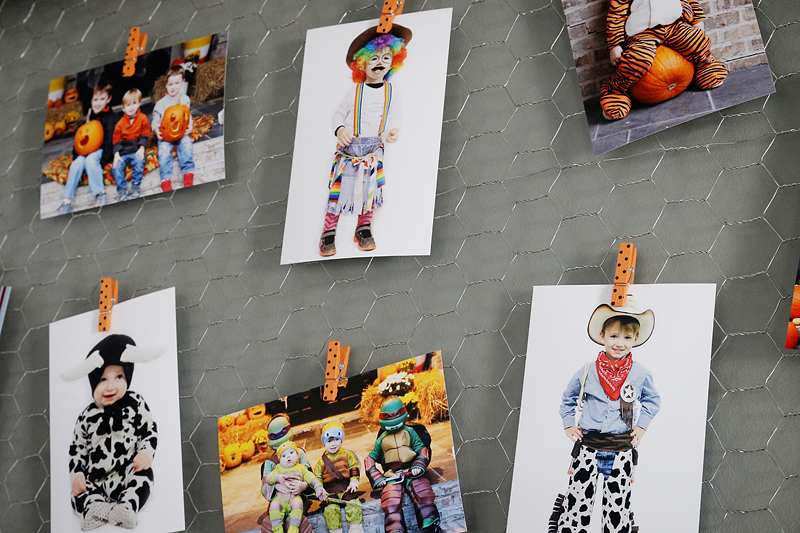
And because the holidays are fast approaching, after we celebrated our anniversary with a rousing night of pizza and email….I know….we are pure party animals….I ended up switching it up for fall. I grabbed our Halloween stuff and quickly printed off a bunch of my favorite costume and fall photos…
Those cute little polka dot clothespins are from the Dollar Tree 🙂
And I hung it all up to surprise the boys in the morning….
It’s the only space in our house that got Halloween-ified and it made them SQUEAL like chickens (do chickens squeal?) when they saw their photos!
Weston cracked up at his clown photo and Will was so excited about carving more pumpkins 🙂
Overall – this is such a versatile photo display and I think it’s gonna be one of my favorite things I’ve ever DIYed. I’ve seen people do it with old windows….but honestly I like this version so much better. I just feel like it’s more versatile. And it’s proving to be the perfect spot for seasonal decorating…so yes, a staple for any household!
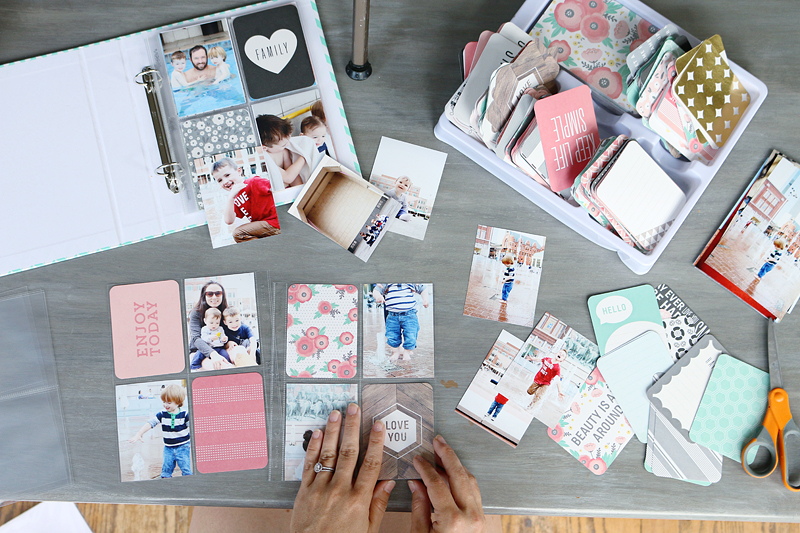
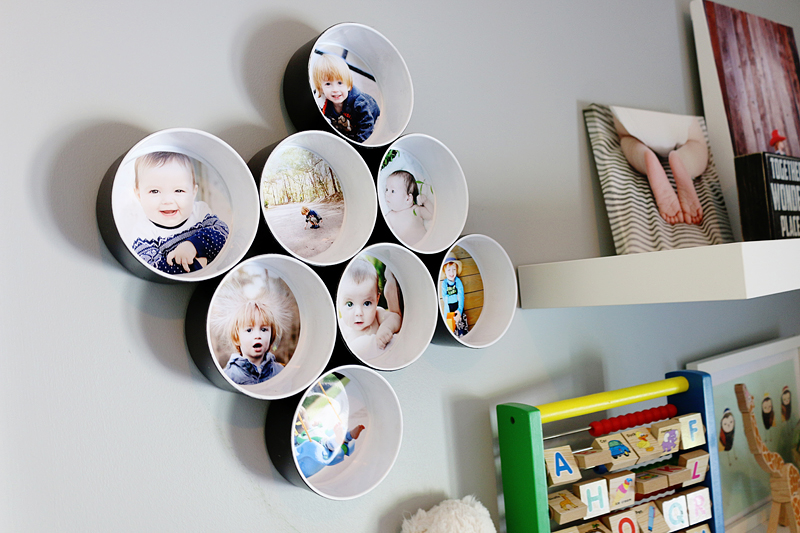
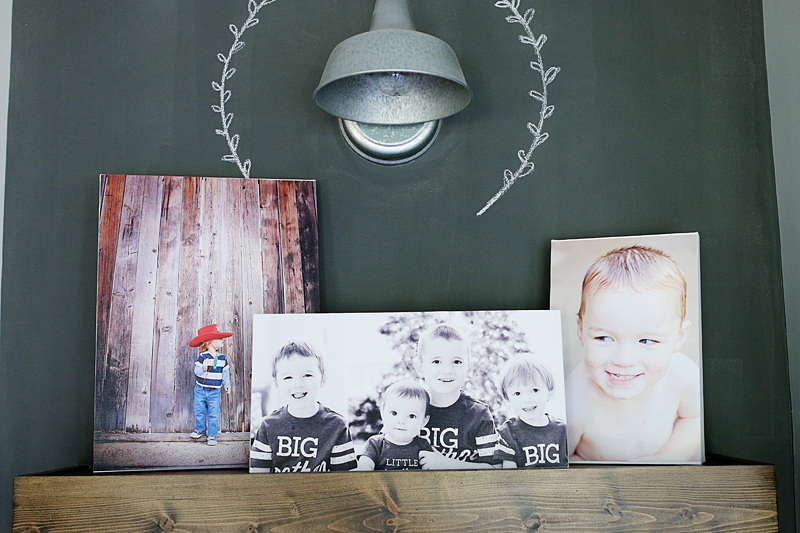
And for more Canon crafting printers projects, check out these past posts…….(CLICK ON ANY PHOTO TO GO TO THAT PROJECT)
Happy crafting y’all!



That is nothing but cute! Always fun to stop by and see what you have been creating! Happy weekend!
Very cool craft! I’ve already told my husband that I want this printer for Christmas.
my dad made something like this 39 years ago, except on a much larger scale. it took up an entire wall in my bedroom. instead though, he sandwiched the chicken wire between two frames so the wire wouldn’t sit right against the wall. then my mom tied ribbons around the necks of all my stuffed animals (of which I had hundreds) & hung them from the chicken wire frame w/ S hooks. the more special, non playing w/ ones went up higher beyond my reach. the S hooks were easy enough for a kid to manage & I could take down the ones I wanted to play/sleep w/ & then hang them back up again to keep my room clean.
How do you make the white background photos? So cute!
Super super cute. Anyone have any ideas for what I can use instead of chicken wire for a more modern household decor? Chicken wire looks great with the shabby chic décor, but would look terribly out of place in my house.
Also, the stuffed animals gave me a great idea: this would be perfect for a kid ribbons and medals display in their room!
What if you did a single thin wire? And pulled it really taunt? Like single lines so it would be more modern?
xo – kb
Great idea; thank you!
Never even occurred to me to make a large one like this!!! Perfect for our very large loft and hallway upstairs!
I have sent this to 5 people. So cute!!! ❤️ Robin
A bit of a random question…. But how do the pictures feel after you print them? The older home printed pictures felt a bit grainy and rough in your hands… do these feel like “regular” drug store printed ones? Our area has no place to print pictures anymore (1.5 hours away) so I should really look into getting this printer!
And I’m adding this to my “to make” list! I have some old red barn wood that would work perfectly!!!
Thanks!
No. They don’t feel like that at all. I have held pictures from online printing companies and local drugstores and my Canon printers and you can’t tell a difference in texture or sheen.
xo – kb