I would definitely use those two words to describe myself. I definitely got the cheap thing going. And the chunks…well, those are well hidden under my maternity sweaters. Yes. My baby is almost seven months old and I still wear maternity sweaters. Don’t judge me.
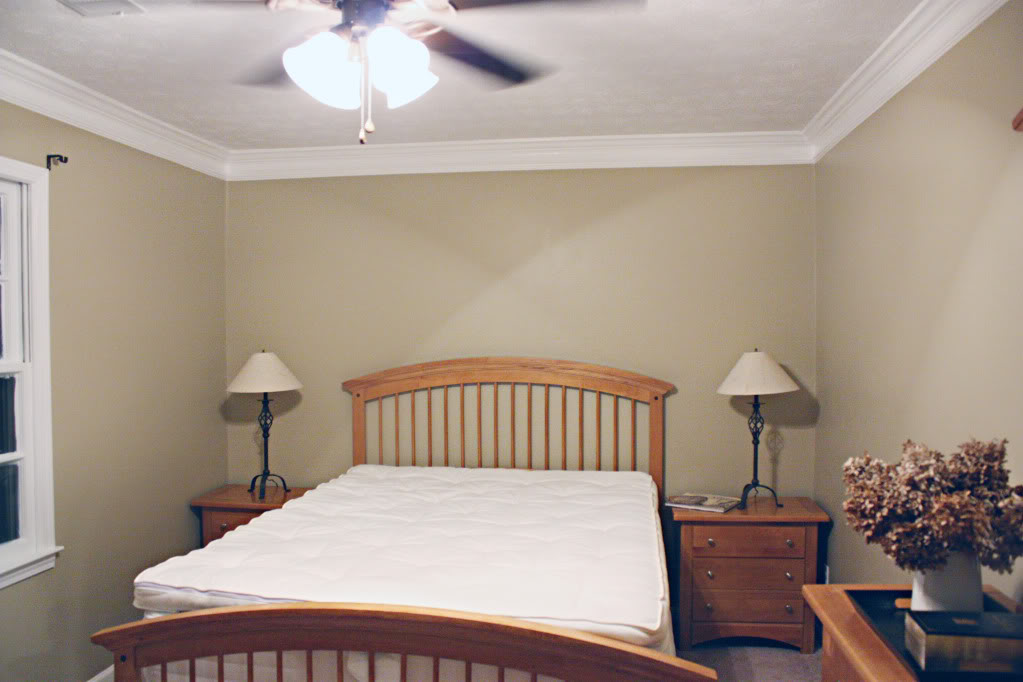
But cheap & chunky are also two words that I would use to describe the new crown molding in our guest bedroom. I use the word “new” loosely…new as in a few months old…since I got distracted with costumes and tablesettings and roadtrips, I have yet to share our older newish crown molding…but I am back on the renovation wagon and ready to tell ya all about it.
Let’s take a look back to see what this room started as:
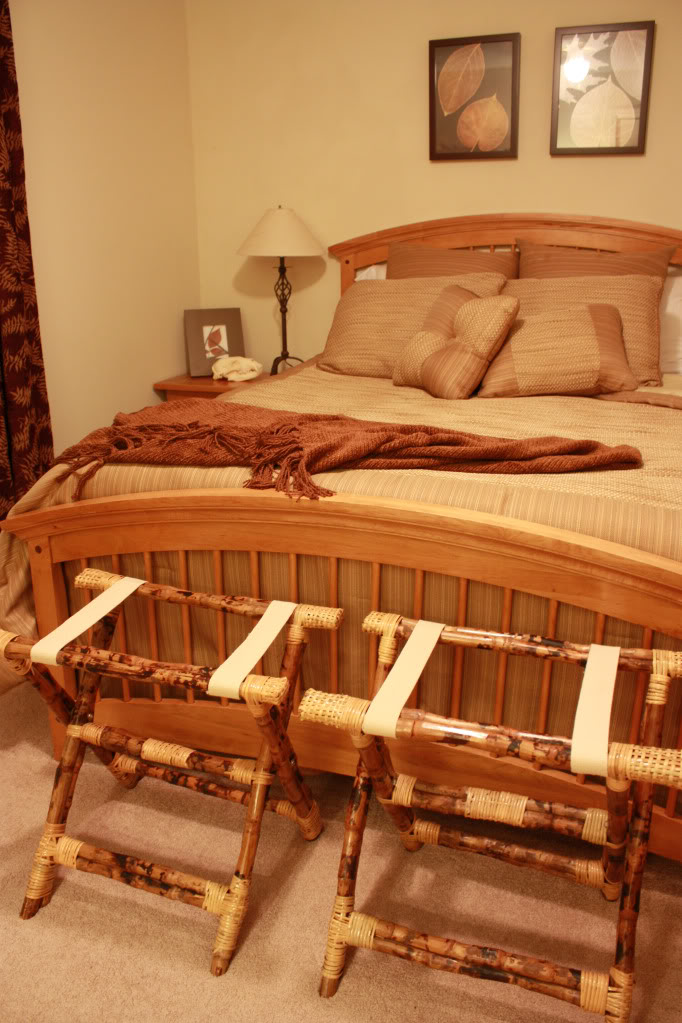
One brown boring space. The first thing we did was choose the bedding:
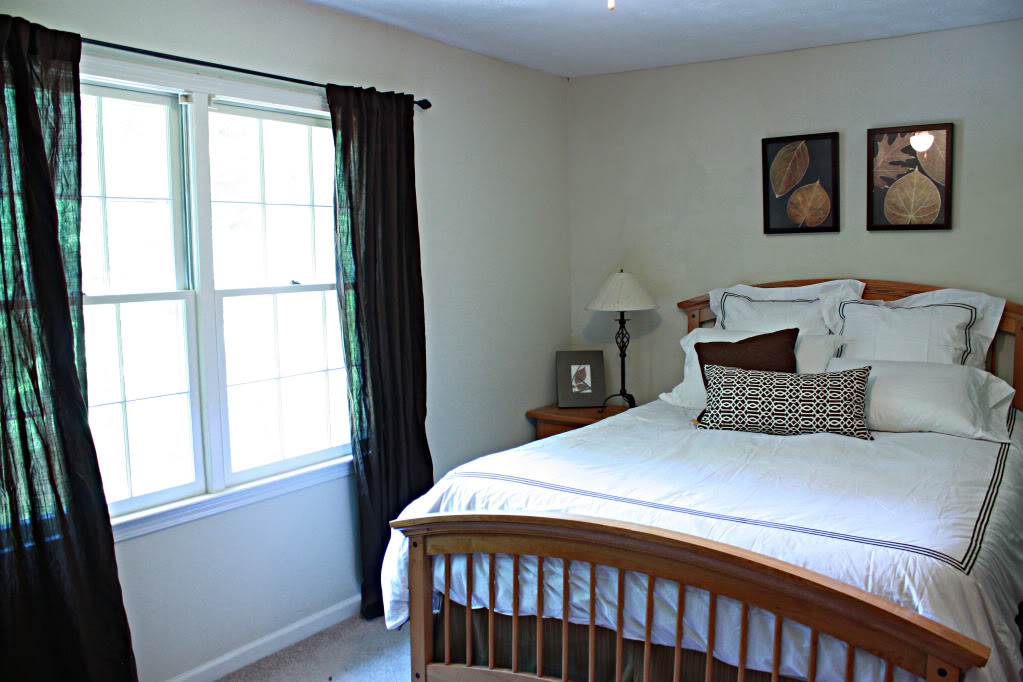
and then we repainted:
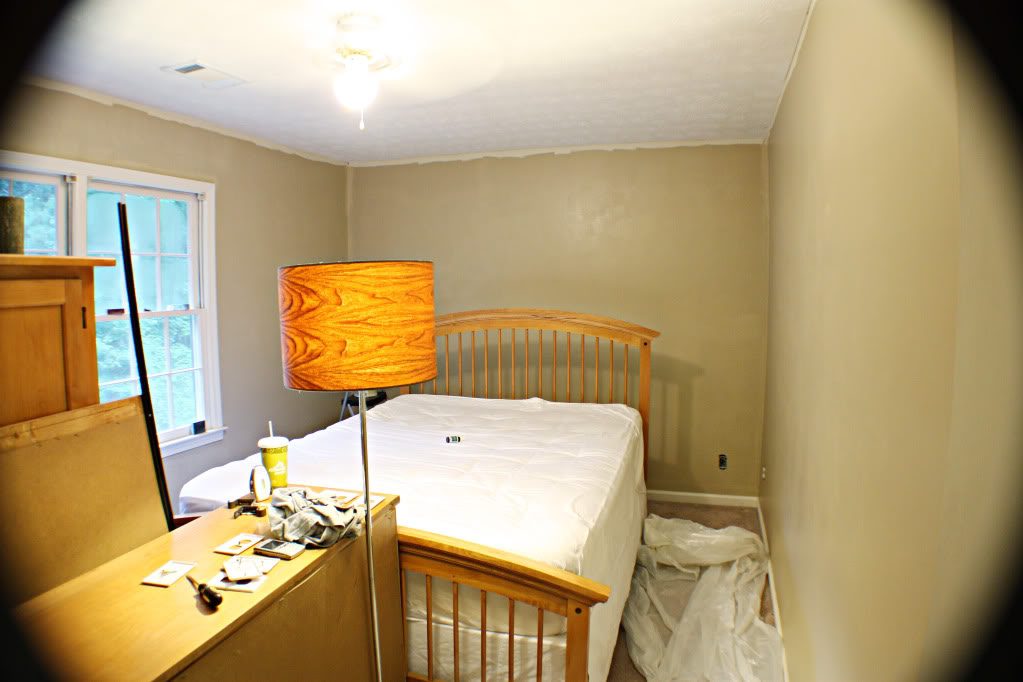
and then we replaced the twerp of a ceiling fan with a new one that actually sheds some light in this space:
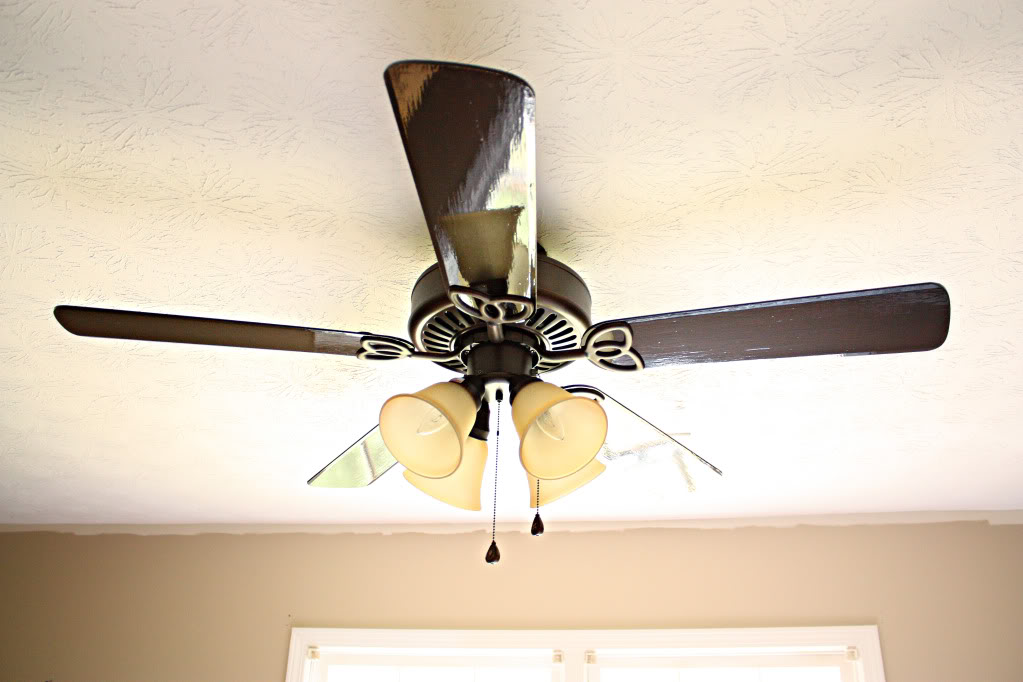
Ok. So you can see that we didn’t bother cutting in around the ceiling. We knew that we wanted to add crown molding in here…especially since it is our largest bedroom (besides the master) and moldings can really help a room look so much nicer. And folks, moldings are like hippos…the chunkier the better.
We went to our local home improvement store and got the standard white crown. We also got a piece of 1.5 inch molding to go around the entire room. It’s not really a chair molding…it does have a flat back though. Also for this project we used caulk, pastel white base paint in semi-gloss, and our brad gun.

And of course, our air compressor. I love this thing. Seriously girls, if you are into home improvement projects or like painting furniture, this thing should be on the very top of your christmas list. It will be your best friend that bakes you cookies. Cookies without calories. That’s how amazing it is.

Ok.
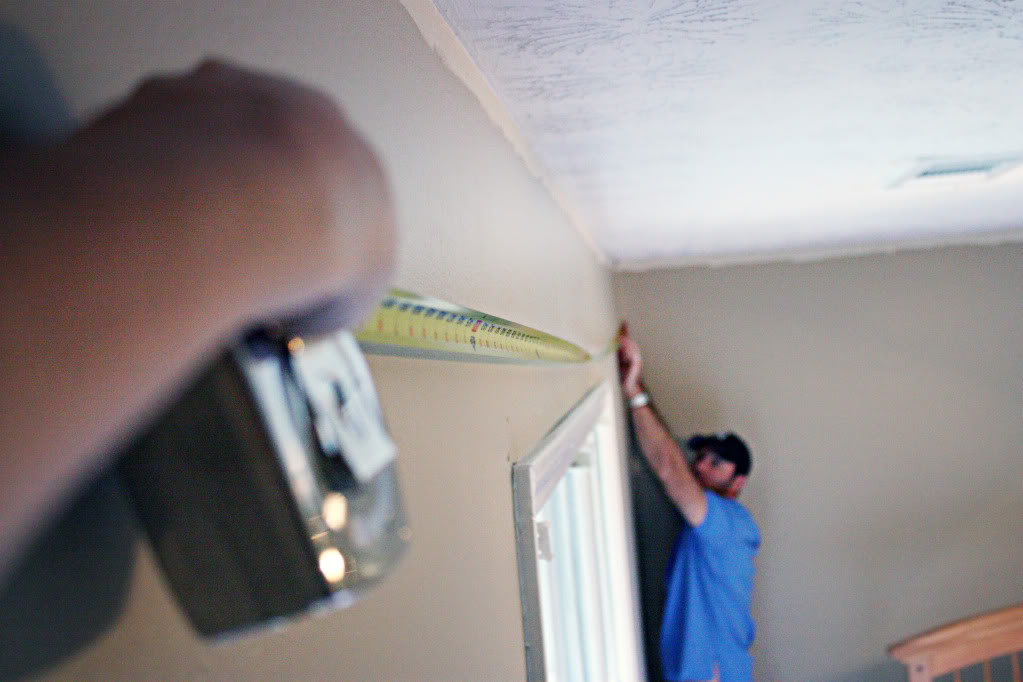
So the first thing we did was measure the room. And yes, Jeremy was getting tired of holding the tape measure up there while I juggled the camera. I’m a generous wife like that.
And then we cut the boards for two opposite walls. Then we attached the moldings to the wall. We always try to make sure that both edges of the molding are flush before tackin’ the thing up. Doing the first brad in the middle of the window is a sure fire way to hit a stud…and also, when you go to nail it in…aim your gun a little down. You will want to aim up but the angle is really important.
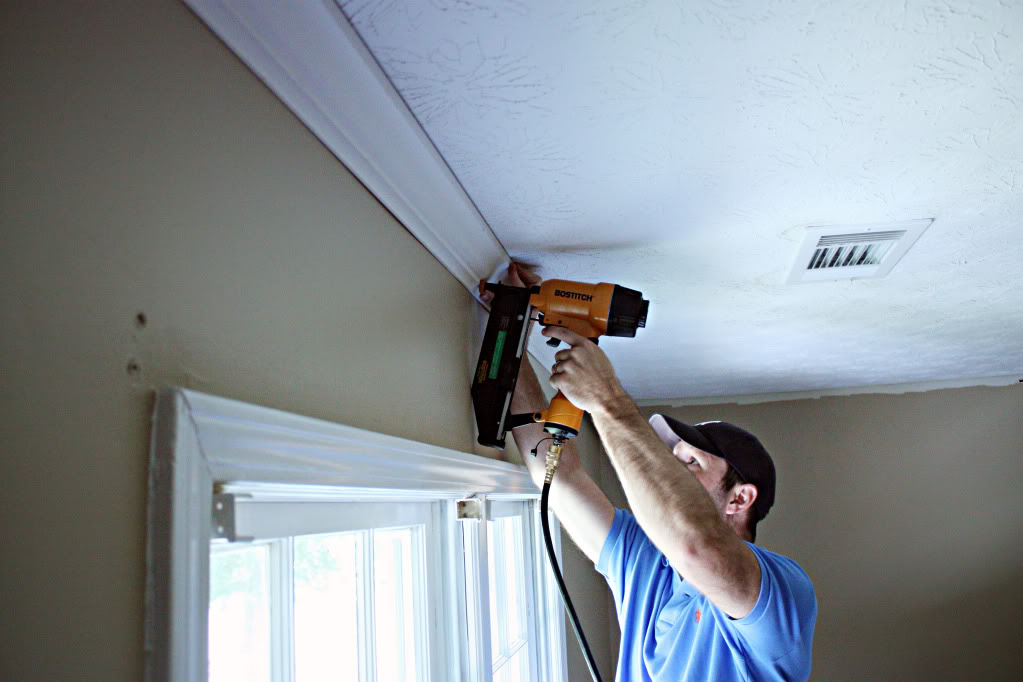
After all four pieces of our moldings were cut and tacked up…we started the caulking.
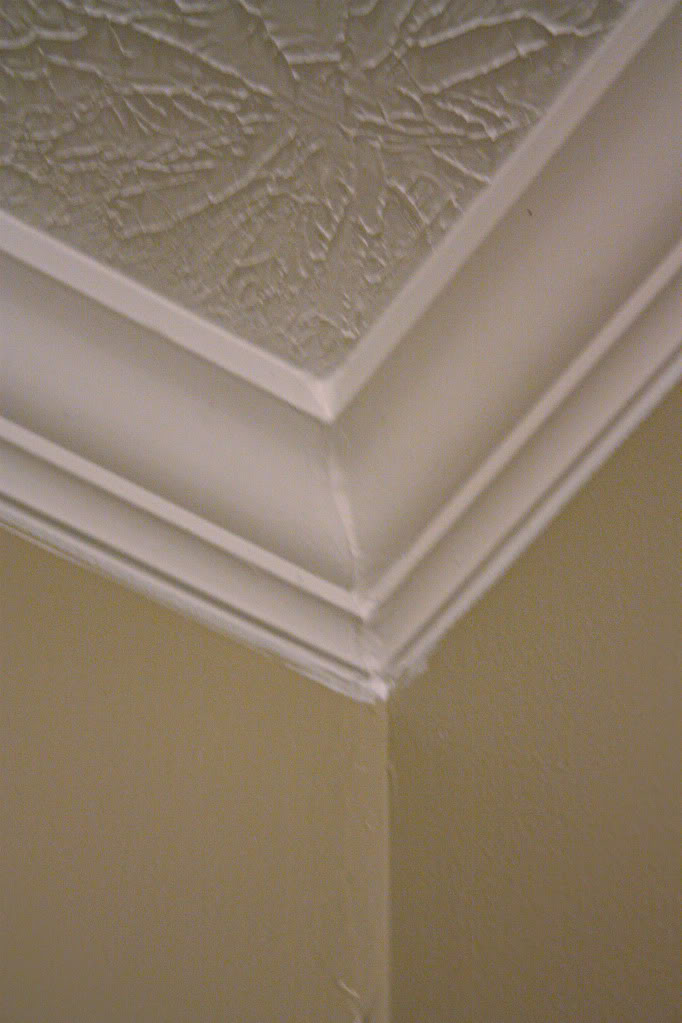
Now here comes the chunky part. The crown weight gain plan. We could have bought the true moldings…which cost an arm and a leg…and your firstborn…and your stash of skymiles points…it’s a piece that sits under the crown. So instead of selling Will…and more importantly, losing all those miles….we came up with a plan to fake it. Instead of buying a huge piece of wood, we would buy the cheapest flat back piece available and place it an inch or so below the crown. After painting it all, the crown, the space in between and the cheapo piece would appear like a solid piece of crown…thus chunkier.
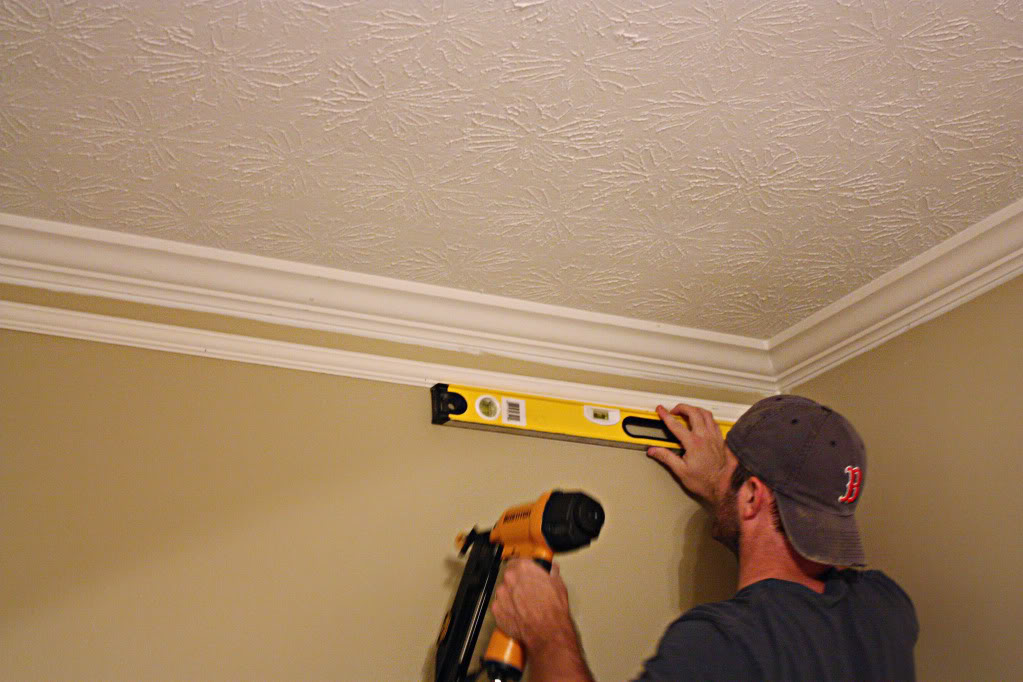
Oh and here is our favorite way to get the best, straightest, cleanest line when painting trim:
first you apply your tape. We use Frog tape…it’s awesome.
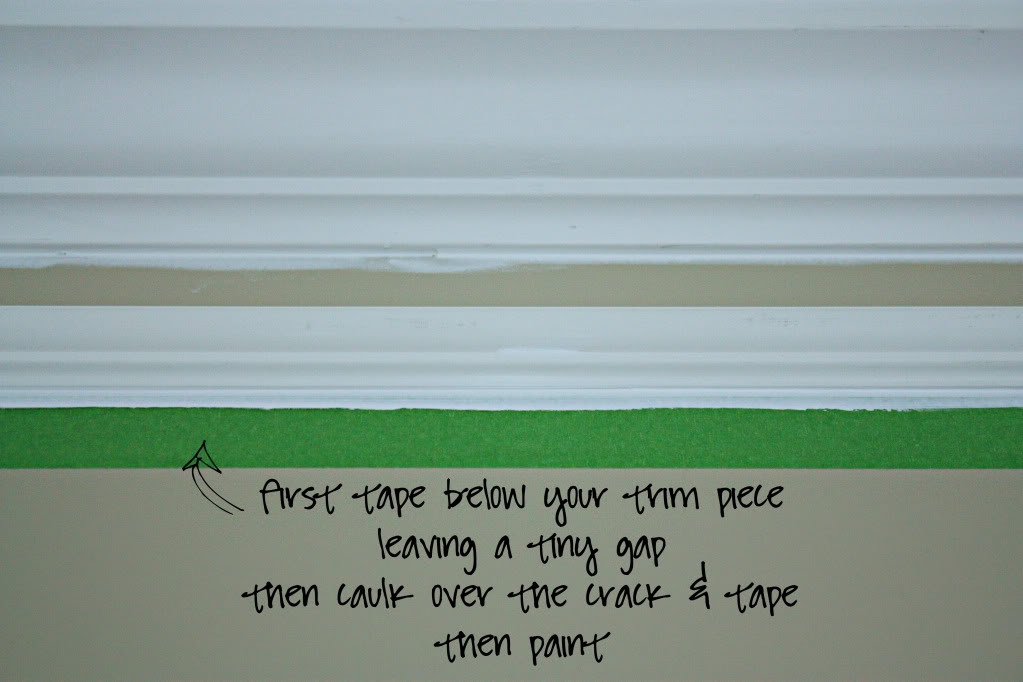
Then we caulk.
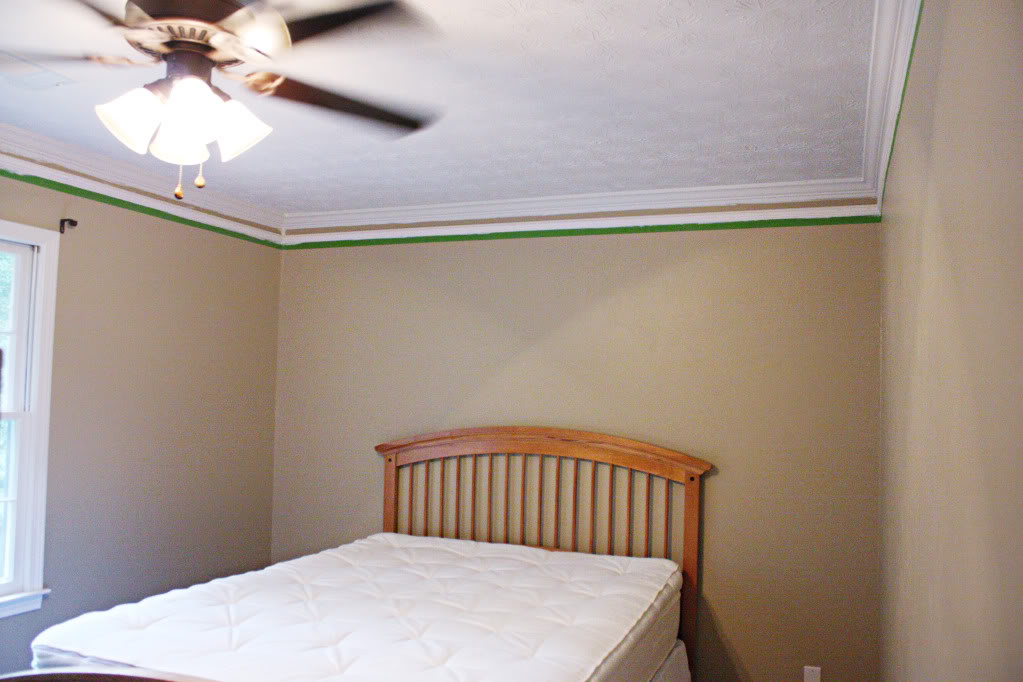
Then we paint.
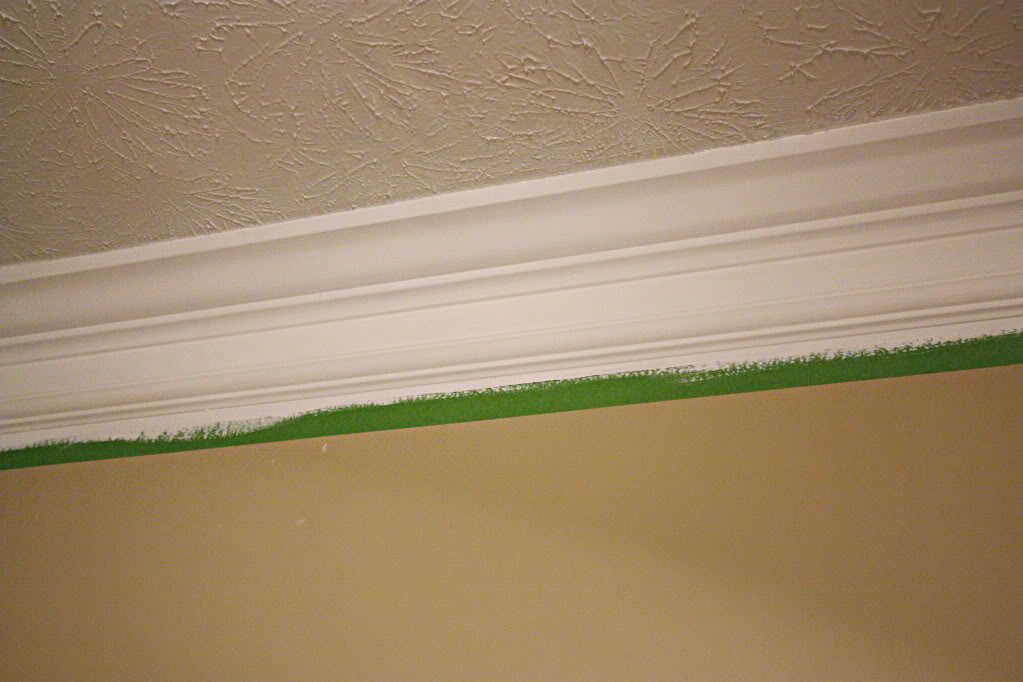
When you peel off the tape, it’s literally like magic. You are gonna smile like you are four and a magician just pulled a live bunny that poops candy out of a hat.
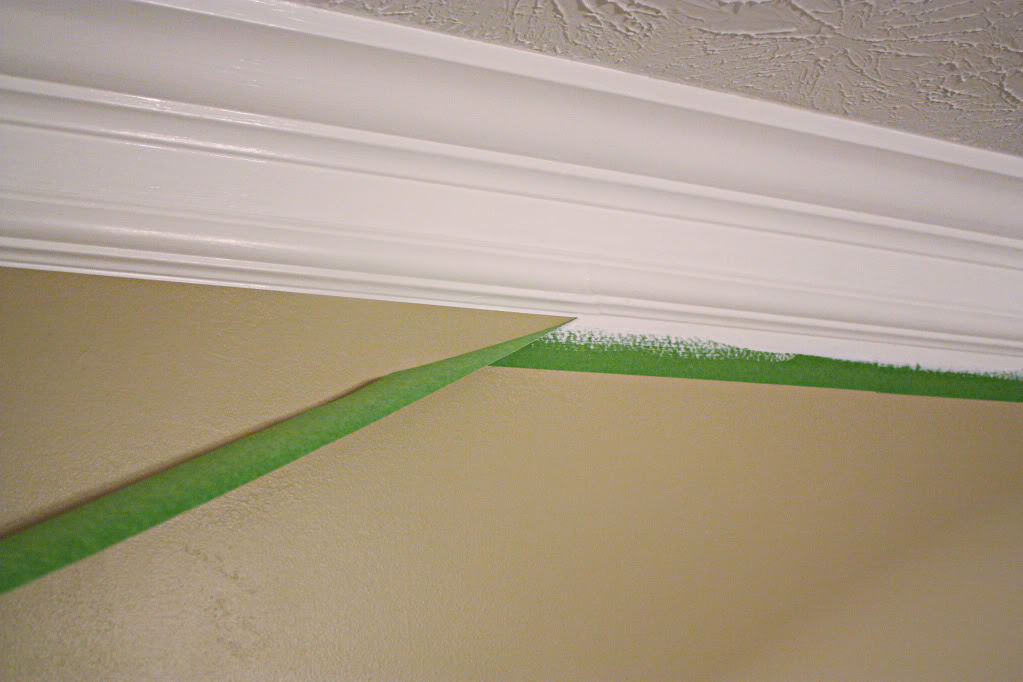
And there we have it – crown installed. CHUNKY crown installed. CHUNKY & CHEAP crown installed.
And no touch-ups required.
And because I am all about giving thanks this month, I wanna shout out to True Value. They supplied our paint, caulk, Frog Tape, and nails. Without them, we probably wouldn’t have done this project. Also, you know how I mentioned we love our air compressor? Well, I wrote a little post about it (and some of our other fav tools) for True Value and if you feel so inclined, you may get a good idea for stuff you wanna add to your DIY Christmas list. No…it’s never too early to start that list folks.
“I was one of the bloggers selected by True Value to work on the DIY Squad. I have been compensated for my time commitment to the program as well as my writing about my experience. I have also been compensated for the materials needed for my DIY project. However, my opinions are entirely my own and I have not been paid to publish positive comments.”
At what point did Jeremy stop rolling his eyes when you pulled out your camera and just be prepared for the sound of the shutter? My sweet husband is still at the rolling his eyes phase …
This is just gorgeous! Seriously in love with it 🙂
Bowers! The room came out awesome! Way to go. Super smart with the trim tip. Thanks!
I have a question about the ceiling. Ive never seen anything like it here in California. It doesnt look like the standard 60s style popcorn ceiling, so what is it? How to accomplish it? TIA
– 1916home.net 🙂
Love it! Chunky is def better for molding!!
PS I still wear my maternity sweaters AND maternity yoga pants :s
What an awesome idea to paint in between the trim instead of buying the more expensive piece! It looks great!
You mean that can stop Sarah? I thought that was part of their genetic makeup. At least that’s what he told me…like it’s a reflex he can’t control.
xo – kb
I love it! will totally try this one day!
Ohh, good job Katie! & is it okay that I want the sweater that Will is wearing in my size so I can wear it? Or is it weird? ‘Cause it’s super cute & I actually thoughts, “Hmmm, I need a sweater like that this year……” & at the point I caught myself admiring a seven month olds clothing & then hung.my.head.in.shame.
Oh dear.
& you’re not chunky. You’re beauteous.
What an amazing idea!!! I love the way it turned out.
what a difference! quick question – where did you find your dried hydrangeas? i’m always looking for some but can never find any that are reasonably priced…
This is seriously the most AMAZING DIY project I have ever seen for decorating. In both LA and the Bay Area, I have lived in a some very old buildings with beautiful molding. This is an incredible look for how much money was spent. Well done!
I love this!! it’s genius 🙂 and definitely something I would do in the future 🙂
Would you lovely Bowers be willing to do a post on cutting the corners for hanging crown. How do y’all do it?!? I’ve attempted and ruined moulding! I cut at a 45 degree angle but then you have to “cope” the corners and that part loses me. HELP!
Lovely room, BTW.
I love the molding and will show my husband but . . . . I LOVE the fact that your husband is a sox fan!!!! GO SOX!
That looks great and great tip about painting! Have you thought of painting your ceiling? I think it would really make the crown pop.
Ooh, I’ve seen Design on a Dime do this before. It looks AMAZING!
Hi Maggie,
Our dried hydrangeas are actually from our own yard. I plucked em last year and dried them for Thanksgiving last year and decided to keep em. Sorry I can’t be more of a help…maybe you could plant a hydrangea plant?
xo – kb
Did you guys cope the corners of the molding?
This is BEAUTIFUL!! I’m trying to talk my hubby into installing crown molding but I guess the corners are tricky?! Any tips on that?
this is genius! great money saver!
Hi Tracie,
I have to admit, we hate to cope. Instead we just cut one piece to go flat to the wall…and one that does leave a bit of a gap. That’s where our good friend Caulk comes in. Maybe I will do a post about our shortcut if ya’ll are interested?
xo – kb
Hi Kristen,
Yeah the corners are tricky if you cope the moldings to fit perfectly. We don’t…we cheat. And then we caulk. Maybe I can do a post about how we cheat…I am sure that some people will bash us for our cheatage though 🙂
xo – kb
We have Fawn…if we ever get around to it. I think we need to paint our first floor ceiling first. The smoke from cookin too much bacon has left a perma-stain.
xo – kb
Lindy…we totally are cheaters. We don’t do it the right way….but I could write a post about it if you are interested.
xo – kb
Hi 1916H…our ceiling is called stipled. And it is created with a stipple brush…here’s a post about our mud guy fixing our kitchen ceiling.
xo – kb
I would be interested in the cheater method….anything to make it easier 🙂
Love this idea! I have a question though… would you be able to see the wall texture between the gaps of the molding and trim if the walls were shorter? Our house has standard 8′ ceilings and my husband is skeptical that you might be able to see we cheated 🙂
Love this! When we do the crown in our master I will be borrowing this idea for sure! Looks fantastic!
Hmm…good question. On our walls you can’t really tell…and we have standard 8′ ceilings too…but we have flat walls. If you have a textured wall, then yeah…I would probably have to find a solution to mask the difference in texture.
xo – kb
I thought this was such a phenomenal idea, I excitedly showed it to my husband. He said, “that is a wonderful idea — that’s how our crown molding is in our bedroom.” I never noticed it before. I always thought our crown molding was just chunky — now I know it’s cheap too! So it really is such a good trick — the builders fooled me!
Love this idea!! So smart! And..fyi-we have the same bedroom set, and instead of replacing it, i just took the footboard off, covered the headboard with batting and fabric with a staple gun and got a king metal bed frame to hold it all together. I painted the dresser/nightstand with an espresso color paint from Lowes, and we had a whole new bedroom for super cheap! (just in case you dont want to mess with craigslist and buying something new.)
We have crown molding in the front part of our house from previous owners. We have an open floor plan so I wanted to add molding to the back part as well. After reading your post I got up on a chair to inspect the current molding a little closer and sure enough…there is paint in between! Sneaky…I love cheap and chunky!
Thanks for all of the great posts. I really enjoy the DIY projects and your writing makes me smile.
Did you hang them upside down to dry??
ps-i LOVE your blog. it’s so fresh and real. plus my fiance and myself just moved to the alpharetta/johns creek area of GA so i feel like MAYBE one day I’ll run in to you somewhere in this great state! lol
-Meg.
Hi
Can you tell me how tall are your ceilings? I want to do crown like this but not sure how it would look on low ceilings.
Hi Shannon,
Our ceilings are standard 8’…I think most ceilings are this height.
xo – kb
Nice Nicole! Since these photos, we actually sold the set. Since we already had a couple small dressers for this space & a bed, we just need side tables. We did consider keeping the set and giving it a redo…but since it was so nice as-is…just too big for our room…it was better served as a bit of cash in our pocket and lookin good in someone else’s home.
xo – kb
Actually they dried while still on the plant. I just clipped em off the plant in autumn and stuck em in the vase. Easy peasy clippers squeezy 🙂
xo – kb
Katie, there’s a tool called miter divider for moldings. It makes perfect cuts every time and it’s only $19.95. I also saw on an Income Property (HGTV) episode and Scott cheats by using double-sided molding. Same profile, both sides. That means that the crown molding works upside down and backwards. By the way, I love your blog!
I would definitely be interested in that post as well 🙂
That looks awesome, Katie! I want to add moldings in our house but so far it’s just on the “wish list” of things we want to do.
Oh man, LOVE that crown-molding hack! Definitely keeping that in mind should I one day… 20yrs from now… get to the point where I can focus on decorative accent updates!
im dying to see yuor master bedroom…I remember you posted a while bakc about which bedding color to go with so I’m really curious how it turned out. I hope that post is coming soon.
Oh…and speaking of posts I love, I can’t wait to see your tablescapes for this season. I think you are a genious when it comes to setting a fine table. Im in the process now of building up the basics. What would you say are the basic building blocks to a good table setting? I was thinking of getting cute appetizer plates for all seasons to add a little fun (like pumpkins for halloween, snowmen or something for xmas, etc). Thoughts?
The crown tip is awesome!! I think I am going to steal that for our guest bedroom that has a long way to go…
http://styleandcentsability.wordpress.com/2010/11/04/before-and-after-guest-bedroom/
i love this! thanks for the post. I was curious about the corners, what angle did you cut them at? I was reading through other comments and I guess a lot of people have the same problem haha! I hope you’ll be able to do a post about it! xoxo
me too. i diy’ed the shoe molding in our living room and the coping turned out less than lovely.
great tip. you’ve gotten me inspired to give crown molding a try.
Hi Katie
This room looks great! My husband and I are going to do this in our master bedroom. We have never put crown molding up before-we have everything we need but a brad gun! Is there something else you would recommend besides a brad gun that we could rent from our local hardware store or use? That would definitely make the project go by faster!
oh and another quick question, do you think we should still go thicker if our room is a smaller room, 14″x 14″?
Thanks so much-love your blog, I’m a huge fan!
Absolutely Michelle. The thicker trim doesn’t make the room look smaller…in fact, if your room is on the smaller side, it helps to make it look bigger by placing fewer large item inside it vs. filling it with lots of smaller items (which will make it look small and cluttered)…just make sure there is still room to move around. As you plan to do this project and don’t have a brad gun then perhaps using Liquid Nails and a few finishing nails (you can put them in with a hammer and then knock em all the way in with a nail set – both uber cheap to buy) would be the best bet.
Hope this helps! xo – kb
I desperately need to know exactly how you cheat on the coping. That is what has prevented me from putting up crown. Save my crownless home by doing the post! Please?
I then I read the next post that explained it. Thank you!
I am not a magician, but I do have a trick, project, something, that is magical to me.
I had very nice, wide crown installed. I am not fond of the “Stick ’em up, this is a robbery”; posture, either. So to save time & money, not to mention clean up, I did this: molding purchased, delivered to my house. On saw horses, all was sanded, caulked as needed; dust removed; painted, sanded; painted, sanded, until coats paint applied. When installer arrived his only tasks were measure, cut, glue and nail. Installer did excellent cutting and most seams required only minor touch ups. He helped me replace furniture and left. Viola, magic! ! Project completed in under 3 hrs. No paint odor, no paint drips, no anything but step back añd enjoy, I will always preparing moldings, appliques, etc. I enjoy doing it, do an excellent job, and save money and time.