Disclaimer – This is a sponsored post brought to you by Rust-Oleum. All opinions are 100% my own.
Who is ready for a good ole fashioned before and after?! ME ME ME!!! But first, here’s a quick teaser video we put together. Watch this, and then scroll down to see the rest of this beautiful transformation!
Isn’t it funny how exciting a little furniture makeover can be? It’s turning something old into something new again! It’s transforming the unwanted into desired! It’s basically the most classic love story of all time….it’s Cinderella….and you get to be the fairy Godmother 🙂 Today I wanted to share a very quick makeover and my favorite tips for breathing new life into old furniture.
TIP #1 PICK THE RIGHT PRODUCTS
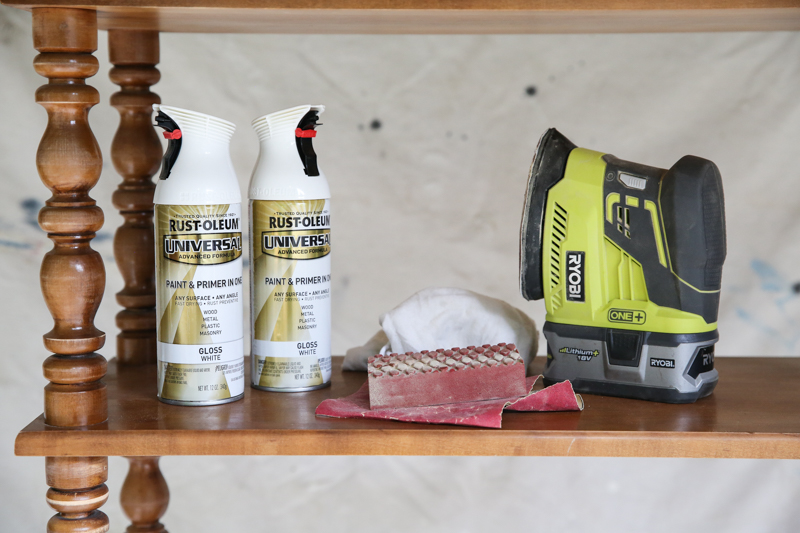
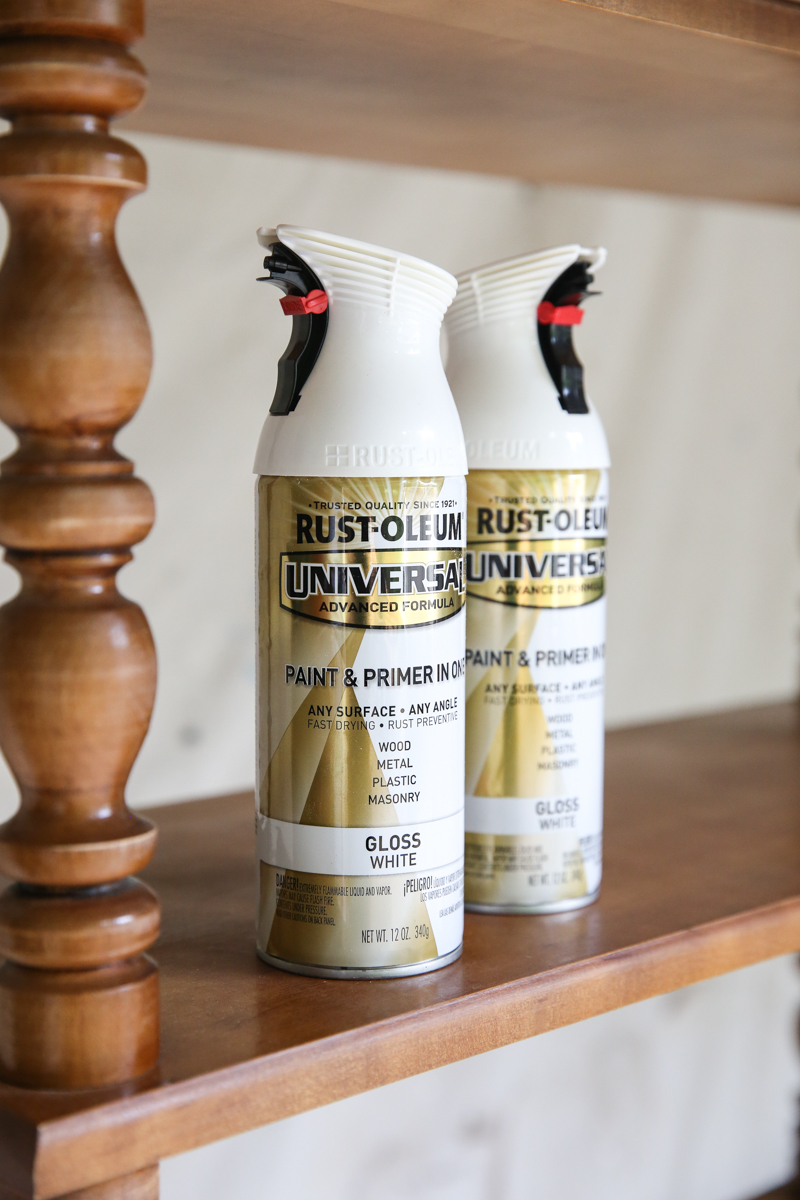
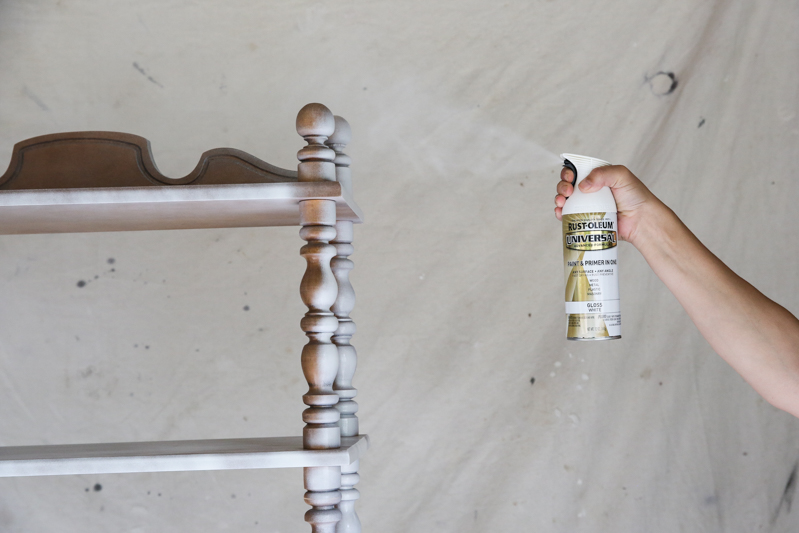
Spraypaints are not all created equal. Some brands don’t have paint and primer in one. Some don’t have good coverage. Some don’t spray evenly. Some don’t even spray at every angle. My favorite spray paint brand is Rust-Oleum and I’ve been using it FOR-EVER. It never fails to deliver good coverage and it actually makes the work super EASY. And the spray finish is like something from a factory…no brush marks or worrying about sanding it smooth later. For this project I used their Universal Paint and Primer in one (it does everything that I was talking about and more – sprays at any angle, on any surface, is good for interior or exterior items, etc.) in gloss white.
TIP #2 FIND INSPIRATION ONLINE
Whether the furniture be something you find in your basement or your local thrift store, it’s a good idea to have inspiration in mind before diving into the makeover process. The best transformations are the ones you only have to do ONCE. I like to use Google Image search, Pinterest, and even search through Instagram for inspiration. I look for similar size pieces with similar function and similar rooms before picking the color for the transformation. Sometimes I will just look at the rooms I love and see the color scheme or texture of other wood and metal items beforehand.
TIP #3 LOOK FOR SCALE AND FUNCTION
Paint hides a bunch of flaws and can change the look of a piece entirely but it can’t improve the size, scale or function of a piece. Make sure that the furniture item fits the bill in those areas and don’t let the hideous color, the cheesy paint details or the hardware deter you!
TIP #4 TAKE YOUR TIME WITH PREP
Prep work is the key to a successful makeover. If you are choosing to spray paint a piece, make sure that the item is completely free of dust, lint, spiderwebs and dirt. The finish usually only needs a quick once over with 120 grit sand paper to ensure good adhesion and then clean it REALLY REALLY well. I like to sand any wood furniture with a sanding block on small flat surfaces and sand paper on curved areas. You can use a small electric sander for larger flat surfaces but be sure to be conservative (the idea is to scuff the existing sheen slightly – not remove the color or make marks in the surface). Then use a microfiber cloth and a damp paper towel to remove ALL the dust.
TIP #5 DO MULTIPLE THIN COATS
Spraypainting is quick and easy but you should never rush through the process. You will need a very thin primer coat (it’s all the same can but the first coat is called the primer coat) and you should still be able to see the wood through it! The second coat will cover a lot more but don’t spray too thick or hold the can in a single spot for too long. It will drip if there is too much paint in one spot! I like to do at least three coats (sometimes more if I am being very conservative!).
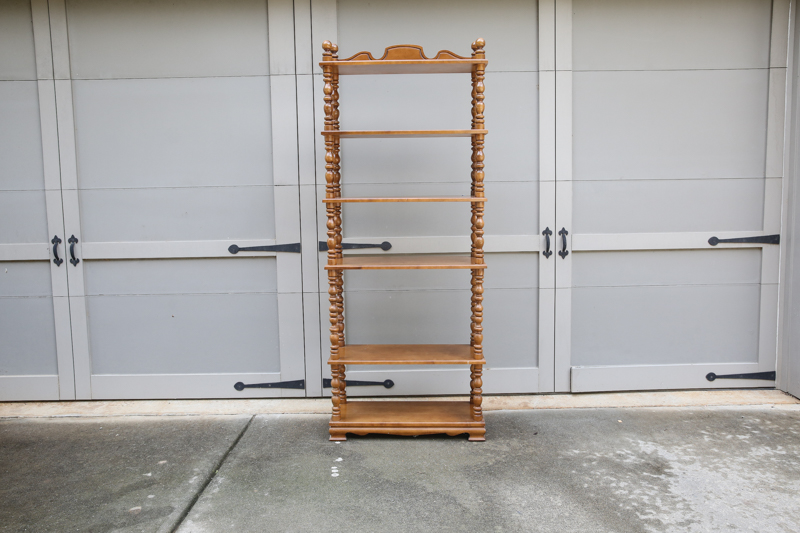
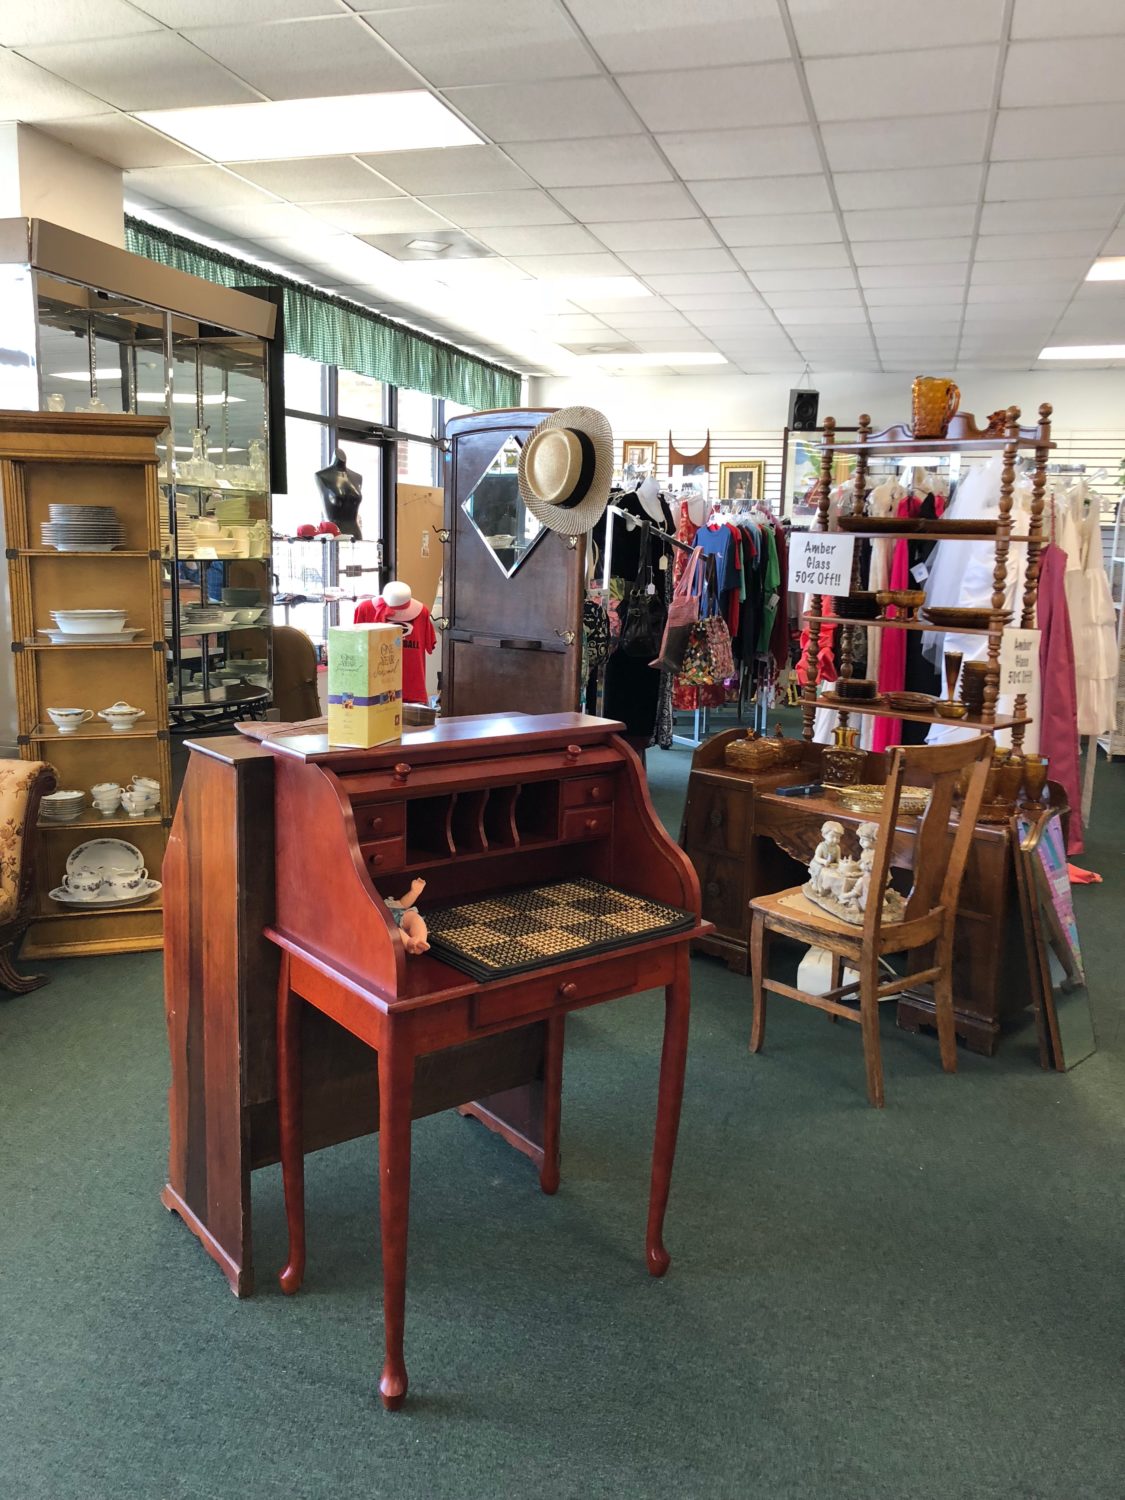
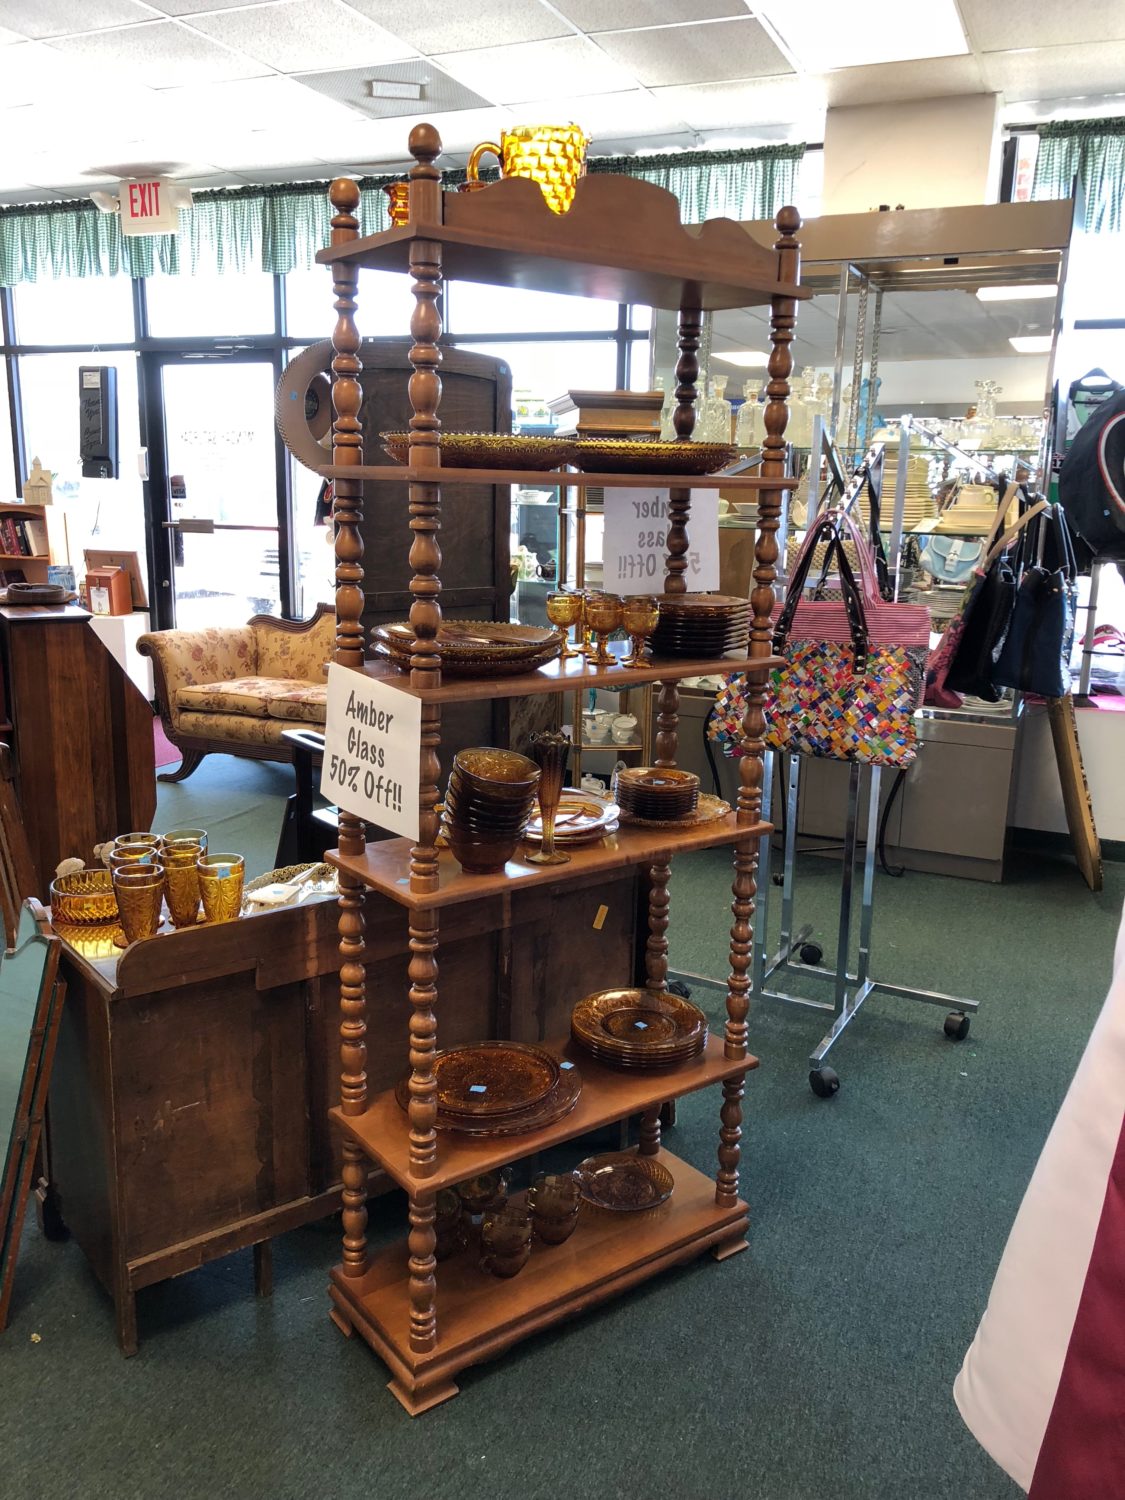
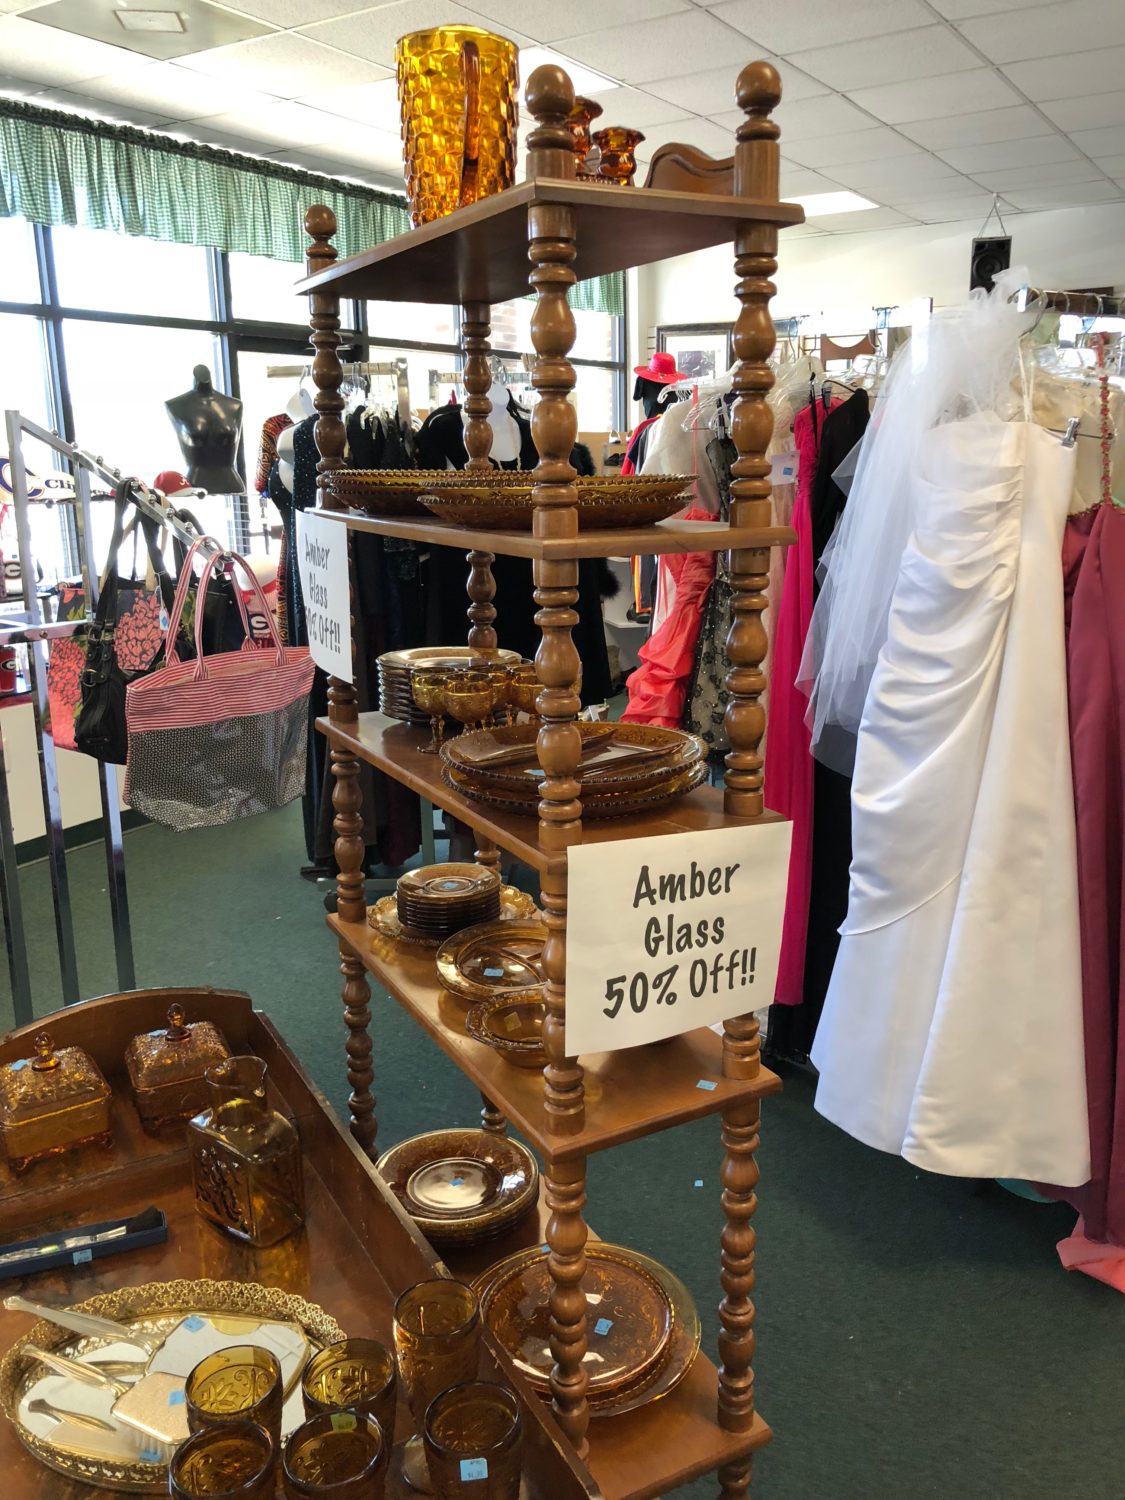
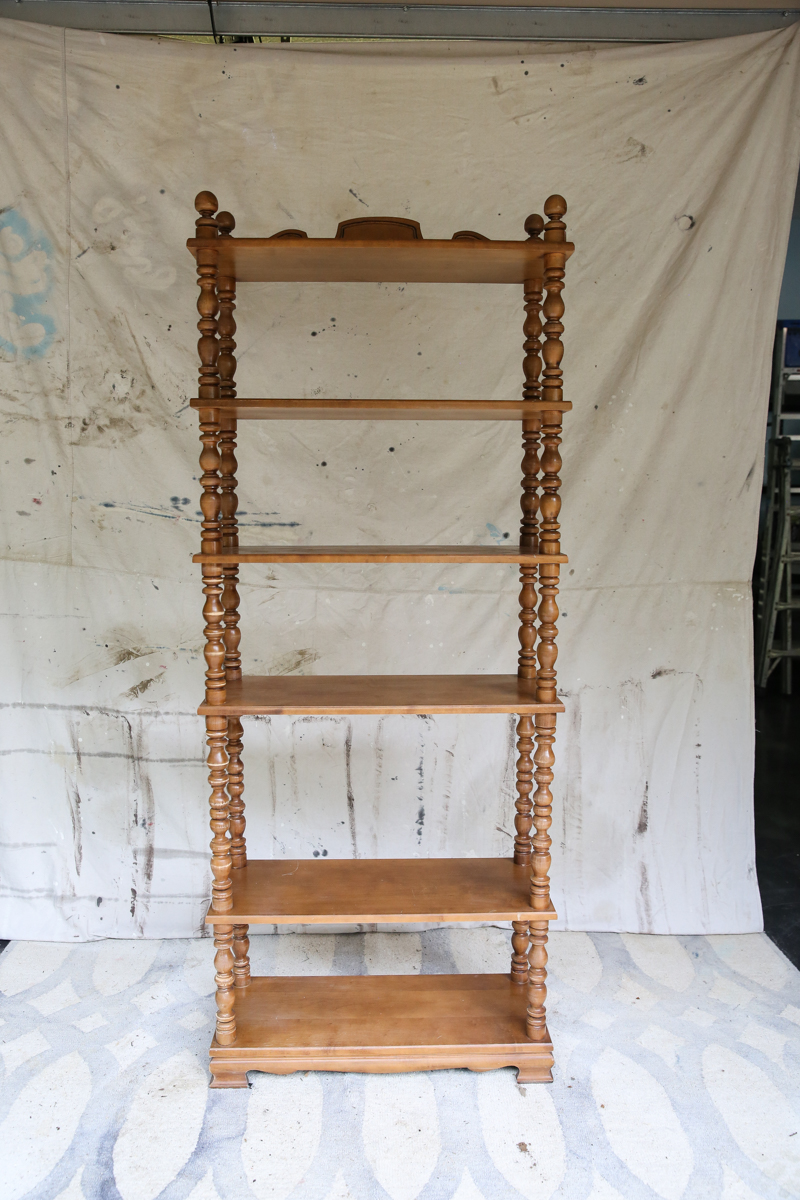
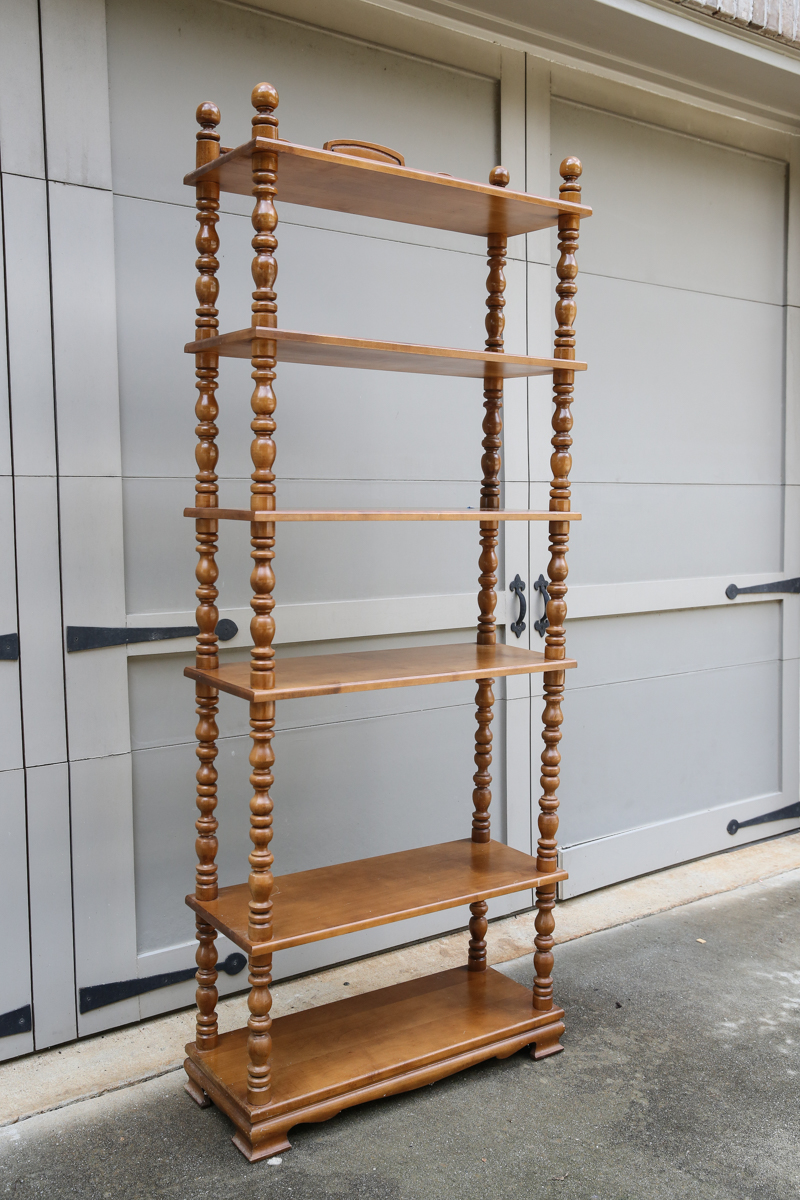
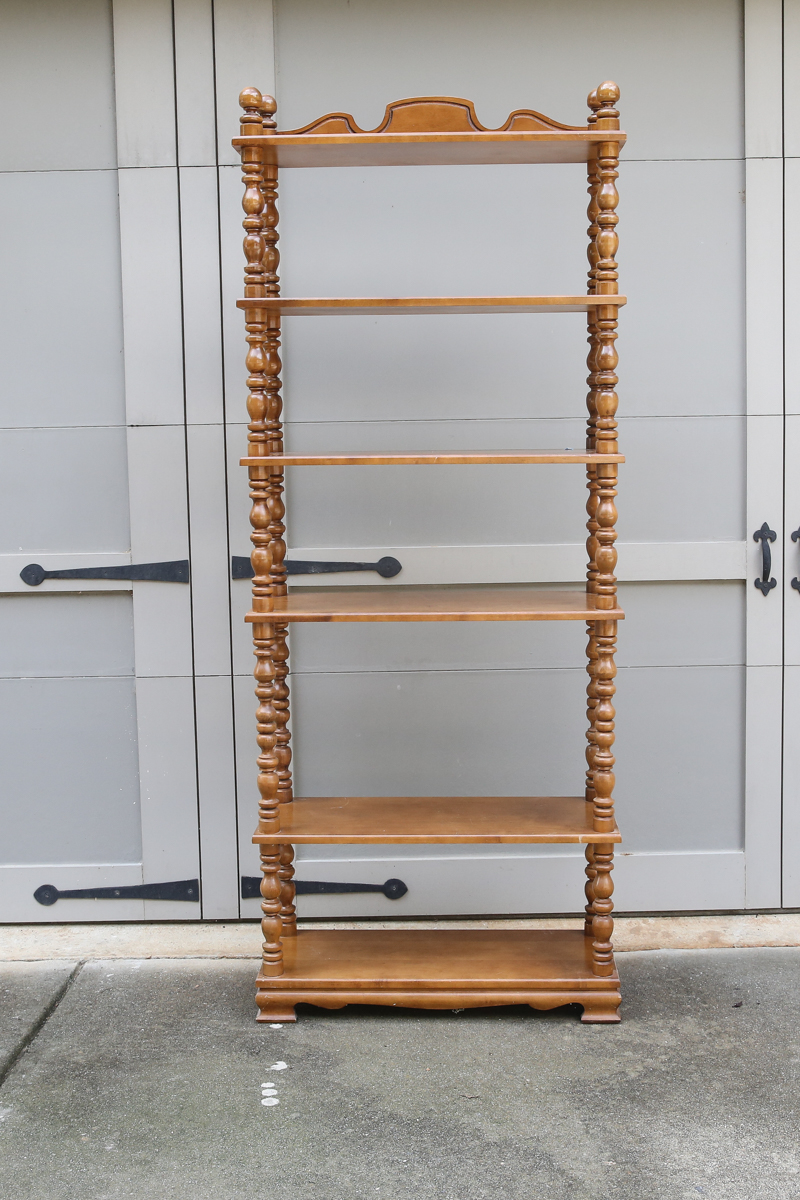
Those are my top five tips for making over any furniture piece. They will help you take your piece from blah to beautiful and achieve that gorgeous finish. Now onto the actual project I tackled. I saw a stunning turned leg bookshelf in my local thrift store. Do you see it?
It is roughly six and a half feet tall and solid wood. In the store they were using it to display amber glassware but I was quick to ask if it was for sale!
It was marked down to $19.99 and then they were having a special for 50% off all furniture.
The $10 price tag was beyond great for a solid piece and so I quickly started looking for inspiration photos online.
I saw several similar jenny lind style bookshelves listed online in black and gray and white and immediately knew that I would LOVE it in a child’s room or as an accent piece in a bedroom. I also picked up that wedding dress in the back. You know…gotta be prepared 🙂
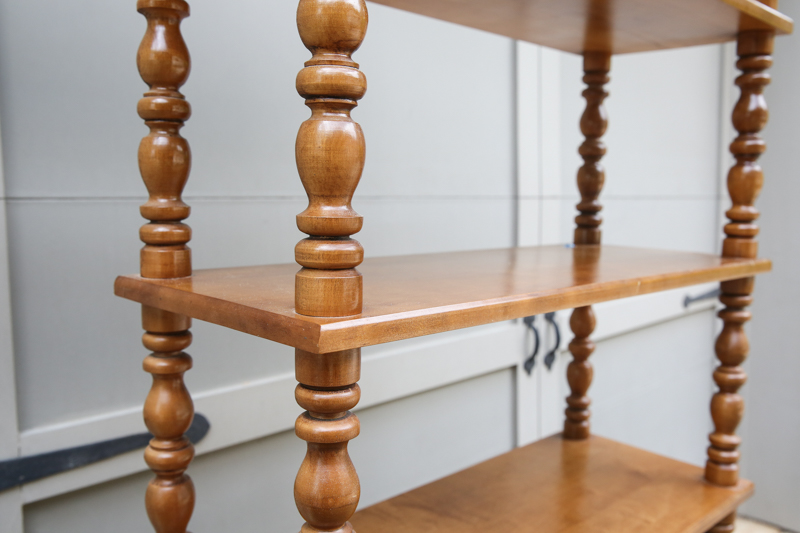
Allow me to walk you through the super simple makeover process. The first thing we did was make sure that all the pieces were in good shape and were clean and free of stickers, residue and food.
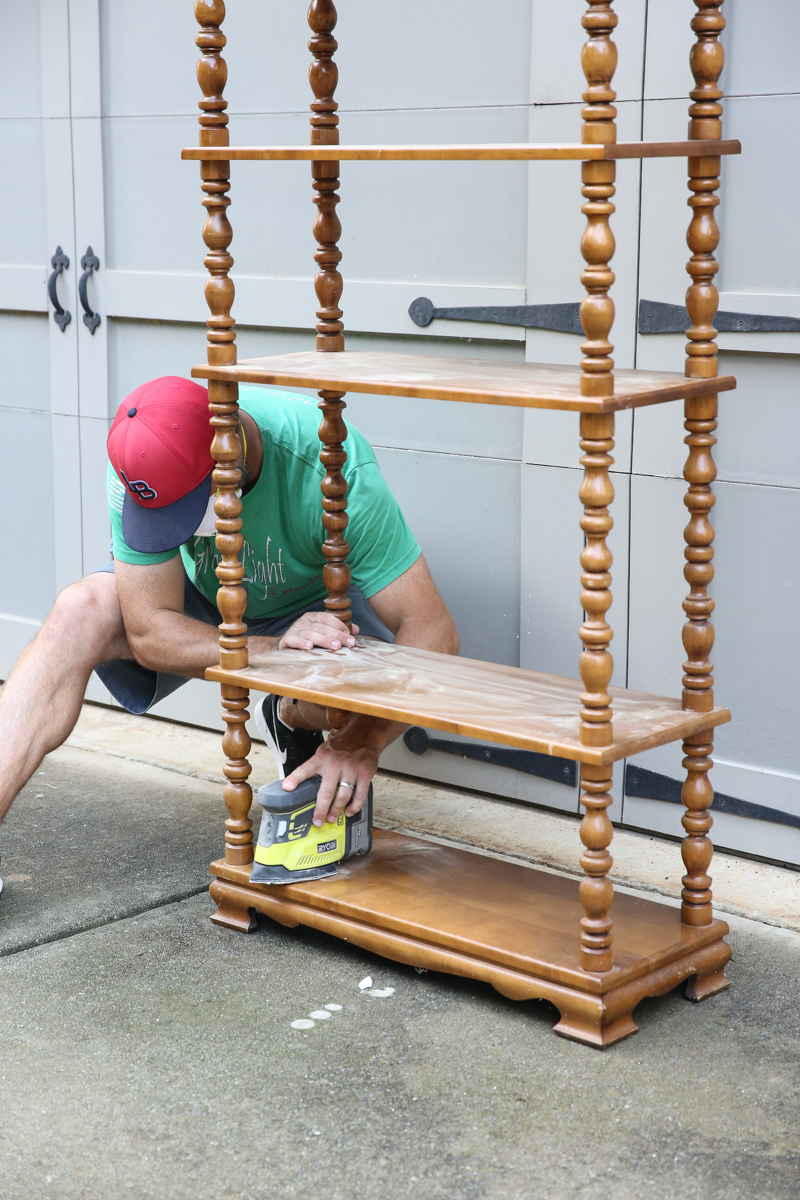
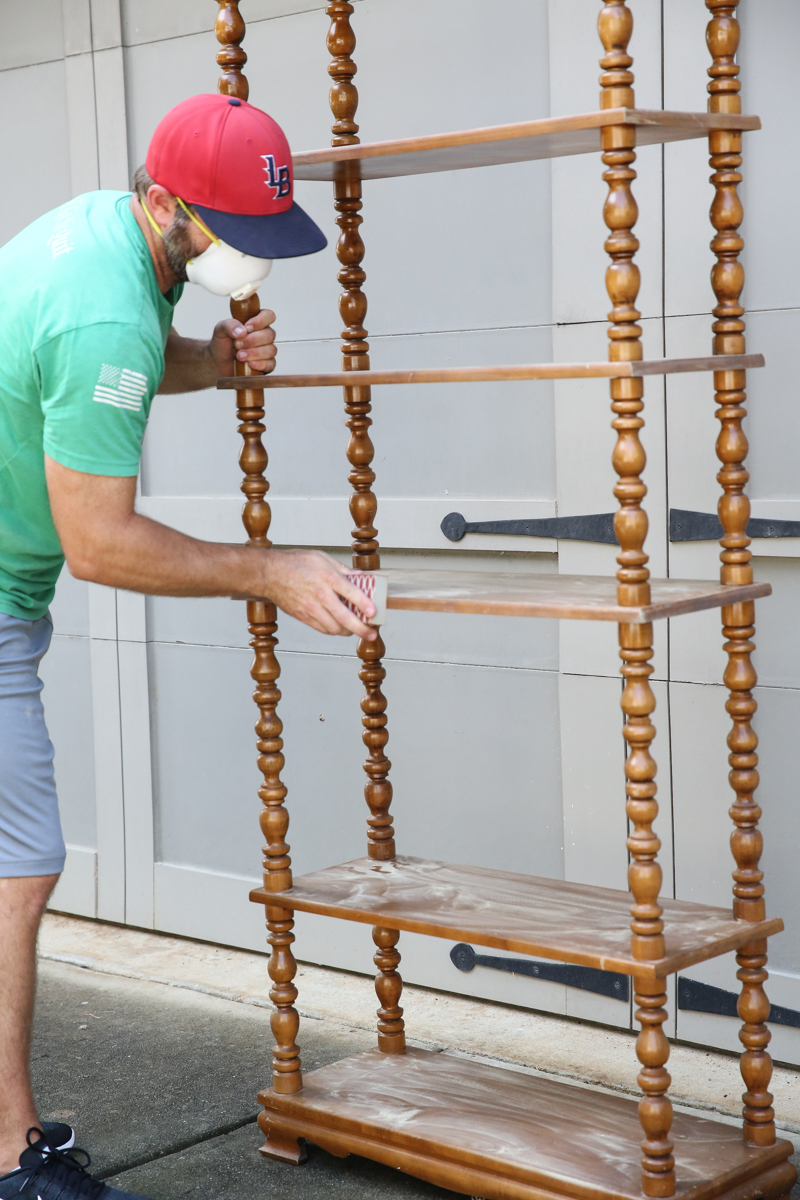
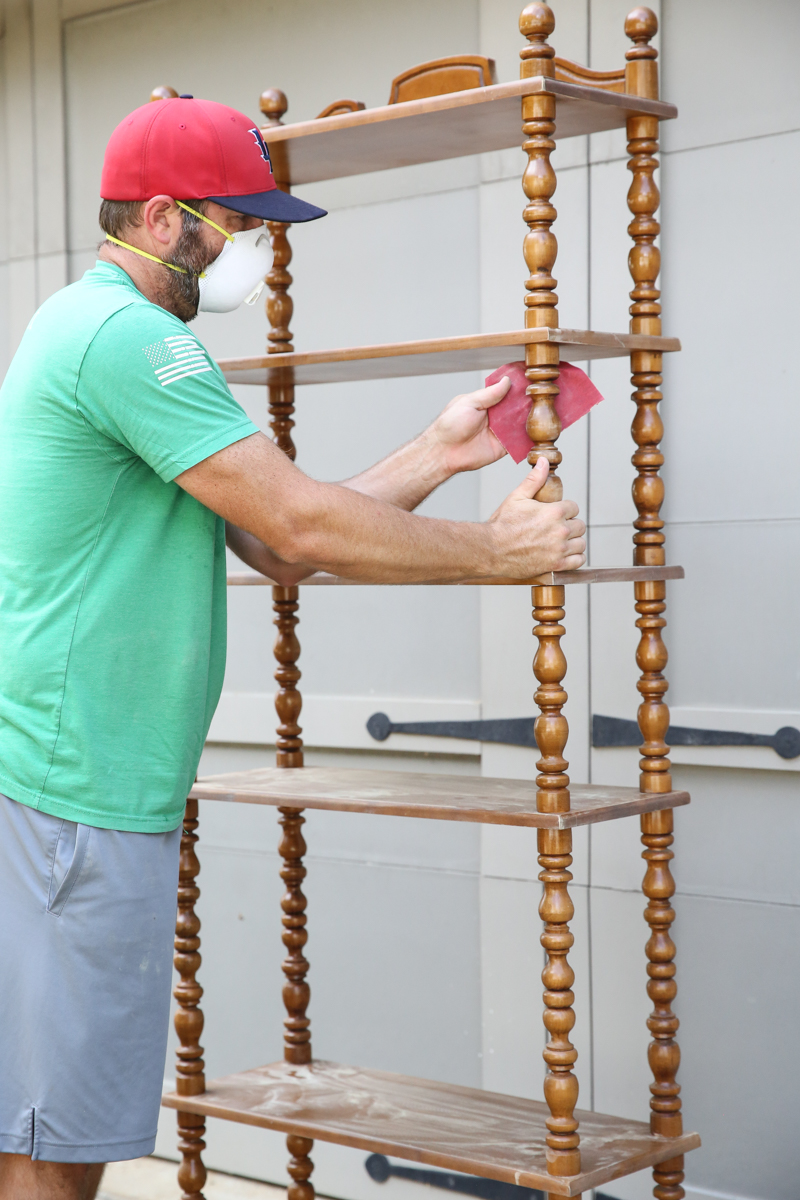
Then Jeremy sanded down the entire thing with 120 grit sandpaper. He used our favorite battery operated Ryobi sander on the large flat areas…
a sanding block on smaller flat areas (being careful not to sand down my sharp edges….I wanted to keep them crisp!)…
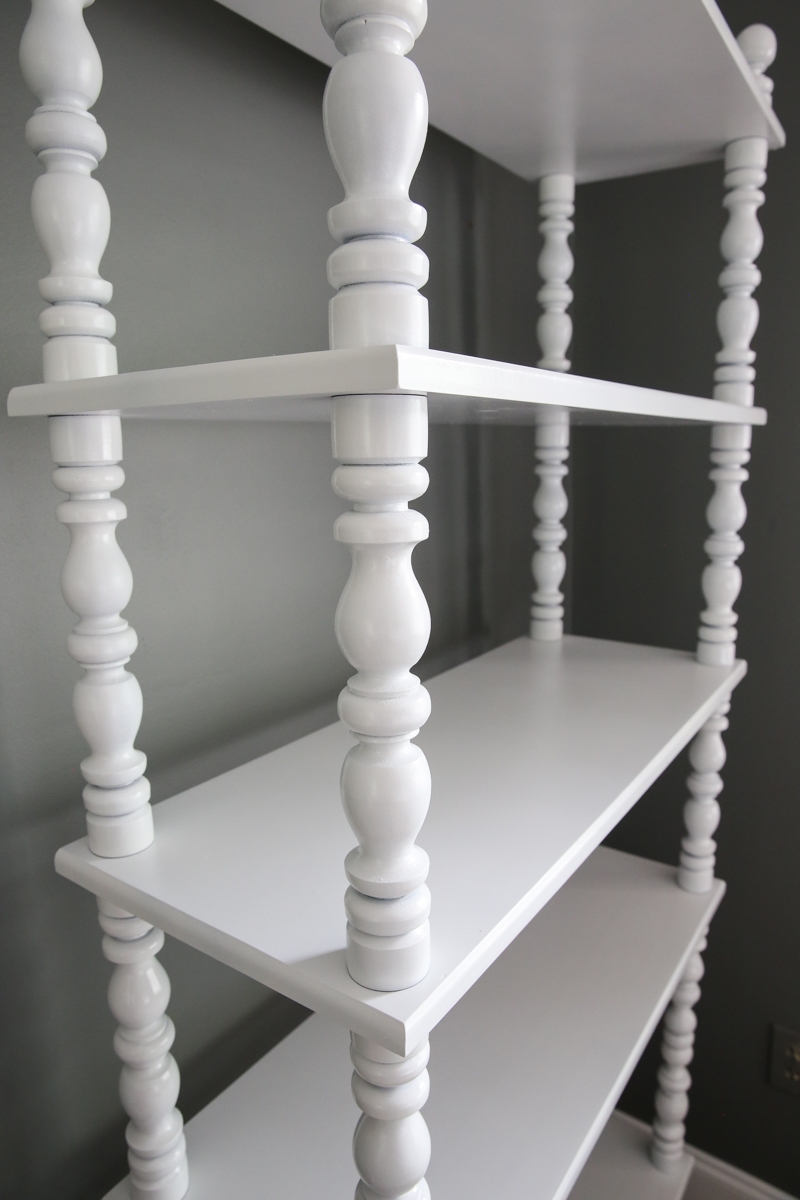
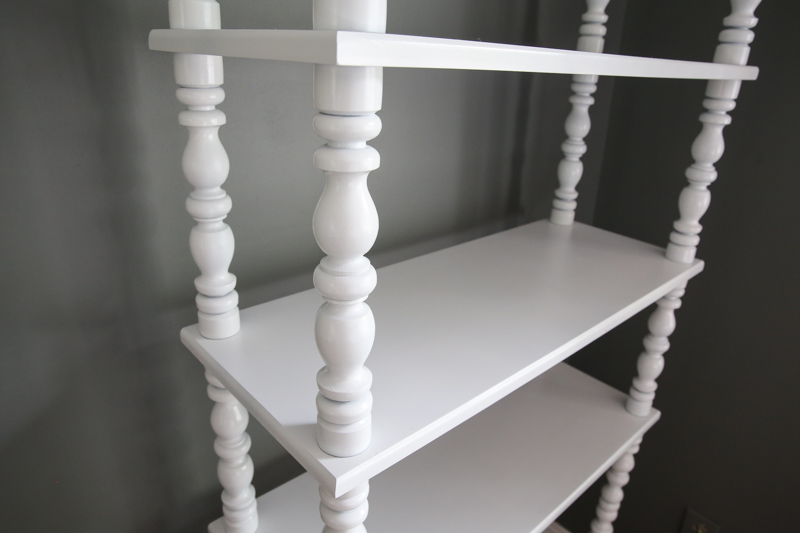
and a bit of sandpaper around the spindles.
The key was to remove the shine (not the color!) and not create any scratches or marks that would show up under paint.
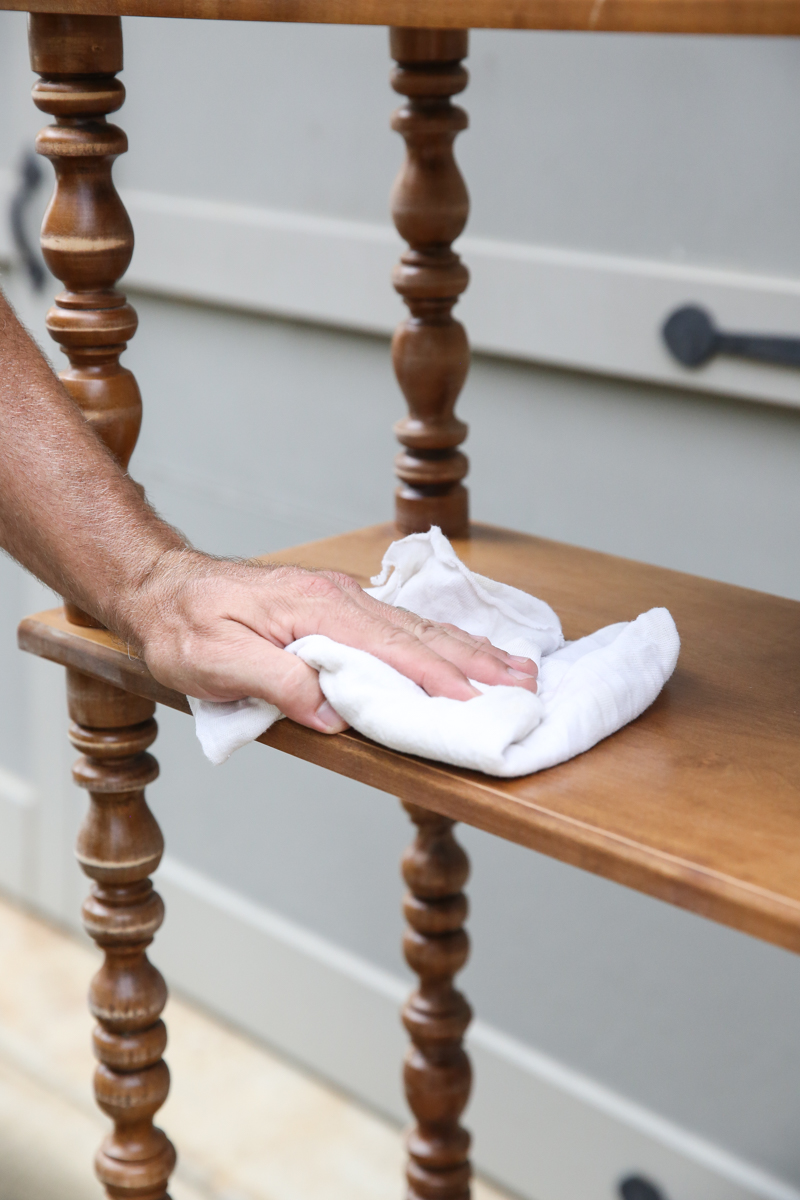
Then we needed to clean the entire piece. Before spraypainting, the most important part is to make sure there is absolutely NO dust, dirt or lint.
My favorite spray paint is Rust-Oleum and the Universal brand is the perfect one to keep stocked in your workshop. I have at least four cans of gloss white at all times and if I don’t, I tend to freak out and feel like everything is off. Some girls need their concealer….I need my spray paint 🙂
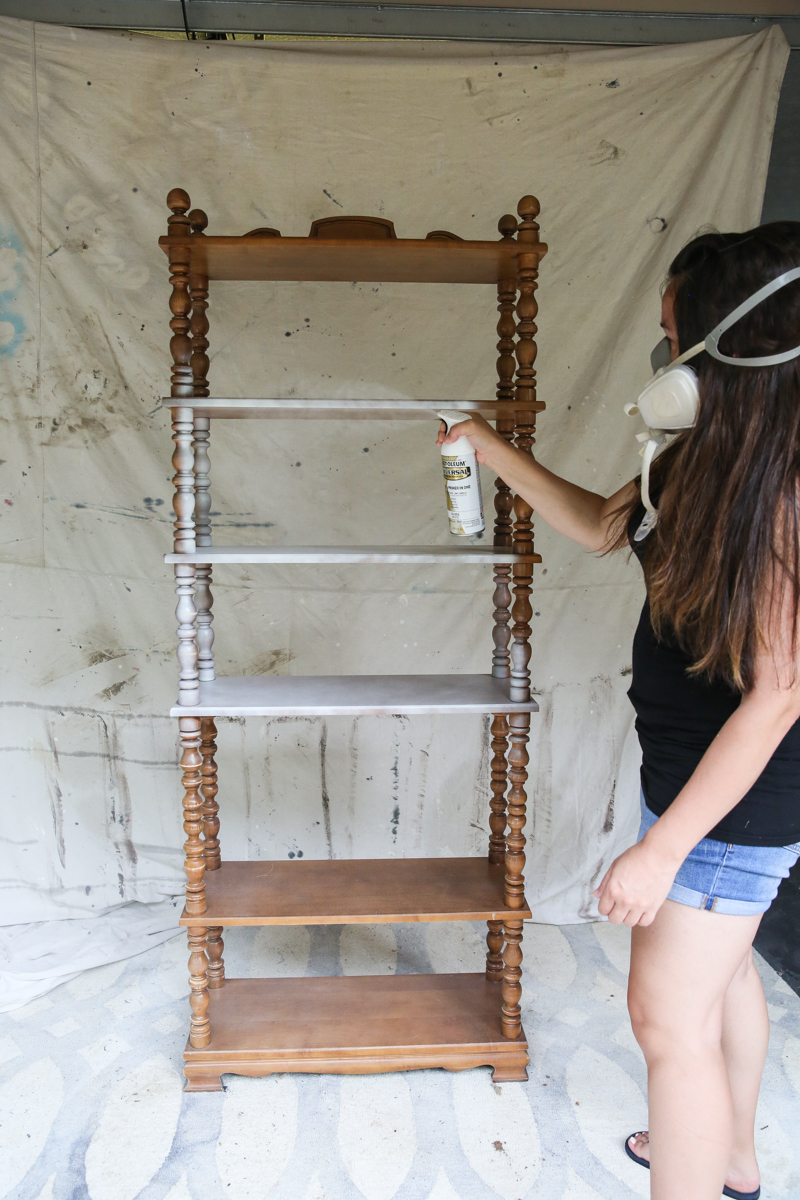
We have been having a bit of rain every single day (or the warning of it) so I set up a makeshift spraypainting area and I got to tackle the rest without having to wait on Mother Nature. She can’t hold me back!
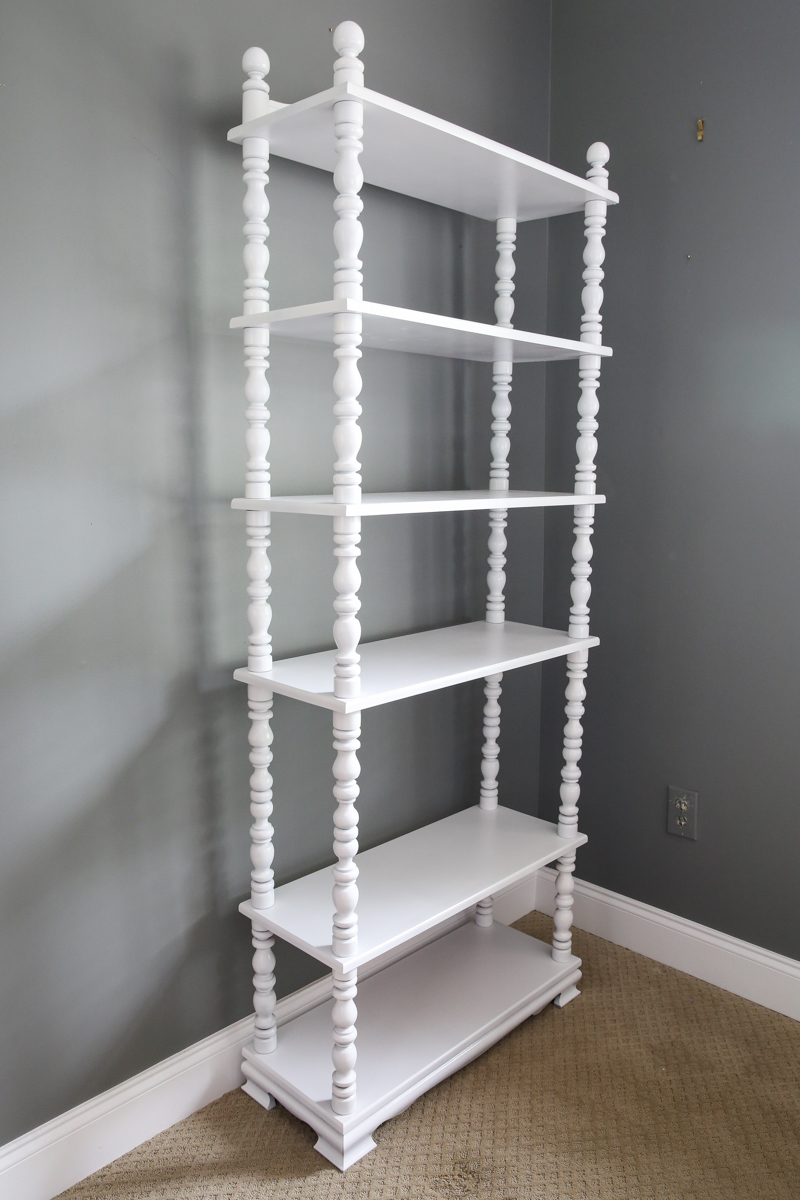
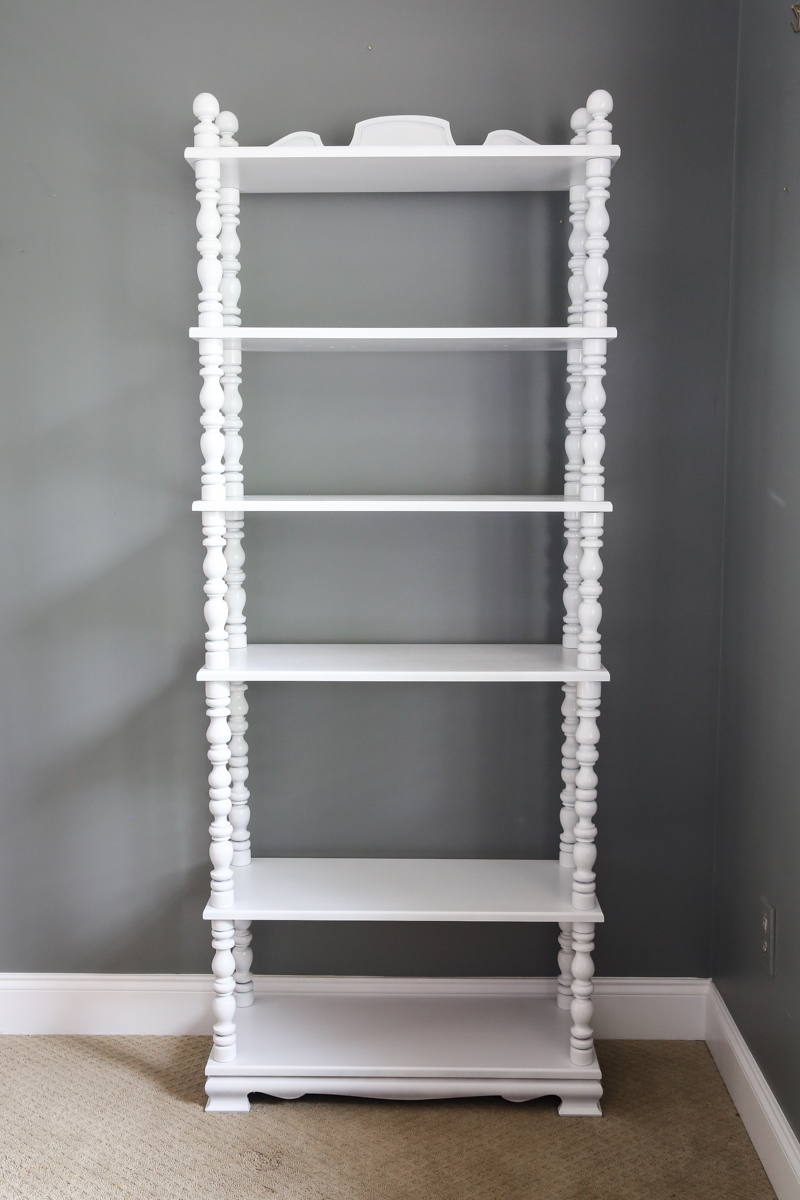
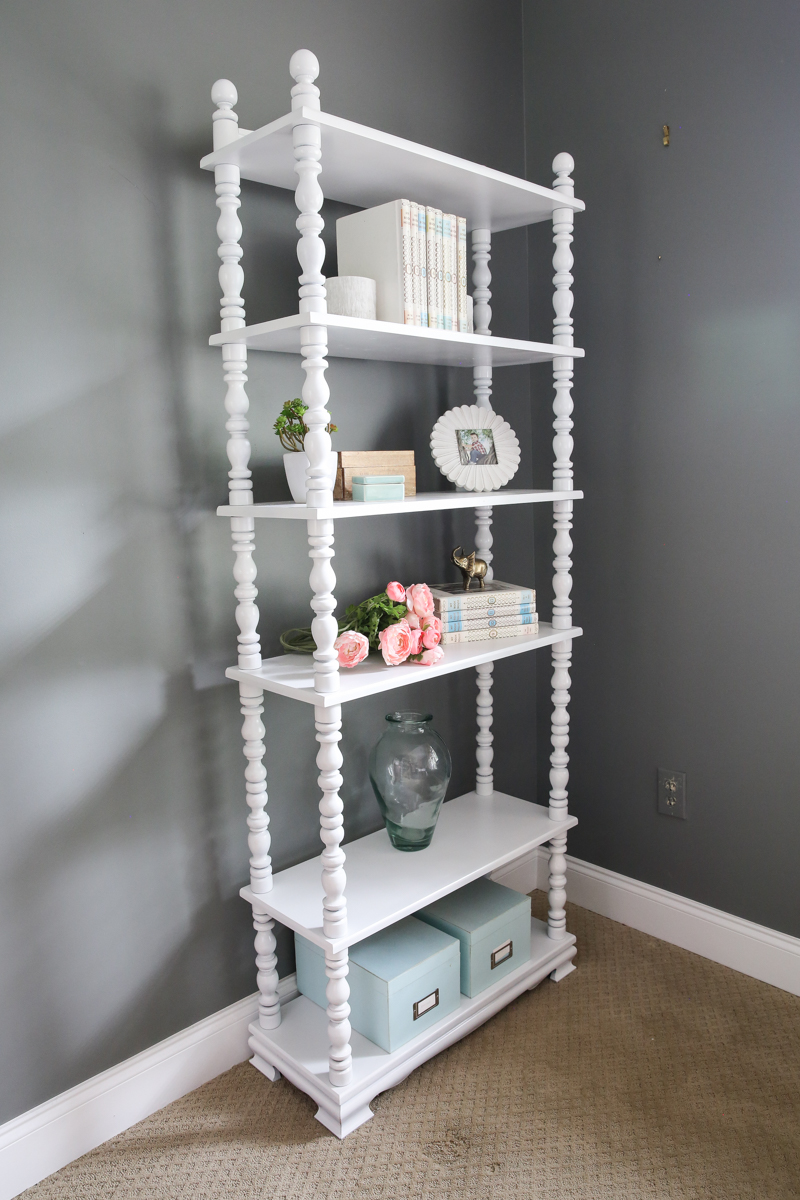
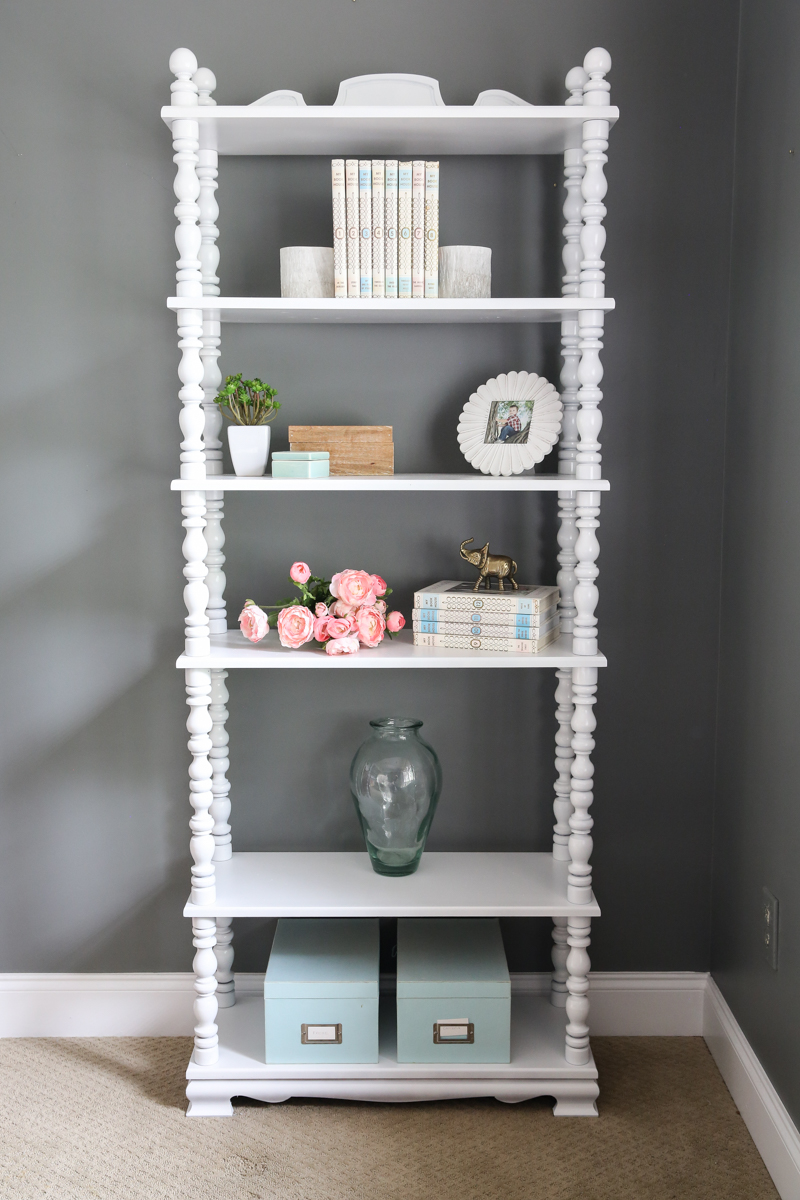
Several thin coats later, I had myself a GORGEOUS piece of furniture that looks like a million bucks! Remember to be patient. The key is a super thin coat of spray paint and allowing it to dry before repeating!
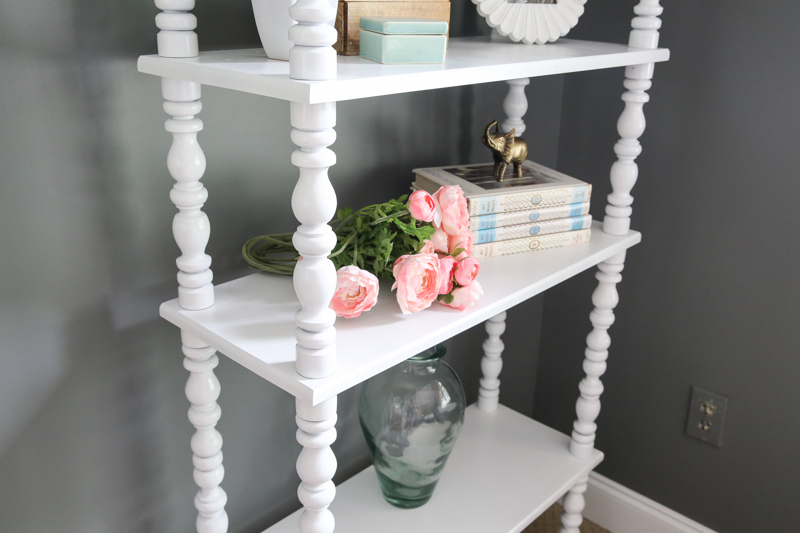
Just look at this baby….
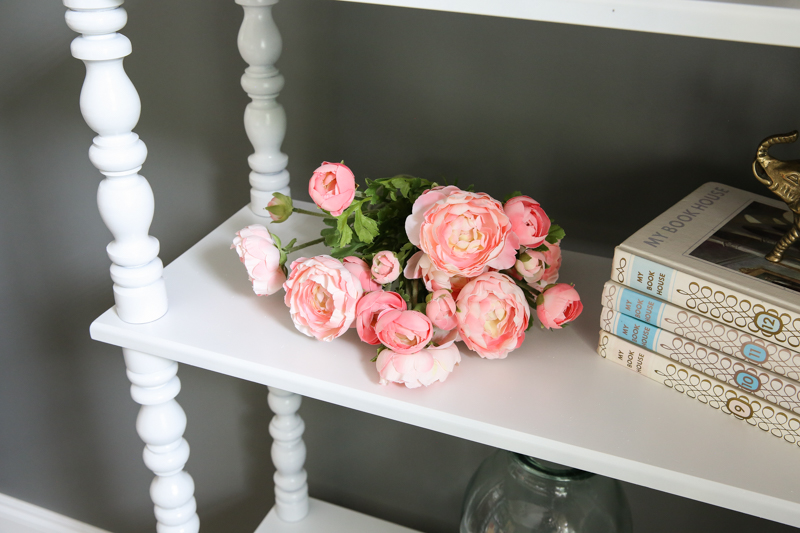
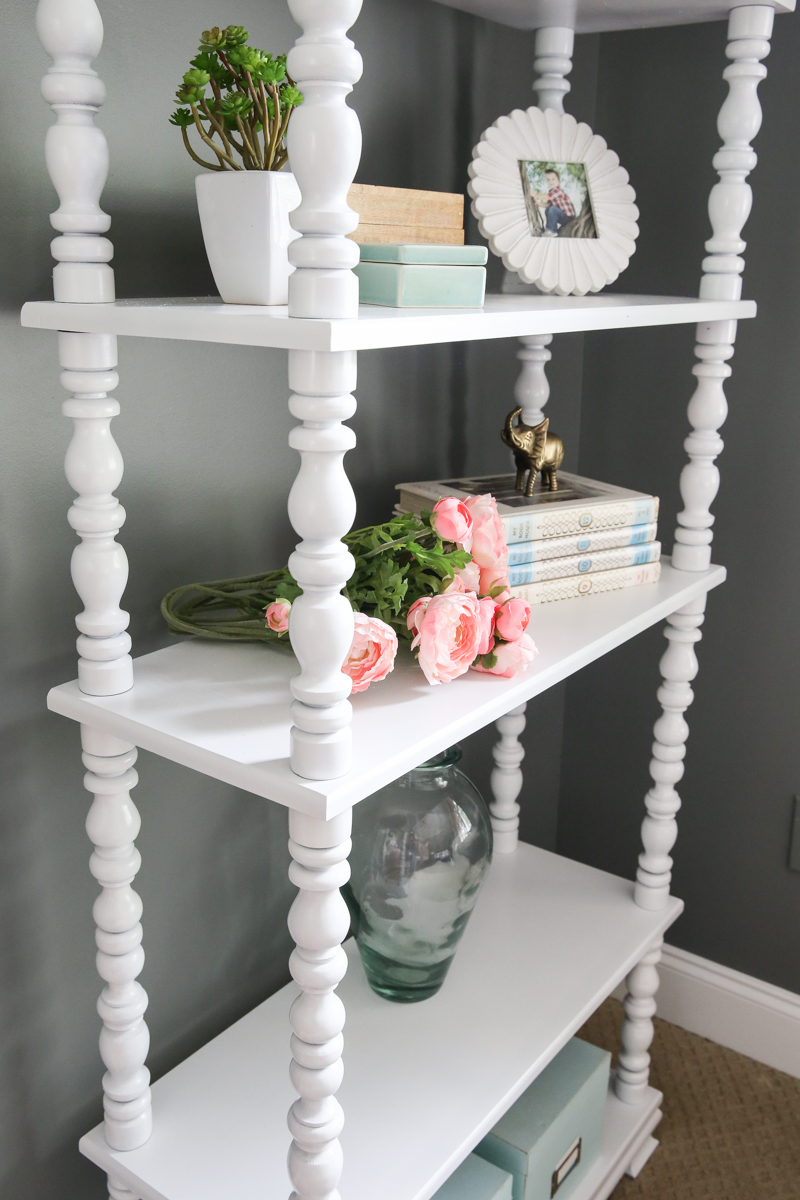
I mean….the before and after is ridiculous you guys! You know I couldn’t resist styling it up and doing some side-by-side photos 🙂
I am always so amazed at what a little spray paint can do.
Now I’m off to see what else I have that I can spray paint while my ‘paint booth’ is set up 🙂
So have you guys been spraypainting or making over furniture? I love seeing old pieces get new life with a fast coat of paint so make sure to link to your favorites in the comments. And share a Rust-Oleum spray paint project on Instagram and tag @rustoleum and use the hashtag #spraynewlife, you will be entered to win a $500 Home Depot gift card. Rust-Oleum will be giving away one each month from now – September 1. For more info, visit rustoleum.com/spraypaint
If you have any questions – I would love to help if I can!


Love this!!! Can’t wait to see where you put it!
Love it! I’ve actually been thinking of doing that with a very large Ikea bookcase. I keep going back and forth between spray paint and or painting it with a small roller since it is so big. I need to make up my mind this summer. 🙂
This came out looking awesome!! So, kind of a cute connection…when my husband and I first got married he was in grad school and I was earning a couple pennies a month teaching at a private school. He needed to travel to finish his research for his degree, and I really wanted to go too. To afford my ticket, I bought thrifted furniture, painted it, and sold it. My travel was funded by projects like this one! Anyway, thank you for sharing. Seeing an old piece of furniture spray painted and repurposed made me strangely sentimental!
It’s a true Cinderella makeover! I love how it looks in white and how you beautifully styled it.
Also, I adore your spray painting rug! Where did you get it? I know that sheet of cloth is just a placeholder till you get some nicer curtains for your spray-painting booth (something from Anthropologie or Pottery Barn ;P)
Love the bookshelf and how you styled it! Where did you get those pink flowers?
That was a great find and you made it beautiful!
This looks SO good! How many cans of spray paint did it take?
How many cans of spray paint did you use to cover this piece?
I bought a larger dining/kitchen table years ago on Craigslist. It had black around the edges/legs and I wanted them to be white, but for the price–who cares?! I bought cheap-o chairs from Walmart and a bench (in white + wood) to go with it. So for years the table has remained black and wood, while the rest is white and wood 🙂 I’m TERRIFIED of spray-painting it! My friend was trying to help me build up the courage and promises it is easy (and your post here makes it look easy) but I am still terrified I’ll make it a streaky mess!
Should I just sand down the black parts, and clean it like you said, and then have at it with this brand of white spray paint and go slow?? The top is water damaged a little too and I am so tempted to sand it down too and then put a clear coat on it. Should I stop being so scared and try it out??? And I am secretly on the hunt for sturdy, wood chairs. I keep checking Facebook Marketplace 😉
Thanks!
Would look really cute in Ella’s nursery!
I would like to see more of these! Even if you don’t complete the project, if you just took some pics of a thrift store find and a few pinterest inspirations for how to transform it. It was interesting to see your creative process!
It looks great! This post has also made me want a better view of your garage doors! I’ve never noticed them before but I’ve been looking for a new door option and they look great. Are they original to your house or did you put them in? Or update them?
🙁 It makes me sad to see such lovely wood painted — but I’m a girl who’s painted an awful lot of wood through the years, so I DO understand the urge. I think I’m swinging back the other direction to leaving the wood alone as much as possible, but it’s not always a good fit when the wood is damaged I guess.
They were here when we bought the house and we had them repainted when we did all our exterior paint. I will say that they are pretty beat up (some of the wood has warped over the years and no matter what we do to fix them, it’s frustrating to see them pop out again in weird spots).
xo – kb
Just go for it! I would say definitely check to see what type of wood it is first – some tables are not solid and it can be a huge mess if that is particle board!
xo – kb
I used three!
xo – kb
This took three but I also did the underside of the shelves.
xo – kb
Ikea!
xo – kb
SOO fun! I’m always amazed at how the value goes up with such a small change like color. You must have had great taste to be able to make money with your transformed pieces!
xo – kb
These are my favorite types of posts!!! Love the thrift store transformations!!!
I spray paint everything!!! 😀
Love it to death! And I gotta ask, where is that store and what’s the name? I live in the area and I’d love to go!
It’s called the Fish Thrift – it is in Loganville and they also have a branch in Monroe 🙂 Completely non-profit and all proceeds go to feeding local children in need.
xo – kb
This is beautiful! I’m a big fan of the Jenny Lind collection too. My only question is – how do you anchor a piece like this to the wall (ya know…small kids over here)? I am hesitant to purchase pieces like this (tall and essentially “see-through”) because I feel like all the anchors are giant eye sores. Thanks!
There are lots of anchors that stay hidden behind the piece. I would recommend heading to Home Depot and seeing what they have in stock!
xo – kb