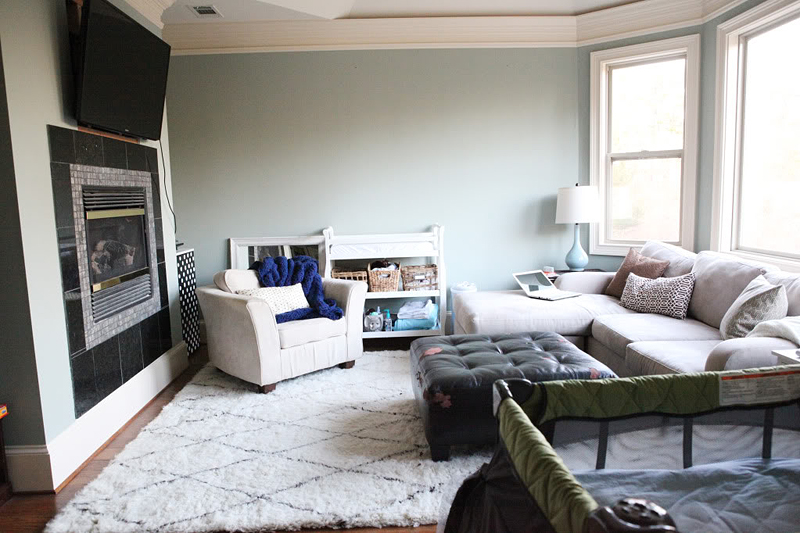
A few of you might remember when the room off our master bedroom (aka “the sitting room”) looked like this…
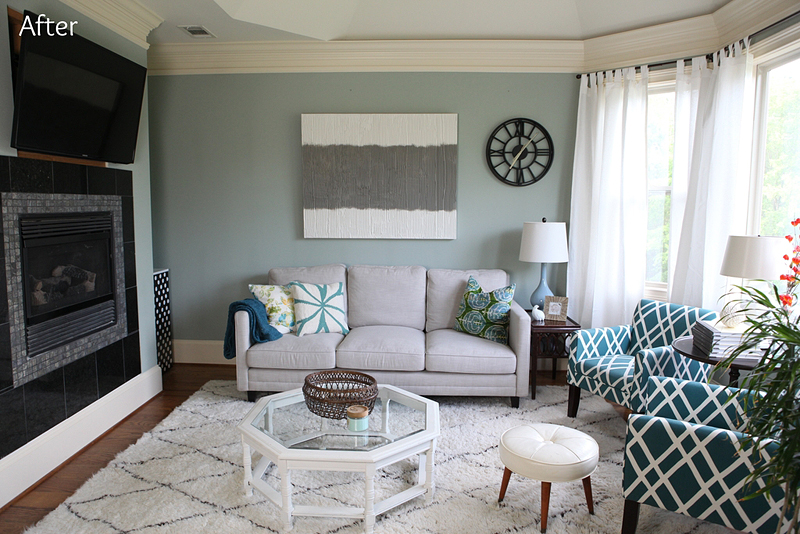
And some of you probably recall the first phase of it’s transformation….when we turned it into this….
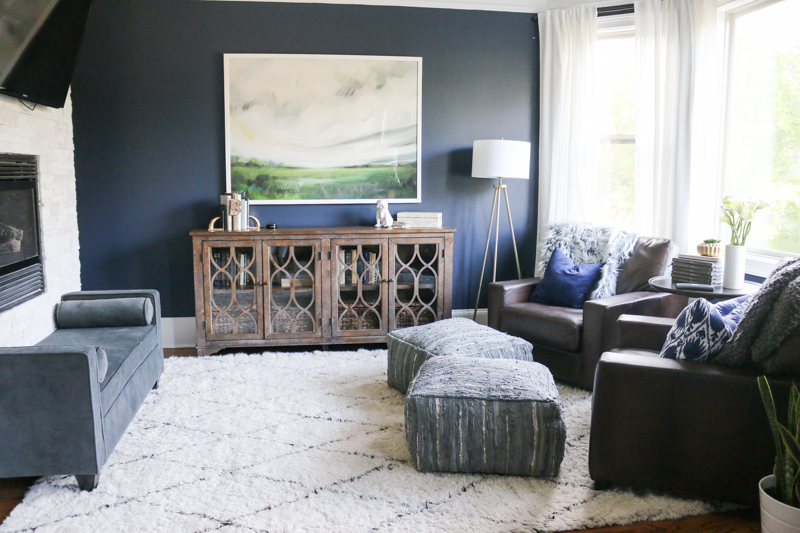
And you probably definitely recognize the space as it is today….
But did you know that at one point we did a secret sitting room mini makeover? IT’S TRUE!
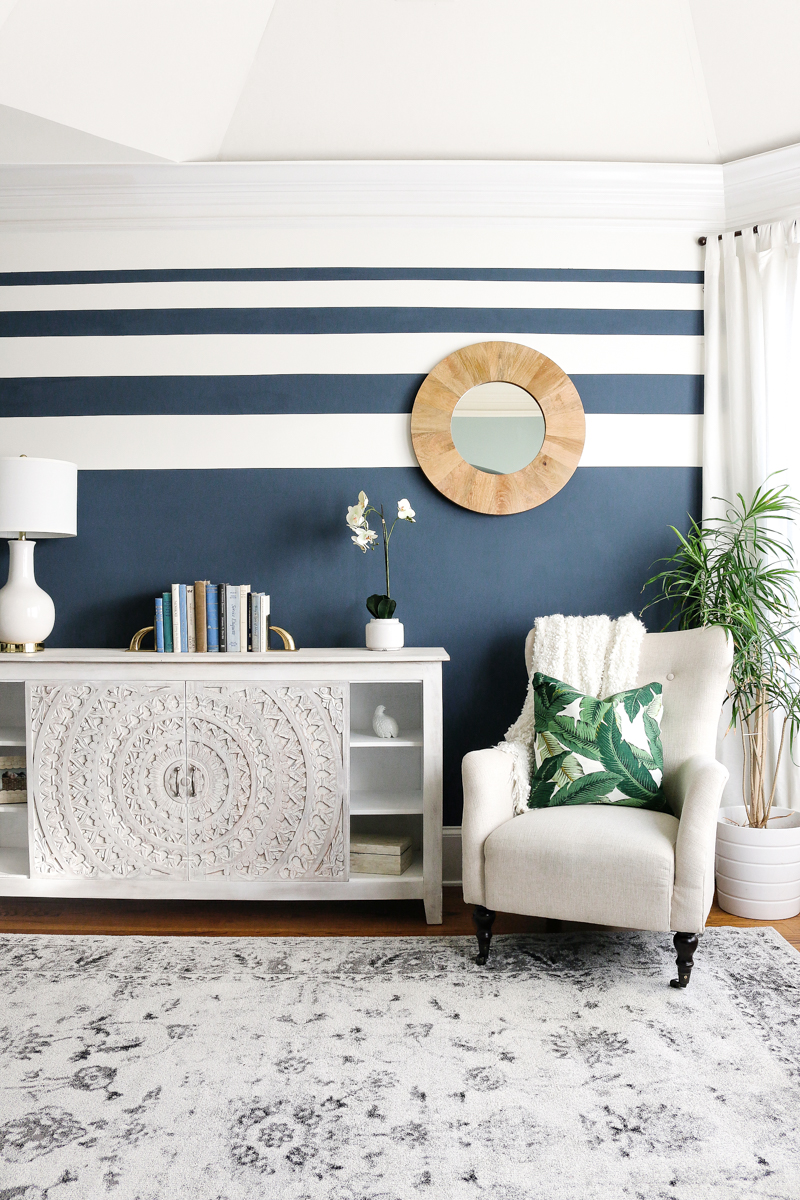
Two years ago we were asked to try out a paint that was in testing stages and create some photos for inside executives. It was such a fun little project (just one little wall) and we staged it out with the help of Home Depot. Yes….the furniture AND rug were both from our favorite home improvement store (can’t even!!!).
SO here is how we did it….
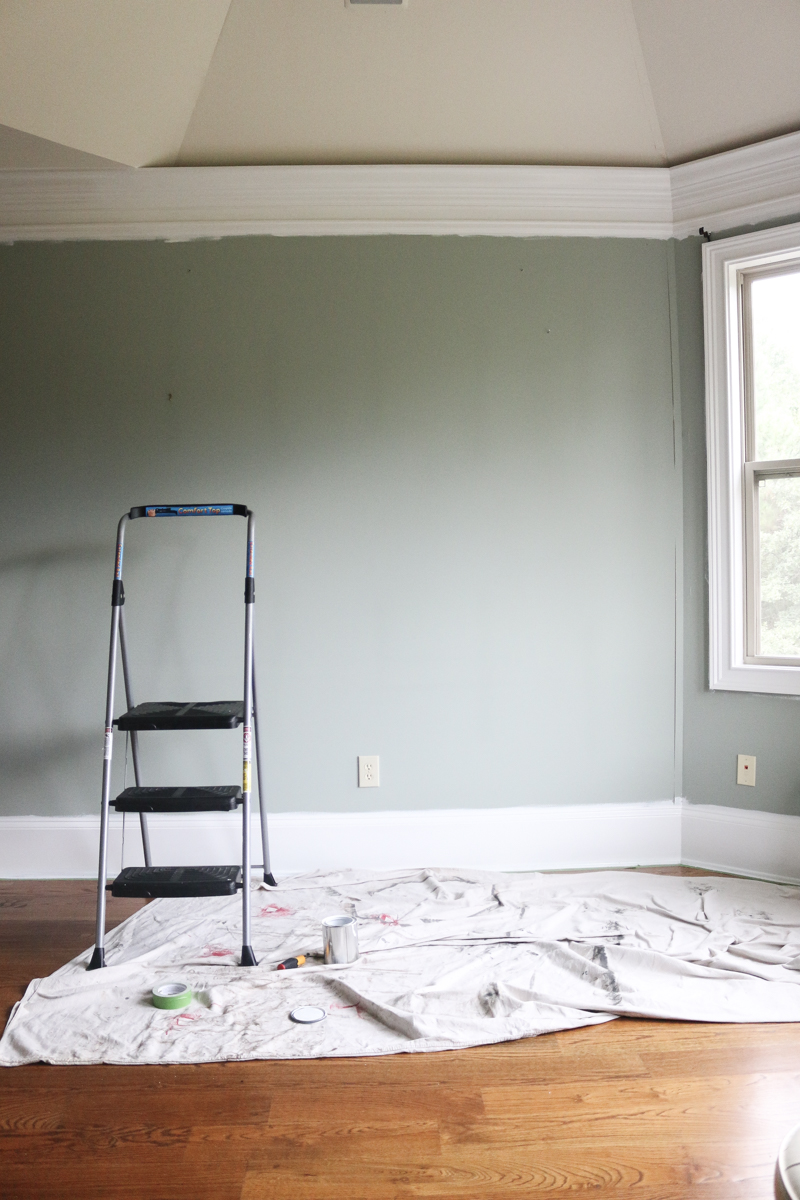
PAINT ALL THE TRIM
First we painted all the trim a nice semi-gloss in our go-to, the brightest untinted white paint. Then we had to tackle that gaping drywall tape in the corner and fill the MANY holes that made this wall look like swiss cheese. Hmmm….cheese 🙂
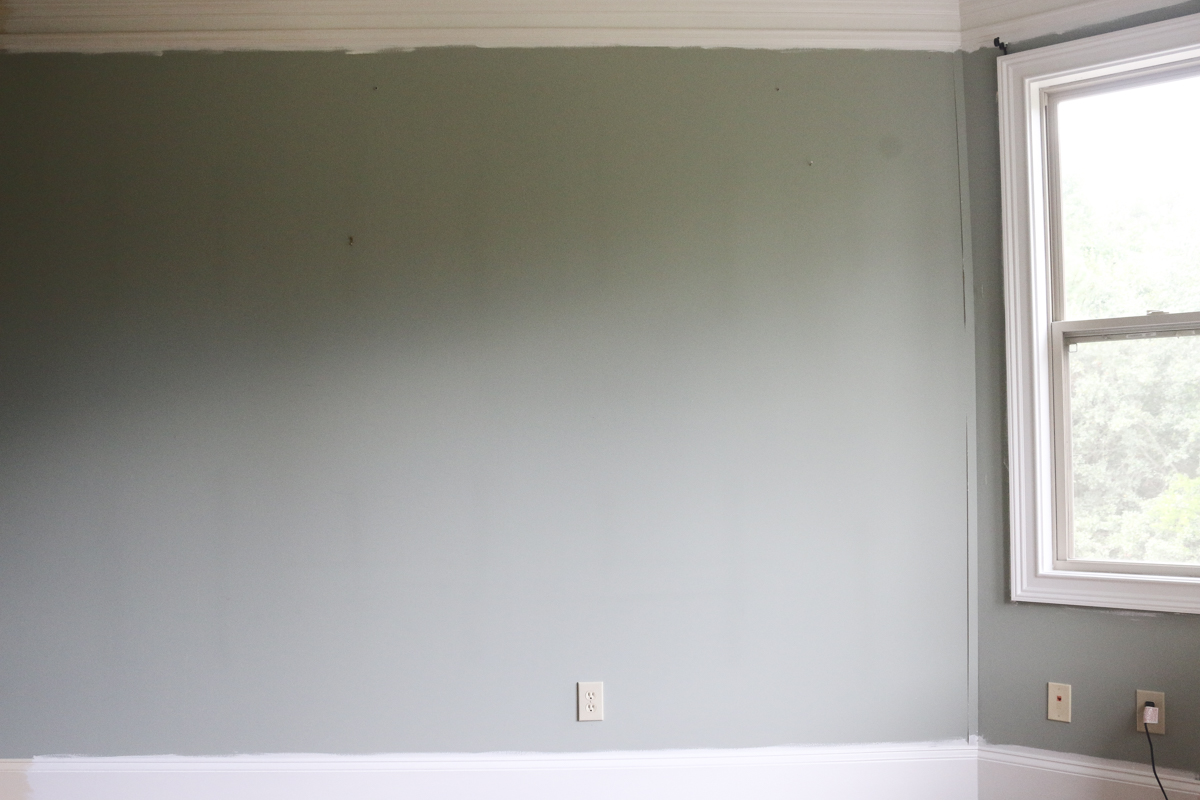
FILL THE HOLES
I liked to repair drywall with this pink DAP DryDex sparkling paste. It is the easiest for me to use (it goes on pink and will turn white when dry and ready for sanding) and I have found that it looks super natural when sanded, doesn’t shrink or crack….it’s been my go-to for years.
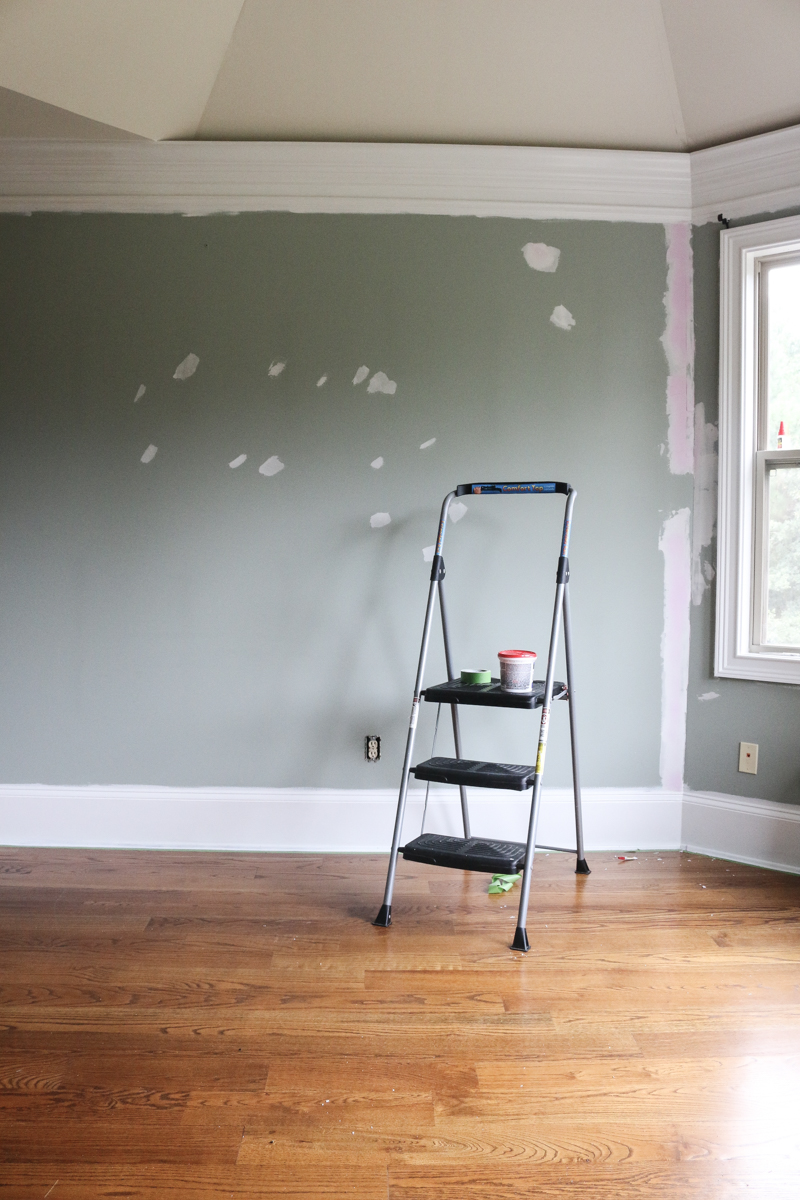
See how above it is pink and down here it is white? MAGIC.
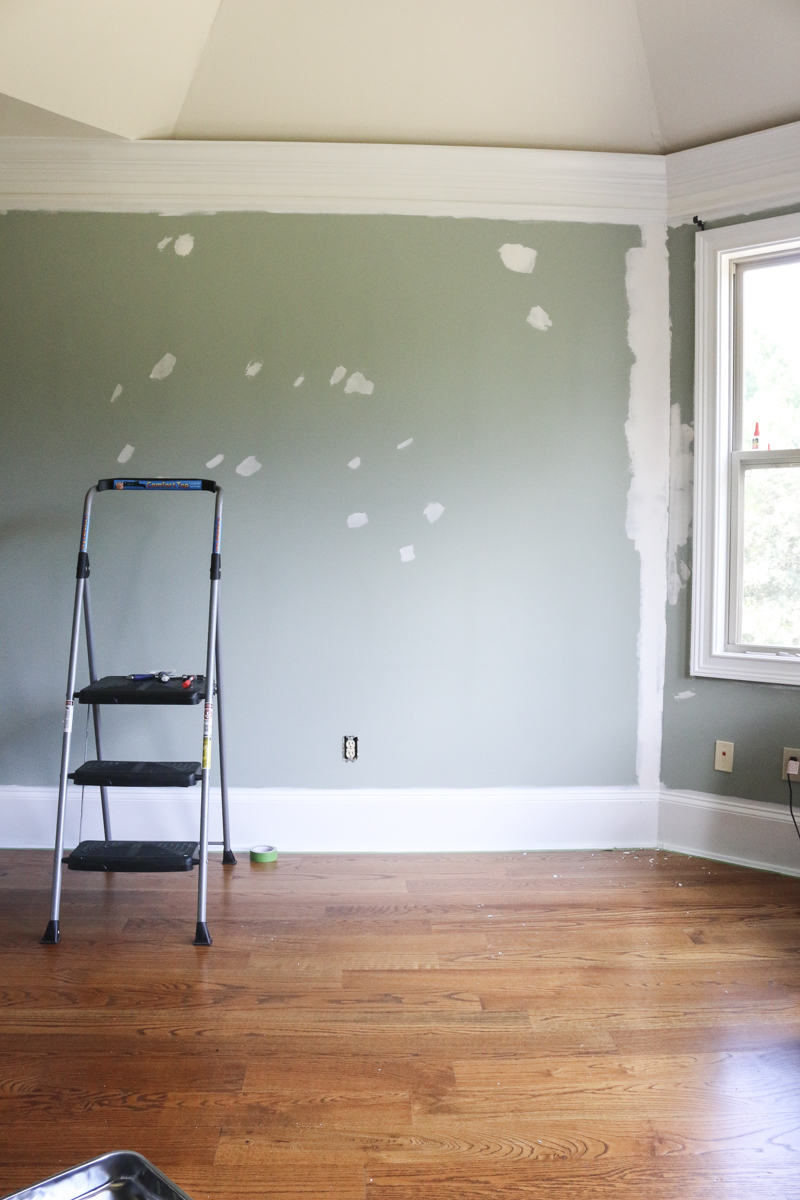
After everything is sanded and ready, I prep by putting out my drop cloth, removing all electrical plates and get my materials.
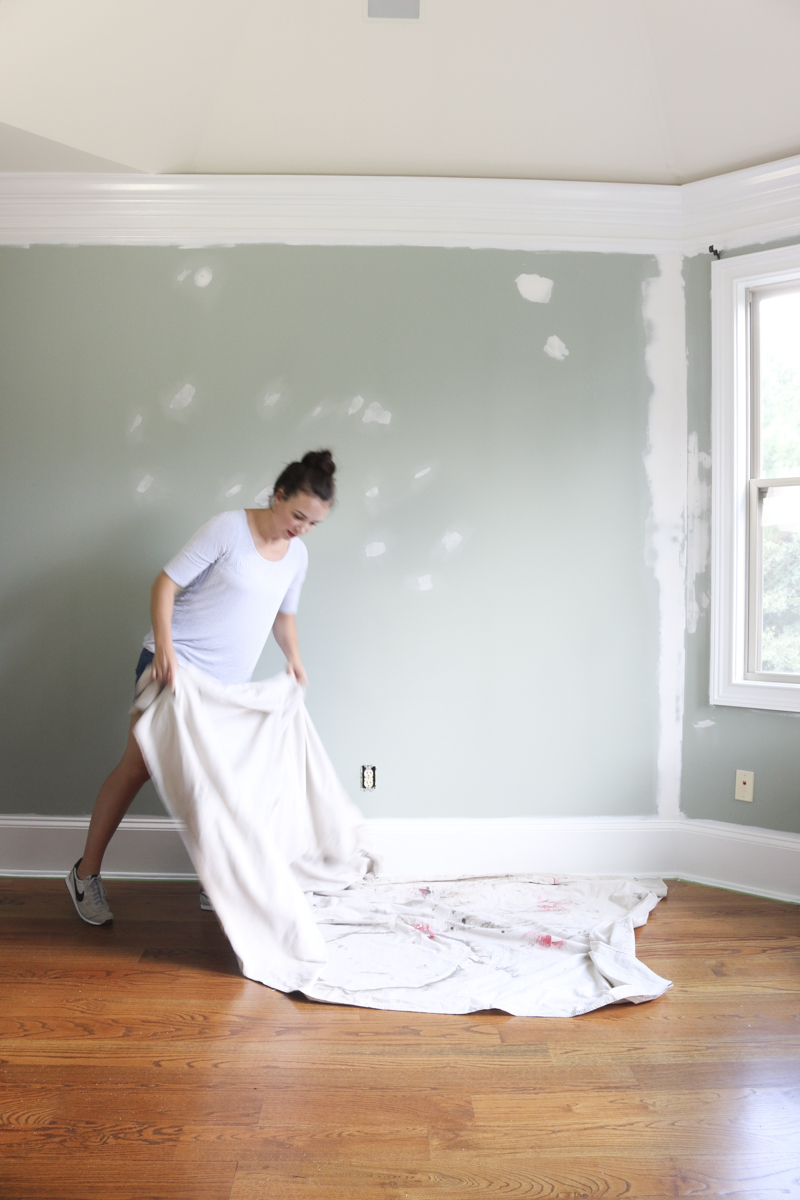
PRIME & PAINT THOSE WALLS
For this project, I had proposed three different wall treatments and the paint company asked if I would do a wall stripe that was varied to show the sheen against regular eggshell wall paint.
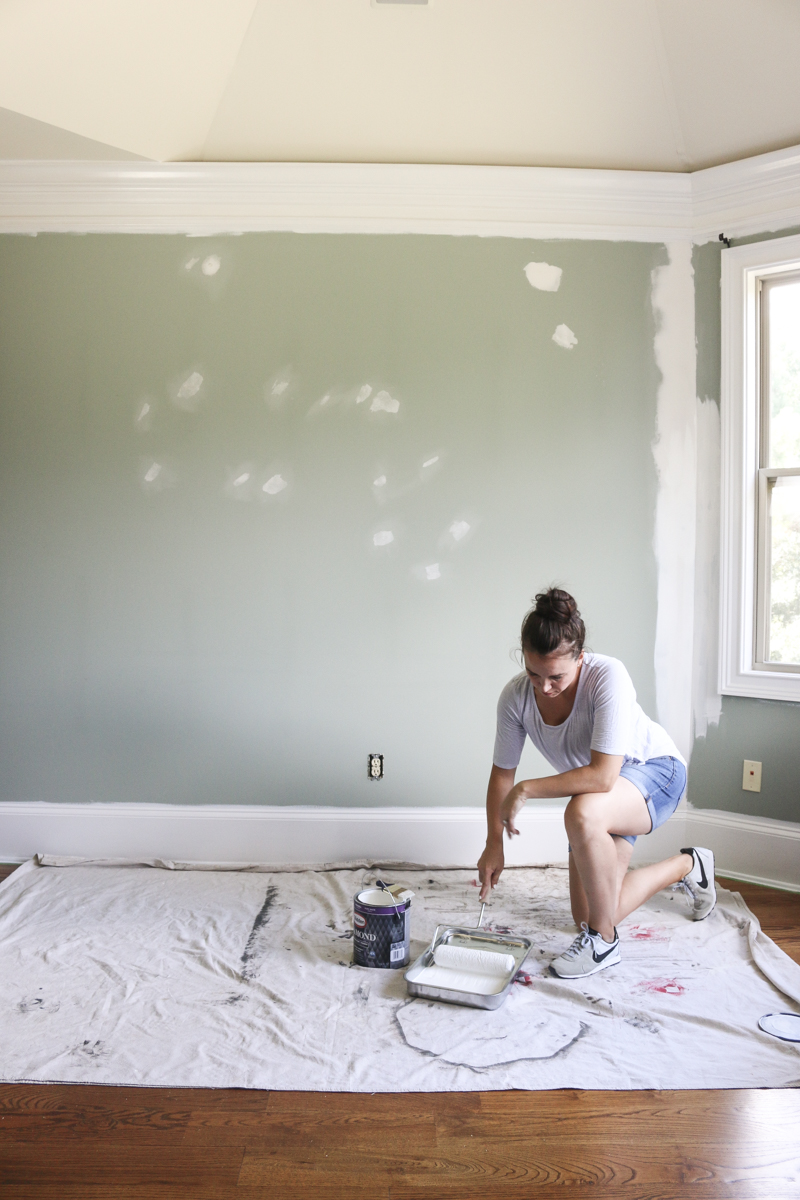
So for the ‘regular’ wall paint we used the Glidden Diamond in eggshell…if I remember correctly I just had the Home Depot folks color match it to Simply White by Benjamin Moore.
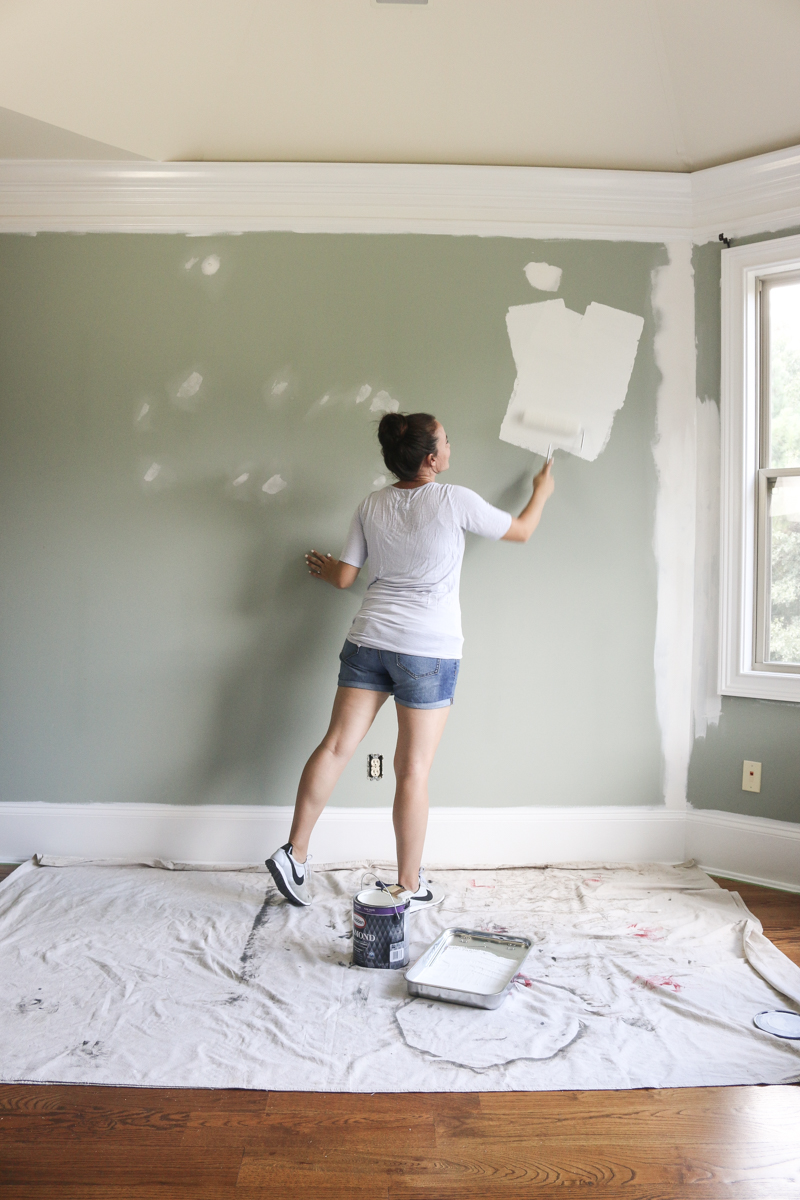
The key for stripes or any accent wall is to paint it like the base color is all you need. I realized later that I didn’t sand one area of spackle well enough and had some peeling. Prep is everything guys. Prep. Is. Everything.
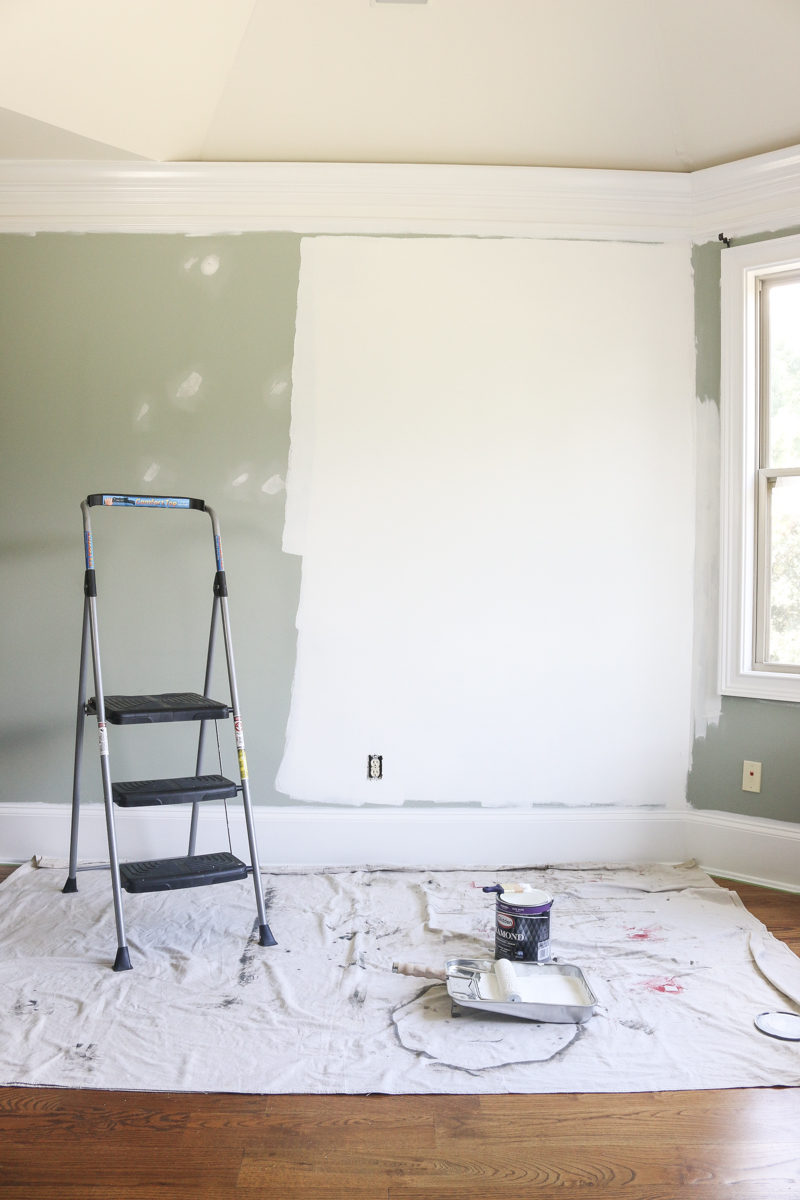
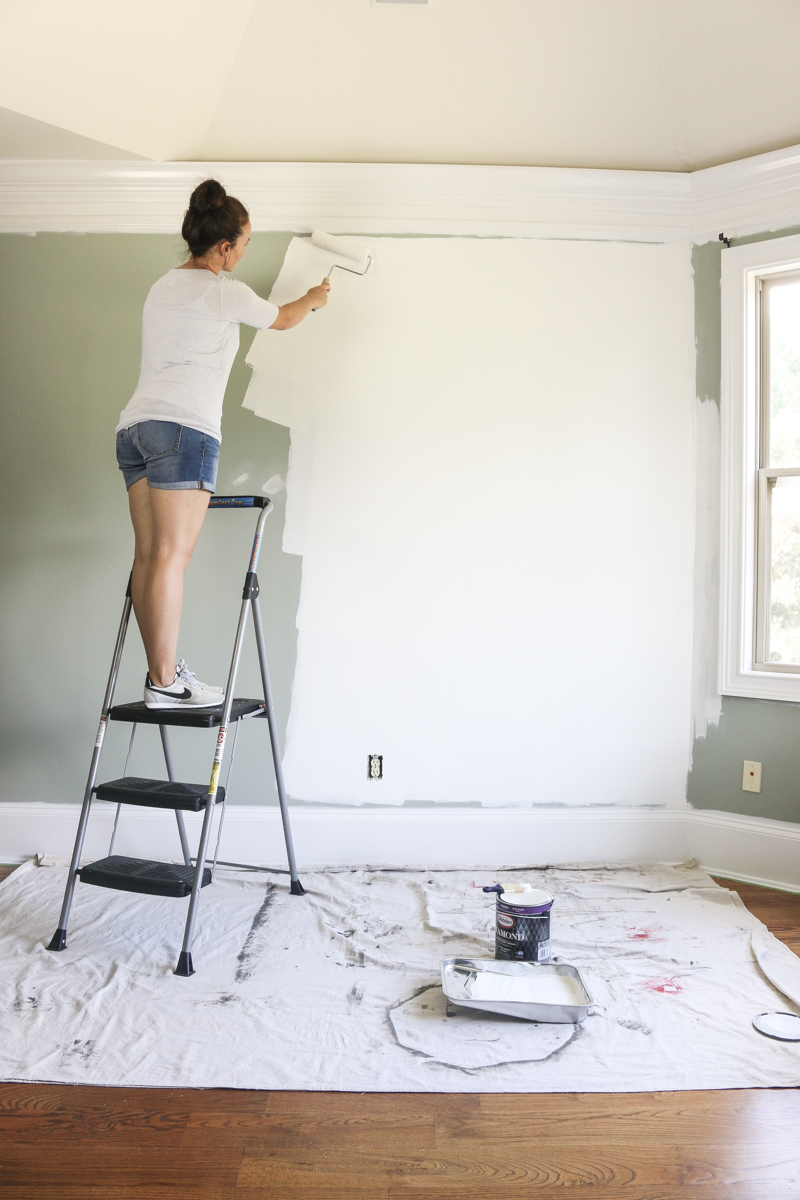
Obviously you can see where the paint was thicker and where I pressed the roller to make it thinner. This is why some paint companies boast that their paint has one-coat coverage. I learned from our painter friend Carlos that he uses a heavy hand (but has to be very careful with drips and wet edge lines) but he saves a lot of time that way. Because he paints all the time, he has mastered being able to get away with it. I am not so lucky so I prefer a thinner coat and to do it multiple times.
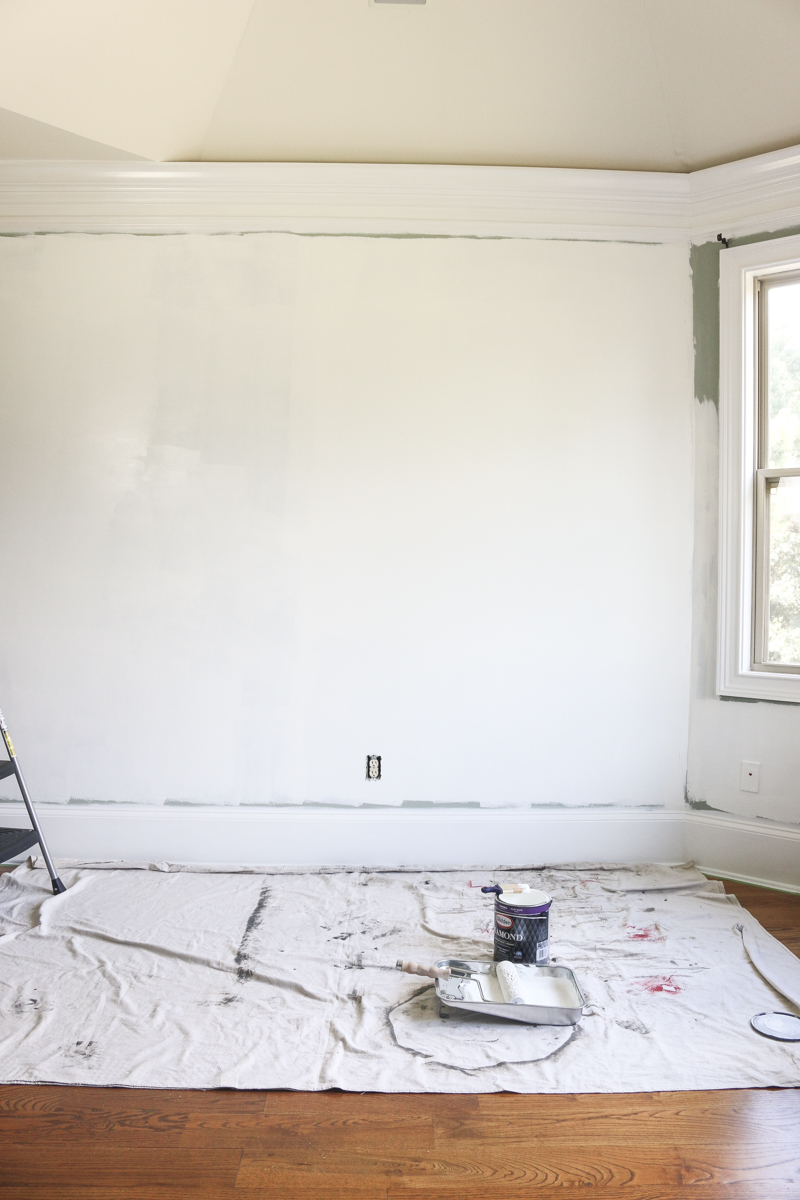
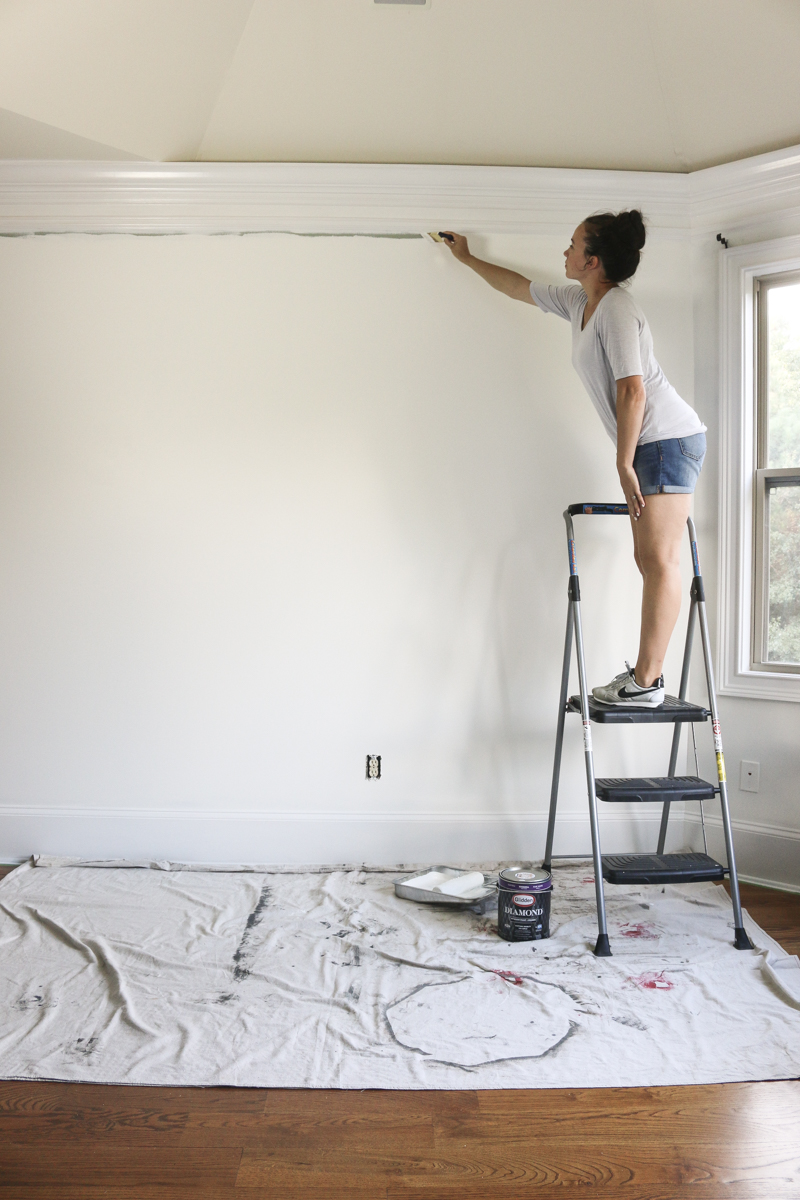
After I painted the wall, I tackled the cutting in and allowed that to dry fully before doing the next step.
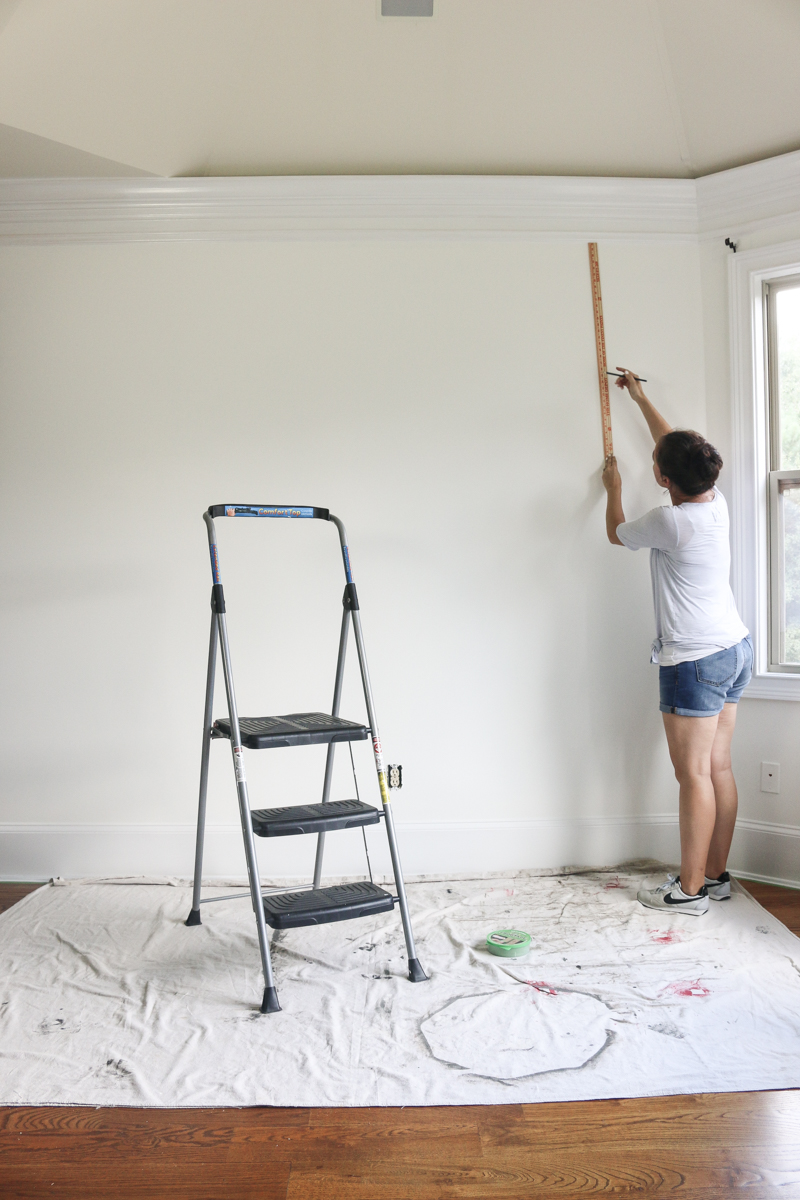
MARK YOUR LINES
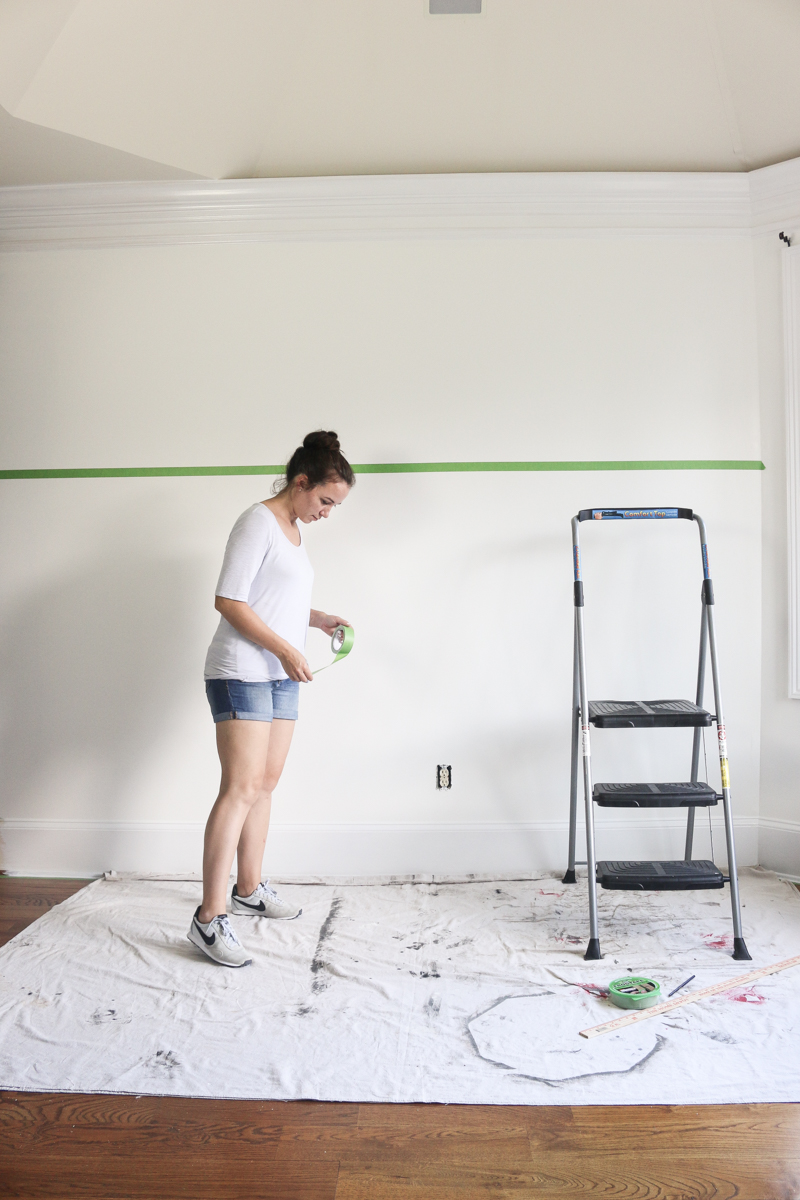
Using a small pencil and a ruler, I marked the wall to measure out my lines. I did it multiple times down the wall so I could align my tape straight.
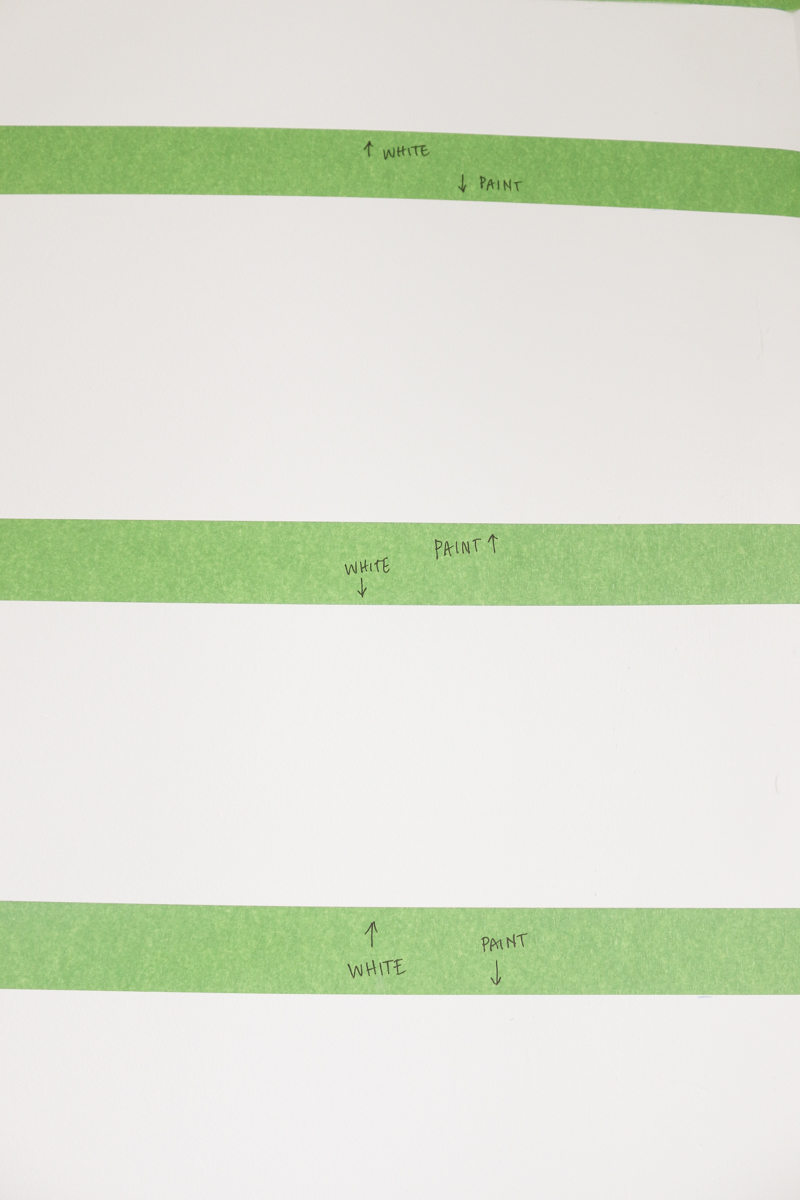
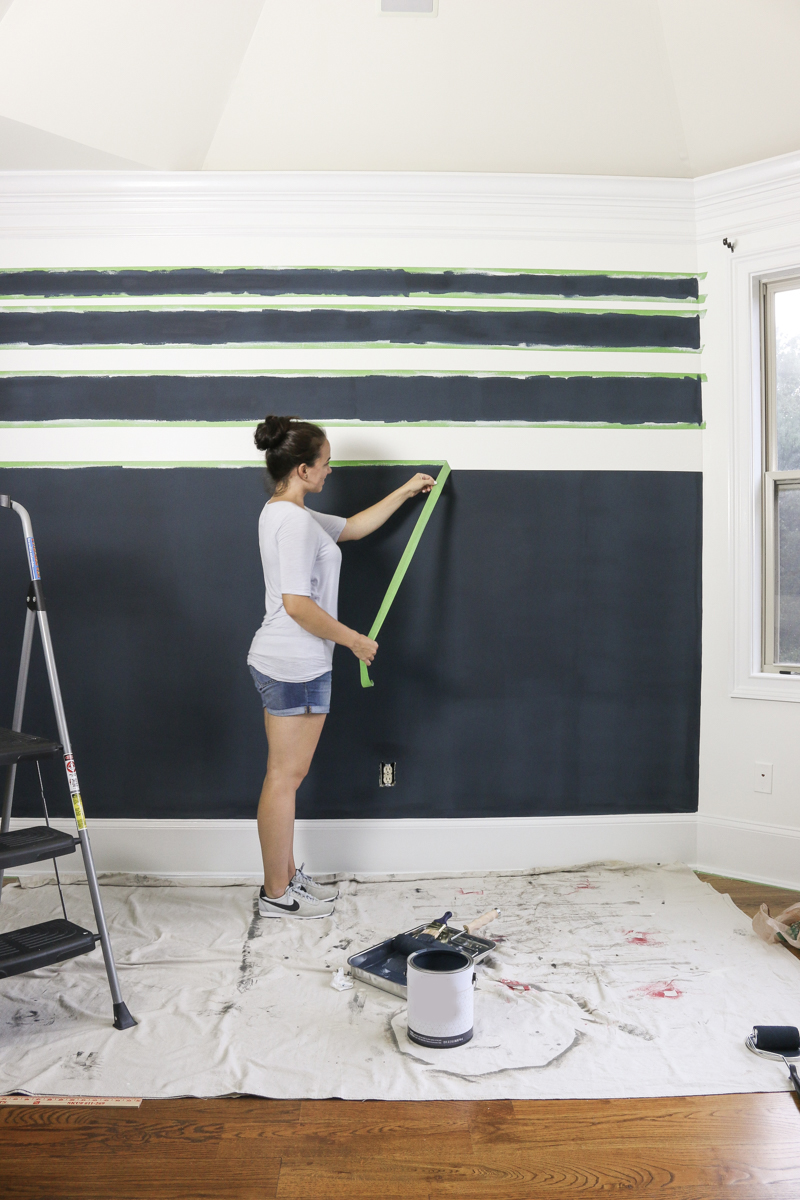
Then it was time to put up the painters tape along the lines. This was tricky as I had to remember which side of the mark my tape went on.
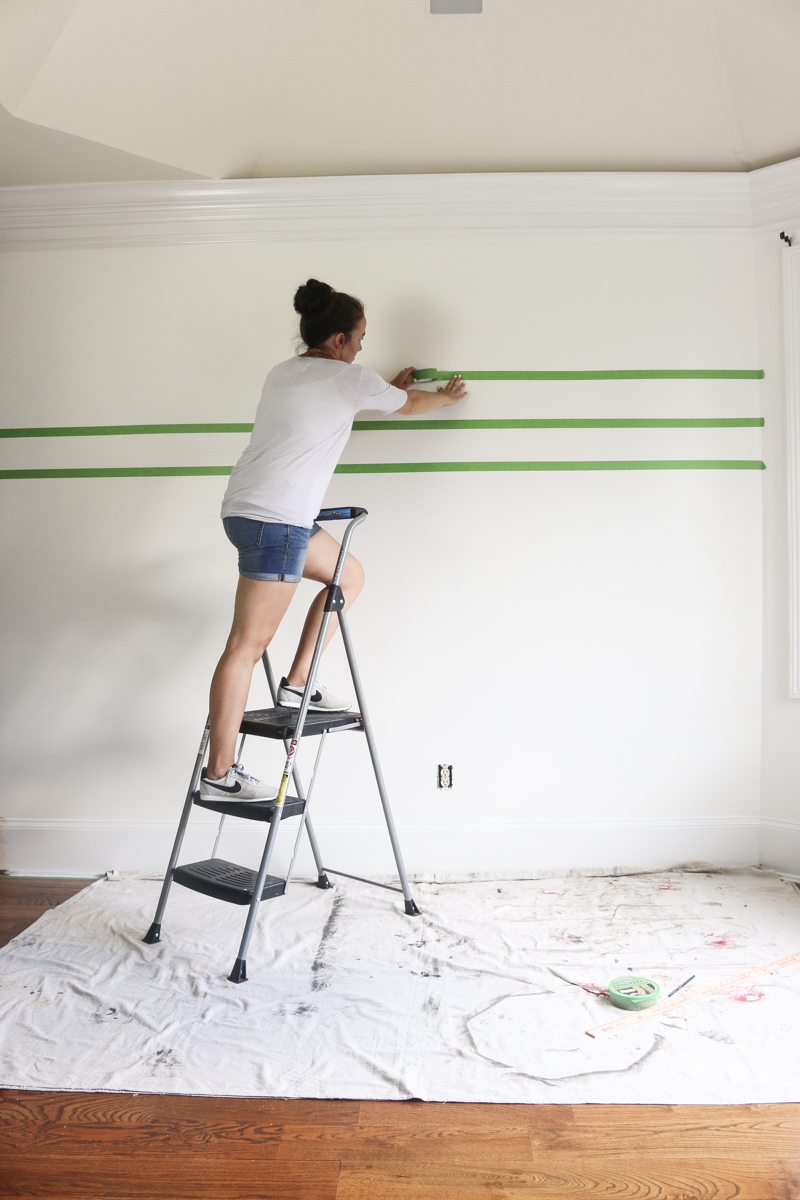
I wrote myself reminders because I was 100% sure I would mess it up. Spoiler alert – I did not mess it up.
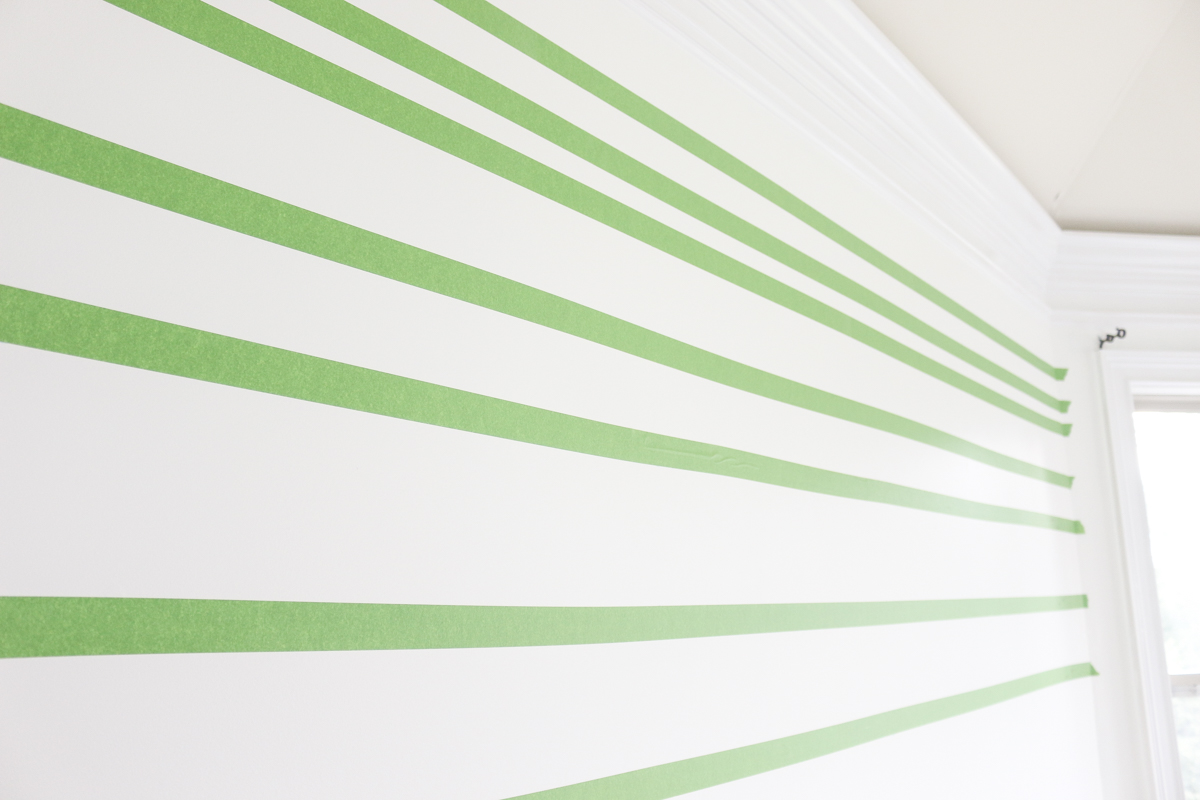
Once all the tape was up, it was time to seal the tape to the wall. This can be done in a variety of methods….
- use a damp sponge to run along the tape and seal it to the wall
- use caulk and run a small bit of it along the painters tape edge
- use paint the same color as the base to paint the edges
- do nothing and pray. You are living a dangerous life.
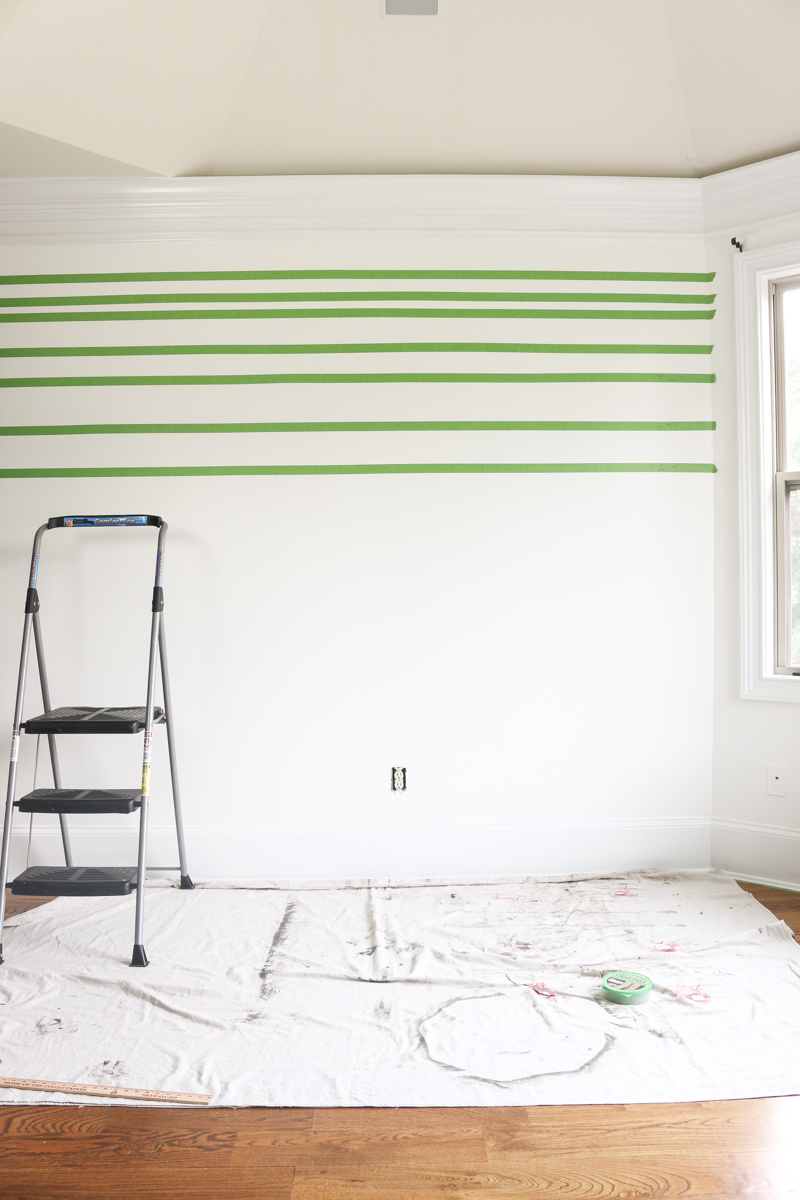
I went with the paint option. It’s the easiest for me and I like the crisp lines without the appearance of different texture that caulk can have.
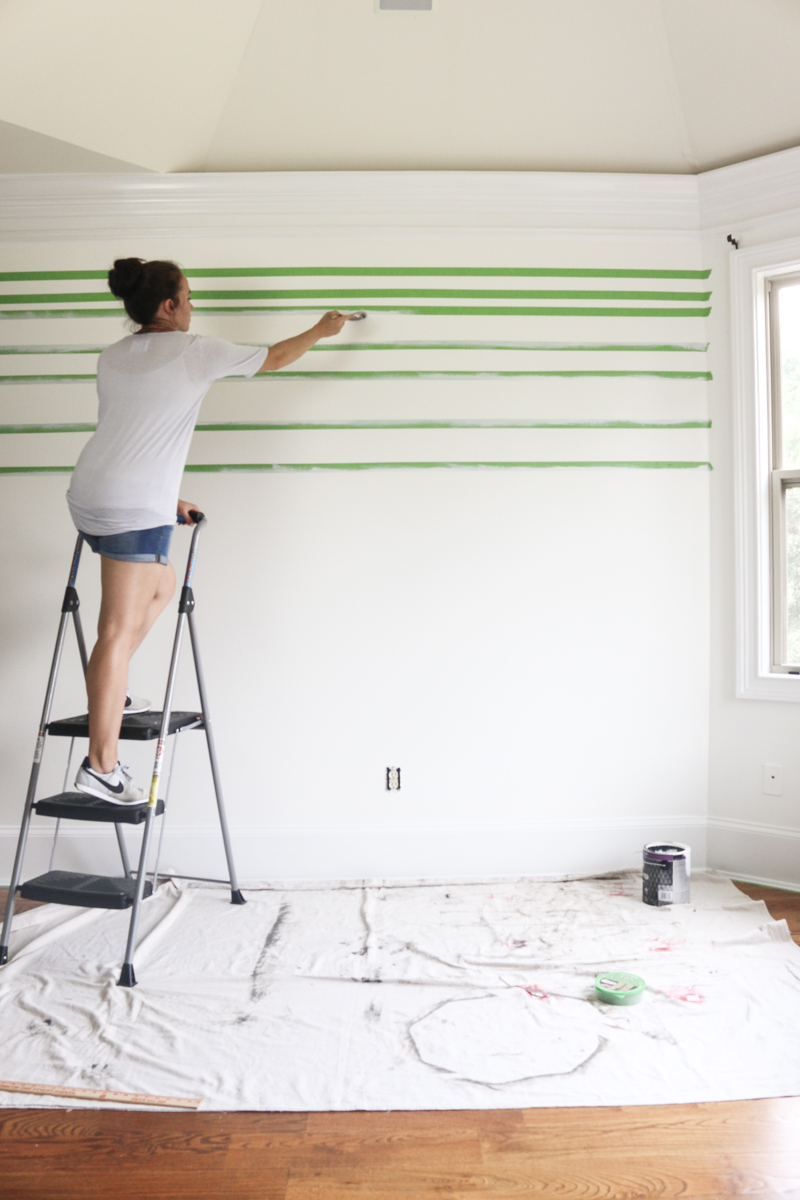
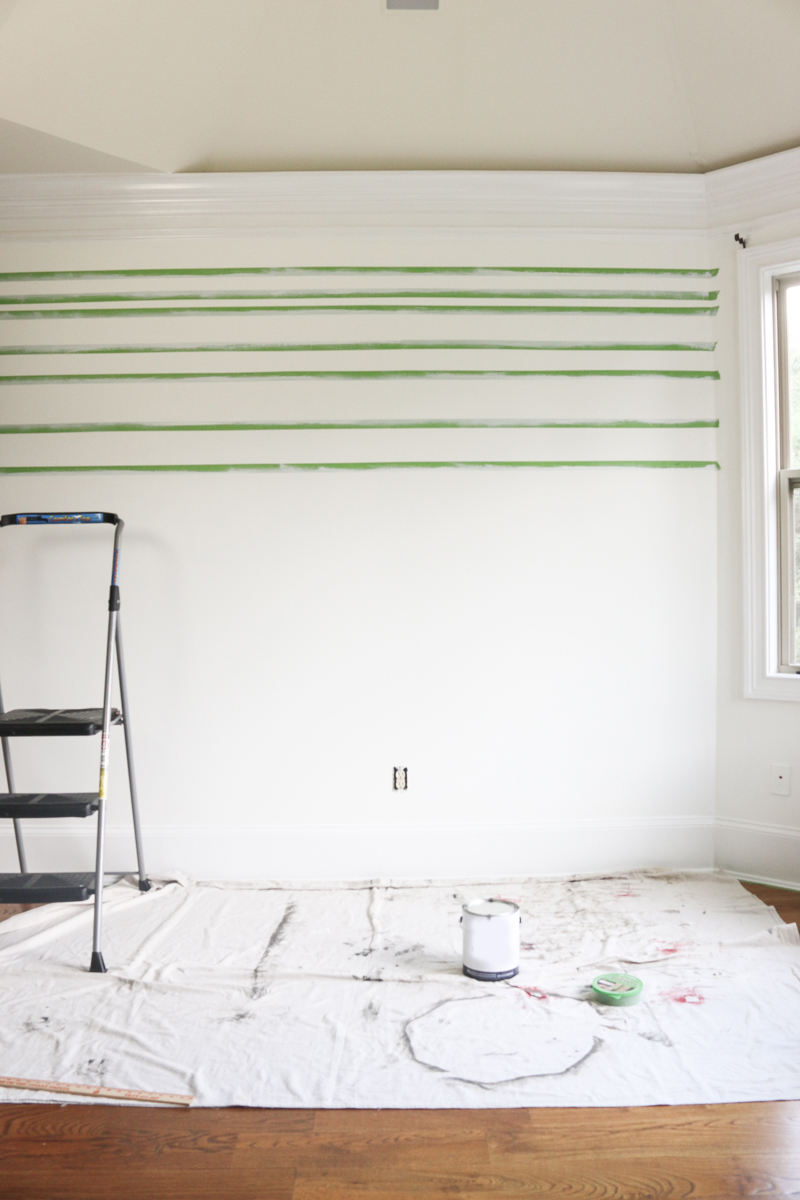
Once all the lines are ‘sealed’ you allow them to dry before doing the accent color of paint.
PAINT YOUR STRIPES
This was my first time painting stripes so I went ahead and gave myself a little cheat sheet by doing a swipe of paint inside the parts that were going to be blue.
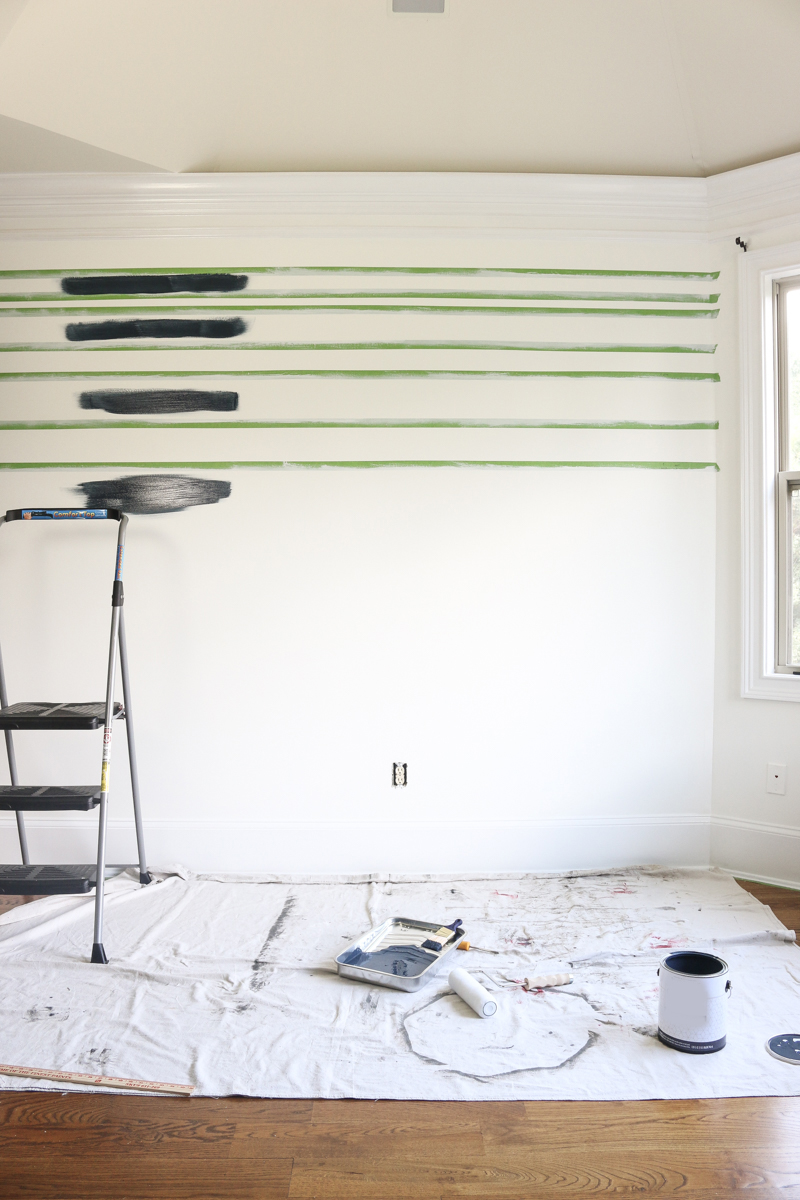
The accent paint I was testing was a very MATTE finish (obsessed!) but the texture of it was a cross between a flat and a eggshell when I was applying it.
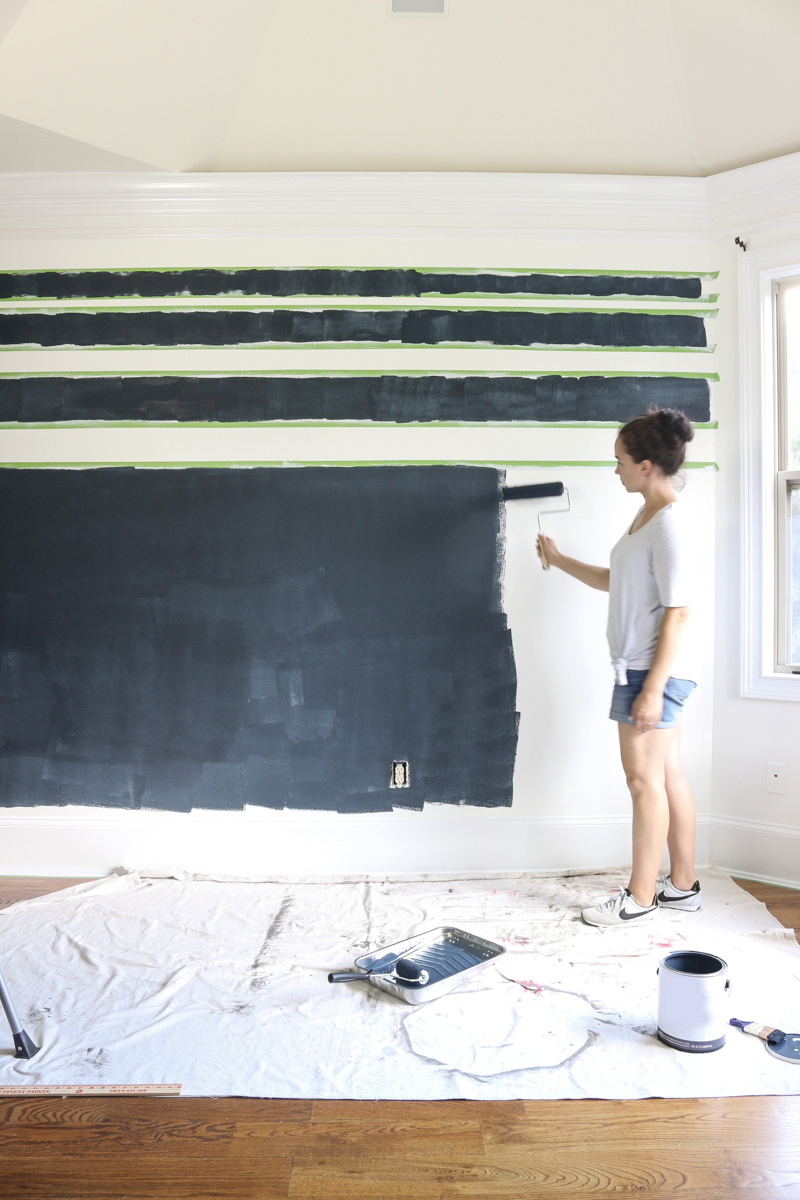
Overall I really loved the paint. I never knew what happened to it after I did this demo of it but it was super fun to give it a try in a real-world setting.
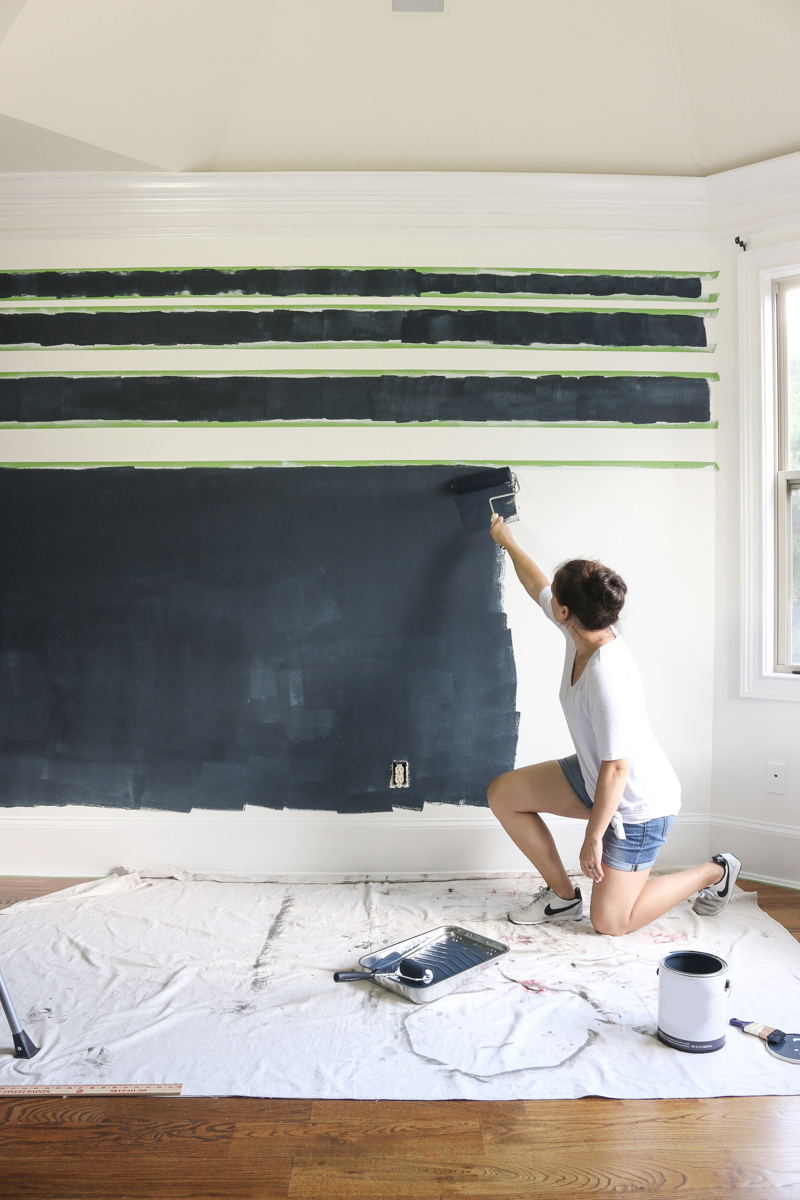
Plus….remember – this was two years ago and matte wasn’t really hitting it’s stride like it is today. I felt like at the time, it was ahead of the trend. All that to say….guys….matte is trending right now in pretty much everything. Just remember that 🙂
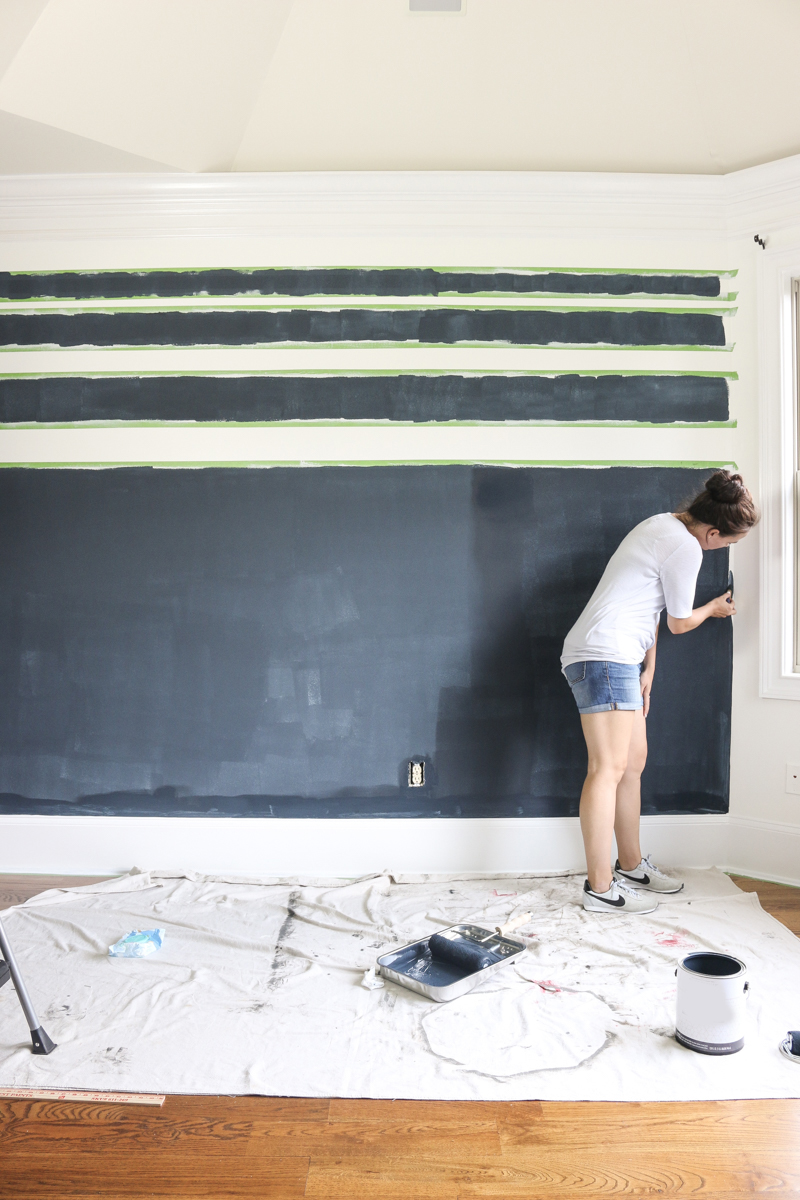
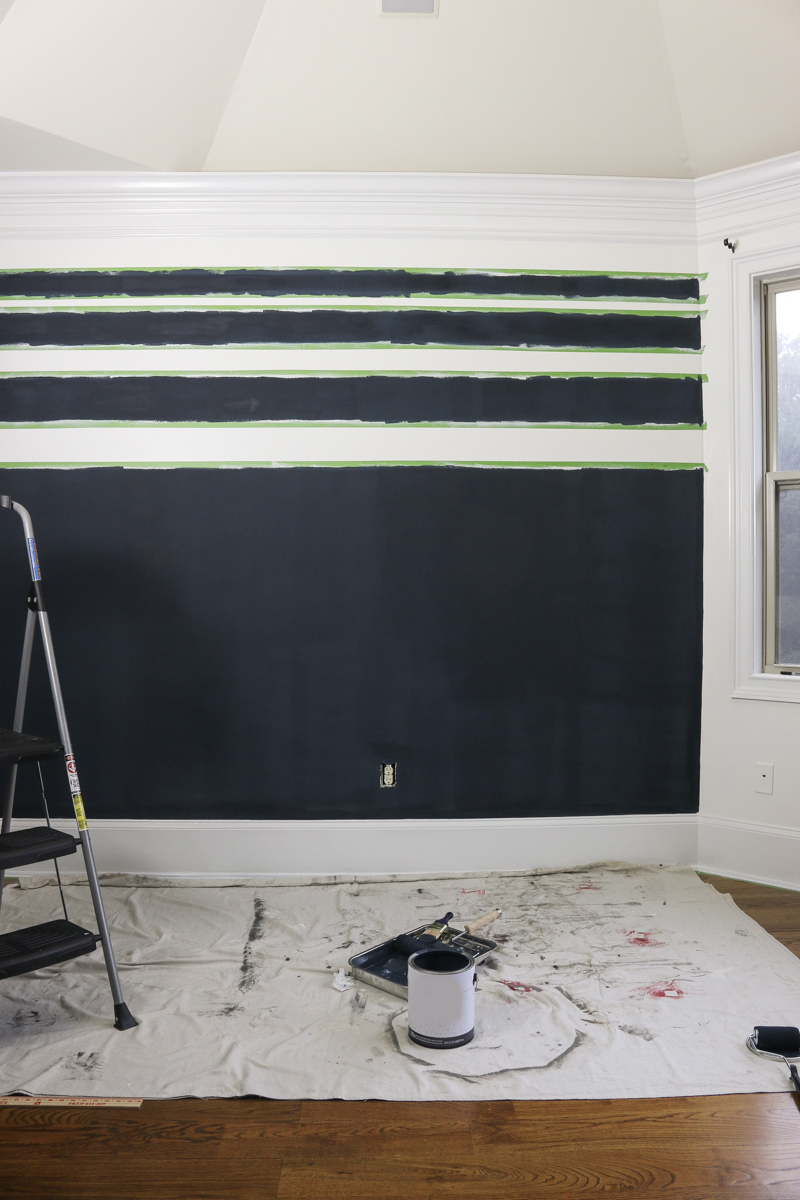
And here it is after two coats…still wet….
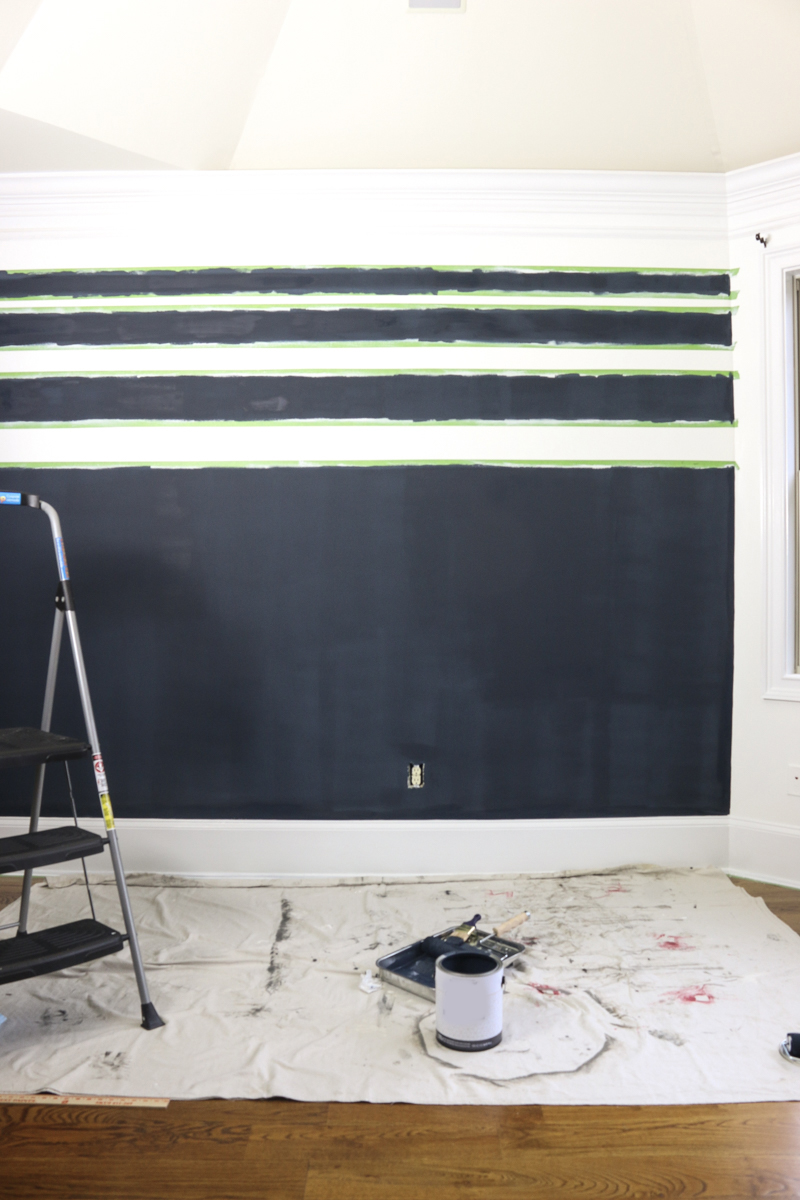
two coats drying….
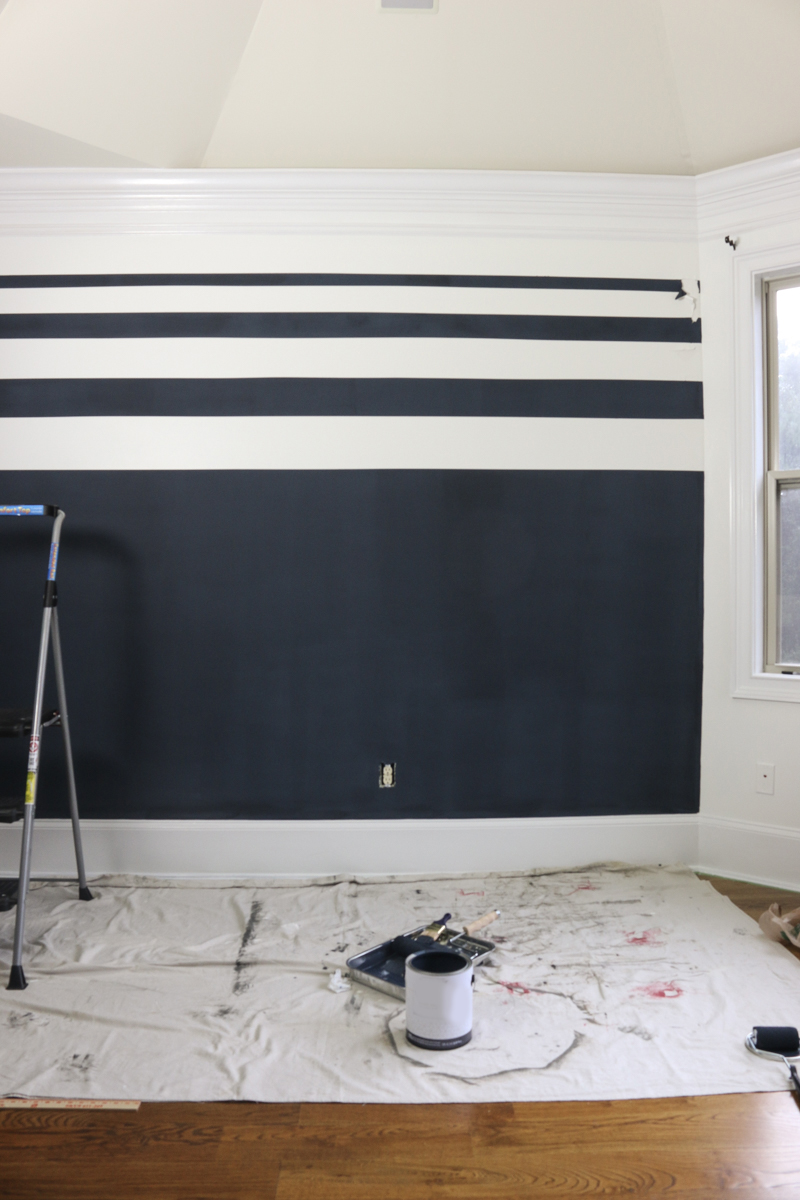
After that I removed the painters tape….
And yes…there’s my oopsie in the top right corner. That’s what happens if you don’t sand your spackle enough people. Prep. Is. Everything!
FINISH AND ENJOY
At the end of the day, we were able to stage it with the help of The Home Depot and we could not be more excited! I loved everything we put in here SOOOO much. In fact, I kept telling Jeremy that I needed to figure out how to make that console ‘disappear’ – WHAT?! I NEVER GOT THAT PIECE OF FURNITURE! WHAT!? DON’T GO UPSTAIRS!!! NOOOOoooooO!

It turned out so beautifully and we loved the classic blue and white look so much that it is why we decided to paint our entire sitting area navy!
So that was our secret y’all…the itty bitty makeover of one little corner that allowed us to try something new and create something beautiful!
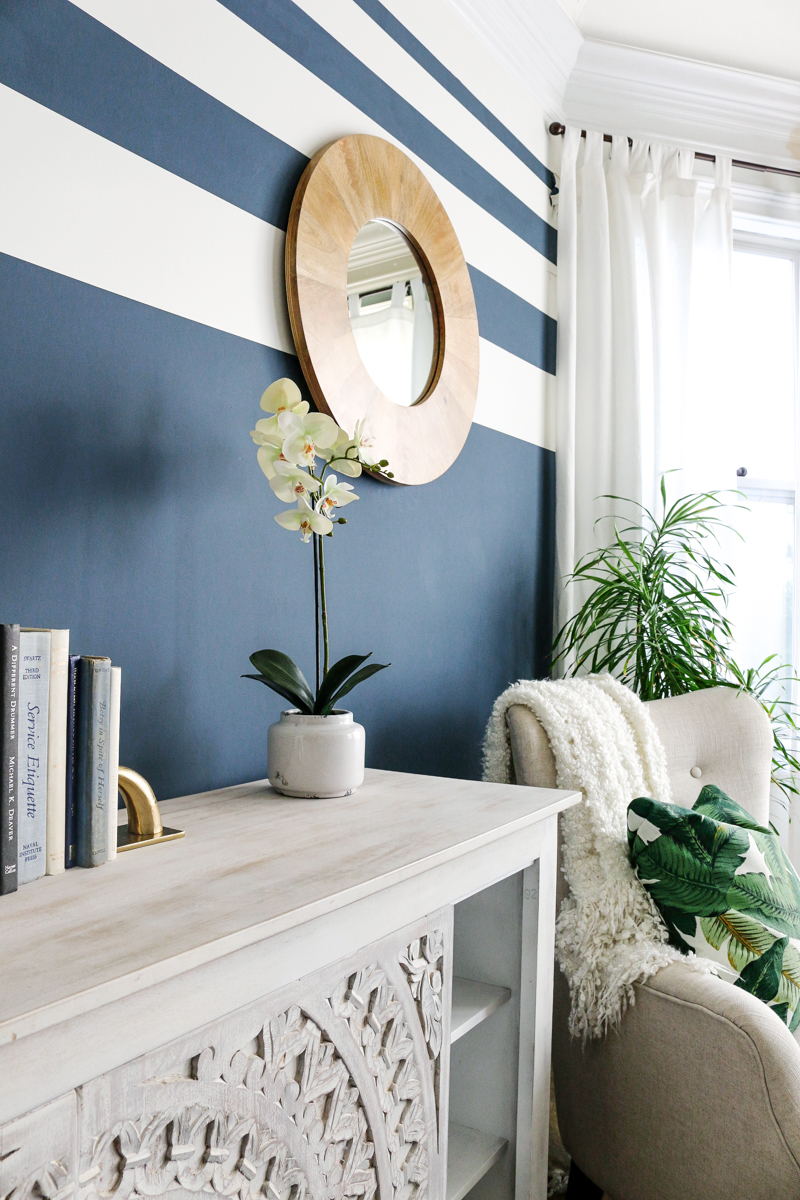
And now for the sources:
- Rug (yes it is polypropylene! 8×10 is only $140)
- similar Chair
- Carved wood entertainment center
- Pillow cover
- similar faux orchid