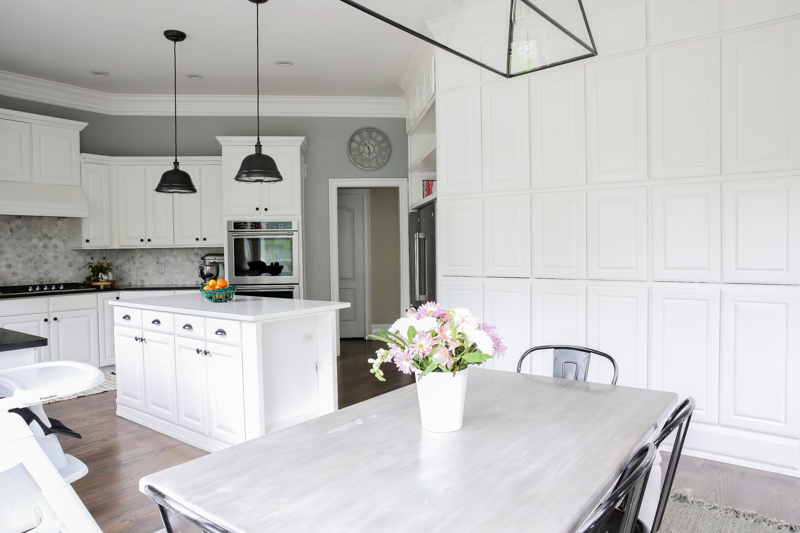
One of the most requested posts this past year was to show how we turned our pantry from this….
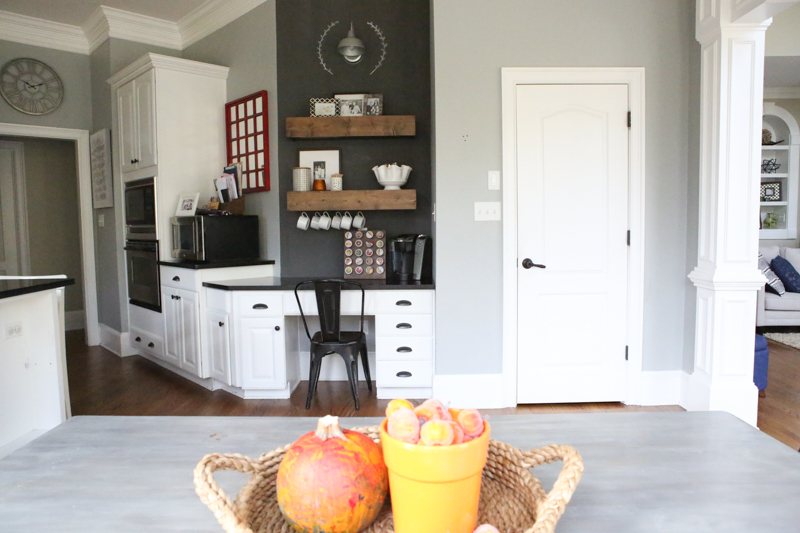
Into this…
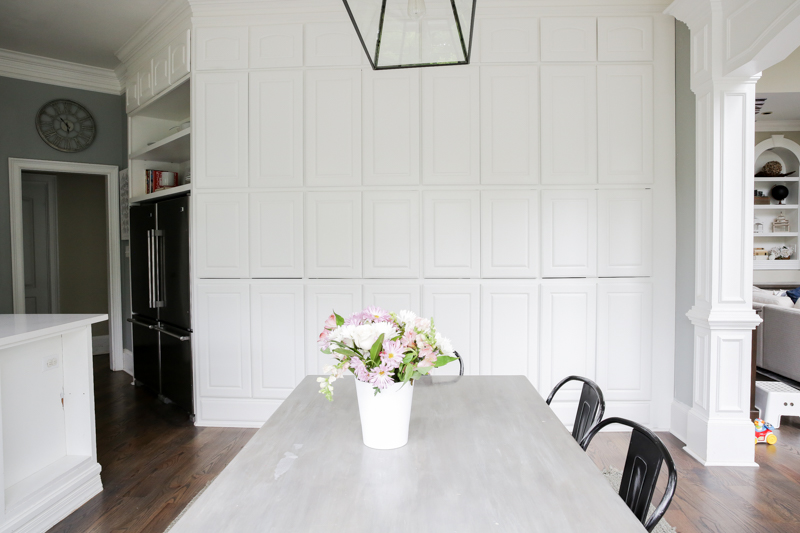
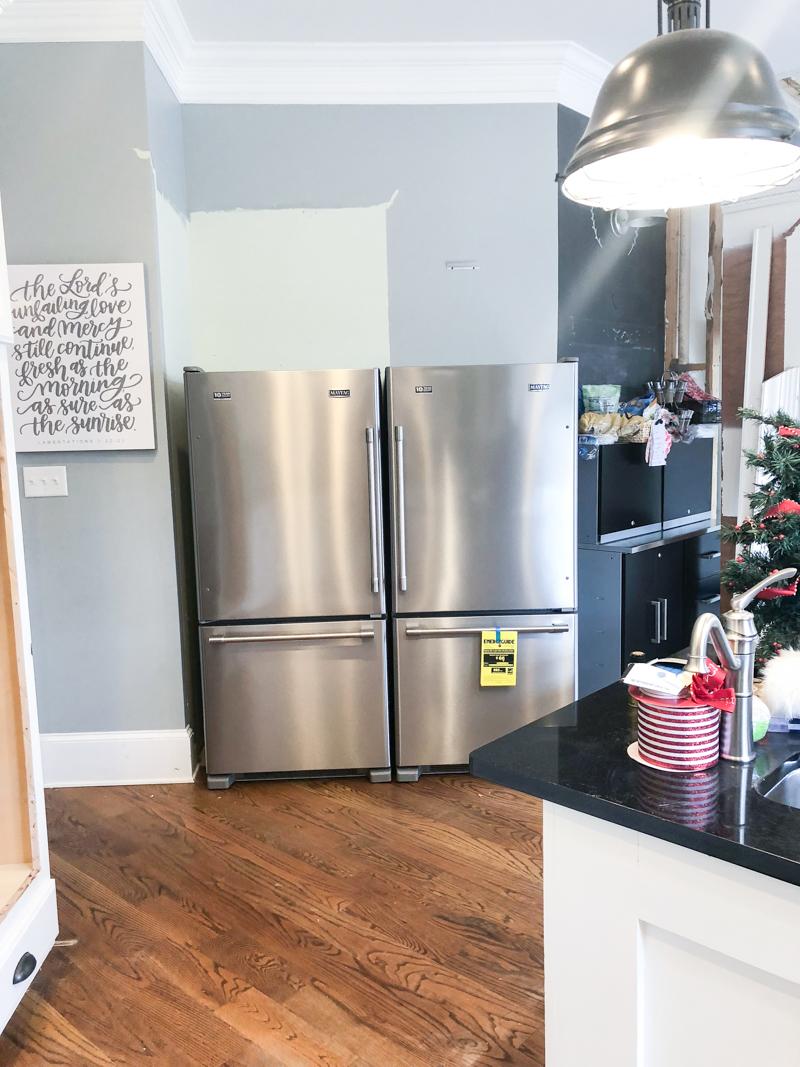
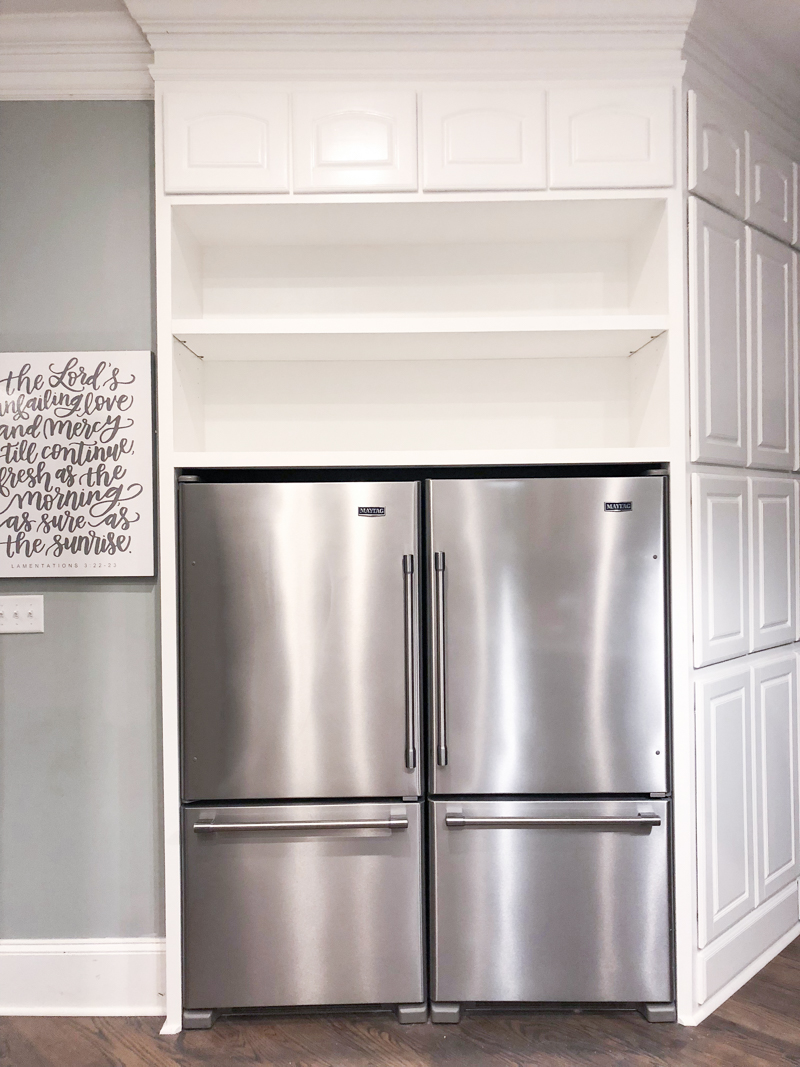
Yes, that is a massive wall of cabinets. Before we had a small pantry, a desk area that was basically just a clutter-catcher, and our microwave and oven lived right around the bend. Now we have a large wall of cabinets that acts as our store-all-the-things unit. It is built in and hides a big pipe that runs up through the entire thing. Just beyond the river bend, we also switched out the old oven/microwave combo for two fridges for additional food storage.
So long and short of it is that a couple years ago we were planned out a kitchen refresh. We were getting a new layout, new appliances, and new storage…aka a new lease on life. With seven in our family, we kept saying that we had specific needs that just weren’t fulfilled in our kitchen. We desperately needed more food storage and we also had broken appliances and the pantry was just miserable. After a little brainstorming, we realized that if we switch the location of the fridge and the oven, we could possibly fit TWO fridges and TWO ovens! SOooo we ripped out the cabinets and got to work moving those for a little reuse action…
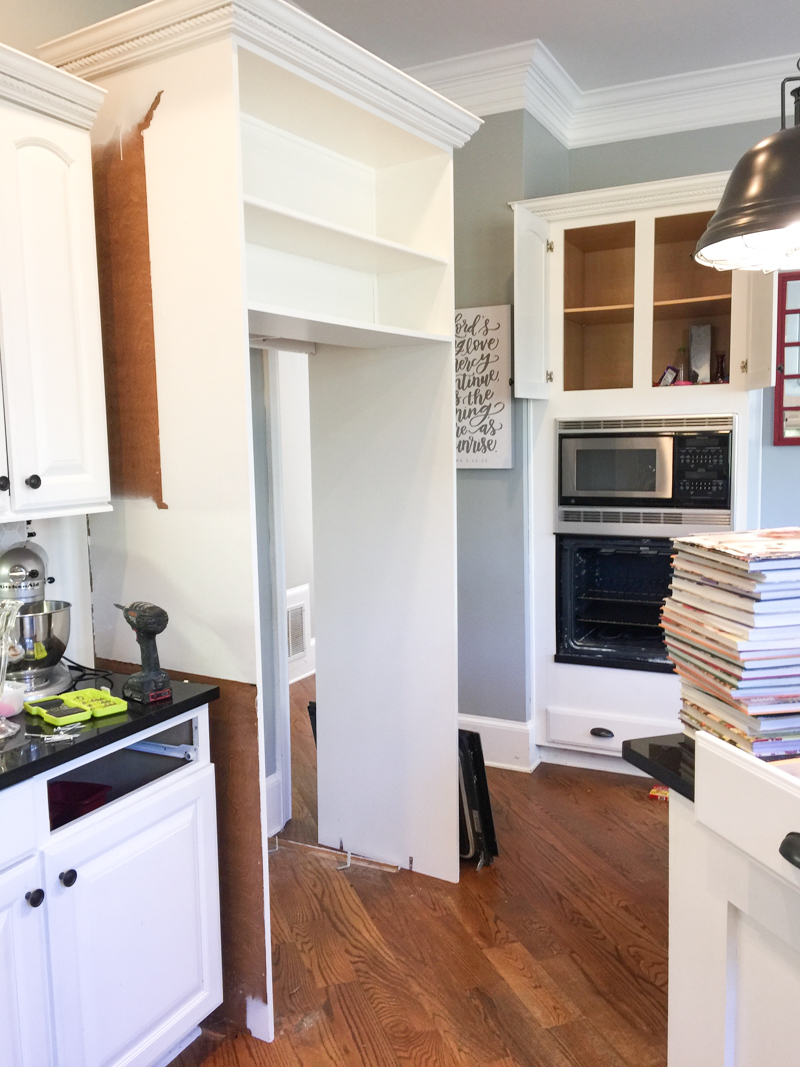
We also discovered we could use the existing oven cabinet and put that in it’s new location with minimal tweaks. The new fridge cabinet would need to be twice as wide so we just used that one as a template.
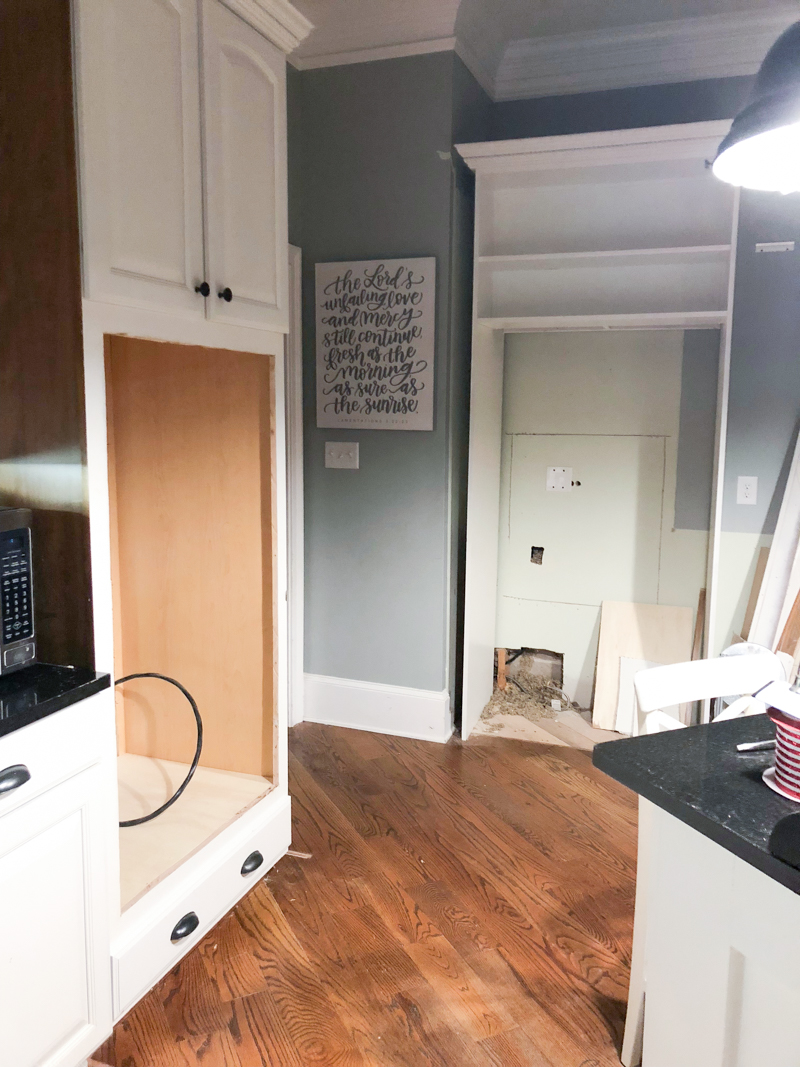
After the demo was done, we had to hire a plumber to run water lines for the fridge and an electrician to run electrical outlets for the double ovens.
Once our new appliances came in, there was a lot of planning to do.
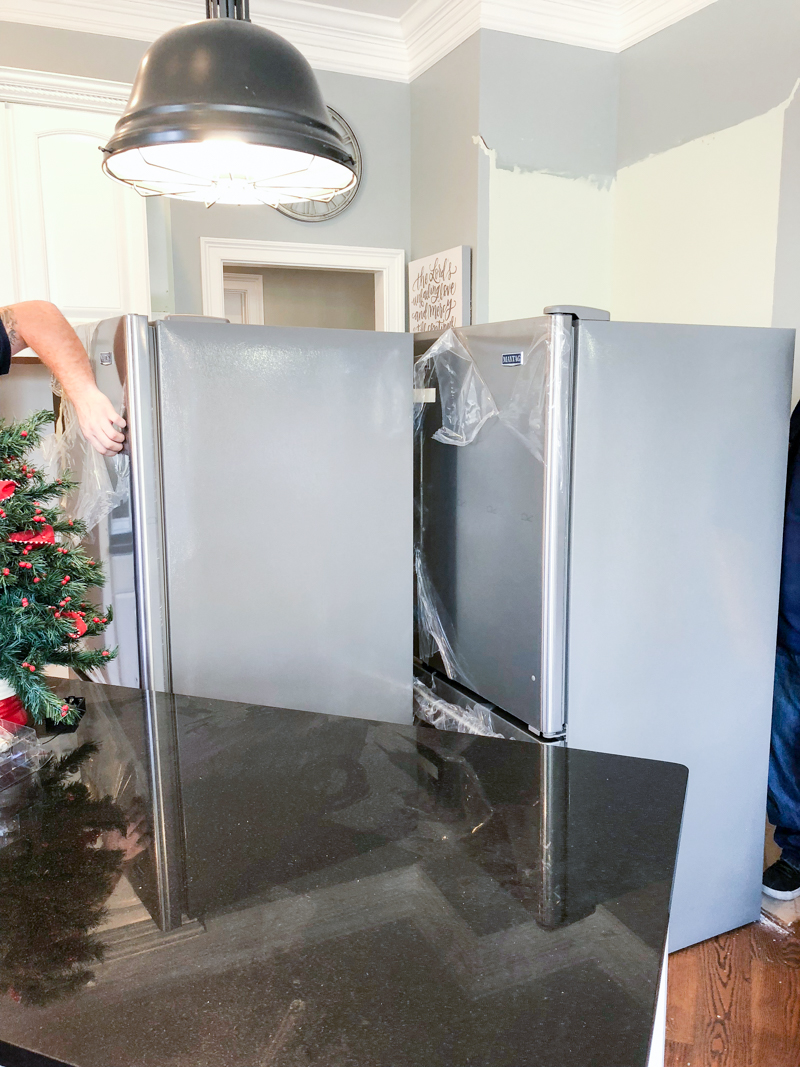
But it all started to feel so real….
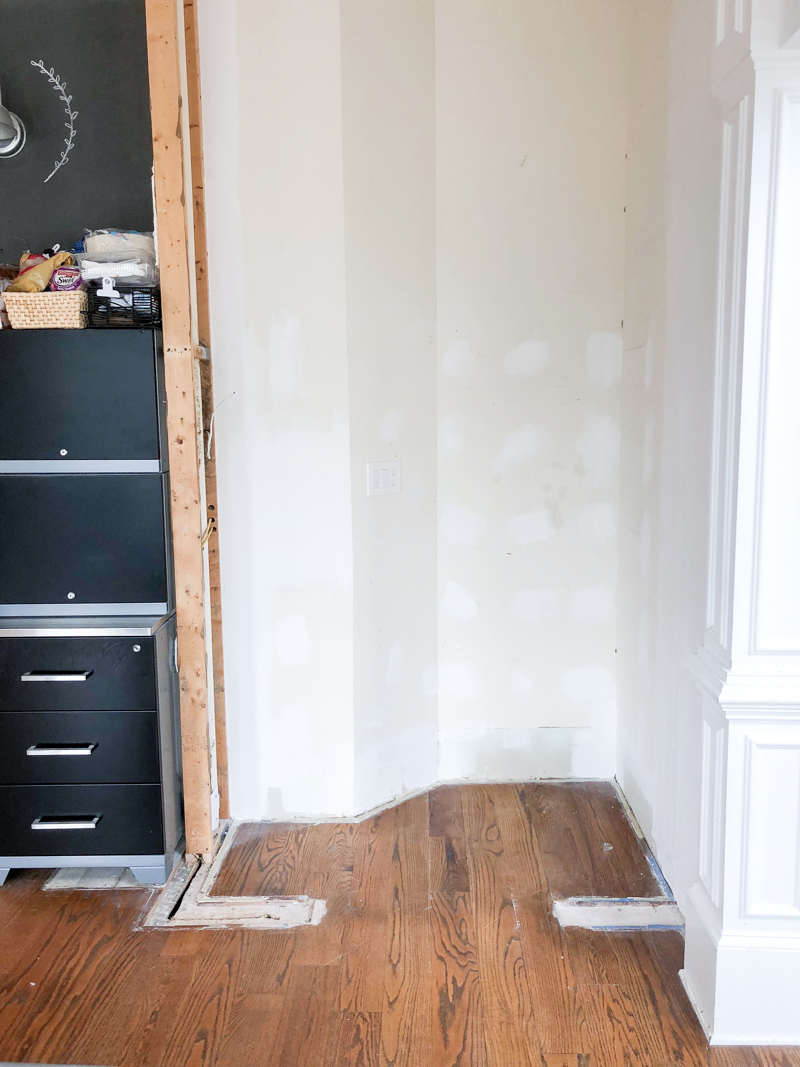
So back to the pantry area. When we had the appliance area figured out, it meant now moving forward with the storage. The old pantry had an odd shape and a light switch that controlled the pantry light (getting rid of that!) and also an exterior light (that we wanted to keep) so we also had to have an electrician reroute that. We also needed additional plugs for the future microwave and coffee maker.
The pipe that we had to build around was in the wall separating the pantry from the desk area so that was an unexpected hiccup. But we figured that the carpenter who was building out our unit could build around it.
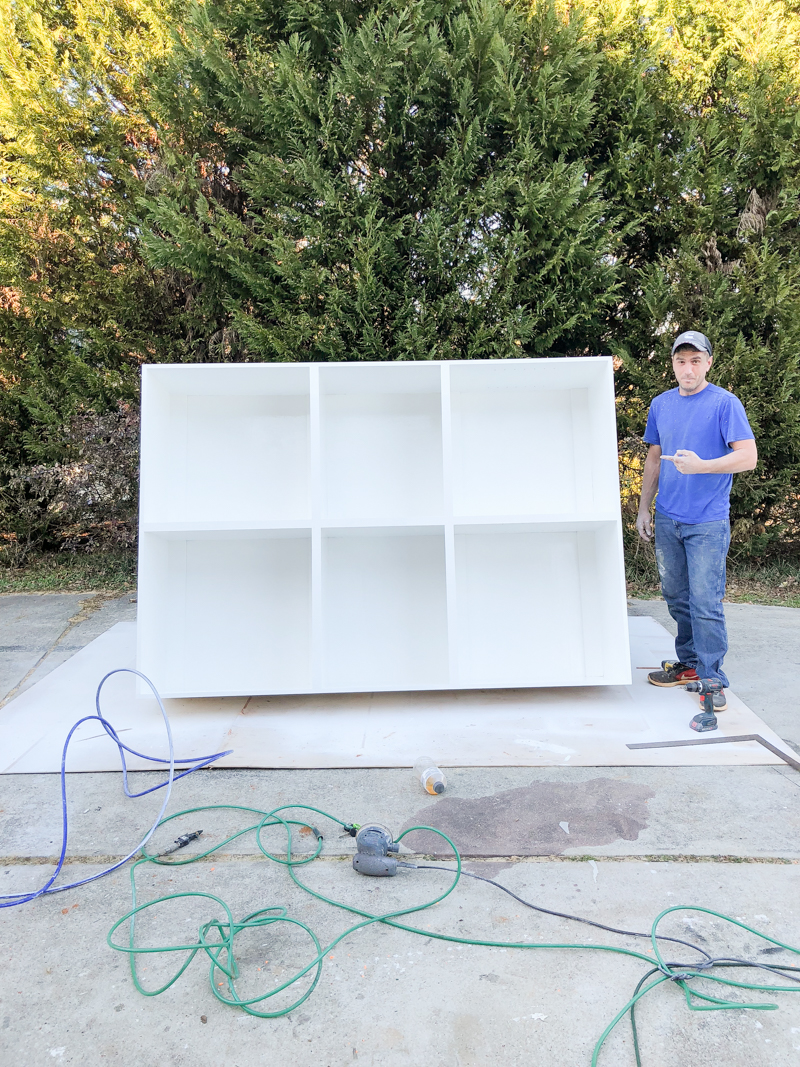
Speaking of carpenters – we decided to get some help from our friend Shawn who lives down the street. He is super handy and knows a little bit about just about everything. He is the first one I call if I need a specific tool that I don’t have!
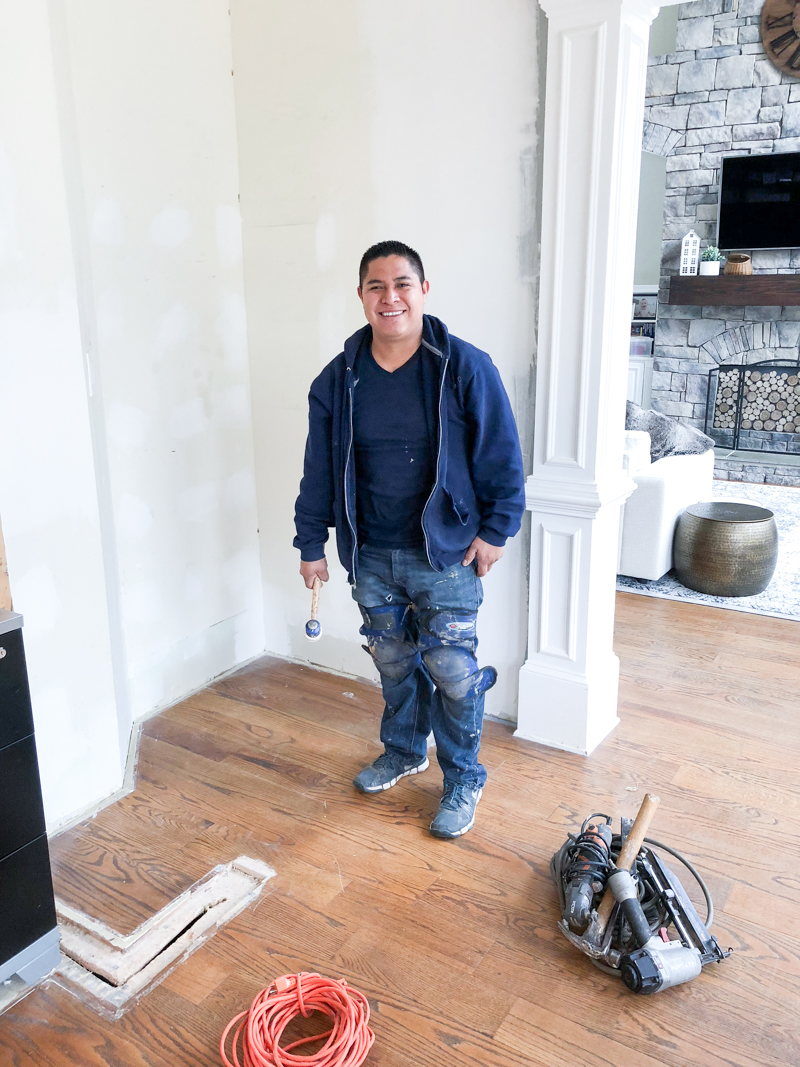
So in order to get ready for our carpentry, we first needed to do drywall work. When I say we, I mean, Carlos. If you don’t know already – Carlos is our go-to man for all things painting. We had him paint our basement bedroom and when he did that, he said he would do the drywall work for cheap (DONE AND DONE!).
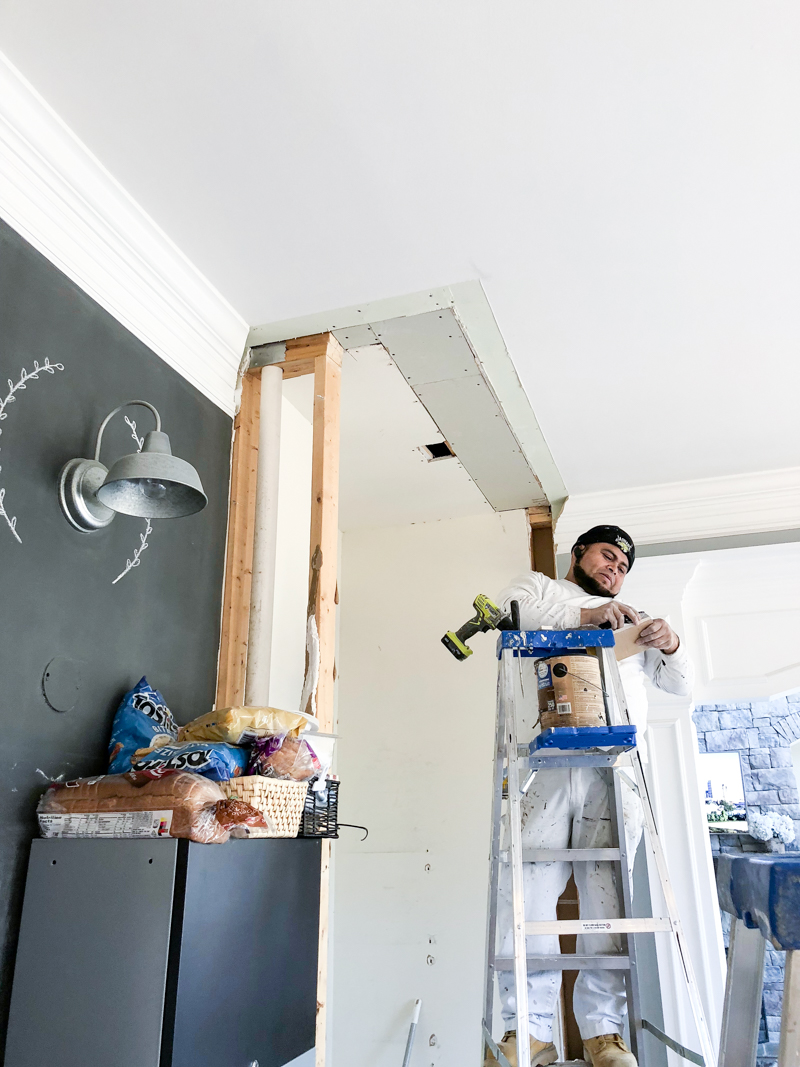
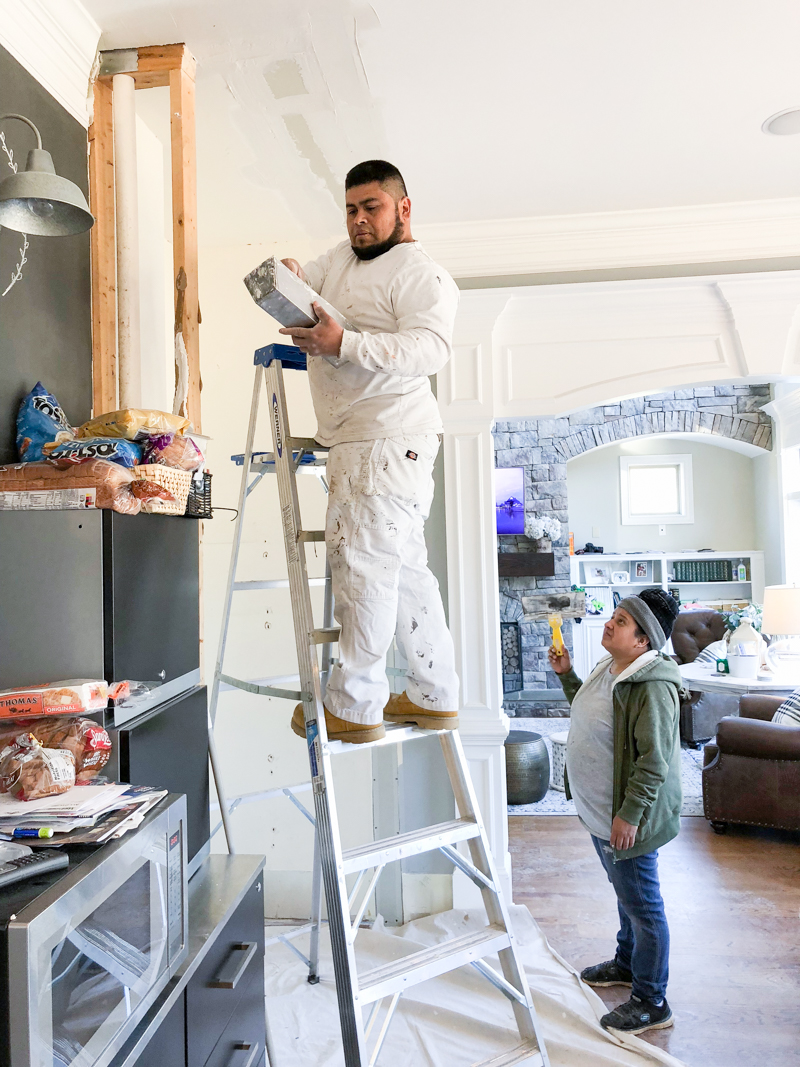
We were laughing because one of the boards we removed went through the drywall to the other side (oops!)…so Carlos fixed that too 🙂
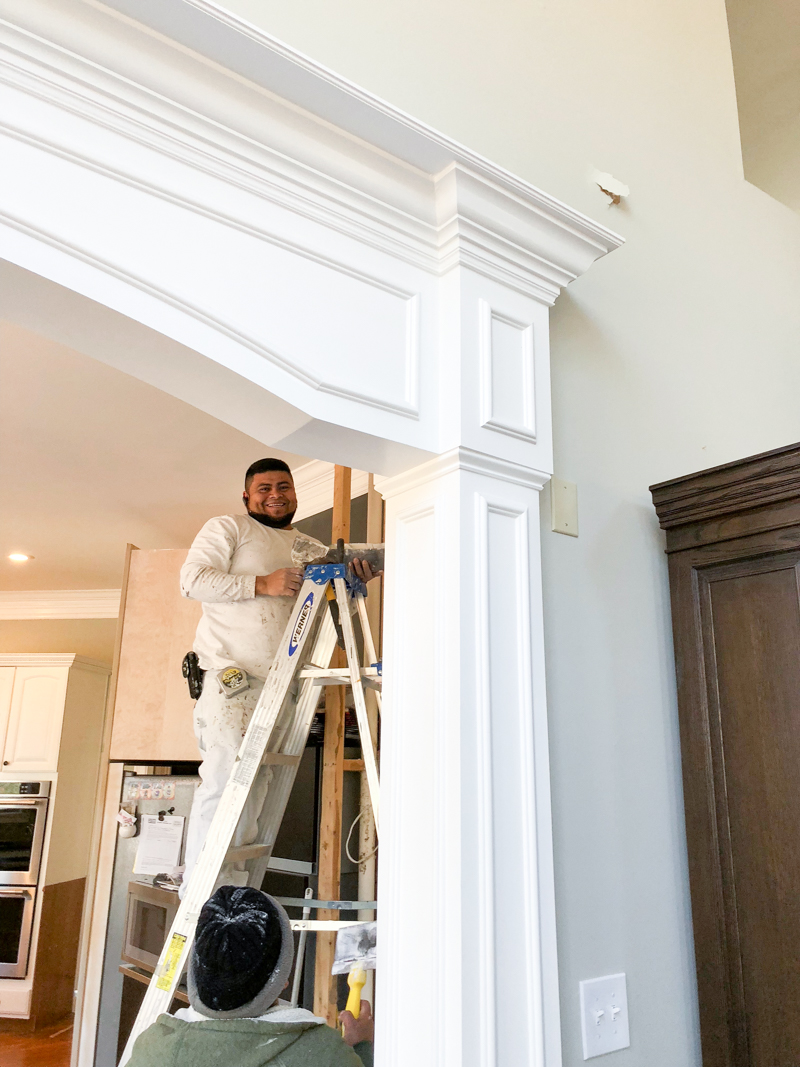
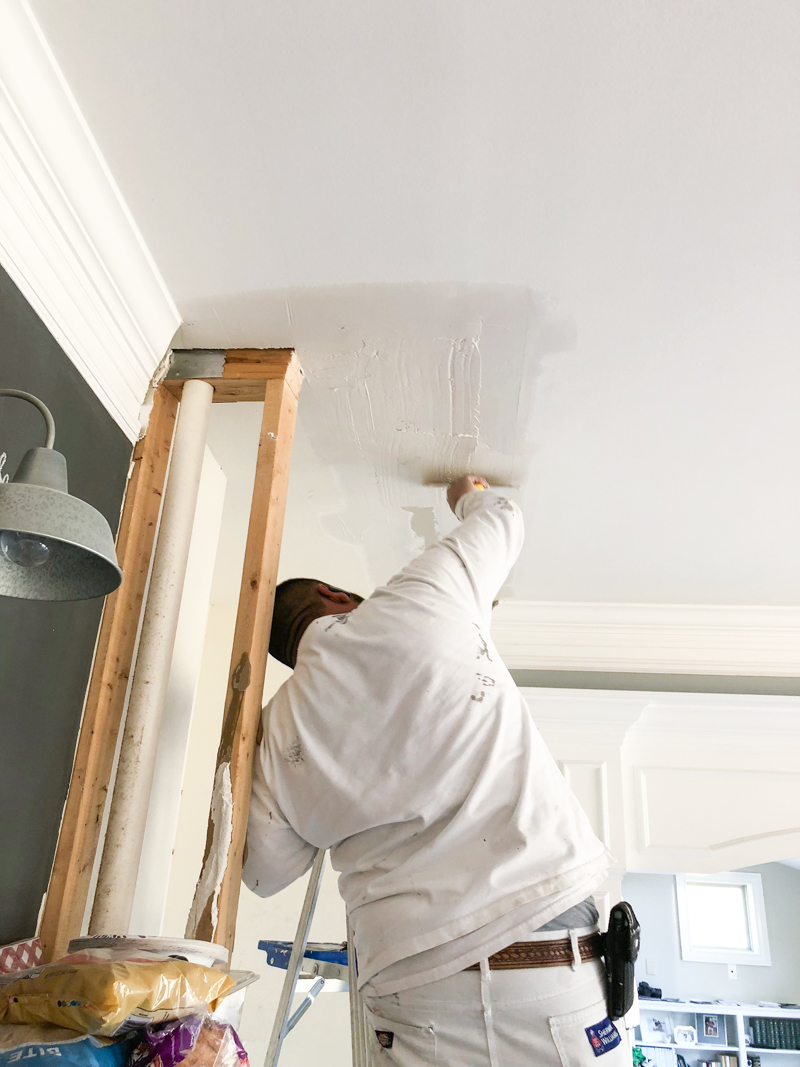
Once the drywall was repaired, the floor posed an issue. The cabinets would stick out far enough to see the gap in the hardwood. It had to be repaired first. But that is what brought us to refinish the floors.
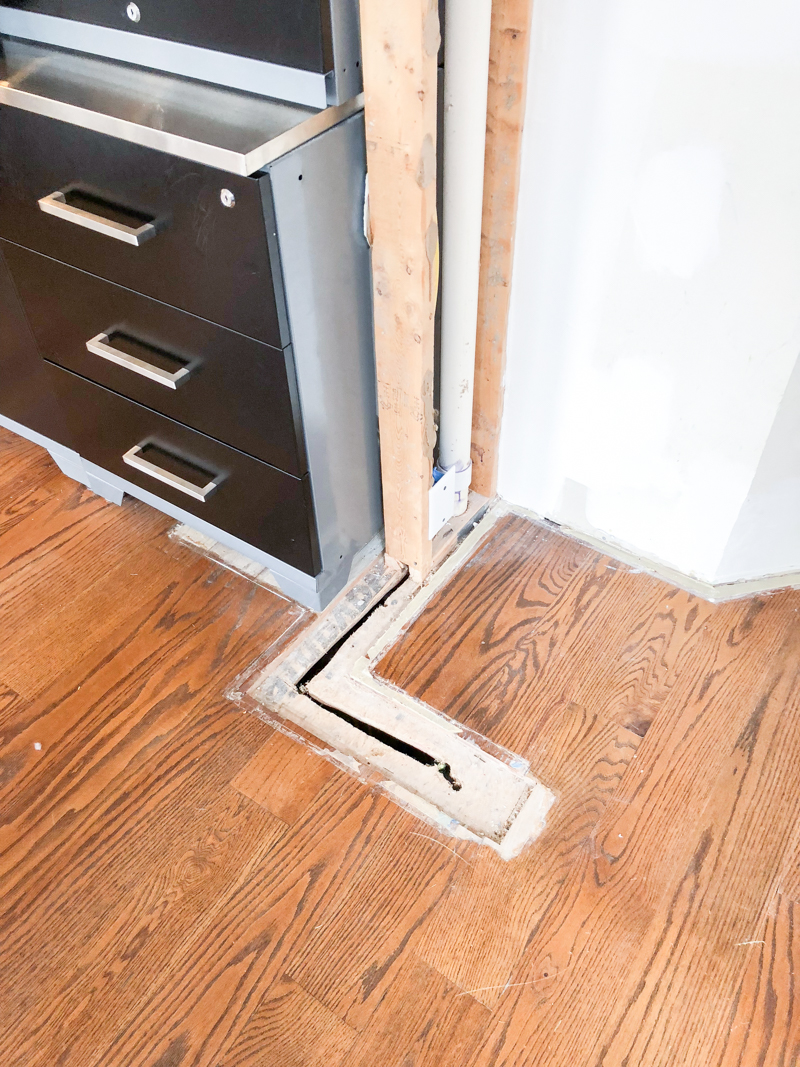
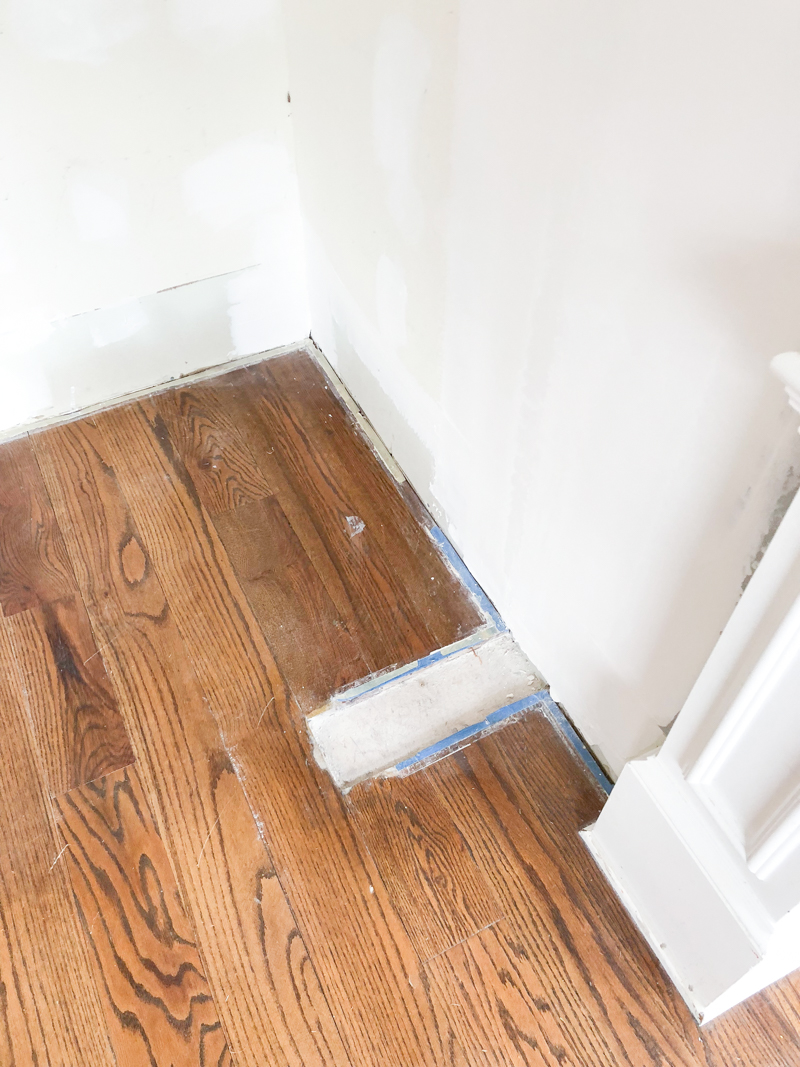
In the interim, we brought in random garage cabinets to act like a pantry.
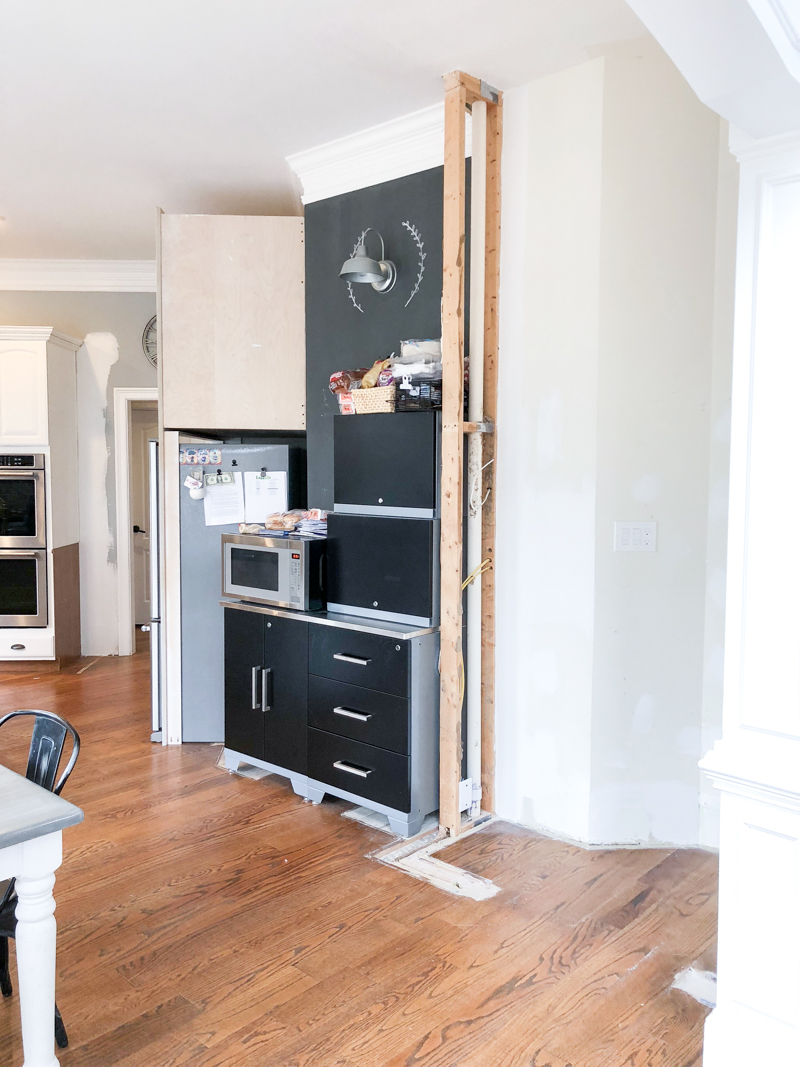
We hired Diego to do our floors. It was too giant a job for us to do ourselves (especially since Ella was a new baby!) and so we happily hired it out.
You can read about that adventure here.
In the end, it was a great job and we love our floors! Immediately after the floors were done, the first cabinet went in over the fridge.
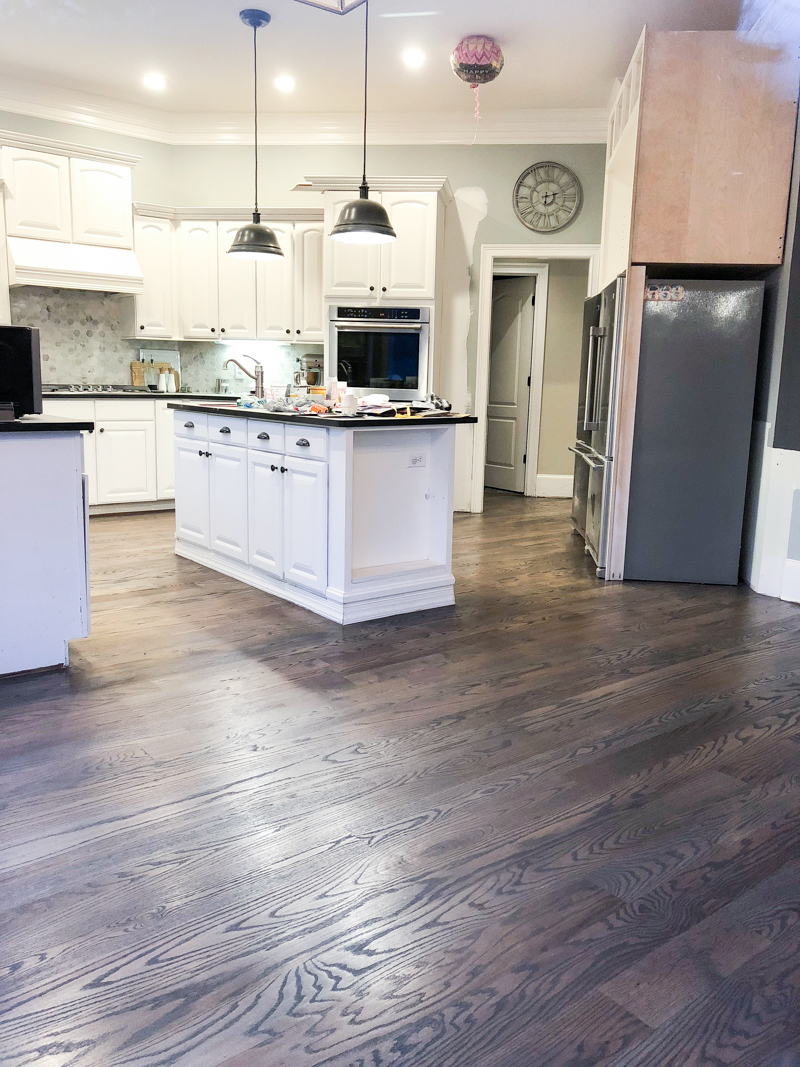
That first cabinet was hung on the back of the wall using a cleat and then screwed into place on the side.
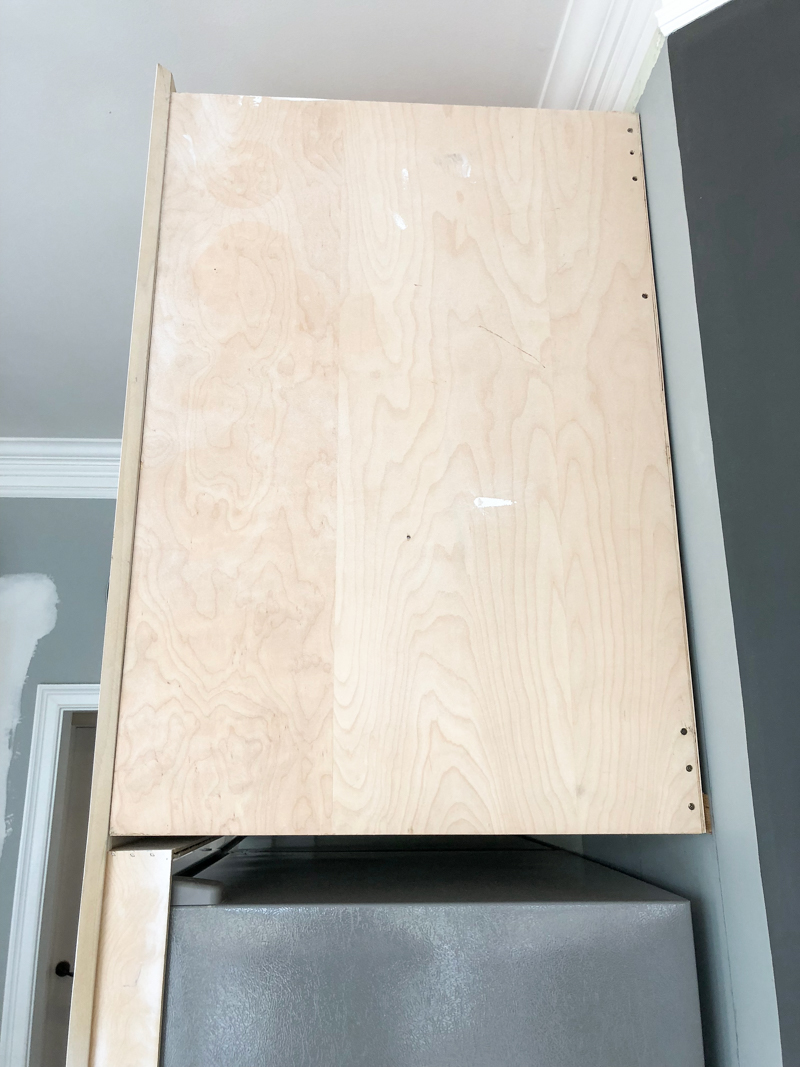
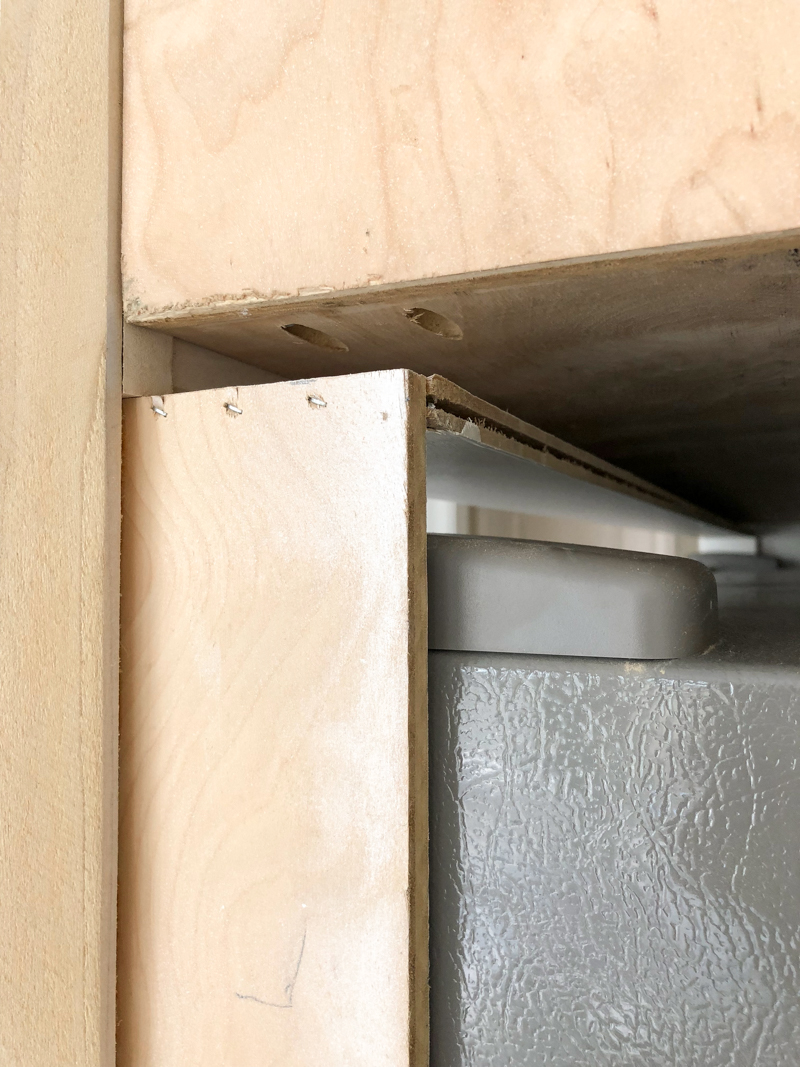
The construction of the box is with pocket holes and 3/4″ plywood. The fronts were made to run to the floor and meet on the corner.
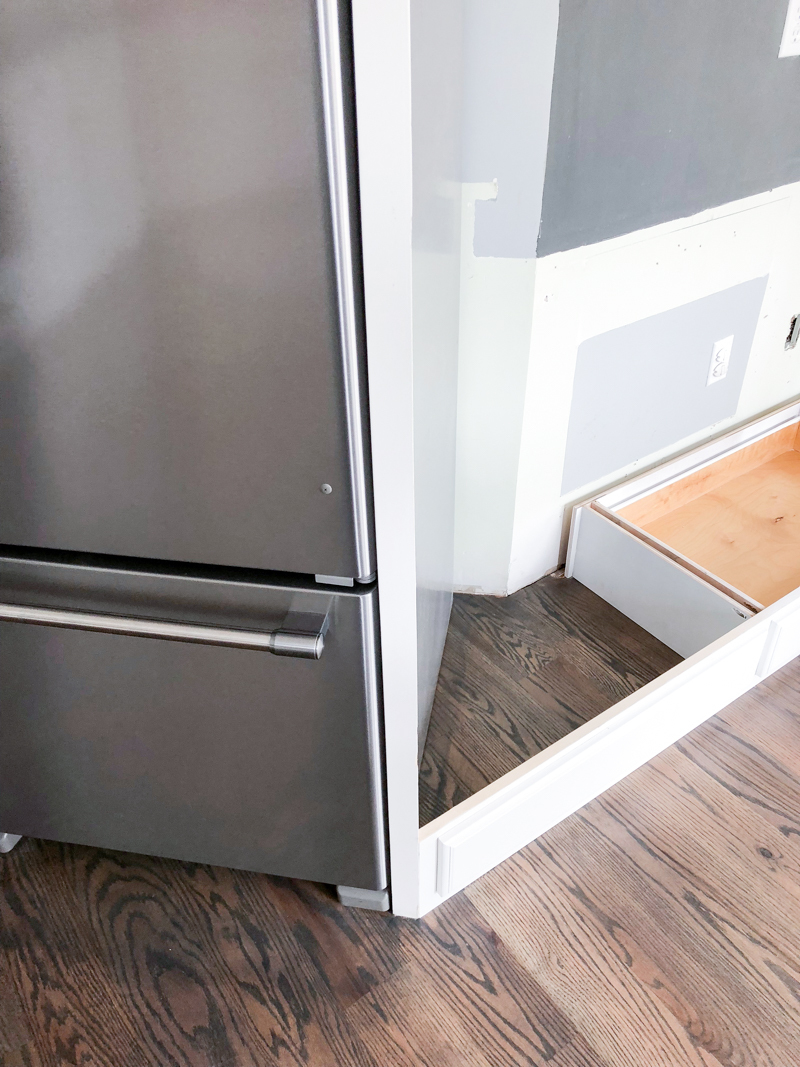
The second set of cabinet boxes were the base. These have three drawers and one false drawer front. The last one nearest the corner was made to be have and hide pull out dog bowls.
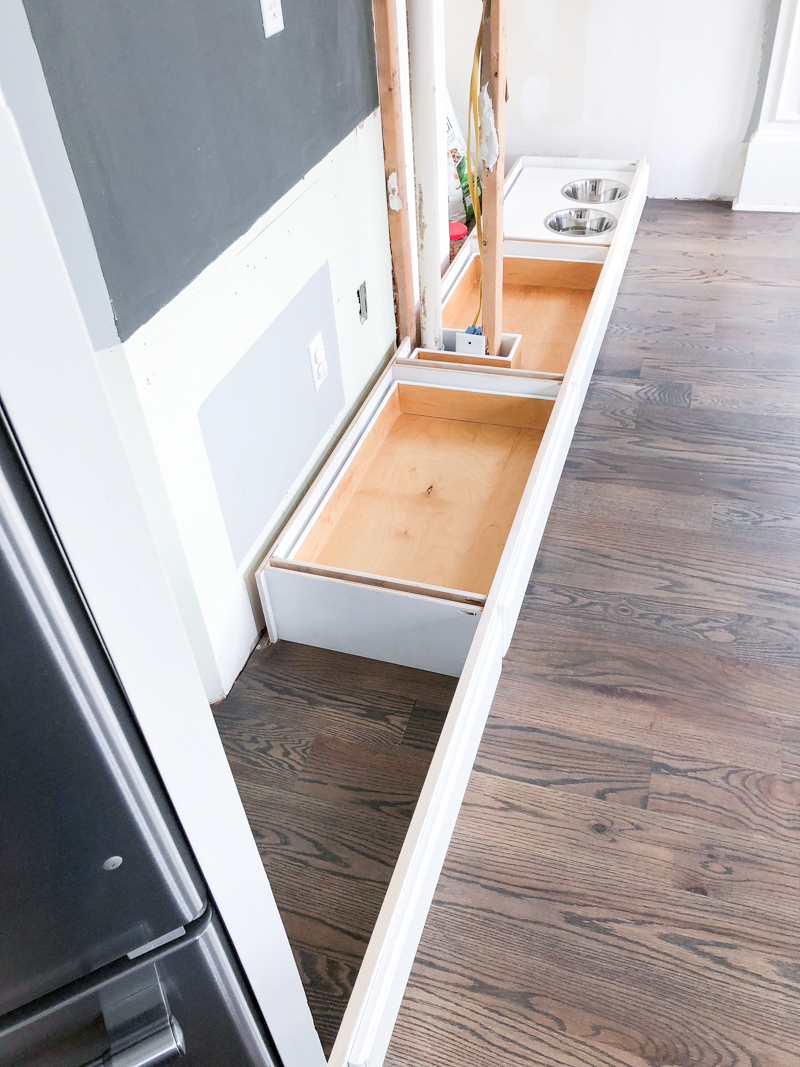
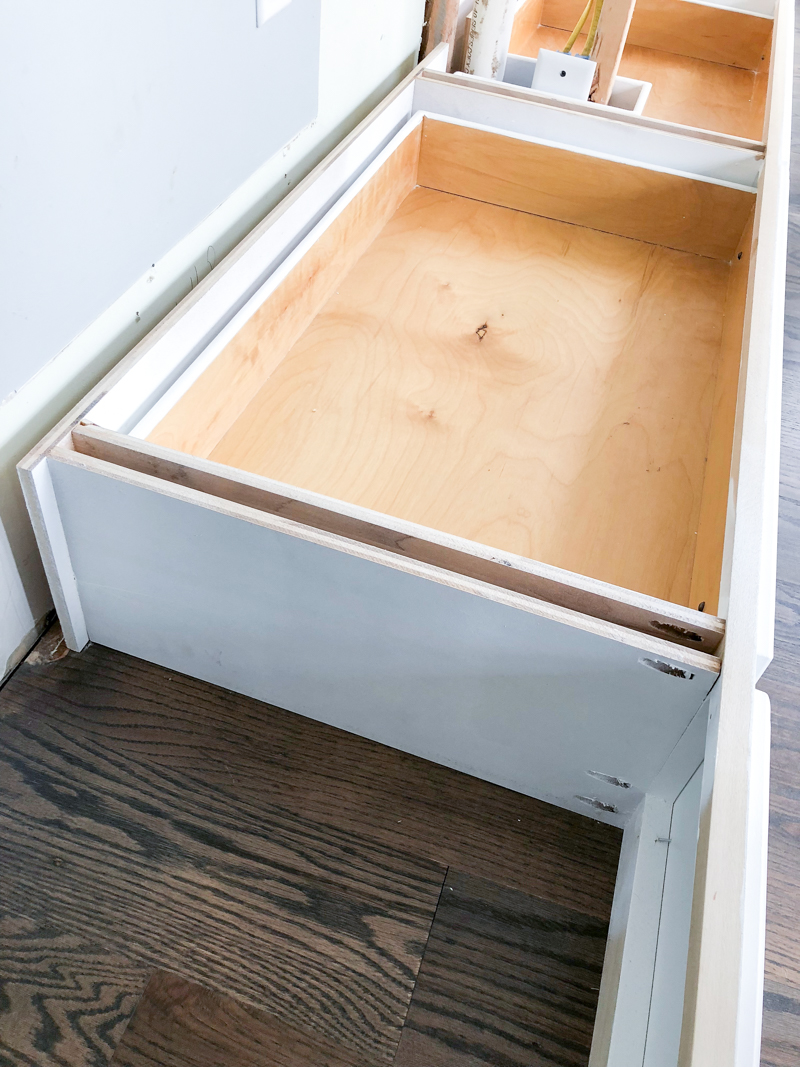
These cabinet fronts were attached to the corner and then also driven with screws to the floor.
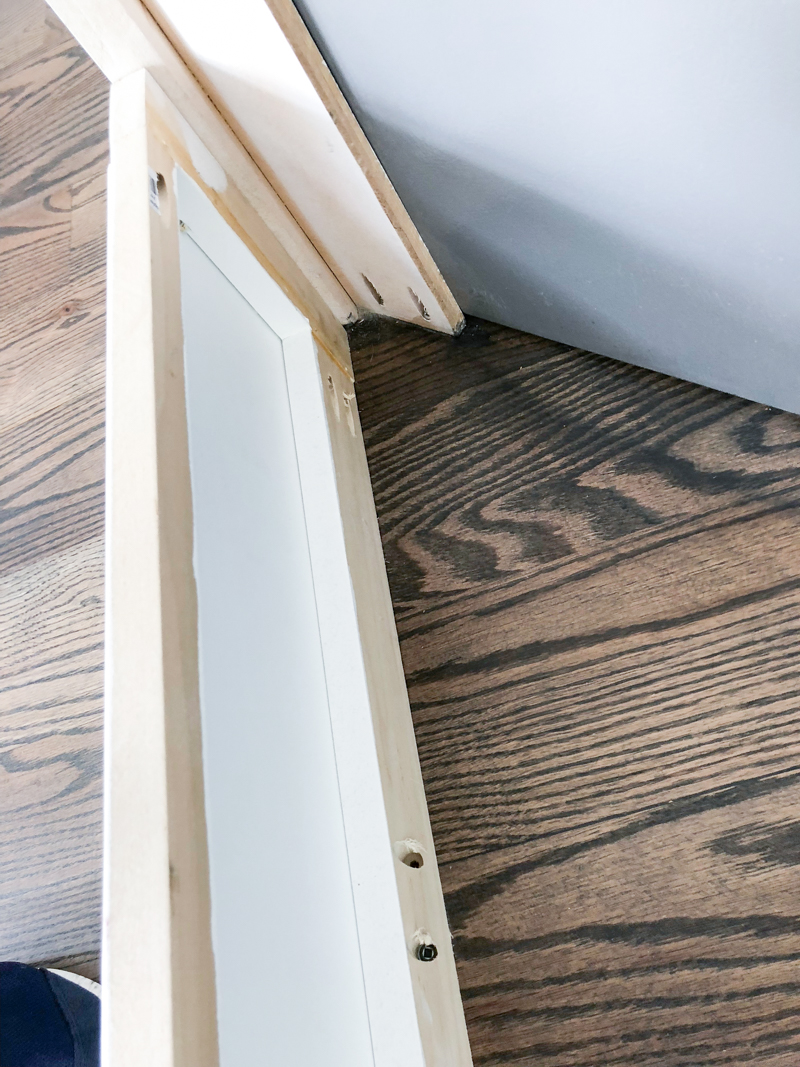
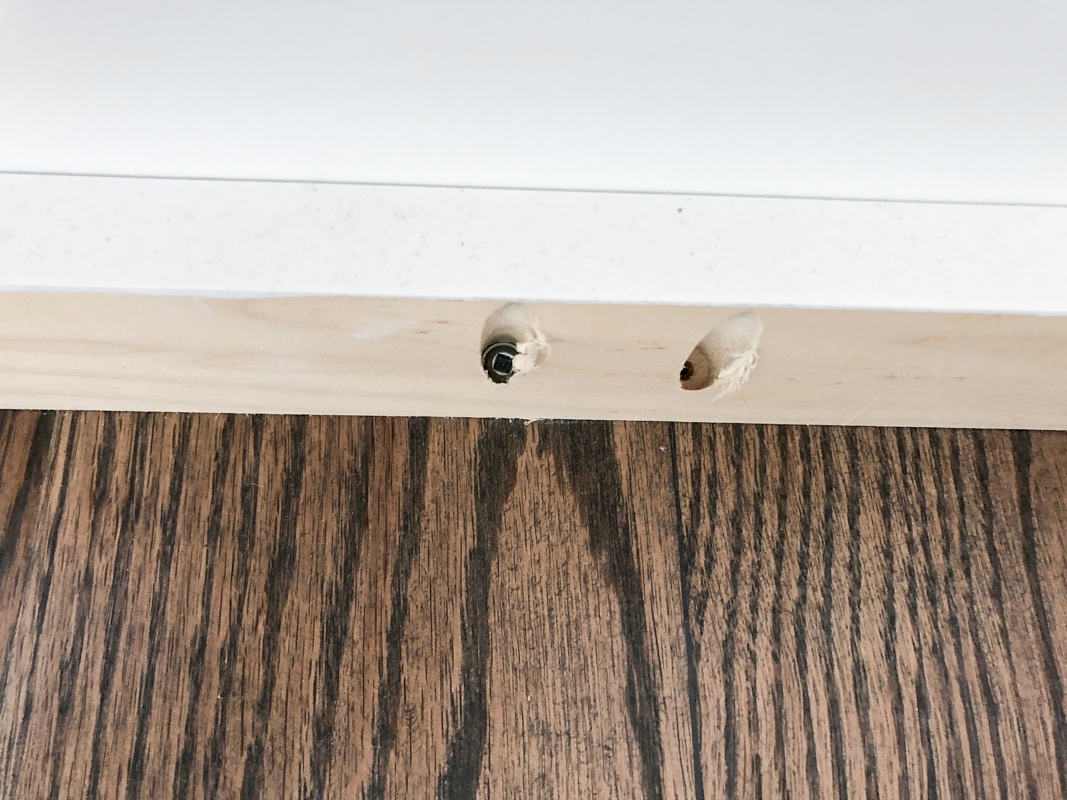
The hardware we chose for the drawers was the soft close drawer slides from Rockler. They have a bunch of different options and I love the soft close attachment on these.
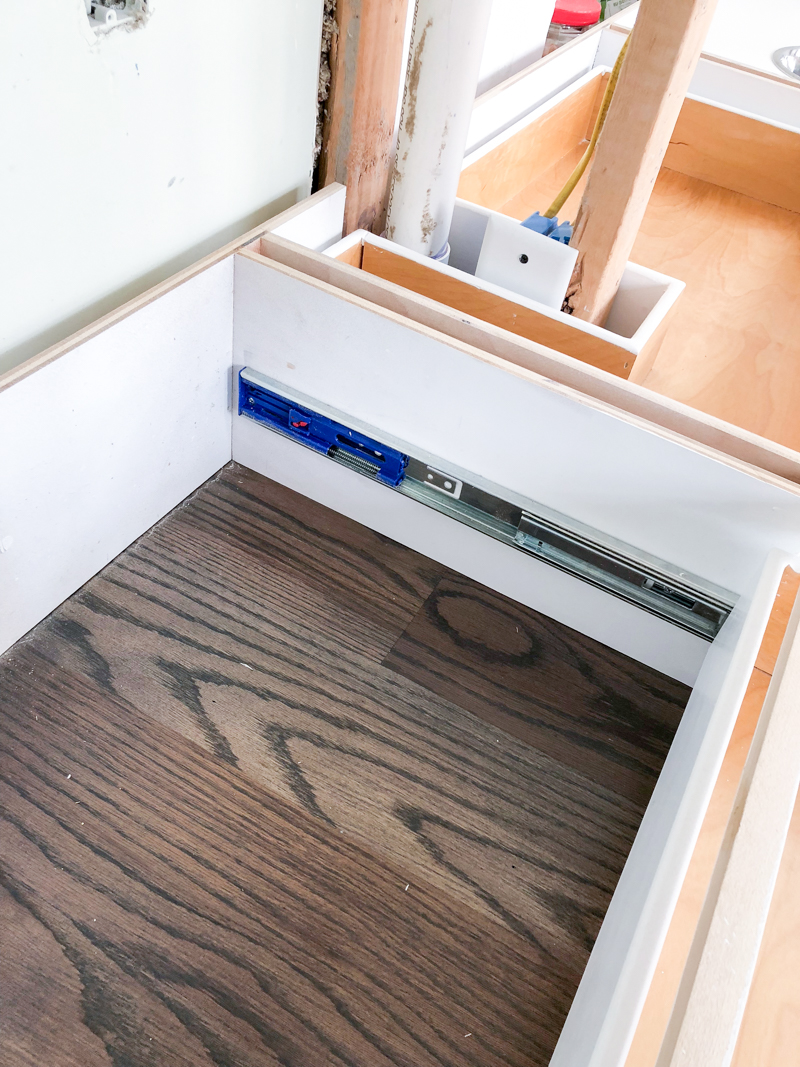
The upper cabinet went in next – this was the main unit and it was the one that slipped around the pipe 2×4’s.
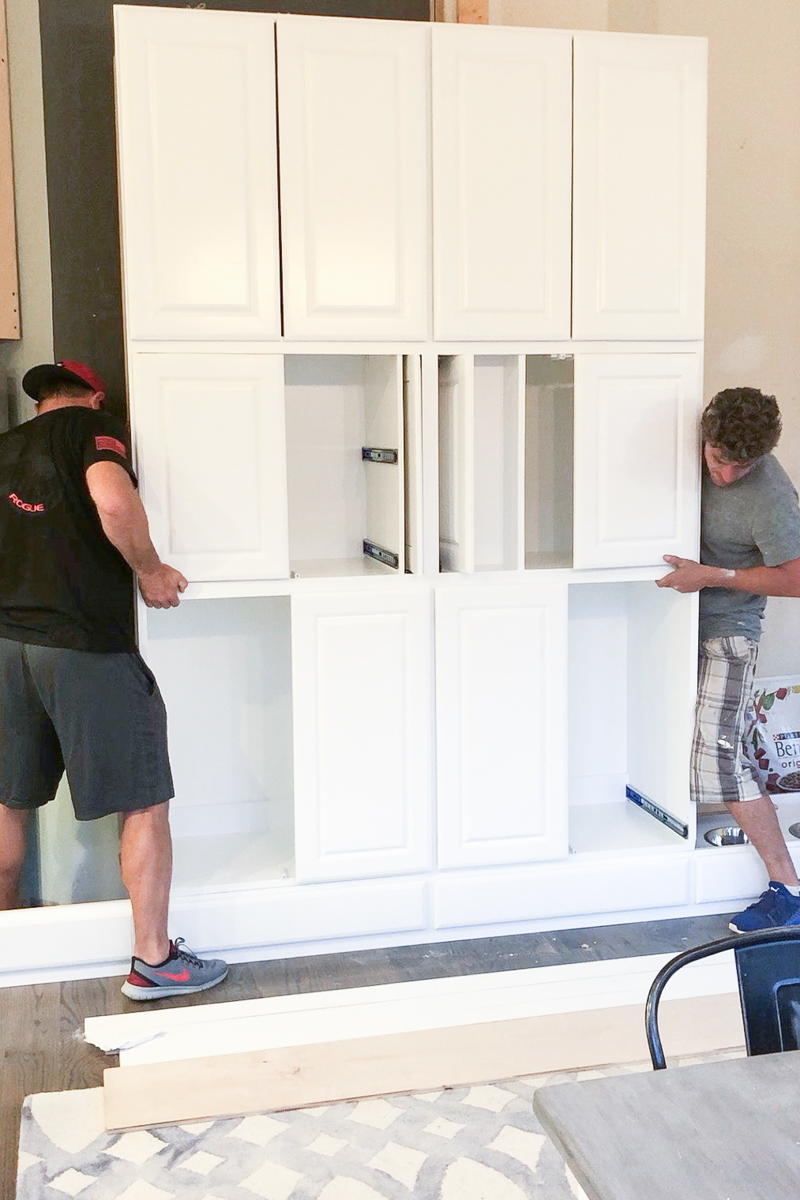
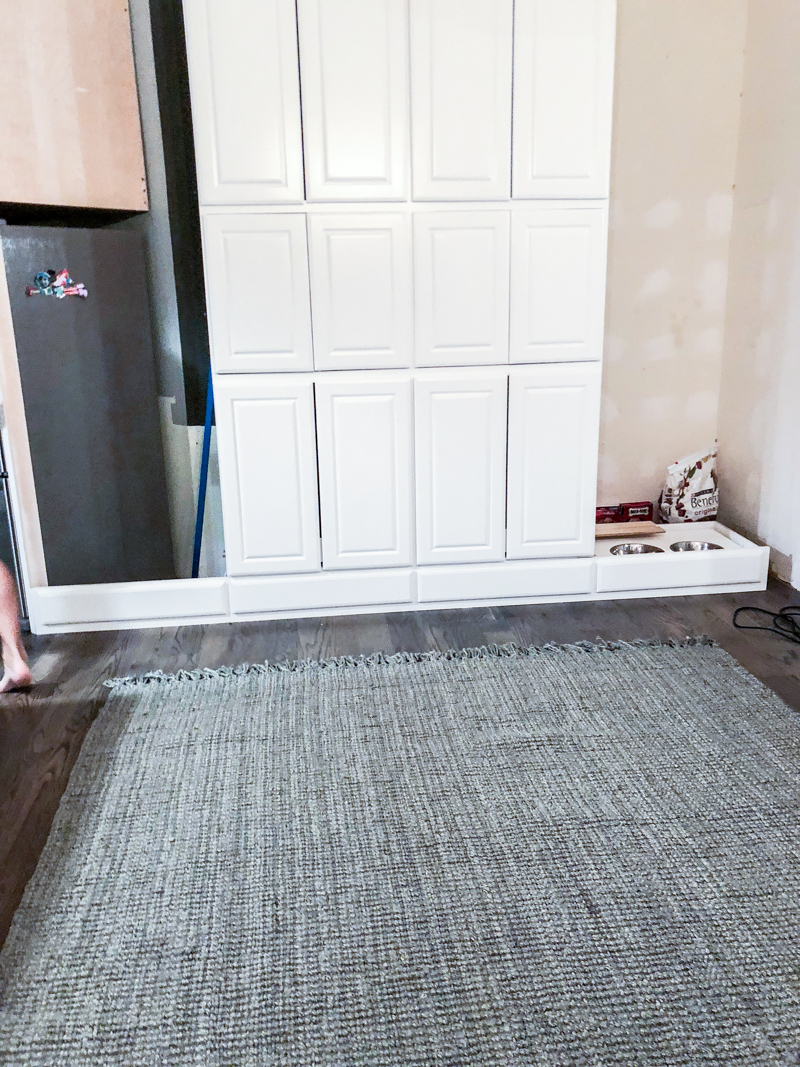
You can see where the studs around the pipe ran down into the cabinet. That eats up some of our pantry space but I was cool with it because it looked good and still had loads more room.
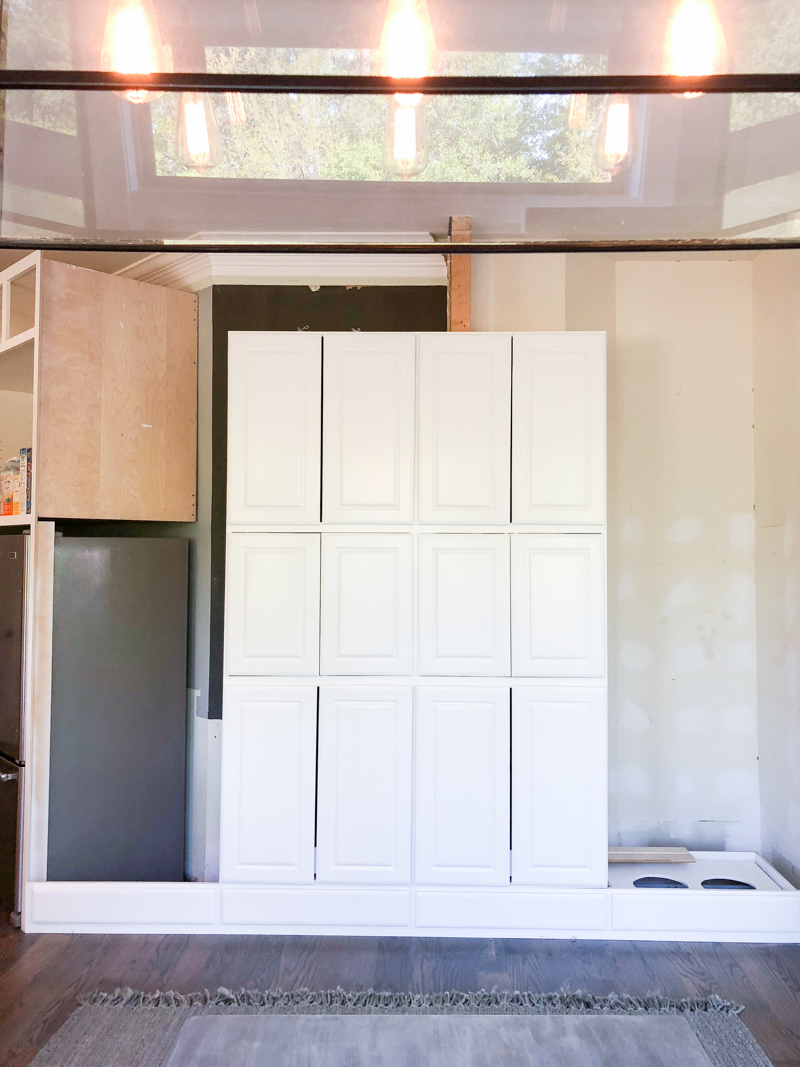
Next came the triangle cabinet. That one didn’t have any drawers – only shelves. The doors will make it look like all the other cabinets but the triangular shape inside made it so that we can only store certain things in that area.
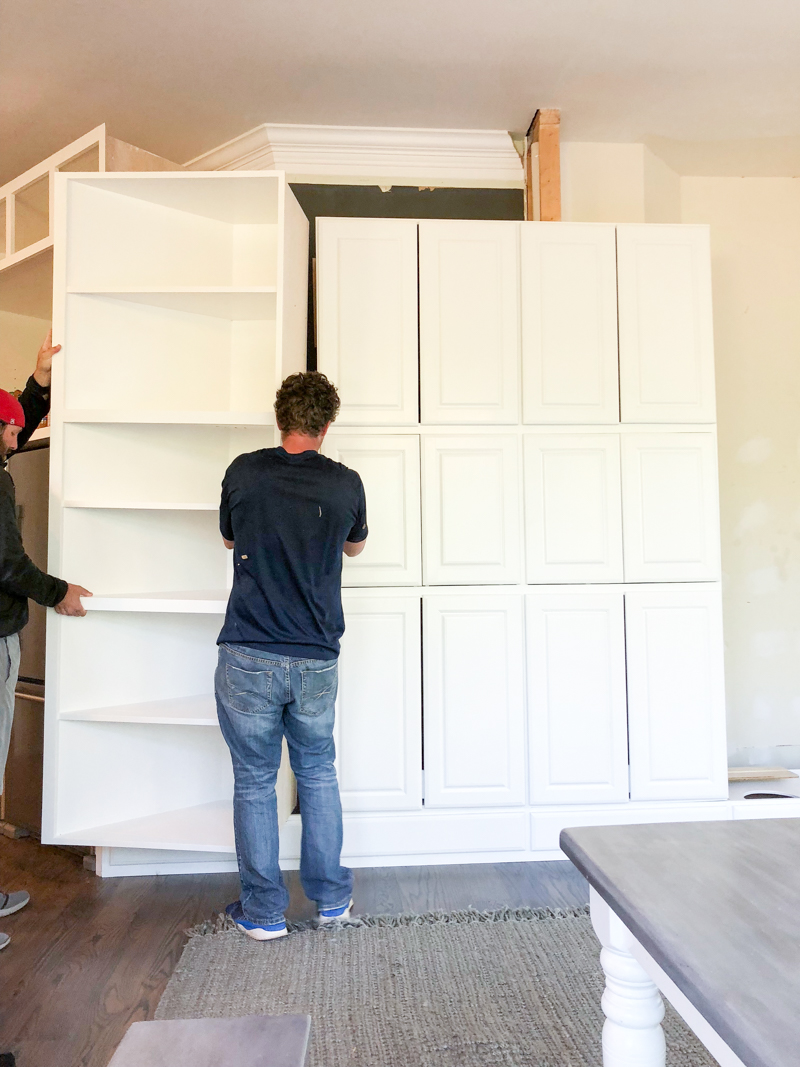
Last came the far right cabinet and the upper cabinets. The very top is actually functioning cabinets but they are so high that we don’t plan on putting anything up there except holiday items. The far right cabinet is going to be shelving at the top, the microwave in the middle and then can storage and dog food below that.
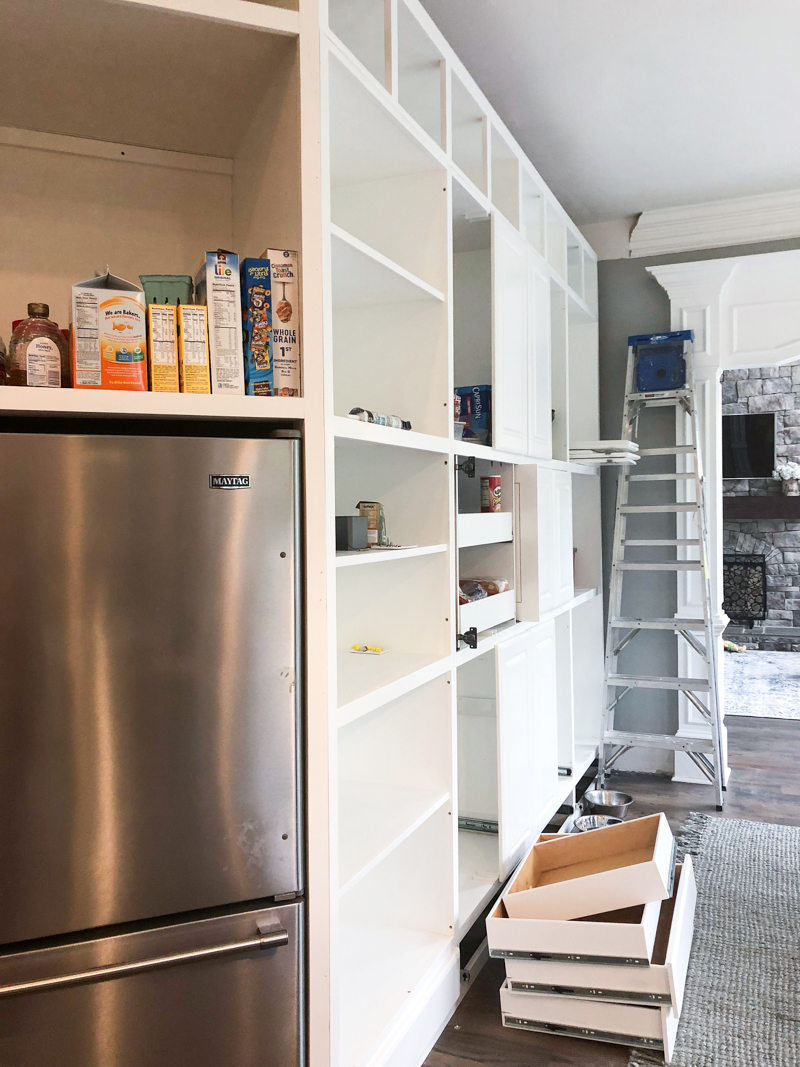
So many folks ask if we mix up the cabinets but it would be really hard to forget where everything is. We have only four cabinets across (each one has two doors) and it’s three sections down. I’ll show ya them all filled out in another post and explain where we put everything.
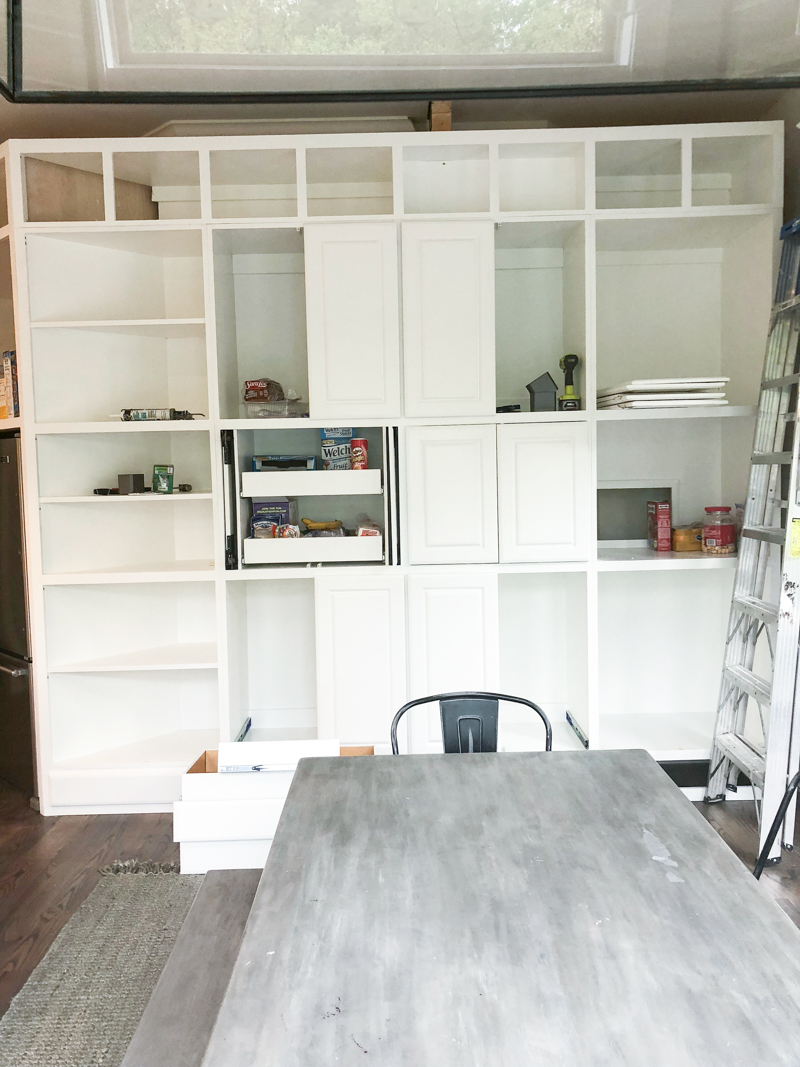
After the cabinets were put in, the next step was to trim it all out. Adding ledgers in the top were helpful and allowed us to put the crown and trim boards on.
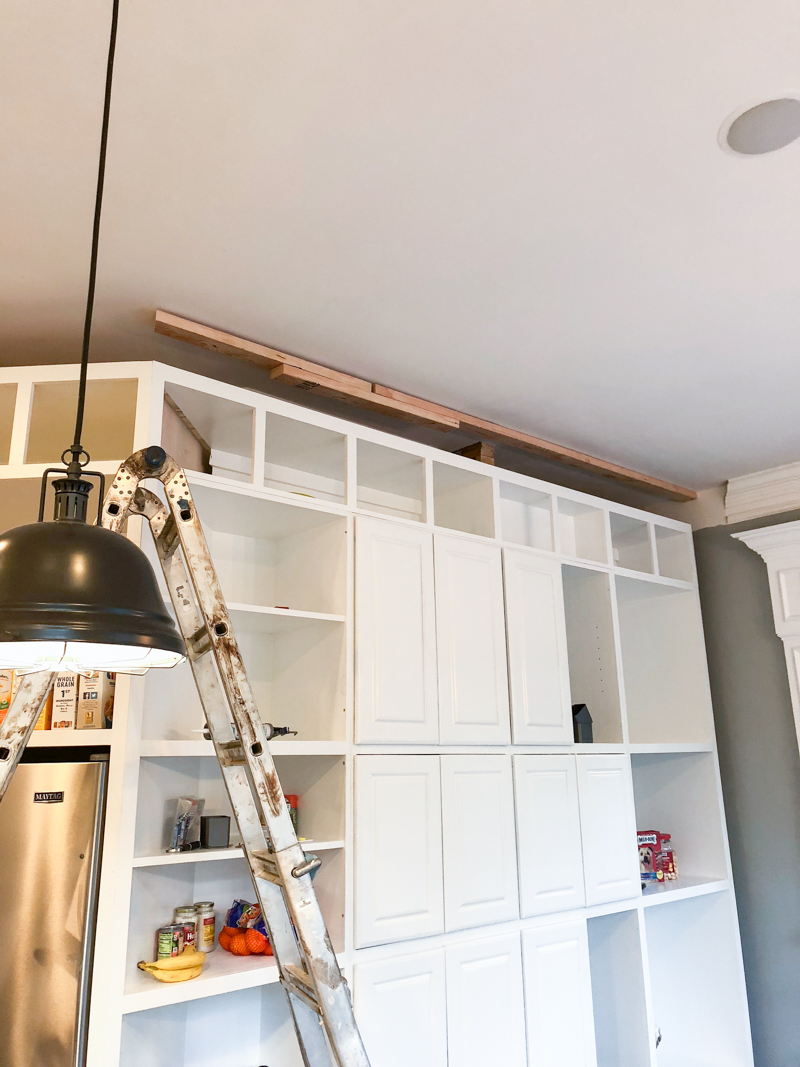
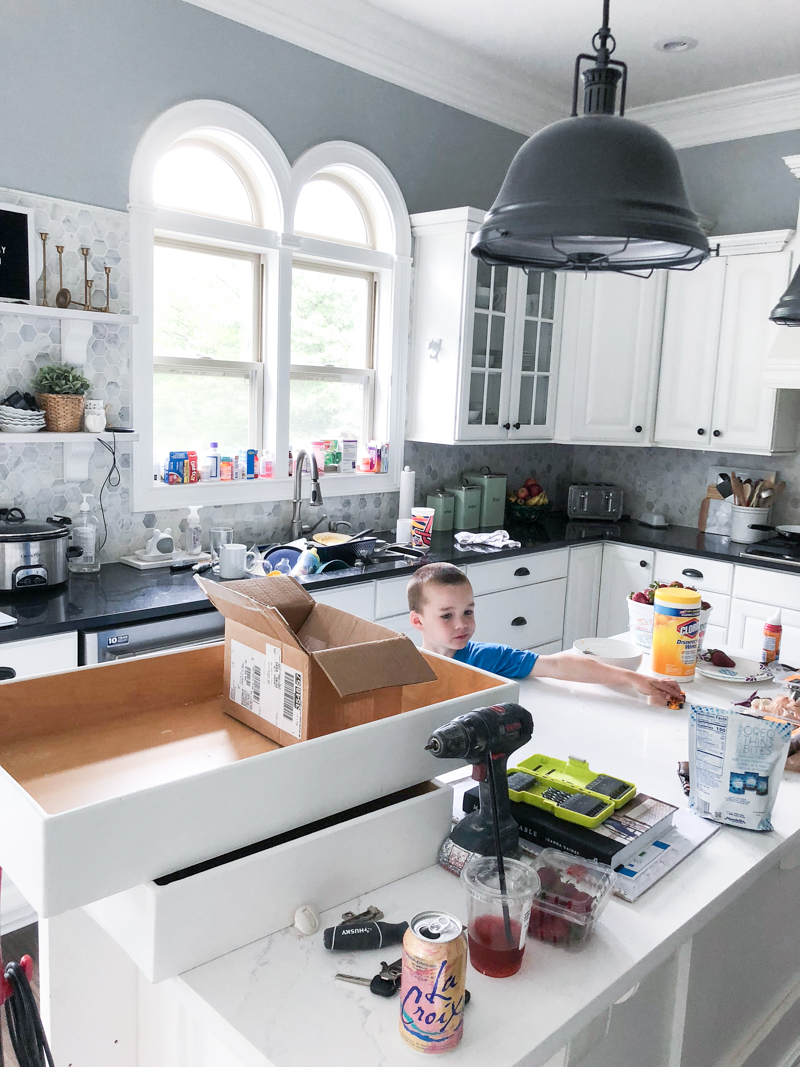
Next came drawers. Obviously the house was a disaster 99% of the time the cabinets were unfinished….so you can imagine how excited we were to get the drawers in and the shelving done.
There she is with all her storage glory…
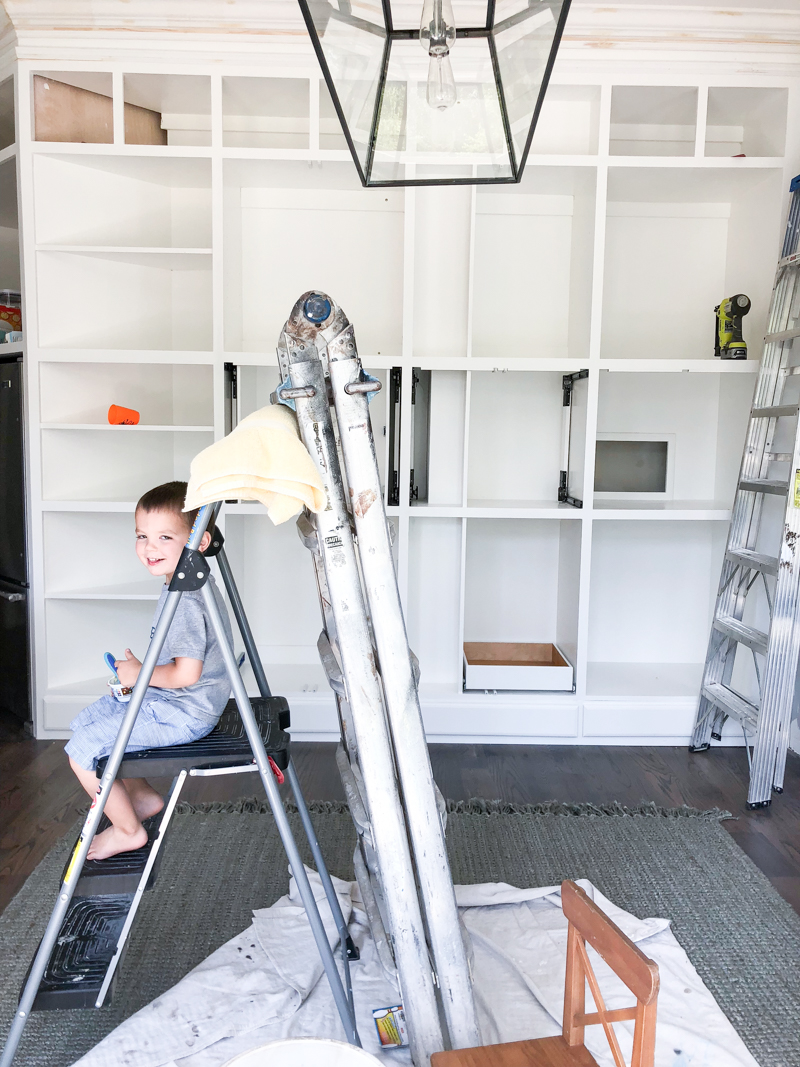
Last step is to caulk and paint….
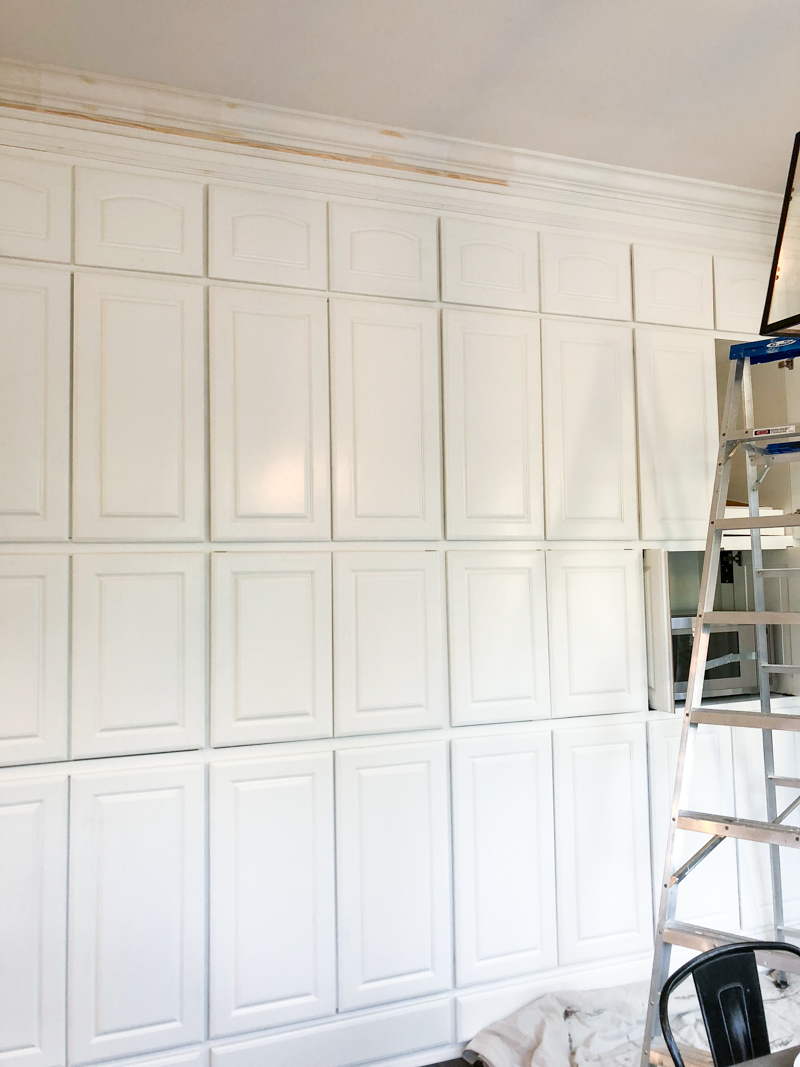
And this is the section above the fridge.
In the end we absolutely love our new pantry….or wall of cabinets…or whatever you want to call it. And you can bet your bottom dollar that we fill the entire thing up. If there ever was a zombie apocalypse – we will be ready! 🙂
