Who is ready for a furniture makeover?! Thank God Katie….I’ve missed you. I know. I know. The only thing Ive been doing lately is diapers and trying to figure out how to raise good humans….and this furniture makeover is LONG overdue. But I’m here AND ALIVE WITH ENERGY OVER THIS TRANSFORMATION. This is my concrete coffee table makeover and it’s WAY easier than you may think. I’ll walk you through the entire thing!
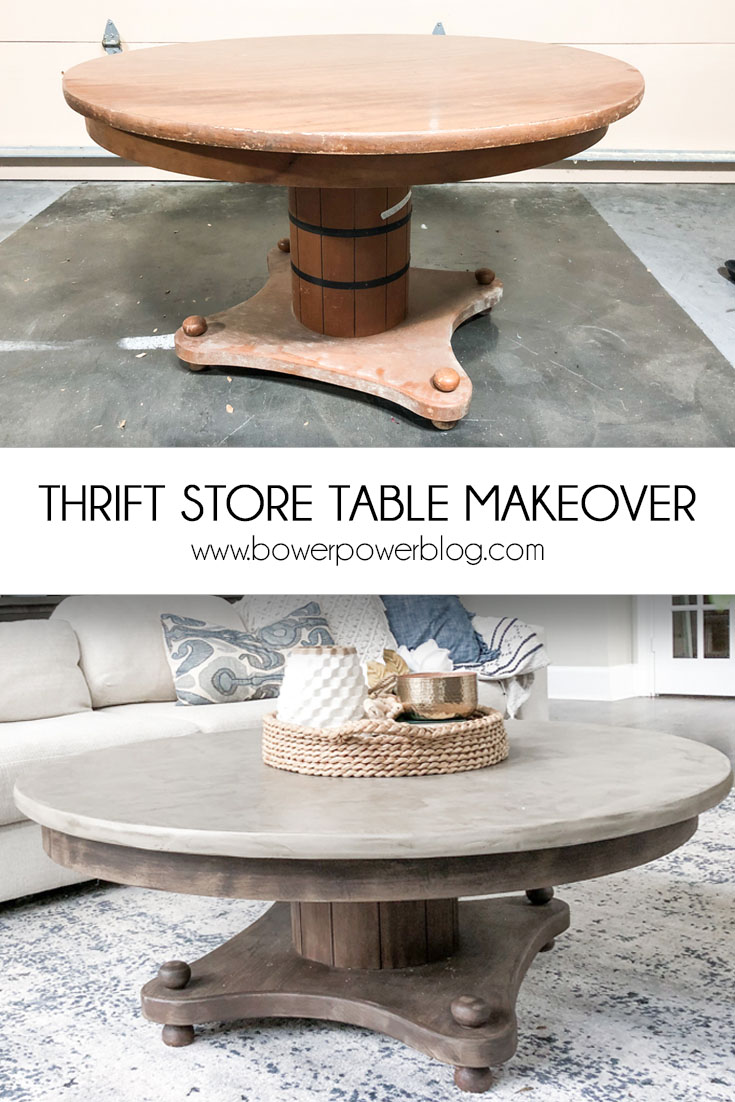
So let’s start at the beginning. It’s all starts with me whining. Go figure 🙂
For years, I’ve been complaining about our coffee table situation and kind of stumped over whether I should just splurge and get something I love or wait till something fell into my hands. Well, fast forward to this summer when my friend Amanda from Love & Renovations challenged us all to thrift shop and give a piece some love. Dear God I love when people challenge me to a thrift store makeover. It was just the motivation I needed. I hit the local Goodwill and found this beauty for under $25!
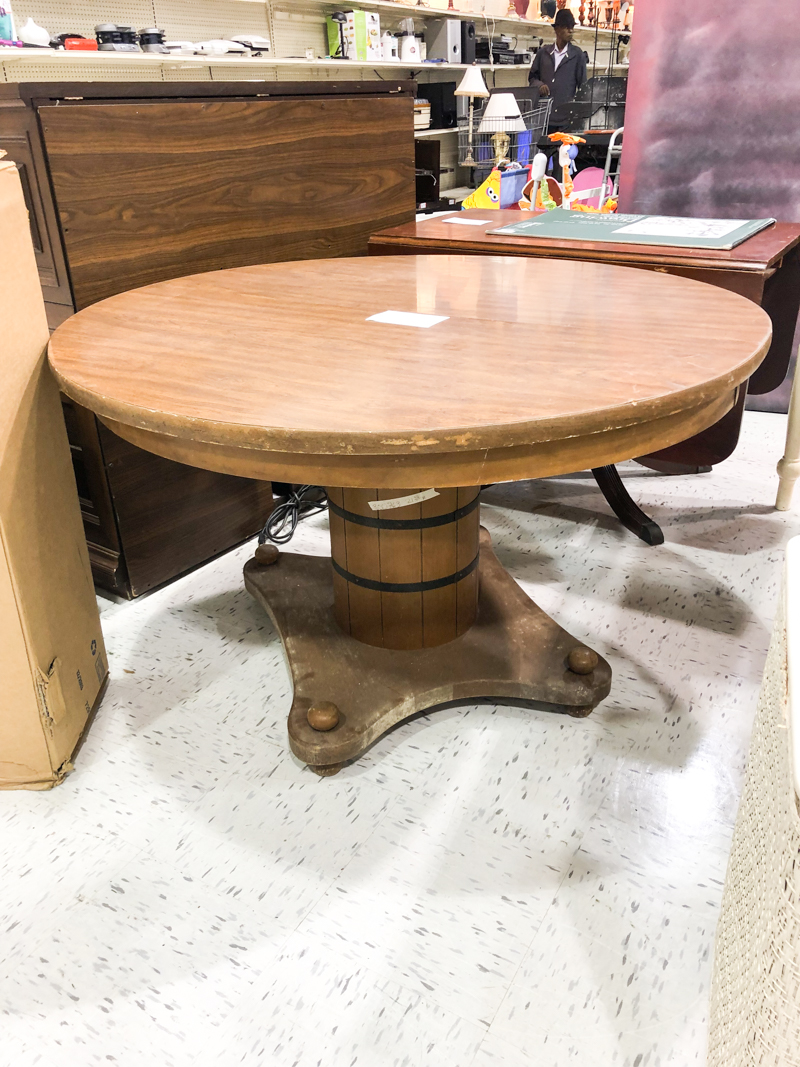
It’s amazing how they price things sometimes. There was a dirty stuffed animal for $17 and this wood table for $22?!? Mind. blown.
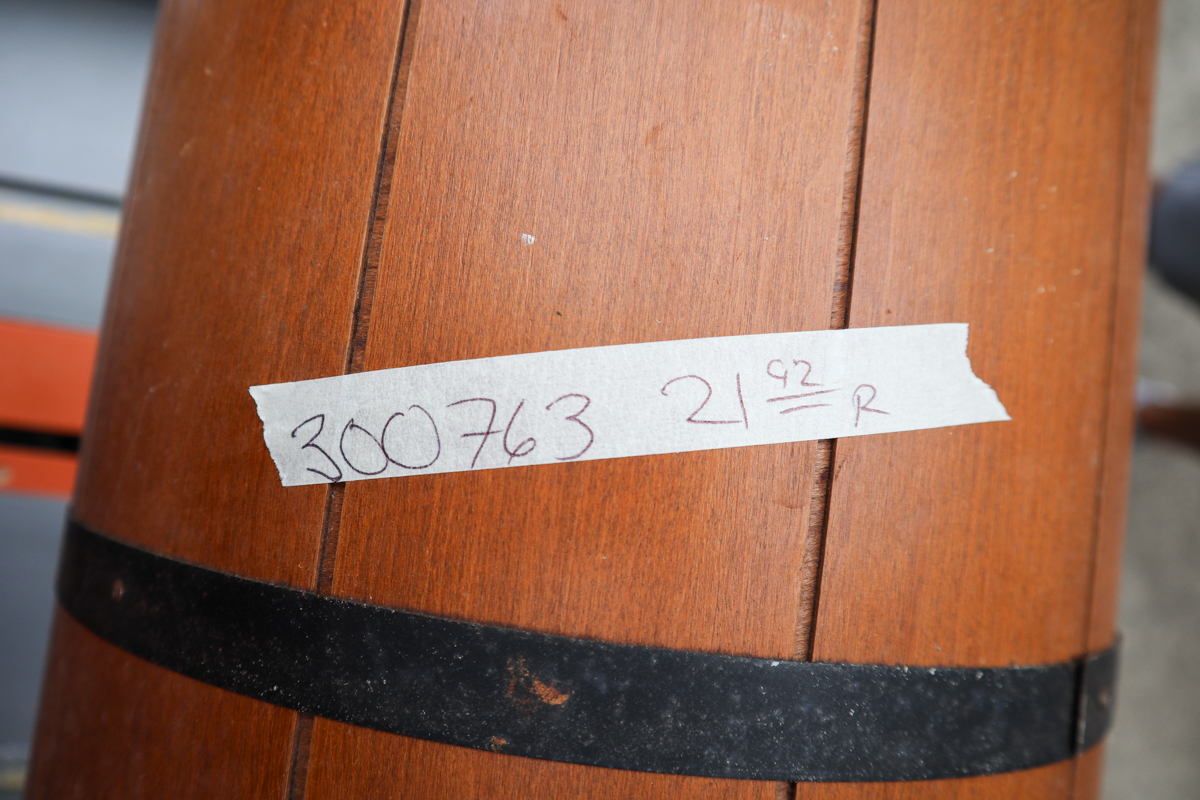
Somehow I convinced my dad to get it for me in his truck and hand deliver. If you don’t know…my dad is freaking awesome and I’m sorry to everyone out there that doesn’t know him…he’s the kindest human ever.
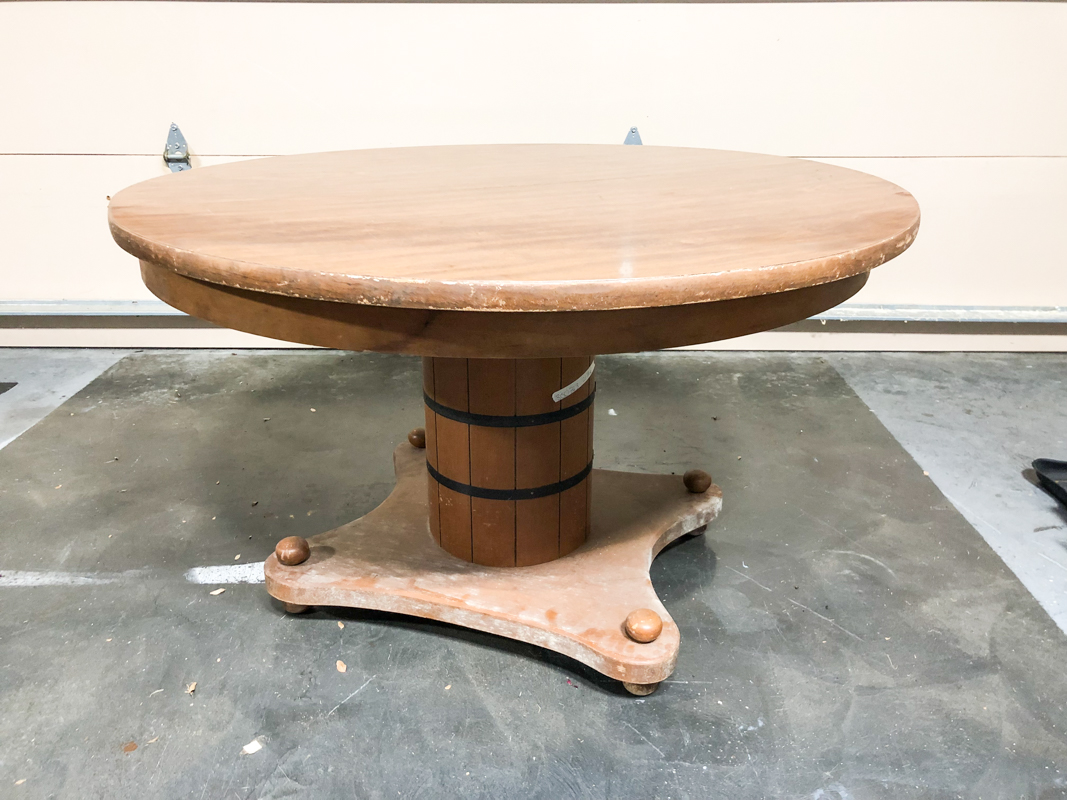
So Katie – what do you need a dining table for?! Good point. No good answer. I just figured for the price, I could give it some love and send it to a good home. I didn’t know that the good home was gonna be OURS 🙂
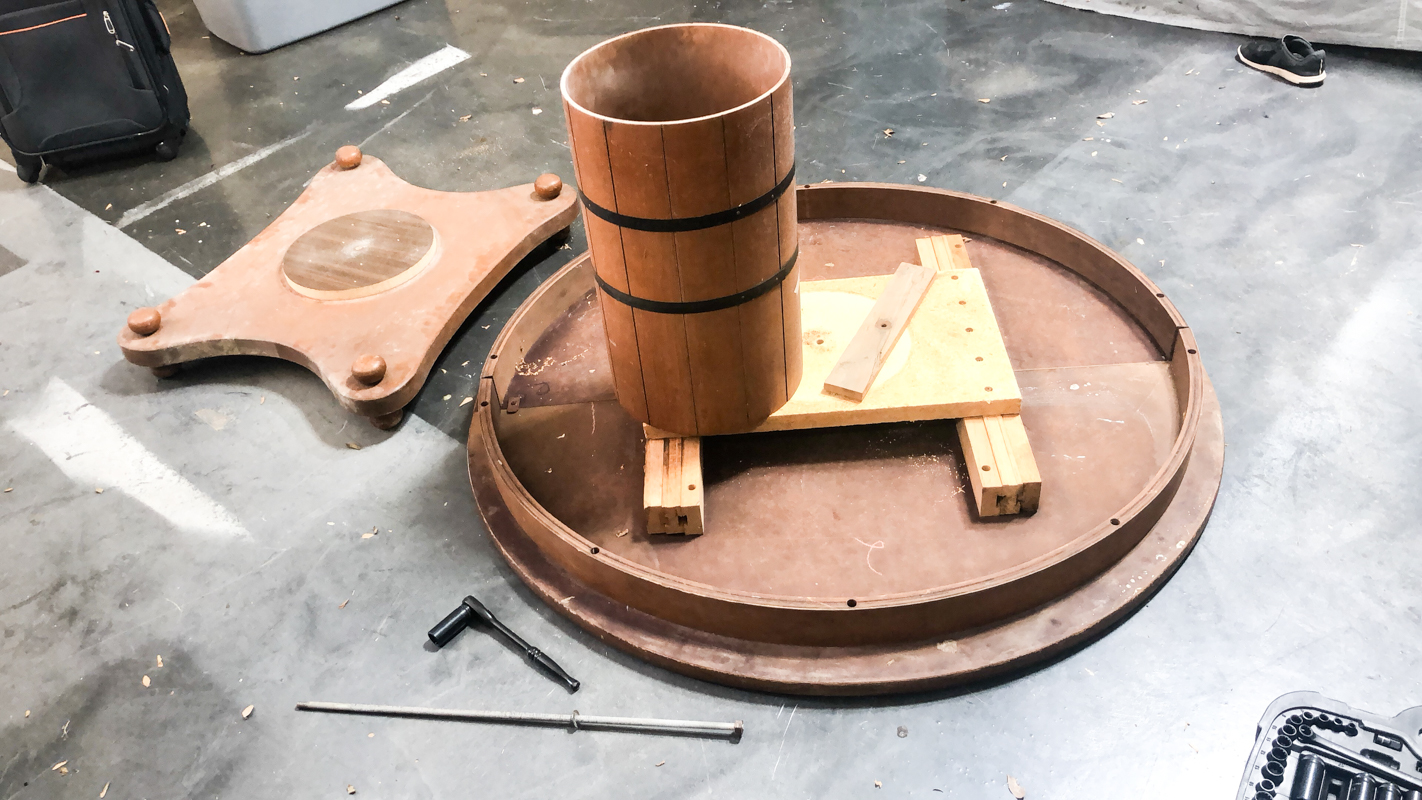
I really wanted to do a faux concrete top so I took the bad boy apart right away.
I figured that I could just mix up random concrete and slap it on top of the laminate finish but when I did a little research, I saw some really cool finishes done on countertops and wood with Henry FeatherFinish Patch and Skimcoat. Here is what the box looks like in the store…
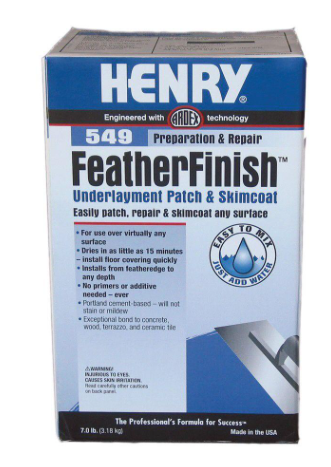
The product is technically to patch and repair concrete but it said that it can go on any surface and could be used as a skim coat. I was sold.
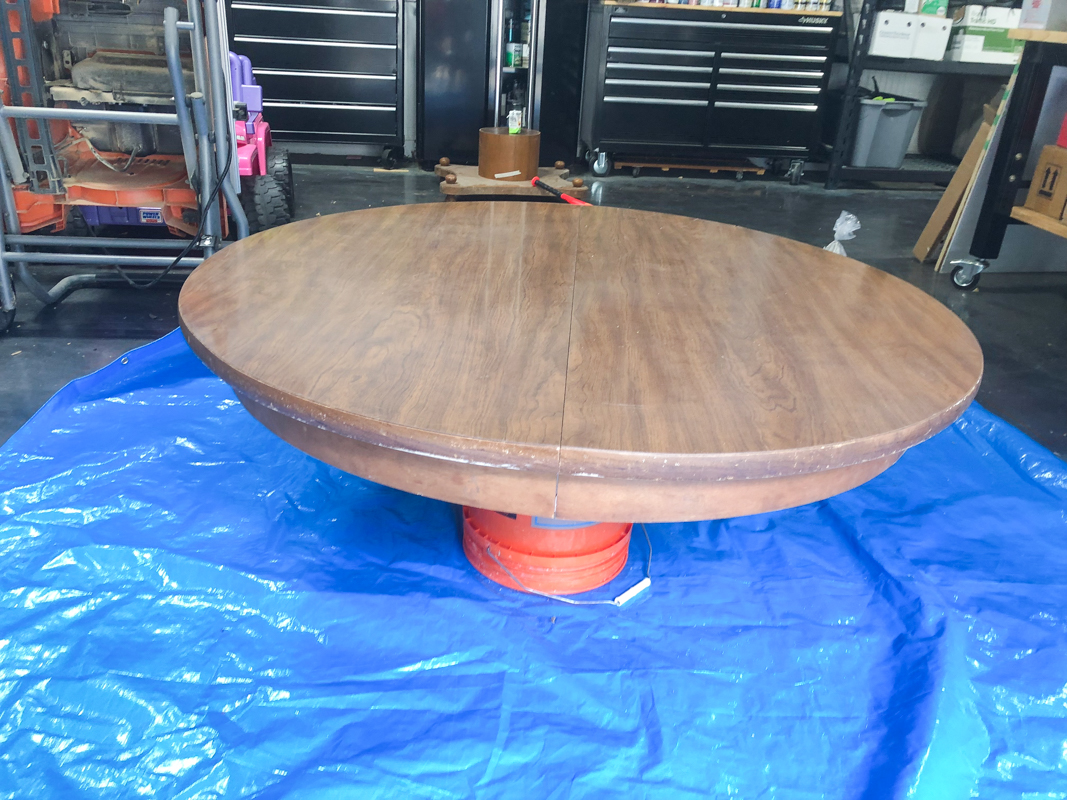
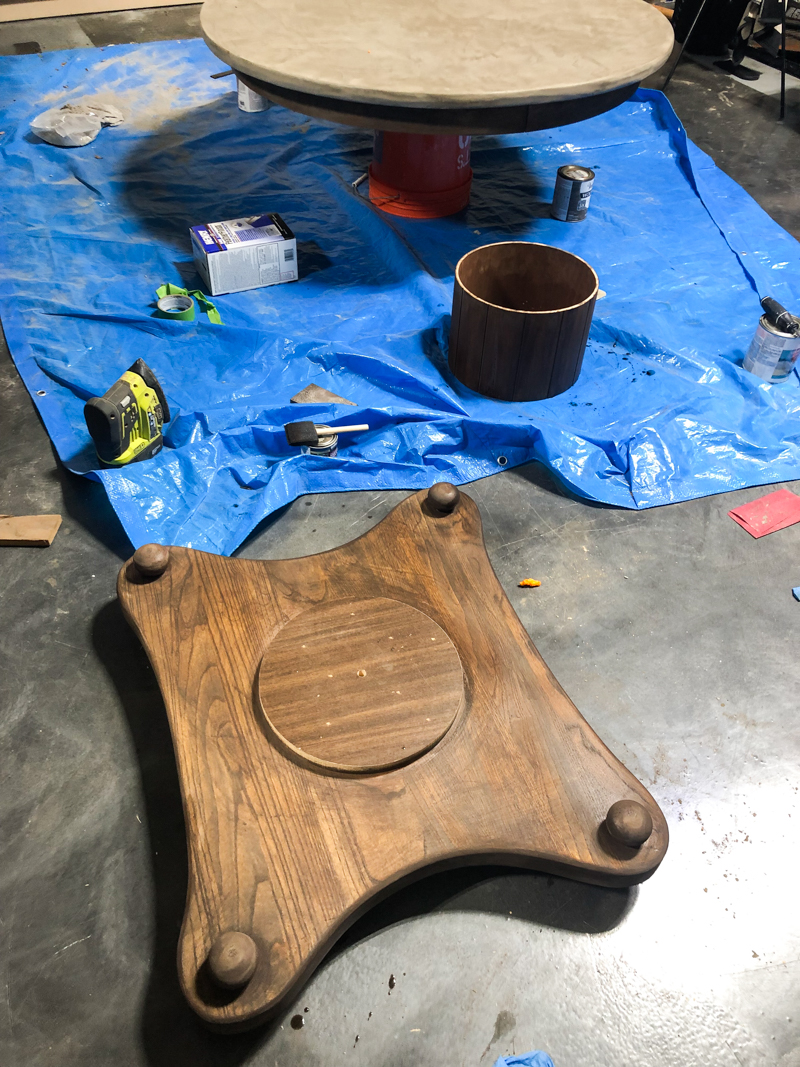
I set the table top on a bucket and a drop cloth and got to work mixing up some FeatherFinish.
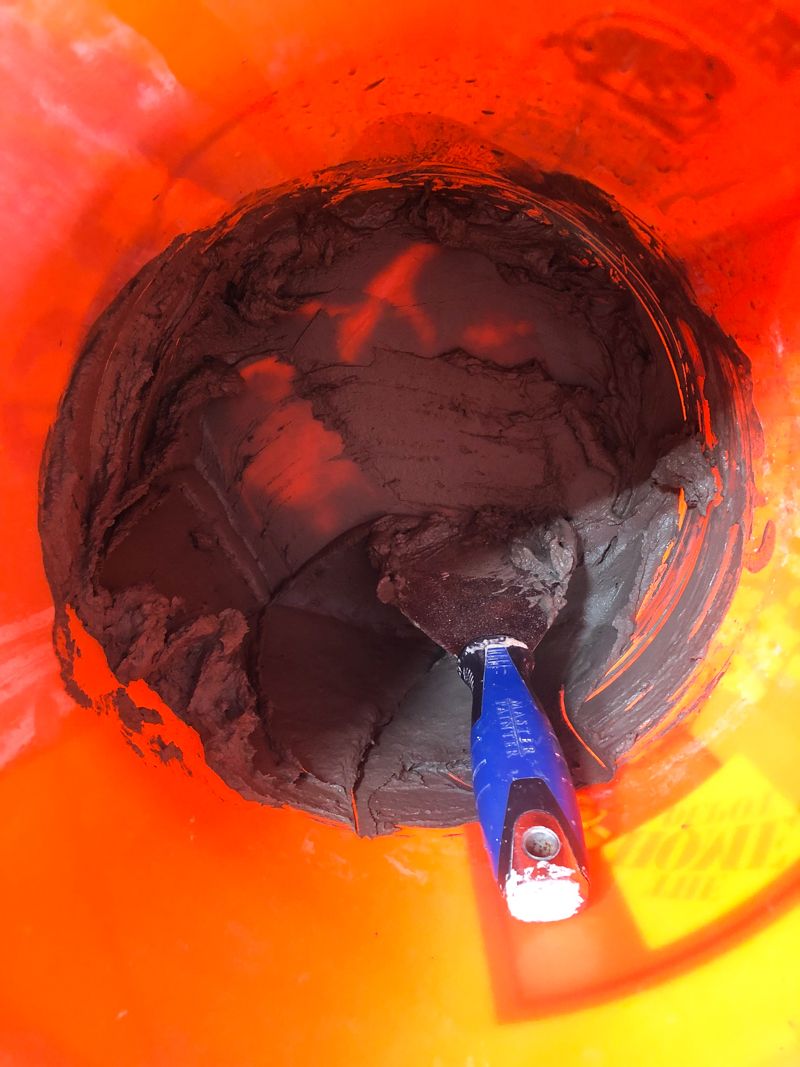
Using a joint compound knife I put a thin layer over the entire surface.
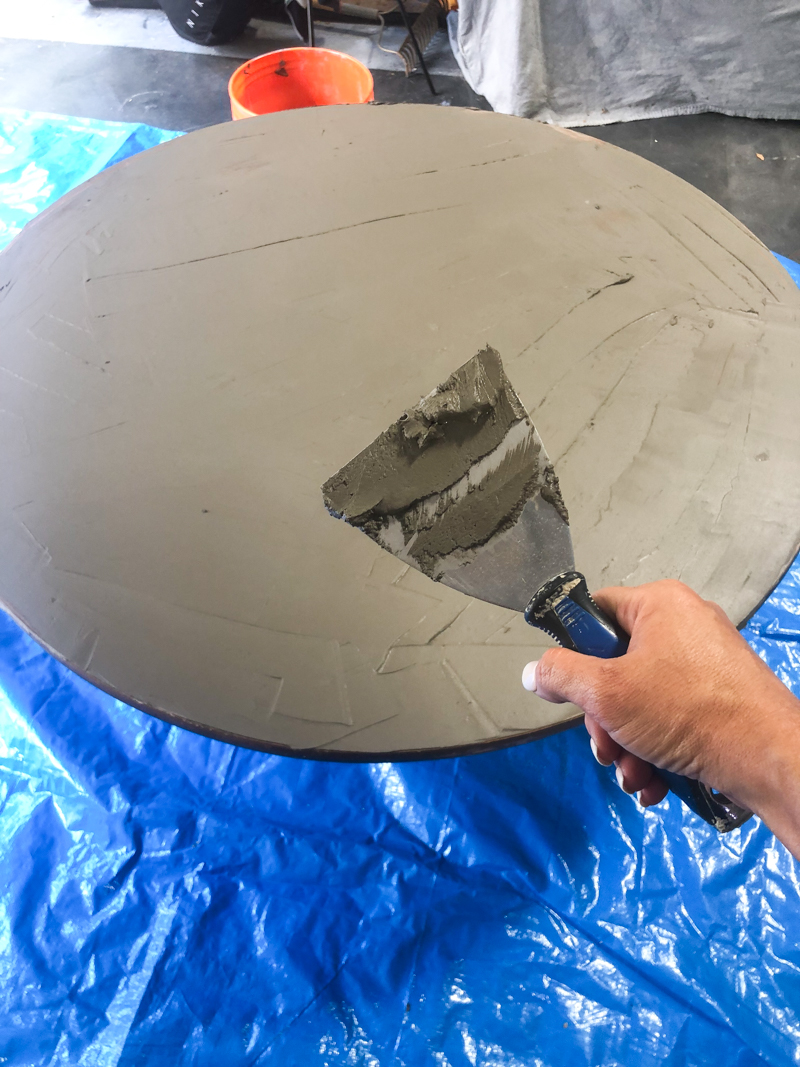
I also had to smear it on the edges so that it looked more like a concrete slab vs just a wood piece with concrete smeared on top.
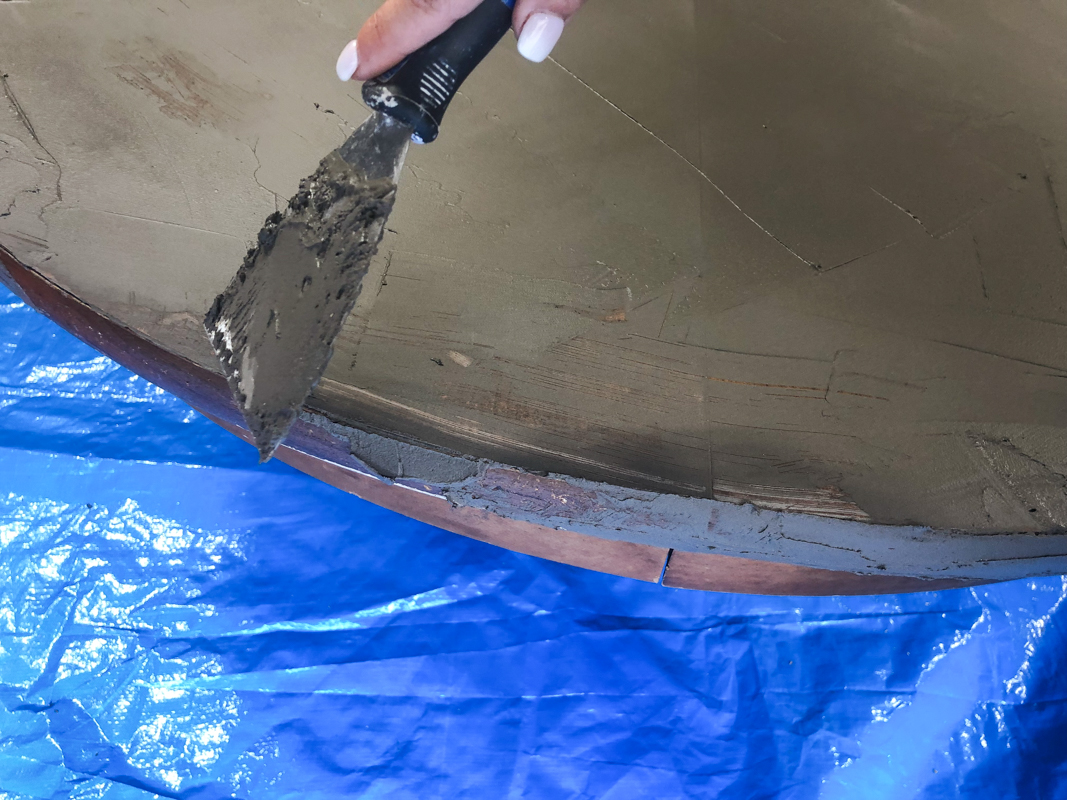
The first couple coats would dry fast and I was able to re-coat in the same day. The most frustrating part was cleaning out the bucket and the knife in between coats. If even a little bit of the concrete dried in the bucket and you tried to smear it – it would scratch up the thin dried coats on the table 🙁
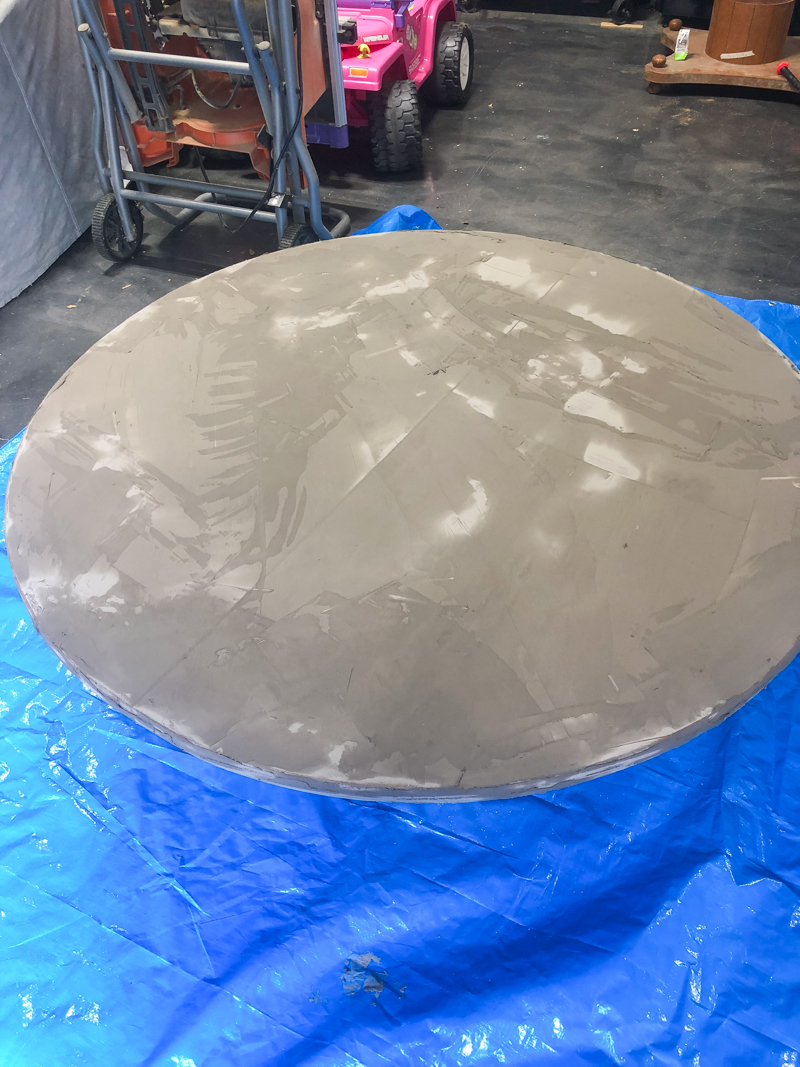
Eventually I got to a point where it was looking really good. I would vary the direction I would push the strokes so that it was really mottled and beautiful.
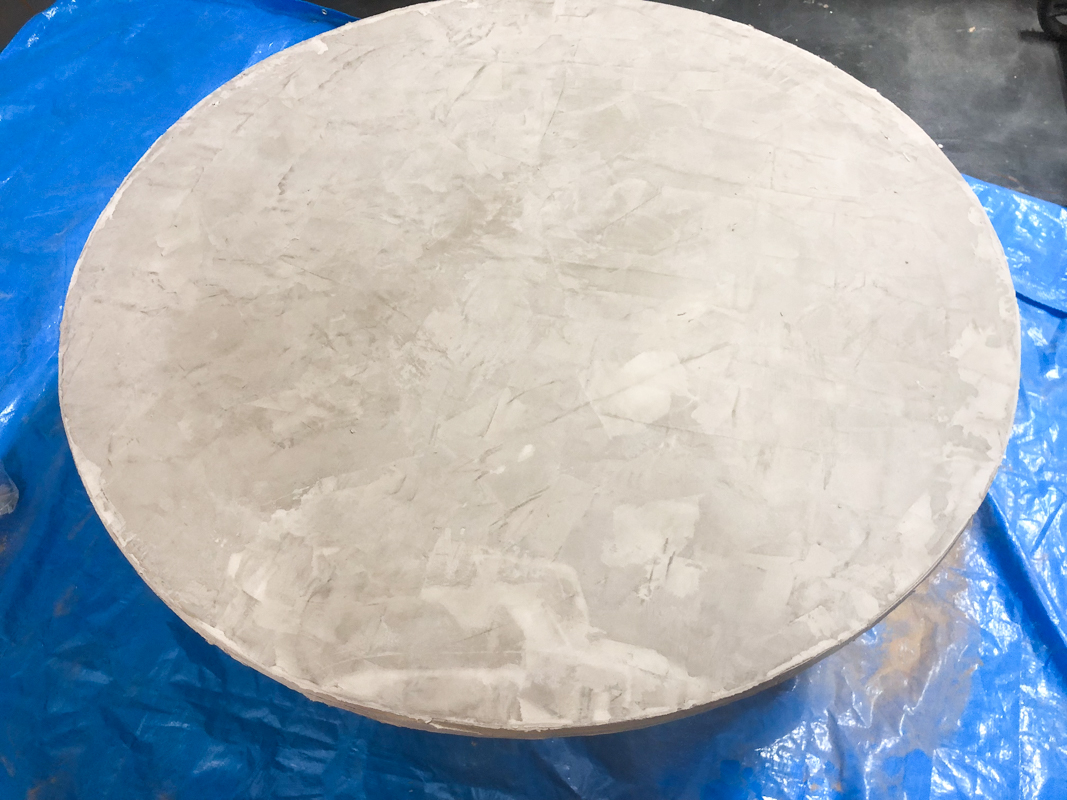
The concrete is still rough to the touch at first but you can knock it down and make it smooth with some sandpaper. I would use a 80 grit to do the entire table and it was really smooth at the end.
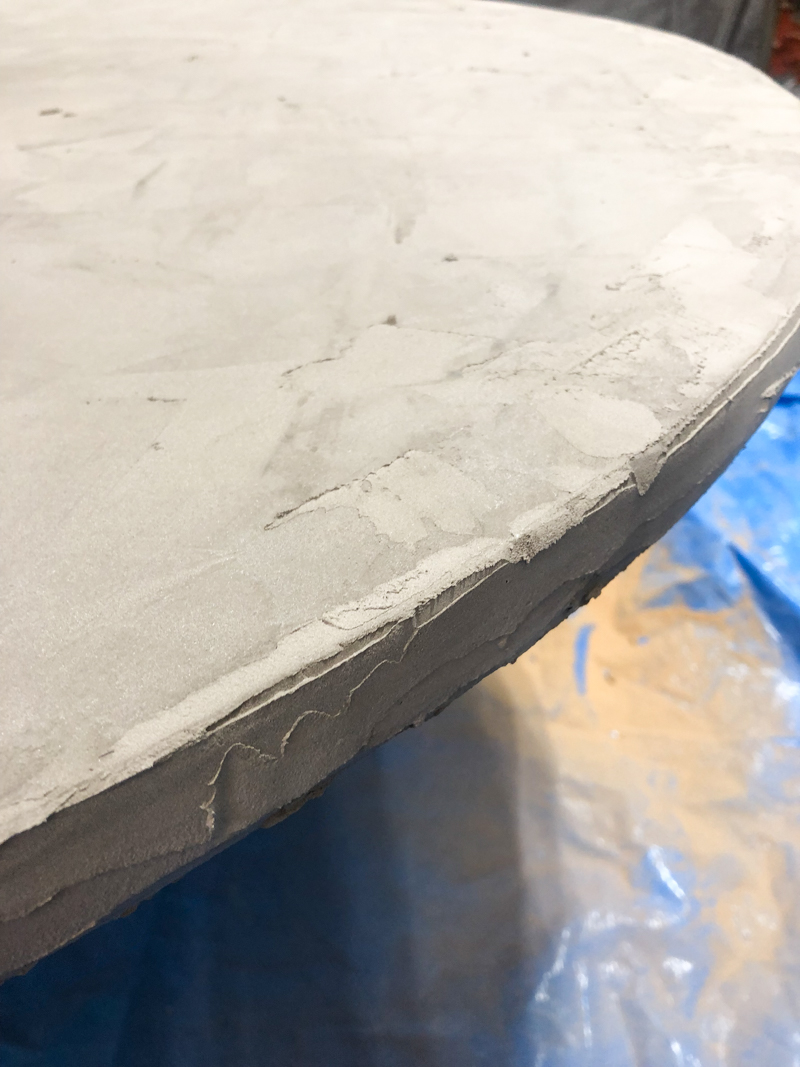
Now concrete does change colors with moisture and can be stained easily so I knew that I absolutely had to seal this to protect it from Jeremy and the five little messy faced monsters 🙂 Love them but man – they really know how to destroy stuff!
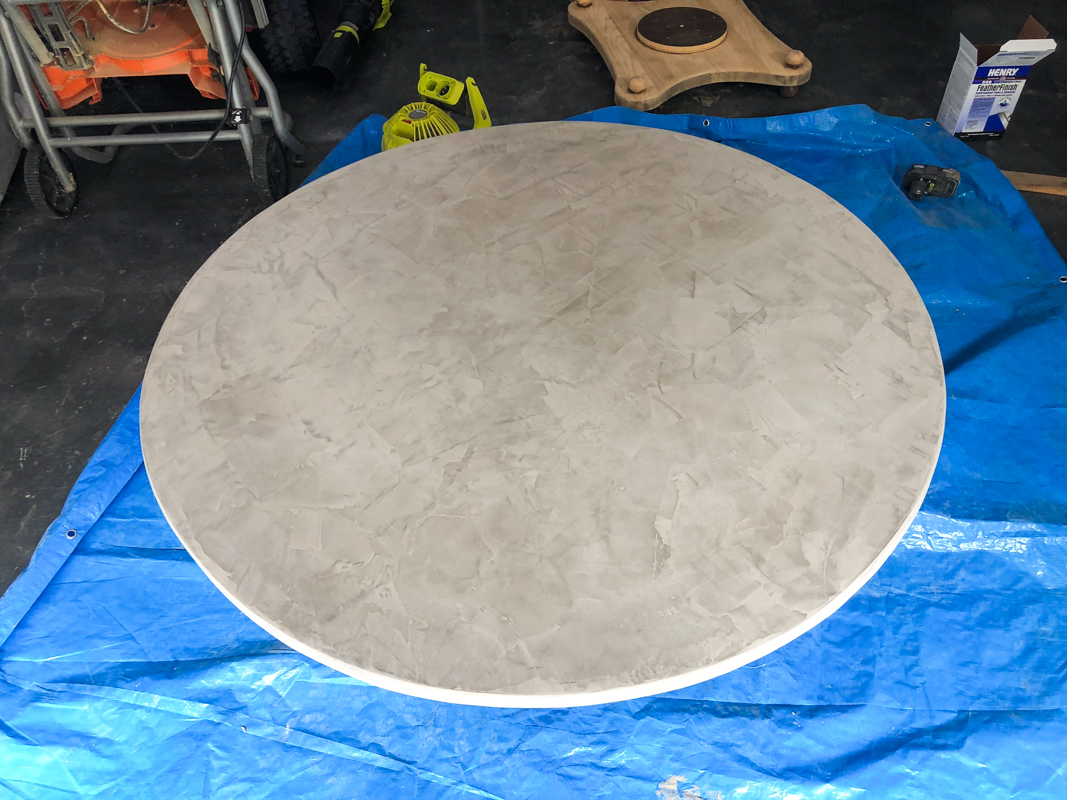
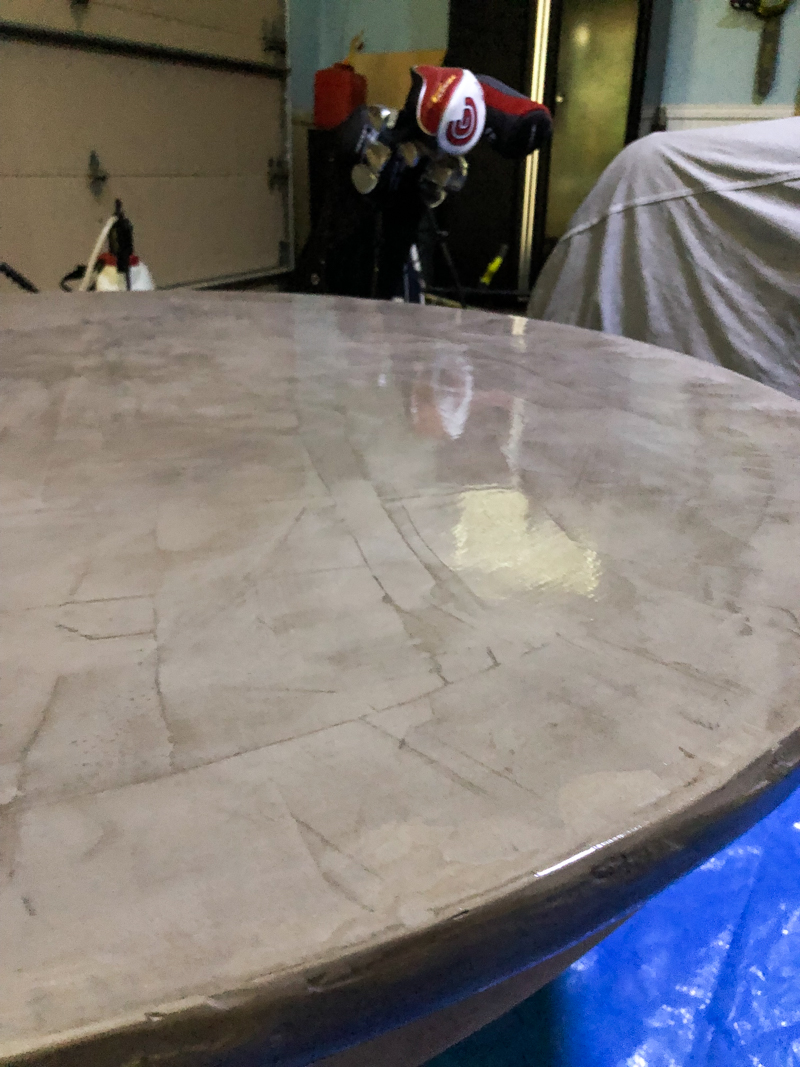
I decided to go with a polyurethane that was a satin finish and I’m so so glad I did! The result was FANTASTIC. It did darken it at first and look a little dramatic but I am thoroughly impressed with how well it holds up to abuse and it looks amazing.
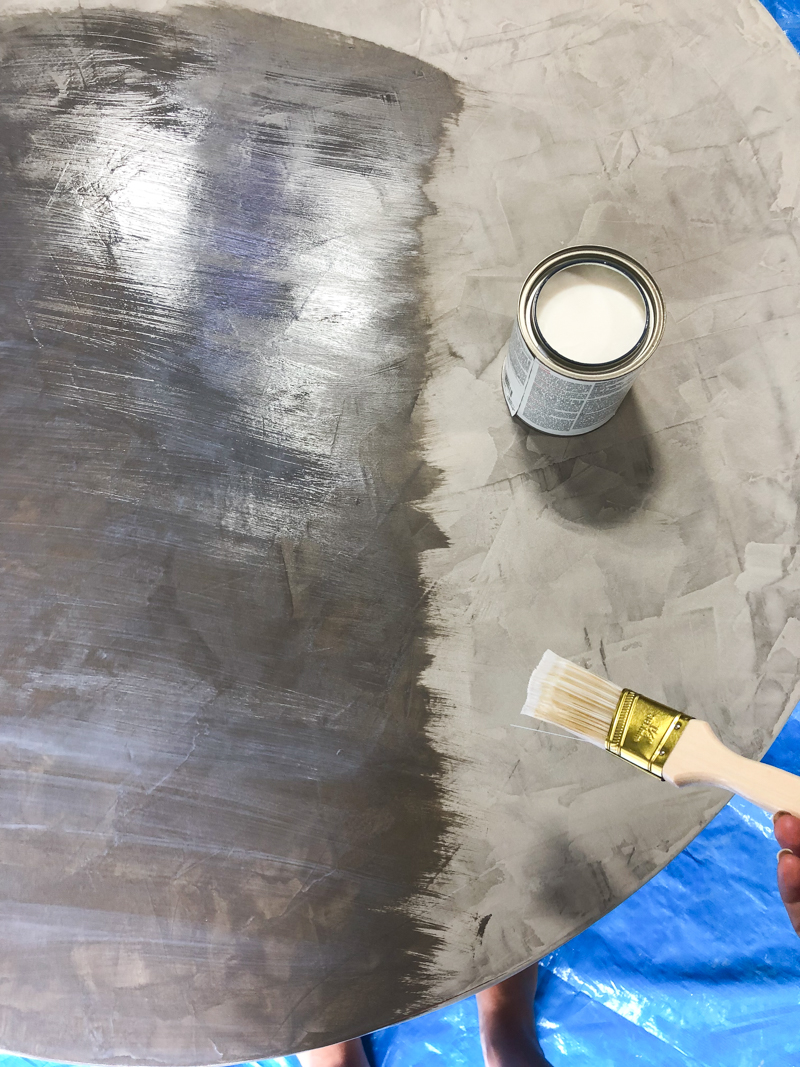
I did several thin coats and sanded with 400 between them.
For the base of the table I wanted to keep it wood. But this is where all my favorite people (that’s YOU!) came in play. I asked on Instagram what you guys think I should do with this table and you did not disappoint. You recommended making it into a coffee table and it was 100% the right call.
Thanks. You rock. And in case you haven’t heard me say it lately – your smile is pretty 🙂
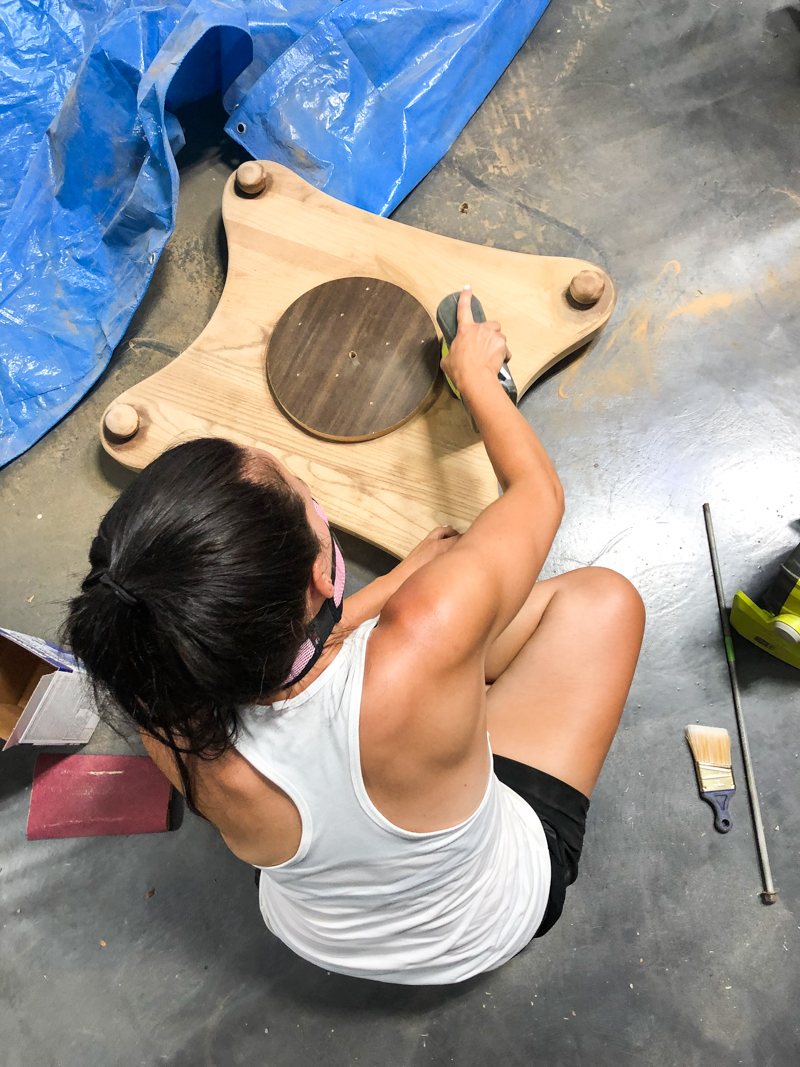
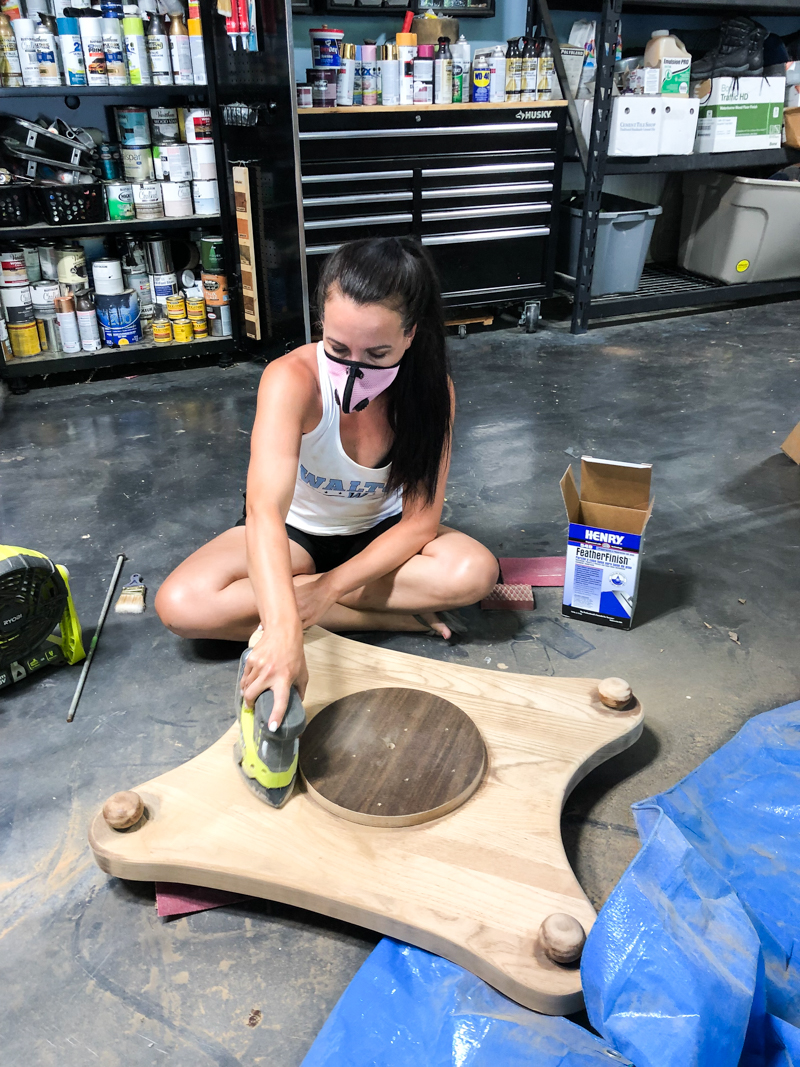
At first I thought maybe I would sand it all down and just seal it but long story short…that can’t happen.
I did however get really far along in the sanding process.
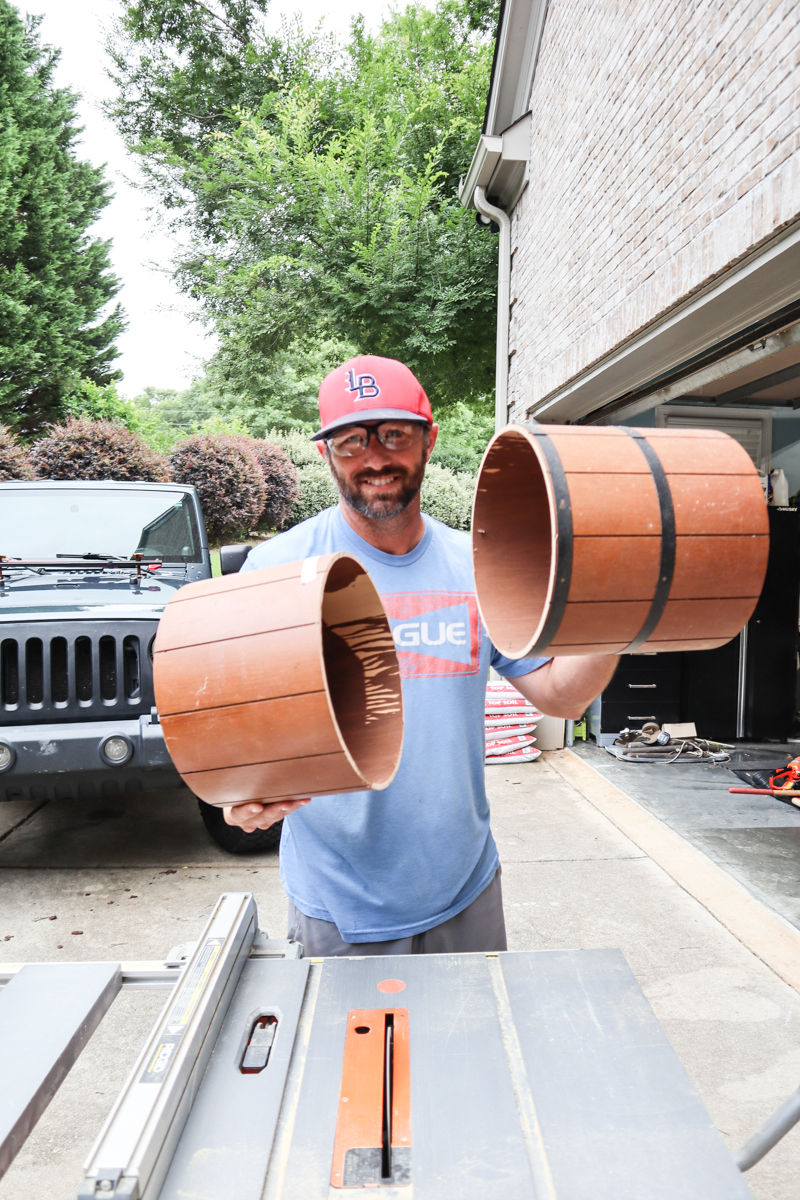
I also employed Jeremy to use the table saw to cut the barrel base for me in half so that I could shorten the entire thing.
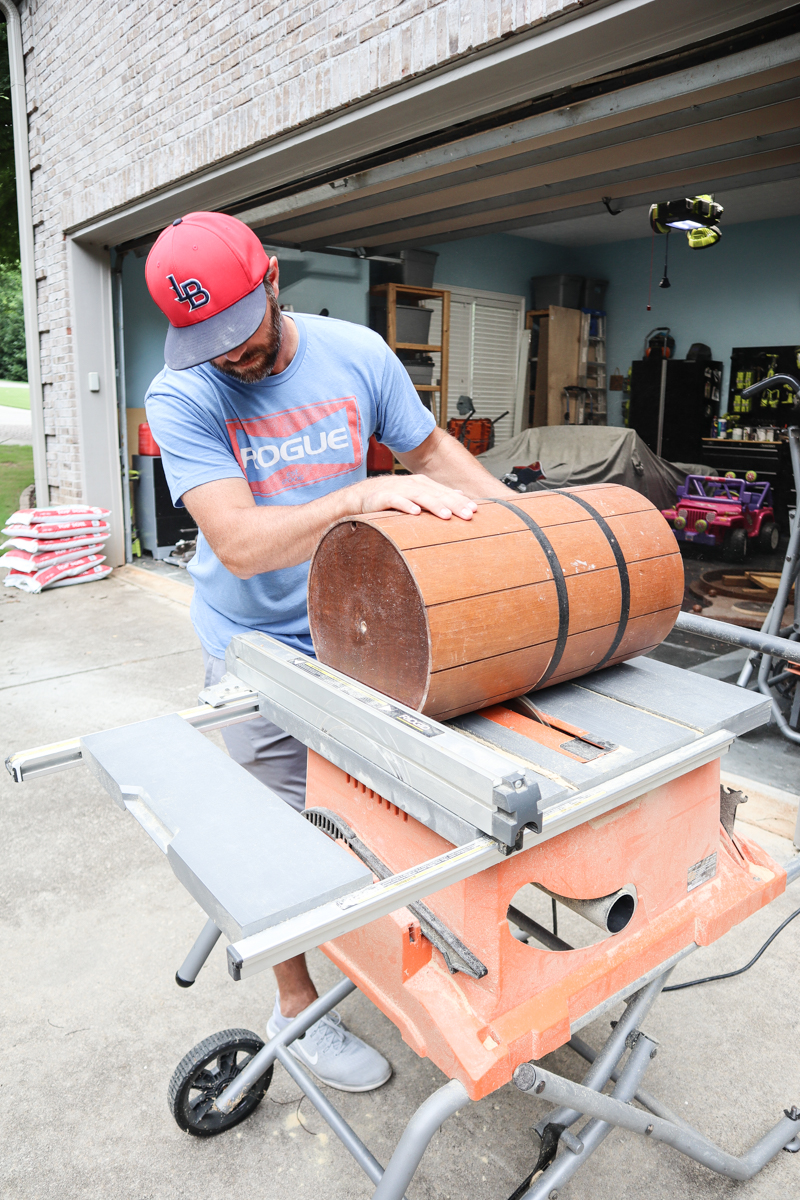
He used the table saw to cut it to length right above the metal bands and rotated the barrel until the entire piece was cut basically in half.
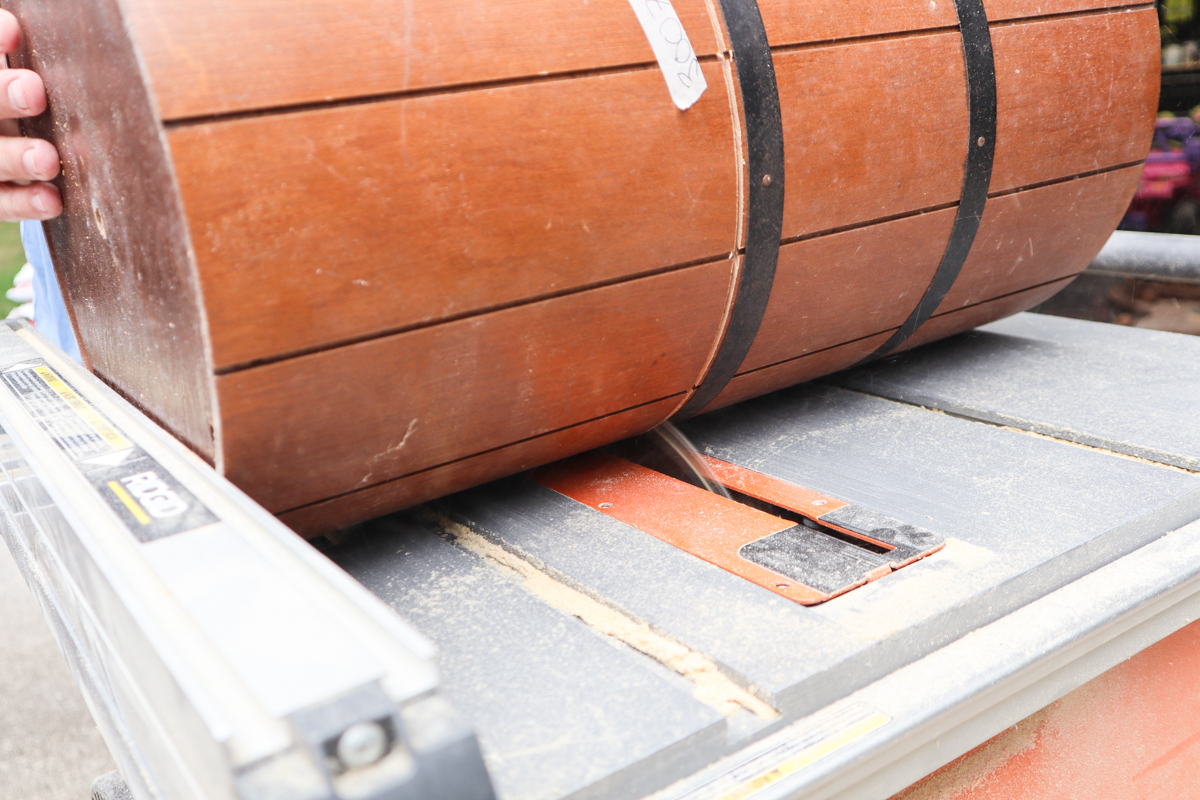
I was gonna use the half with that had no bands to make my base….
And I got that sanded down in a jiffy too. By the way – when I type jiffy, it always autocorrects to piggy…..so if you read “I went to the store in a piggy” – you know what I mean 🙂
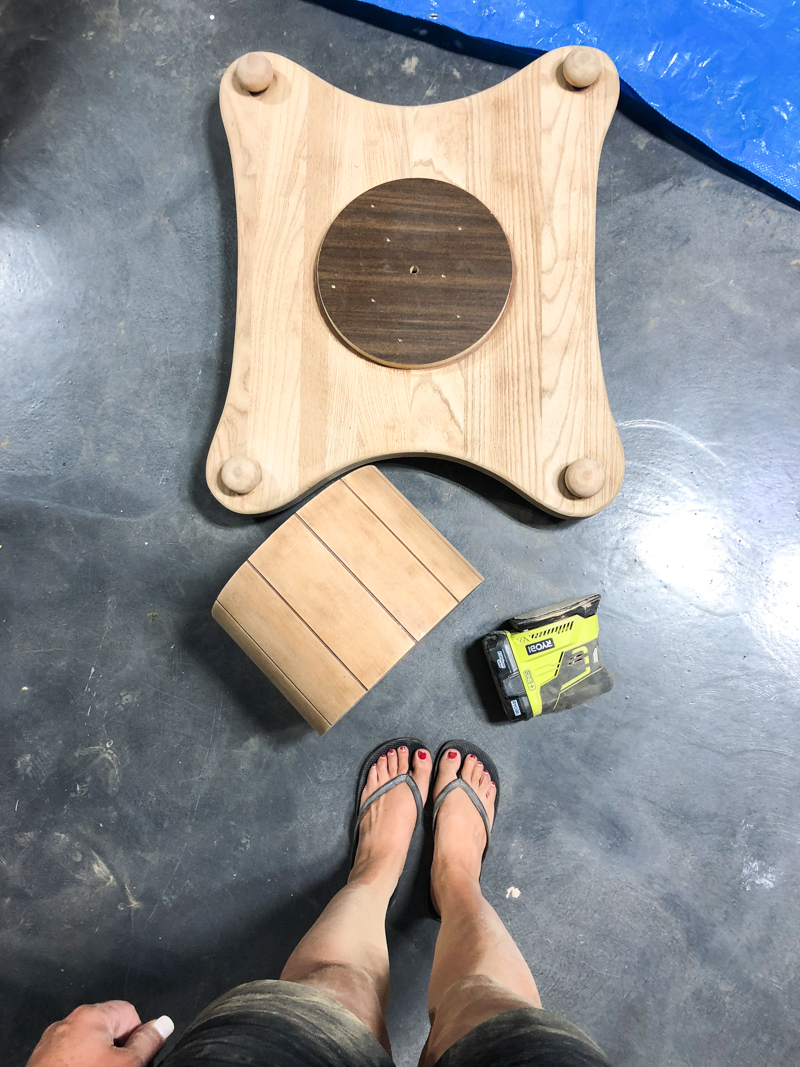
So here is where I encountered my problem. I went to stain everything a really pretty gray brown color and since the wood on the barrel and the wood on the base are two different types of wood….they took the stain completely differently. I could have resanded everything but that would have taken more time and honestly left me in the same spot. So I decided instead to go darker.
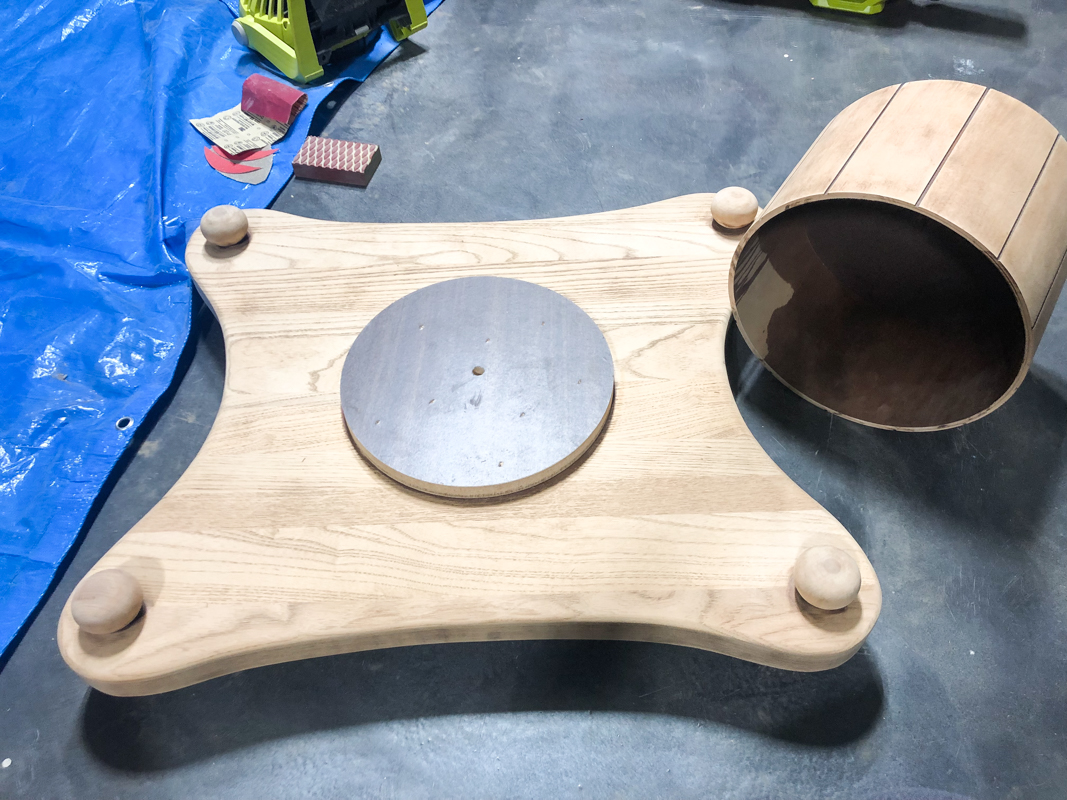
Here is what they looked like after the first coat of stain. The barrel is obviously warmer and more brown while the base is the color I was going for. So I changed plans in a piggy 🙂
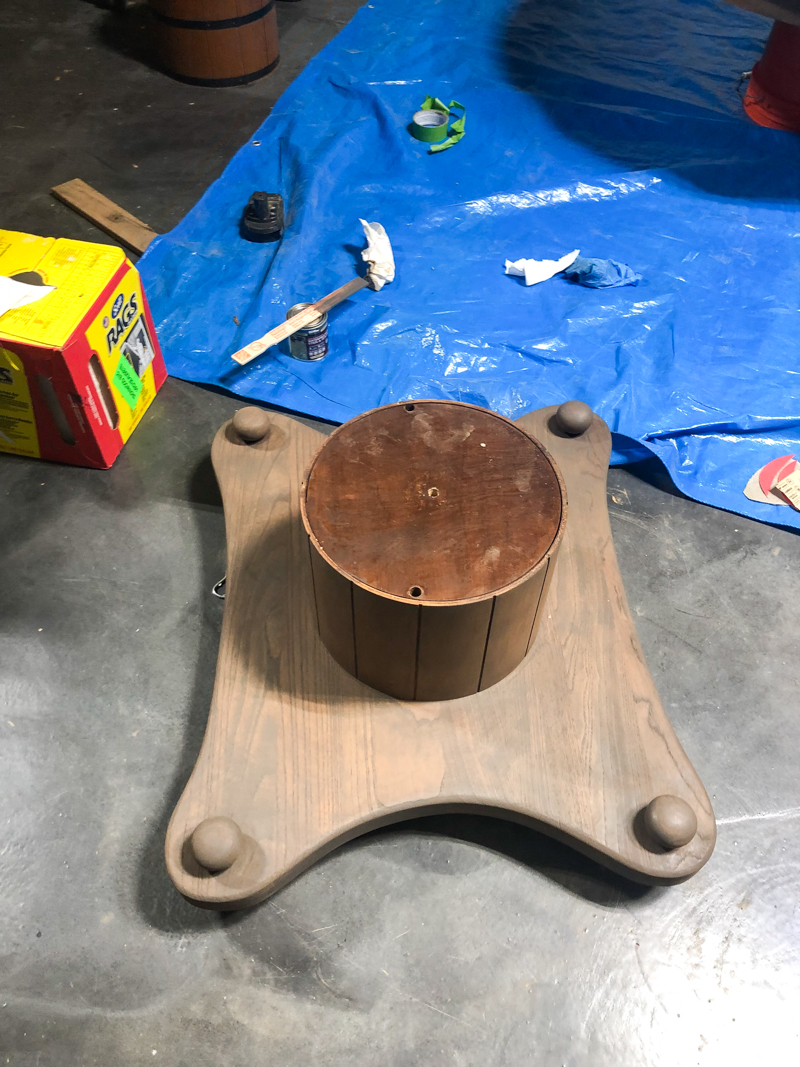
I added a whole lot of dark mocha colored stain to everything and distress-sanded everything A WHOLE LOT. Then I added a weather wood accelerator to bring everything down a notch into more gray wood zones.
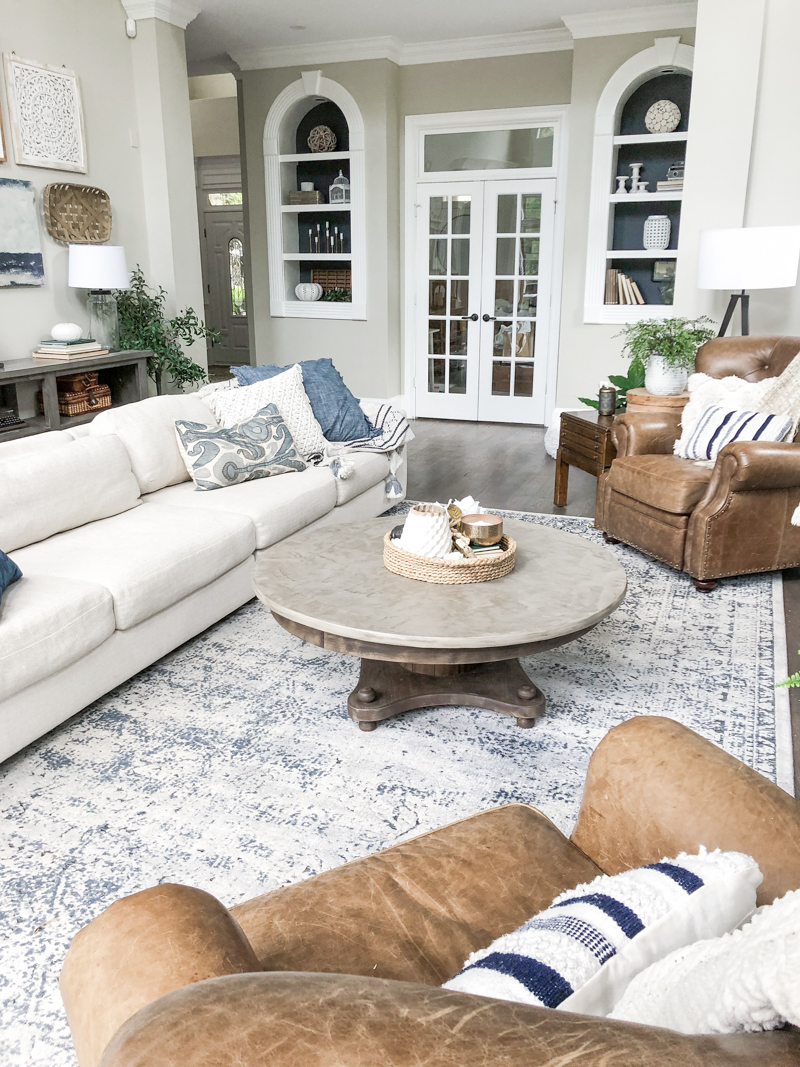
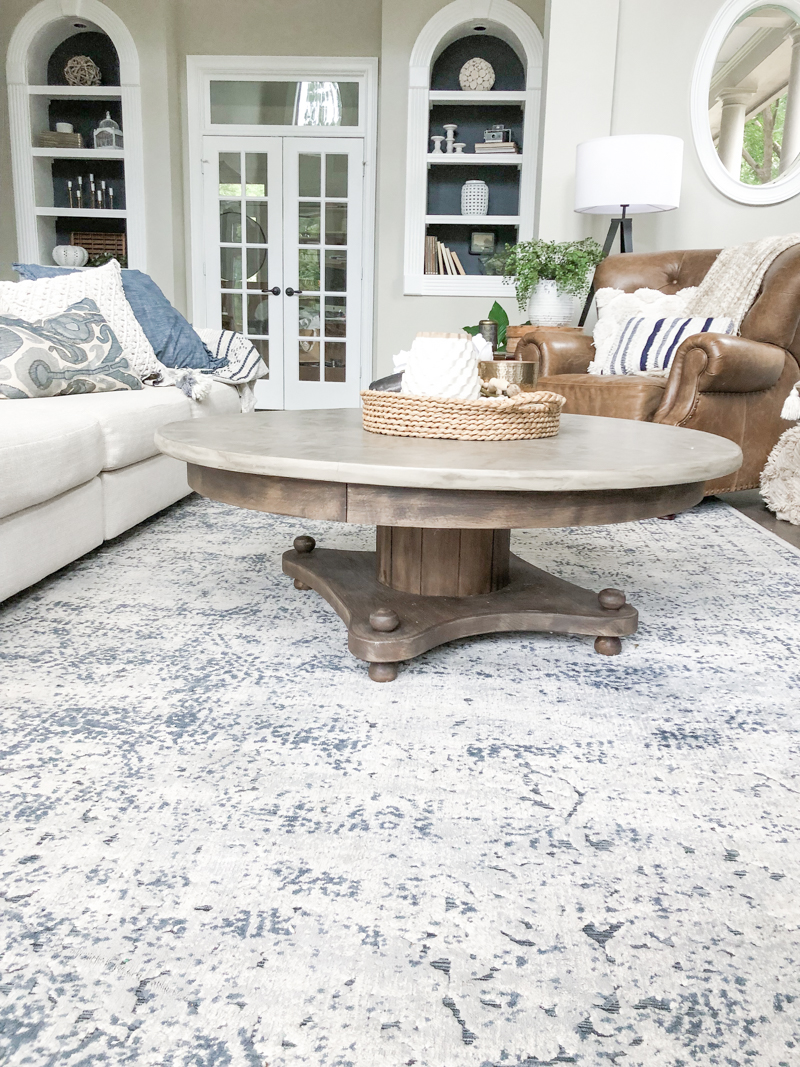
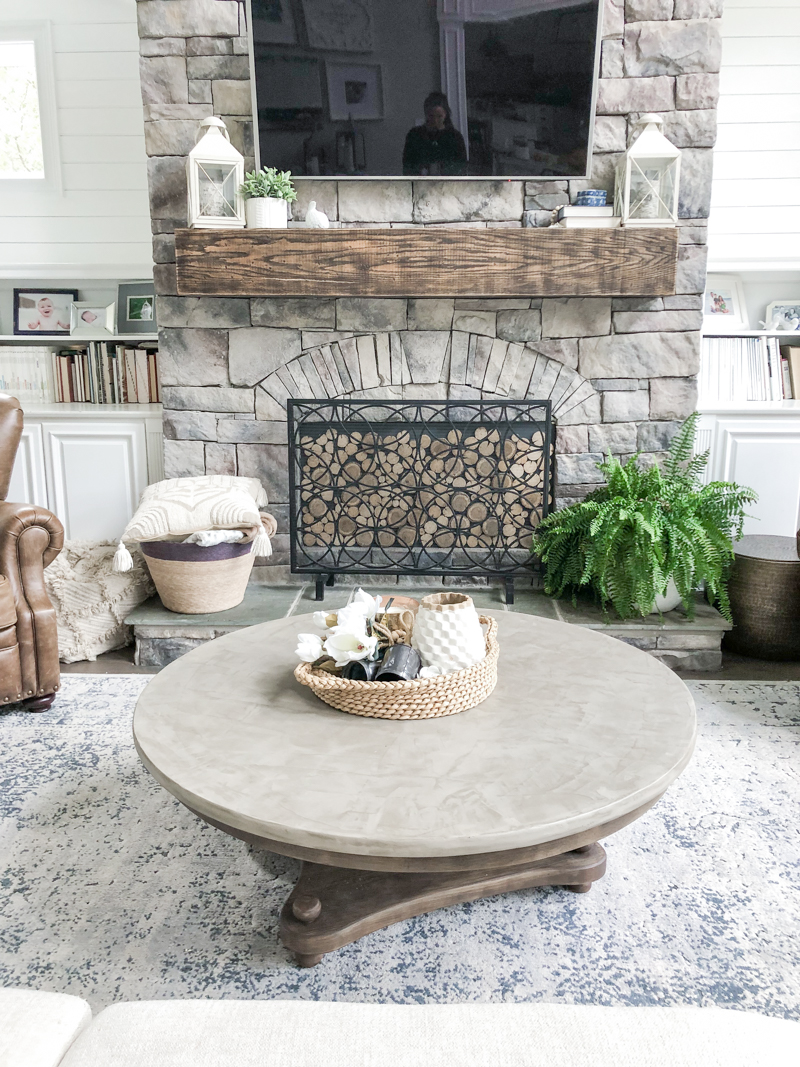
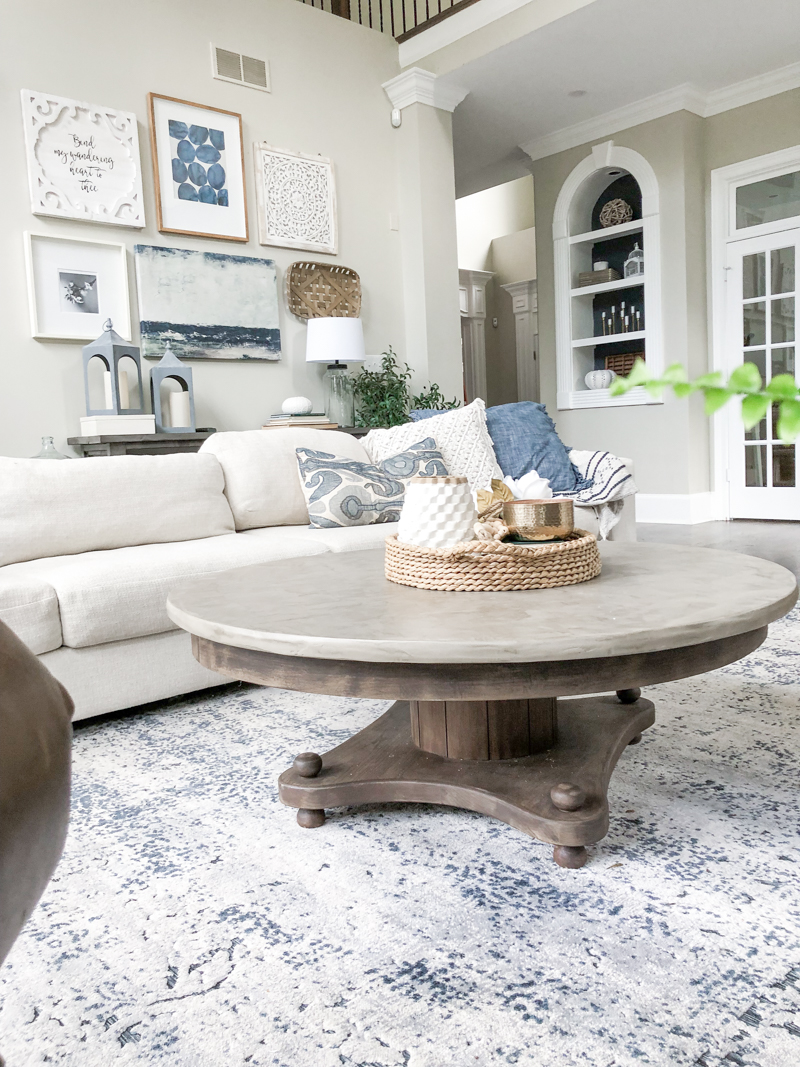
The result (with some satin poly) was perfect. It plays nicely with our floors and our mantel and our chairs.
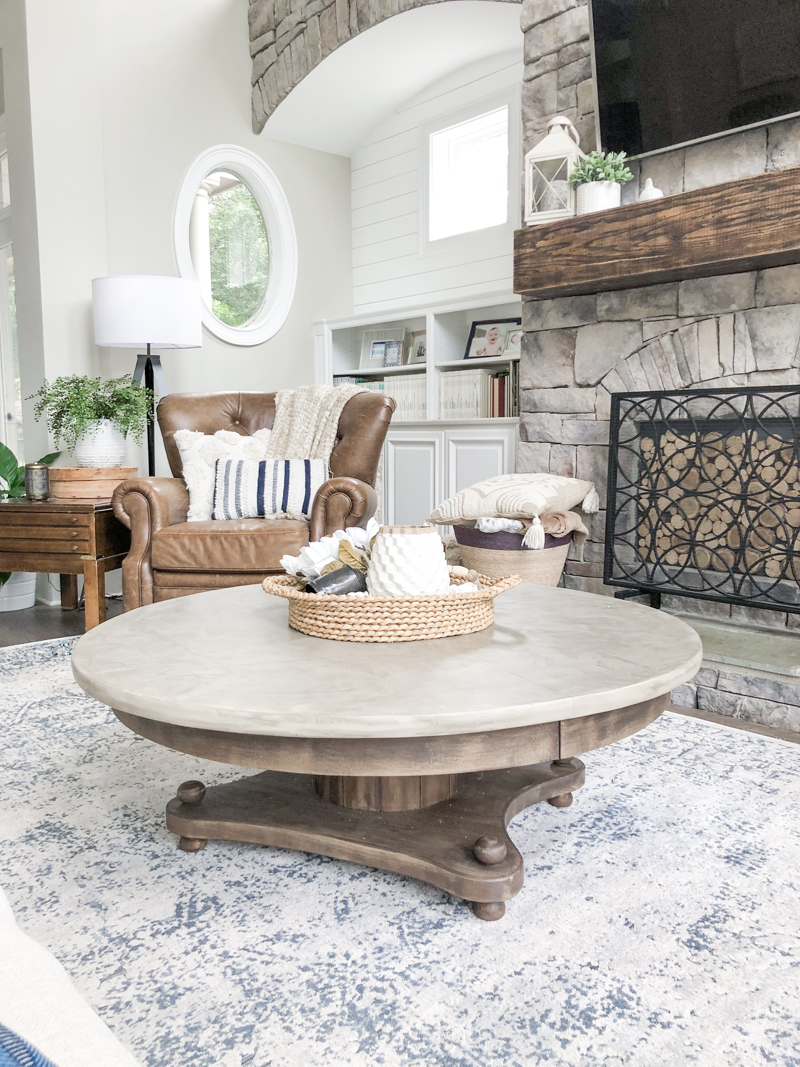
And that concrete top is what dreams are made of! Yes that little orange thing in the vase is a nerf bullet. Just keeping it real.
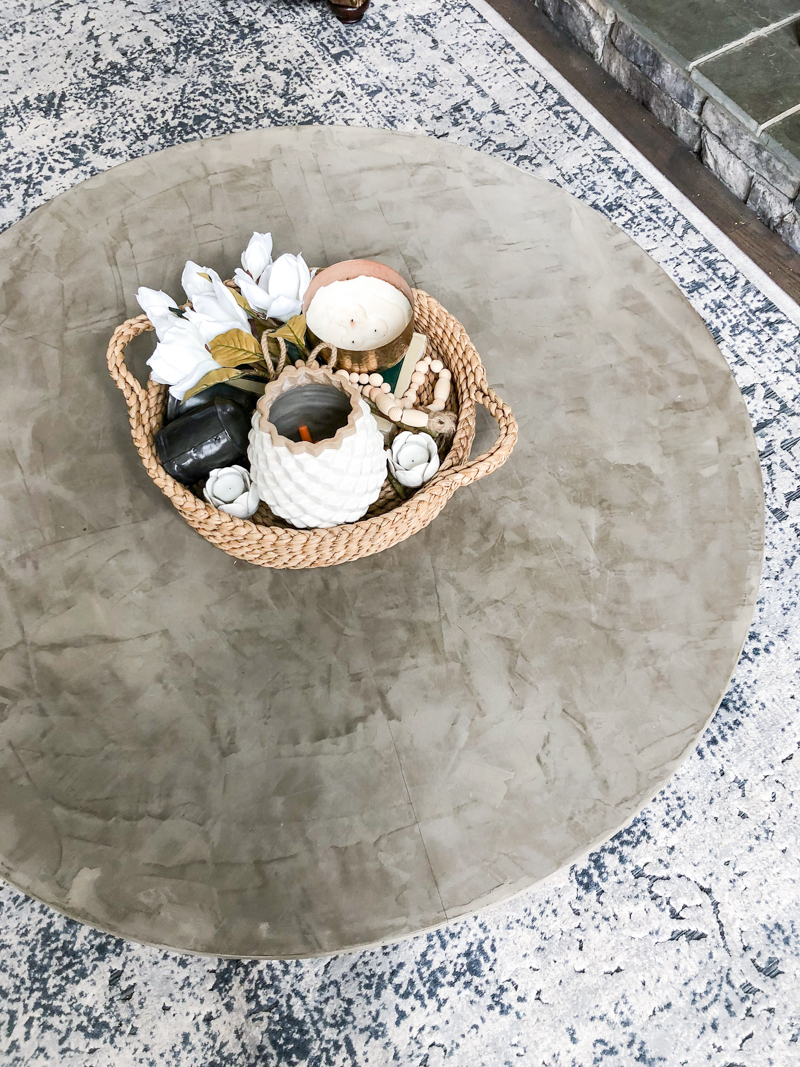
I love love love the look and the fact that it was so affordable is amazing! I still can’t believe I did the whole thing for under $50! And it even ties in the stone work beautifully too!
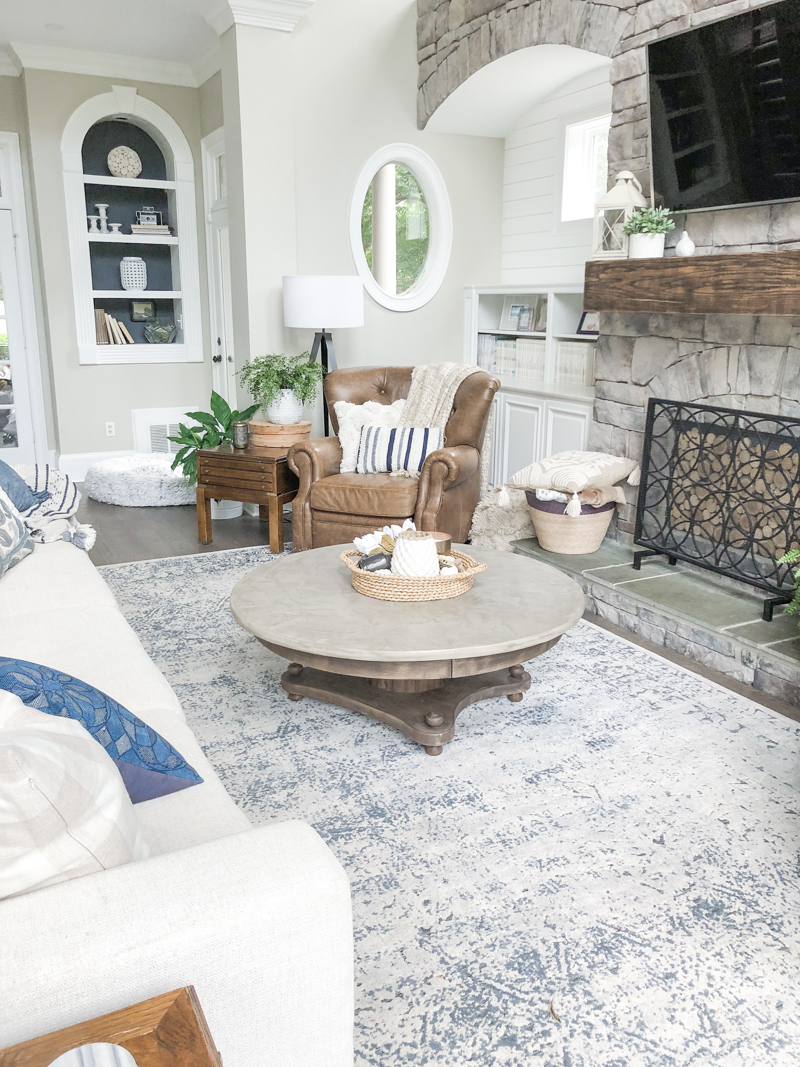
Overall….a total win. No sharp edges, a pretty spot to put your feet up, a good price point. If it gets ruined then I’ll not feel too bad about it. Yes, it lacks storage but I’m okay with it. I figure…I have a big enough house that I can put extra throw blankets somewhere else 🙂
So that’s my makeover story and I hope you guys will tag me or email me if you use FeatherFinish on your own tables! I bet it will look AMAZING. Happy DIY-ing!