This is a sponsored post written by me on behalf of Canon. All opinions are 100% mine.
DIY Custom Name Tags
Need a cute custom name tag? Maybe you are looking for a bag tag or a way to label your stockings? Or perhaps you are looking to craft something because you are a craft-hungry-machine that eats glitter and hot glue for breakfast? Whatever you may choose to diet on….I have the answer!
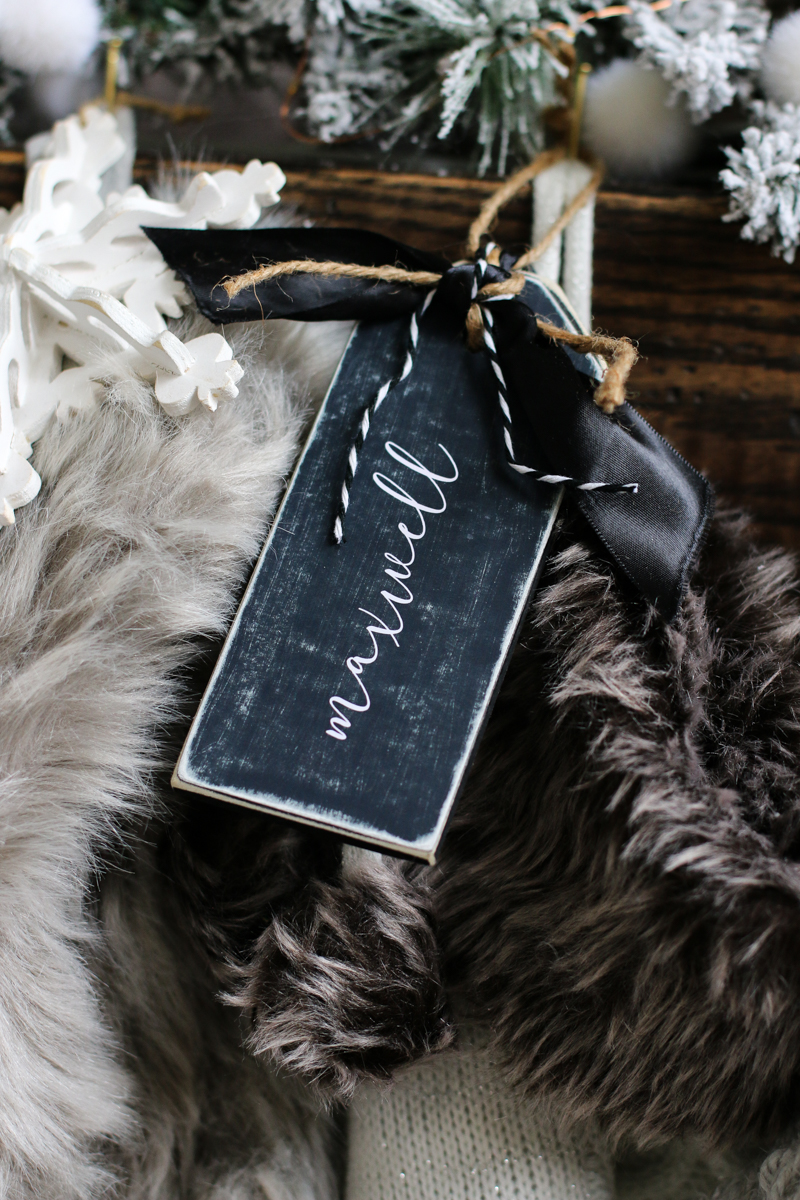
I am here to share a cute DIY custom name tag that will be sure to have your heart fluttering with joy and everything clearly labeled so that you don’t give Aunt Jo the stocking that is meant for your seven year old! There is nothing worse than stealing from a child. The shame! Now that situation can be averted and Christmas can be saved….all thanks to your beautiful creation.

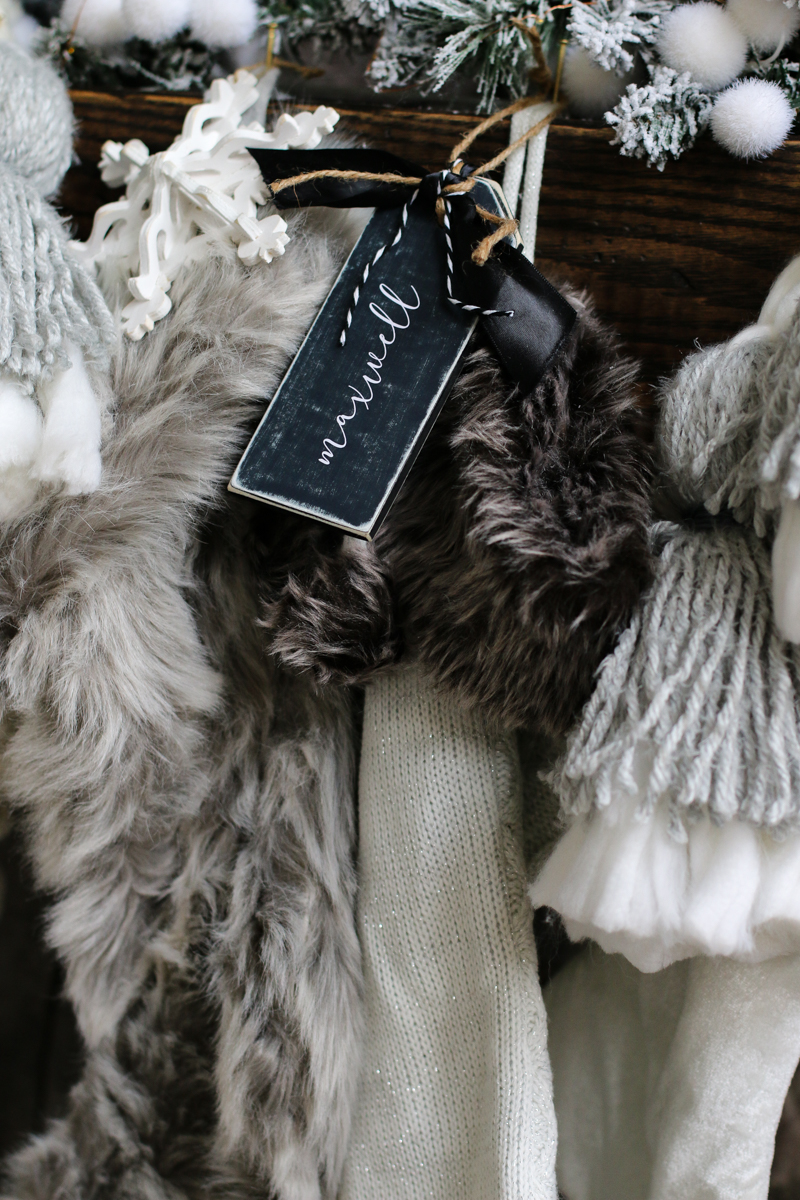
I recently made a whole bunch of these DIY custom tags and personalized them with the names of my kids and they are currently hanging on our mantel.
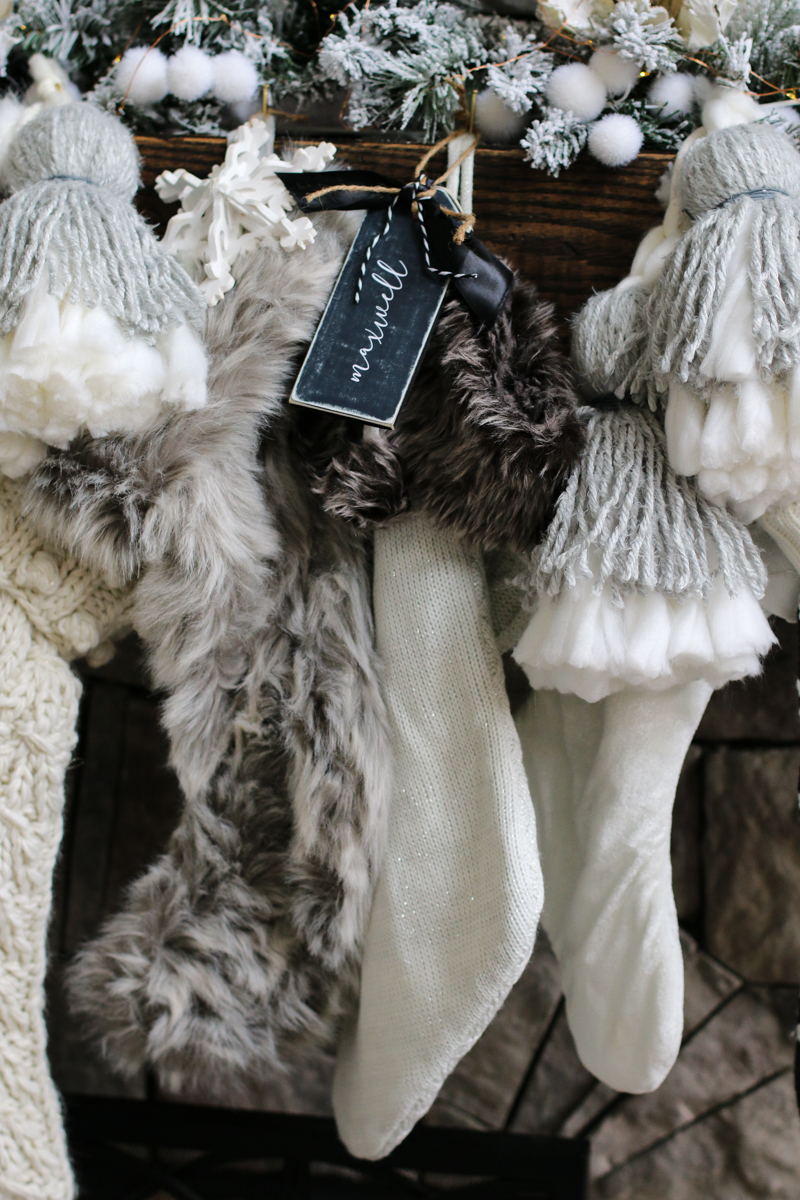
My kids love knowing exactly which empty stocking will get jammed full of underwear and toothbrushes and belong to them 🙂 Oh Christmas magic!
Let’s get started!
#1 – PREP YOUR WOOD
First you will need some wood. That’s right. These name tags are made to last! I got a piece of poplar from the home improvement store. It was 2.5″x36″ and you can cut it in 6″ sections to make six tags. I used my miter saw and cut each one to length first.
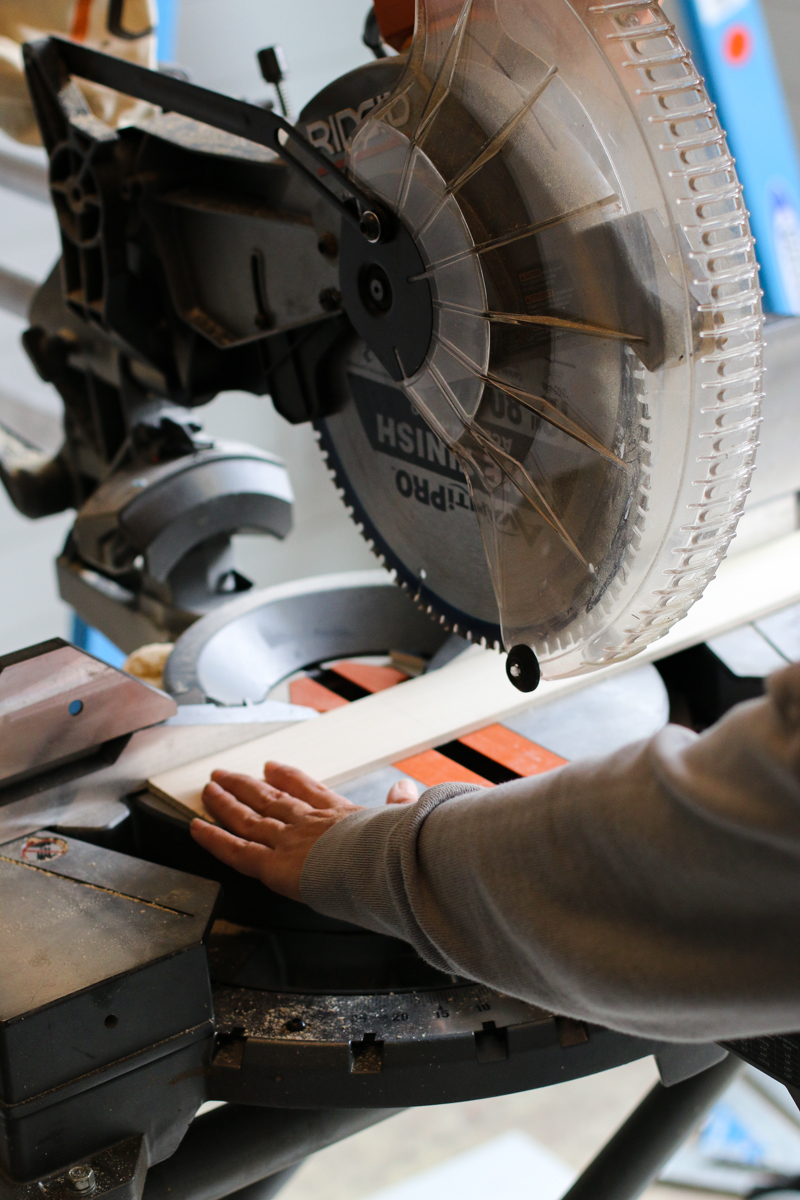
Six inches looked good to me and made sense since then I could do six different ones.
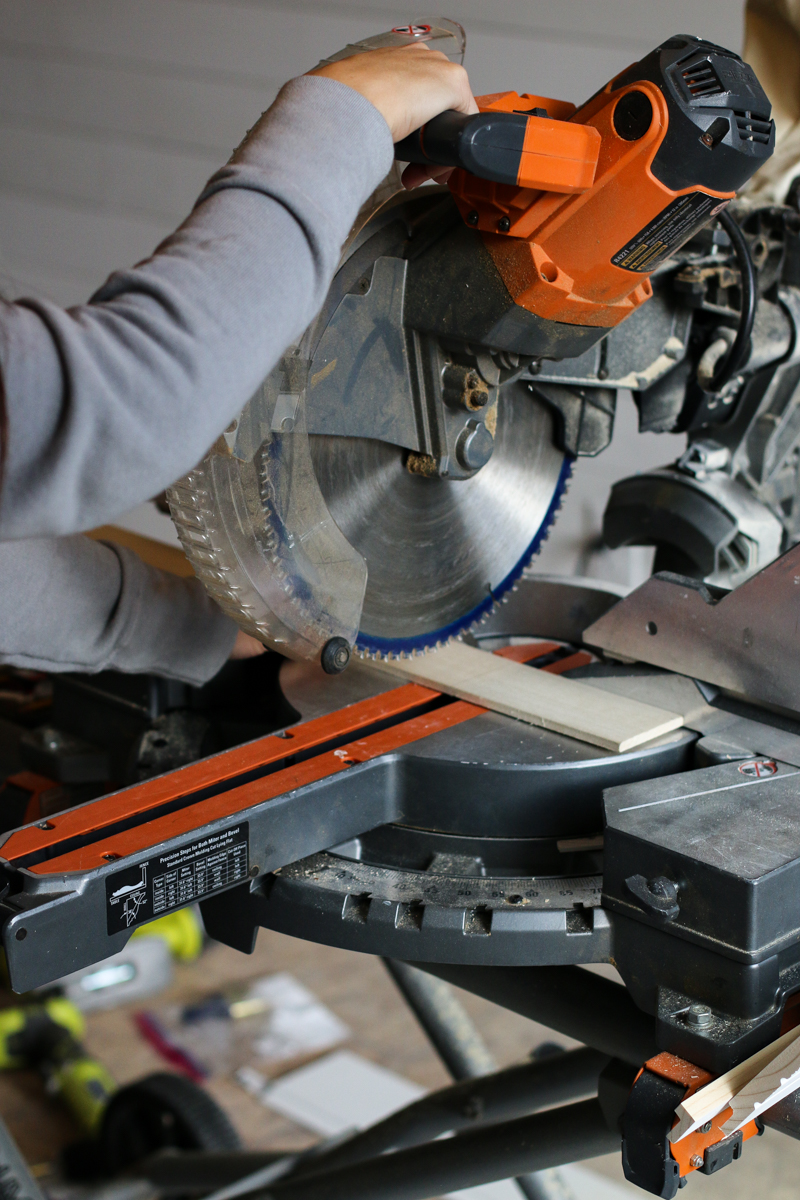
We needed eight tags so I have extras that I’m making for other gifts!
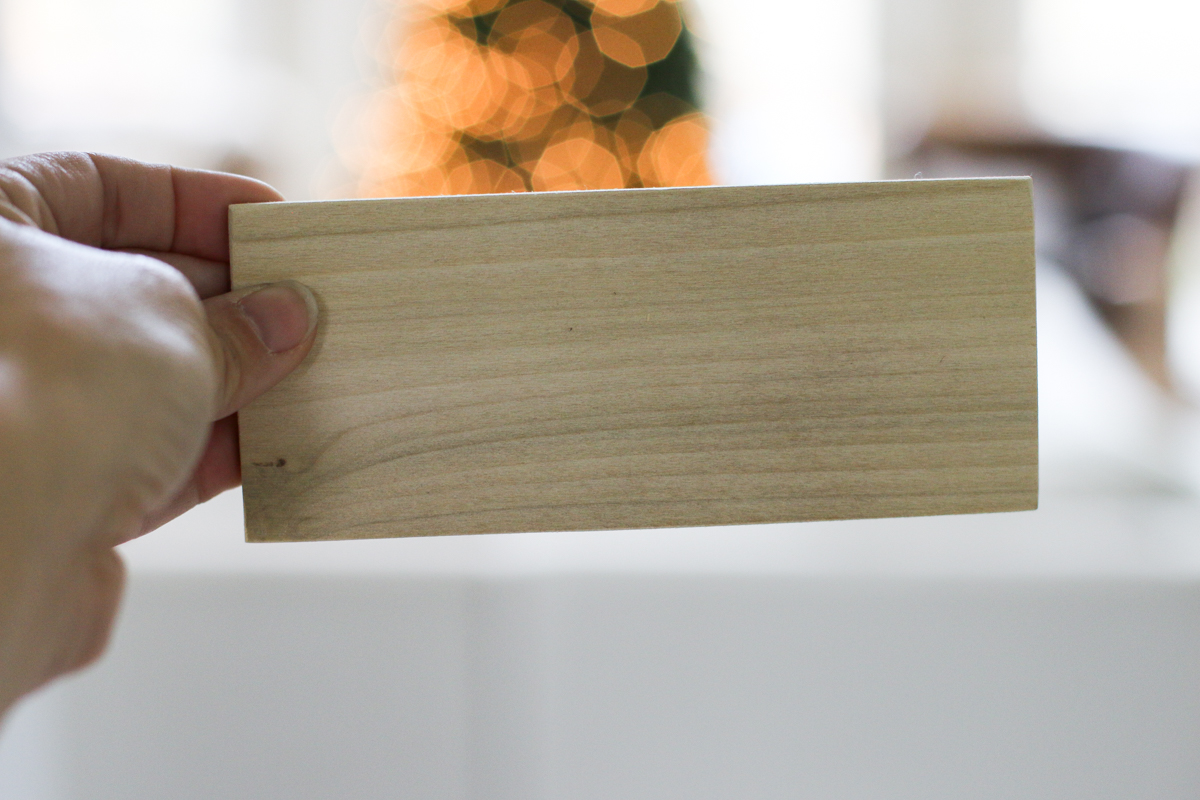
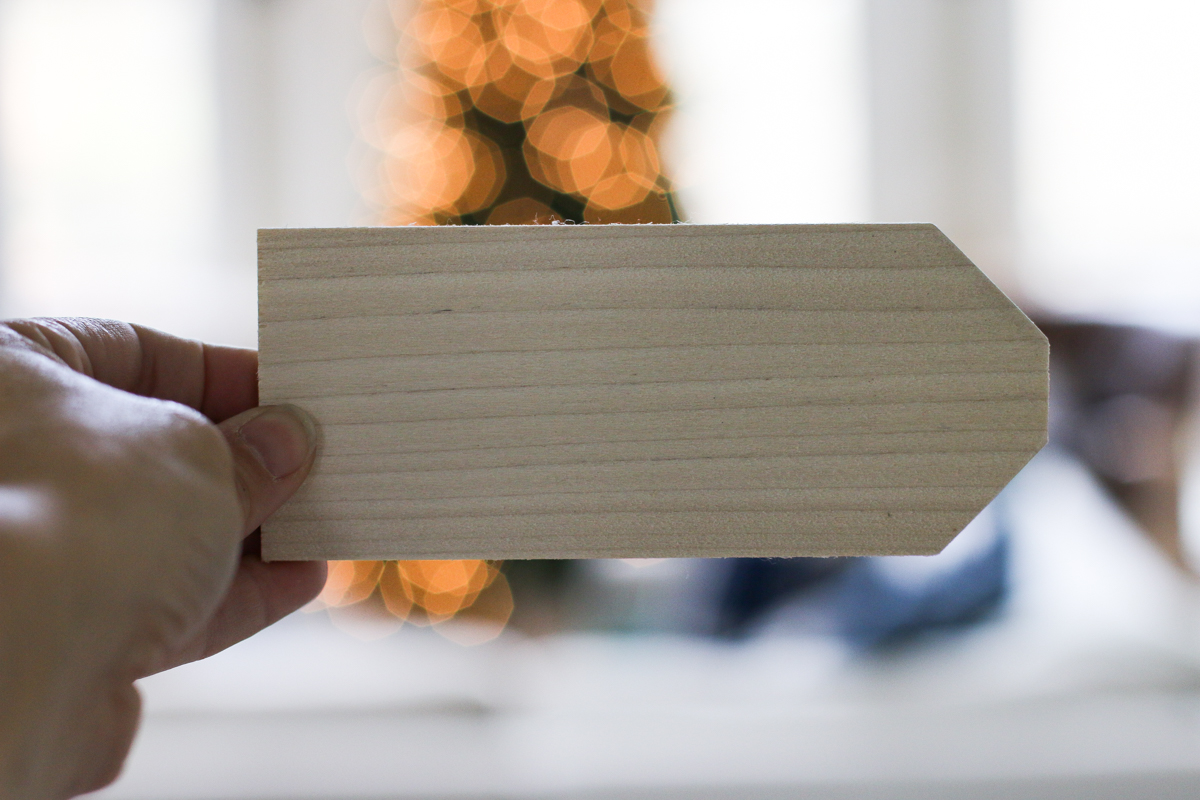
You will also want to cut the corners off on one end making it look like a name tag. I cut them at a 45 degree angle and about 1 inch from the corner.
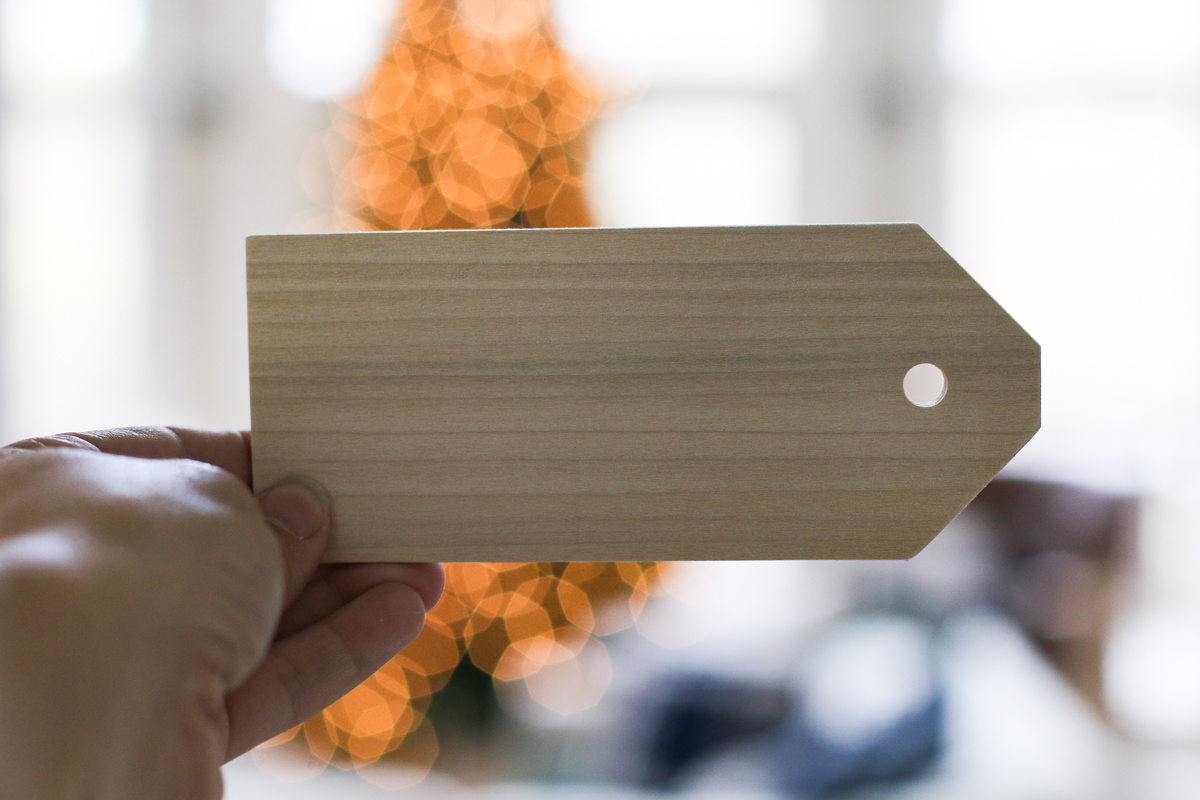
Next using a 5/18″ drill bit, drill a hole centered on the end about 3/4″ from the end. Sand the entire thing to remove any splinters.
#2 – PAINT
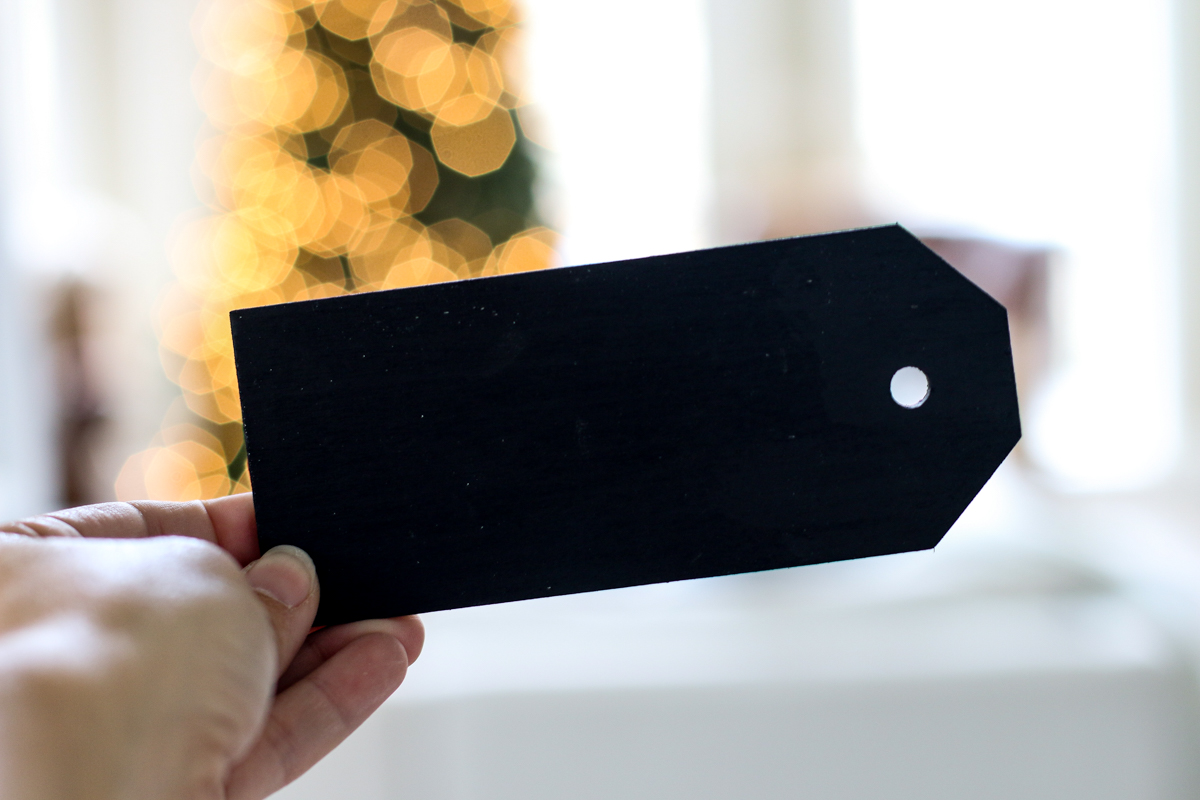
Using a black acrylic paint, give the entire wood tag a couple good coats. I did the end, both sides and all the edges.
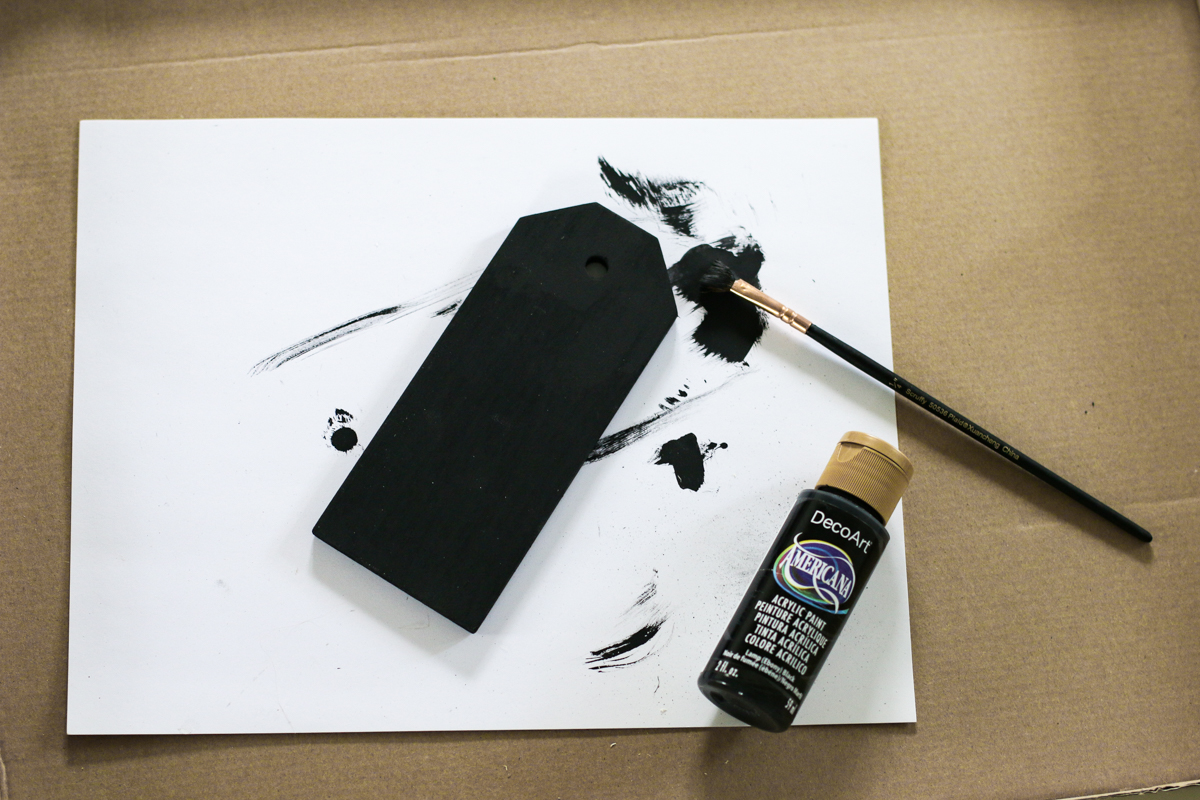
The black really makes the tag pop and gives it a modern feel!
#3 – PRINT
Now here is the fun part! It’s time to print those tags!
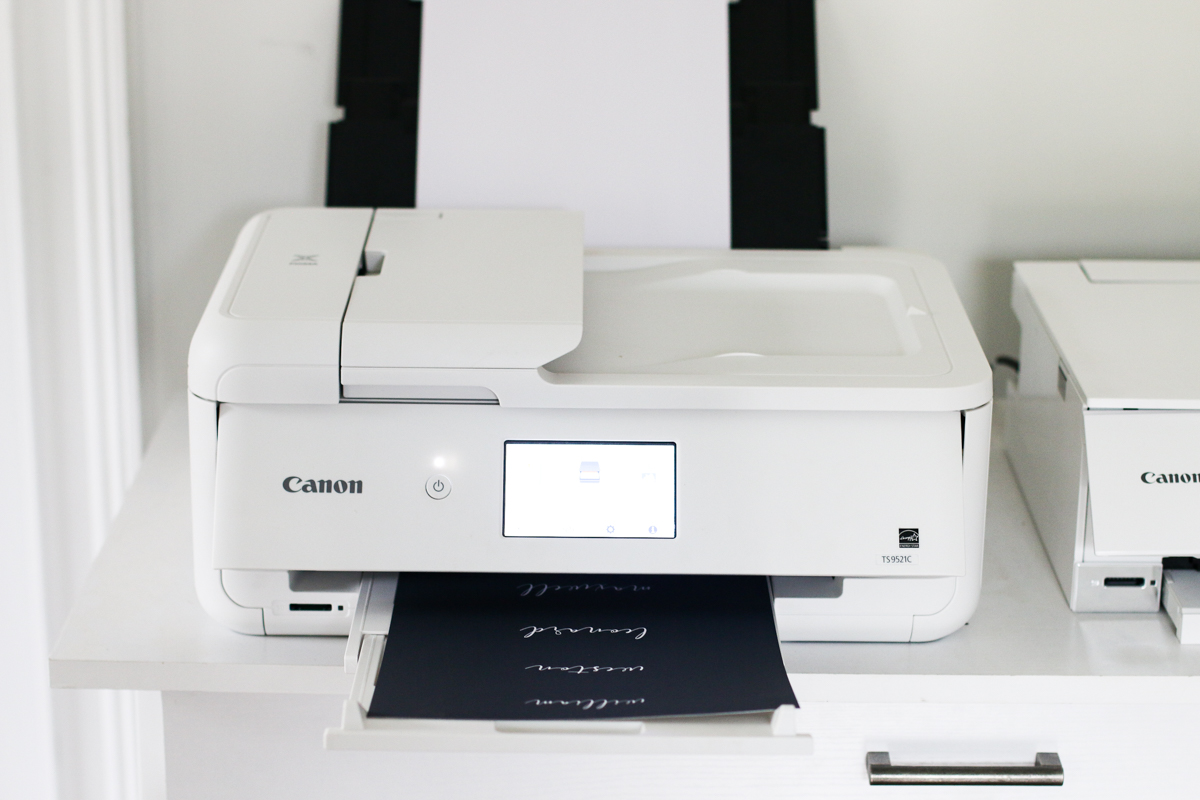
I created a template for the name tags on my computer and then printed the names (4 to a letter sized page) with my printer. I have the Canon PIXMA TS9521c and it is a really versatile printer and I use it for just about everything!
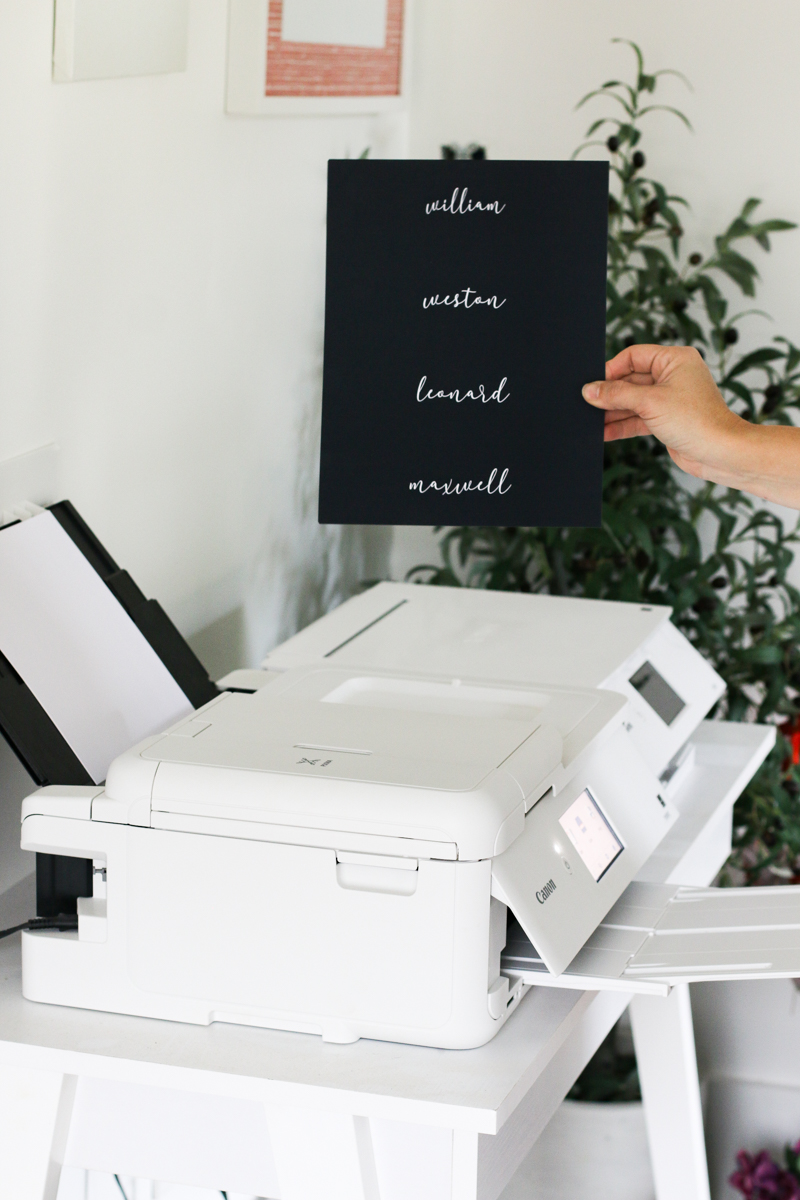
Each page has four names on it and I used the Canon Matte Photo paper for this project because it is just my favorite crafting paper.
#4 – CUT & PUNCH
Cut the paper into strips that are the same size (if not just ever so-slightly-larger) than your wood tags.
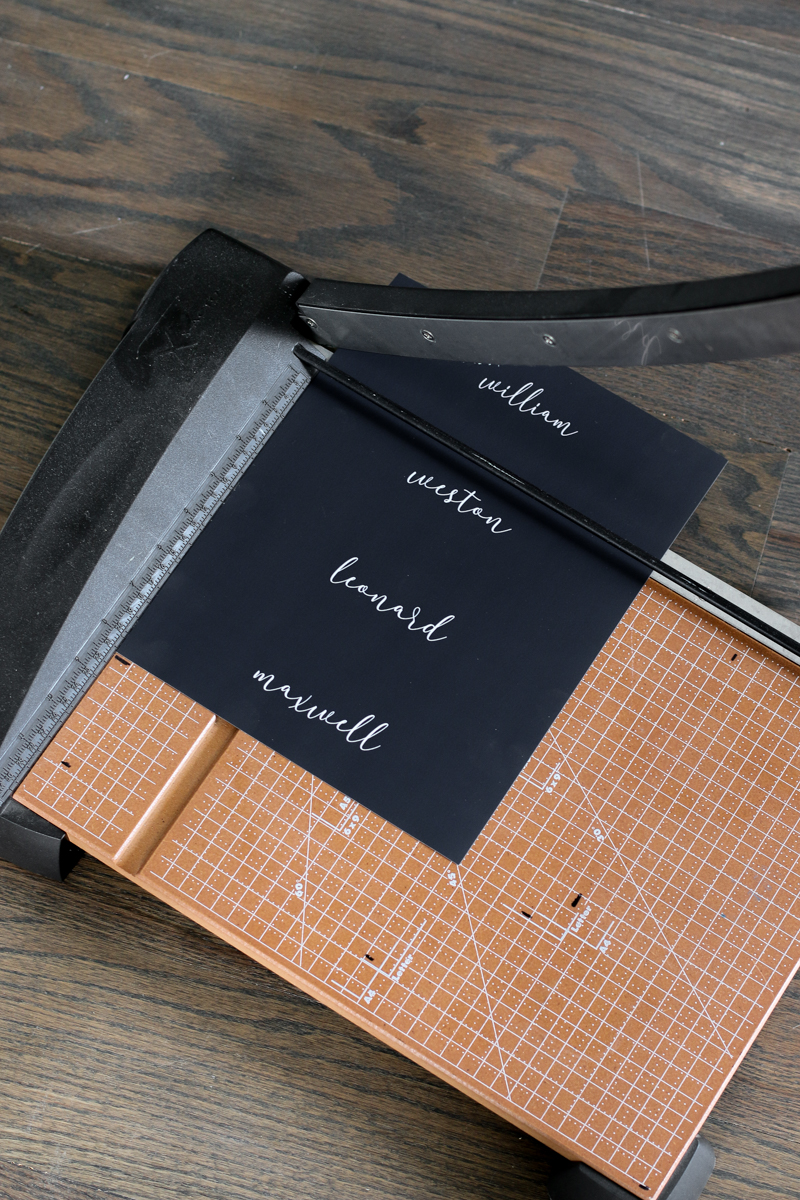
Make sure you miter off the corners and mark and hole punch where the hole goes. I liked to have names going toward the hole….I would just rather see the start of the name rather than the end of it should the ribbon block anything. Do your preference. You have to live with it 🙂
#5 – GLUE
Spread a layer of glue or adhesive on your wood tag using a paint brush or a sponge brush.
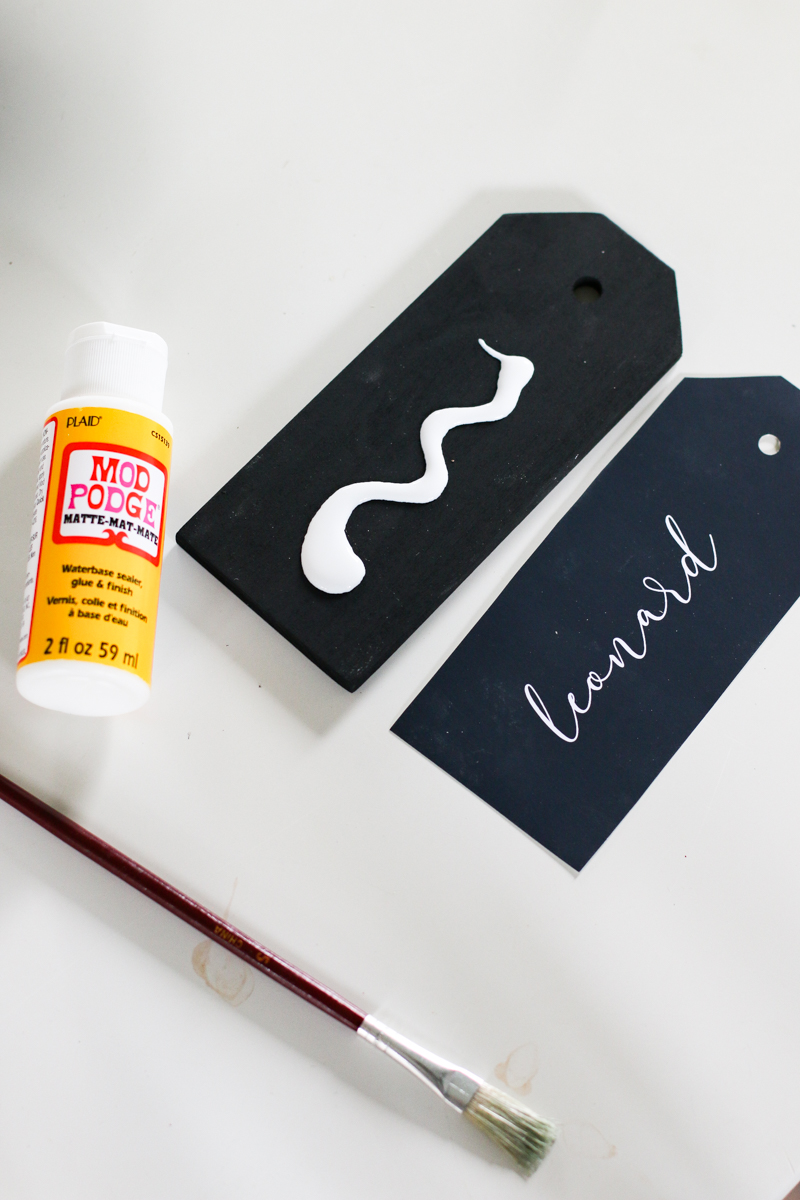
It needs to be spread evenly because later the texture will show if it isn’t. Place the paper onto the wood tag and press firmly. I placed a couple books on the tag face down on a table so that the weight kept the paper flat. I’m obviously not done spreading smoothly below. Do as I say….not as you see.
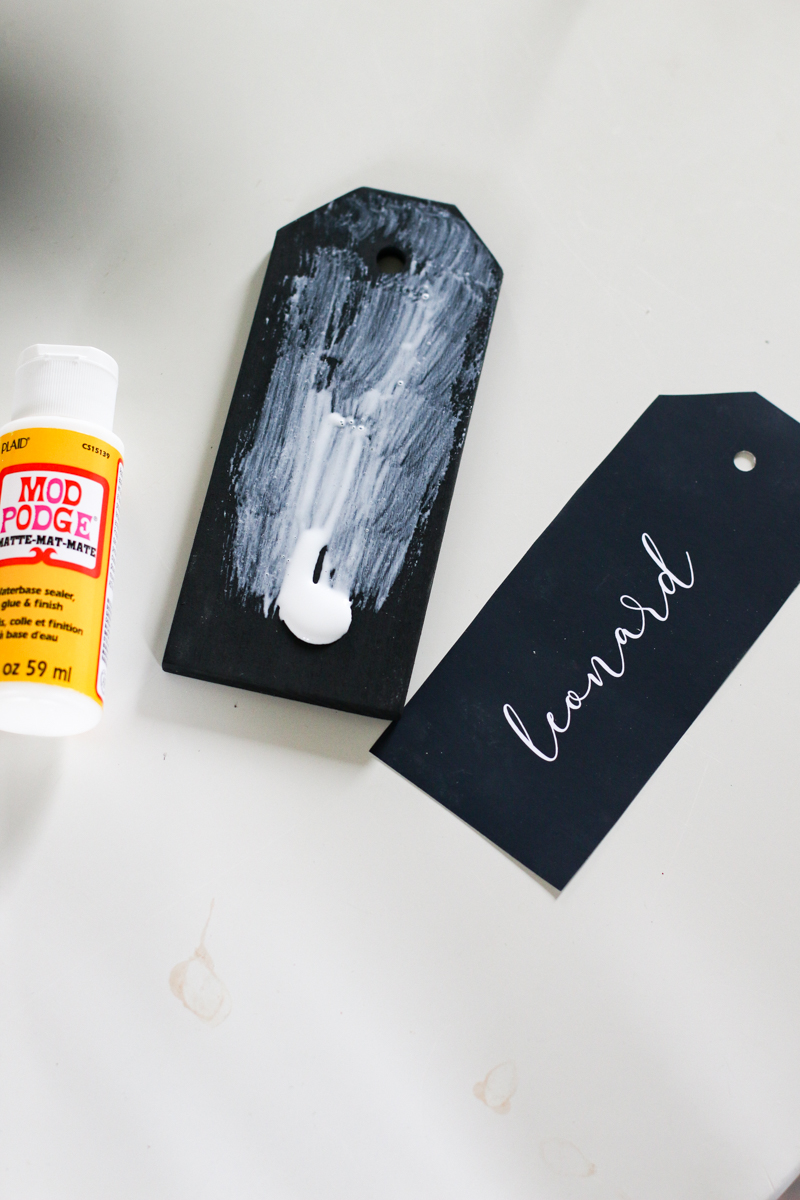
#6 – SAND
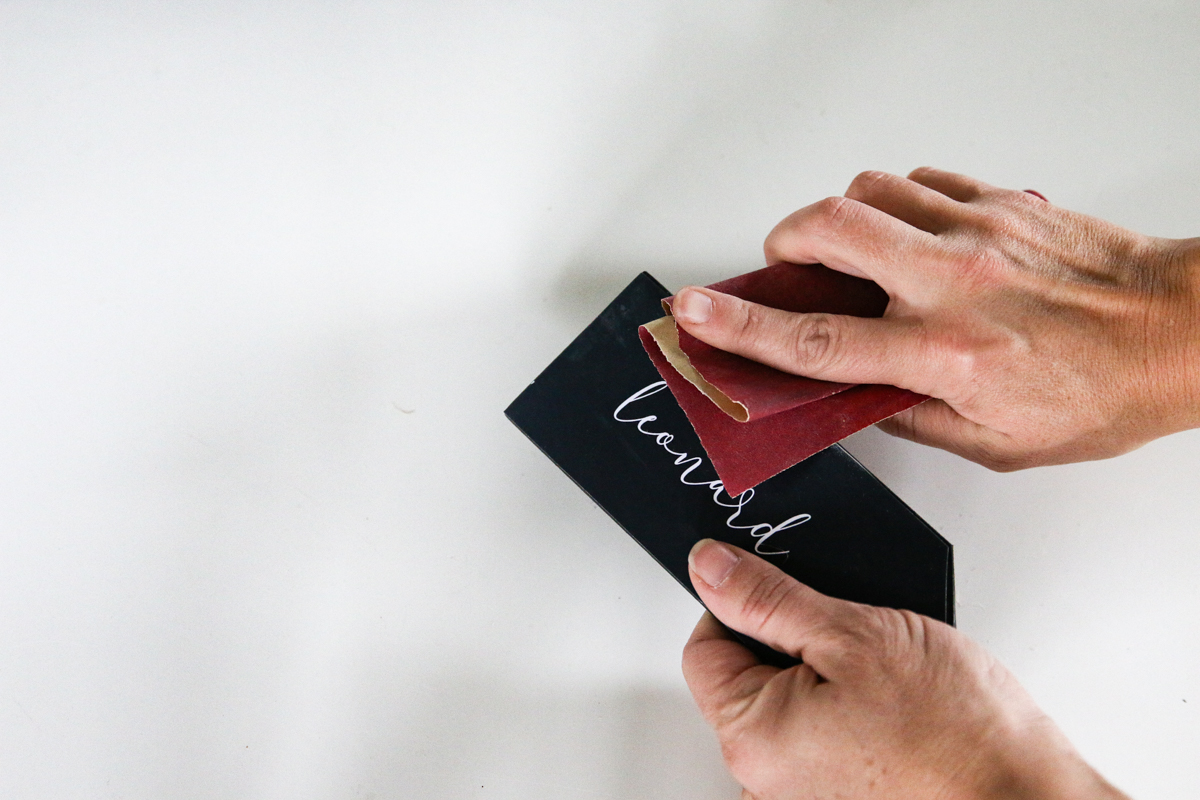
This is where the magic really happens! Get ready! You are gonna toot your horn after this! Get your sandpaper (I used 120 grit) and lightly sand all the edges of your tag.
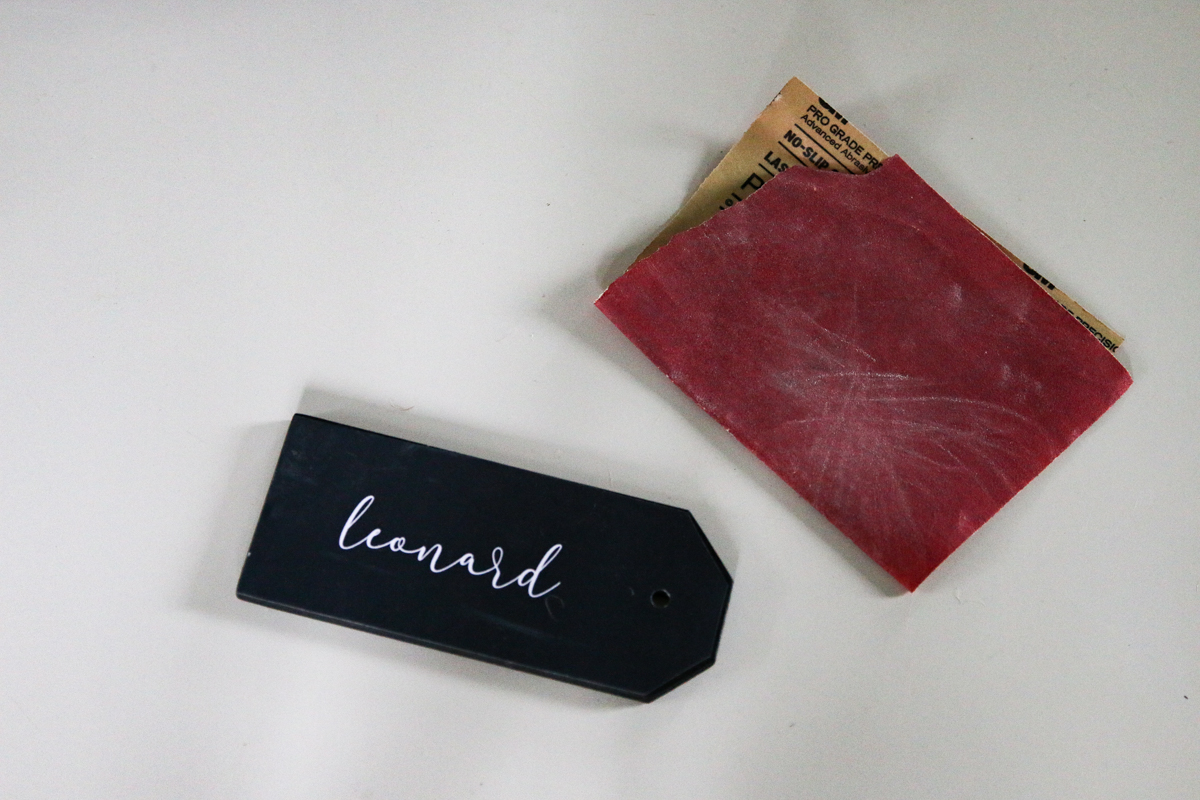
Sand until the raw wood peeks through and the distressing makes the tag look like it’s oozing farmhouse personality. That’s right. This tag could be Joanna Gaines. I also JUST BARELY wiped the top of the tag….on the paper part. And when I say barely – I mean….like the way you would touch your eyeball. BE GENTLE. This gentle wiping gives the paper the appearance of a chalkboard and I’M HERE FOR IT.
#7 – ADD RIBBONS
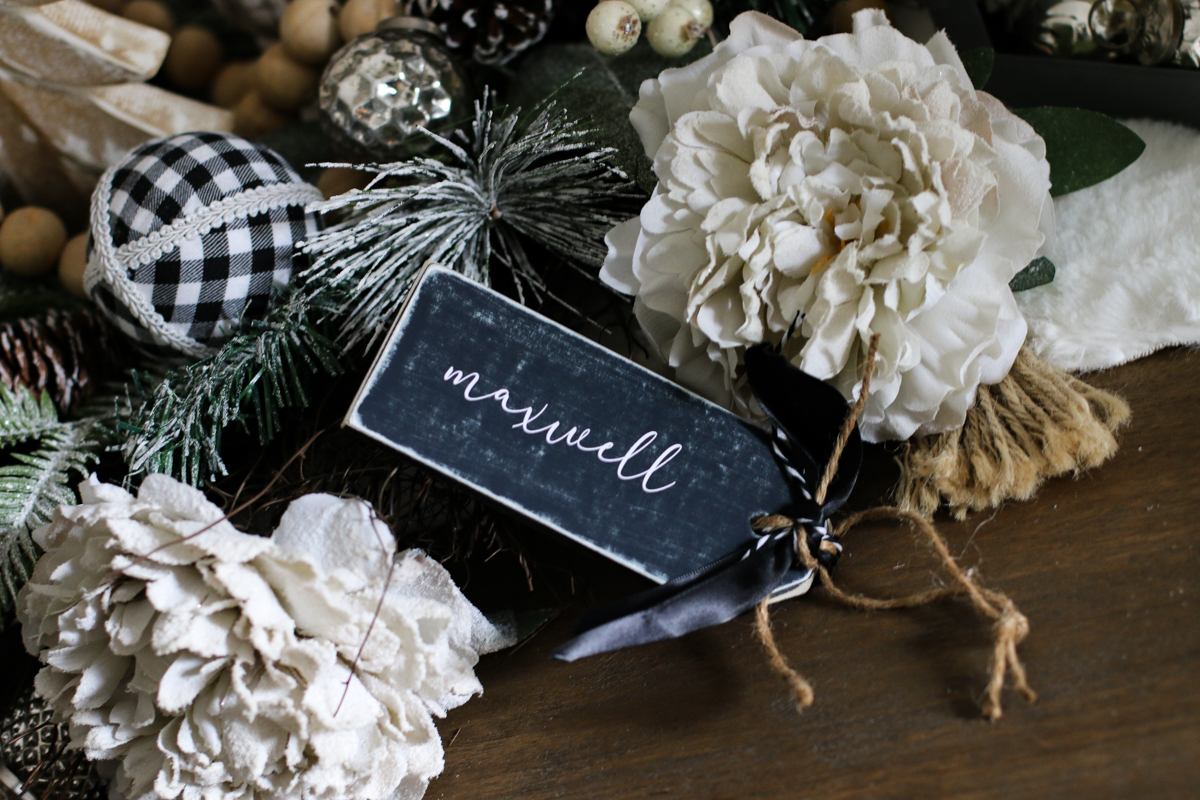
I added three different ribbons to my tag to finish off the look. I used a black satin ribbon, a black and white bakers twine and a bit of twine.
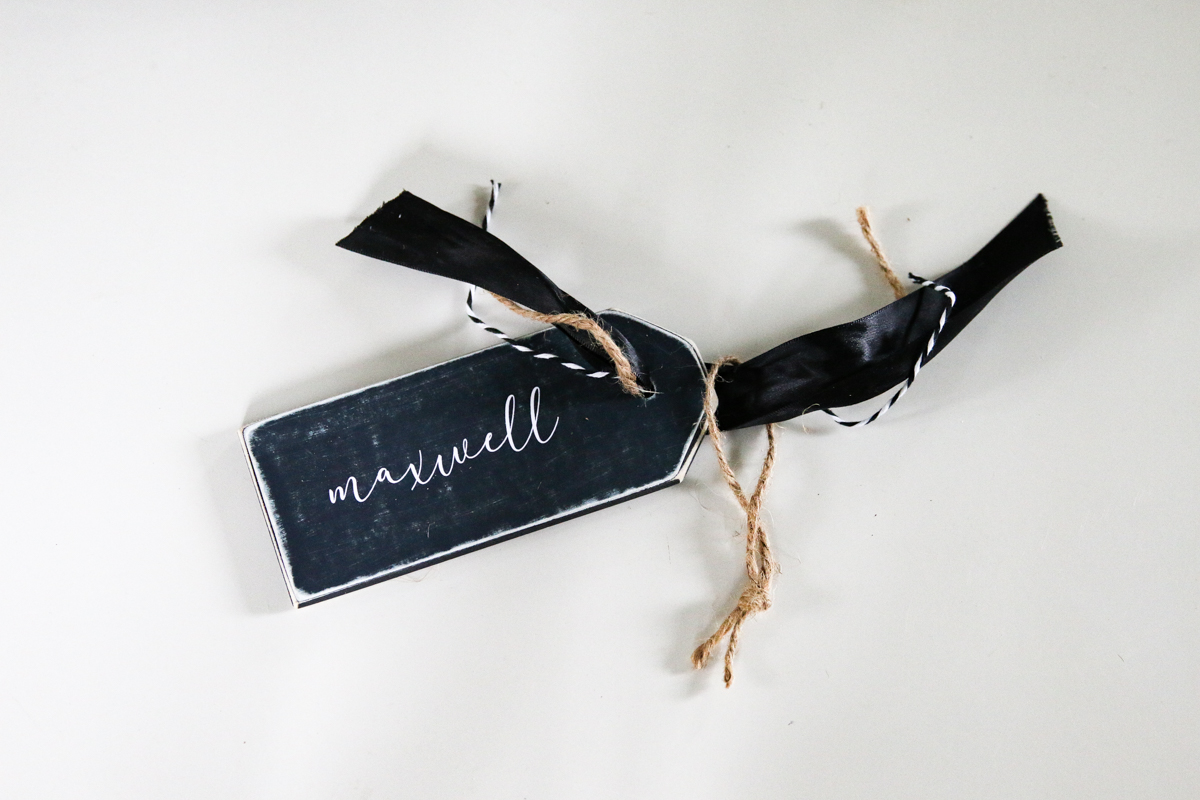
Each one was cut to 6″ and I tied all three through the hole. The extra twine was knotted off and looped through the ribbon and this is how you hang it!
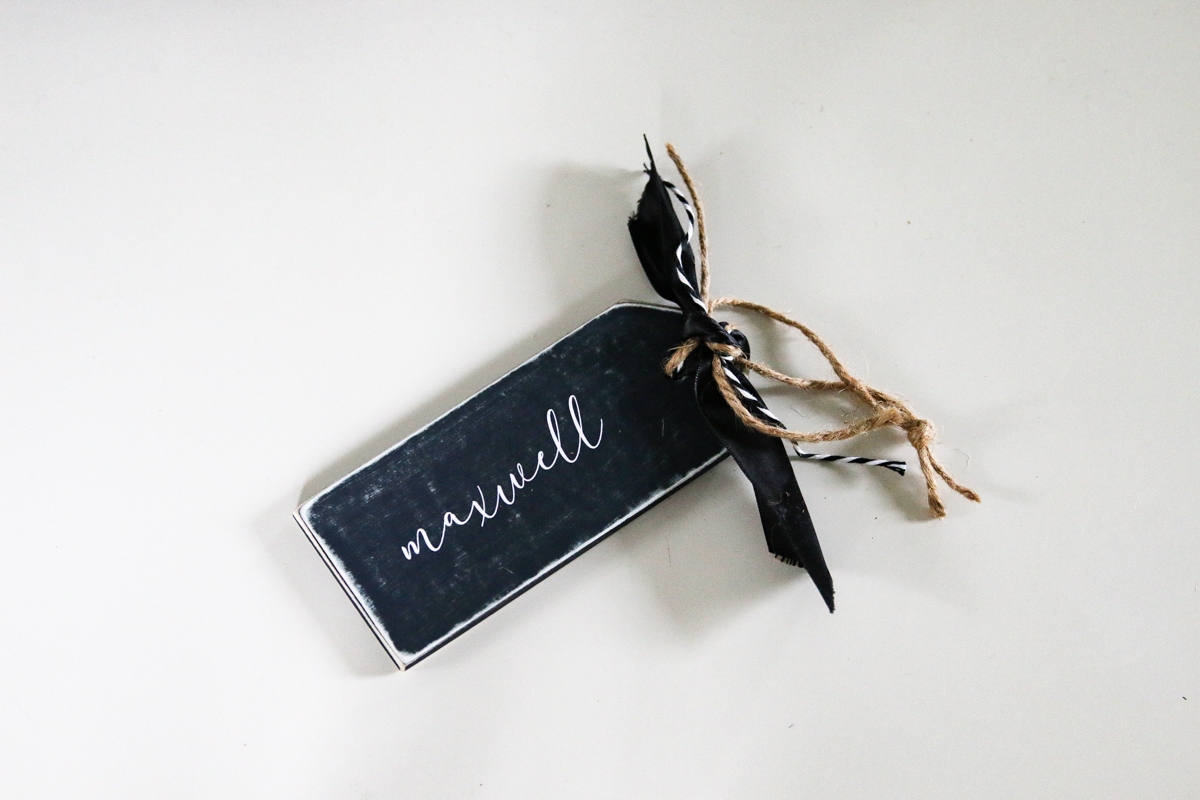
TA-DA!!!! You are done and a crafty magician of the highest order!

Now repeat 3 or 7 or 15 more times depending on the size of your family! These make great teachers gift tags and also can be used on presents or stockings or even as ornaments!
I hope you enjoyed this project! I know I sure did! All except for the part where I printed the first batch wrong and misspelled one of my kids names. It’s okay LJ…..we are all learning how to spell LEONARD 🙂 Merry Christmas! Happy Crafting!