This is a sponsored post written by me on behalf of Canon. All opinions are 100% mine.
My kids absolutely LOVE writing cards. They had been gifted some personalized stationery cards a while ago and blew through them in a matter of days. They write cards to family, friends, teachers, the tooth fairy, Santa….you name em, they have written a card to that loved one. And part of the joy in those cards was that they were personalized so even if Max’s looked like ancient Egyptian hieroglyphics, the receiver knew it was from Max. When I went to replace the cards, the price tag almost sent me into shock. The styles were absolutely adorable but I also knew that I wasn’t about to drop a Benjamin on cards for my kiddos. Thanks but there has to be another option. So that is why I am here today….to show you how I created personalized kids stationery cards and to share them with you!
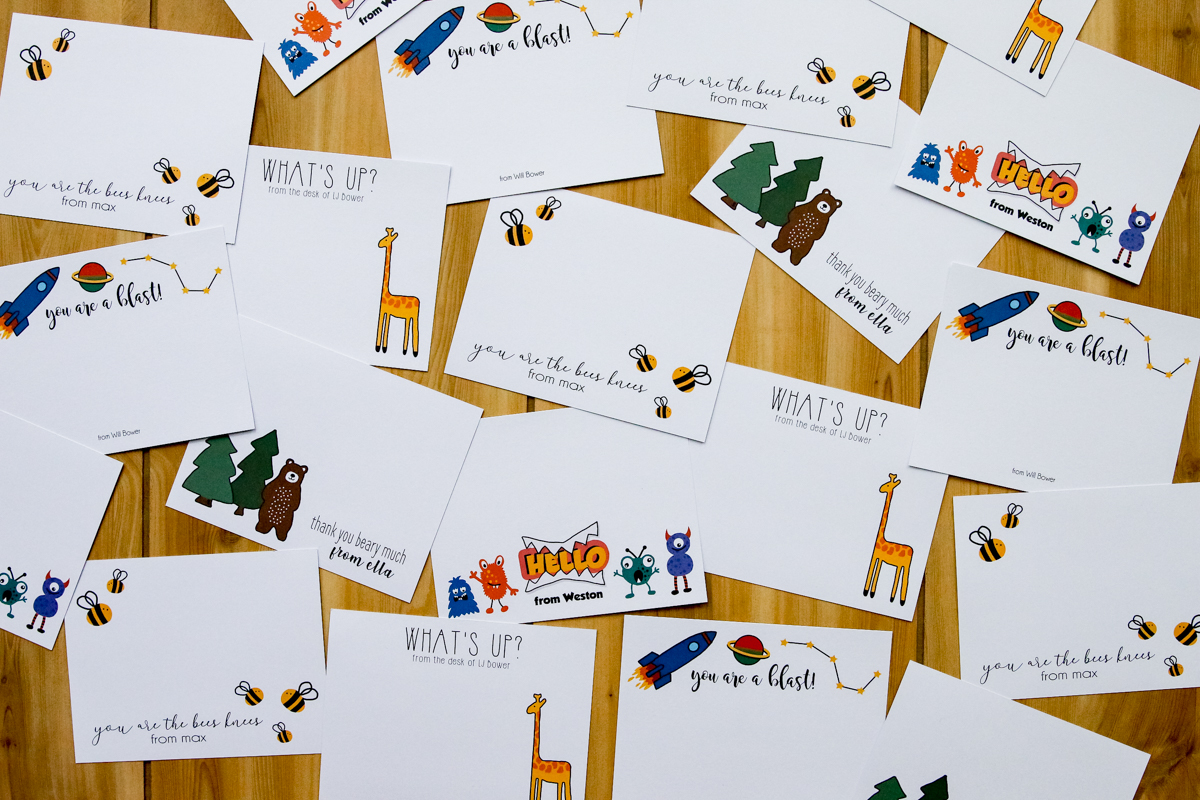
The appeal in having personalized cards is that they are personalized. Duh, right?! But there is a certain amount of joy that my kids feel knowing that they have their name in print on a piece of paper.
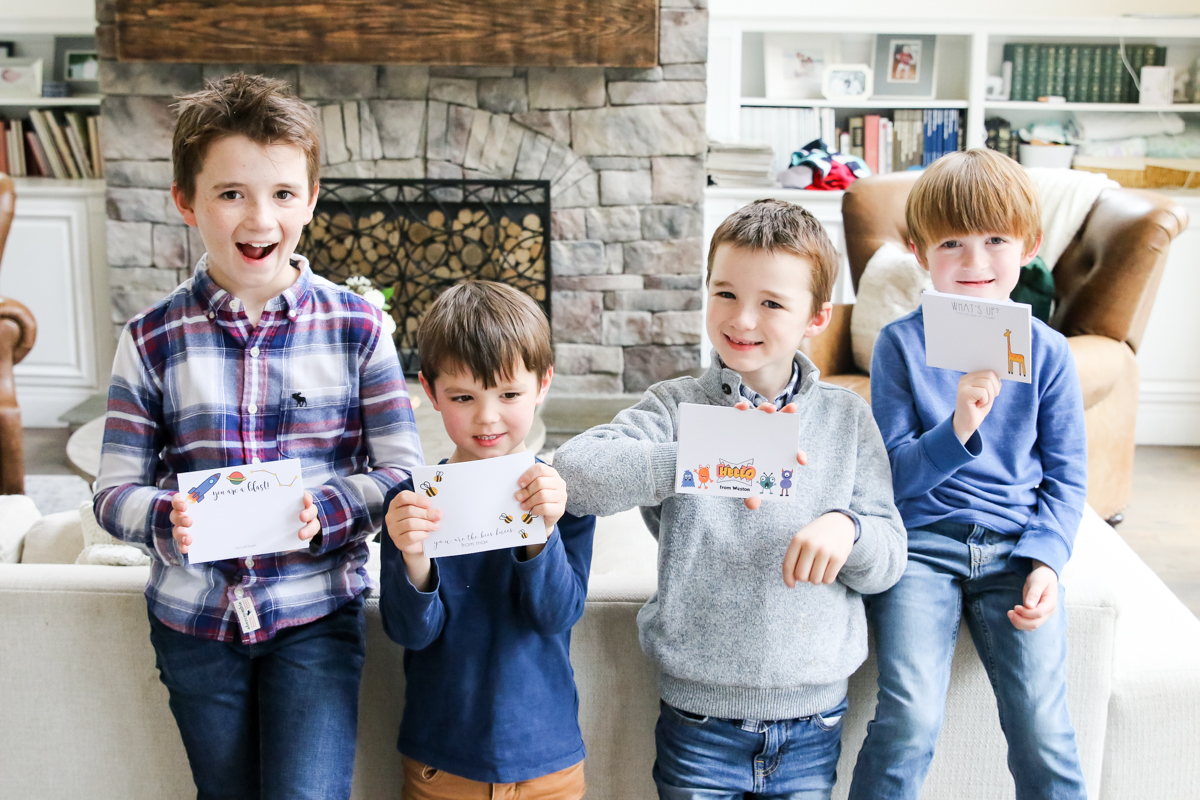
Shoot…I feel that same joy when I see mine on stationery! But the price was steep. Most of the ones I saw online were $1.50-$2 per card and if I bought a set of ten, that is $20. Now multiple that by five kiddos and I am refinancing my house for my children’s stationary habit. So I’m here to show you how I made 50 personalized cards on my own for $6 using my Canon PIXMA printer.
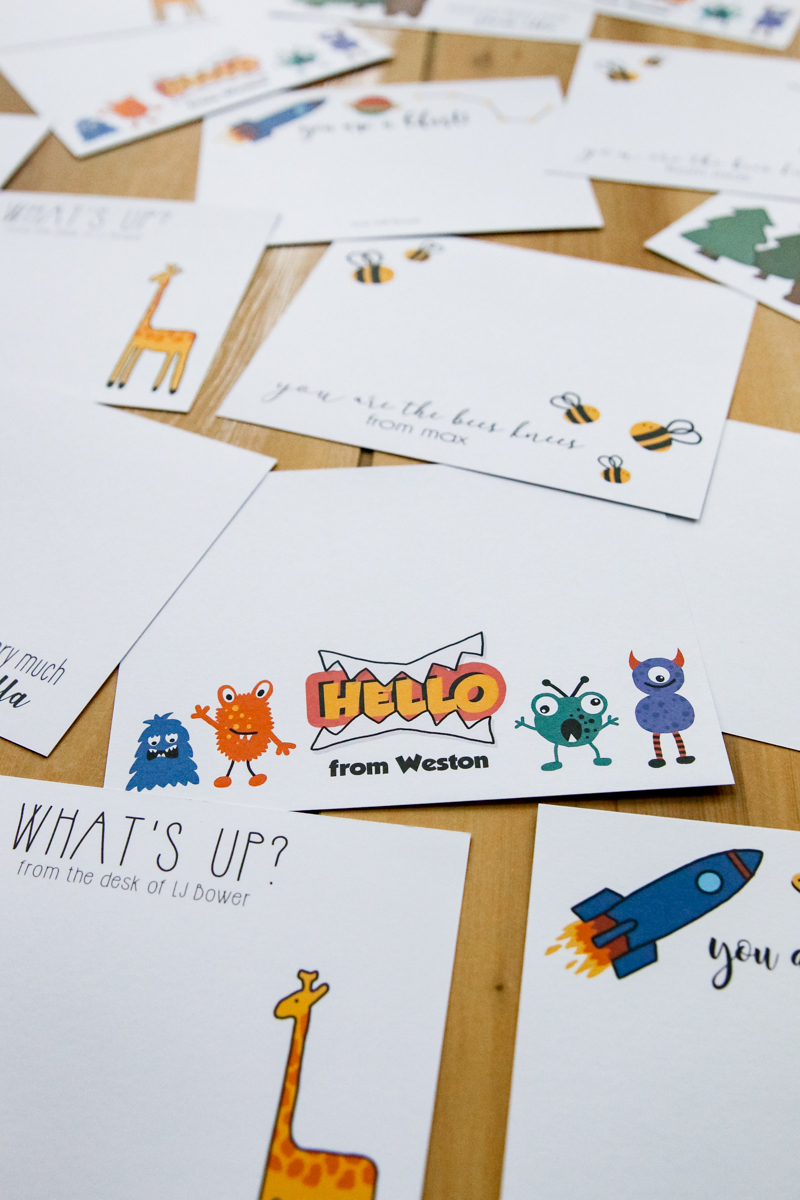
I’ll show you the general idea of how I did it and at the end, I’ll share the photoshop files that I made so you can use my designs. If you don’t have photoshop, just save the JPG file and feel free to alter the name with a different online photo editor or software and print at home. Let’s get to how I did it.
HOW I MADE MY CARD DESIGNS
Before I made my card designs, I had to find out what size designs I would need. I went to Hobby Lobby and grabbed a 50 pack of flat cards with envelopes by Paper Studios. Normally these are $9.99 but I only buy when it’s at least 40% off (or use my 40% off coupon). The price ended up being $5 (they were having a half off sale) so with tax, it was just under $6.
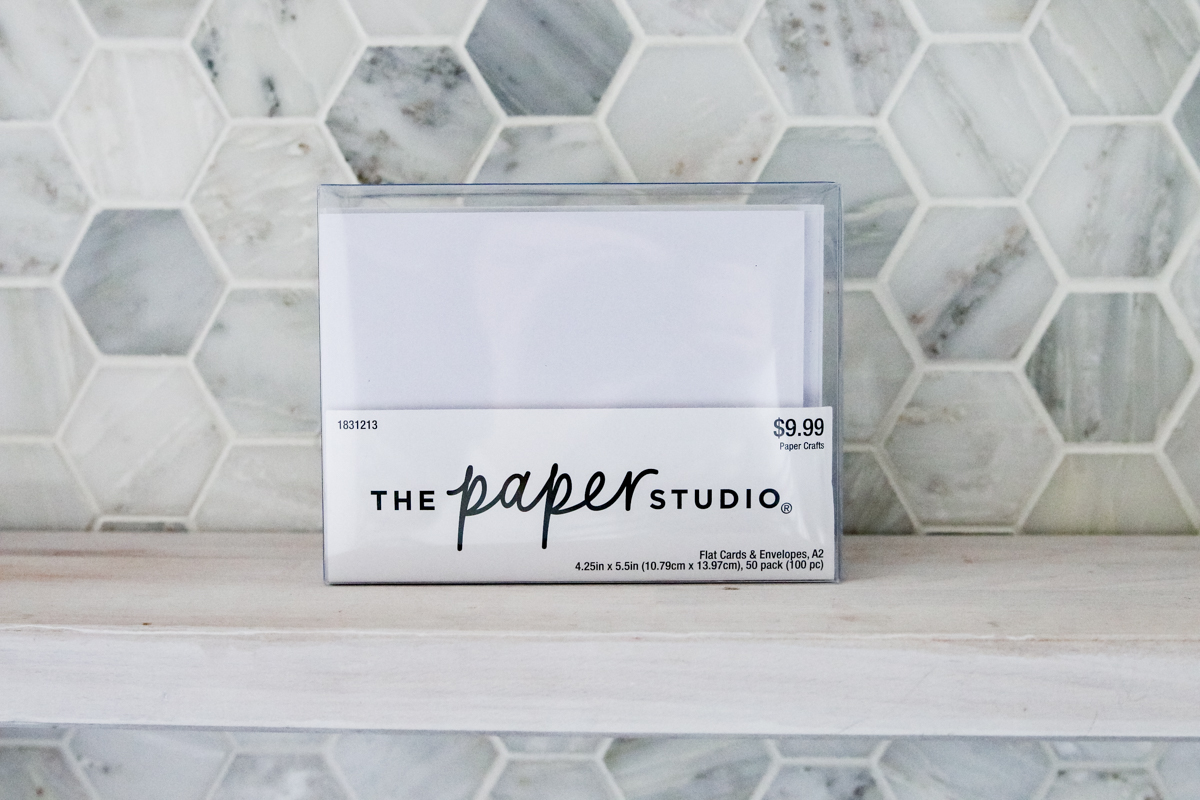
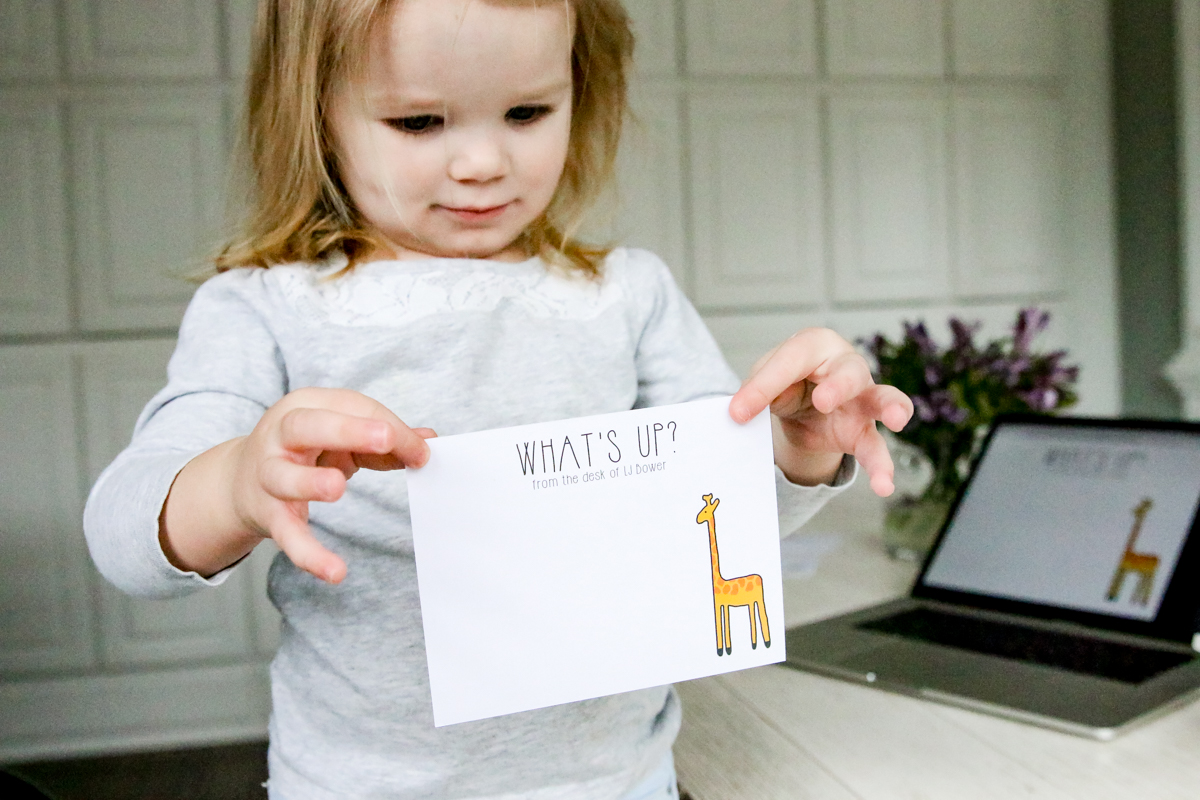
The cards are 5.5″ x 4.25″ so that is how large I made my canvas in photoshop. Then I decided that I would make different designs for each kid. Will has been intrigued by all things science lately so I did a space related design for him. Then Weston is my silly one so silly monsters seemed like a perfect theme. LJ loves yellow and likes writing rather large so I left a lot more blank space for him with the giraffe cards. Max – I just randomly chose bees. I think I might make him another design….I don’t know if he even knows what “bees knees” means! ha! And Ella just learned to say BEAR so obviously…a bear-y cute design for her 🙂
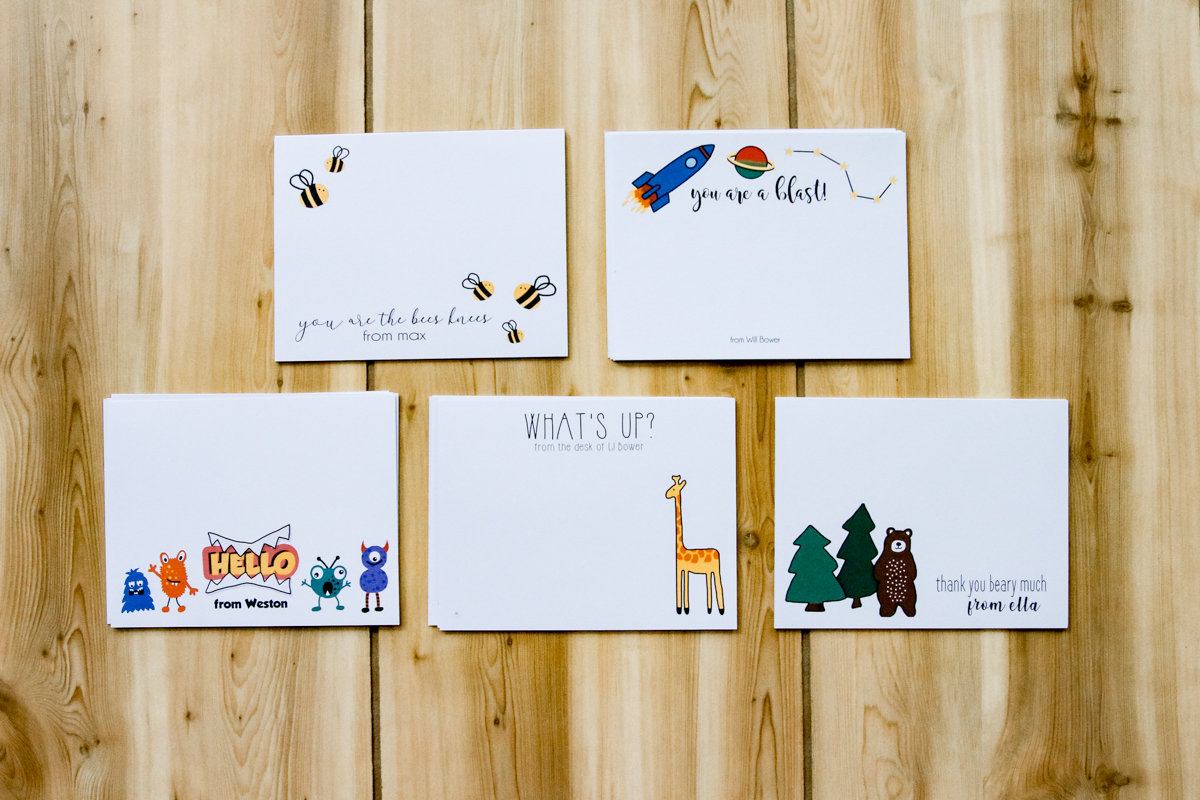
I drew the designs in photoshop as separate layers and then chose fonts that I thought would look cute together. Once I saved them all as JPEGs, it was time to print.
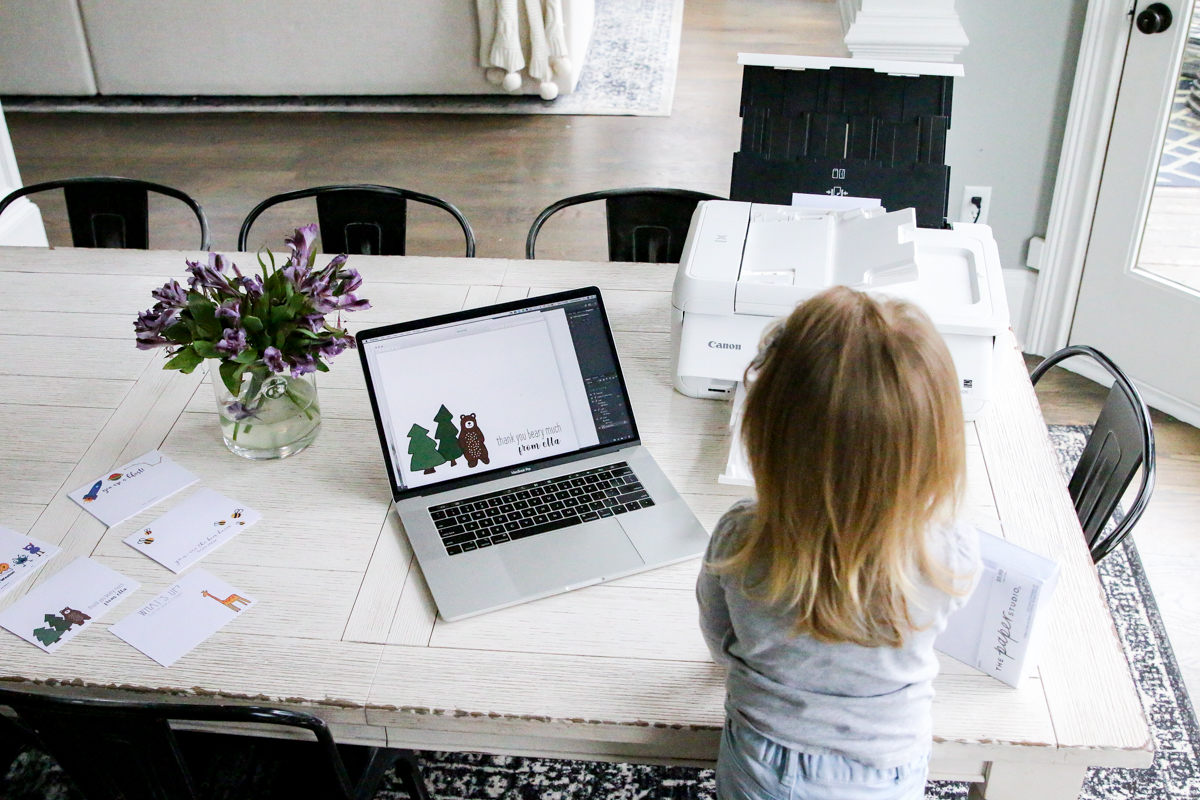
HOW I PRINTED THEM
Printing is the easiest part of this process. I used my favorite all-in-one at home Canon PIXMA TS9521C printer. This beast is a workhorse and we use it for everything. The quality is amazing and it can print pretty much any size so that is why the printer is a great fit for this project.
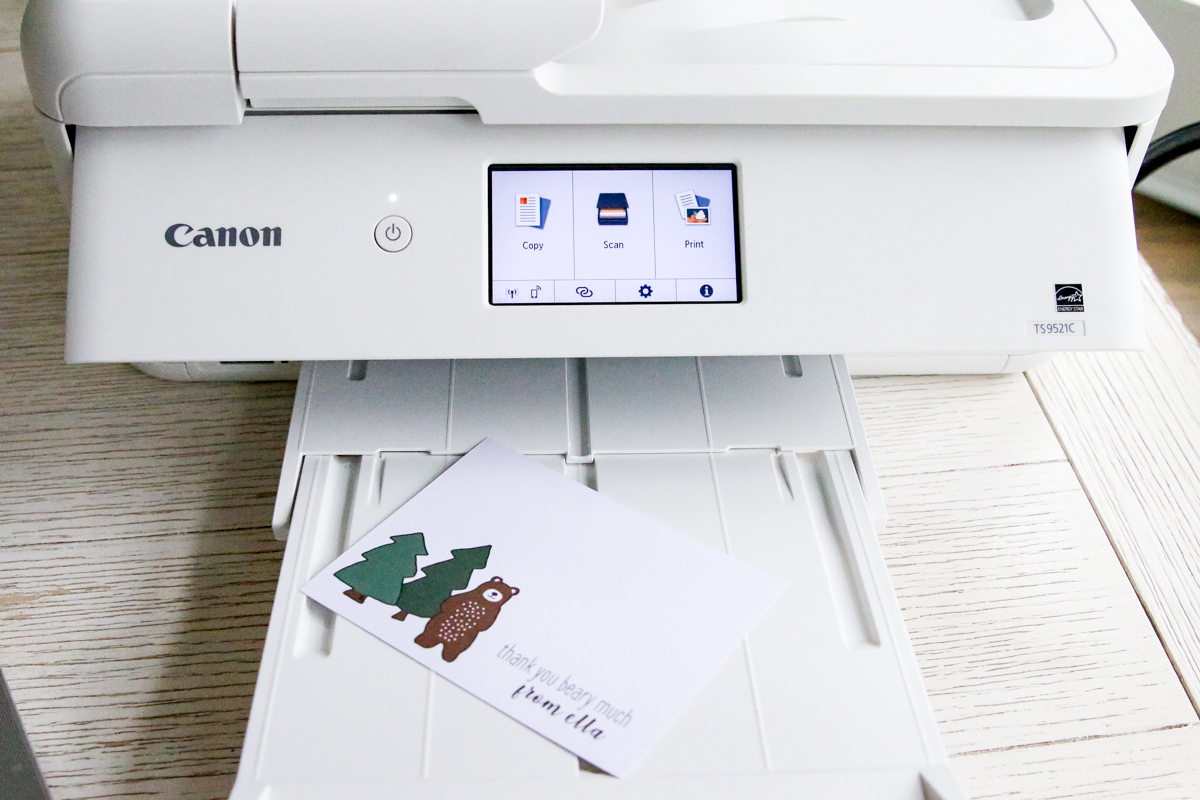
My first tip for this project is that I would recommend making your own custom printing size.
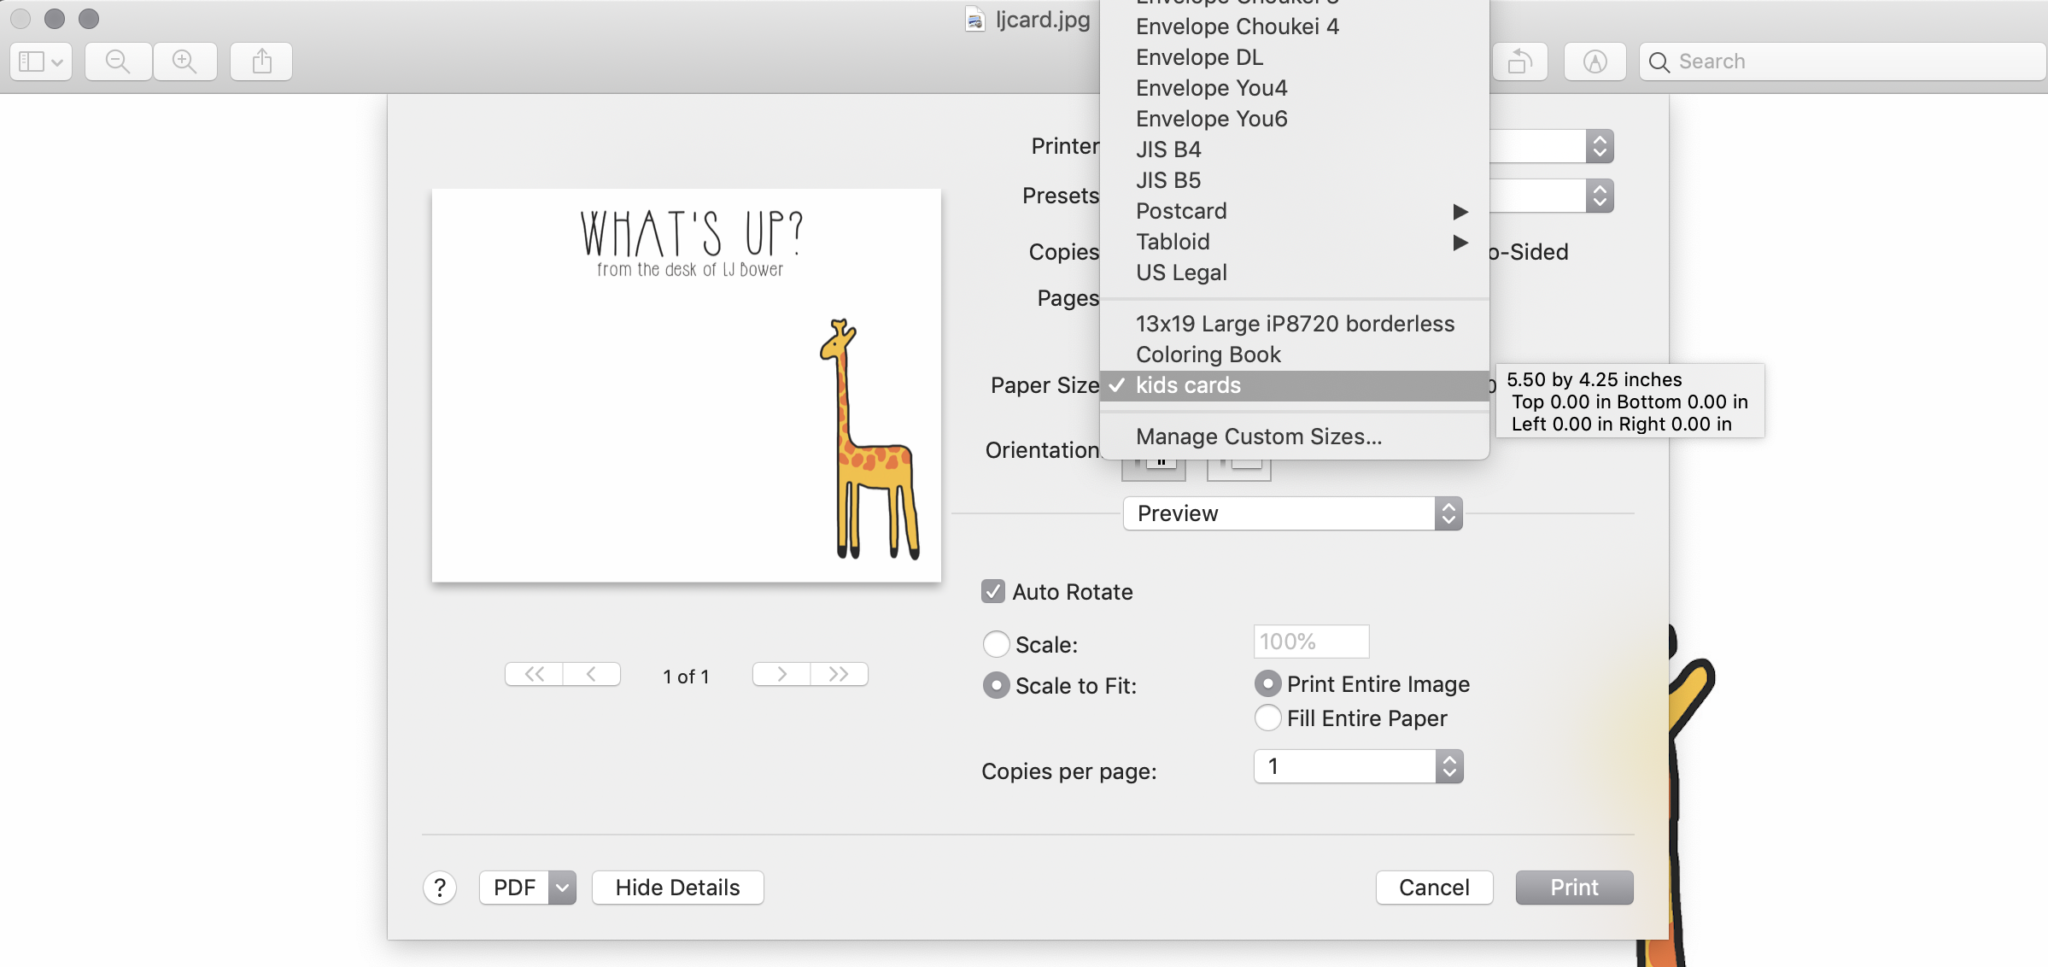
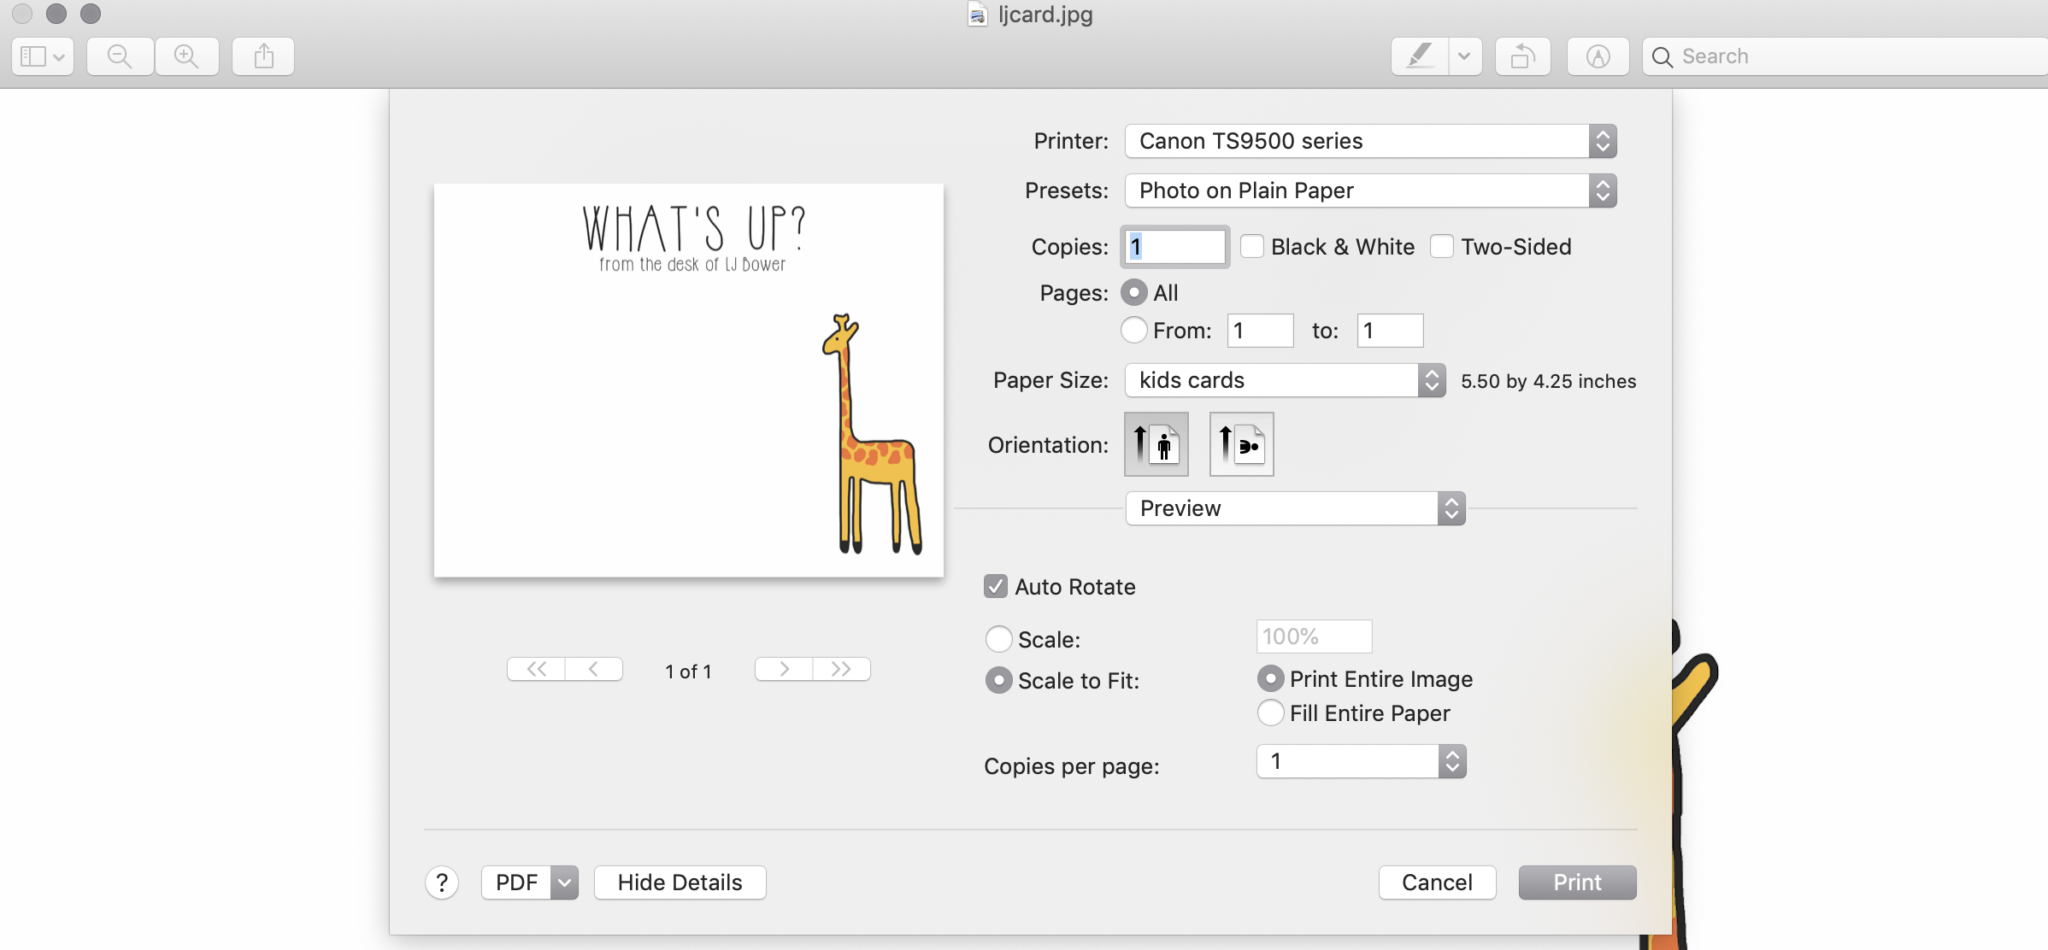
I save all my files as PHOTOSHOP files and then also as JPEGs. I would open the JPEG with PREVIEW and then click print. Once the print window opens, I select the follow options:
- PRINTER : CANON TS9500 Series
- PRESETS : Photo on plain paper
- COPIES : 1
- PAPER SIZE : (to set up: click manage custom sizes/click plus sign/name it “kids cards”/fix size at 5.5 width, 4.25 height/OK) kid’s card
- ORIENTATION : vertical
- AUTO ROTATE : on
- SCALE TO FIT : yes. With Fit entire image selected.
Here is a screenshot of my settings so you can see exactly how I printed them. Also I had to load my paper horizontally so that it would print correctly.
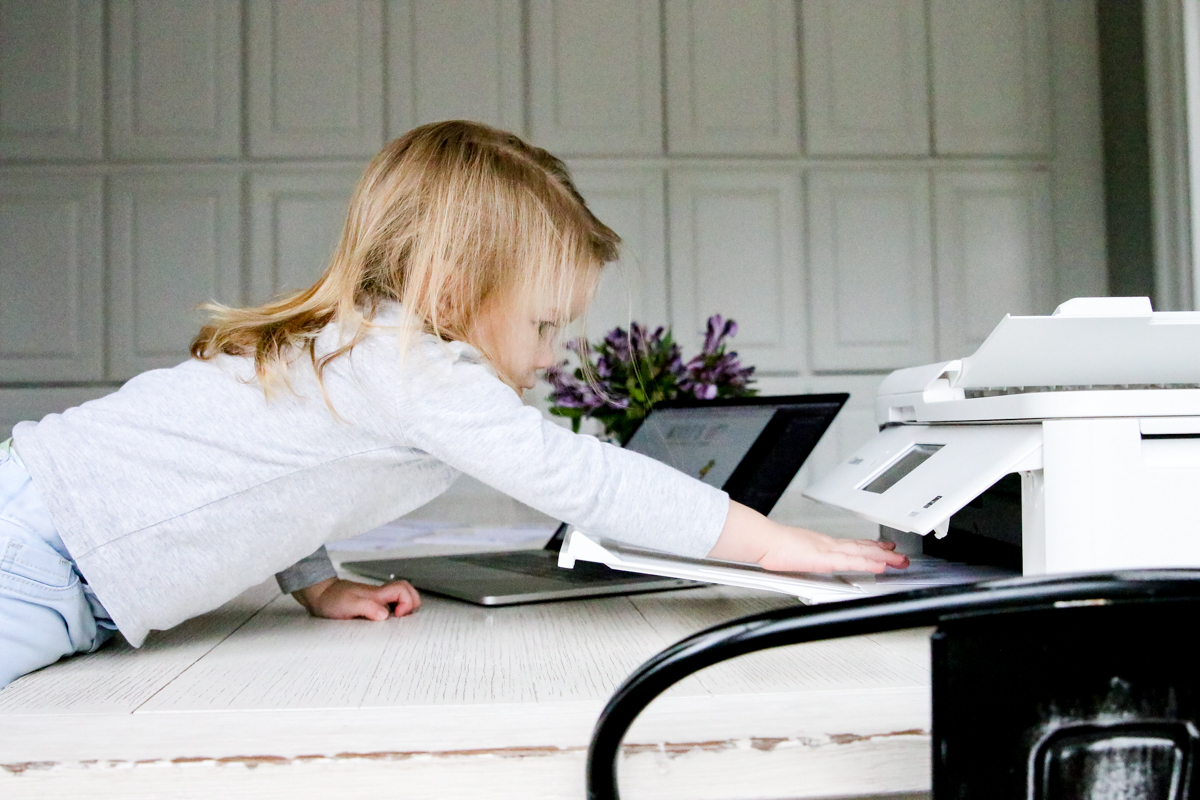
Now you are ready to go!
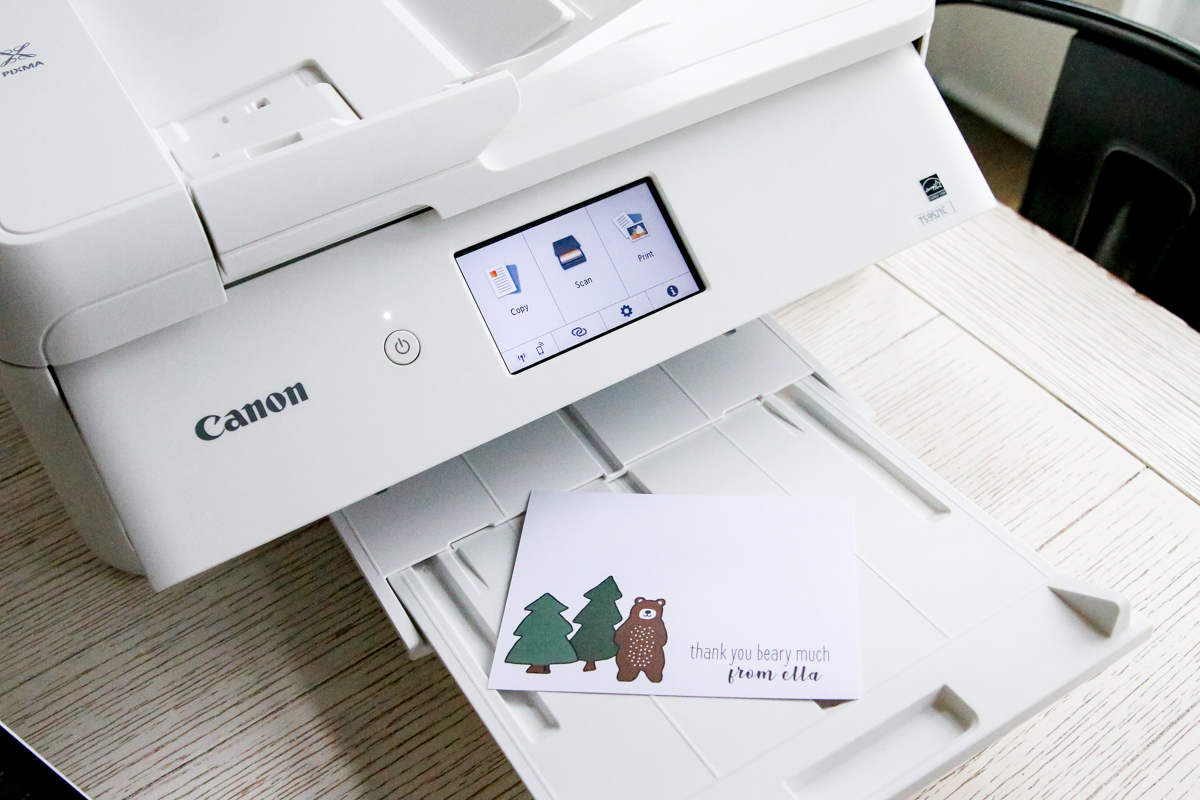
I printed five of each design to start so that if some of the boys wanted to switch their designs, I could easily.
THE PRINTABLES
Below are the printable links for each card. Note that you may have to download the free fonts for these if you want to alter them in your photo editor.
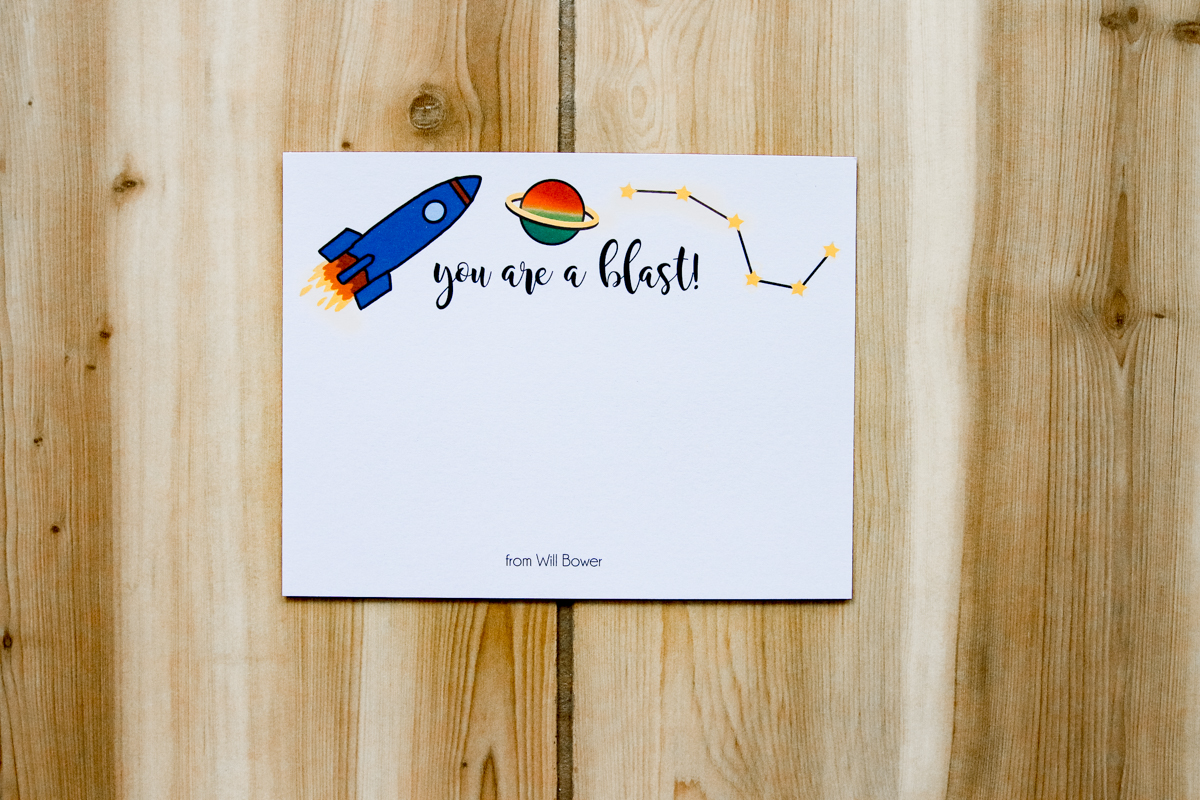
DOWNLOAD ROCKET CARD (click and open in new tab, then save to your computer)
Font 1 – MAGNOLIA SKY
Font 2 – CHAMPAGNE & LIMOUSINES
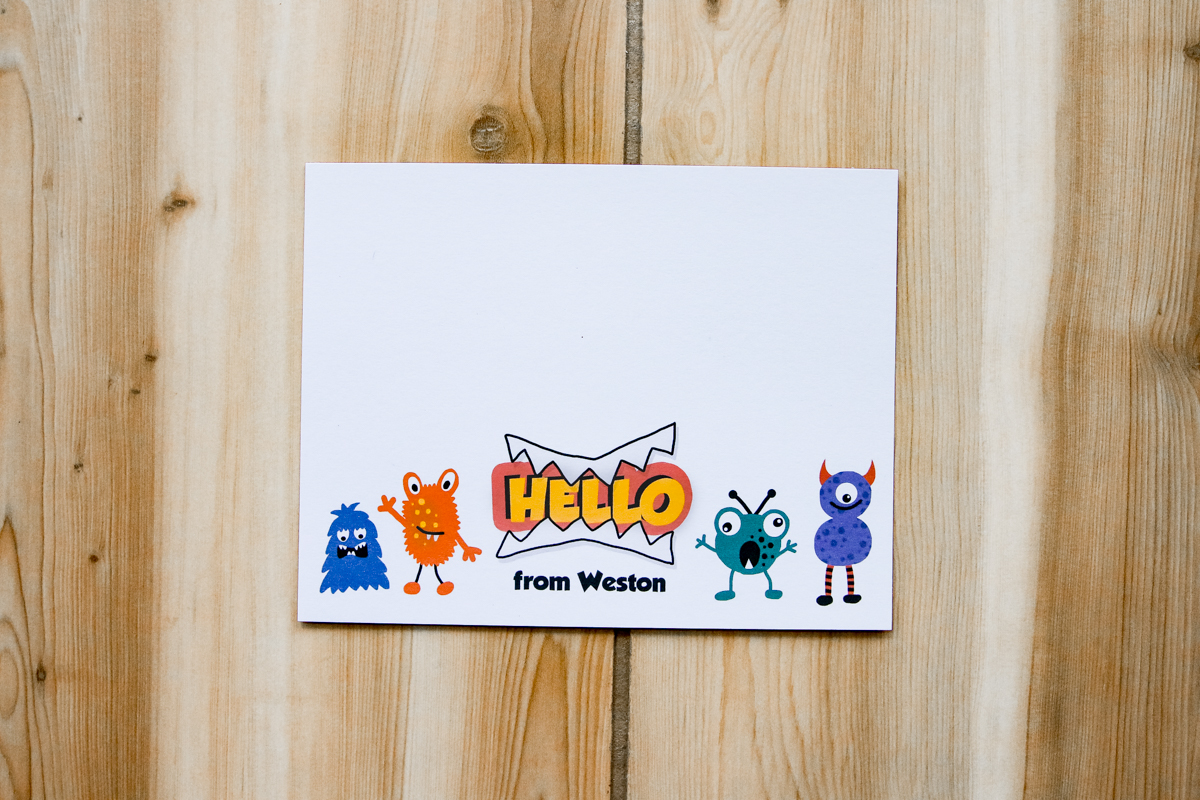
DOWNLOAD MONSTER CARD (click and open in new tab, then save to your computer)
Font 1 – GROBOLD
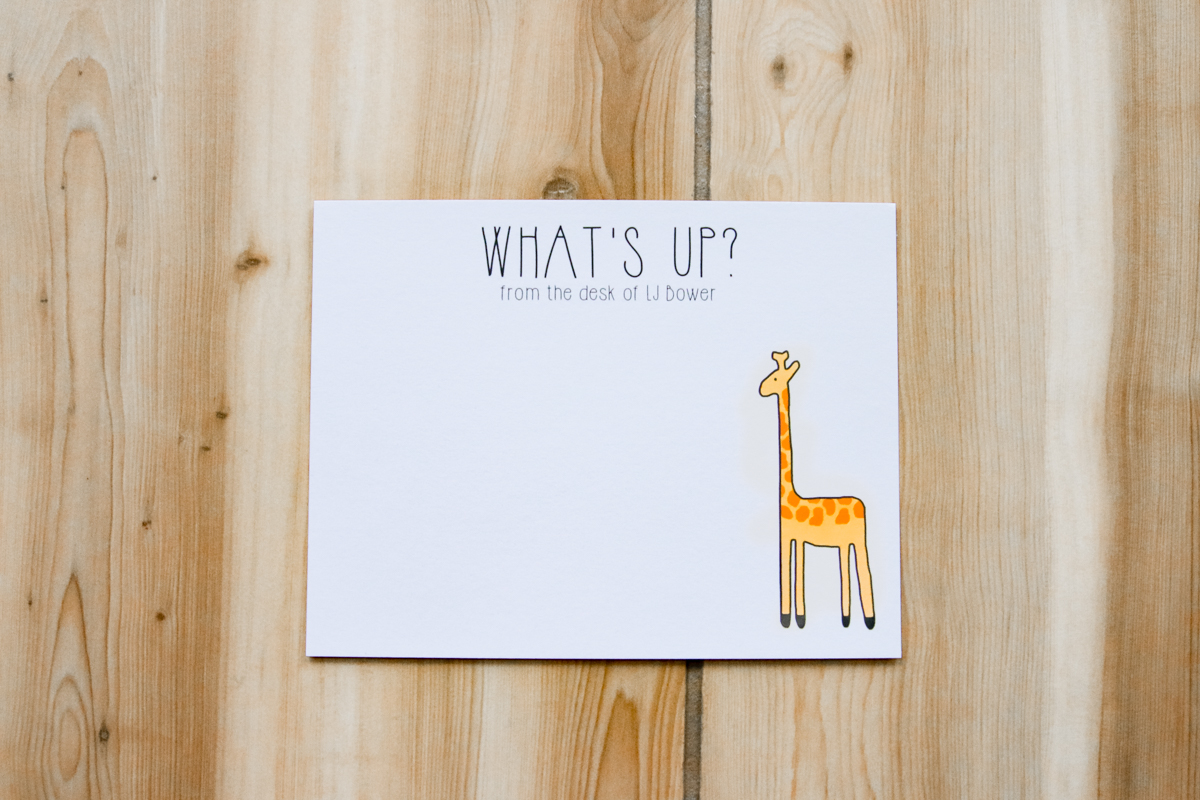
DOWNLOAD GIRAFFE CARD (click and open in new tab, then save to your computer)
Font 1 – HIPSTERISH FONT
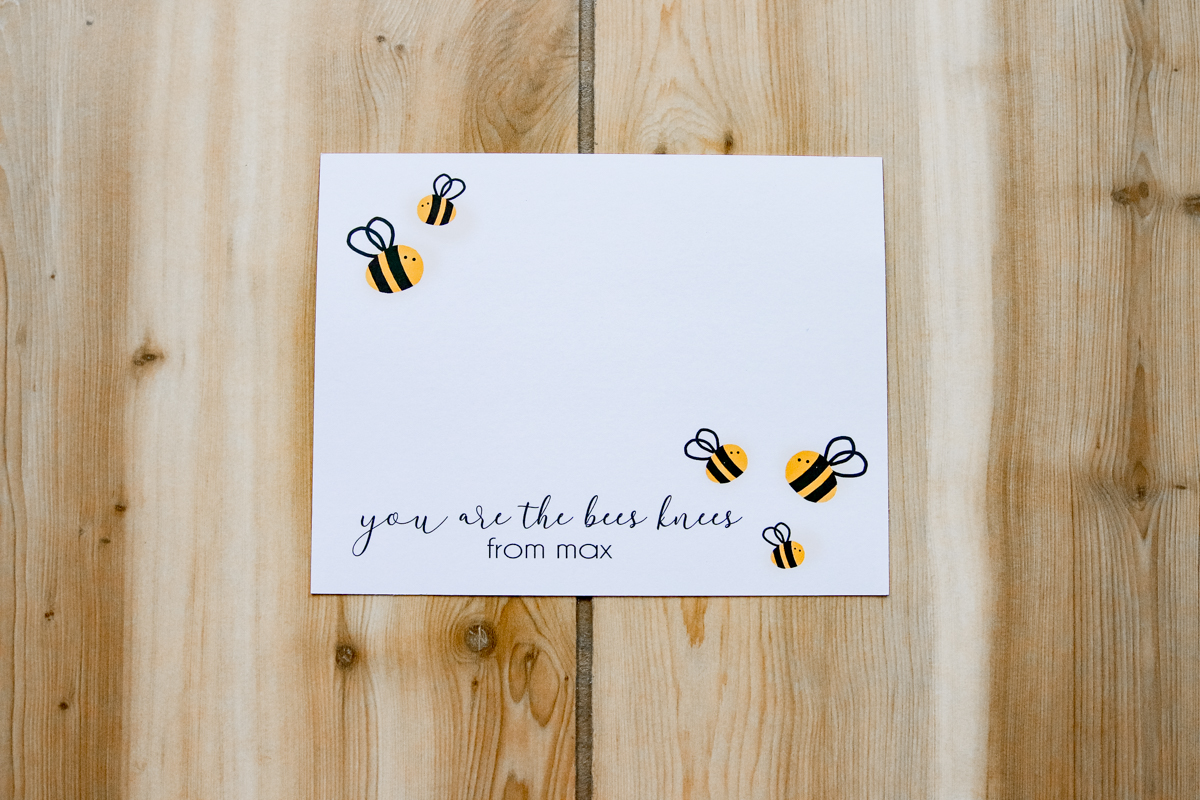
DOWNLOAD BEE CARD (click and open in new tab, then save to your computer)
Font 1 – DARLOUNE
Font 2 – CHAMPAGNE & LIMOUSINES
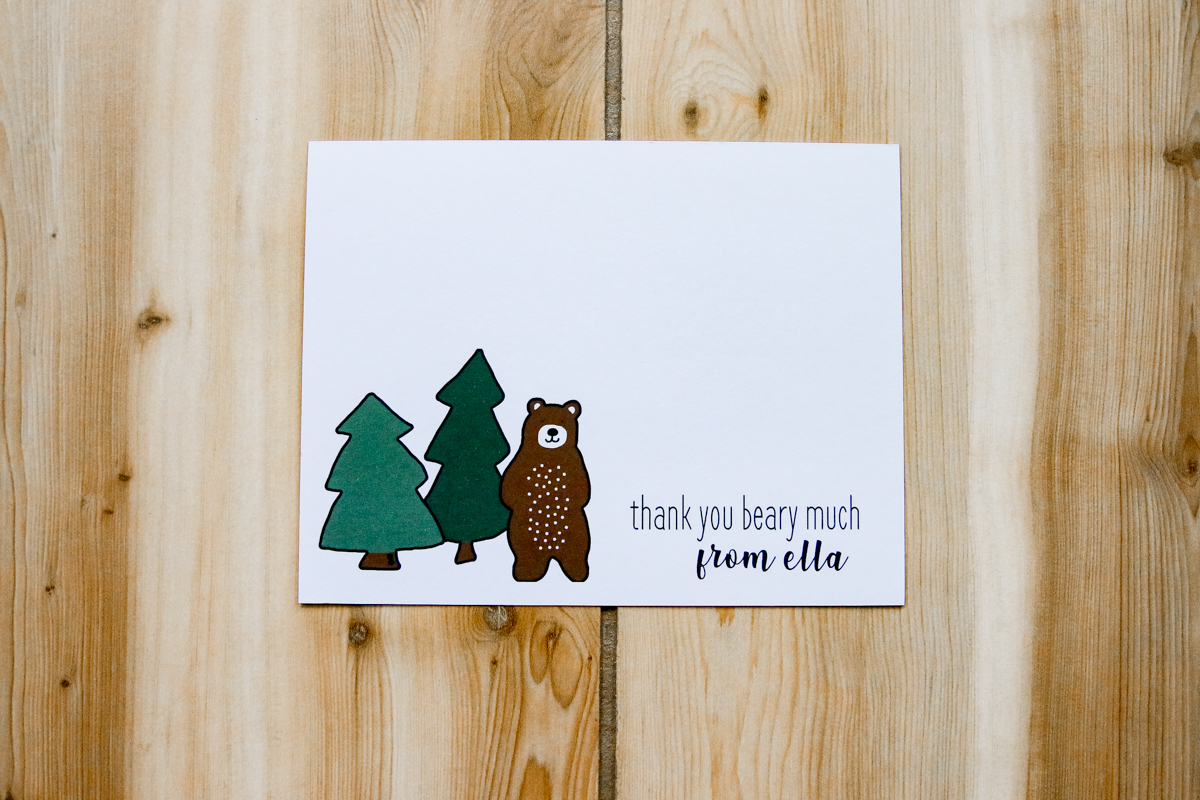
DOWNLOAD BEAR CARD (click and open in new tab, then save to your computer)
Font 1 – FRENCHPRESS
Font 2 – SHINK
Hope you enjoy the cards and let me know if you tweak them for your own little one! I’d love to see them!