…and it’s called the basement ceiling.
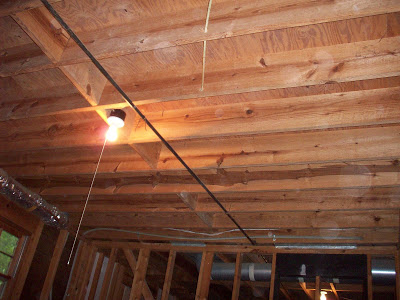
 Jeremy decided that it would be best to go with thinner drywall – 1/4″ instead of the standard 1/2″. It is still thick enough to support recessed lights but lighter overall. It was also better for our situation because it was just us two putting it up…with NO drywall lift. Talk about a workout! Next time, I am gonna have a friend or two help or just fork over the $30 for a 24 hour rental. And if you think that 1/4″ is not sturdy enough – let me tell ya, it is definitely heavy duty – I was just barely strong enough to hold it in place on top of our wee step ladder. I’m sure I looked like a contortionist…I was using my head, my elbows, my arms, anything that could reach!
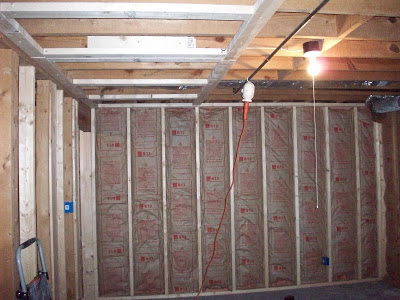
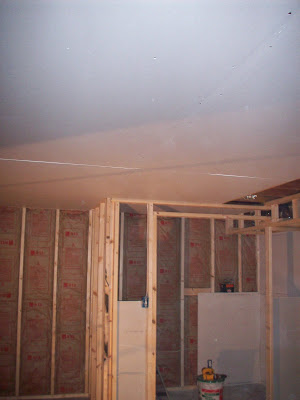 As you can see, Jeremy built a girl’s best friend…a closet. I began the drywall in there too. And you can see, there are still a few ceiling pieces that need to be attached over near the far right. We came to a good stopping point because a few things need to be done first. The duct vent has to be installed and the boyfriend needs to still splice off the cable line so that
 we he can watch hgtv football in the basement. And after that we are like Taco Bell – good to go!
Here are some handydandy tips for you if you plan on drywalling stuff:
- wear a mask and googles – even after a shower last night, I woke up several times last night with a crumb irritating my eyeball…I know better than that!
- put your ceiling in first – this way the ceiling drywall weight can bear down a bit on the walls.
- buy more drywall screws than you think you will need – it always takes a whole bunch!
- buy a drywall T-square and a drywall rasp (that looks like a cheese grater for gypsum) – these make up for their cost by saving you time and effort. We actually bought ours at a yard sale for cheap cheap cheap!
- be chill – it’s ok if your drywall corners or joints aren’t perfect – that is what joint compound is for! more on that later 🙂
Well, I am so glad that you came to experience another little stage of our basement journey with us. If you have any drywall installation tips to share – throw em in the comments! And if you missed any of the past posts about our renovation downstairs, you can check them out by clicking “Basement” on the column to the left.