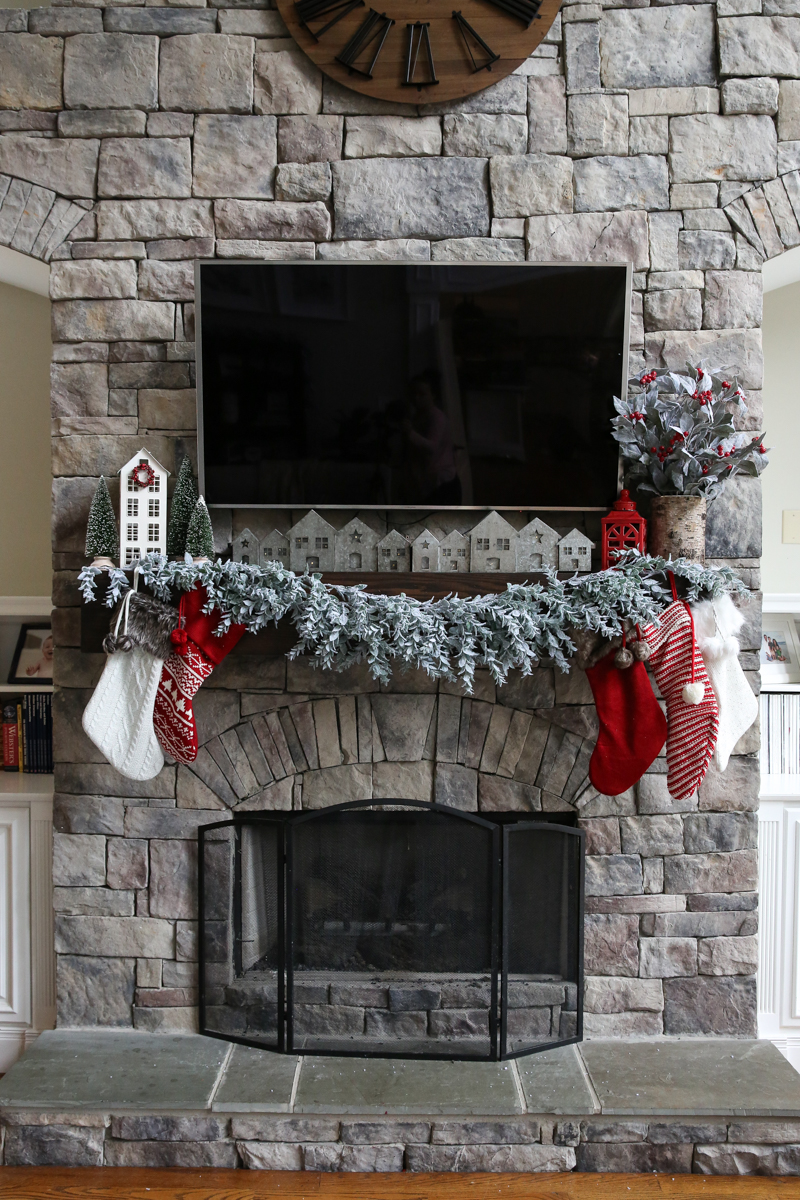
After looking at our Christmas mantle display for about two seconds I realized that one of the major eye sores of this area was the fireplace opening. It was just missing something. And also creating something….a big fat mess. And a migraine in my brain every time I saw said big fat mess.
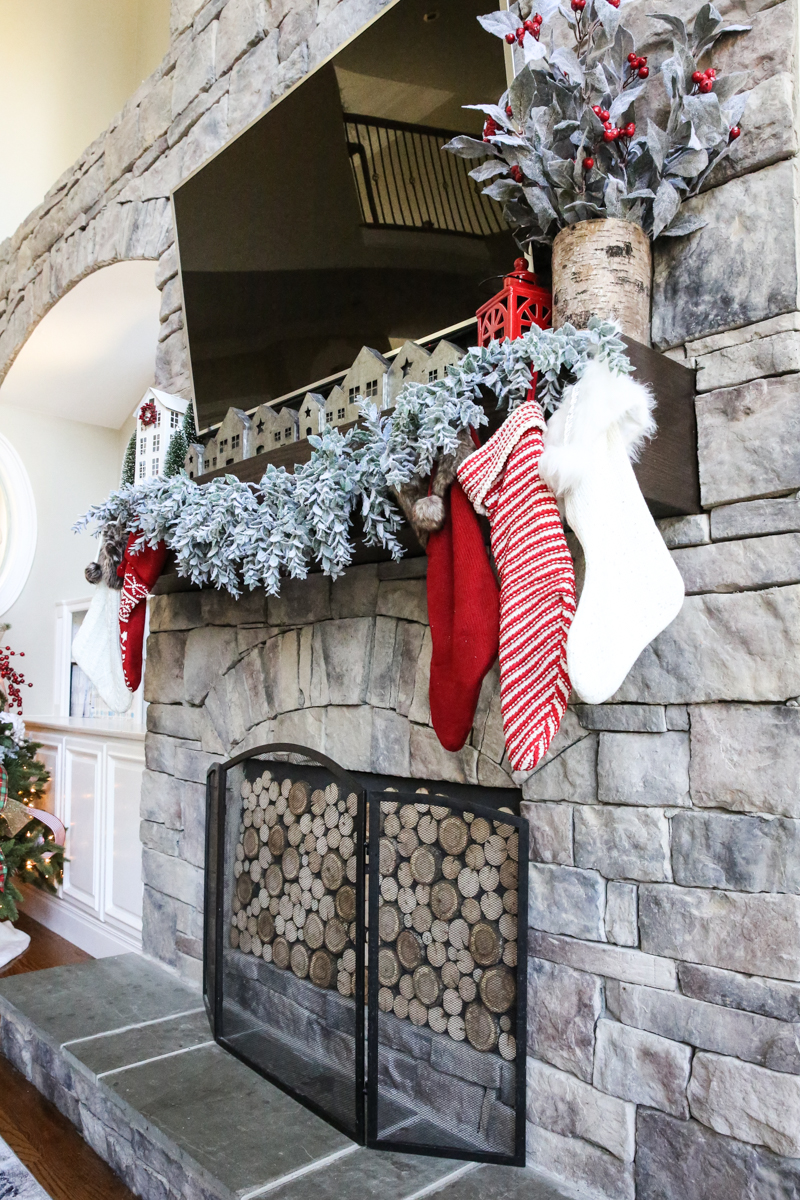
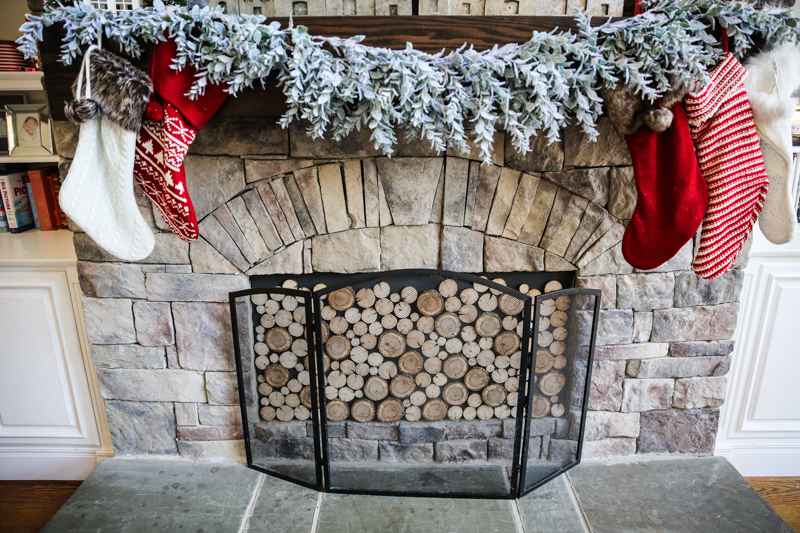
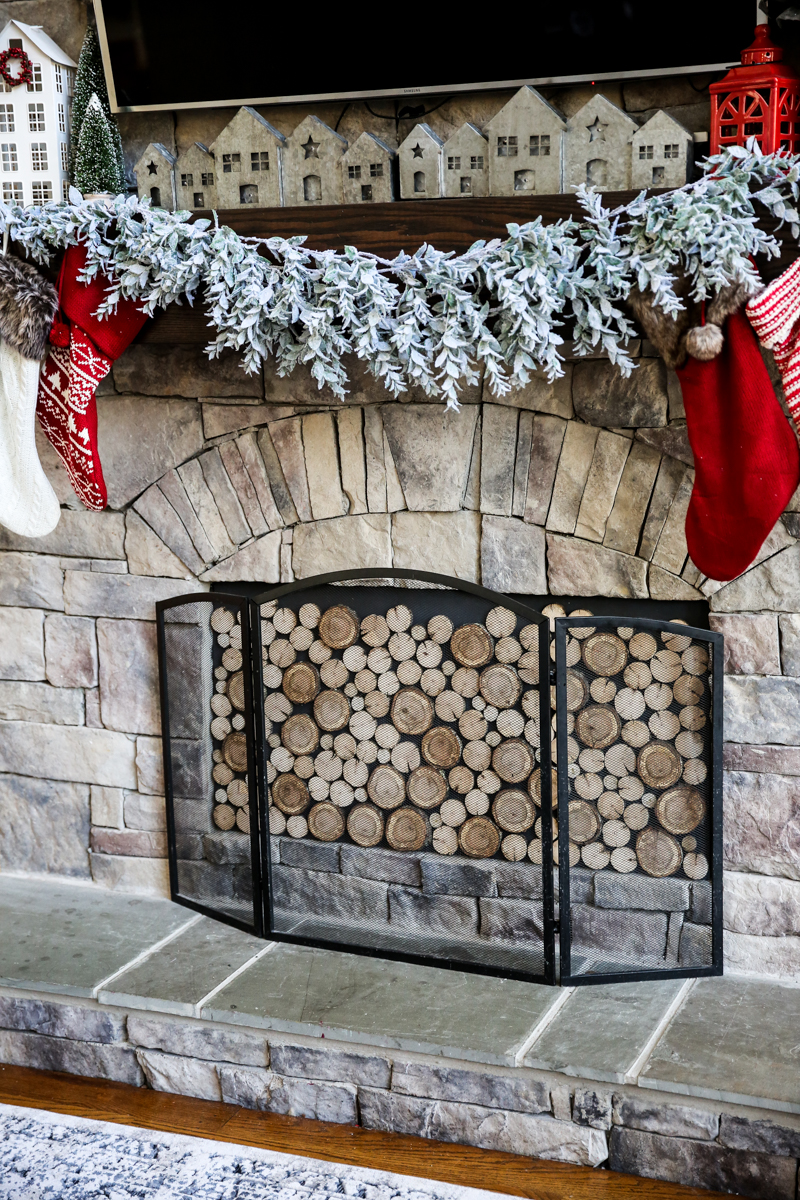
So I decided it was time for a fireplace insert….the ones that look like cut logs. You know the ones….they are all over Pinterest and they make your fireplace look like it has stacked branches and logs inside. They cover the ugly mess if you’ve got one….and add interest and block any draft. And here is the spoiler – it ends up looking like this….
I am gonna walk you through how we made ours because it was easier than most of the DIYs I’ve seen. And you know me….I’m all about being easy. How do you think I got Jeremy?! 🙂 (kidding mom!)
SO the first thing you do is assess the situation. My fireplace opening is a sharp angled opening….it has a metal piece at the top that would be my stopping point….the wood insert would not sit farther back than that. There was also a lip in the bottom where the stone meets the concrete. It gave me only about an inch to the front of where I wanted my logs to stop so that meant I couldn’t cut thicker pieces of wood. Also, my fireplace opening is very wide and not very tall. It also has a set of gas logs that were here when we bought the house and we rarely use. We have used them before but I always get headaches when we use it which is weird because I never did with our old house. That being said – I just needed something I could access only about once a year.
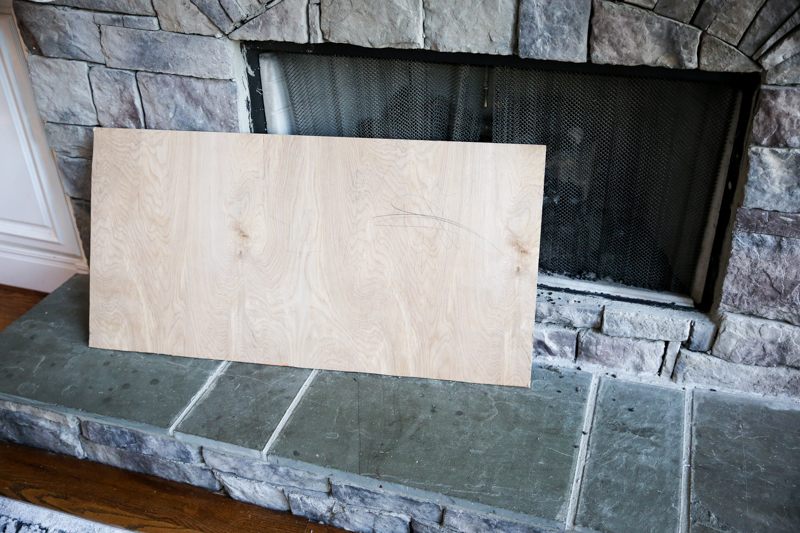
I started out by going into the wood stash and finding this piece of underlayment. It’s a super thin piece of board and I cut it to size with my circular saw. Weston clearly labeled it for me with a W….then scribbled out said W when LJ clearly labeled it with an L. Boys 🙂
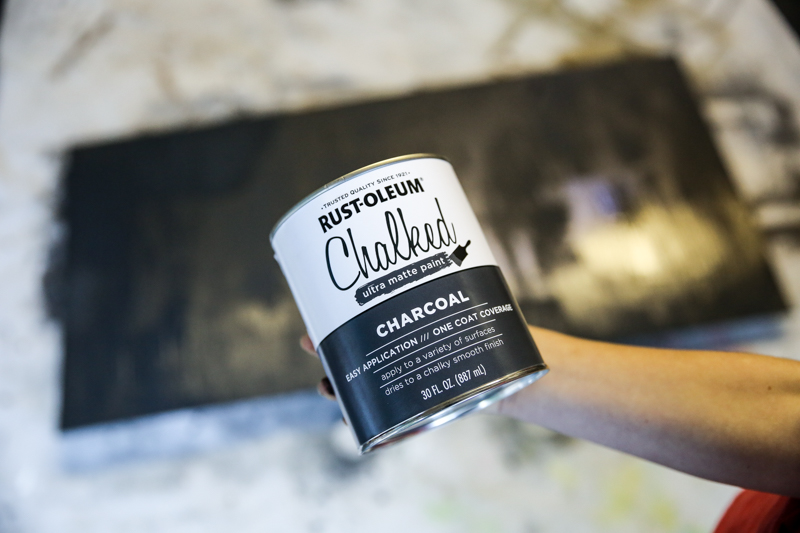
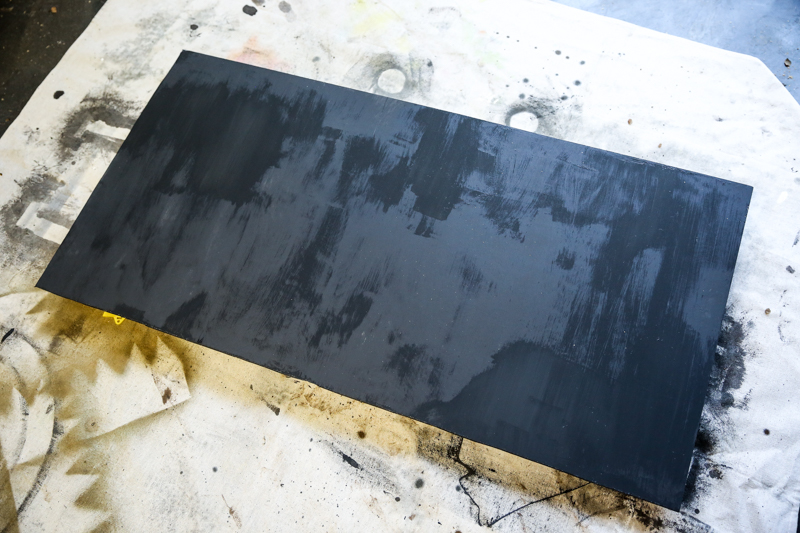
I grabbed some of Rust-Oleum’s charcoal chalk paint from my stash as well and William gave it a quick coat for me. I love that I can give him tasks like this now. Sure…it’s messy and I had to smooth out big globs of paint but overall, he did AMAZING. And it made my job super fast!
Then came time to cut the wood. Jeremy grabbed three different size sticks for me out of the woods (we have plenty of fallen wood) and I love how the biggest branches had inner circles that showed how fast the tree grew.

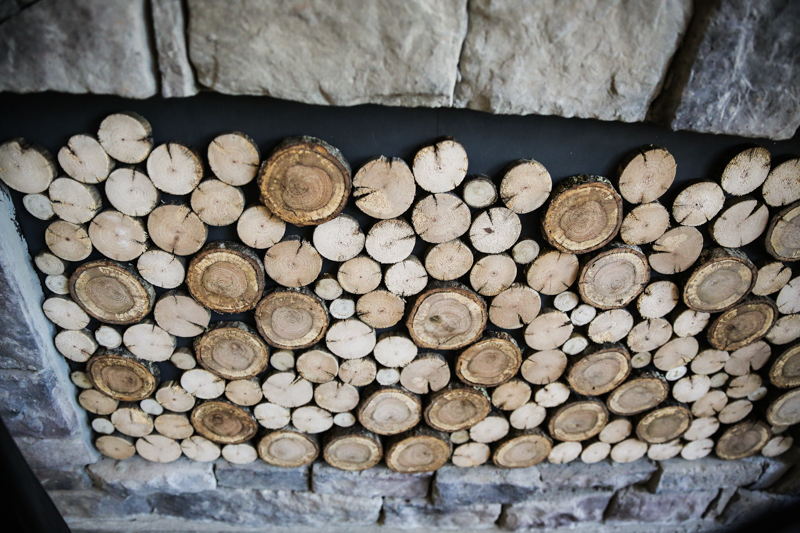
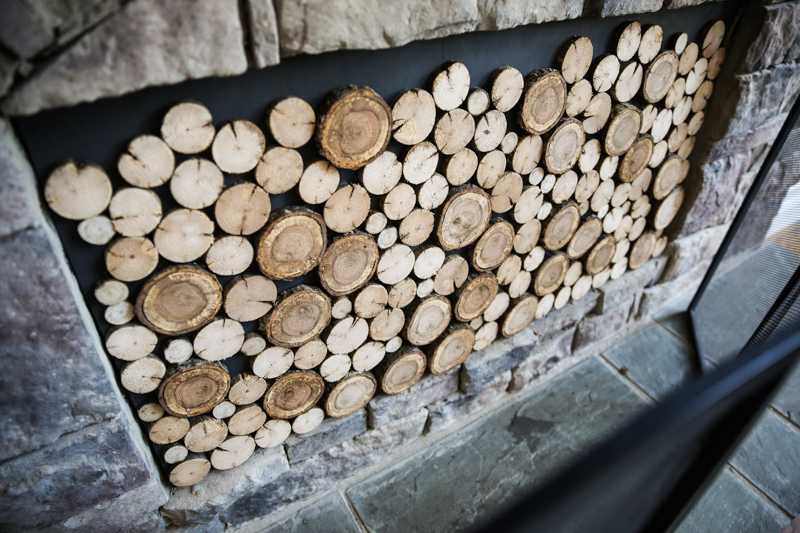
Once I felt like I had enough, I took it all inside and arranged it on the board until I felt like it looked natural and organic. My one tip is to make the bottom row fit pretty darn perfectly. And then each slice should be pushed down onto the row below it….kinda like how gravity would pull it down if this were upright.
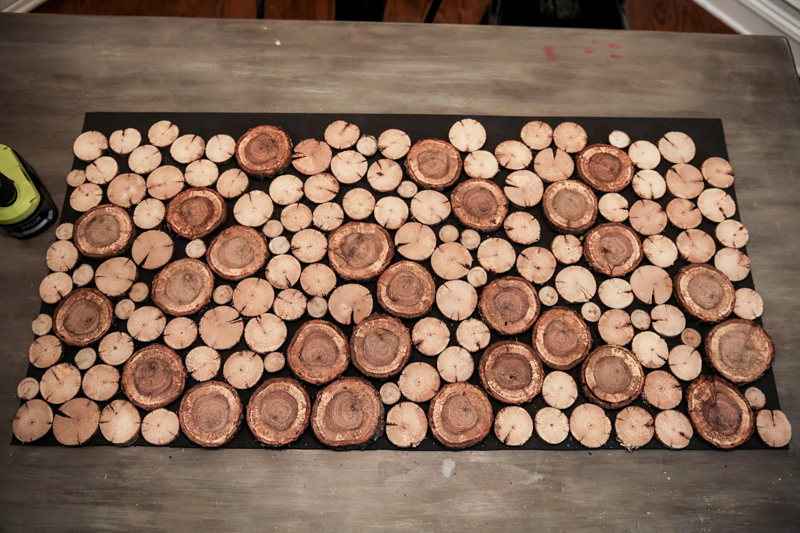
Then I hotglued each piece in place with my Ryobi glue gun. And yes, it will take a lot more hot glue than you expect. I went through a dozen glue sticks.

Then I simply slid the board into place. It rests against that concrete lip and the metal bracket.
At first I just left it there and didn’t fix it to anything….but in the middle of the night, it fell and scared the living tar out of Jeremy. Like he was ready to attack our stacked wood intruder 🙂 So the next day I put some hot glue globs on the back where it hits the metal piece and now it is securely in place.
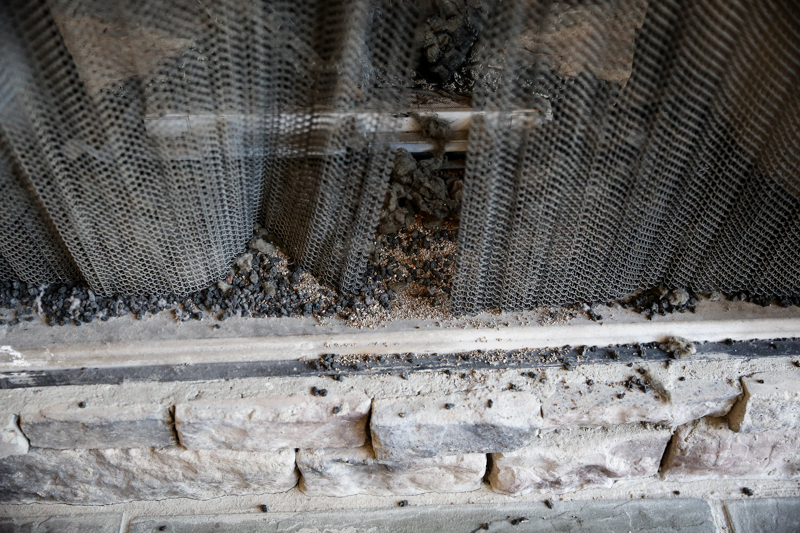
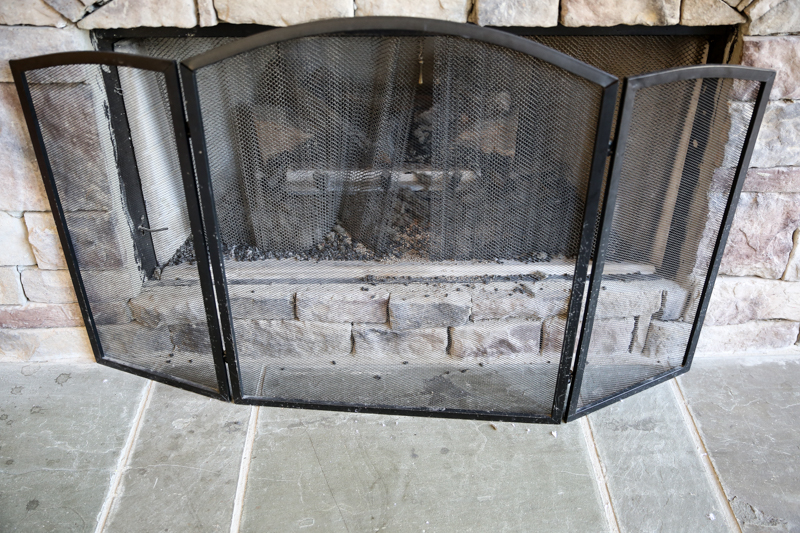
And if you remember the before….it wasn’t so pretty….just a mess with those little pebbles that would need to be cleaned up constantly….
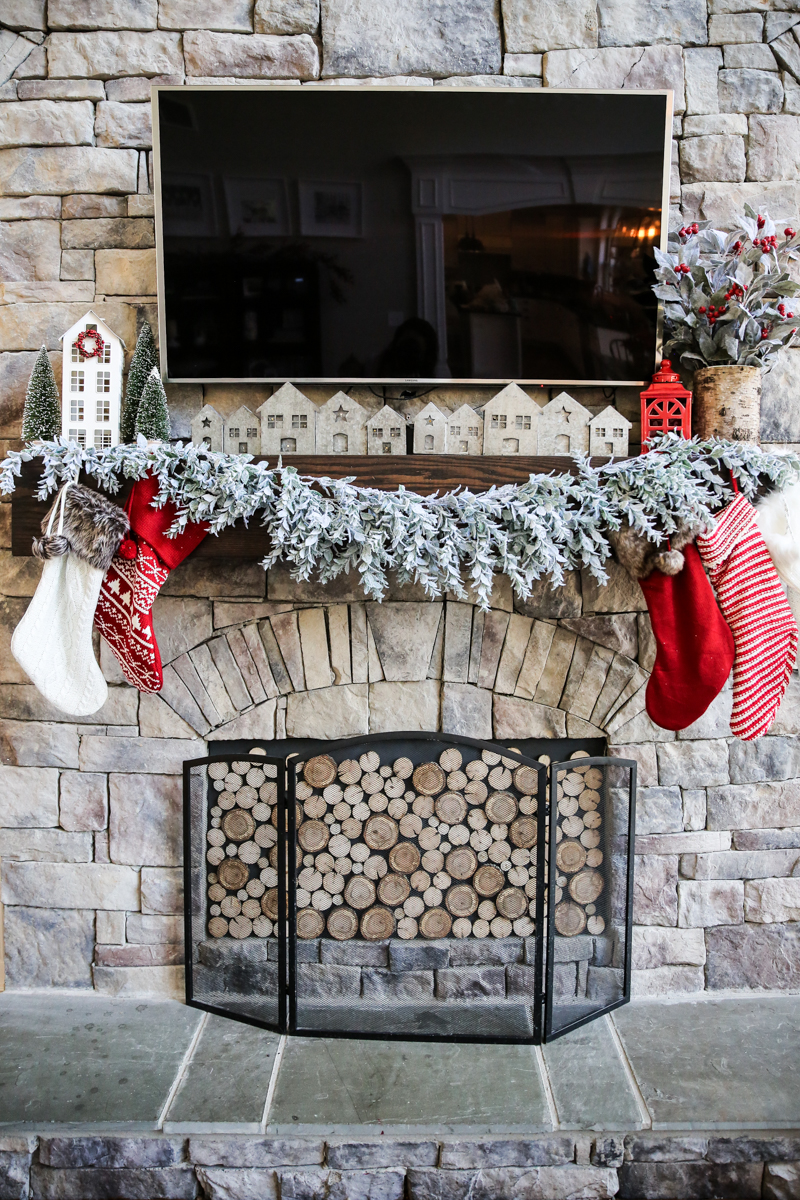
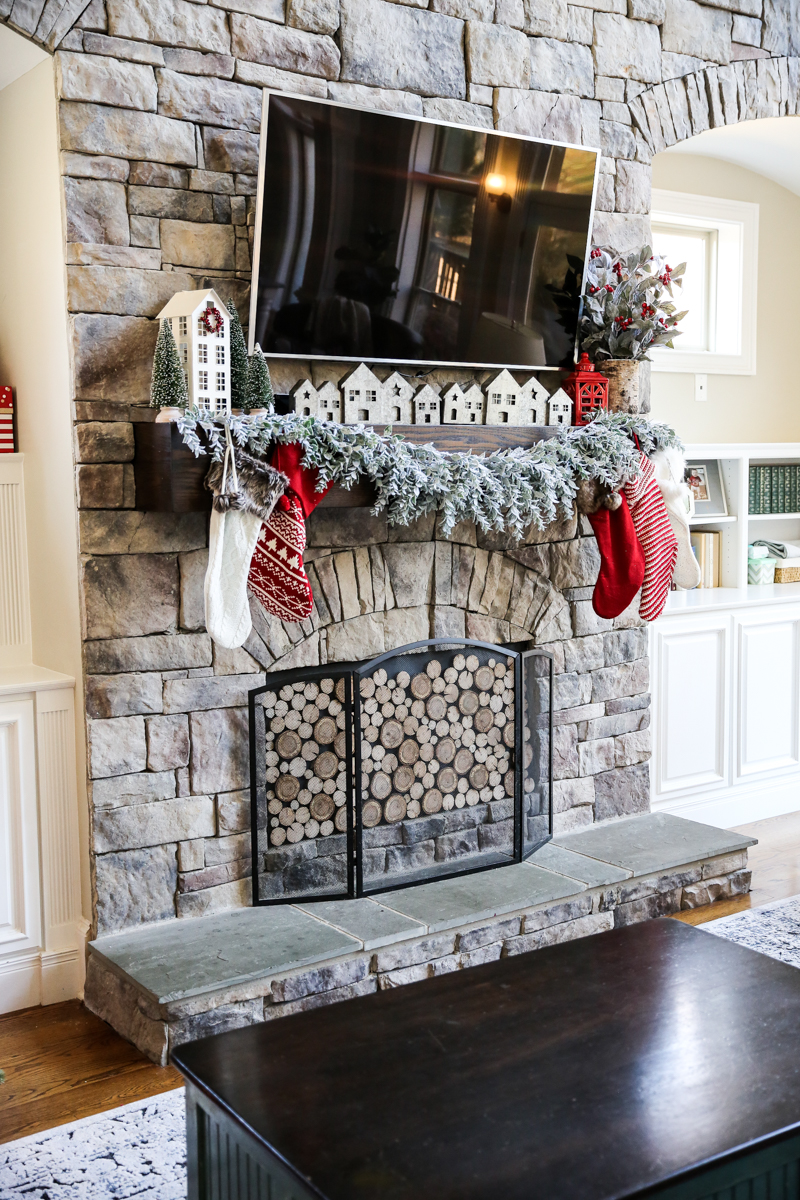
But now it looks really festive….
Jeremy and I decided that we didn’t know if the wood should go all the way to the top…I think I might just cut some more pieces and squeeze them in there and not glue them down to see if I like it.
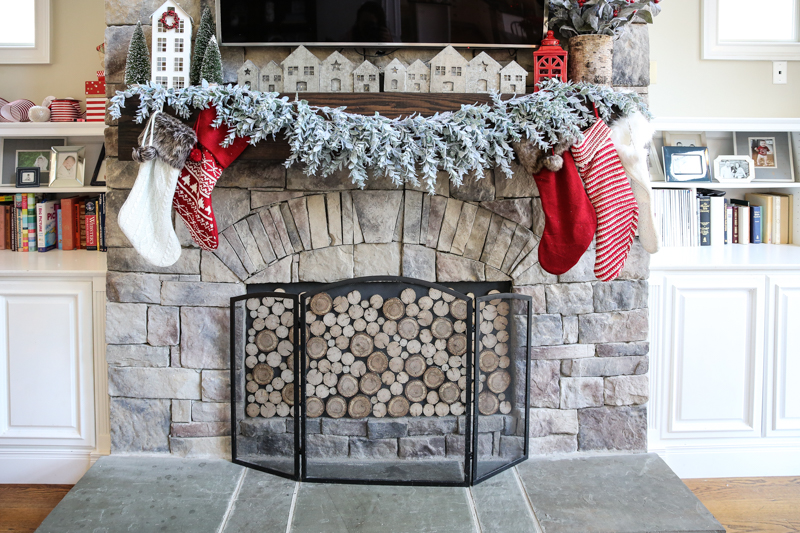
I definitely think having the screen in front helps make it feel finished though.
I think that the best part is that there isn’t a big black hole there anymore….it feels so much cozier and warm!
And the best part is that this didn’t cost me a DIME. It was fahhhhh-reeeeeeee! Leftovers are the BEST. So if you are thinking about doing a little project like this….something around your Christmas decor and it helps take care of a mess that you have sitting around staring at you….just go for it! It’s amazing how much this one little thing has perked up my Christmas spirits!