This is a sponsored post written by me on behalf of Canon. All opinions are 100% mine.
I’ve seen modern dipped photo frames everywhere and could not wait to try to make my own. I’m here to share some tips and tricks on creating this twist on a traditional photo frame. In my opinion, this project is made for thrift store frame finds. Save that money honey!
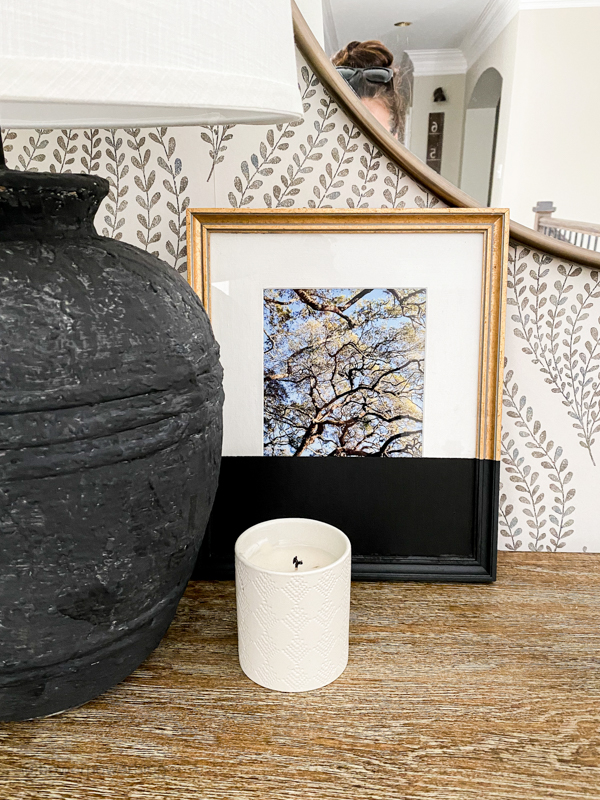
And it works for both traditional frames and ones with clean lines. And printing my photos at home with my Canon all-in-one makes this project something you can do in about an hour.
MATERIALS
The first thing you need to do is gather your supplies. Here is what I used for this project:
- Frame with mat
- Acrylic paint
- Paint brush
- painters tape
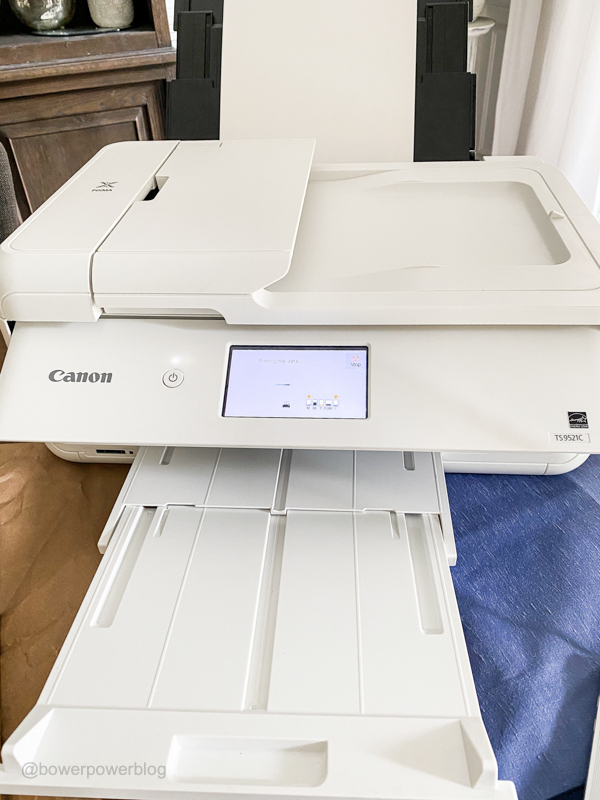
- PIXMA Crafting Printers
- Semi Gloss Canon Printer Paper
DISASSEMBLE YOUR FRAME
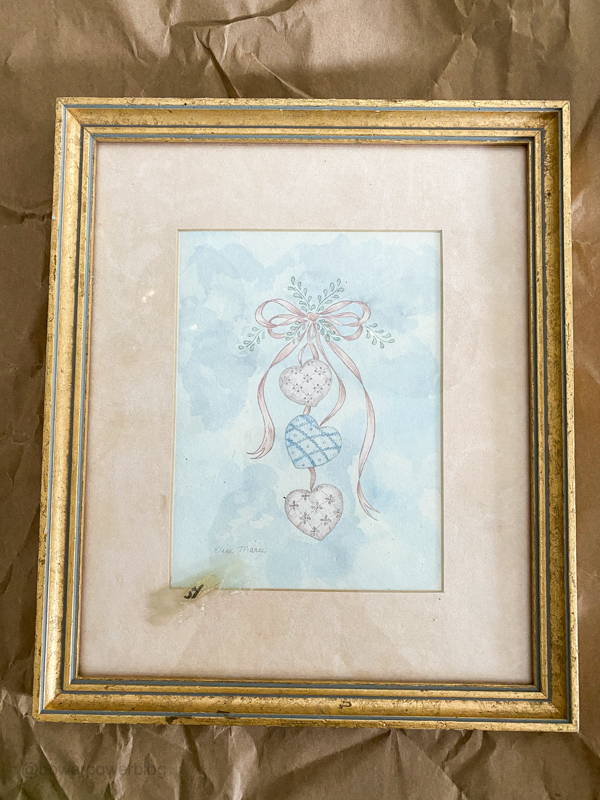
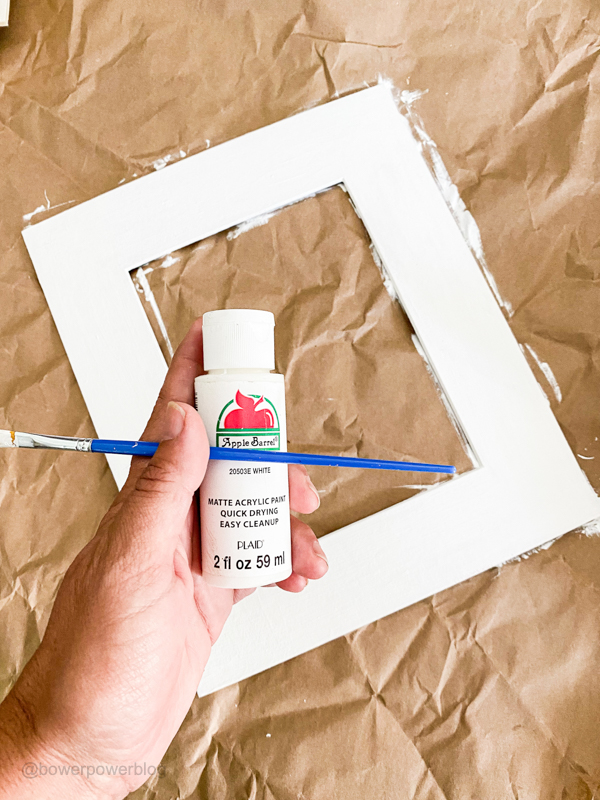
First step in this project is pretty easy. You need to take apart your frame and see what you are working with. If you bought your frame new or used, it usually needs a solid dusting or cleaning. Both the frame and the glass will need to be spotless to begin with. I removed our mat completely so that I could tweak it. The thrift store mats sometimes are discolored and faded.
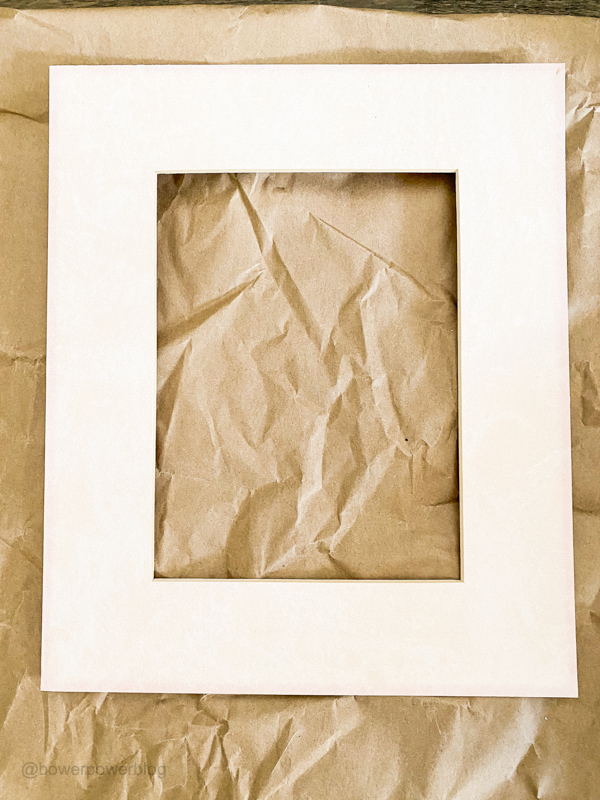
Did you know you can use regular ole acrylic paint to bring them back to life? I painted mine white but imagine the possibilities!
PRINT YOUR PHOTO
Using my PIXMA TS9521C printer, I printed out a beautiful photo I had taken in Jekyll Island.
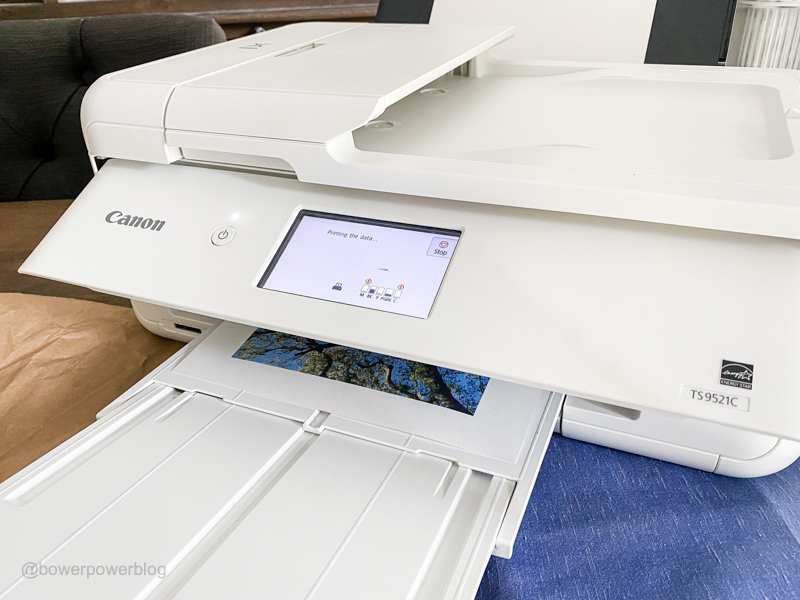
A landscape would work great for this modern dipped frame or you can use a portrait. I’ve seen and loved both! My advice for picking a print is make sure you are picking a photo that when printed – the eye is drawn to a specific area in the top 2/3’s of the photo. If the photo is a face – that might be the eyes.
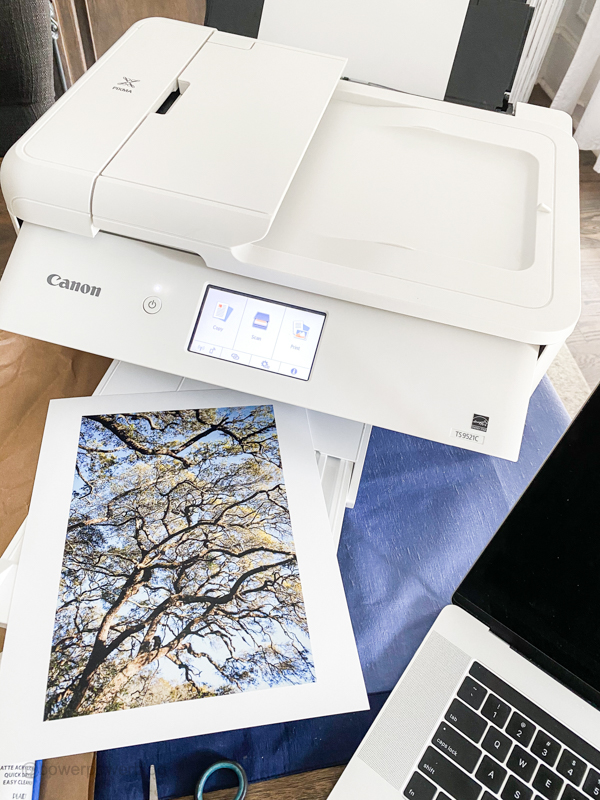
If the photo is a landscape – make sure there is something to look at in the top section as the paint will cover the bottom part of the photo.
TAPE FRAME
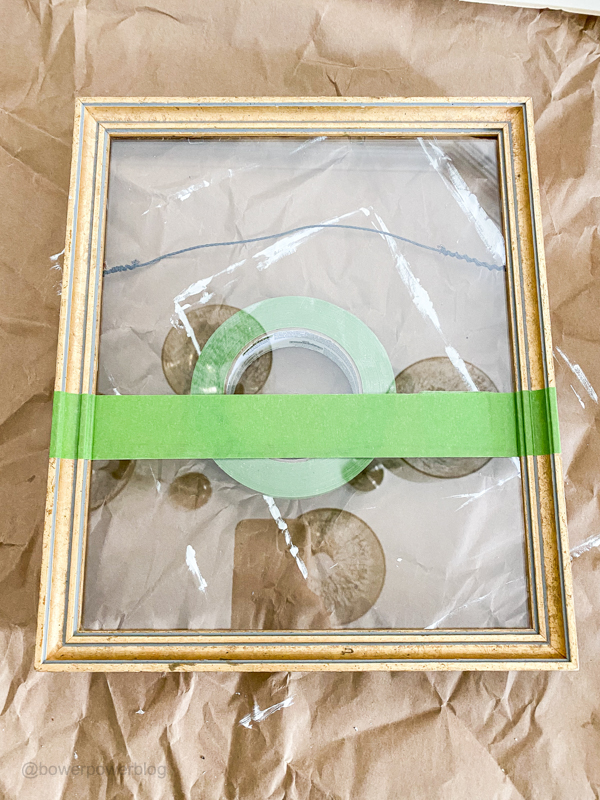
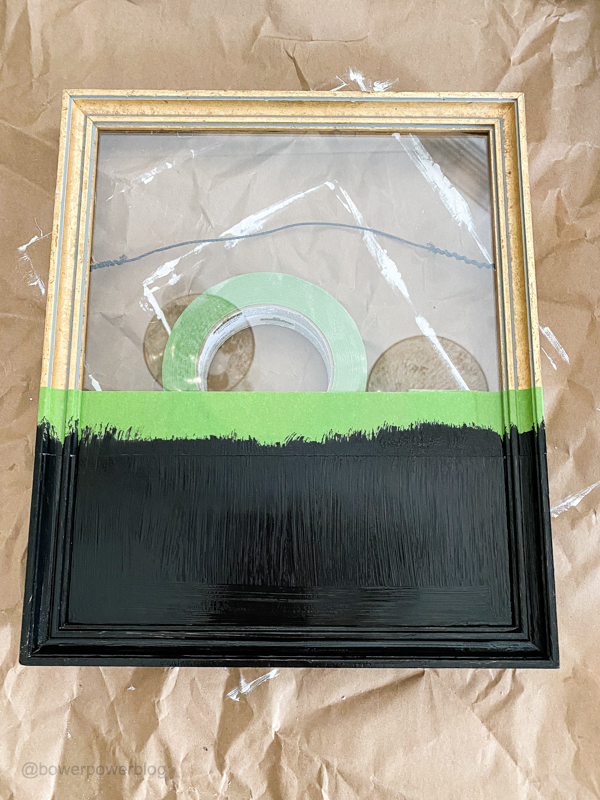
After you print your photo, pop the pic in the frame with the mat and see where you would like your delineating line. My line is going to be at the 1/3 from the bottom mark. That means that the bottom of my tape will be at the line. I ran the tape all the way across the frame – around the edges, pressed firmly around the frame edges and then also across the glass. I made sure to burnish the edges slightly so that the tape would give me an extra crisp line.
PAINT FRAME
Using a regular paint brush and acrylic paint, I covered the entire section below the tape line. It’s key to do a super light coat. I have tried this project before with a heavier paint hand and it didn’t work out for the second coat. That being said – if you want to use a light misting of spray paint on the bottom section – you can! I just would make sure anything above the tape is well protected. As for paint, you will need two light coats. Allow it to thoroughly dry. Then you can peel off the tape! That’s my favorite part! If you have any bleeding then you can use a retractable razor to scrape it off.
ASSEMBLE FRAME
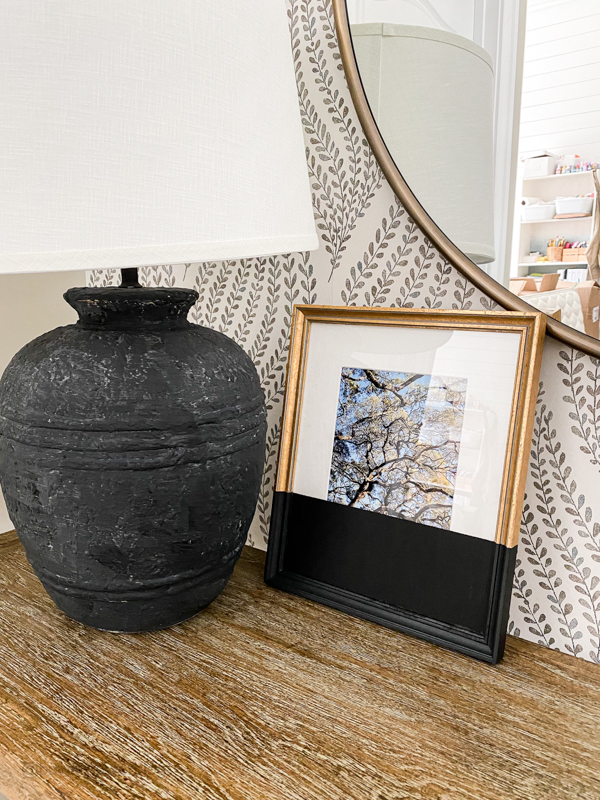
It’s time to put everything back together! Yay! Assemble your frame back together with the frame and photo and mat. Doesn’t it look like it’s been dipped in a bucket of paint?
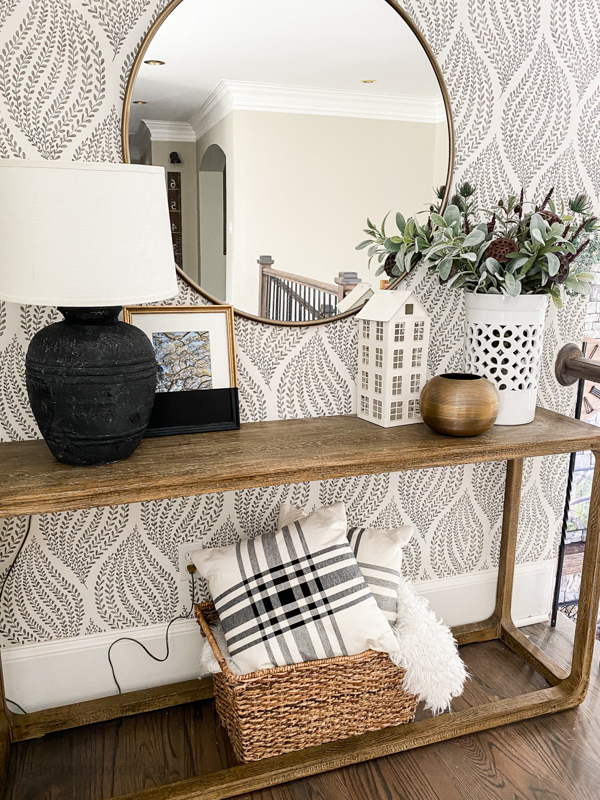
It’s such a fun twist on the traditional frame and makes it seamlessly work in a contemporary or more modern space. I love the look! I’ve already tried this particular frame out in several spaces and you know I’m itching already to make more!
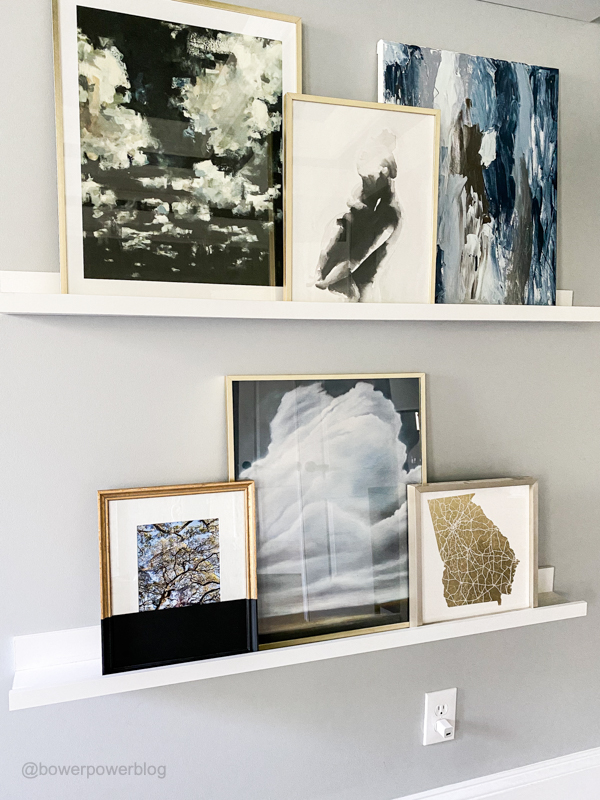
So that is exactly how I made a modern dipped frame for less! And all my tips and tricks for using my at home Canon printer to do it beautifully 🙂