Maybe we should make a club. A pressure washing club. PWC in the HIZZOUSE! I would totally join that. I would be the vice president. Not the president because it would require me to spend more time on social media and less time pressure washing 🙂 But all jokes aside…I really do love the act and the results of pressure washing. I just wish I could do it inside too! #boysbathroom
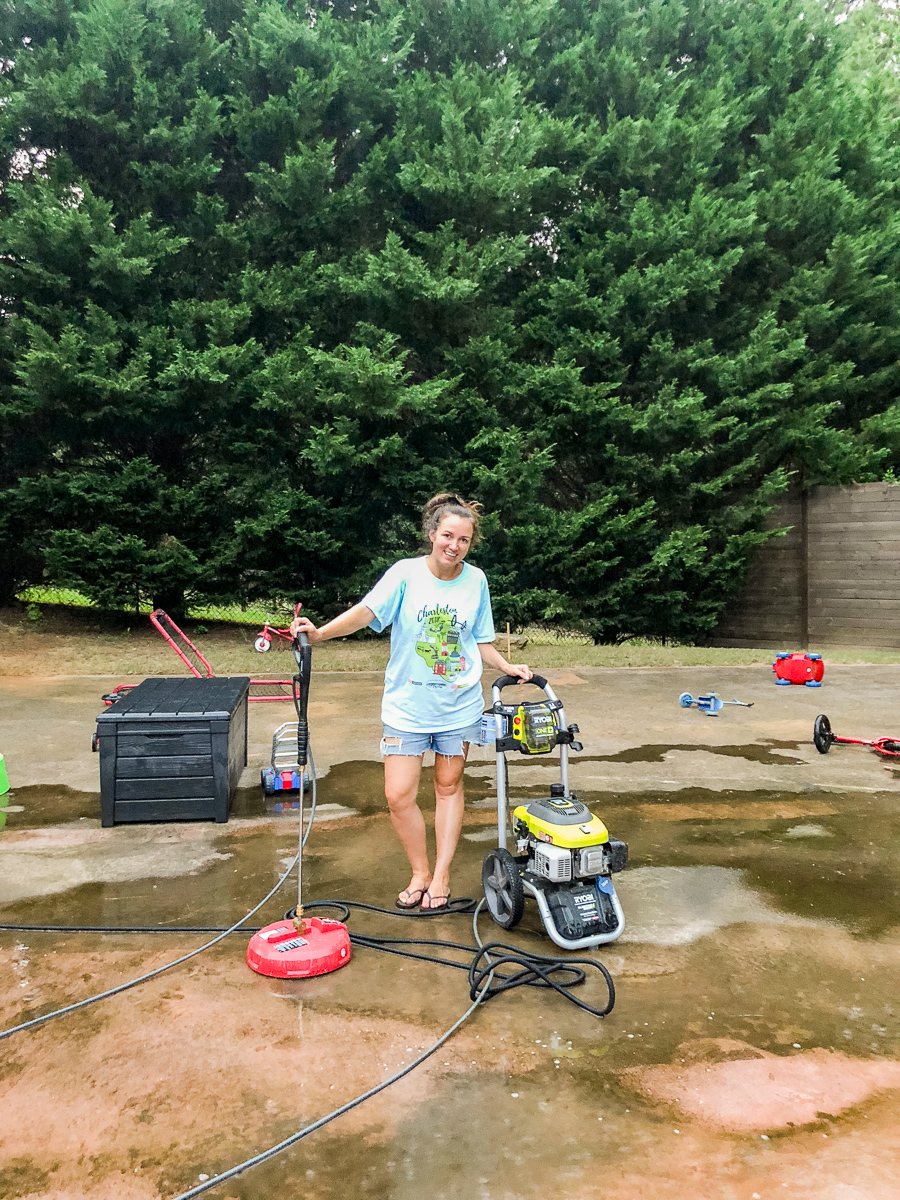
Never pressure washed before? Well as VP of the PWC let me tell you all about it….
First of all – there is something ridiculously gratifying about pressure washing. If you have never done it….it’s like that moment where you are peeling sunburn skin off and a giant chunk comes off and you have that one second of pure exhilaration. It’s like that. Except multiply it by a thousand and the entire experience is that moment. It feels so good to actively do such a small act and get such a big return.
Secondly – beyond the feeling – the actual act of pressure washing makes everything LOOK so good. It is like turning back the hands of time. I pressure wash just about everything outside. Cushions. Rugs. Umbrellas. Deck. Concrete. Siding. Children. No gross thing is safe from my highly pressured water. And yes, I am kidding on that last one. But the thought has crossed my mind.
And C – It’s super easy. BUT it can take some time if you don’t do it right. You will be going over the same areas multiple times if you don’t follow some super easy tips for pressure washing. And that is why I am here today….to share some of my favorite tips for pressure washing concrete….both flat and vertical surfaces. Let’s get right to it!
Now let’s talk tips and how to’s –
Here is the space that we have a large outdoor court and a retaining wall with concrete blocks.
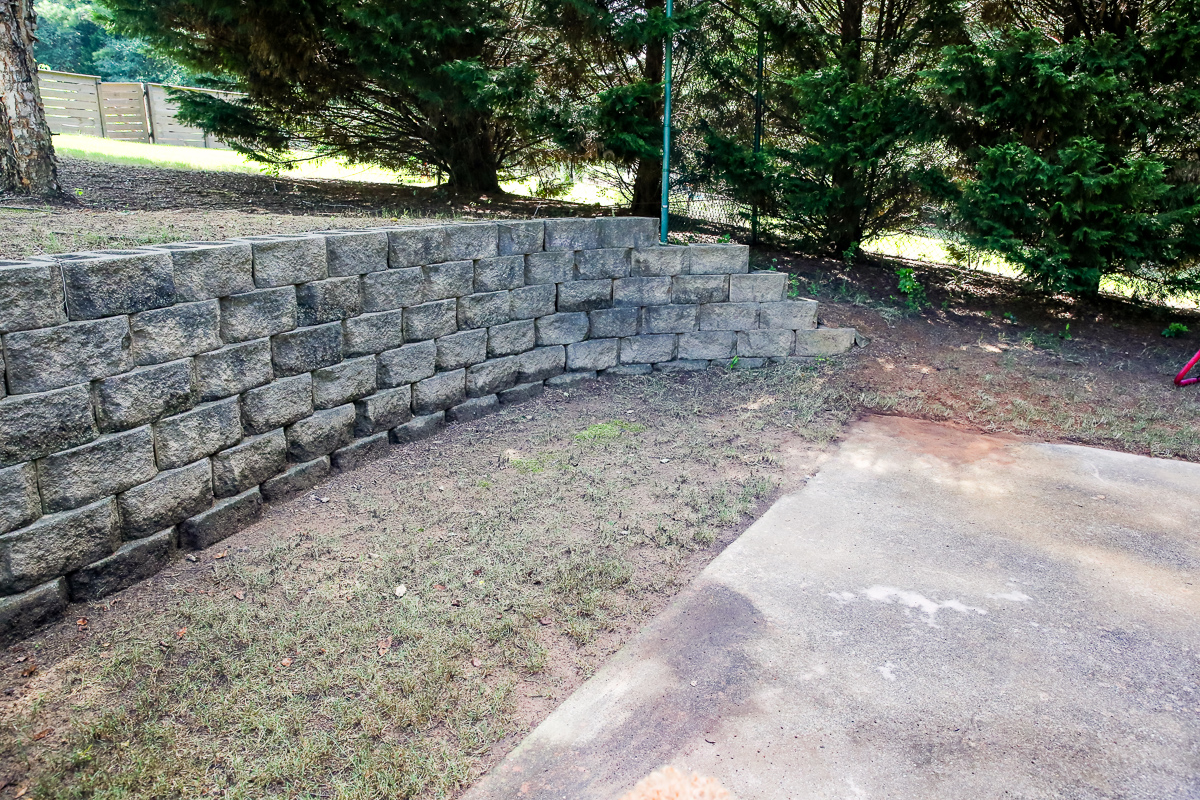
The court is surrounded by dirt which means that it will get very dirty at all times.
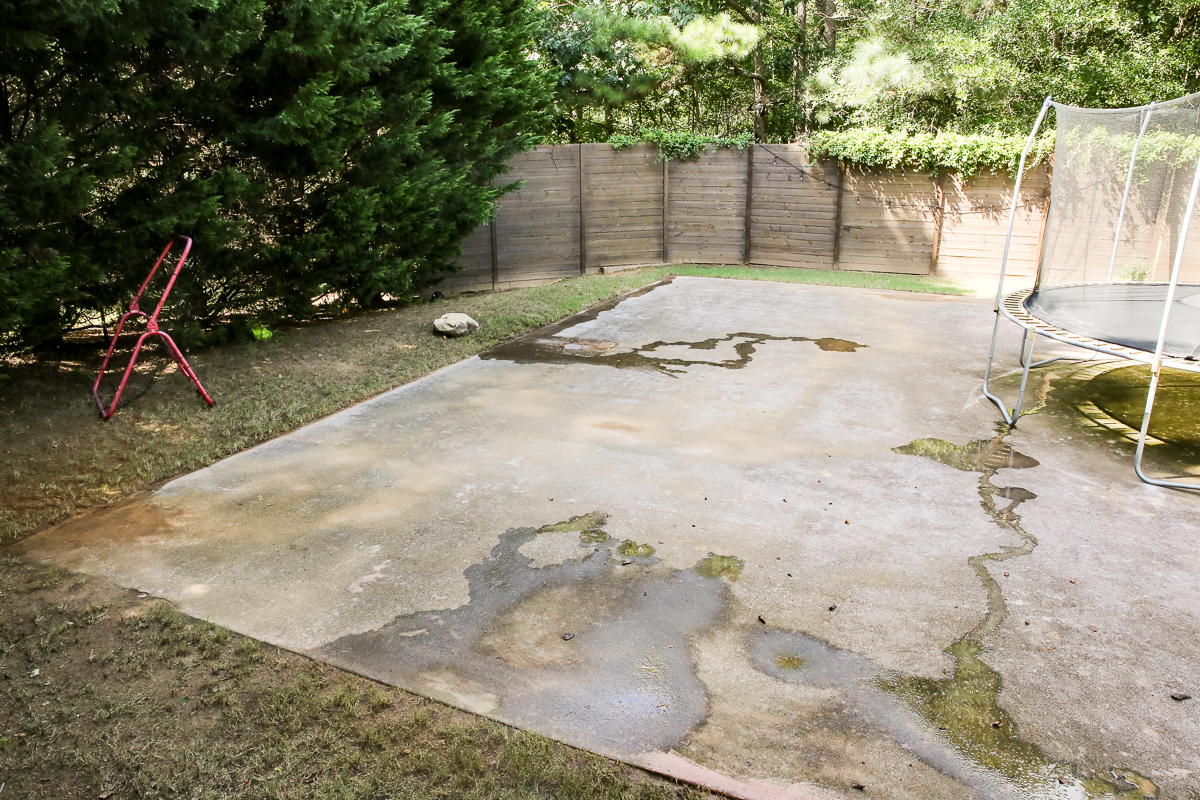
A lot of it is shaded too….which also means the groddiest grodes are gonna be setting up camp.
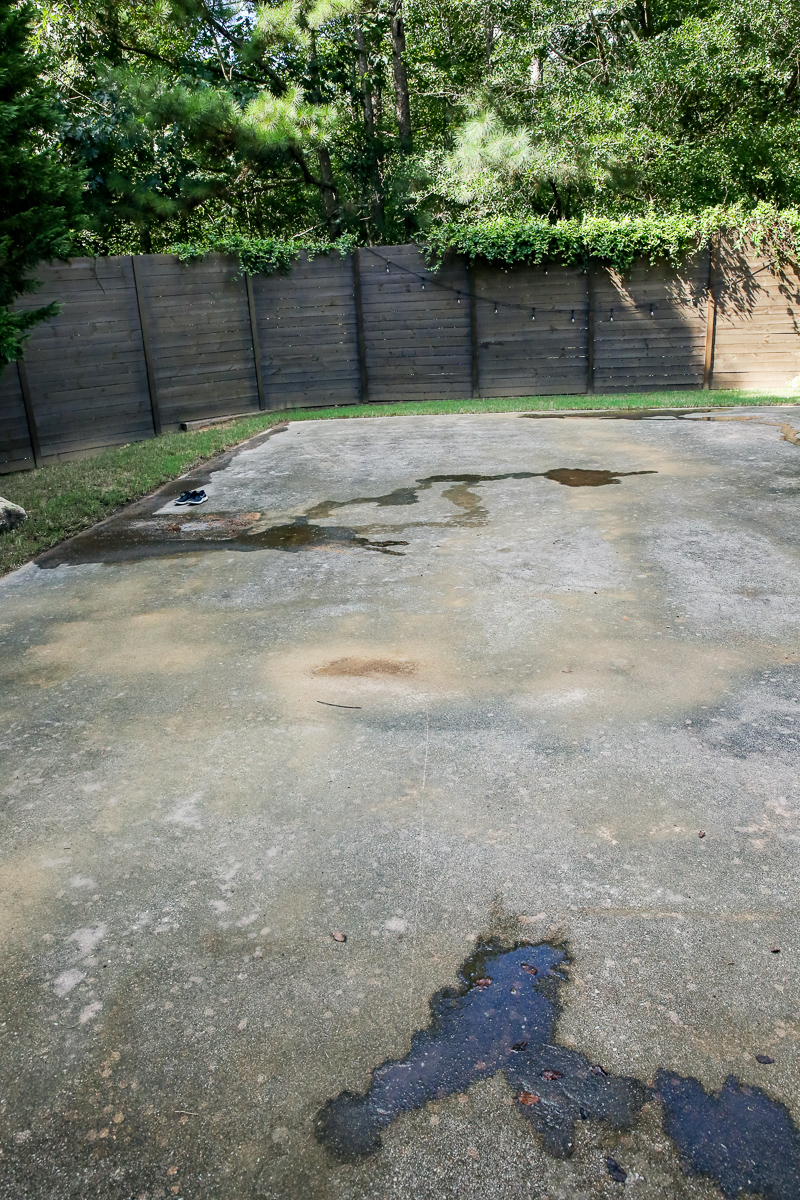
The wall is only on one side and it is roughly four feet high. It has drainage pipes behind it so that water can drain but it still doesn’t get much sun and it gets very dirty. It requires cleaning at least twice a year. AT LEAST.
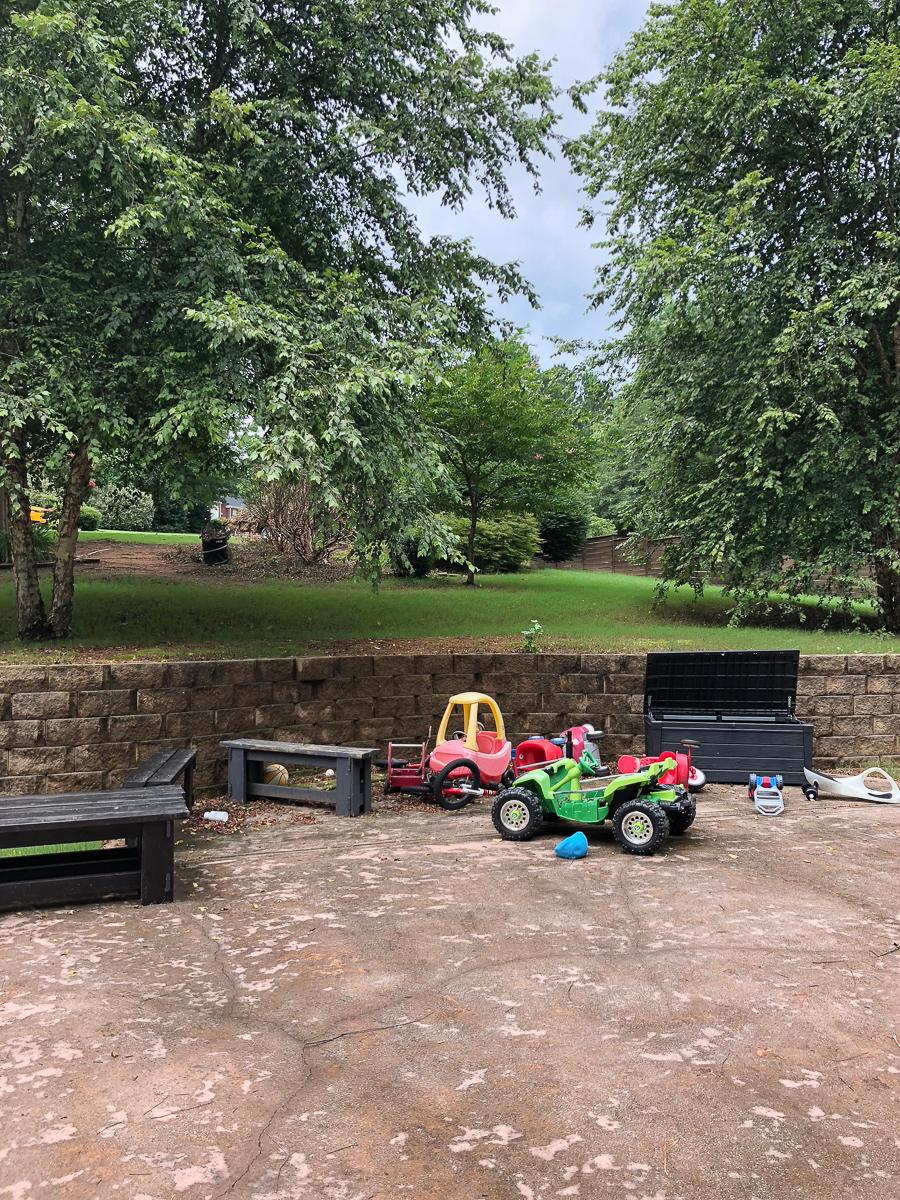
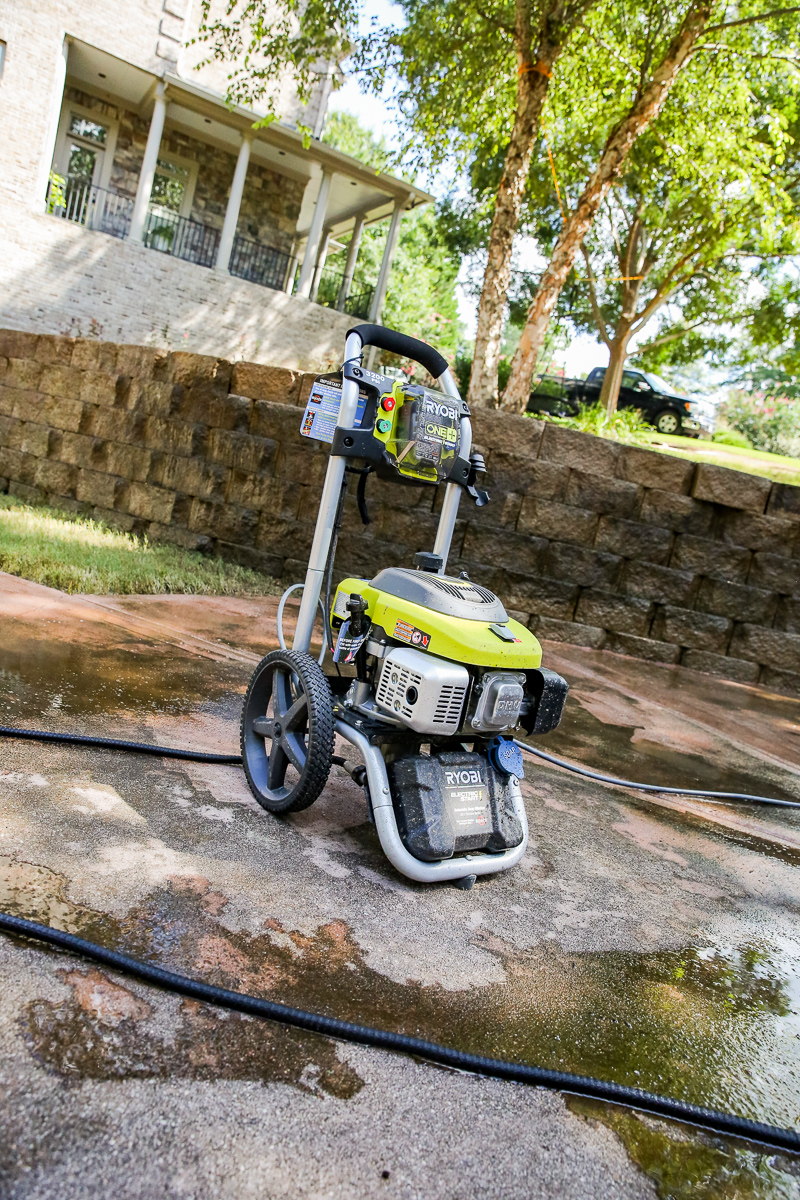
That is the area I would love to talk about first. The vertical surfaces all need pressure washing too and retaining walls are no exception. For any big pressure washing job, I recommend you get a gas powered pressure washer. We have one from Ryobi that has a battery start so I don’t have to try to pull the lawnmower-cord-start-thingie every time. I absolutely love it.
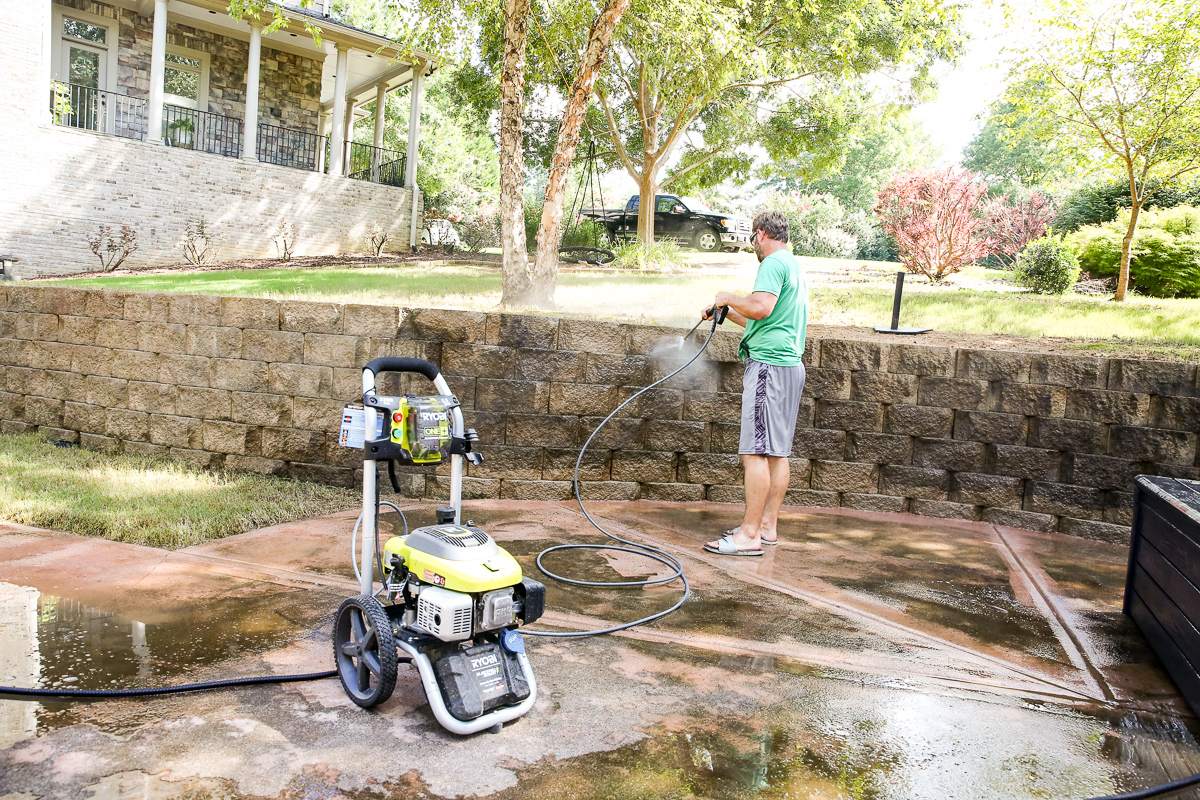
When it comes to pressure washing….I recommend that you spray all the debris away first.
There are different nozzles on your pressure washer that are interchangeable so know the color code!
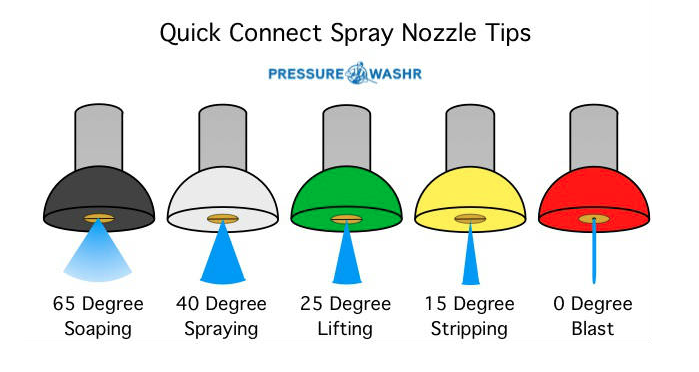
This is a great little chart from Pressure Washr that shows the different colors and describes the job. The white nozzle is what I would use for the spraying away debris. In general, we use that one across the board for most things.
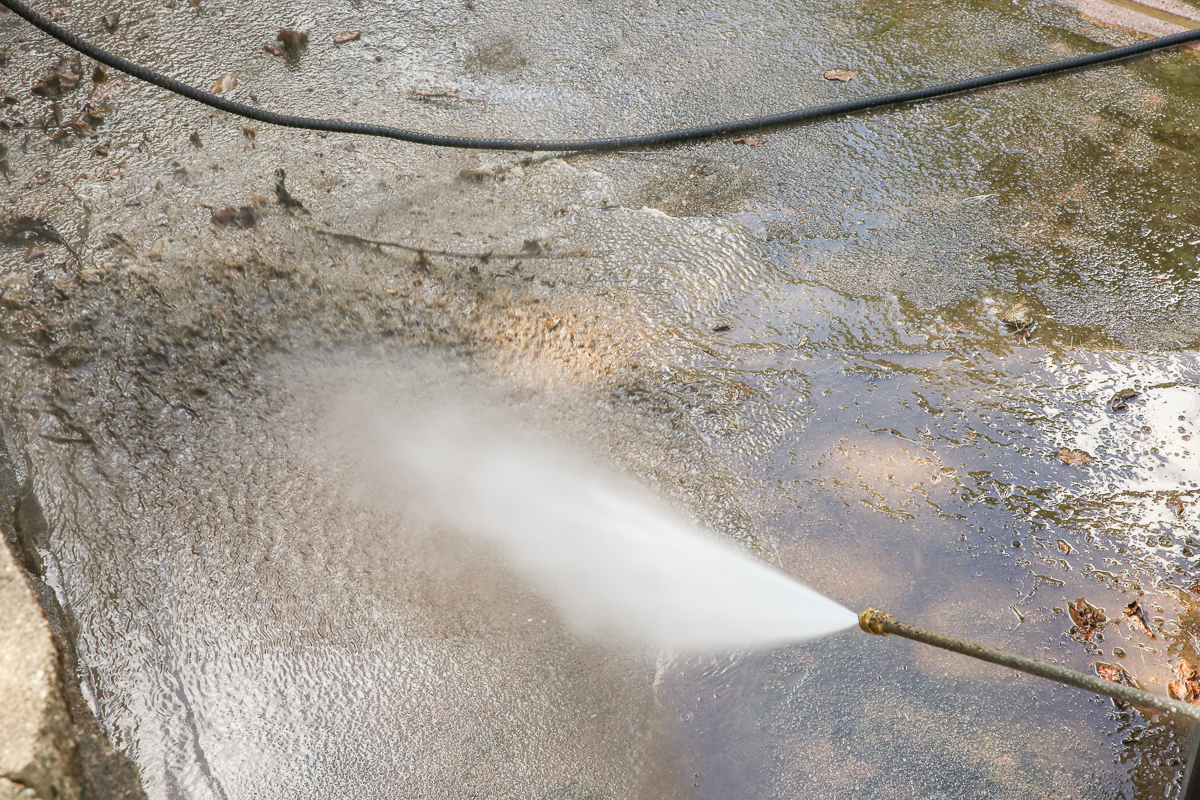
We also make sure that we clear the way for the water to drain. You don’t want your dirty water to pool and do the job over and over. Jeremy cleared the little lines in the concrete for the water to drain into the grass.
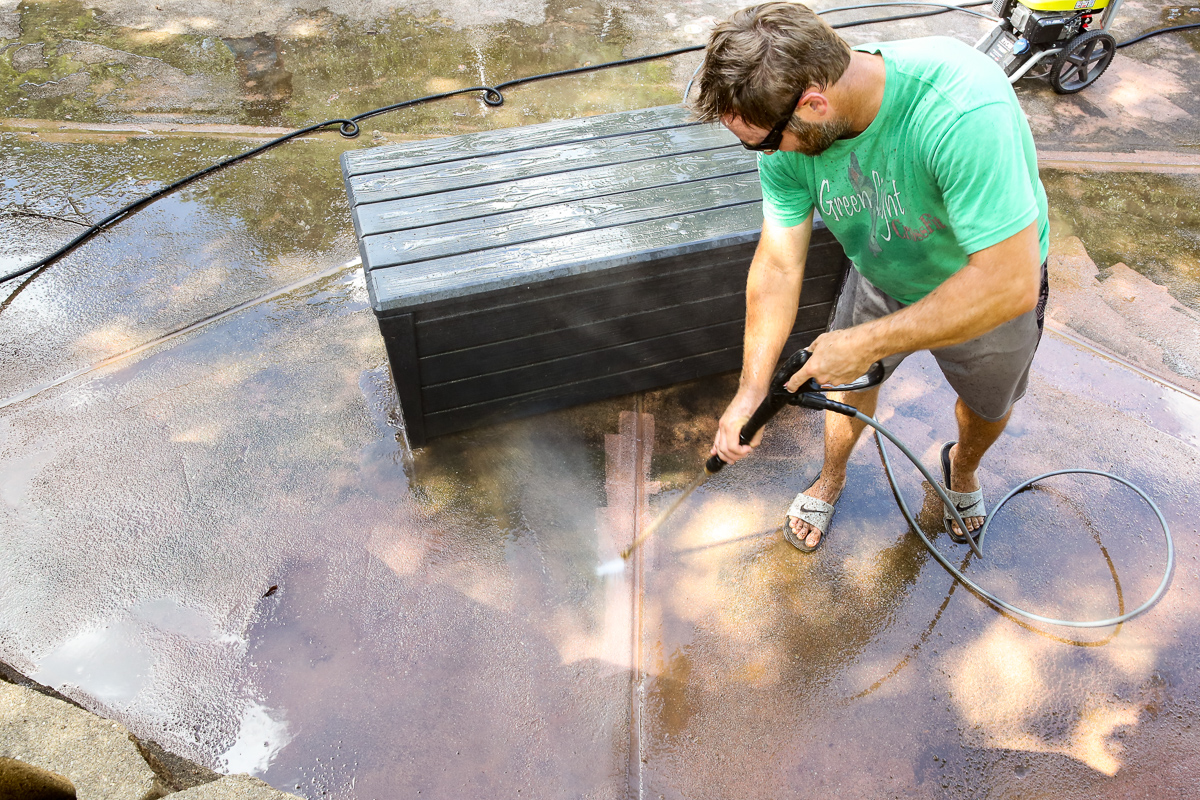
It’s also not demonstrated here (because we are rebels and all that) but they recommend closed toe shoes and eye protection and even ear protection. I have had a friend who sliced her foot with a O degree nozzle and it was not pretty.
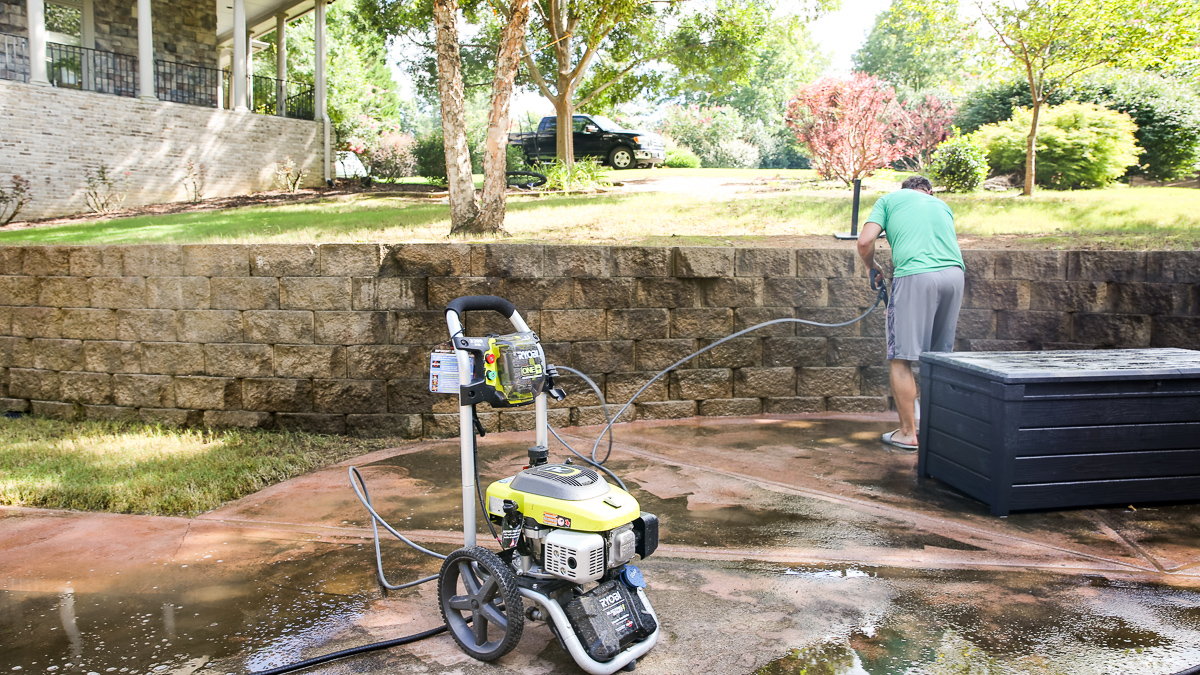
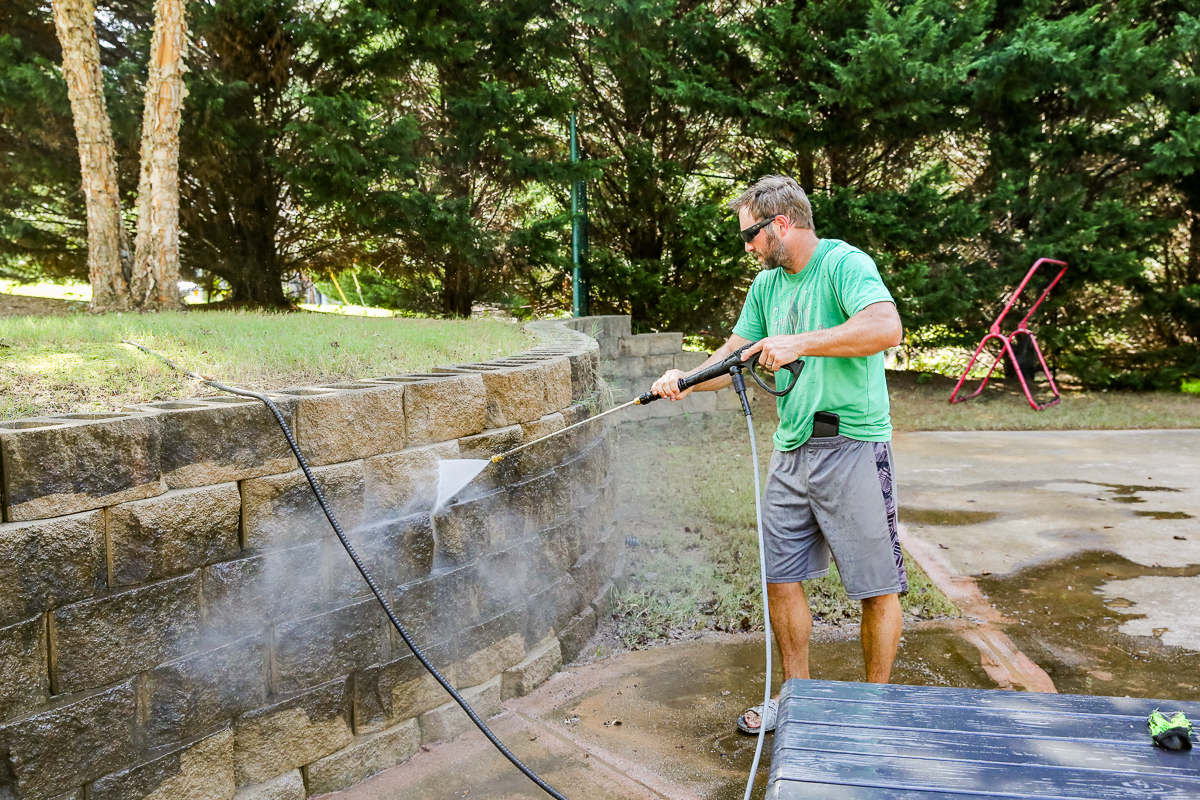
Then comes time for the wall. Any vertical surfaces will be very messy and generally crud gets blasted back at you so just prepare for the disaster you will look like afterward 🙂 Always do your vertical surfaces first!
Starting from the top down, go in chunks (four blocks at a time worked for us) so that you can make sure that any water drains out and the blocks can be well rinsed.
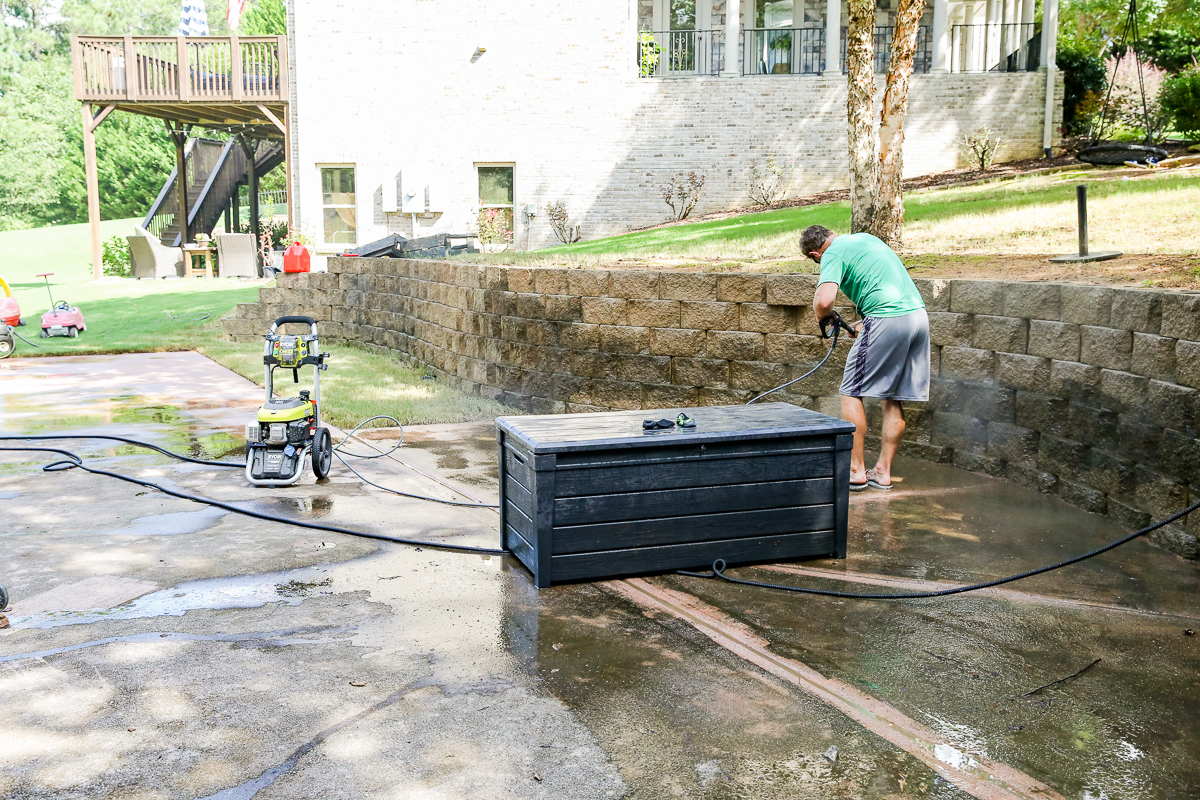
Make sure you have the tip angled so that the widest spray is sweeping the block and keep your nozzle about 8-12″ away from the block. Overlapping your edges is also a really good idea so that you can make sure you get all the crud.
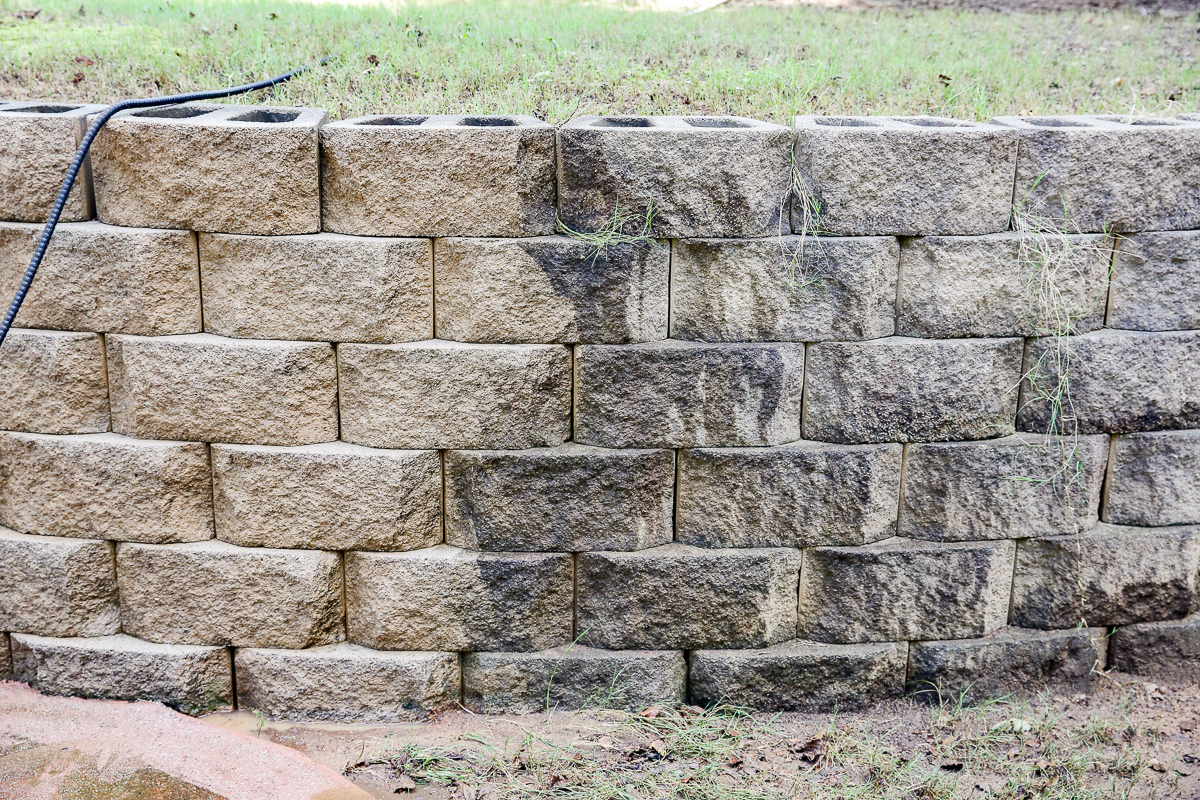
It should also be noted that when you are pressure washing, there will be some color change to the blocks. The ones on the left are clean and the ones in the center are dirty and wet and the ones on the upper right are dirty and dry. You can see how much brighter and lighter the blocks are after cleaning – even though they aren’t dry yet!
Now in general, when doing a big job, you will have to refill with gas so be sure to have lots of that as a back up!
Okay so now let’s chat about pressure washing regular ole concrete!
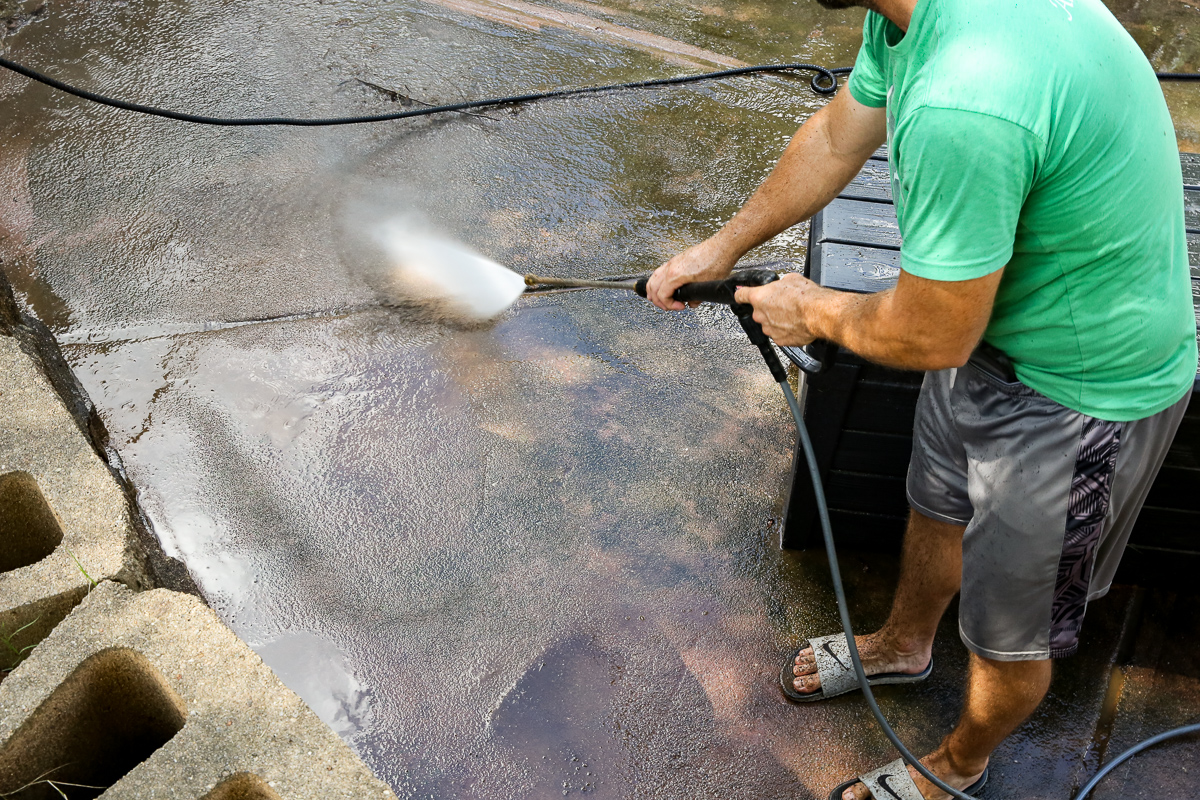
Also while I am here I gotta give a shout out to my dear ole dad who came over and gave us a hand in pressure washing! He loves pressure washing almost as much as I do and we always joke that dad is always doing one of two things….mowing part of the lawn (not all of it) or pressure washing around his pool 🙂
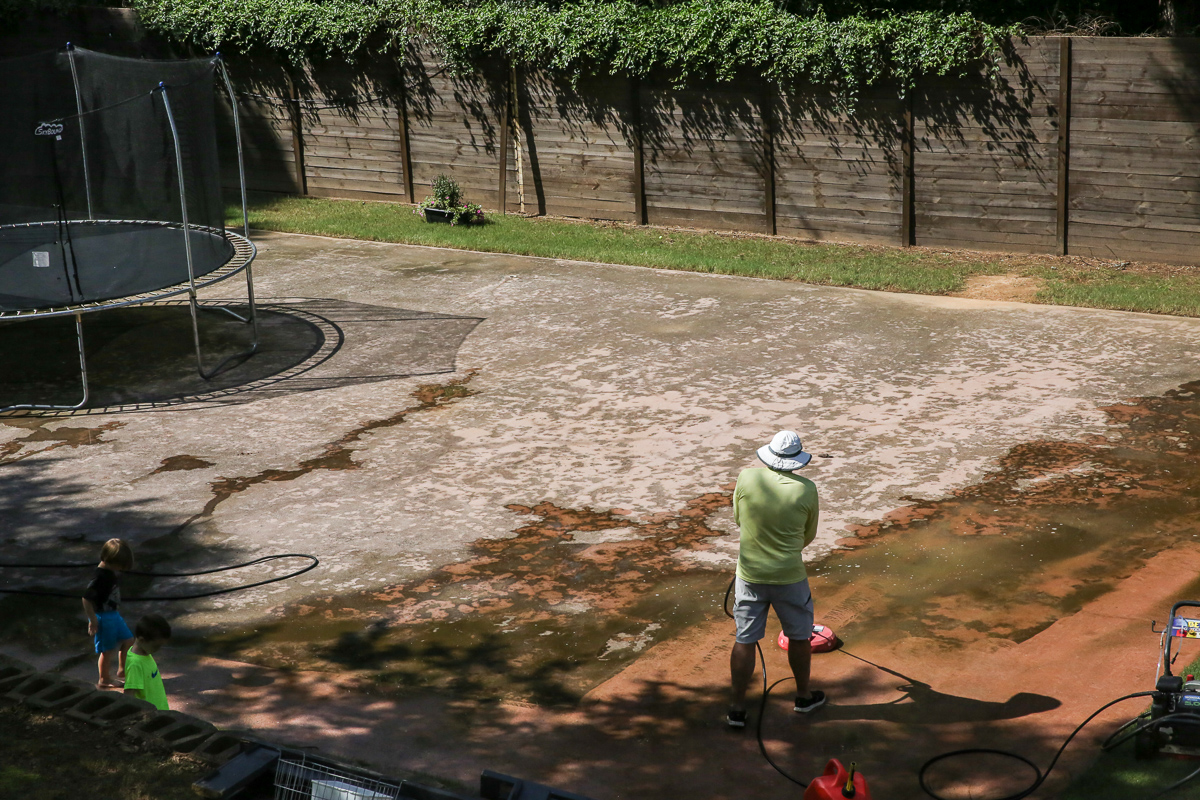
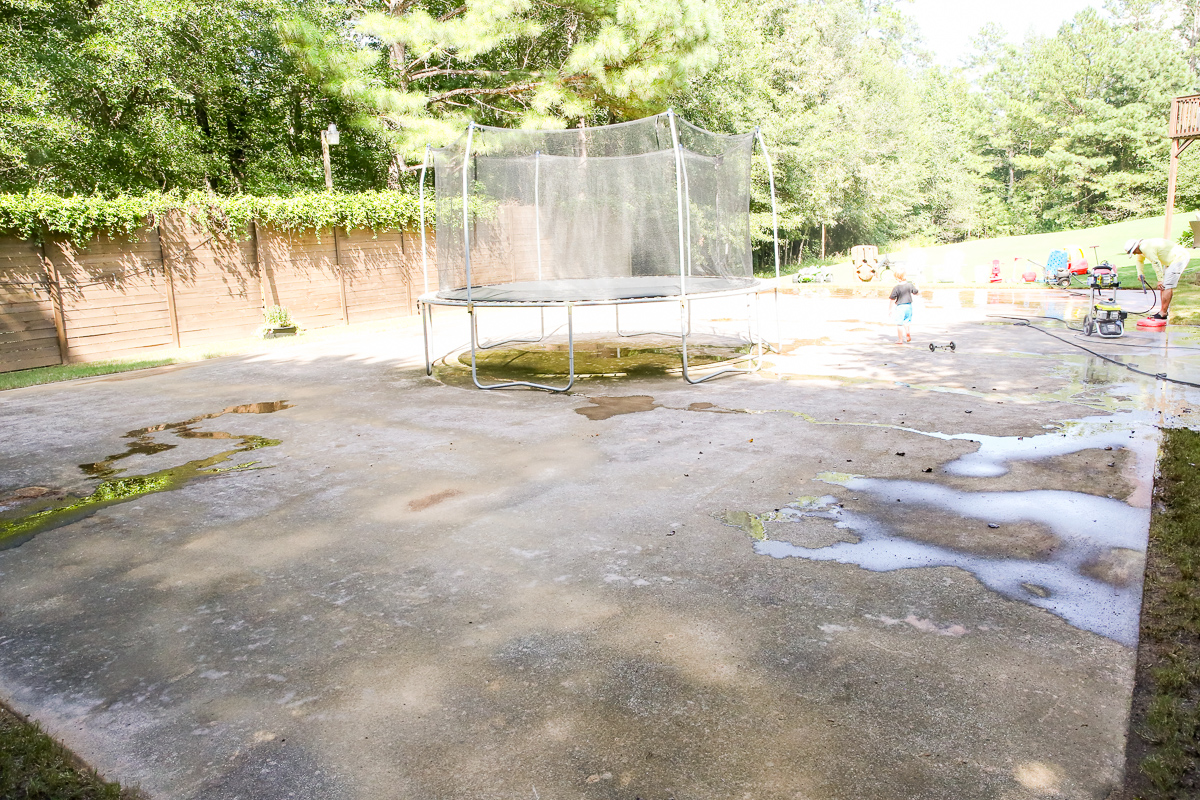
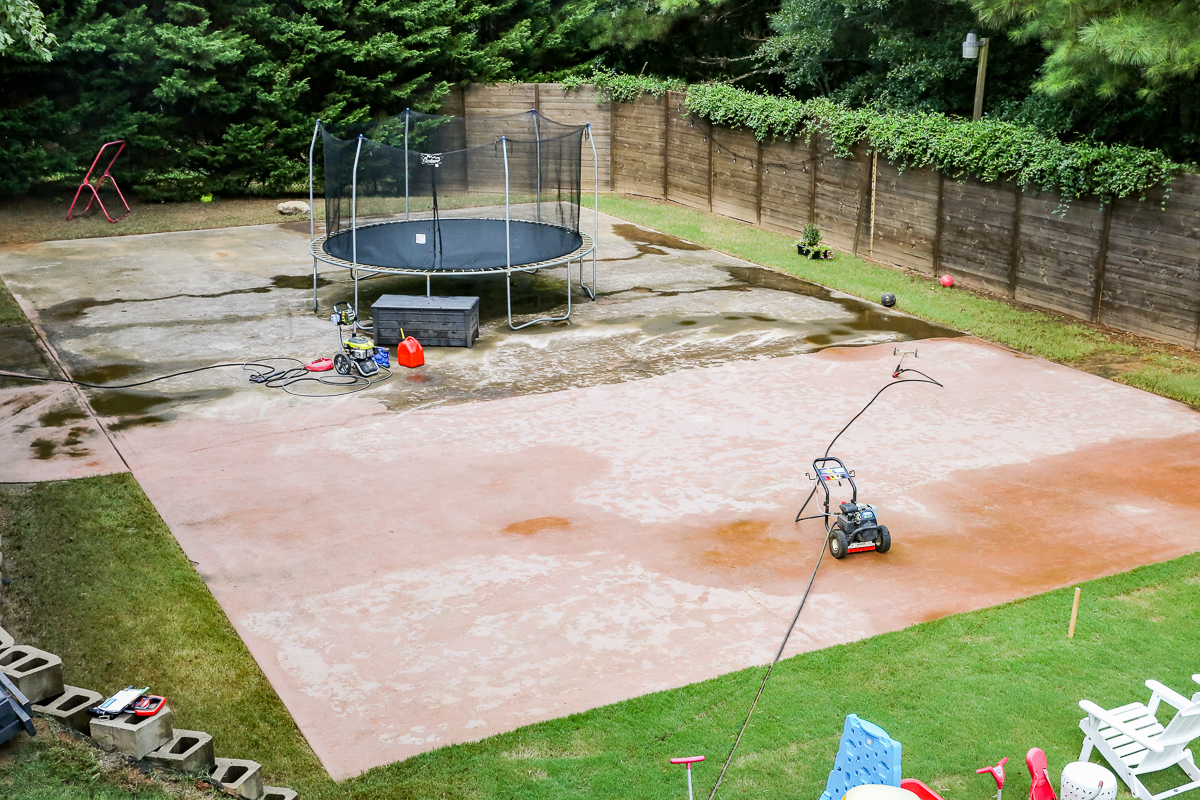
So the big ole concrete court we have in our backyard is getting converted into a basketball all-the-things court and we are super excited because it has lacked attention in the past. The first thing we had to do was move the trampoline. It was never supposed to be a permanent home for the trampoline but we just couldn’t make final decisions about things yet so it stayed there for a couple years. NOW it is going in the opposite corner of our yard and we blew the rest of the debris off the concrete to prep for pressure washing.
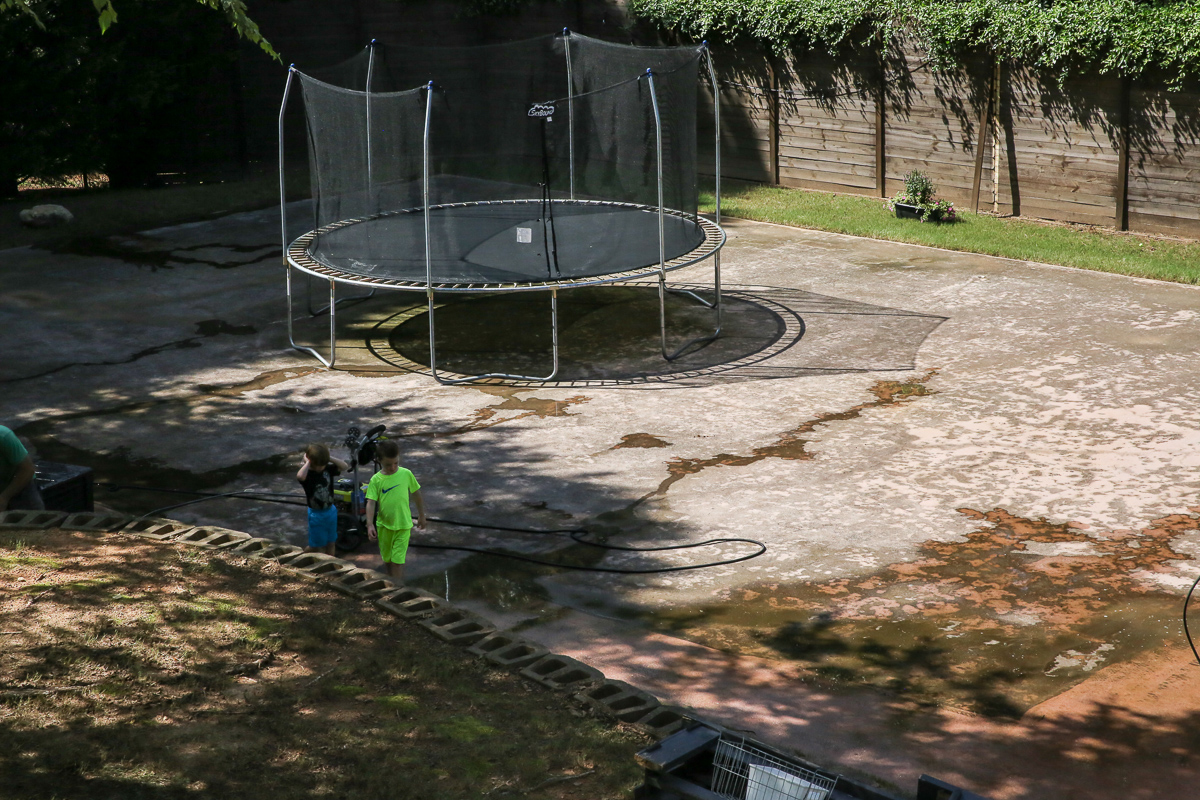
OKAY. So my number one tip for pressure washing large areas is to get one of these large attachment heads. It cuts down the time tremendously and helps do several things –
Keeps things consistent. No more missed spots.
Keeps things neat. Less ricochet water means less mess.
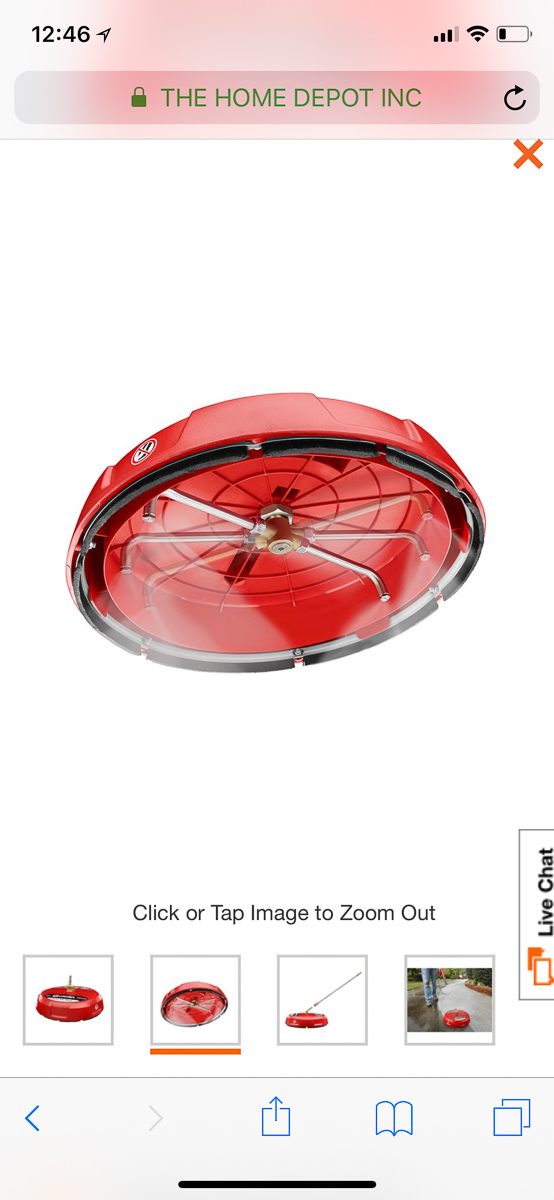
Keeps things efficient. The rotating heads under the red plate are using the same amount of water but doing a larger area.
Keeps things safe. Like I said before….nobody wants to hurt themselves cleaning. That’s the lamest story ever. So with this head, you keep it down and push it back and forth slowly like a vacuum and it would be much harder to get crazy with the nozzle.
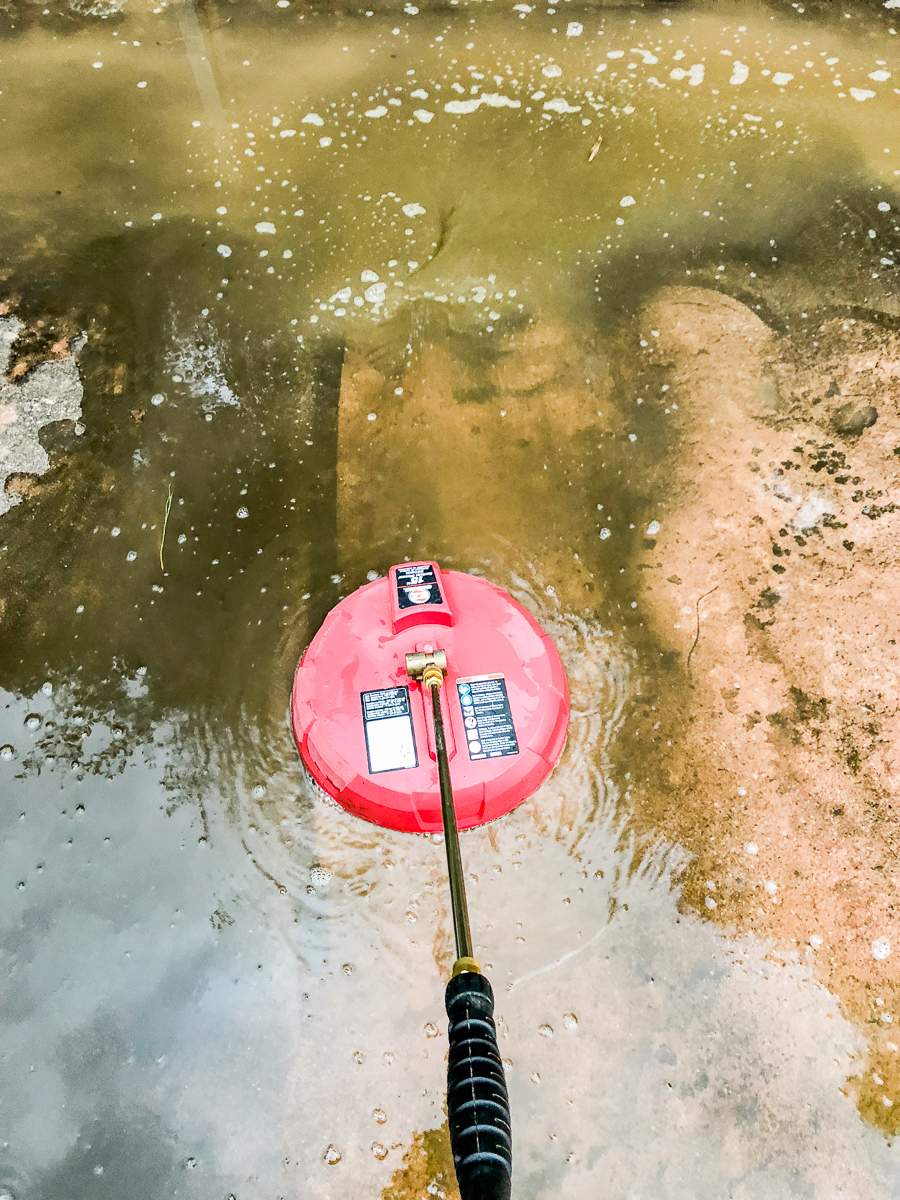
As you push the head back and forth, it will clean the area underneath. It does take a few passes to make sure it gets everything but once you get into a rhythm, it becomes very very simple.
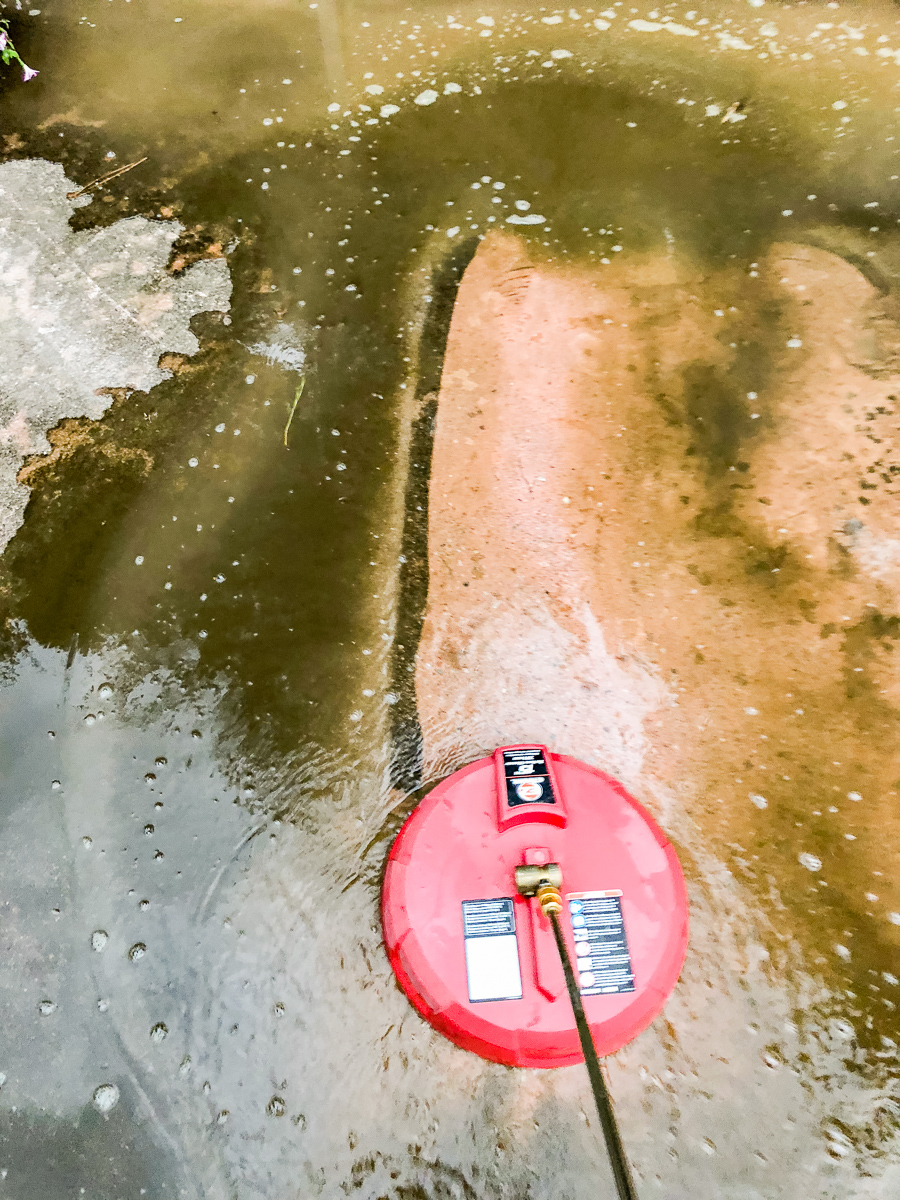
I screens hotted this from the Home Depot site….this is how it works. It has six little arms underneath that rotate. That spinning makes it cover a large surface area.
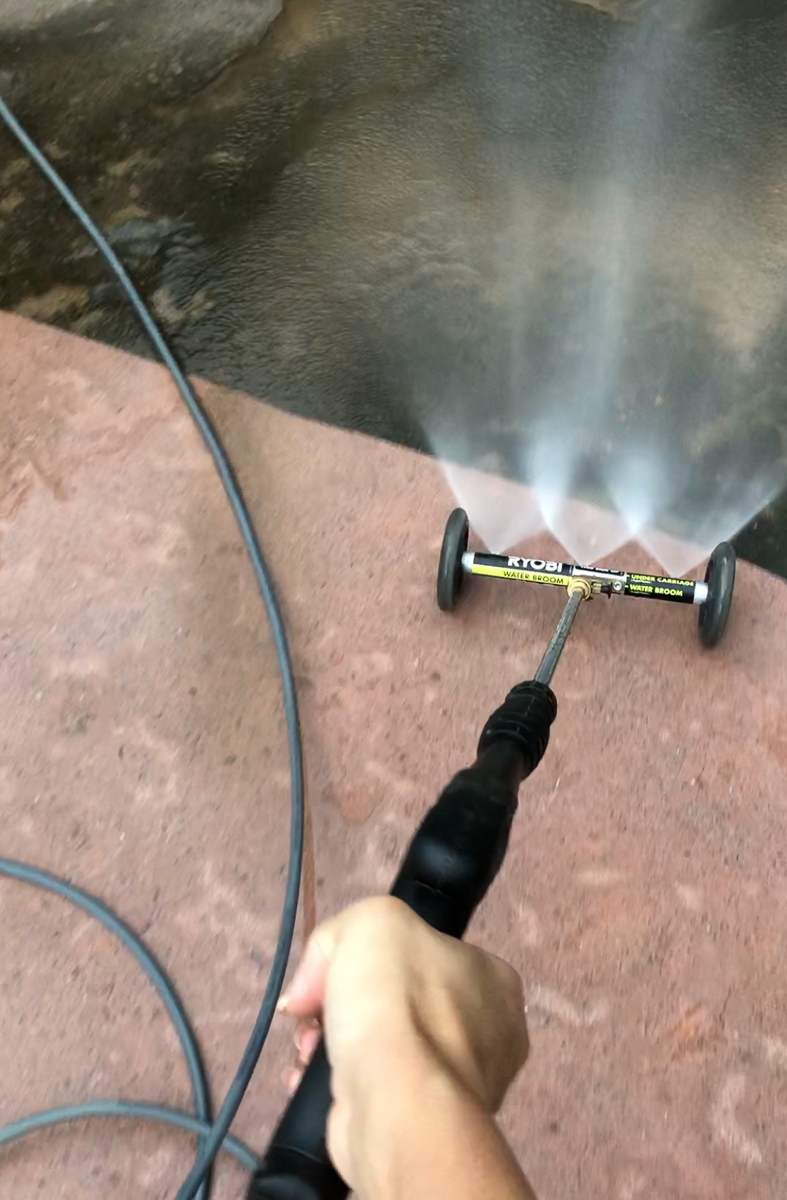
Now, once you are done with a section, it is time to blow all that dirty water into the grass or edge where it can drain. You don’t want that dirty water to sit on the concrete. It will block your visibility making it hard to keep your place and it also can make it all dirty again if it dries! That is when I break out my water broom.
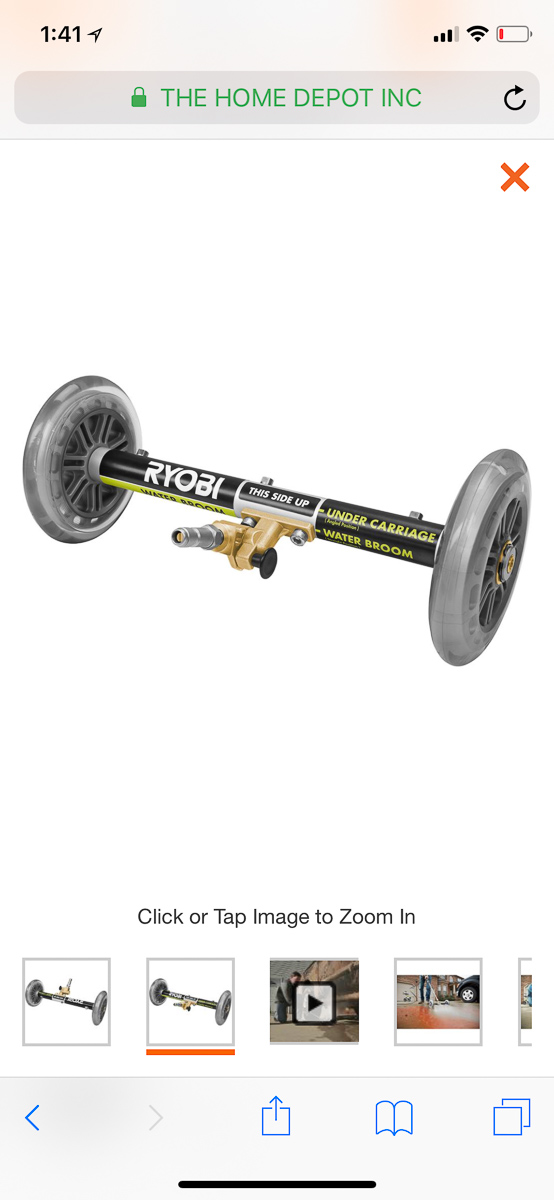
The water broom is another pressure washer accessory that is great for leaves *hello fall* and dirty water and anything else you can think of that needs rinsing away.
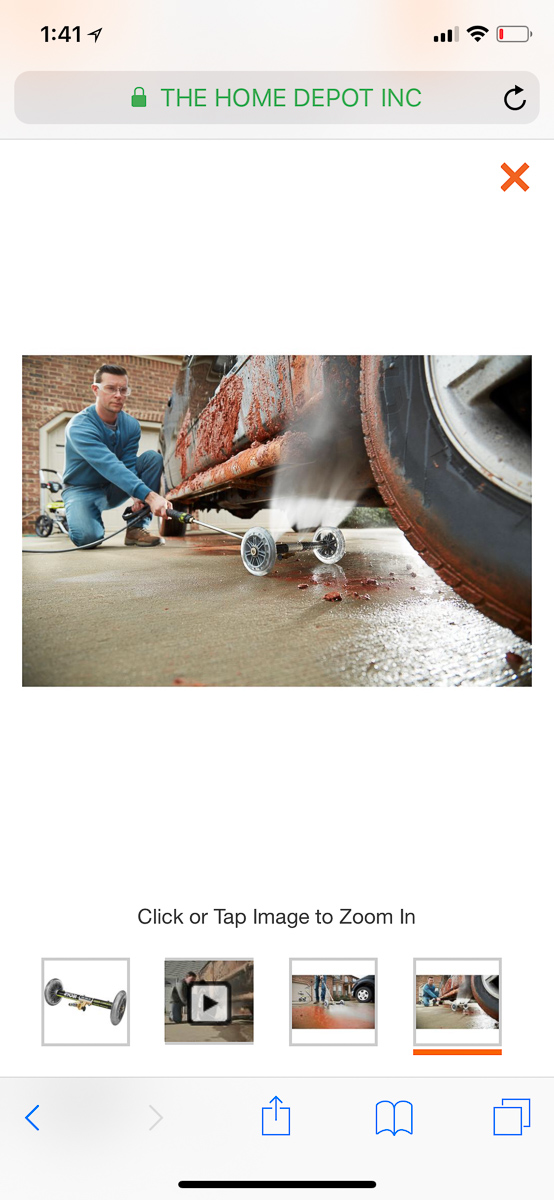
You can also mount it backwards and use it as an undercarriage sprayer. We use it all the time on our ATVs.
It is also available at the Home Depot and is a great little gift for any other card-carrying member of the PWC 🙂
So when we got about half way finished, the court was really starting to look 1000% different. It is actually a very pink color (weird I know). The last tip I have for you is to make sure you take before and after photos. This is the best part because you will quickly forget how gross it really was.
Here are the links for the items we listed above….
And here is the list of the things we would want to get done for the makeover….
- cover up the ugly chainlink fence (DONE!)
- pressure wash the court (DONE!)
- relocate trampoline to permanent location (DONE but needs to be fastened down)
- install basketball hoops (DONE! Stay tuned!)
- redo the court surface
- build shade/small pergola over half moon area (this job just got big)
- landscape above retaining wall
- purchase storage shed for bikes/balls
- give storage shed makeover
- purchase additional toy/cushion storage
- buy additional seating