Disclaimer – This is a sponsored post brought to you by Rust-Oleum. All opinions are 100% my own.
This past summer I had the honor of teaching a class at Haven Conference with Rust-Oleum. Guys. What is this amazing life and how did I get so dang lucky!? Seriously. Someone from the best stain and spray paint brand ever let me teach others how to make something? How is this even real?!
But let’s not dwell on the fact that it is crazy town and let me tell you about this class. I know that some of you probably weren’t there because well…maybe you aren’t home bloggers. And some of you probably were busy doing very important things. I won’t hold it against you 🙂 BUT just in case you were saving the world and still wanted to do this craft….I wanted to bring the project TO YOU!
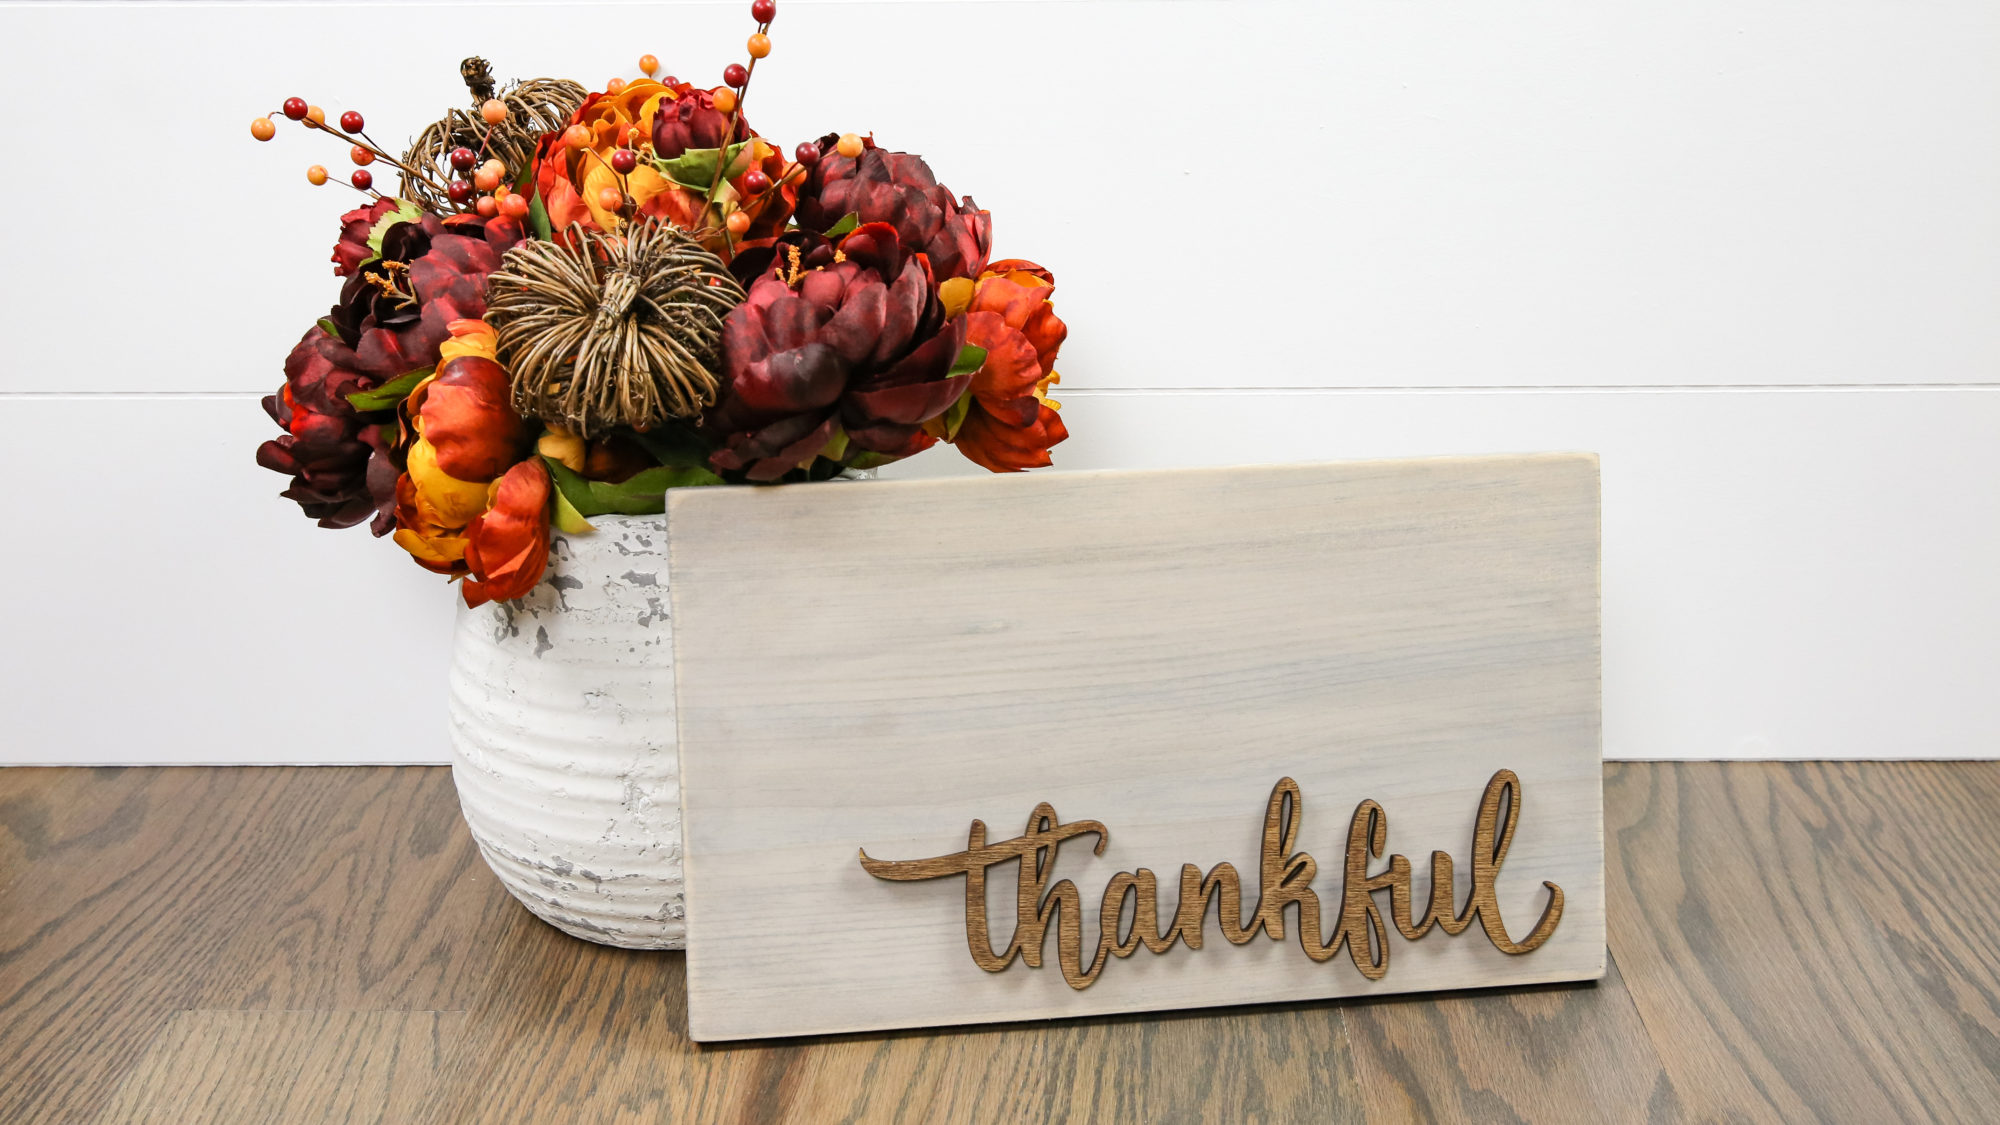
This is one of the most simple and easiest projects and PERFECT for mom’s night in or girls craft night or even just as a simple project for teacher gifts or something to display in your home! It’s so simple that some people in our class completed it in just 15 minutes! Plus it is officially fall and there is nothing more perfect to represent the fall vibe than this DIY Wood word sign.
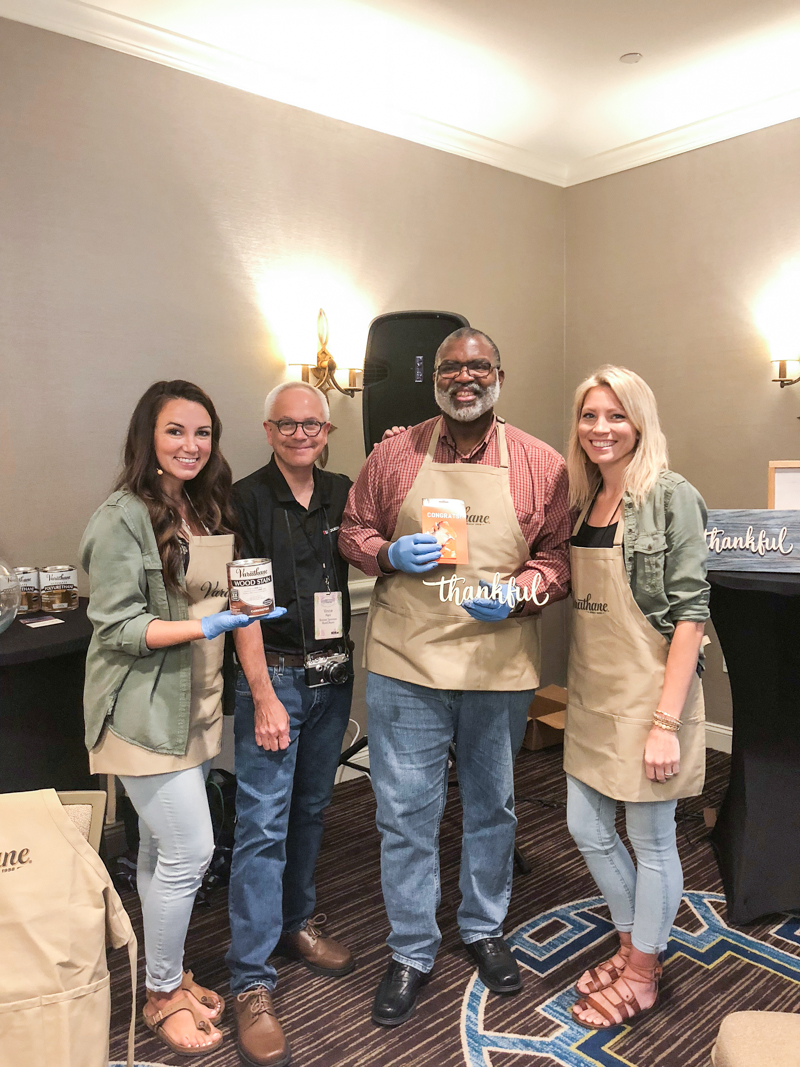
But first I wanted to share with you a few more details since some of you probably are wondering what Haven is. Haven Conference is an annual three day gathering of home bloggers and influencers – everyone from home decor to DIY to crafts to wood working attend and a few of my favorite people were the founders and brainiacs behind this cool event! In the past it was always in Atlanta and I got to attend (ahem…crash) the event even with newborn babies in tow. This year it was in Charleston and I got to teach the Rust-Oleum DIY class with Rachel from Shades of Blue Interiors. (she’s a total babe by the way with great style so you definitely need to follow her!)
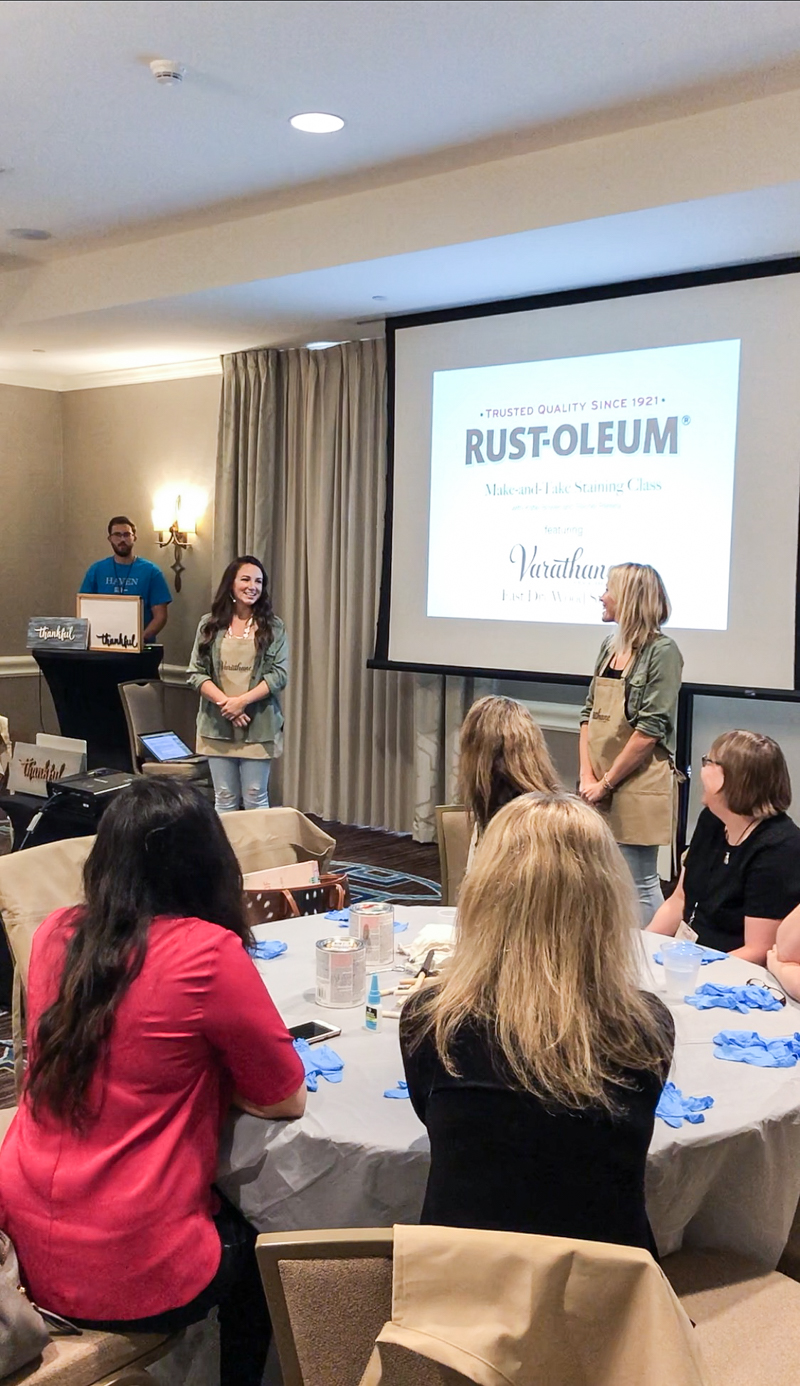
We wanted to share all about the Varathane Fast Dry stain because it is rolling out to ALL the Home Depot stores (it’s about time!) and you guys are gonna be able to pick it up and get your stain jobs done lickety-split! So we brainstormed bunches of ideas and felt like this one was a winner! It’s hard to pick a project that can appeal to everyone!
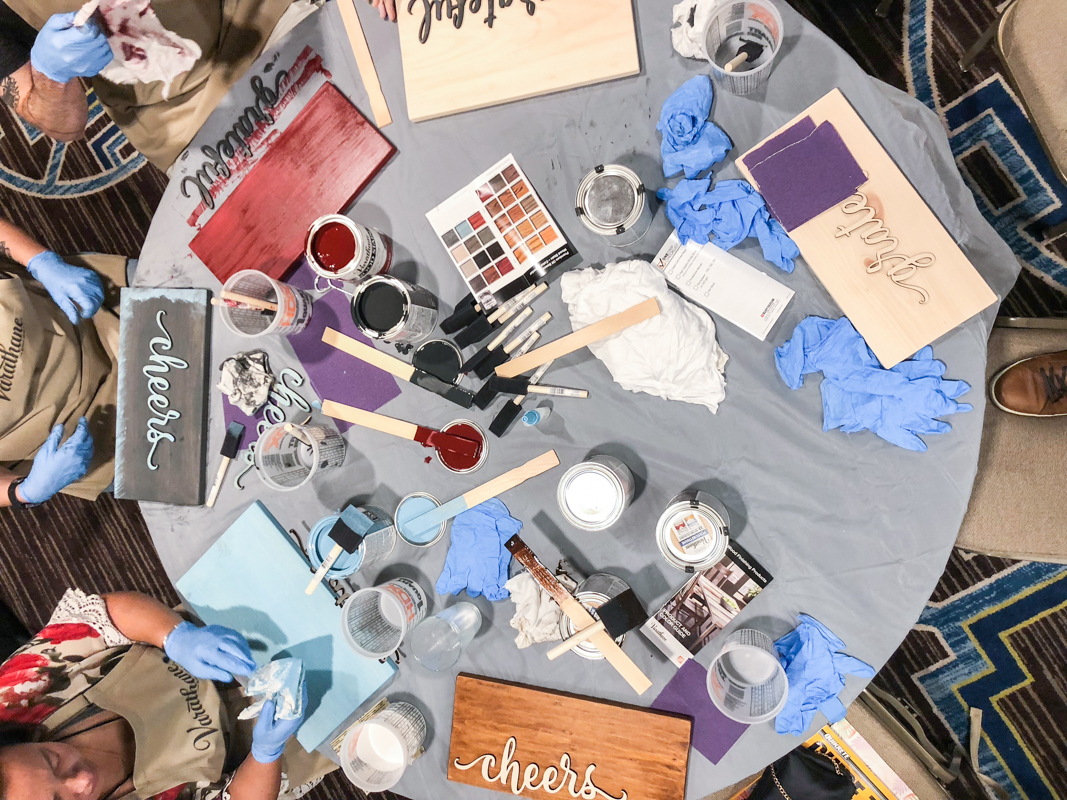
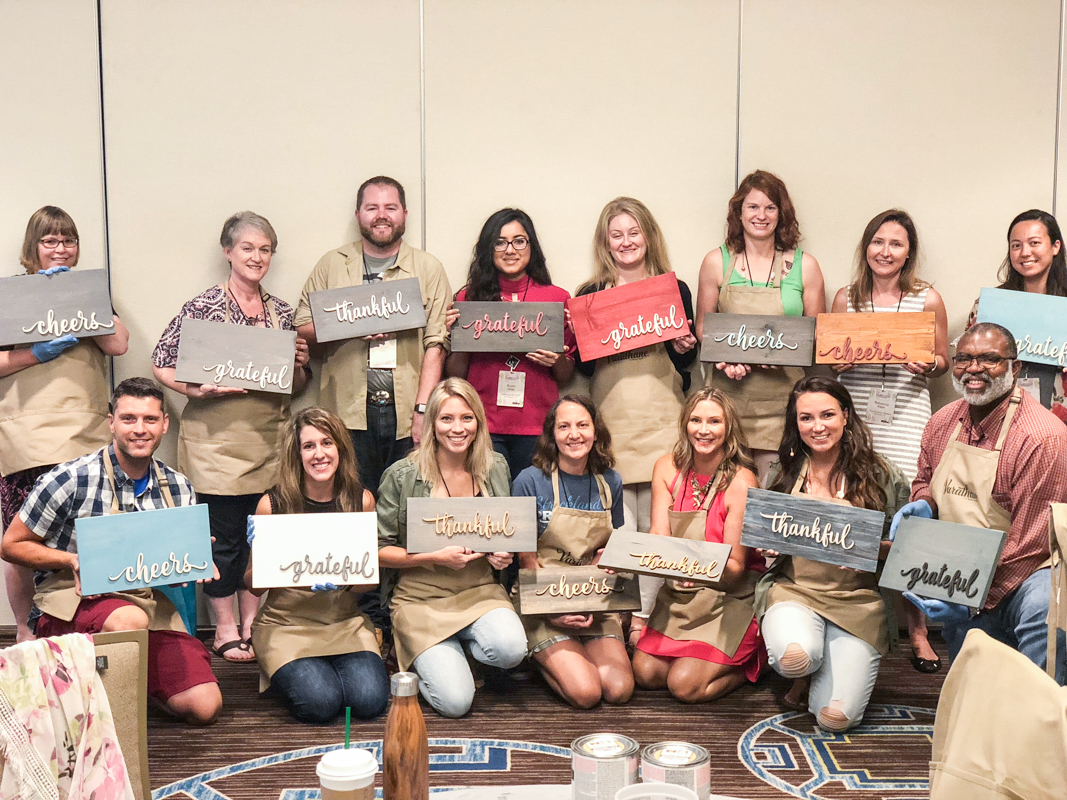
You can do this one quickly and easily….it’s basically failproof….and you can personalize it for any decor. Our class was full of the sweetest peeps that were so super creative (there were no two signs exactly the same!) and they even laughed at all our jokes (miracle of miracles).
All the materials are super simple. Here is the list of the items that are helpful to have….
- 1×8 or 1×10 at 17″ long
- Varathane Premium Fast Dry Wood Stain in color of choice
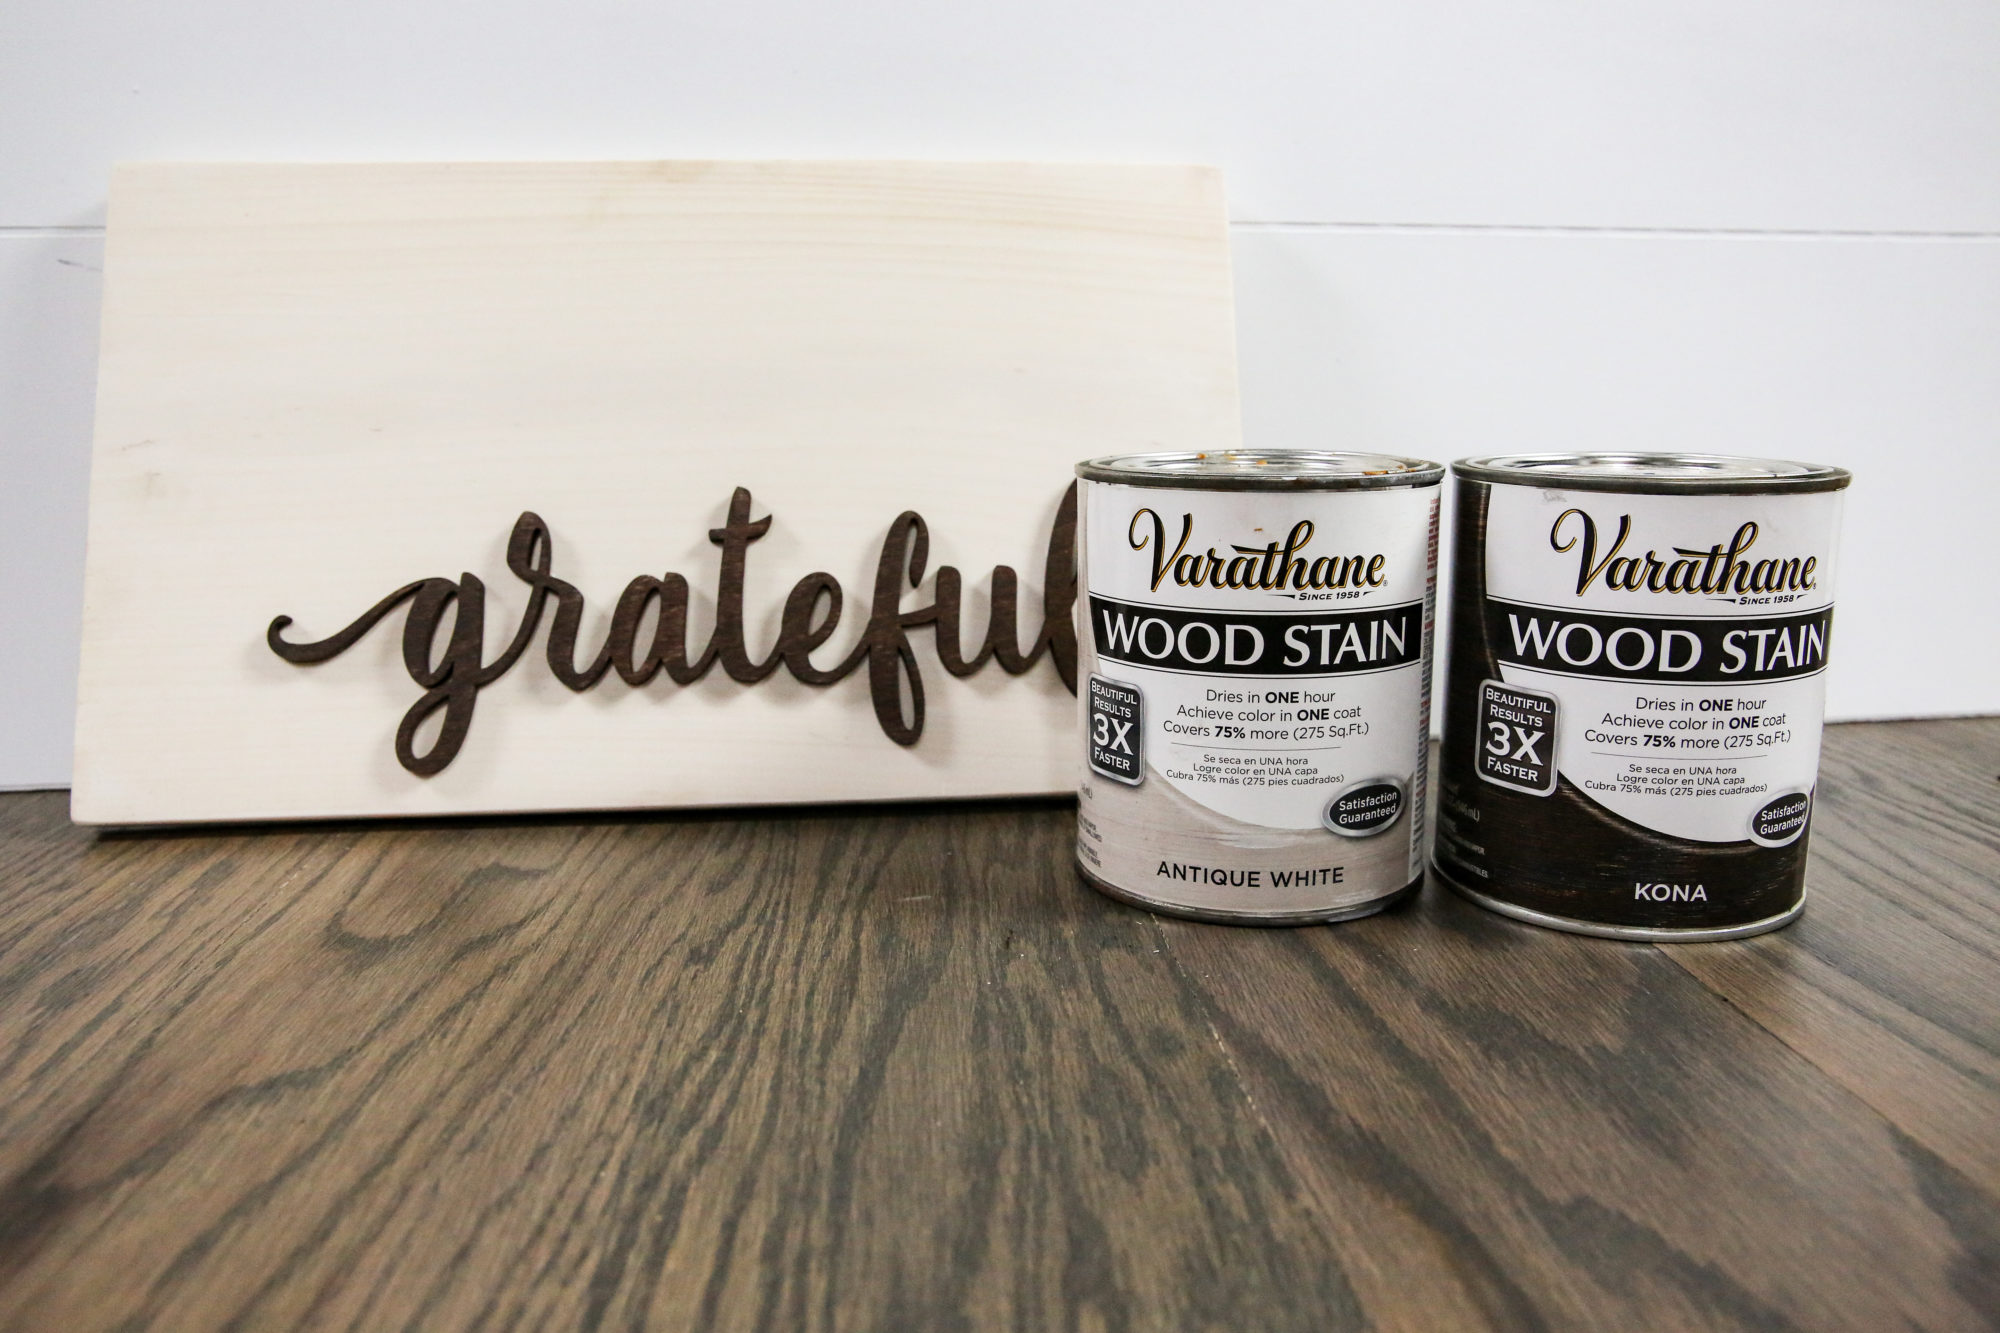
- Varathane Premium Fast Dry Wood Stain in Antique White (if you wish to whitewash)
- Varathane Premium Fast Dry Wood Stain in Kona (if you want to darken your color)
- Stirring sticks
- Rubber gloves
- DAP RapidFuse Multi-Purpose Adhesive
- rag/foam brush/lint free cloth
So let me tell you….this stain is not your mama’s stain. This is one-coat coverage. If you mix your can well, you will have so much pigment that you will not need a second coat. And it dries in 1 hour. Oh and did I mention that doesn’t need a wood conditioner? And that it comes in 24 different colors AND can be mixed with other Varathane Fast Dry stains to create a custom color?! SO fun. (Definitely use this Color Blends Guide to help get you started to be a Varathane Mixologist!)
Oh and you also need a wood word. We ordered ours from the sweetest girl on etsy at CraftCutConcepts – HERE IS THE LINK.
We ordered the words thankful, grateful, celebrate and cheers and all of them were the 12″ long 1/8″ thick words.
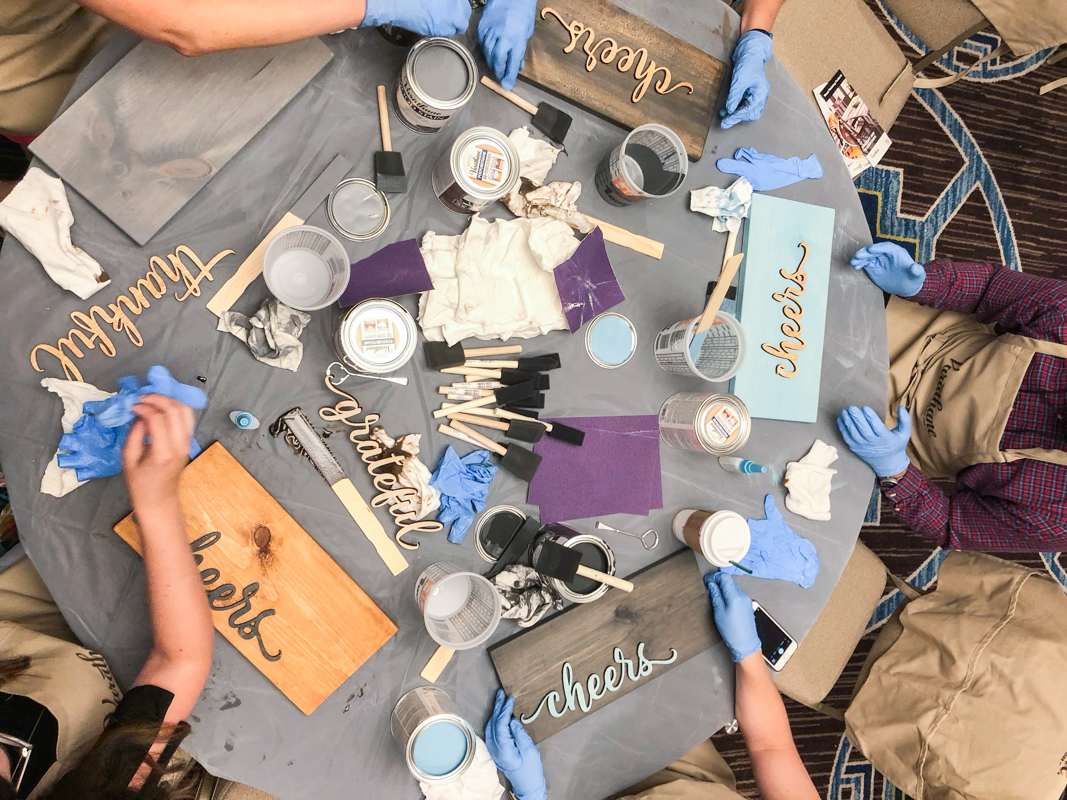
The idea here is that you are going to stain your piece one color (and then add either whitewashing, distressing or darken the color for a rustic look)….and then stain the wood word a different color.
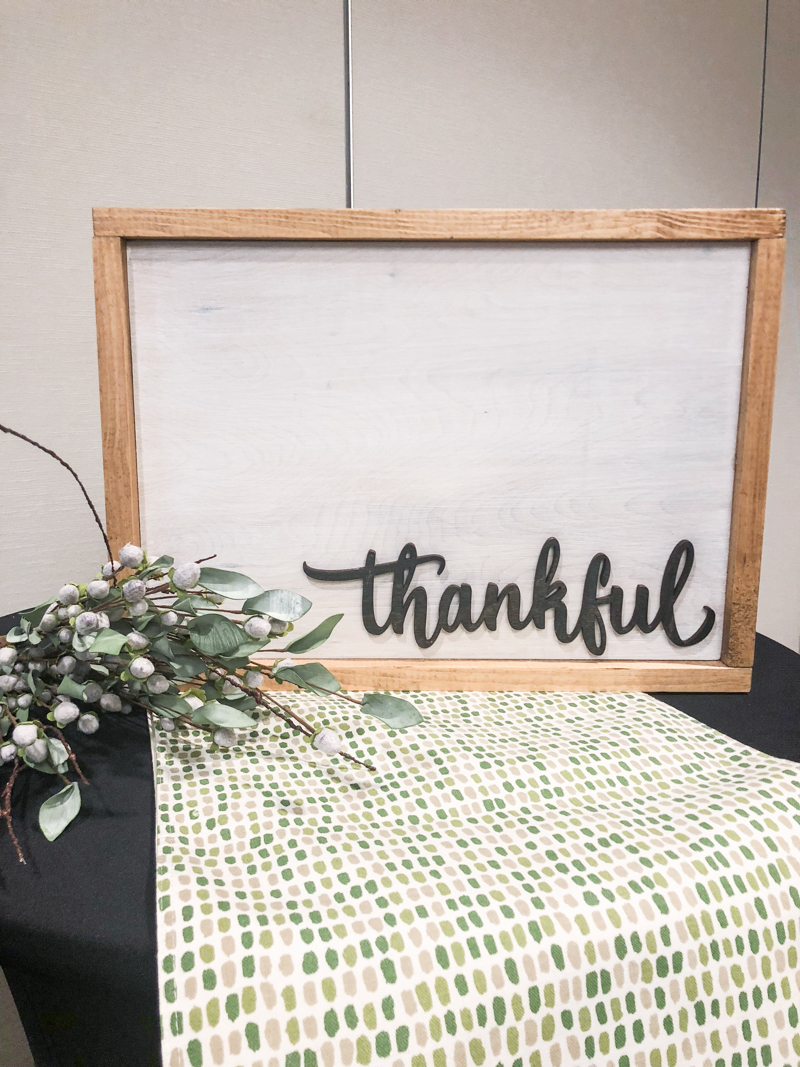
We made lots of variations to show the class. My favorite was one Rachel made where she framed it out.
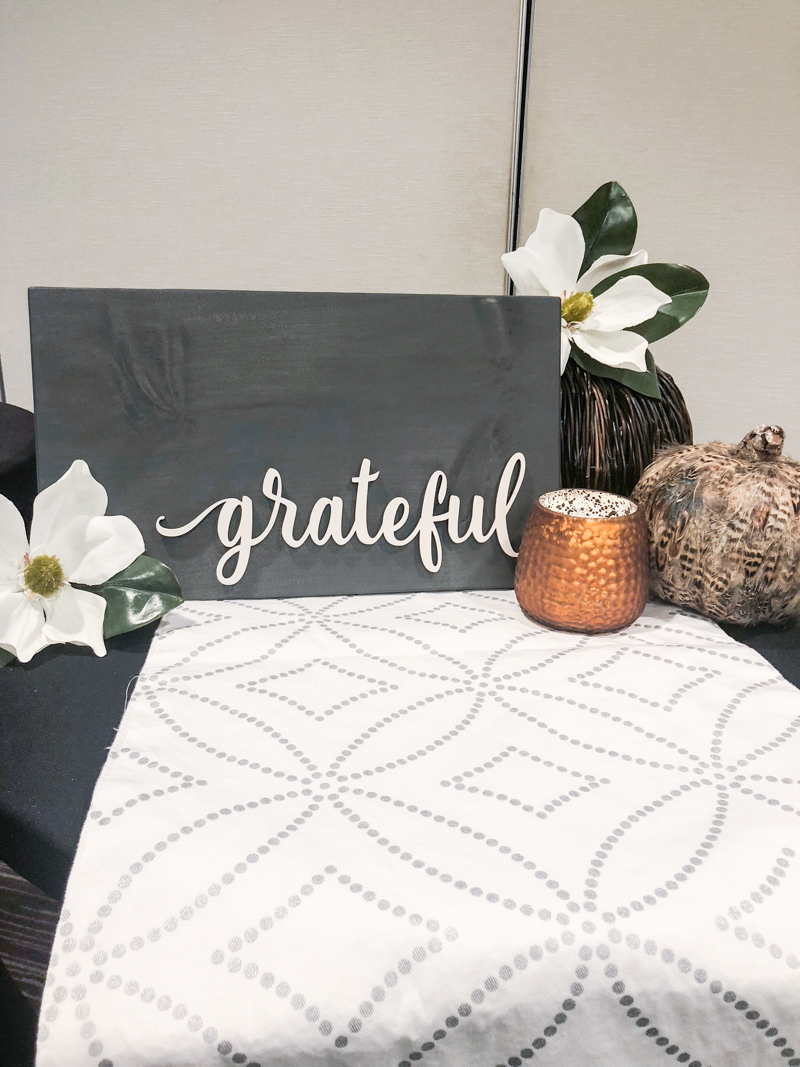
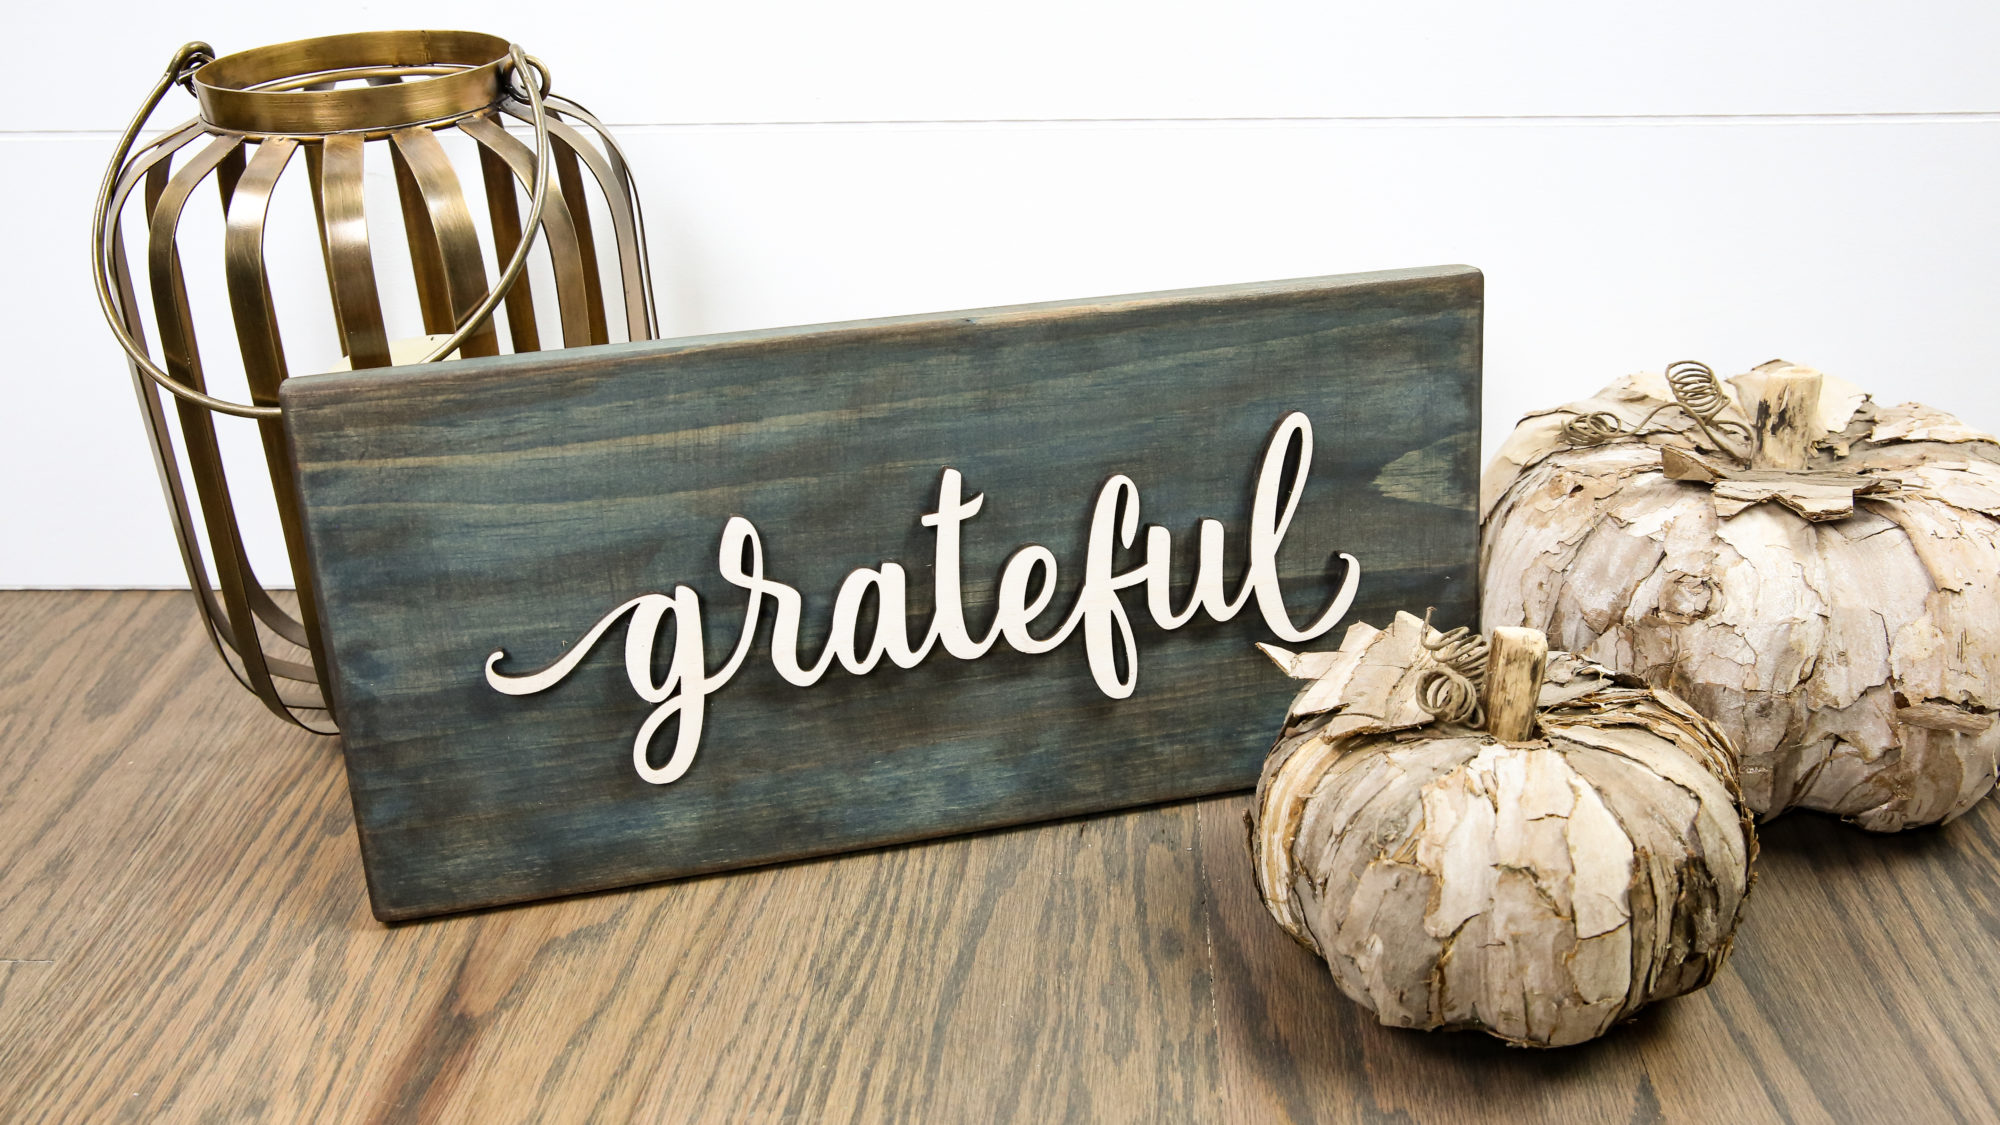
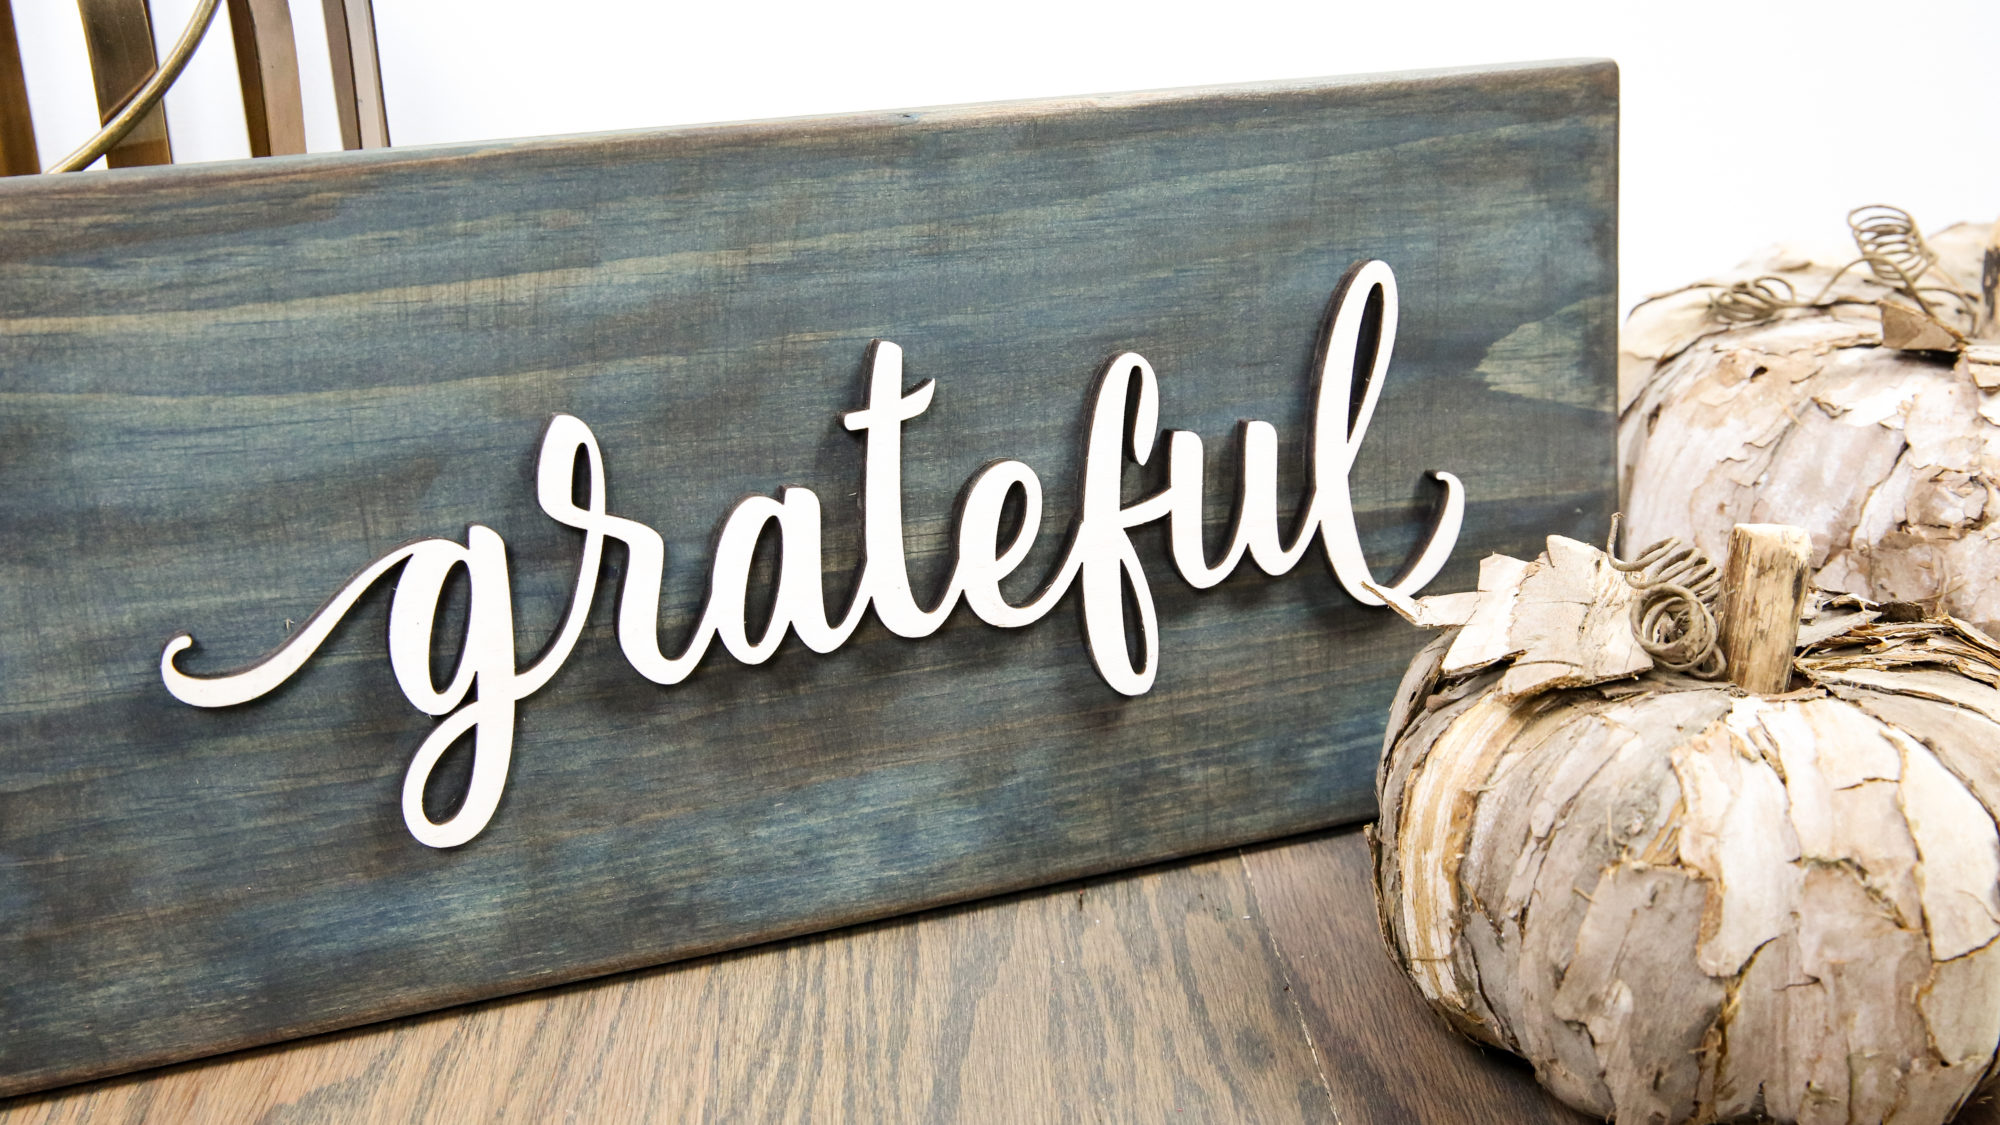
Here is one that was made with a Carbon Gray stain and Antique White on the word.
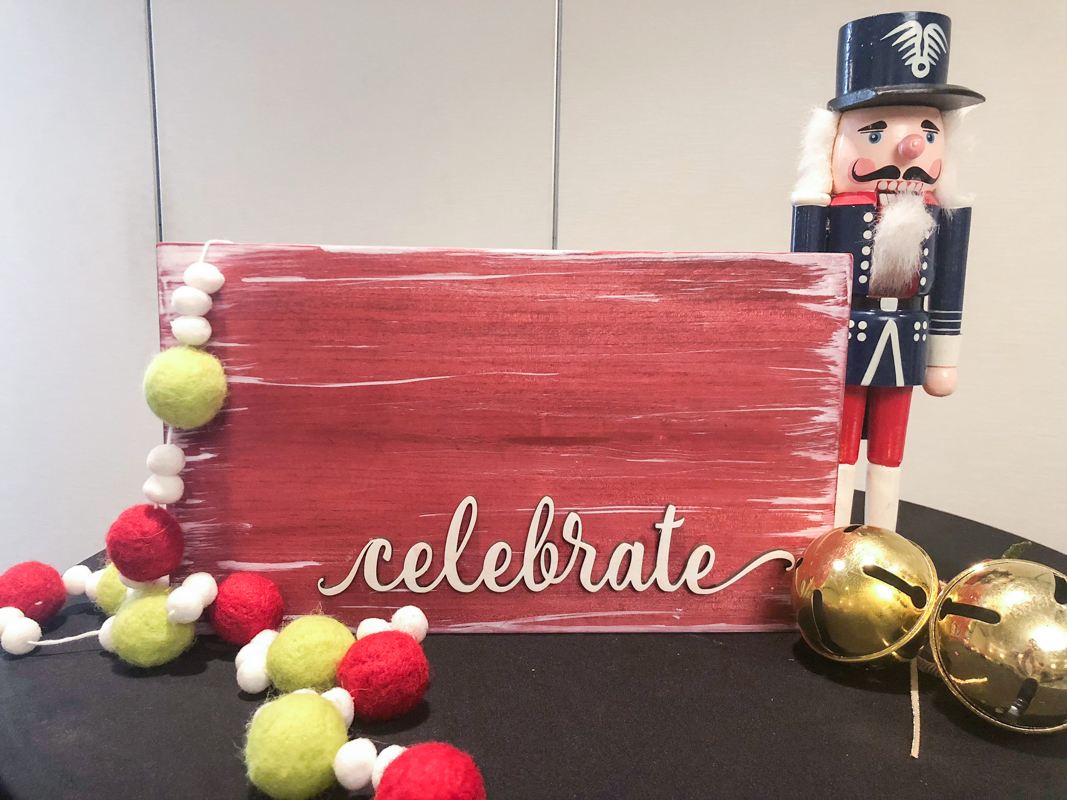
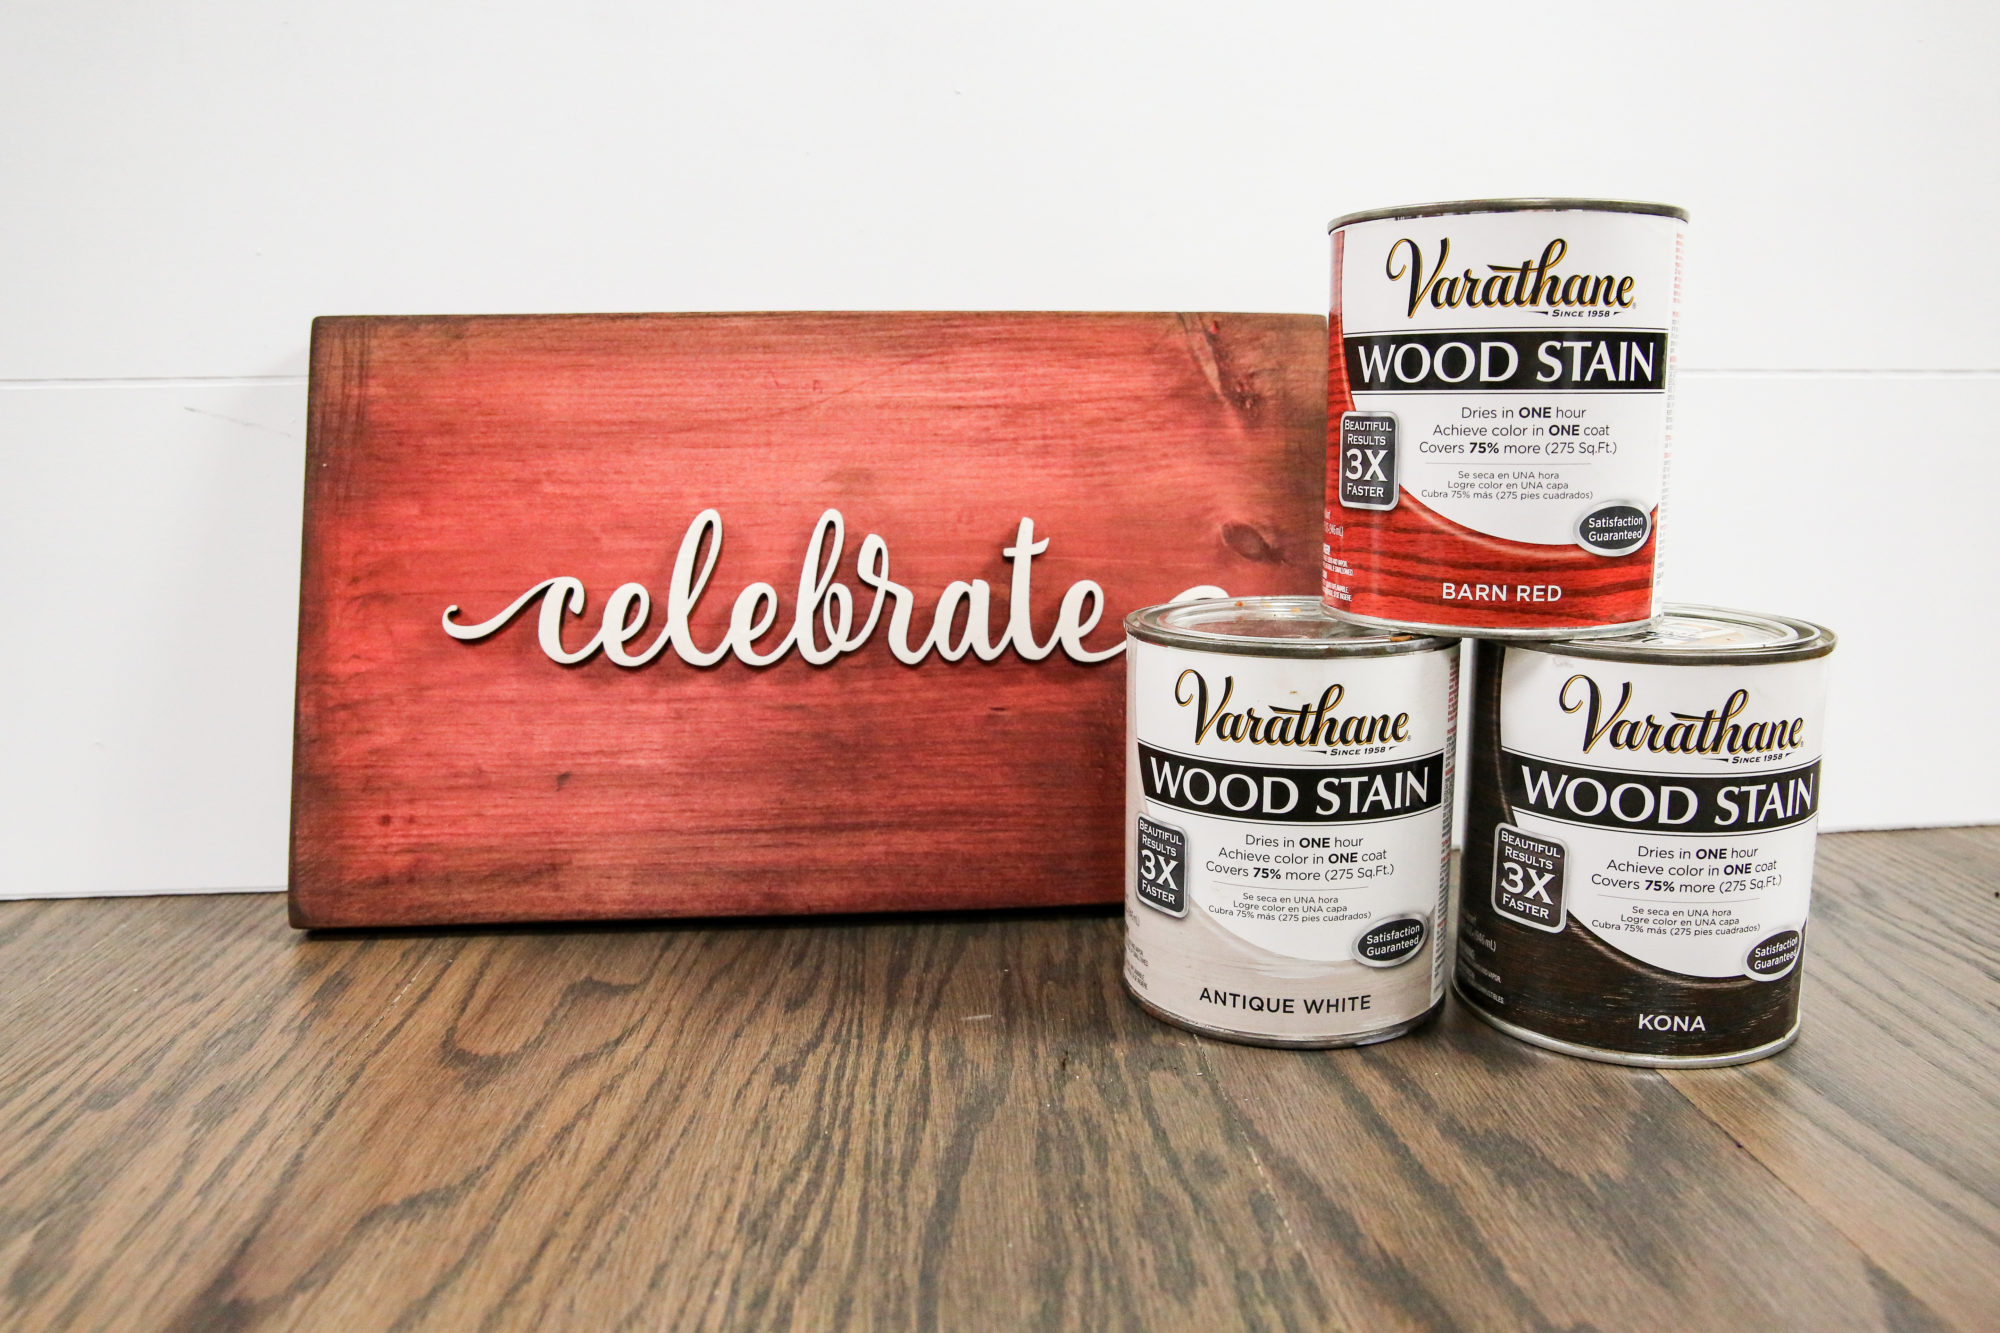
And this one was with Barn Red and Antique white on the word and on the edges. I like that it looks like snow!
During the class we also had the privilege of announcing two different winners for Home Depot prizes curtesy of Rust-Oleum! I love that Rust-Oleum is consistently trying to equip folks with materials to tackle their homes – and if you don’t follow them already – you really should. They always announce cool contests and have the best prizes!
Click here to follow them on Instagram.
Click here to follow them on Facebook.
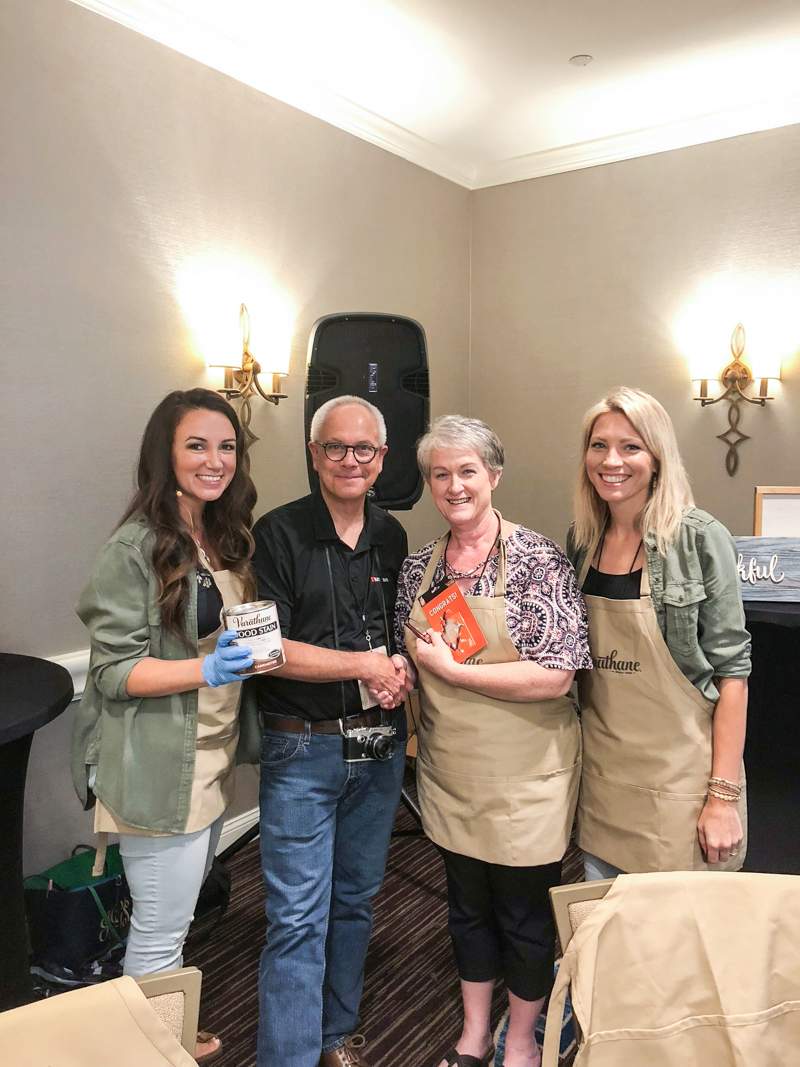
Also if you noticed that Rachel and I both coordinated our outfits, then you get one million points. Also we get one million points each for doing this on purpose in public. We are nothing if not dedicated to being a united team behind DIY wood staining 🙂
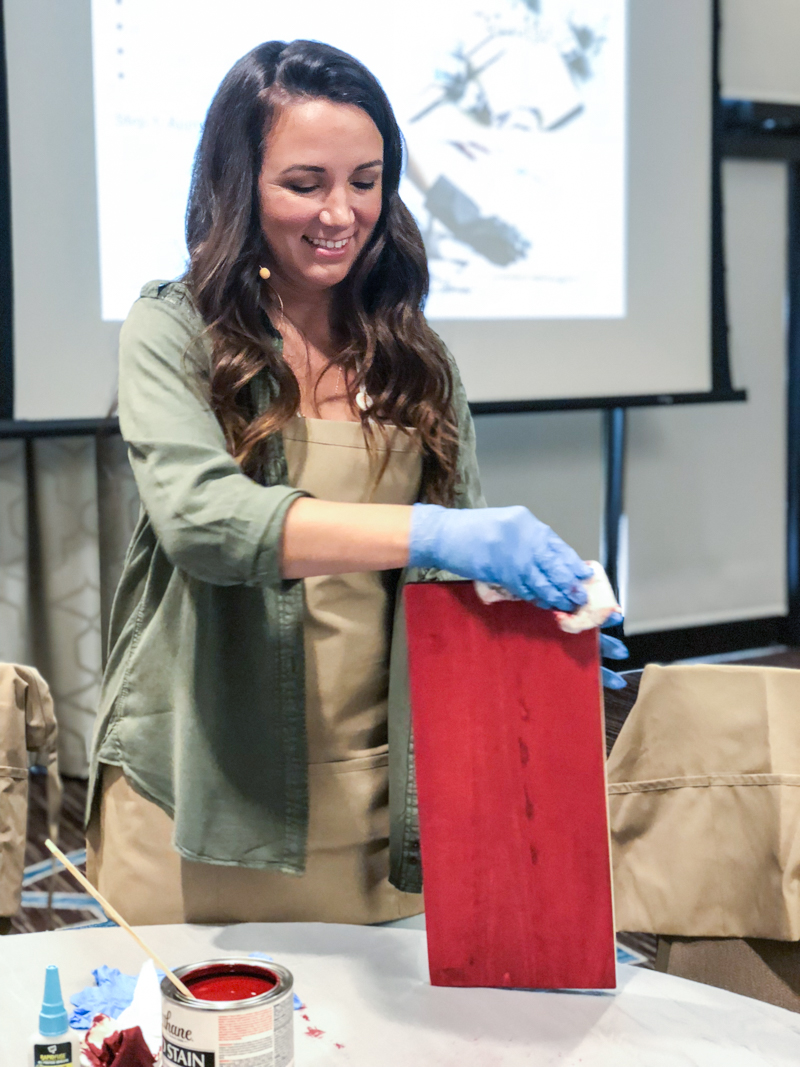
Okay so let’s just get to it! First in order to do this project you want to strap on your rubber gloves, mix up your stain and make sure your board is sanded and dust free. Then apply your stain to the board with even strokes (going with the grain!) using your foam brush or lint free rag.
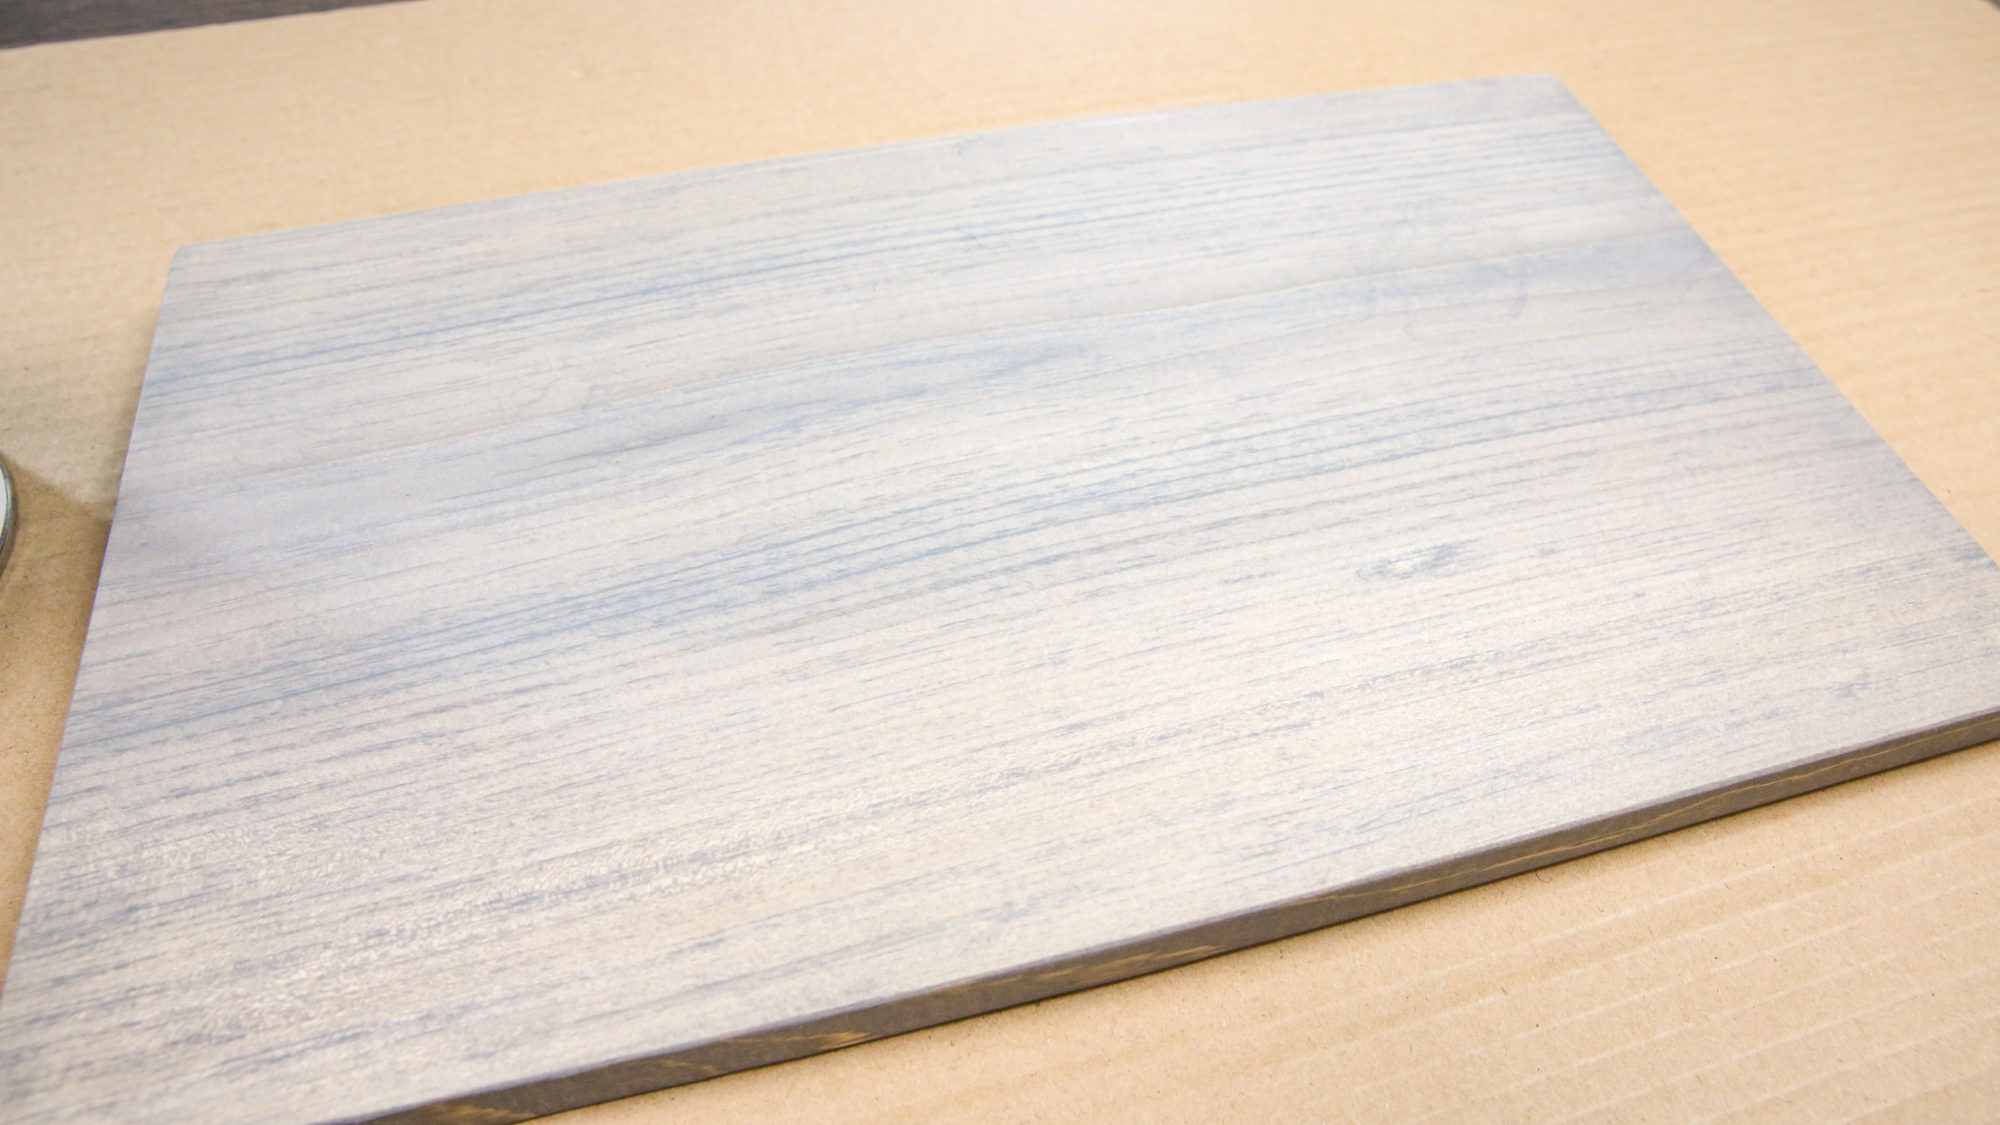
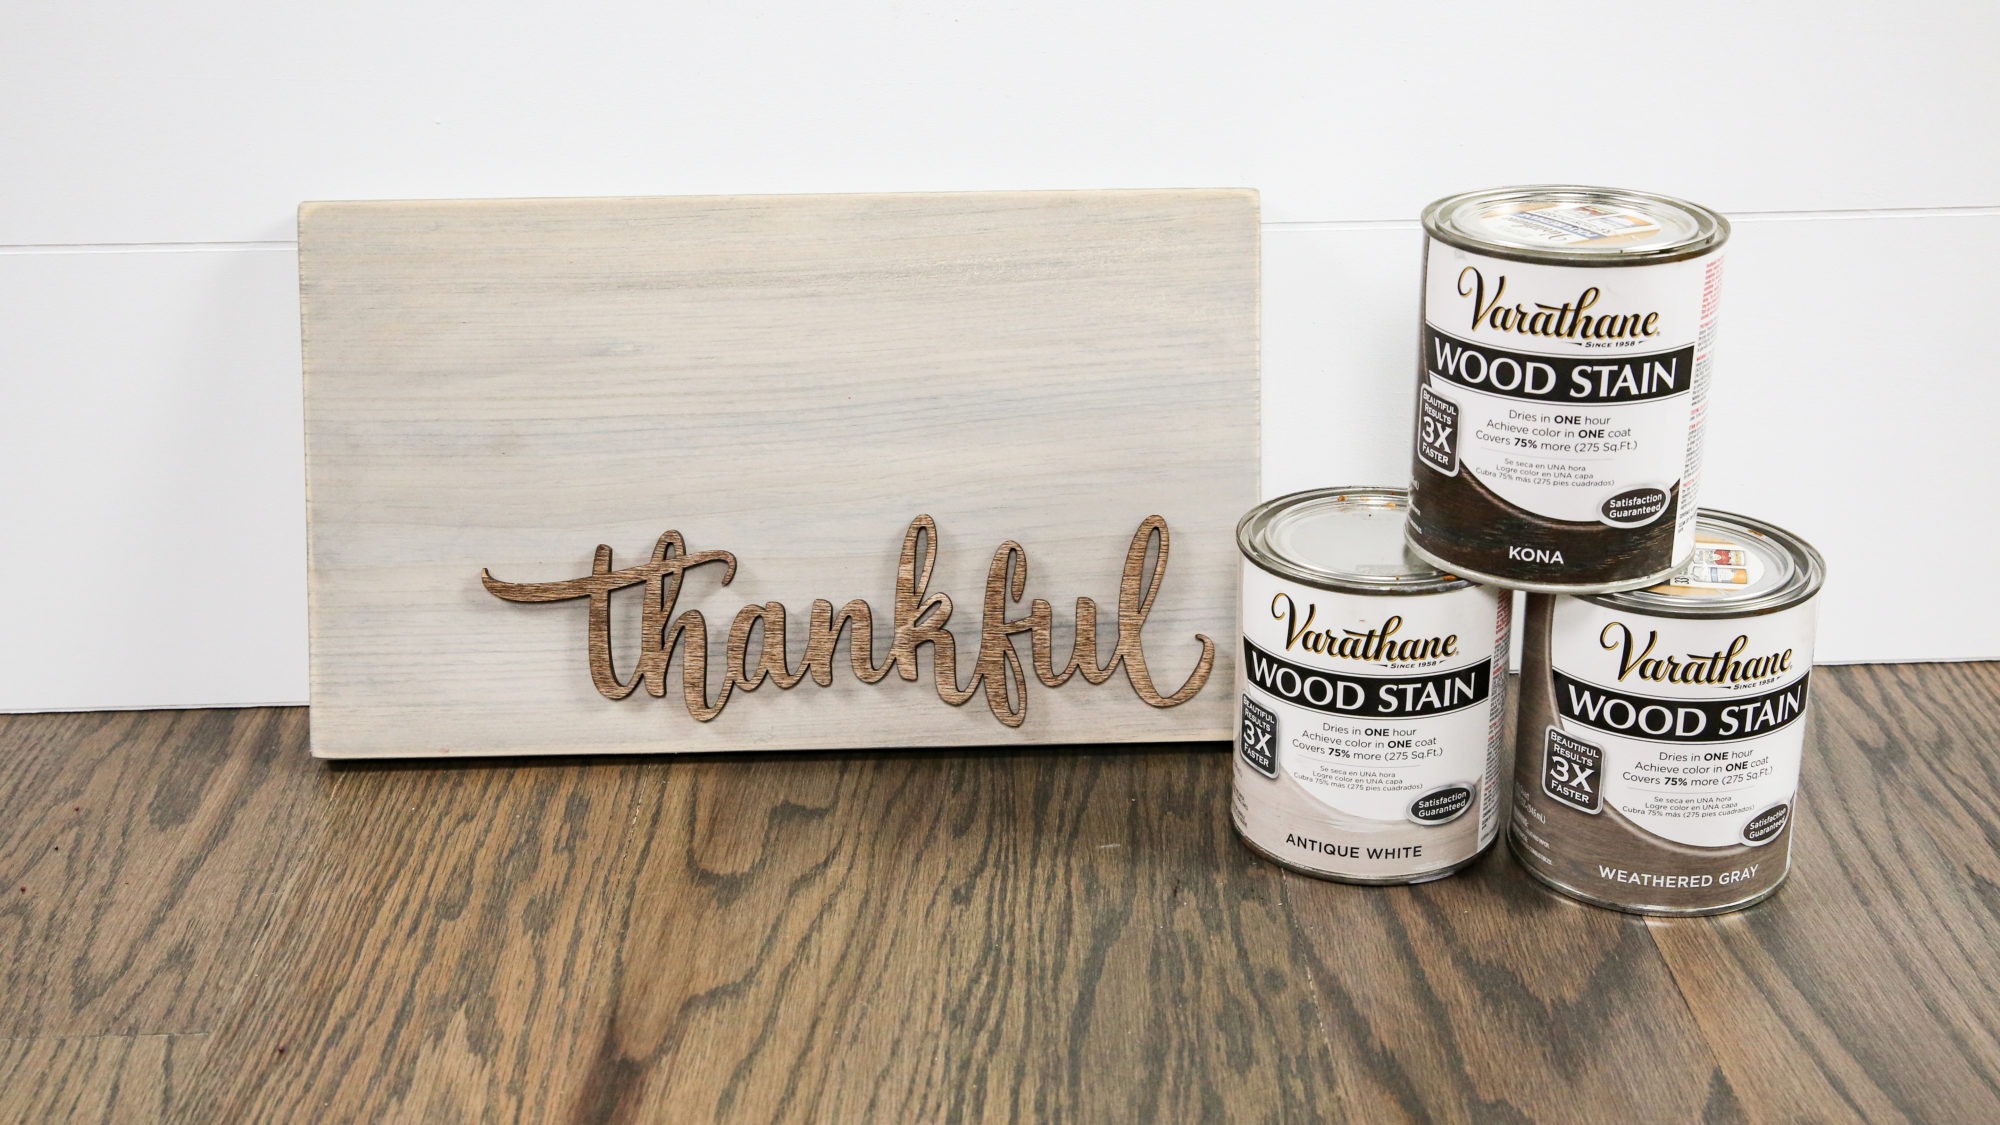
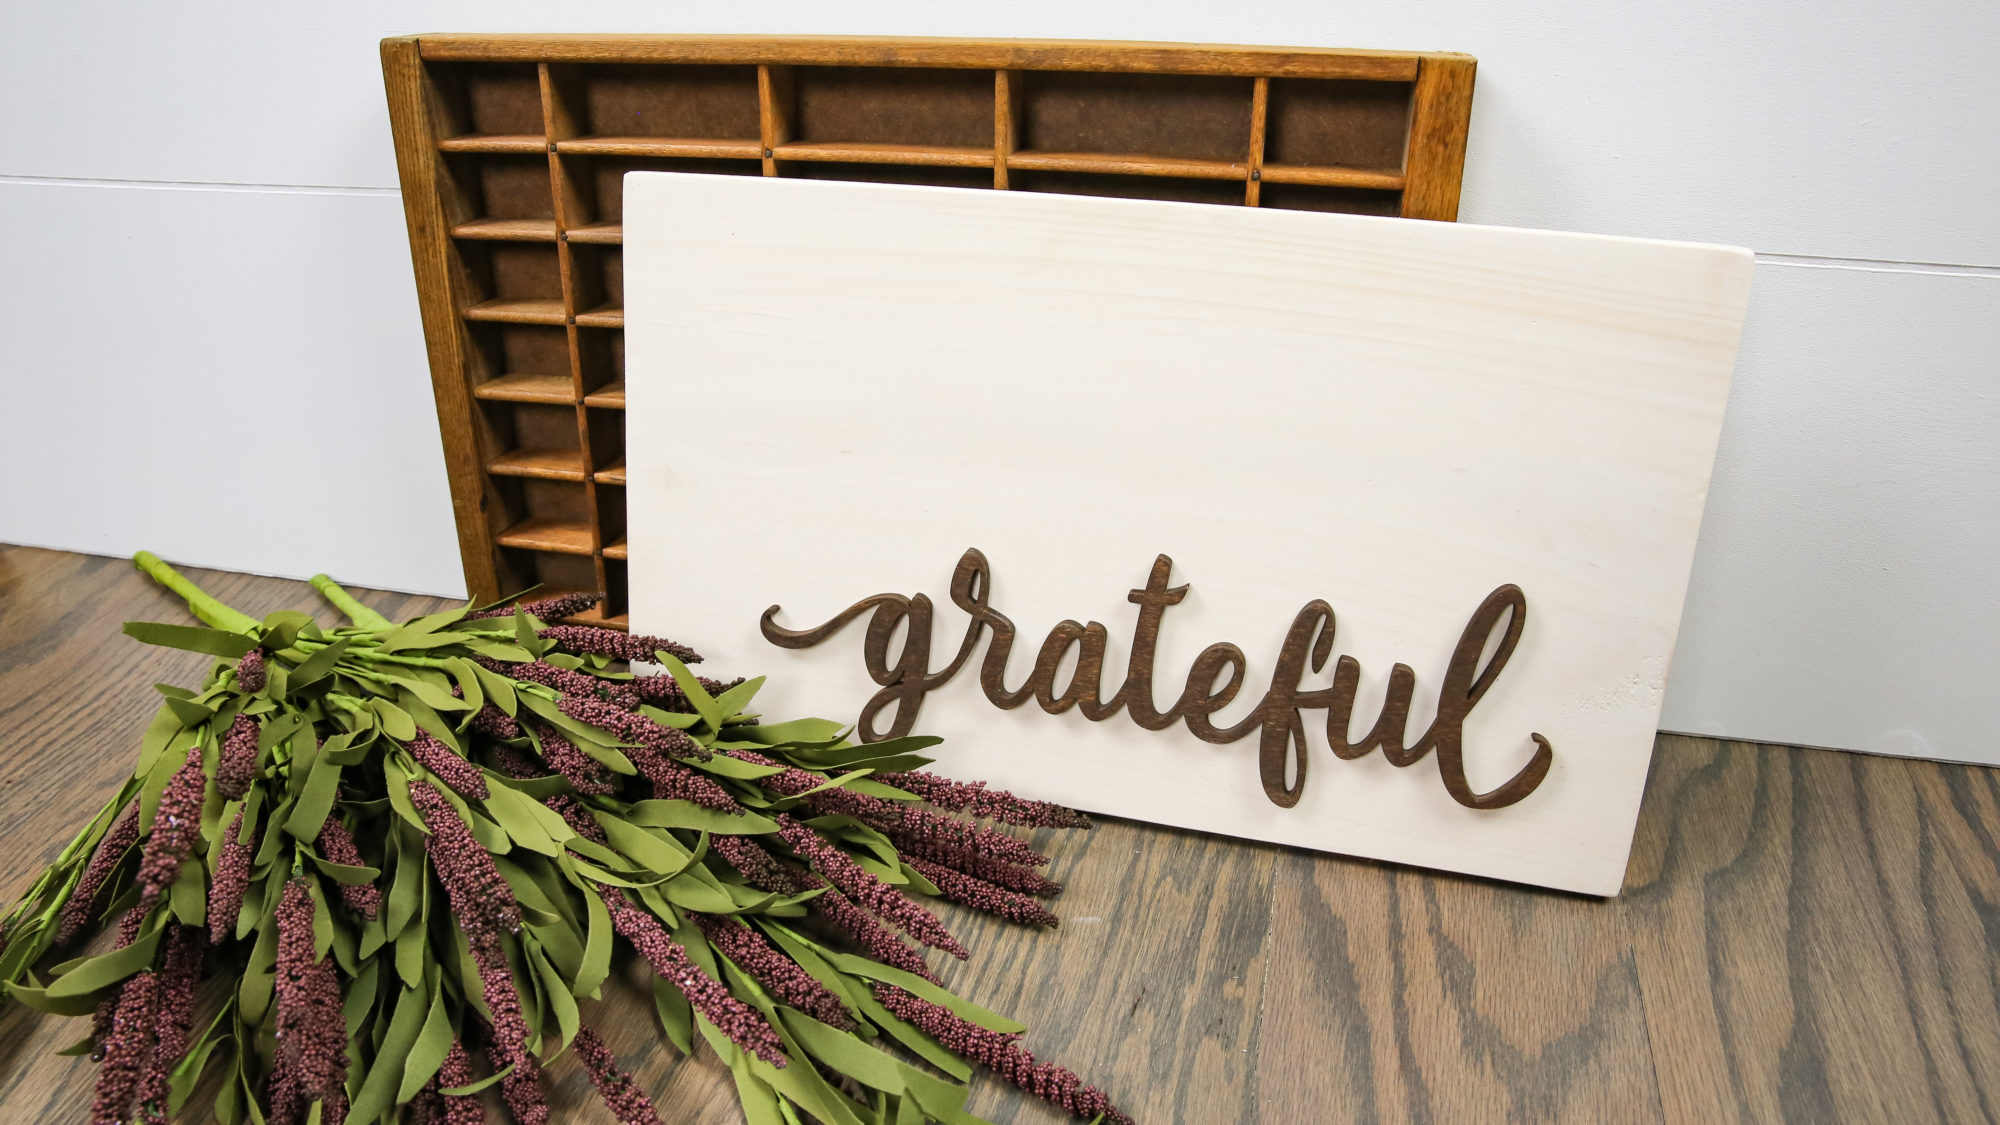
I used this Weathered Gray and then did another layer of Antique White to give it a white wash effect.
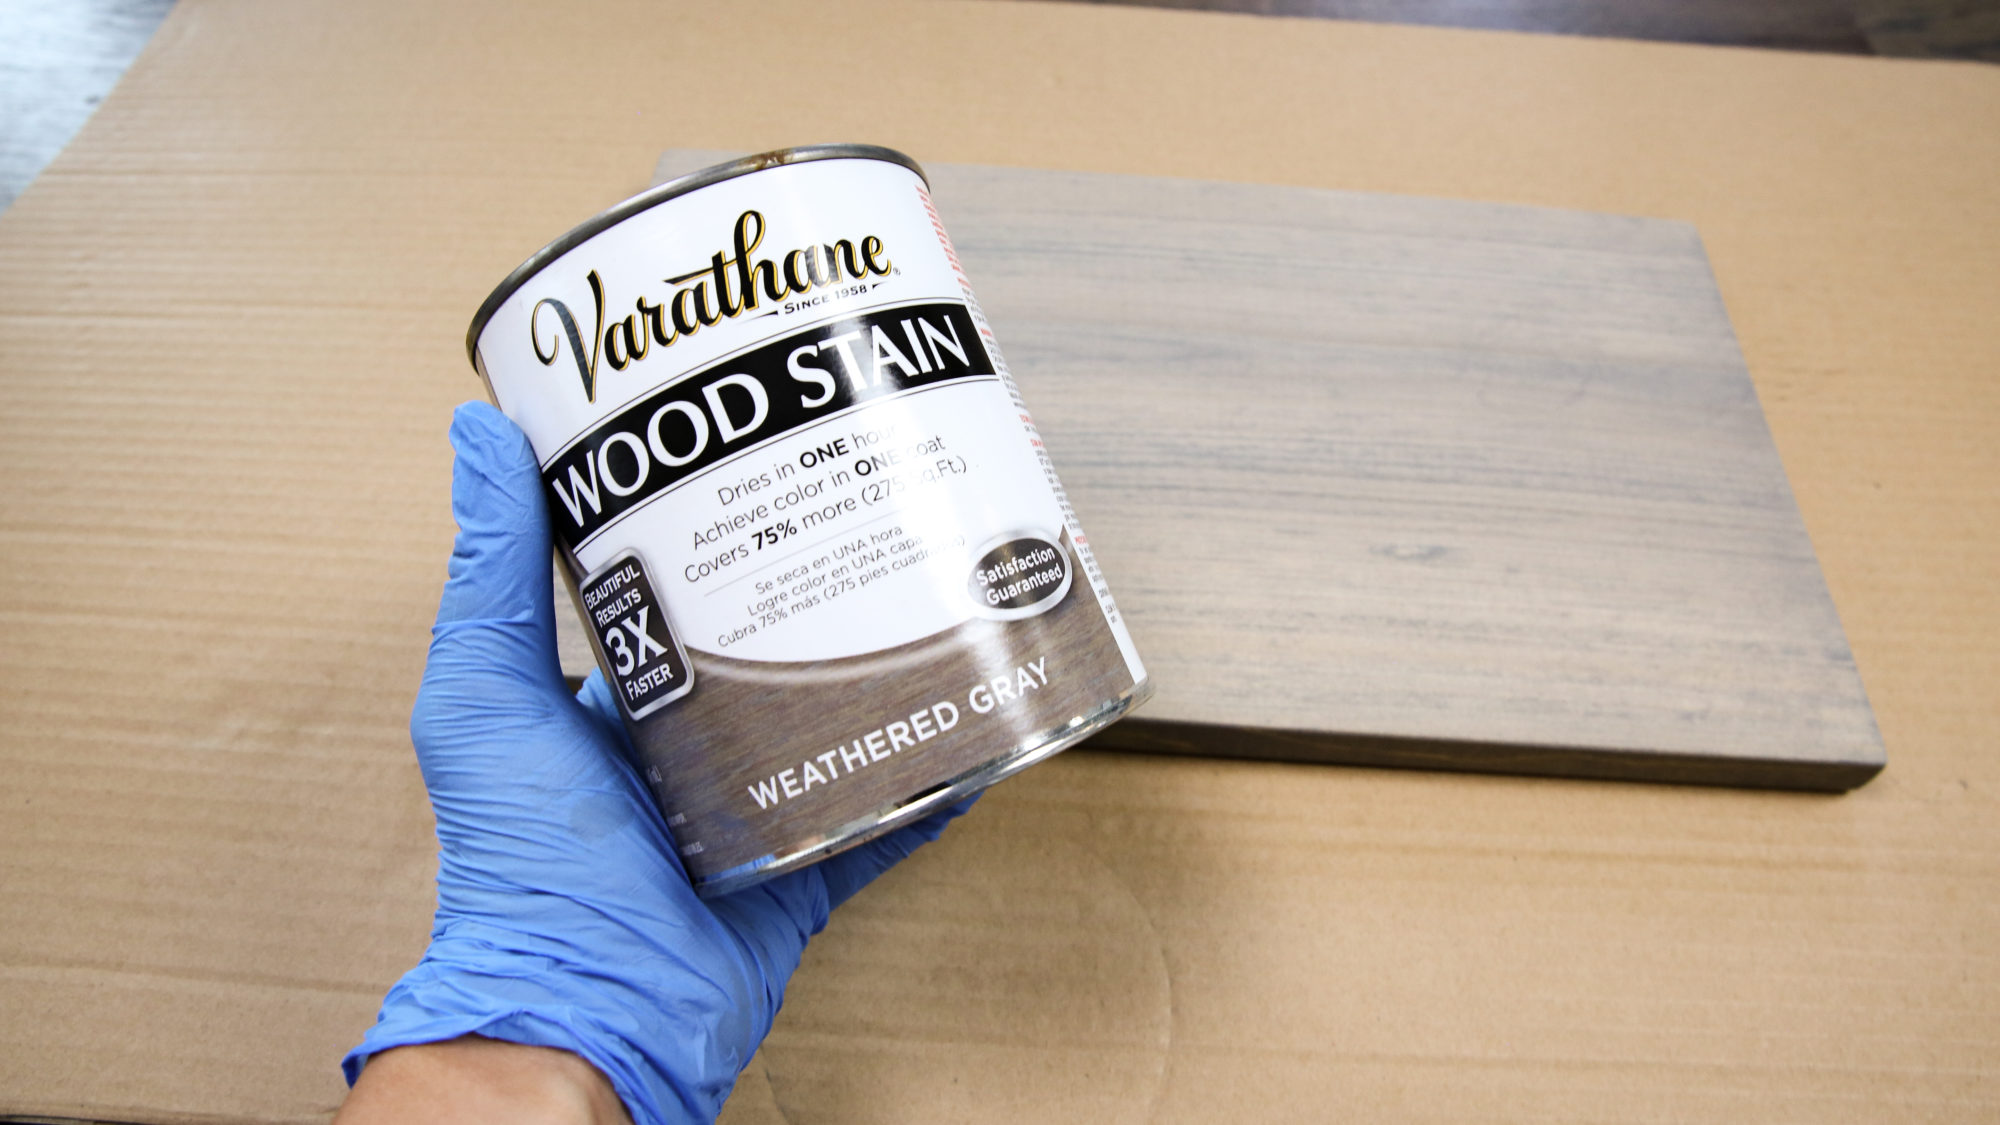
After that I used some sandpaper to distress the edges and then started to stain the wood word.
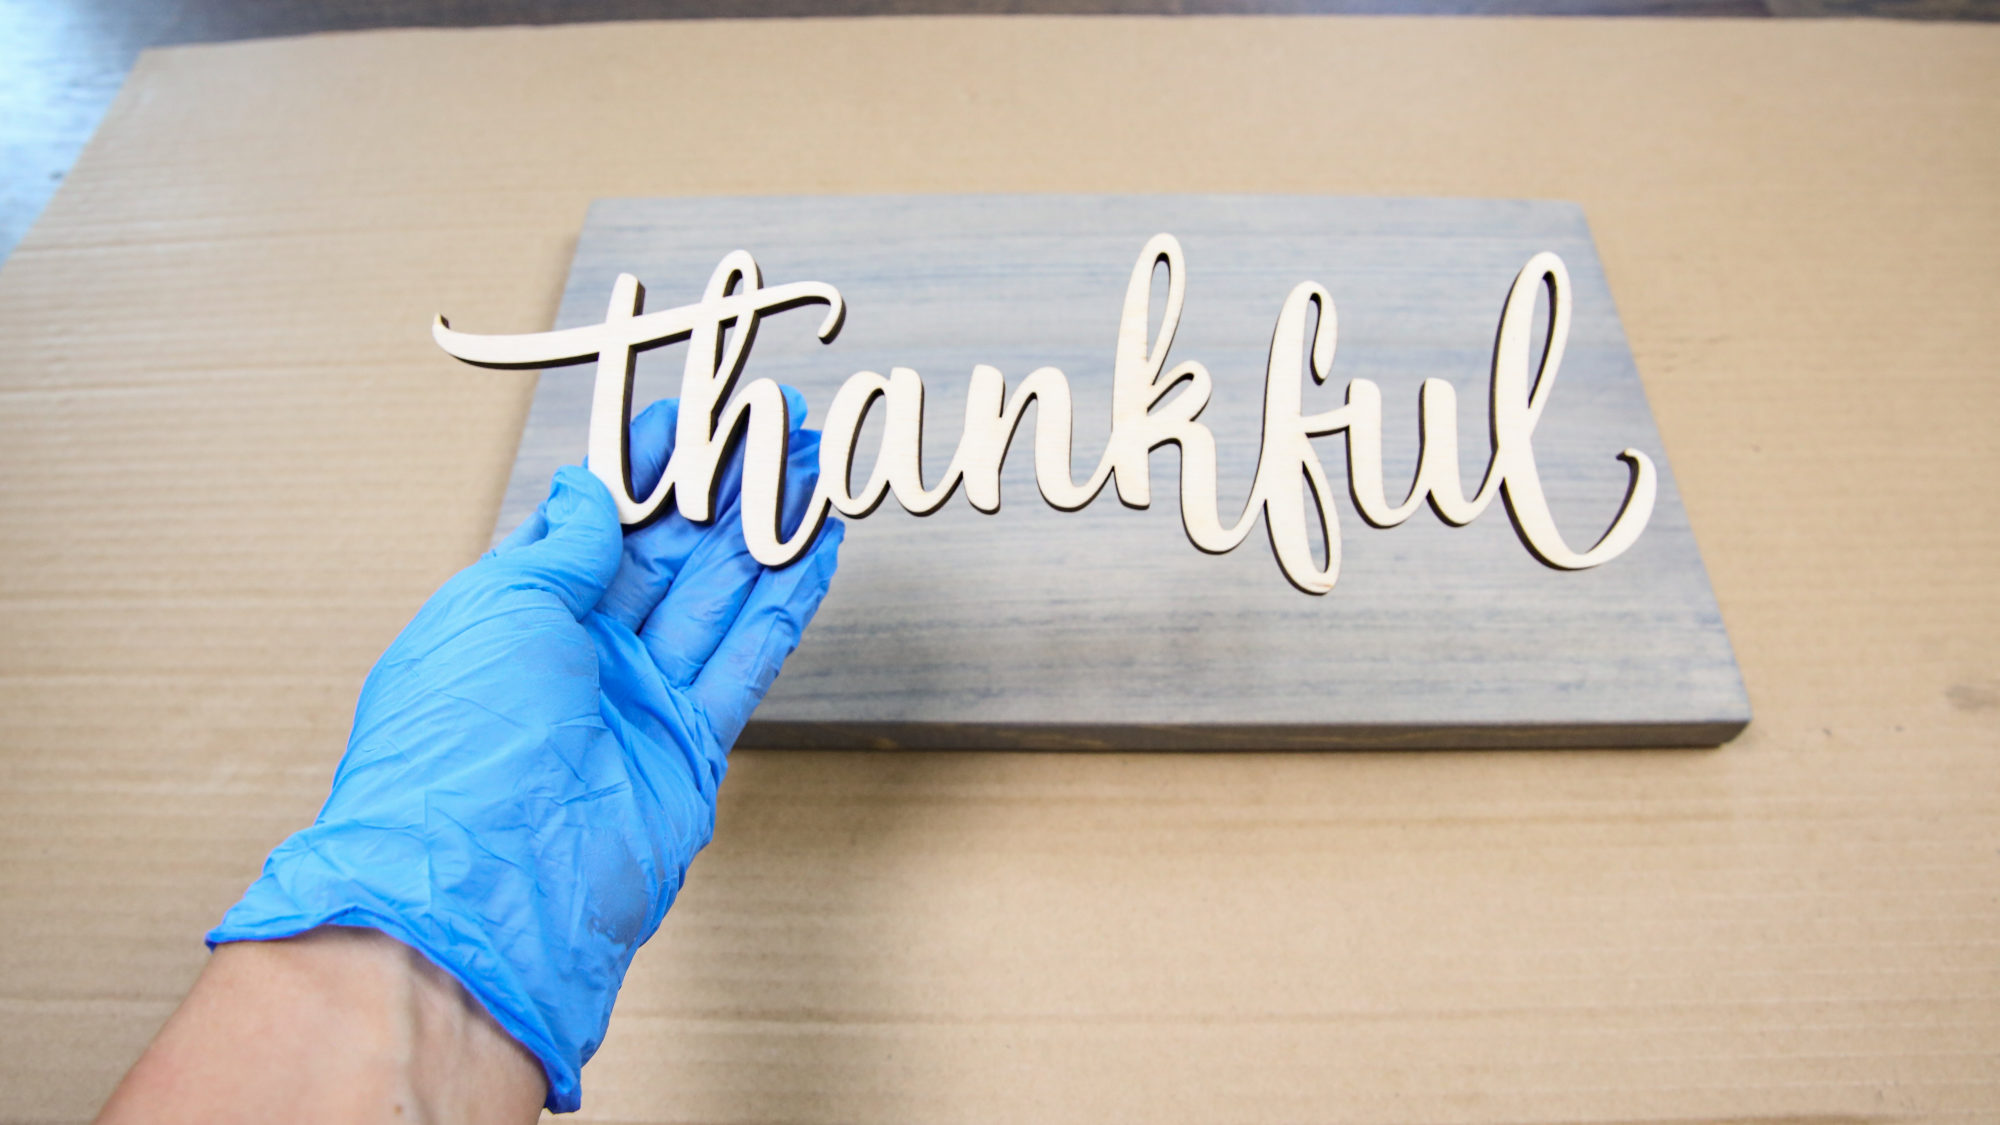
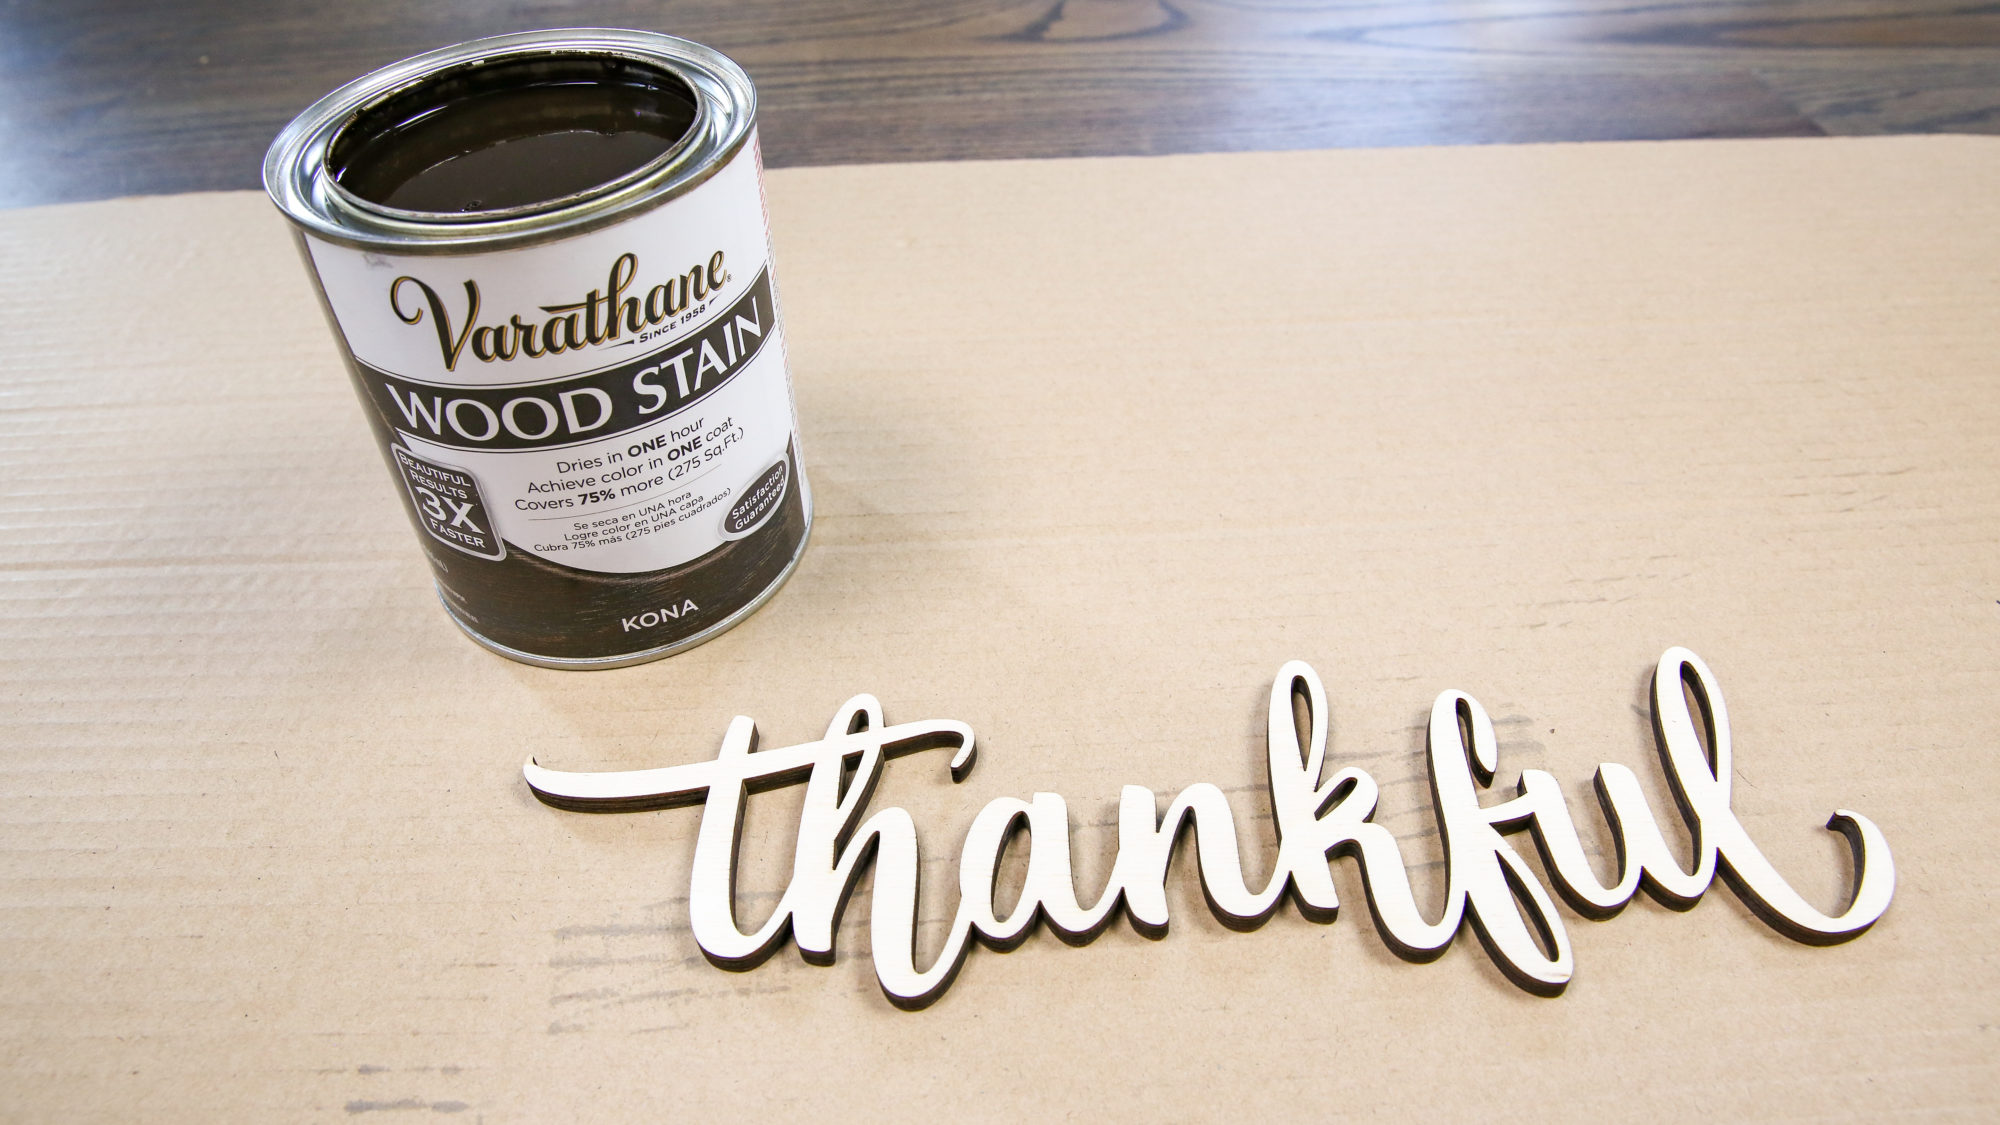
I went with the rich deep color Kona on the wood word. It helps to apply this by dipping the very tip of a rag in the stain and then apply it to the wood word with one fingertip in the rag.
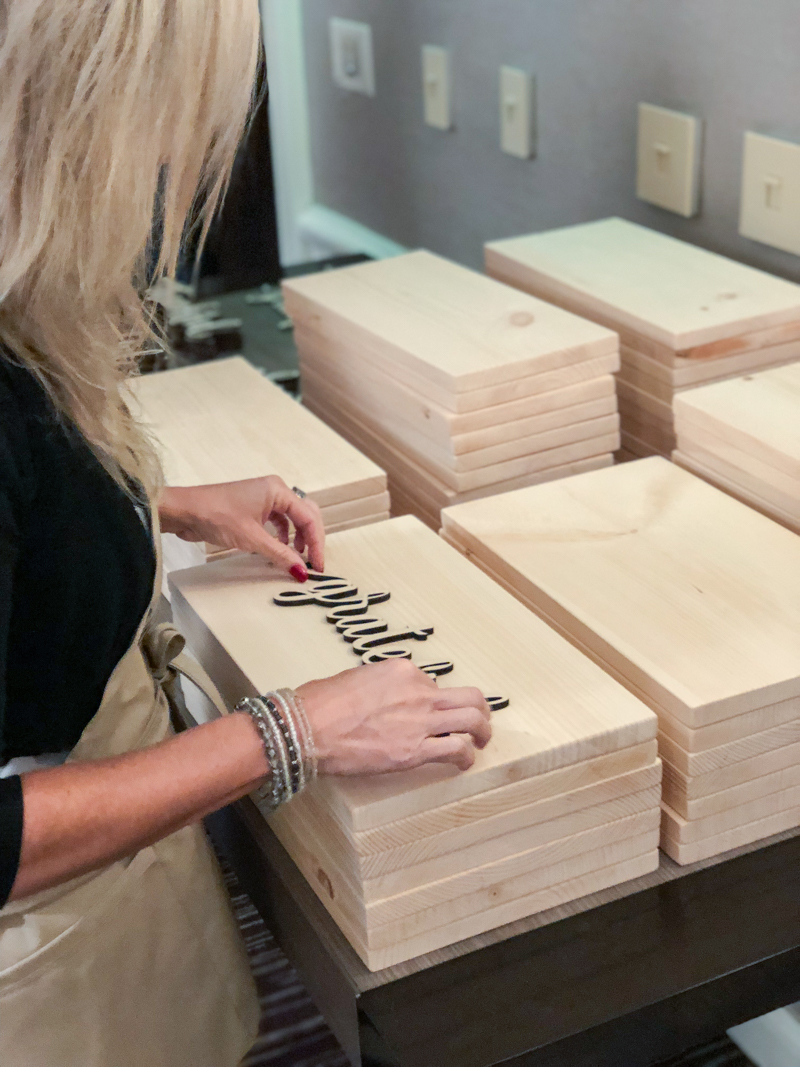
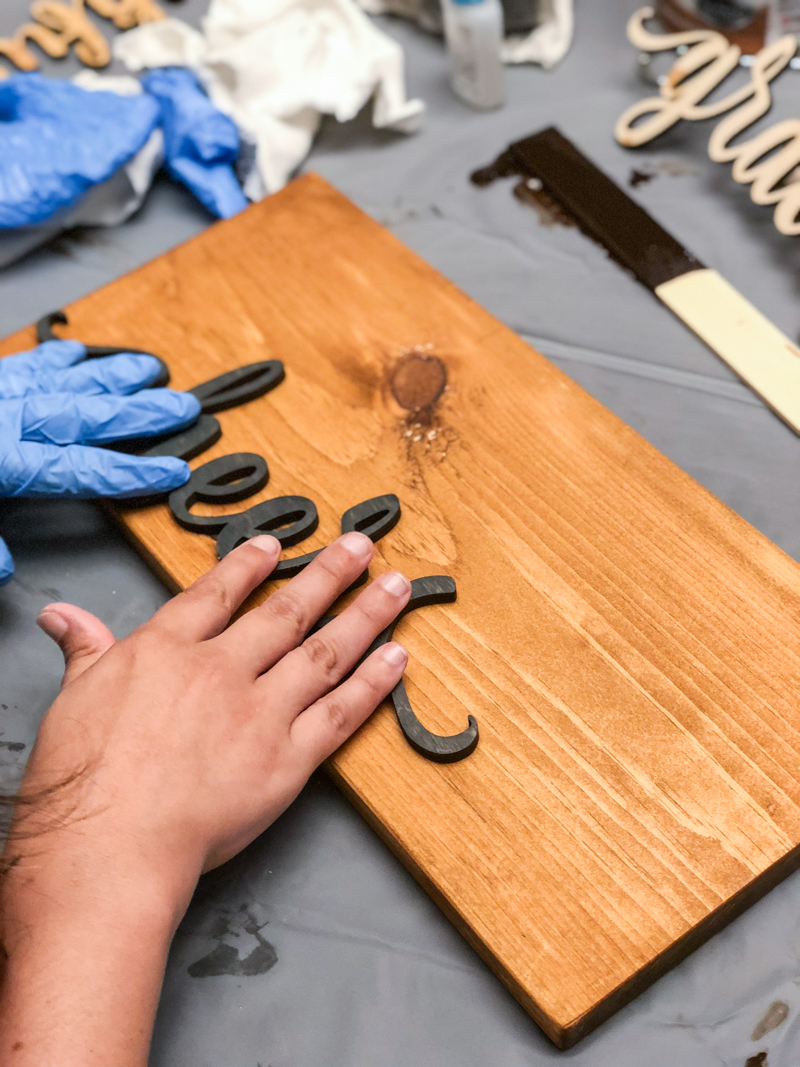
After that dries, you can use some DAP glue to attach it to the wood plank. I like to only put a smear of glue on the very thickest parts of the letters.
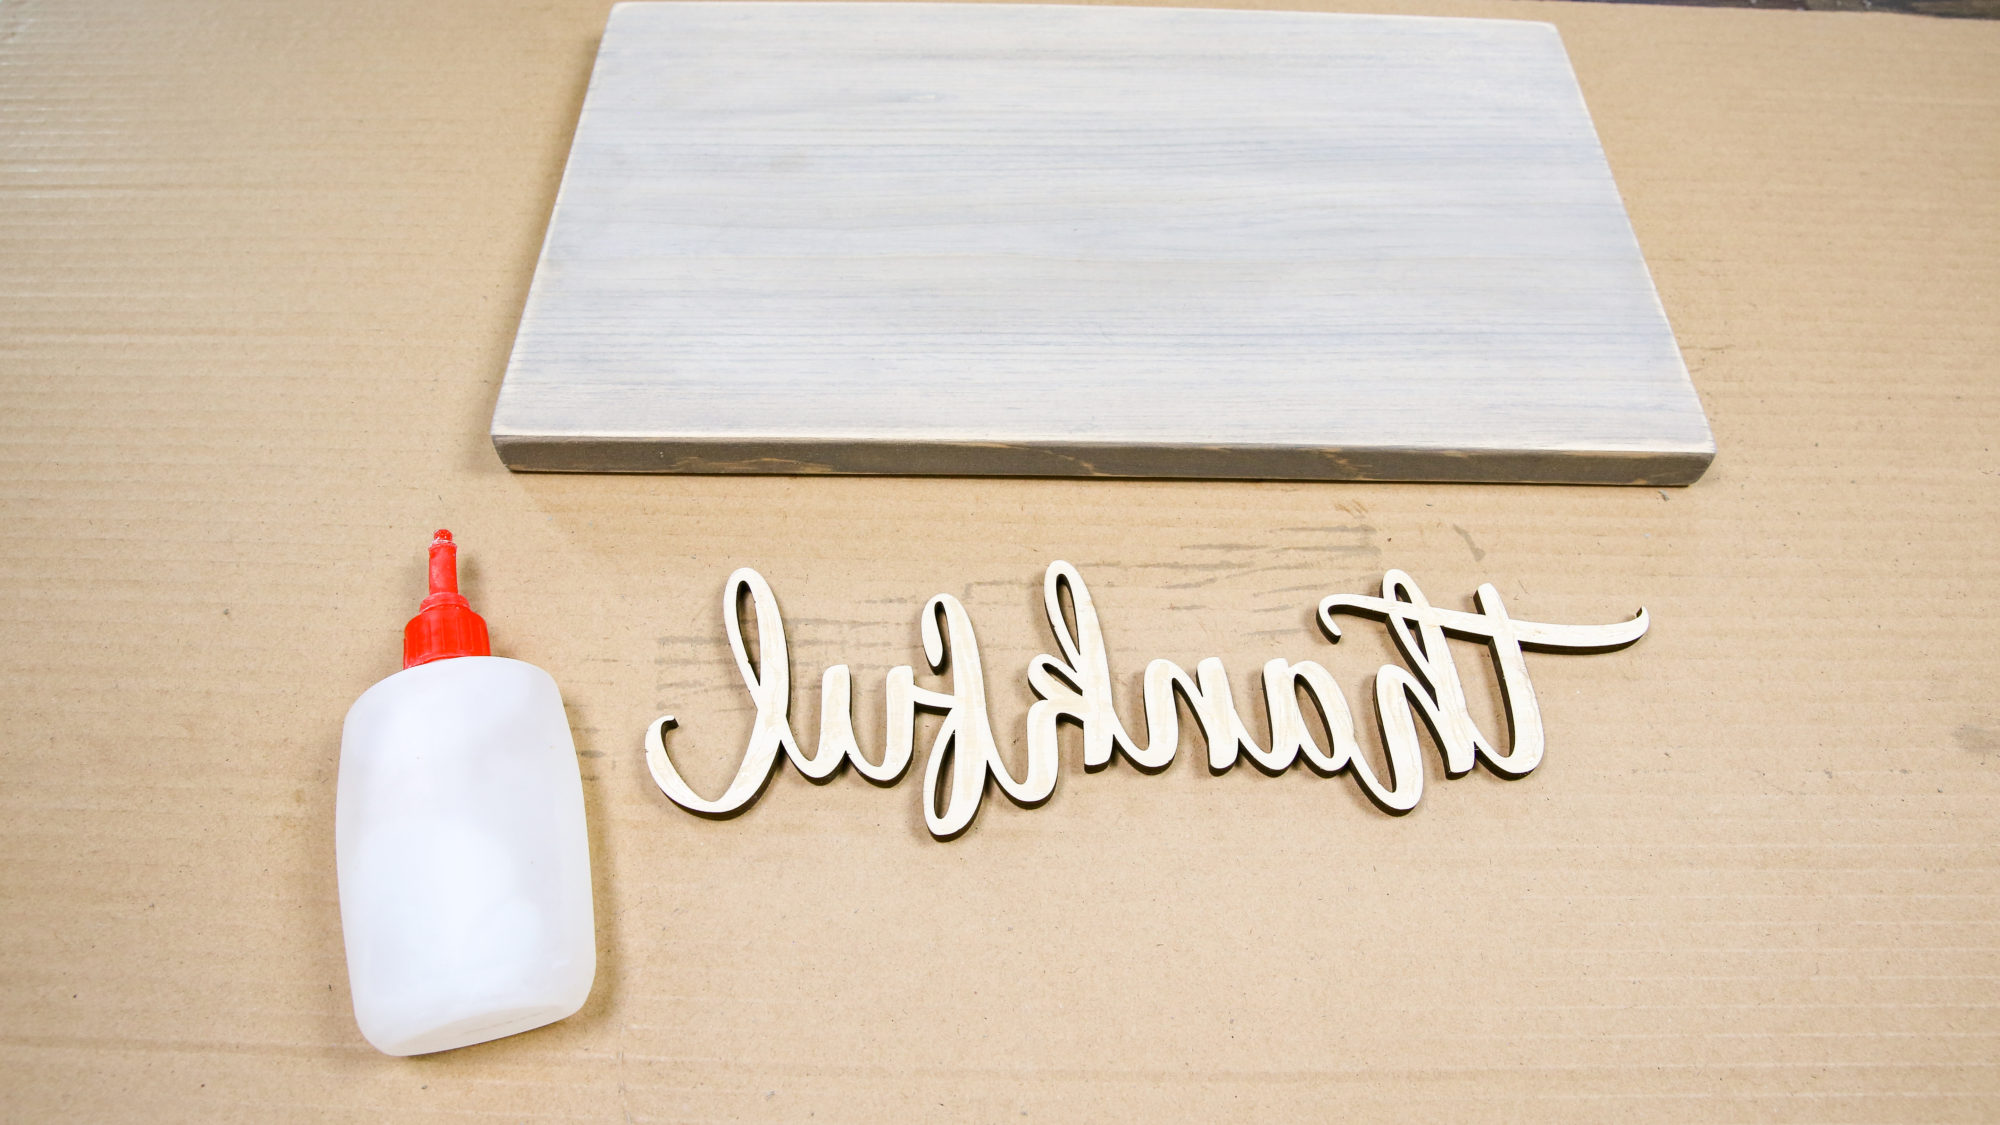
Then just pick your placement and try your best to make sure it is straight when you place it on the board.

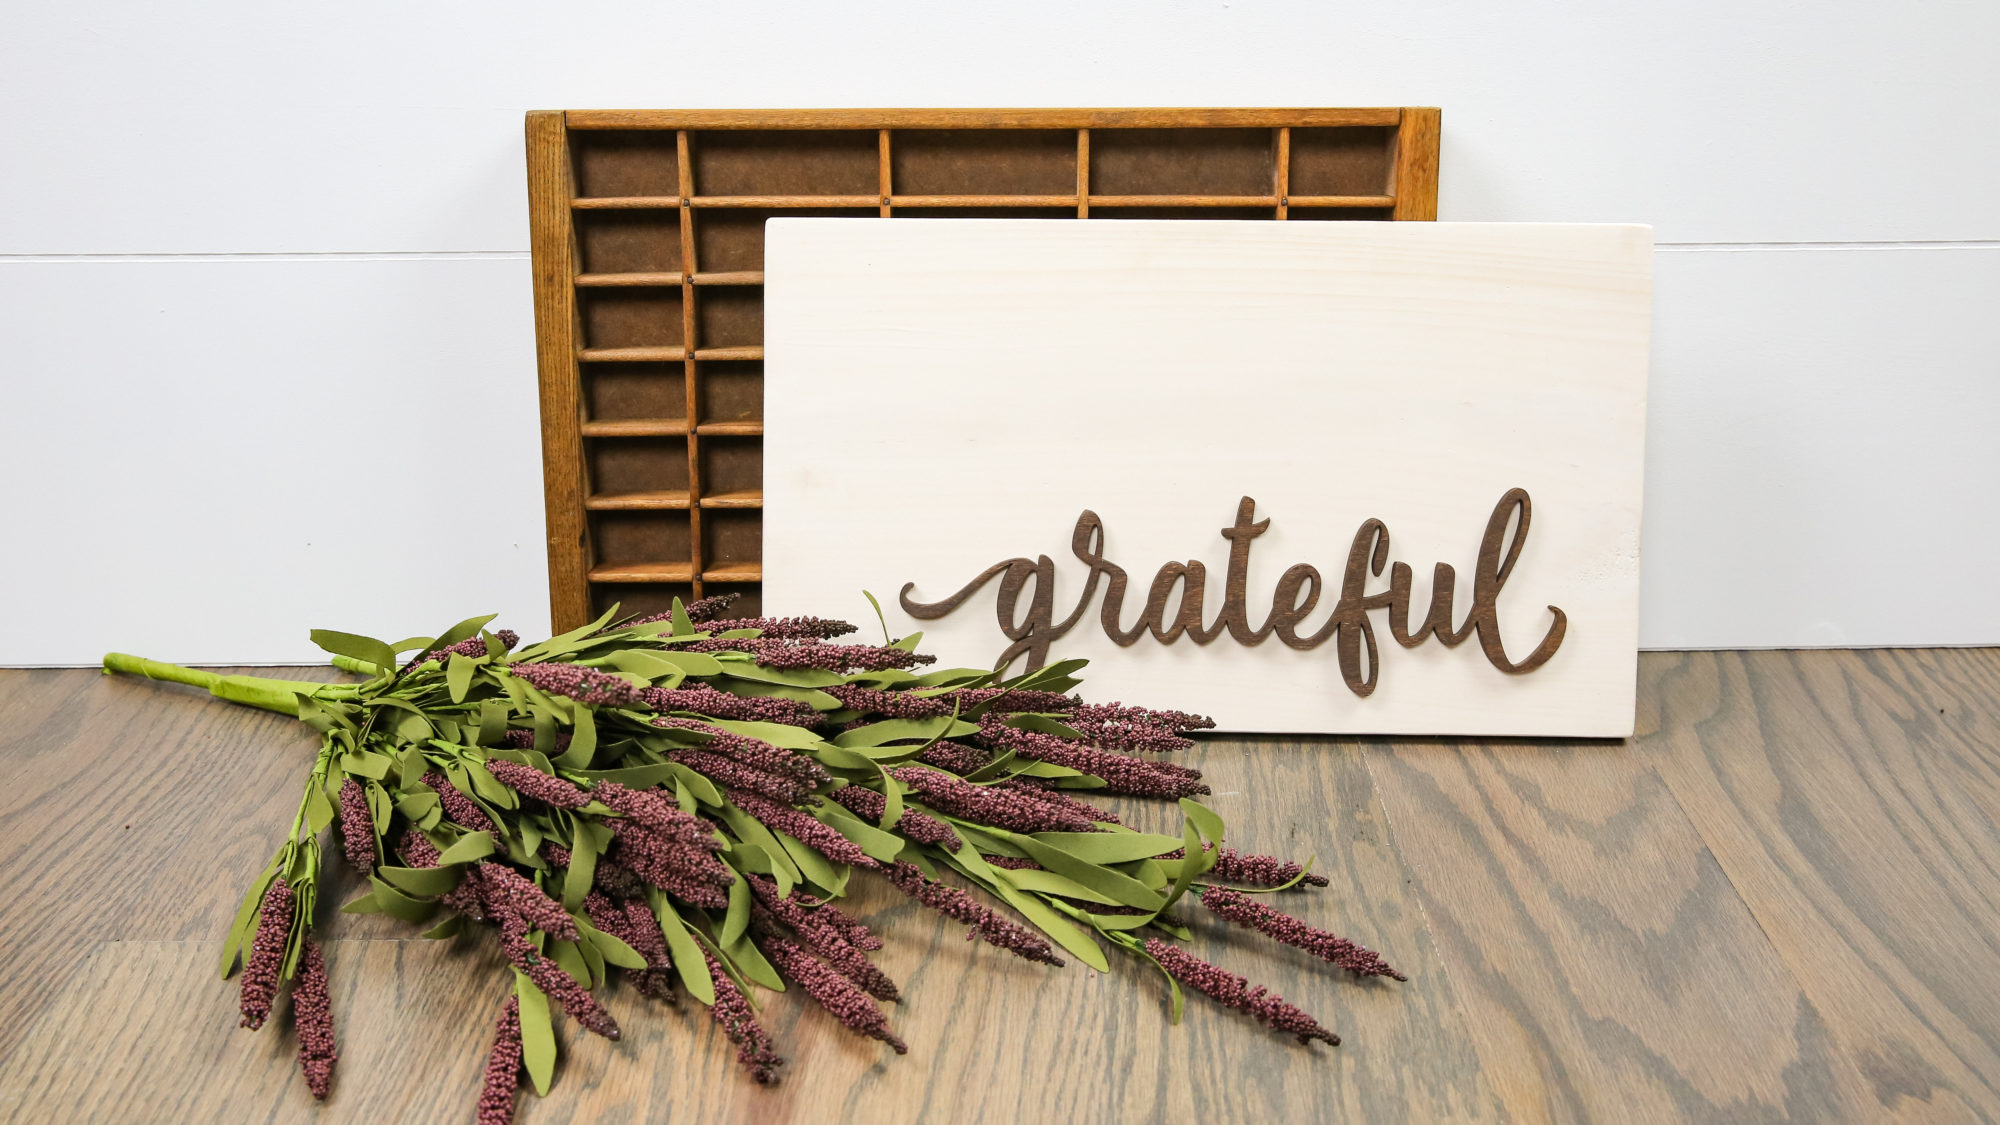
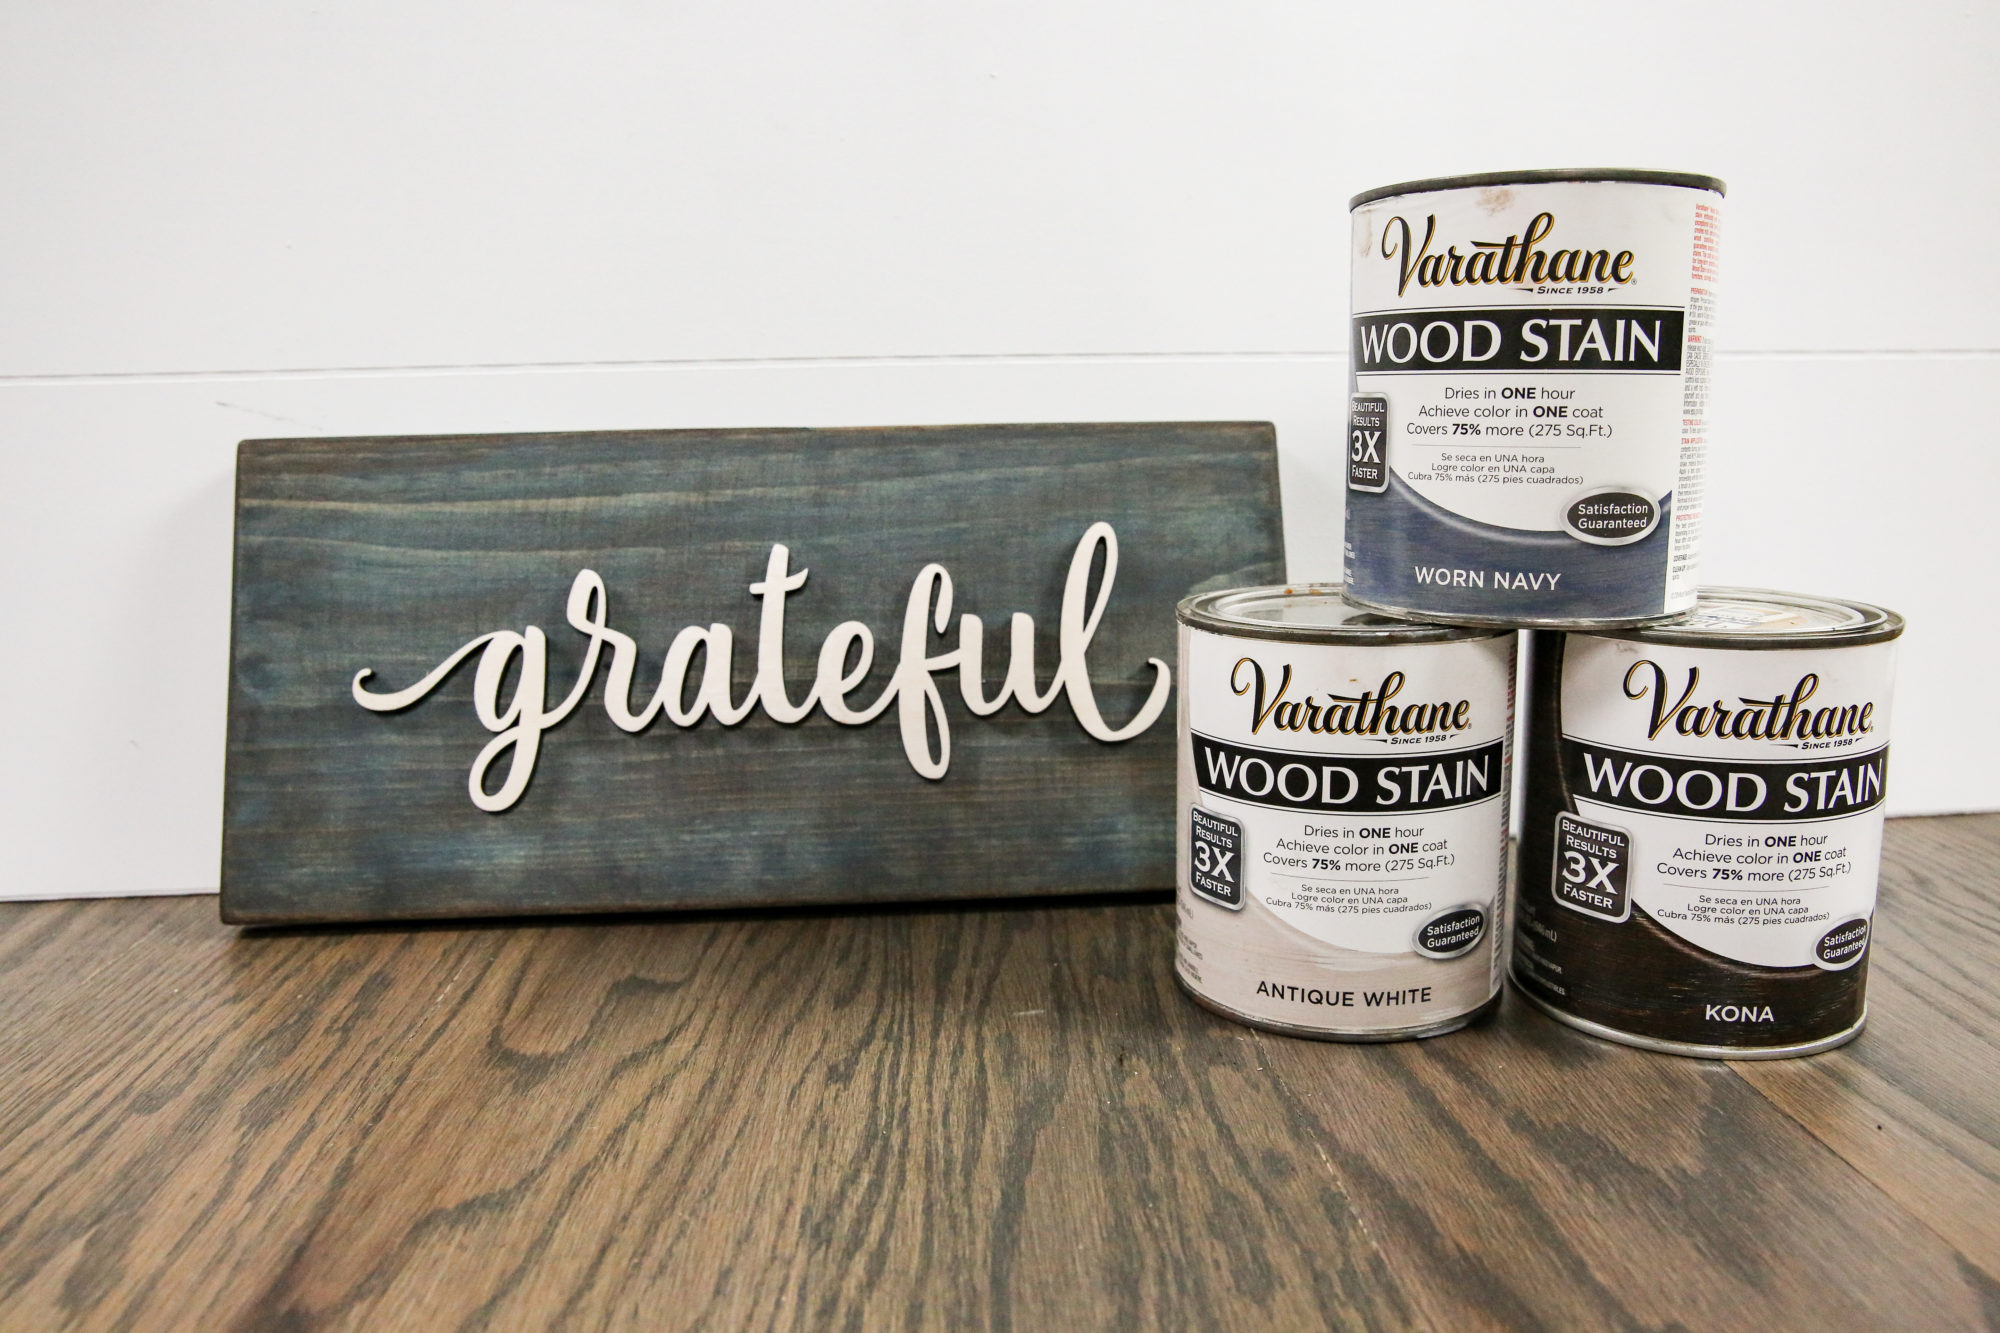
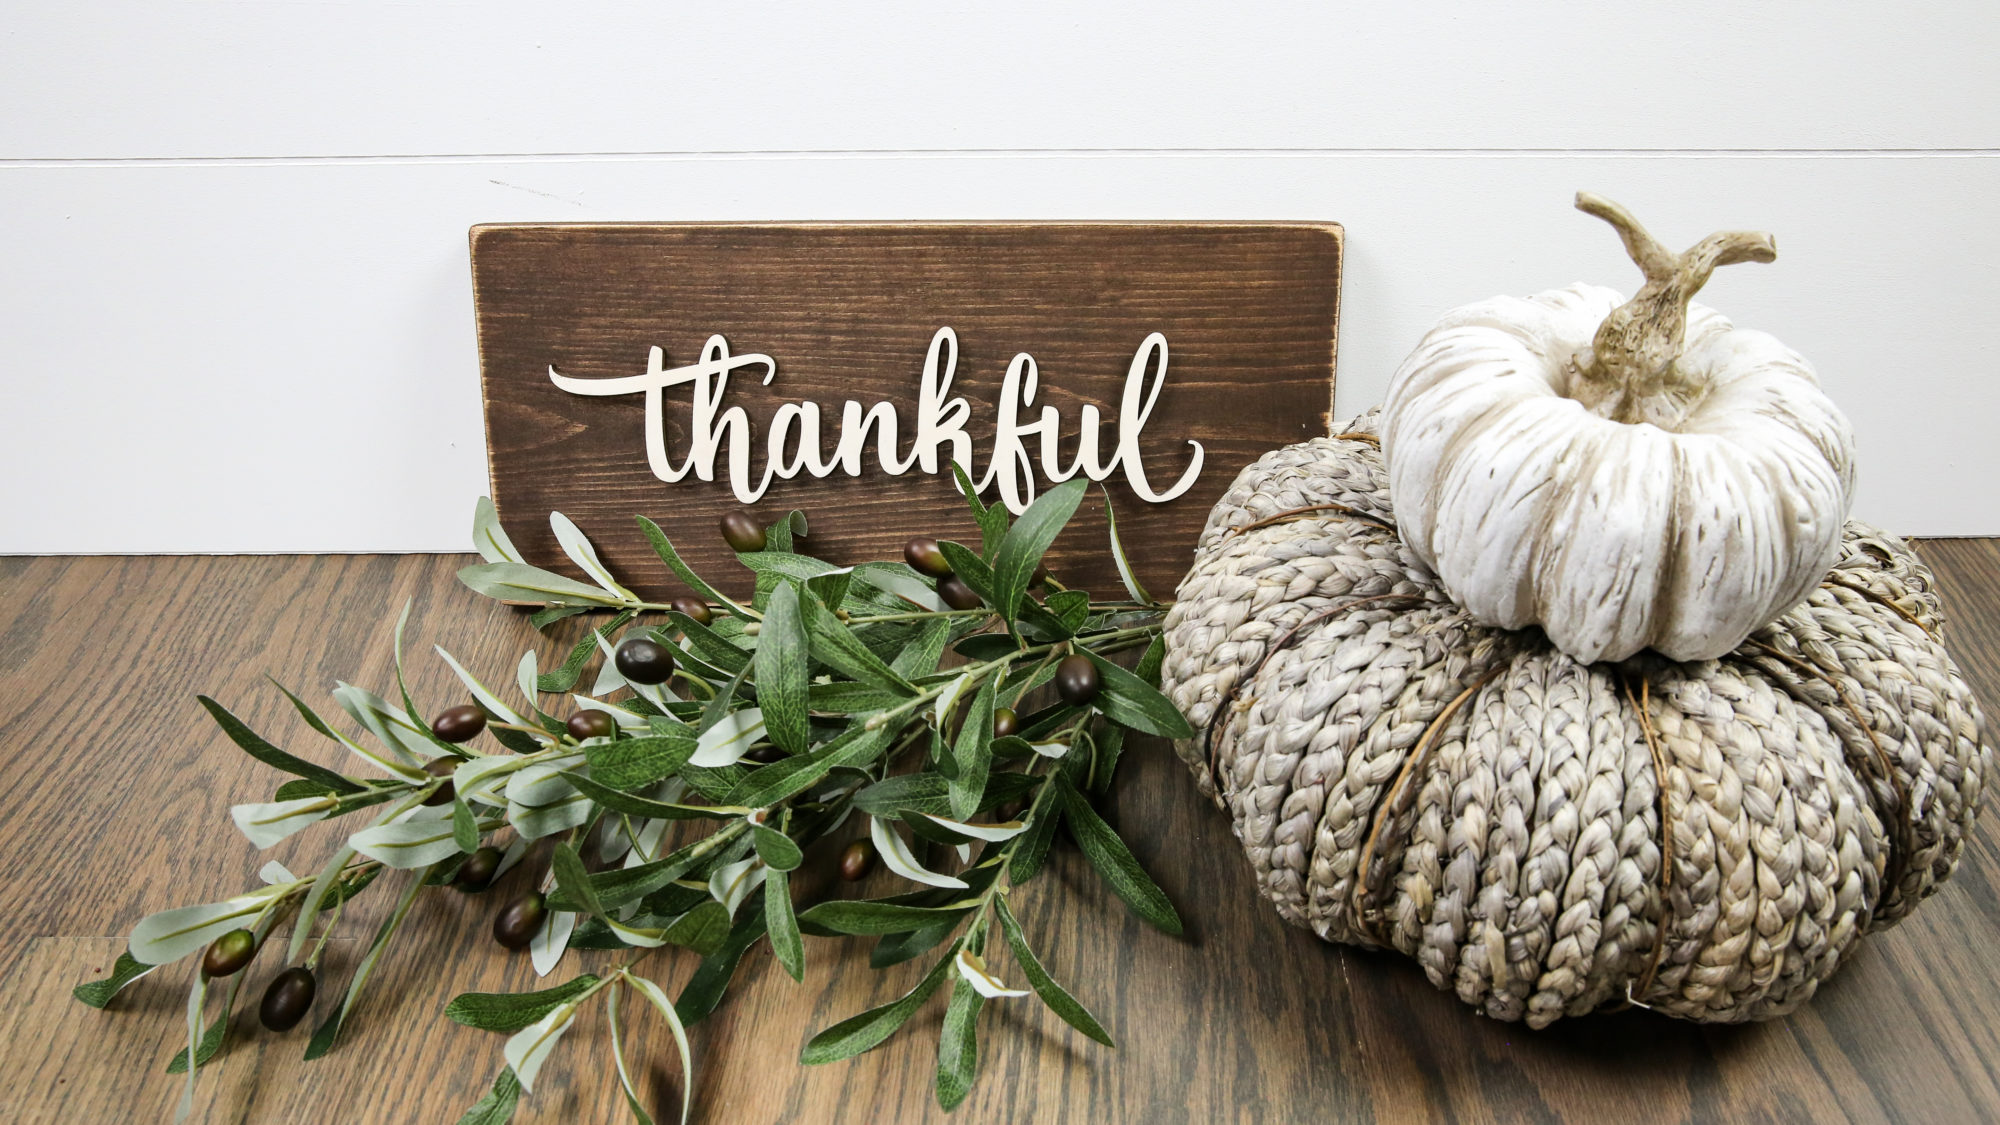
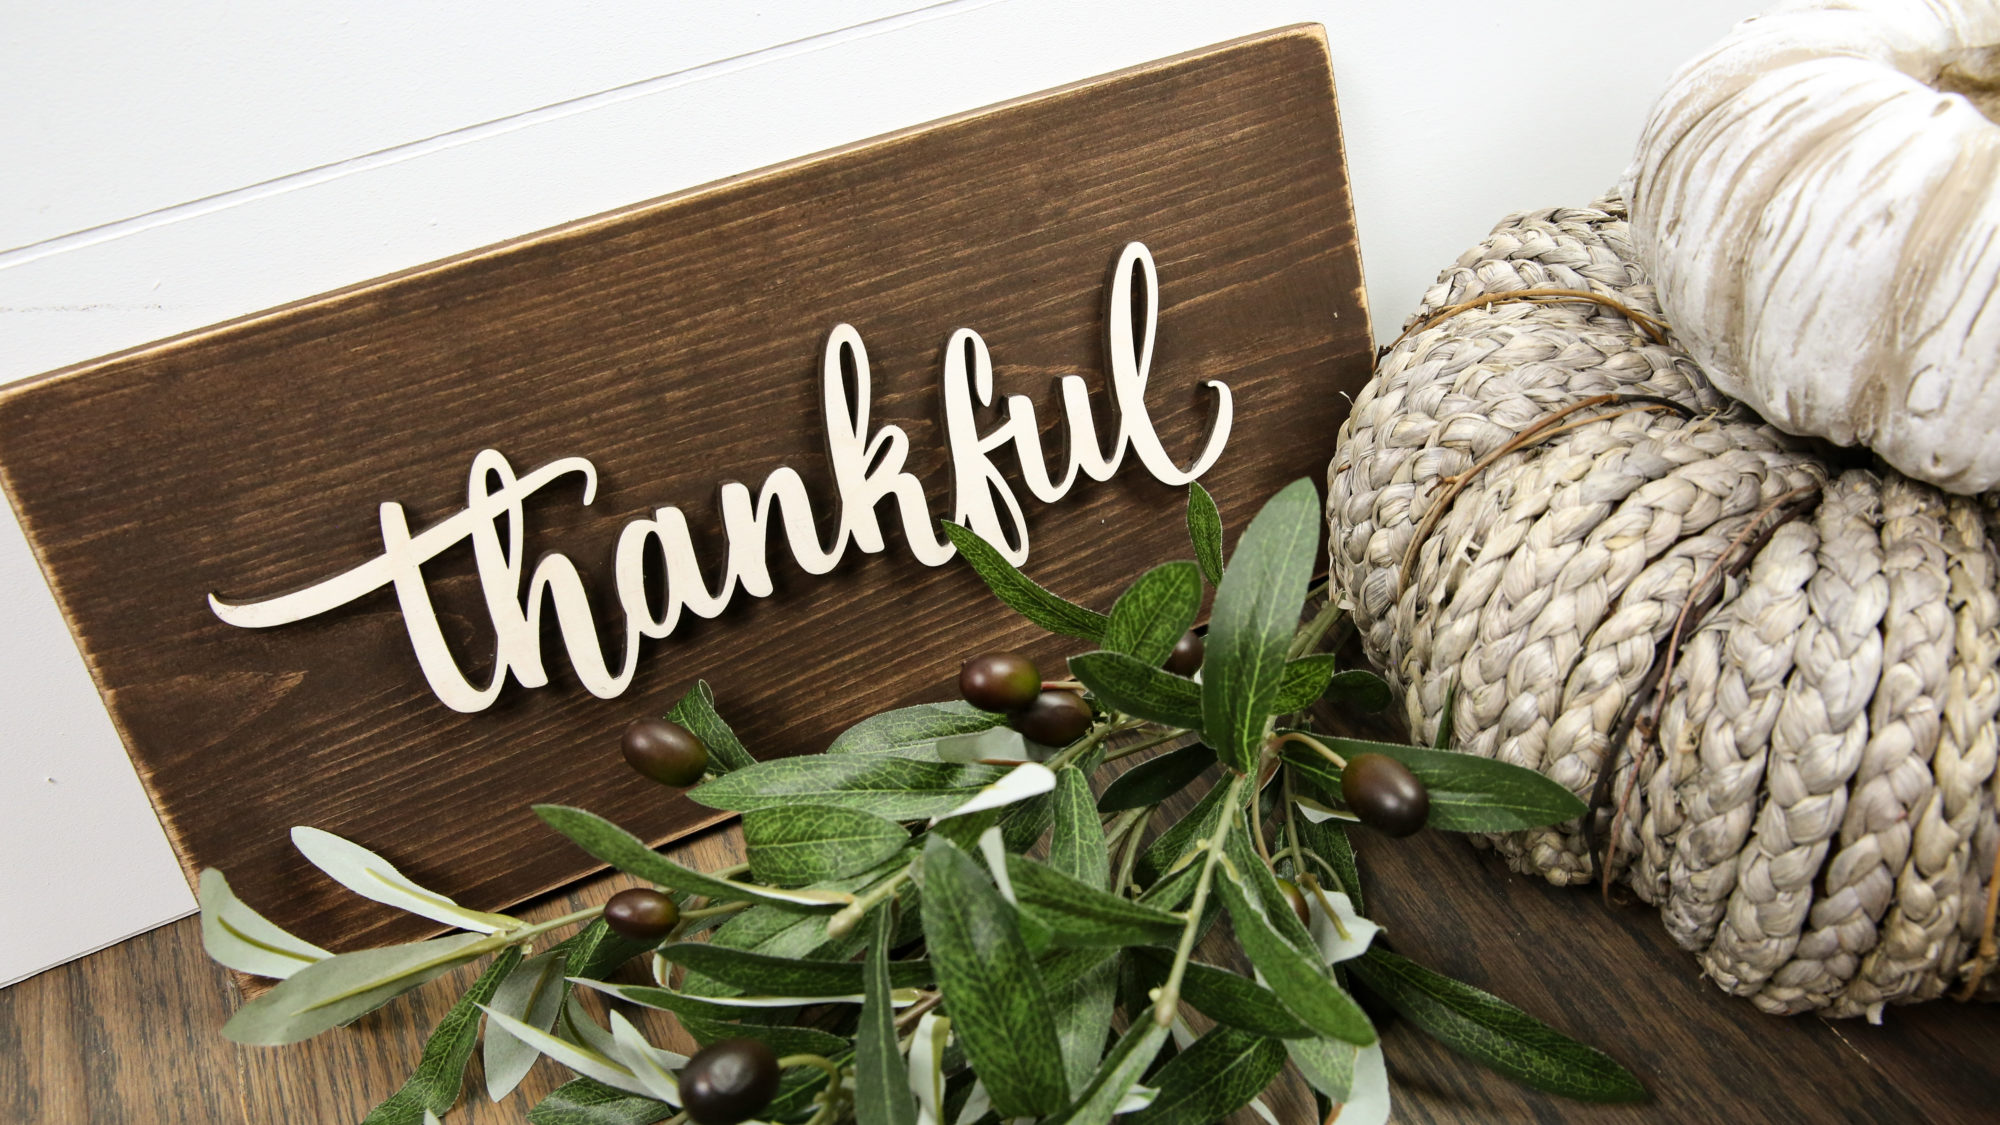
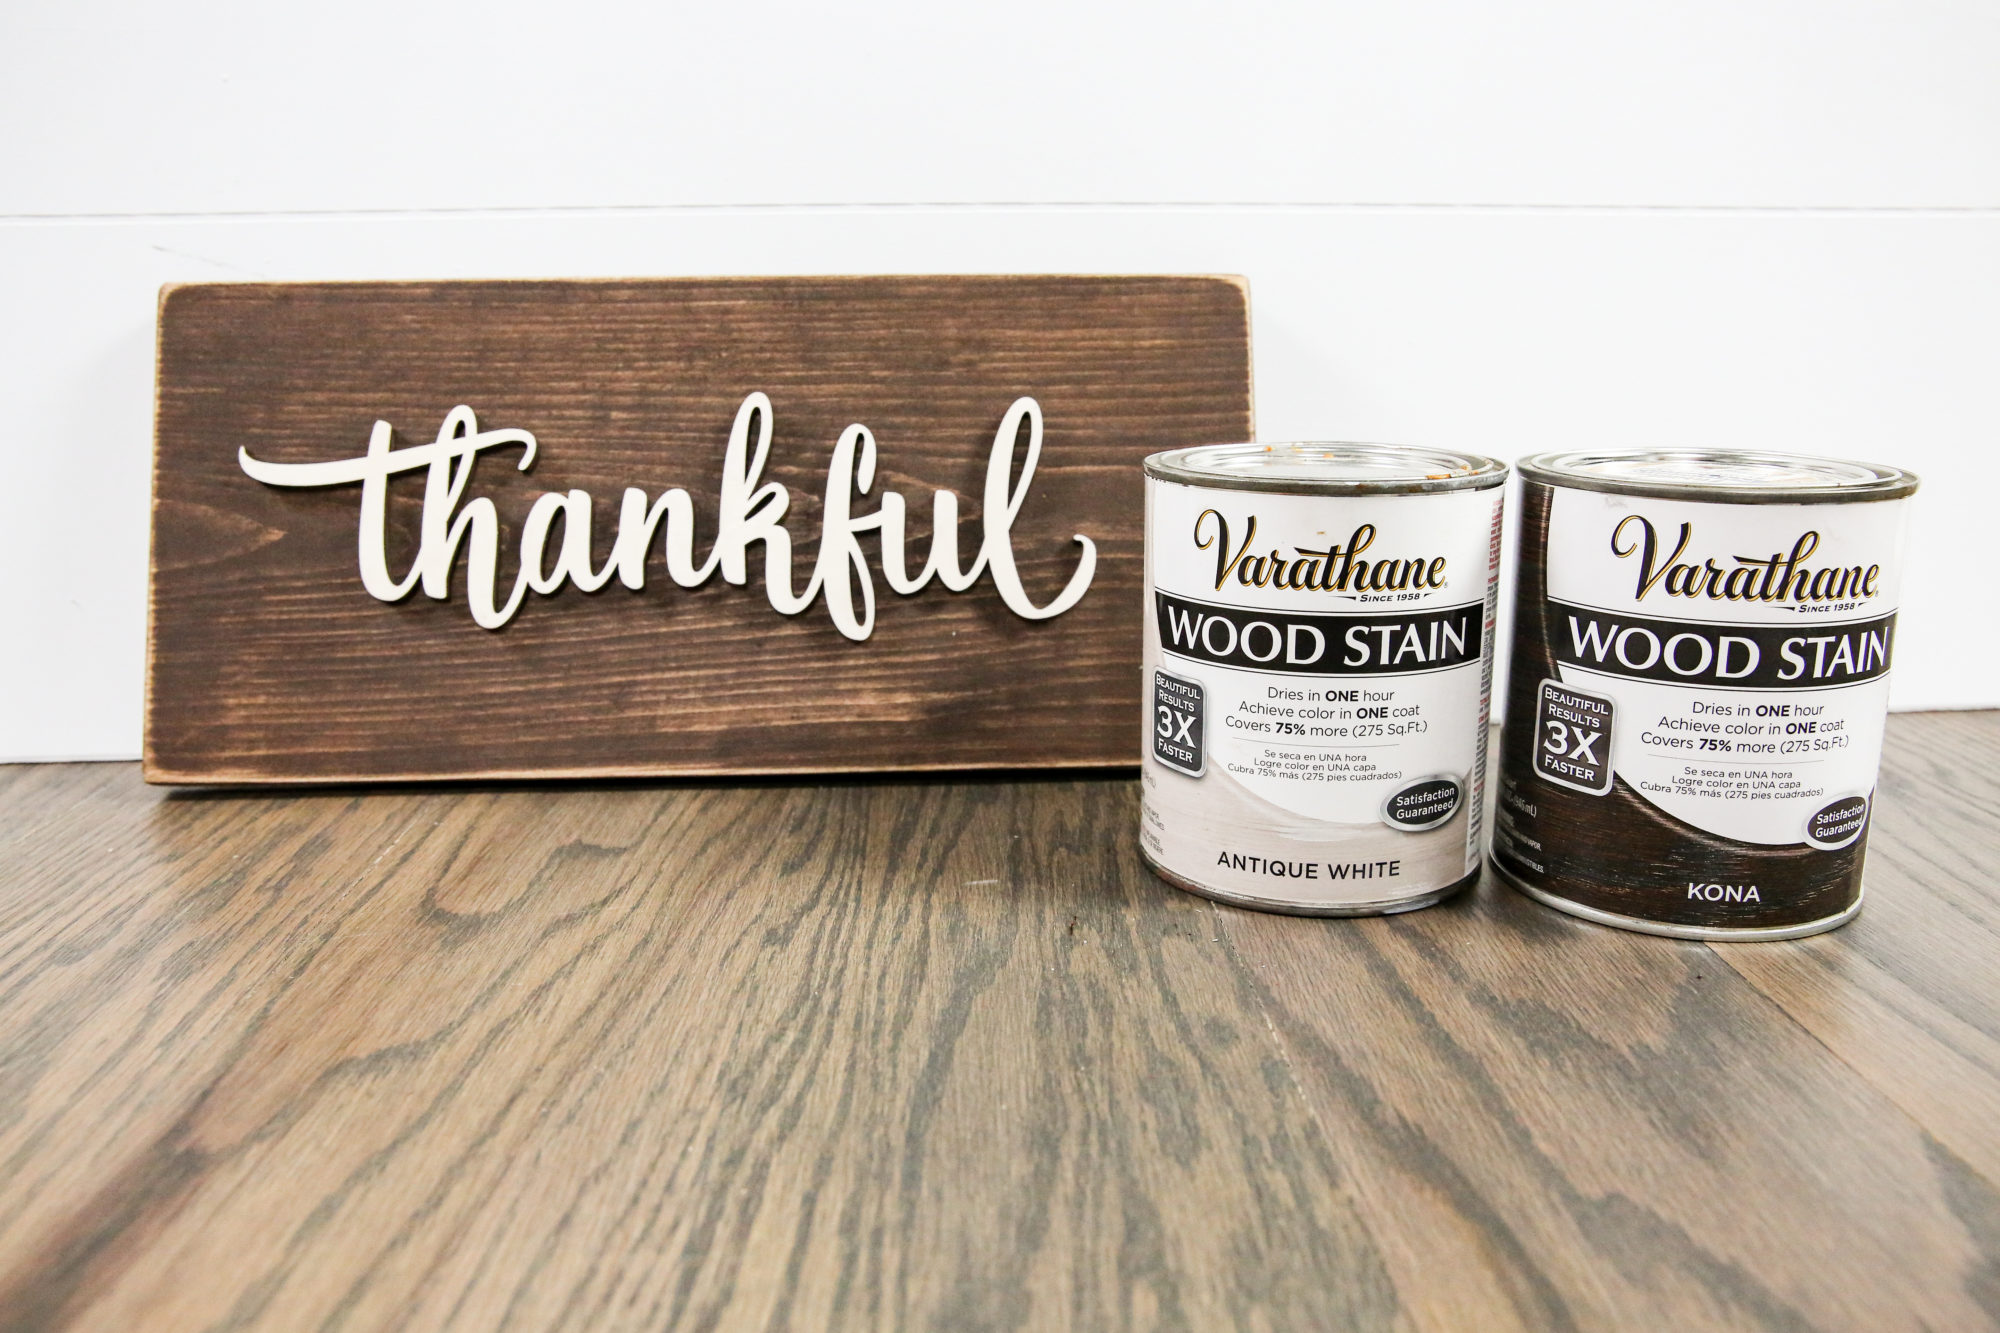
I made quite a few different boards and took some photos of the colors I used so that you can recreate these at home!

And just in case you are a visual learner….here is a little video that walks you through the entire process!
Happy staining y’all!