Disclaimer – This is a sponsored post brought to you by Mixtiles. All opinions are 100% my own.
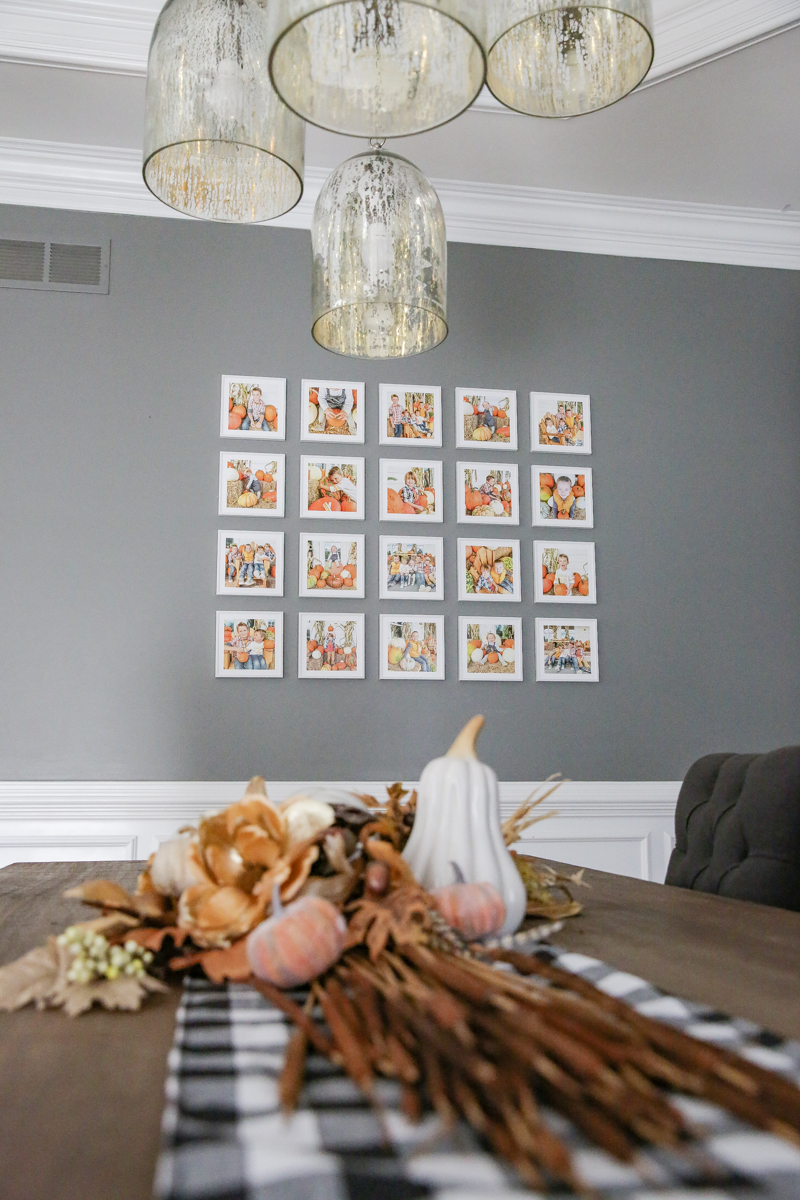
I made changes to the dining room and I was left with was a big open empty wall that was just screaming for a photo gallery. Like not a silent scream either. It was very audible. A Home Alone style scream. You know the one. I was already decorating for fall so I wanted to make it a place for seasonal decor. The problem with gallery walls is that you literally put a bazillion holes in your wall and if you ever want to change it, the work involved with filling and painting is excruciating. It’s enough to make you crazy.
But do not fret my pet! I found the best way to make a seasonal gallery wall and literally it leaves ZERO holes and is so simple because you can do the entire thing with your phone. Let’s just get right to it! (P.S. We have a special Bower Power promo code waiting for you at the end of the post!)
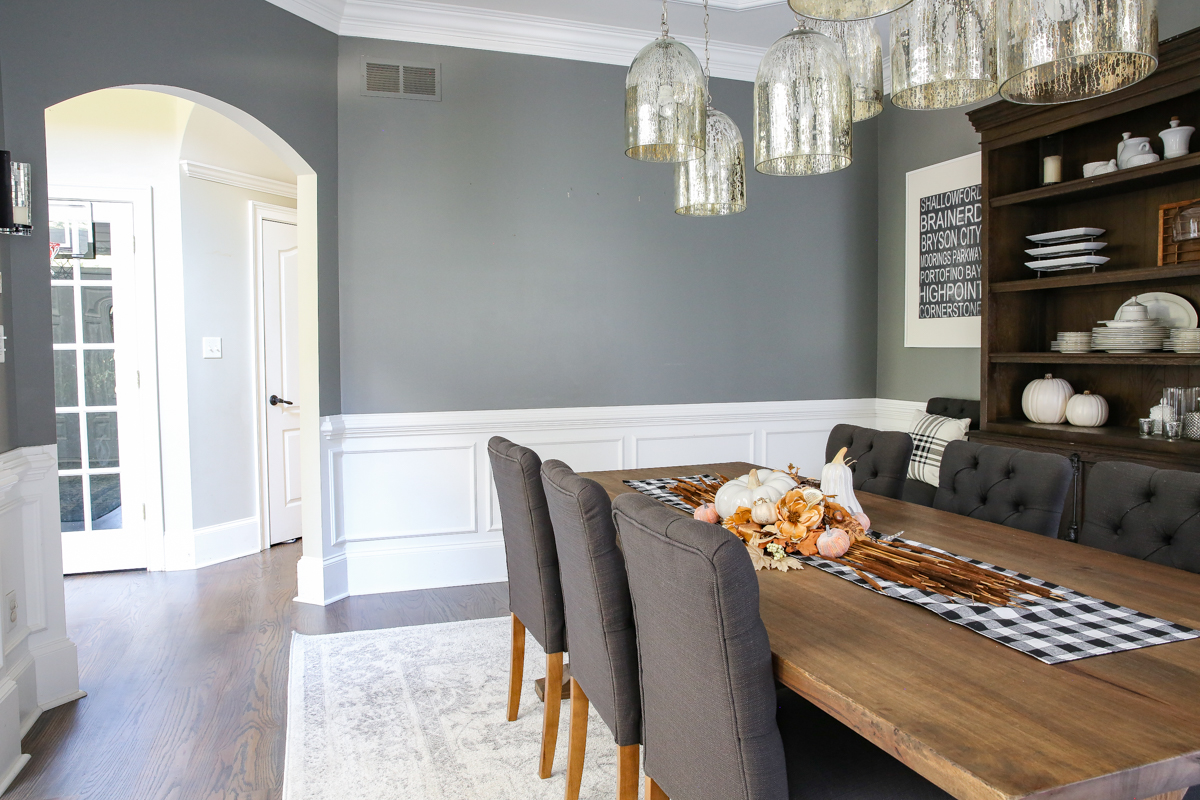
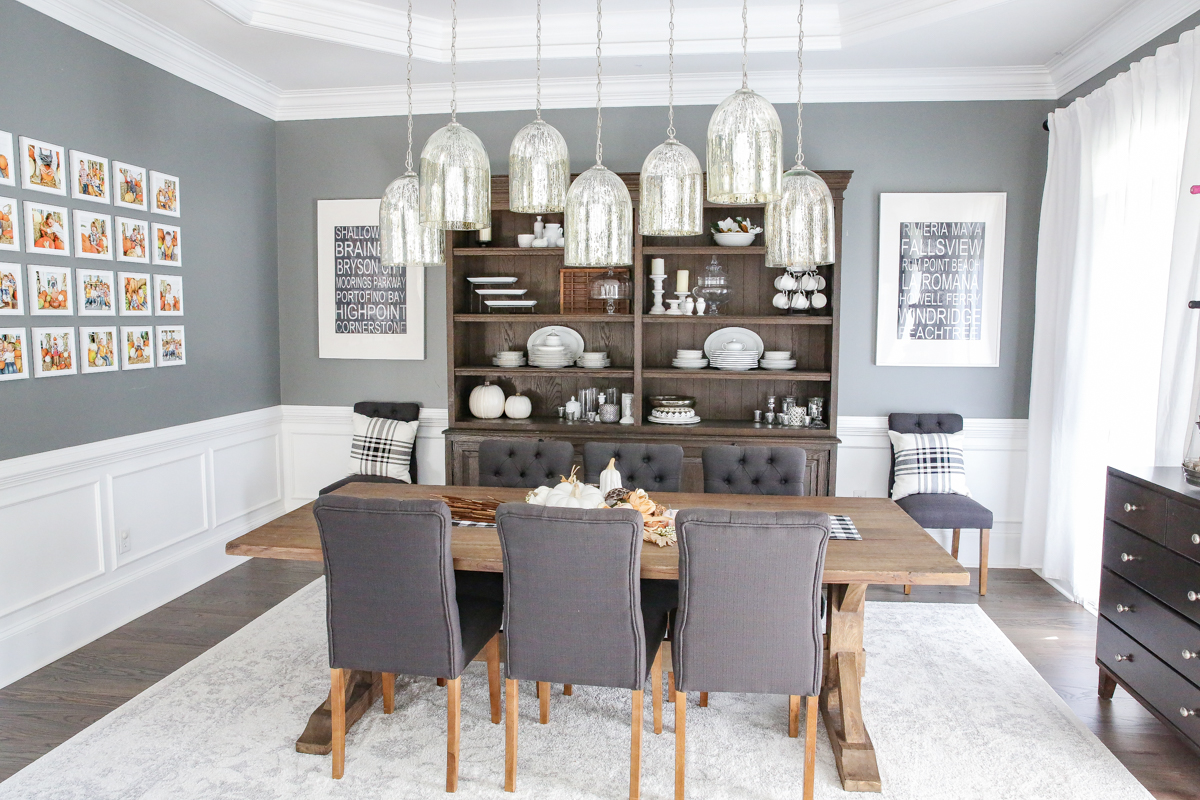
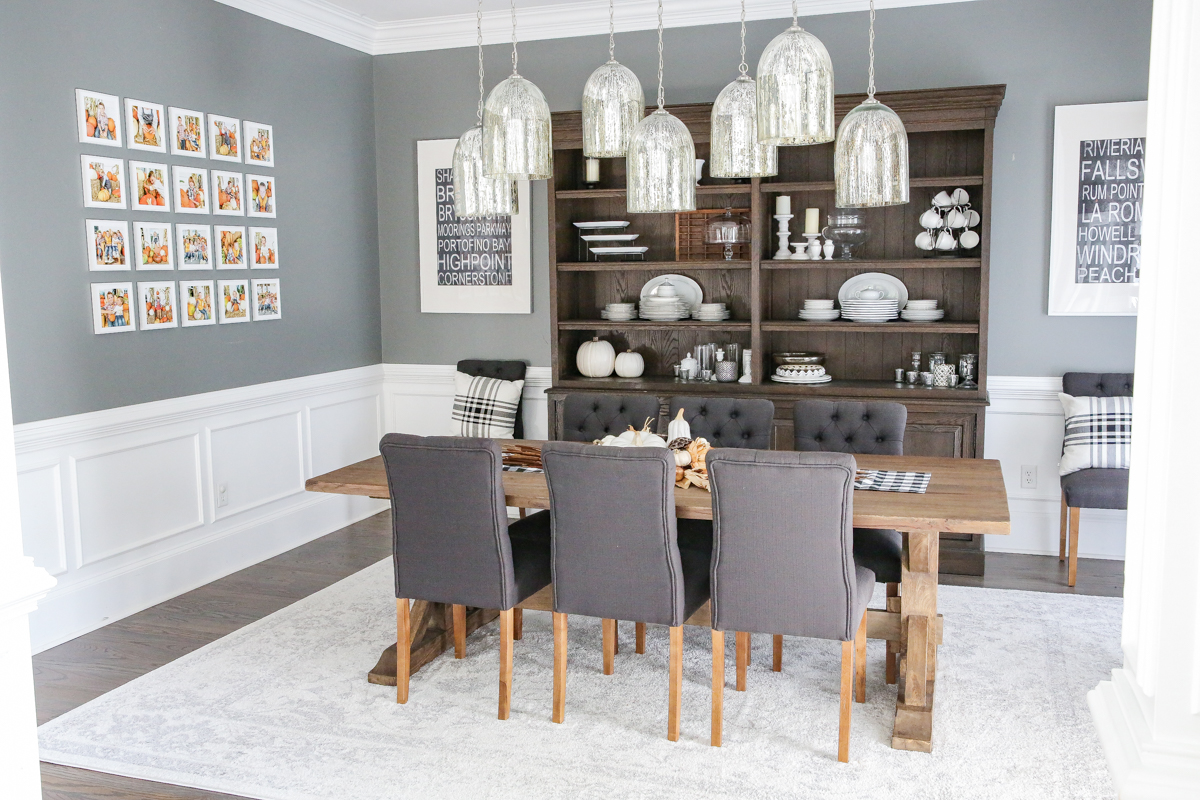
Here is the dining room when we started. We had recently moved large white framed word art to flank the hutch and I loved the balance of that and the way white frames popped off the dark gray walls. But the big empty wall was needing something!
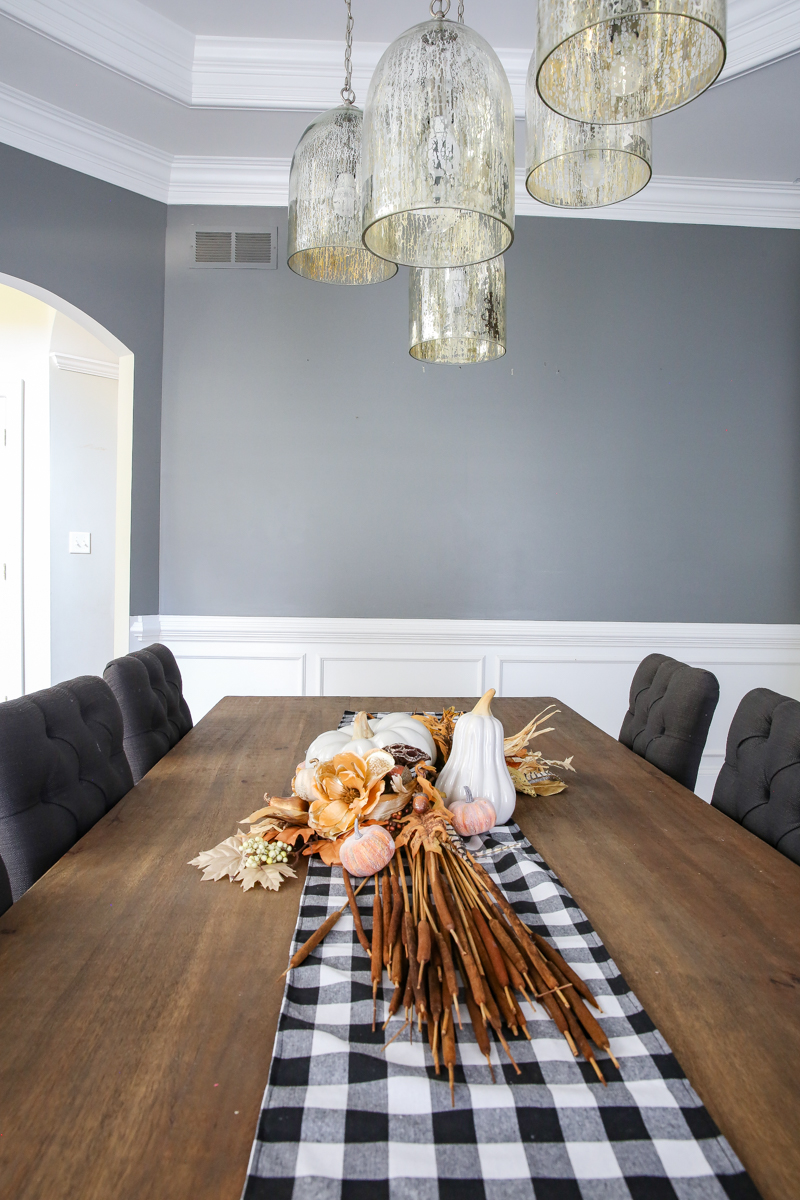
I could do one of two things….either hang a GIANT piece of art or several smaller pieces of art or photographs to make it visually appear as one unit.
I figured that a large gallery wall of exactly the same style would be the very best thing. And when I heard about Mixtiles, I was like DONE AND DONE. So if you haven’t heard about them yet, here is how they work. You can use any photo on your phone….just think of all the pictures from Instagram and from your personal collection that just sit there unused….well, those photos are perfect for this project. You simply download the Mixtiles app and upload all the photos you want to use. For our gallery, I got all the kids in the car and drove down to a local candy store that always has a great pumpkin display and promised the kiddos their choice of candy if they did a mini photo shoot for us. We spent a few minutes on each kid getting different pictures and getting lots of options.
Then I chose 20 of my favorites and edited them all the same way on my phone with Lightroom. If you aren’t comfortable using Lightroom, I highly suggest using A ColorStory or the Instagram app and just stick to one filter for all the pictures in your set. This will make all the colors the same and then you will have photos that have the same ‘look’.
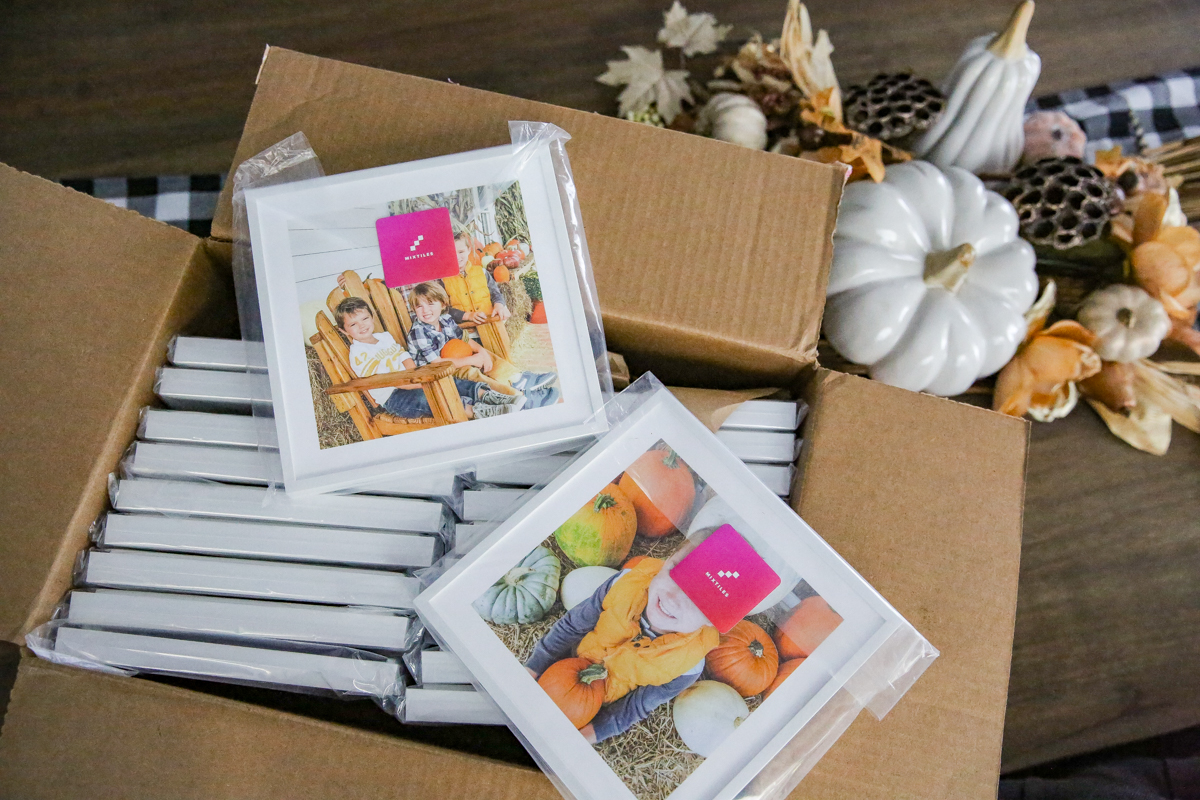
When I ordered mine, I chose the “EVER” style which has a thin white frame and faux white mat which I love. It looks very polished.
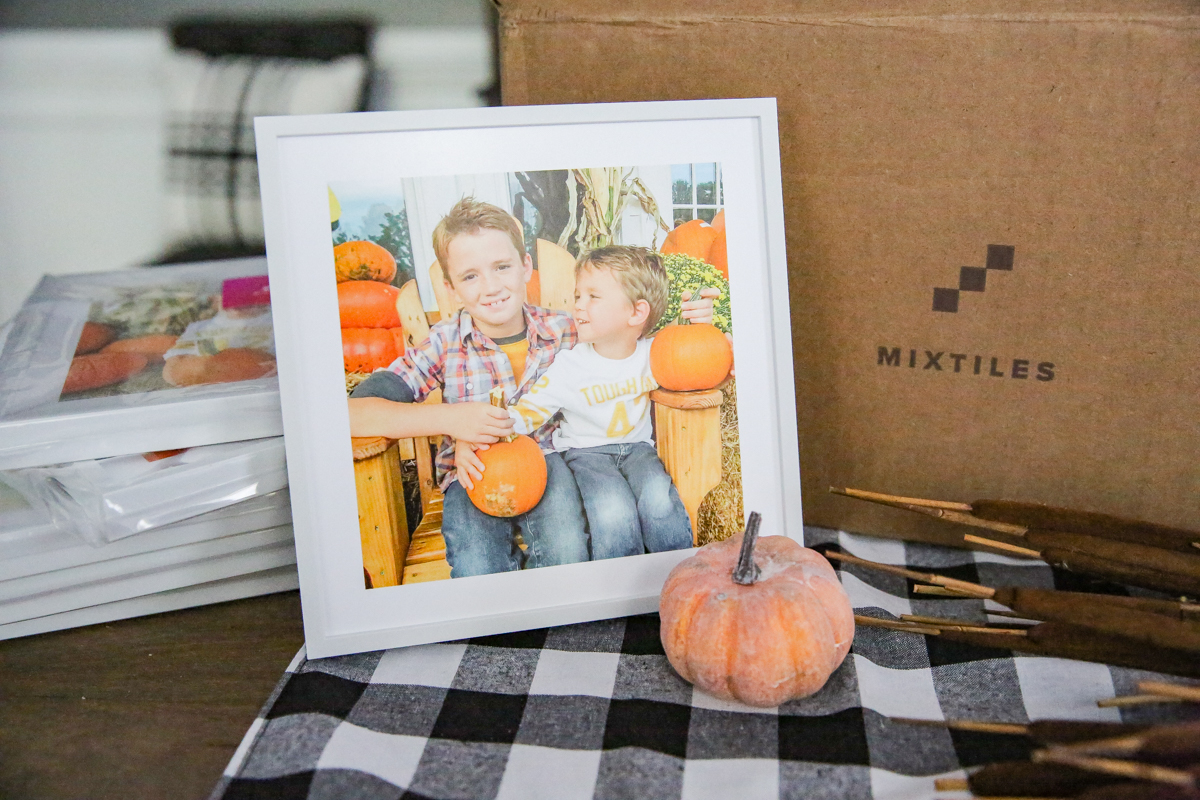
They have different styles in the Mixtiles app. They have black frames, no faux mat, even frameless. You get to preview the styles in the app so you can see how they all look before purchasing. Then you order and they get delivered to your doorstep. It’s that easy.
Here is the process in hanging the gallery wall.
#1 – Lay out and plan the location of each Mixtile
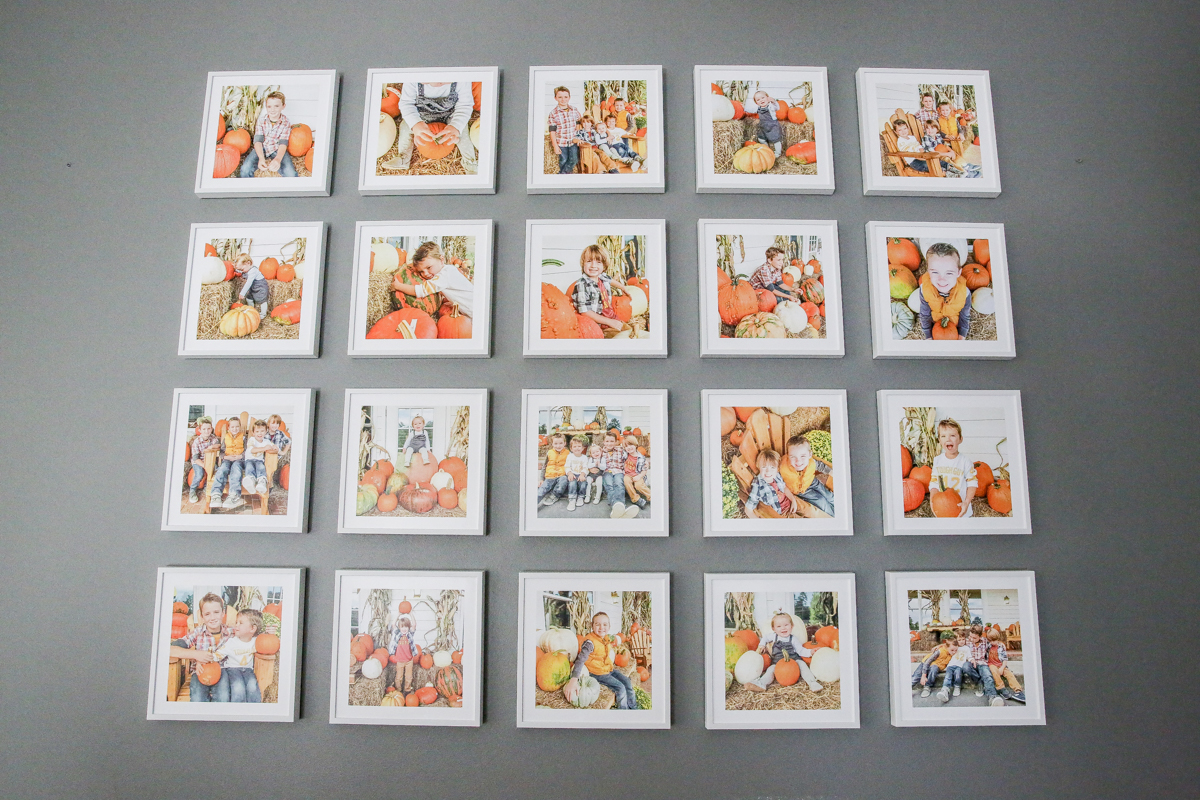
I ordered twenty Mixtiles so I knew that my gallery would either be 4×5 or 2×10 to use all of them. I decided to go with five across and four tall so that it looked visually like one large piece of horizontal ‘art’. I also liked to plan exactly where each Mixtile would go before hanging it. I liked for each child to be throughout the gallery so I made sure that nobody had two neighboring individual portraits. I also liked to have the shot style be varied. If two shots were from overhead, I separated those. I did the same for group photos. Also my favorite photos were the ones that were in the most viewed location (usually eye-height in the center).
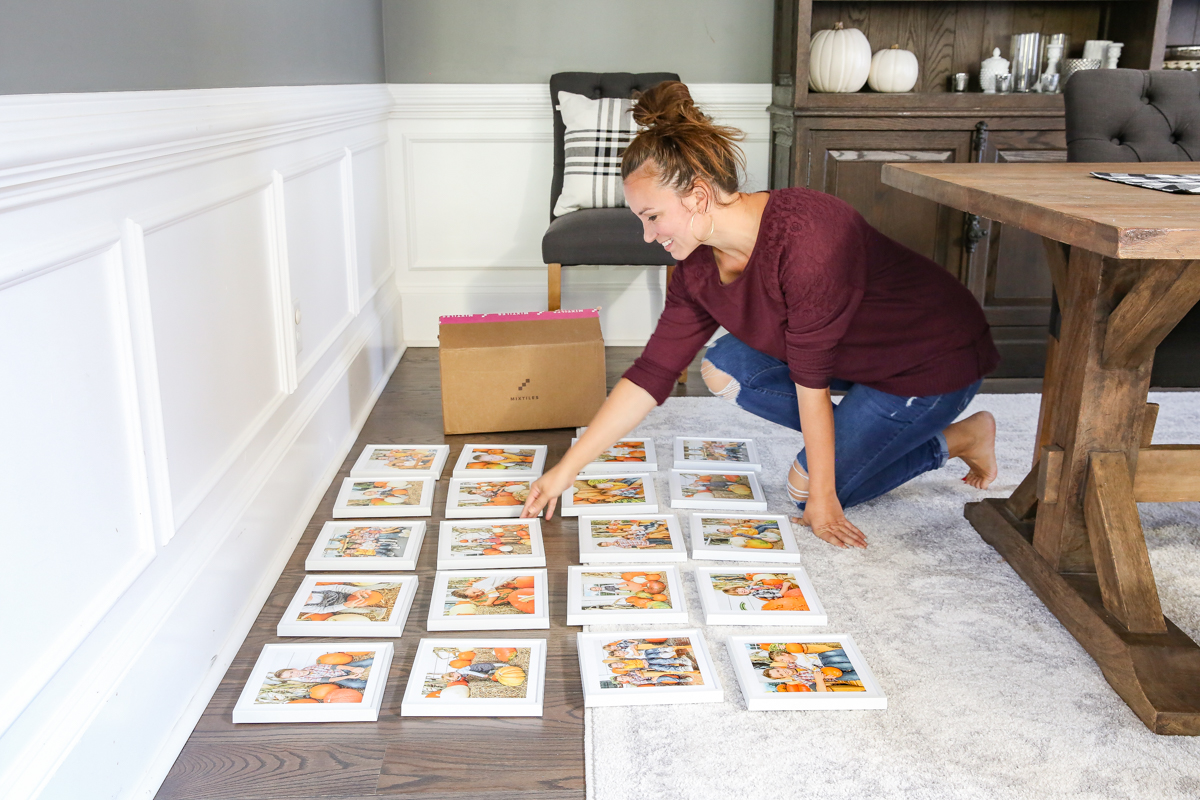
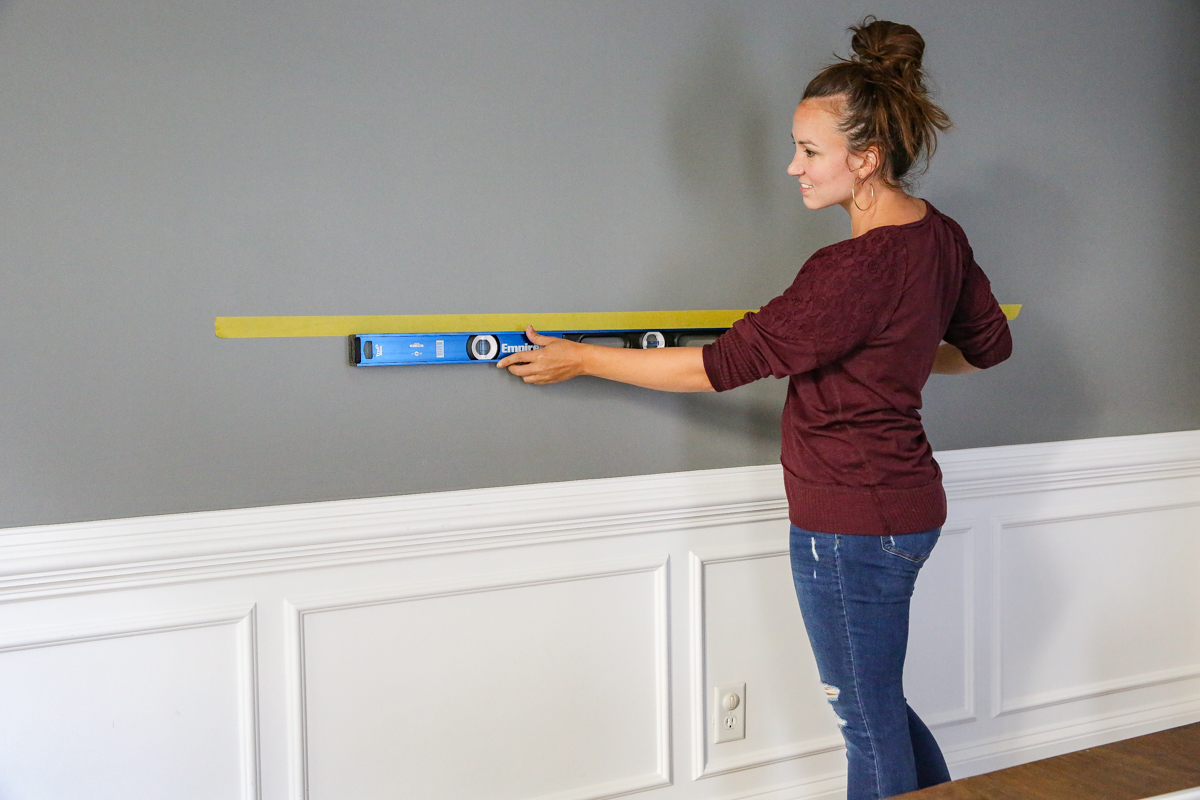
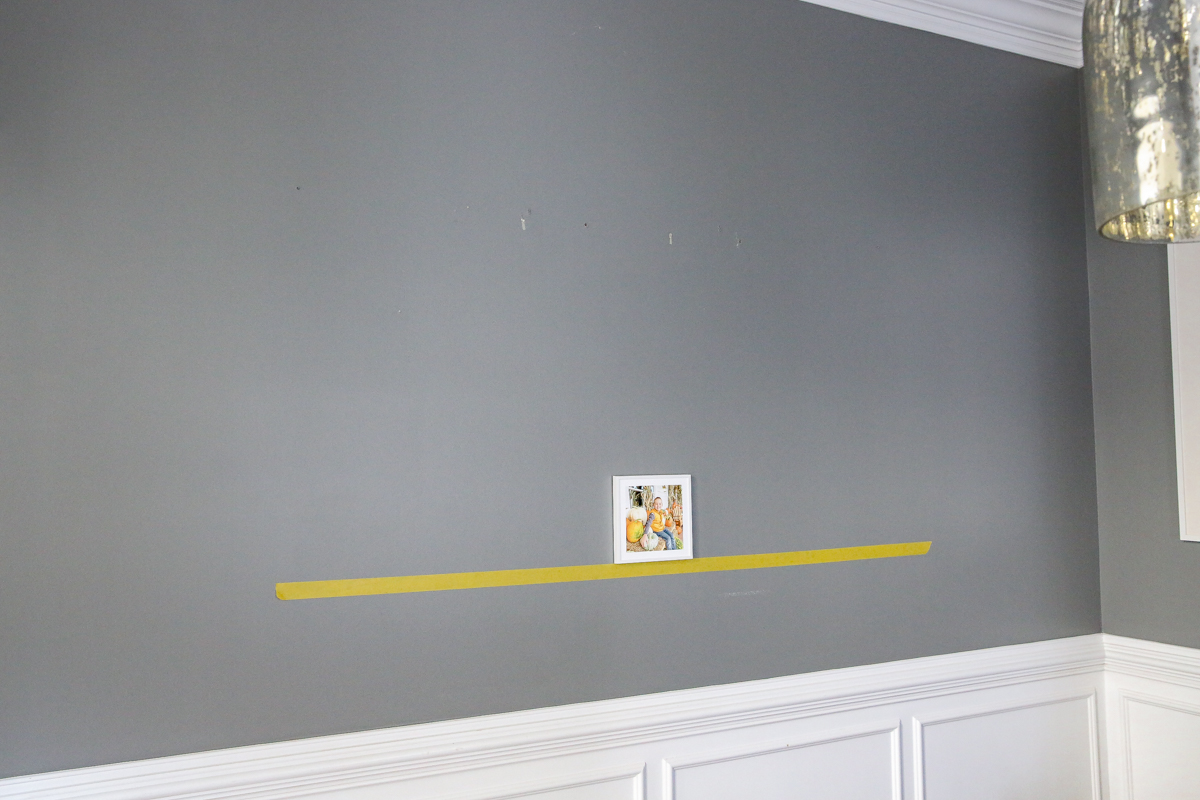
#2 – Tape your guideline.
Using a level and some painters tape, create a guideline for the bottom row of Mixtiles. Mark your center point on the painters tape.
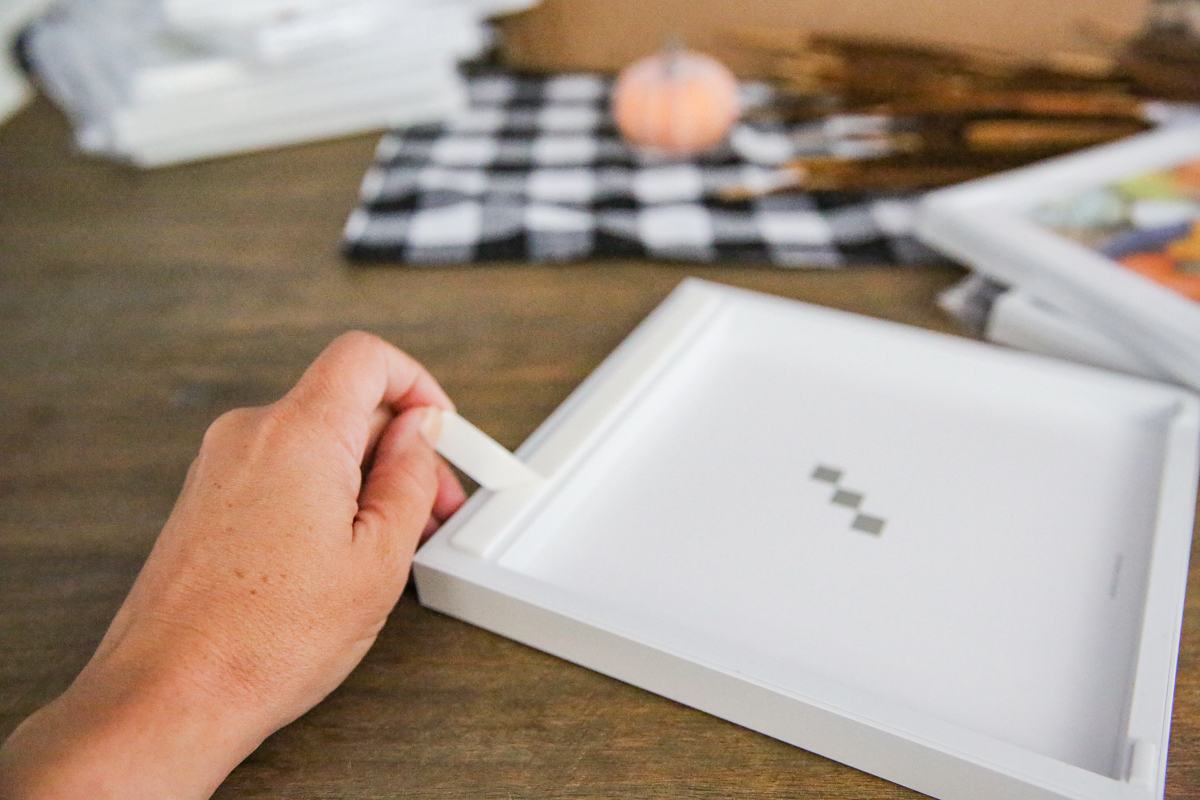
#3 – Peel off the protective paper on the back of your Mixtile
Each photo (whether it is framed or canvas wrapped style) comes with a sticky strip on the back top of the Mixtile. It comes off very easily and can even be reattached if you need.
#4 – Hang your first Mixtile
I aligned the bottom of the Mixtile on the guideline and then firmly pressed the top of the frame against the wall. It’s really that simple. Make sure you step back and look at the wall from afar to see if it looks level. If it doesn’t look level to you, it’s easy to remove and adjust.
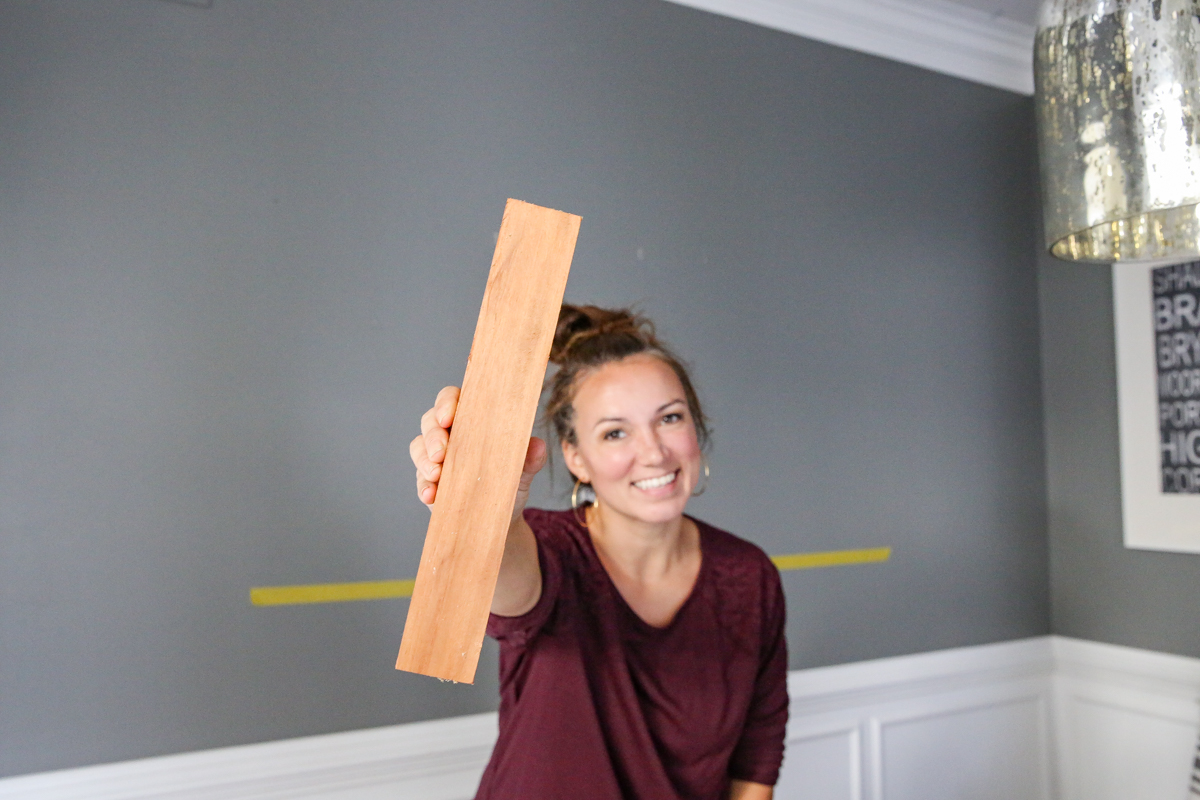
#5 – Get a spacer
I like to have at least 2″ between the Mixtiles on any side. In order to keep things very uniform, I found the easiest way was to get a 2″ block of wood and use that as my spacer.
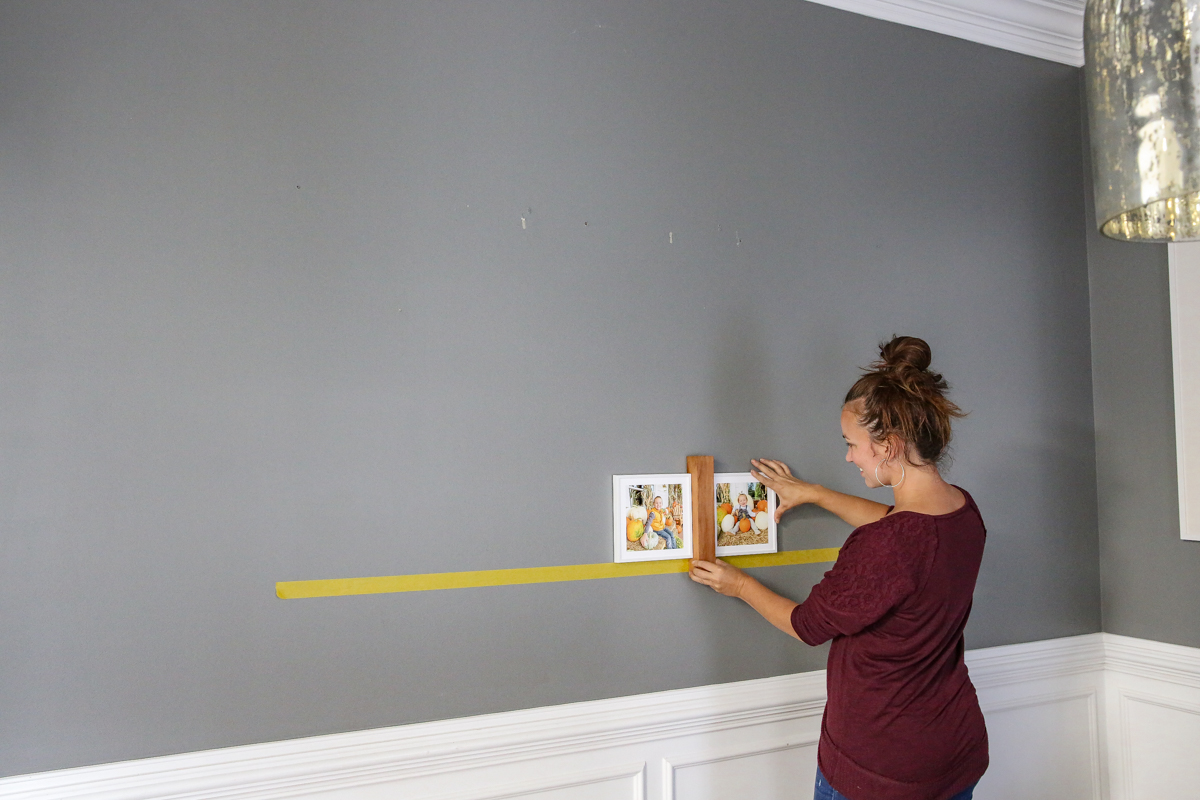
#6 – Continue to hang the rest of the Mixtiles using the spacer and guideline
I think this step is pretty self explanatory but you definitely want the spaces to be even and level. I liked to work out from the center Mixtile and used the spacer on either side to align the next in line.
#7 – Remove guideline
BOOM! Done! After all the Mixtiles are up, you can simply peel back the painters tape guideline and you can enjoy the super easy gallery wall!
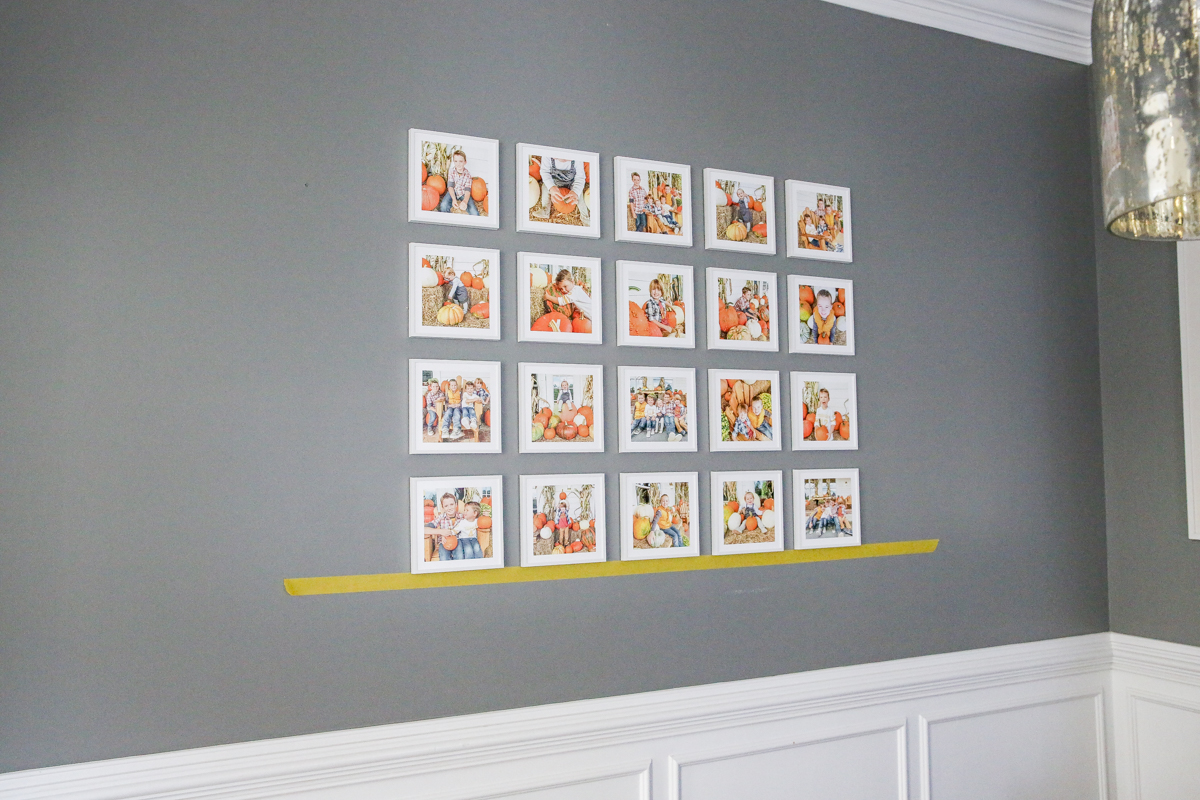
I love how it looks and the best part is that I can keep these up all season long and then remove them without a single hole. I even saved the little paper backs for the sticky part so I can safely pack these away for every single FALL. Guys. Can you even imagine the joy this will bring me in ten years when all my kids are tweens and teens and these baby photos come out?! I MEAN.
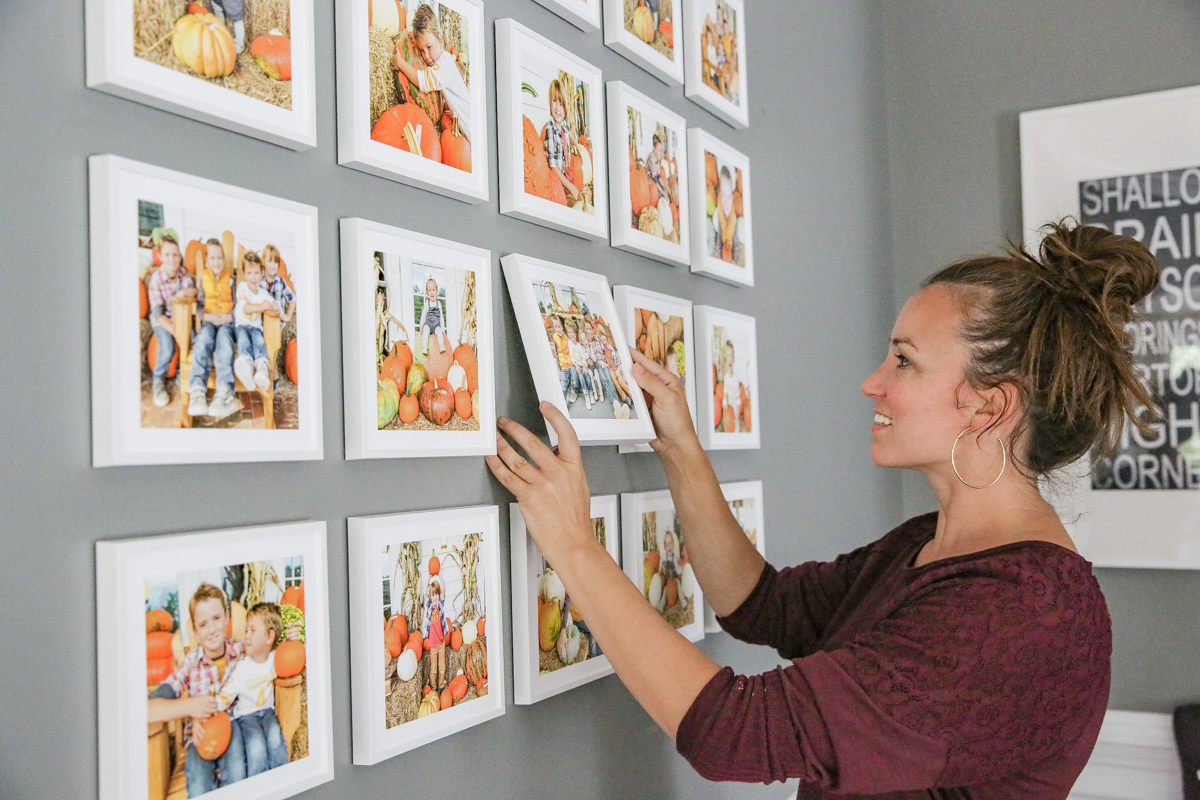
And speaking of removal….it’s VERY simple. You just grab the Mixtile at the bottom and lift up to peel it off the wall. It leaves no residue or anything like that and it can restick. That means if you accidentally have one that is placed incorrectly – it can be a super easy fix!
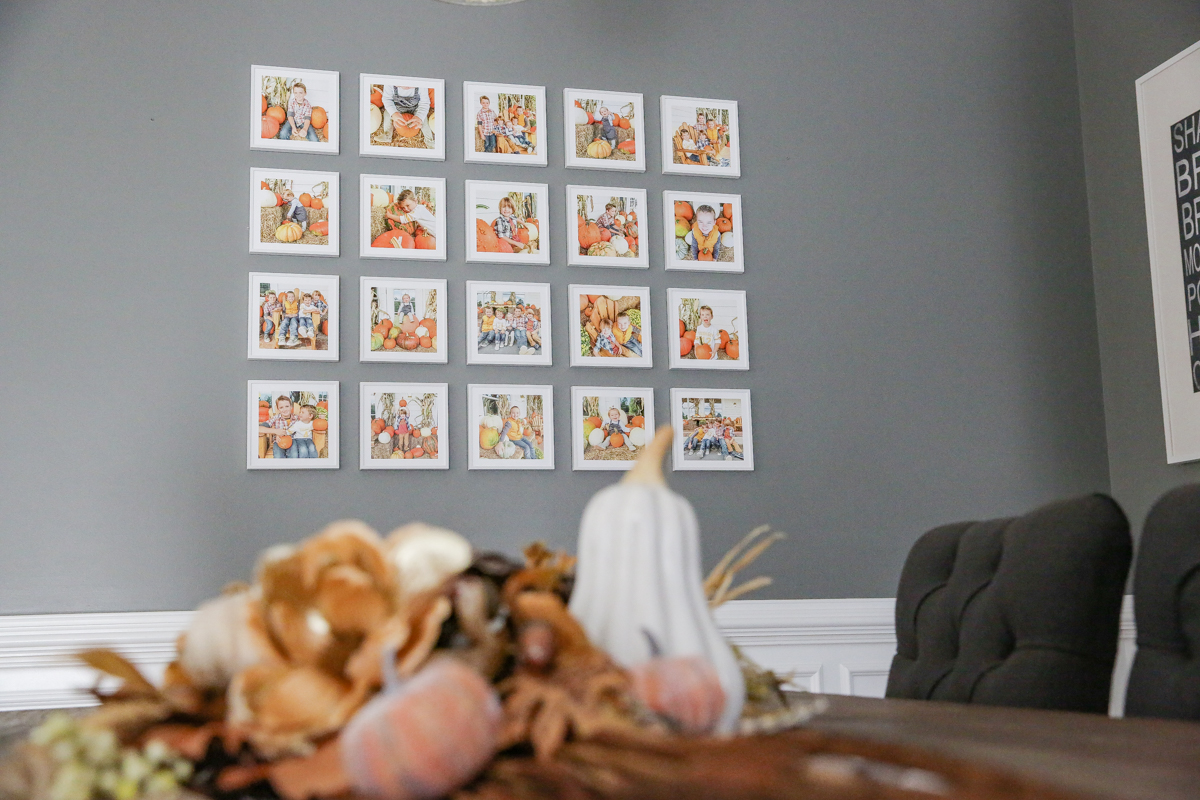
Right now the centerpiece on our table is very subtle (it was nice for the last month or so as we transitioned into fall) but now I want to pop more oranges in there and more halloween themed items. Either way – it goes really well with these fall photos.
I love the fact that the gallery wall also really does act visually like one large piece. It’s perfect for in here! Also – if you are a renter, or live in a dorm or anywhere – it works great for transitional spaces.
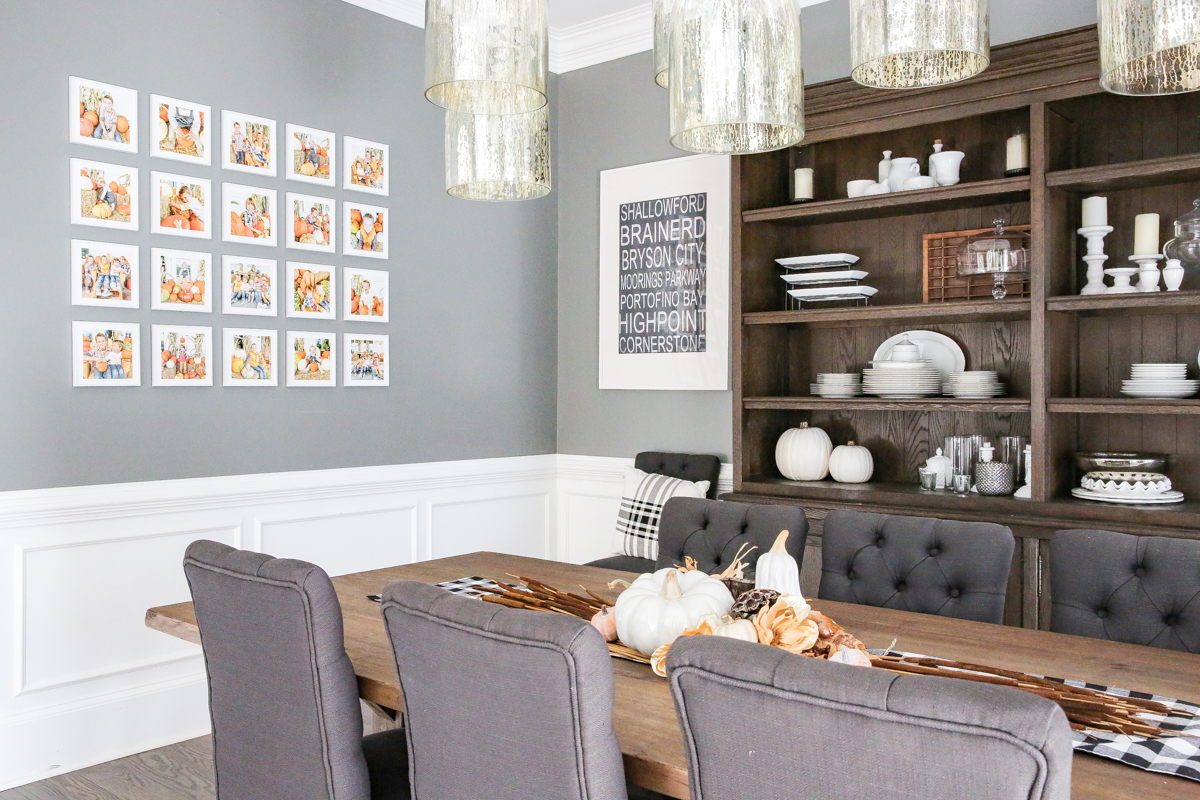
Overall – this was the perfect solution for adding some fall flair into the space. And since I am afraid of commitment – especially commitment that requires me to do drywall repair – this no-nail-needed gallery was PERFECT.
Also – I know there are a lot of questions you might have about this product. Here are some answers –
- These can stick to textured walls, brick, glass and even wood.
- You download the app and you choose the photos to upload. Then you get to pick your Mixtiles style. These are then purchased through the app and the end product will be mailed directly to you!
- THEY ARRIVE IN LESS THAN ONE WEEK. What?! I KNOW.
There is also a great code for you guys if you want to order some Mixtiles for your seasonal (or non seasonal!) decor. You can get 20% off at checkout if you use the code BOWER20. And definitely tag me in your photos if you decide to order your fall photos and hang a gallery wall. I’d love love love to see it! Obviously I will ooh and ahh over it because we are besties and thats what besties do 🙂
And now to go buy some more pumpkins! Happy gallery wall creating!