Who is ready for Halloween? Raise those bloody hands!
My kids are ALMOST set….we did trunk or treat as superheroes (photos to come!) and Will is set on being a new favorite storybook character. I’ll give you seven guesses who….he has a scar, a wand and it rhymes with Parry Hotter.
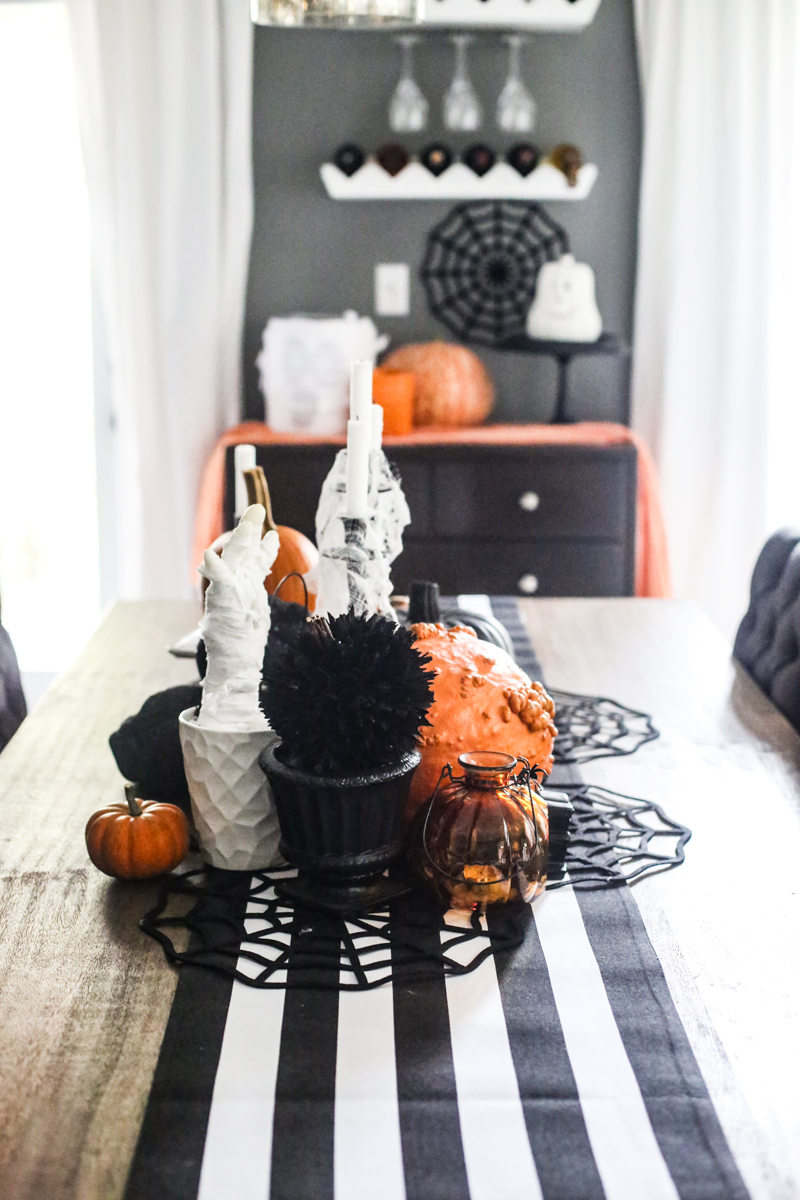
Since things are inching closer to everyone’s favorite candy fest, I thought it would be fun to share our one room that got Halloween-ified this year….our dining room. Yup! I couldn’t wait to take this room and make it spooky and fun with all of our halloween specific items. On the big day, we will eat dinner in here before heading out for tricks and treats. I wanted to walk you through how I created this Hallowed Centerpiece and it was so fast and easy that anyone could do it….here are the tricks to the centerpiece mania:
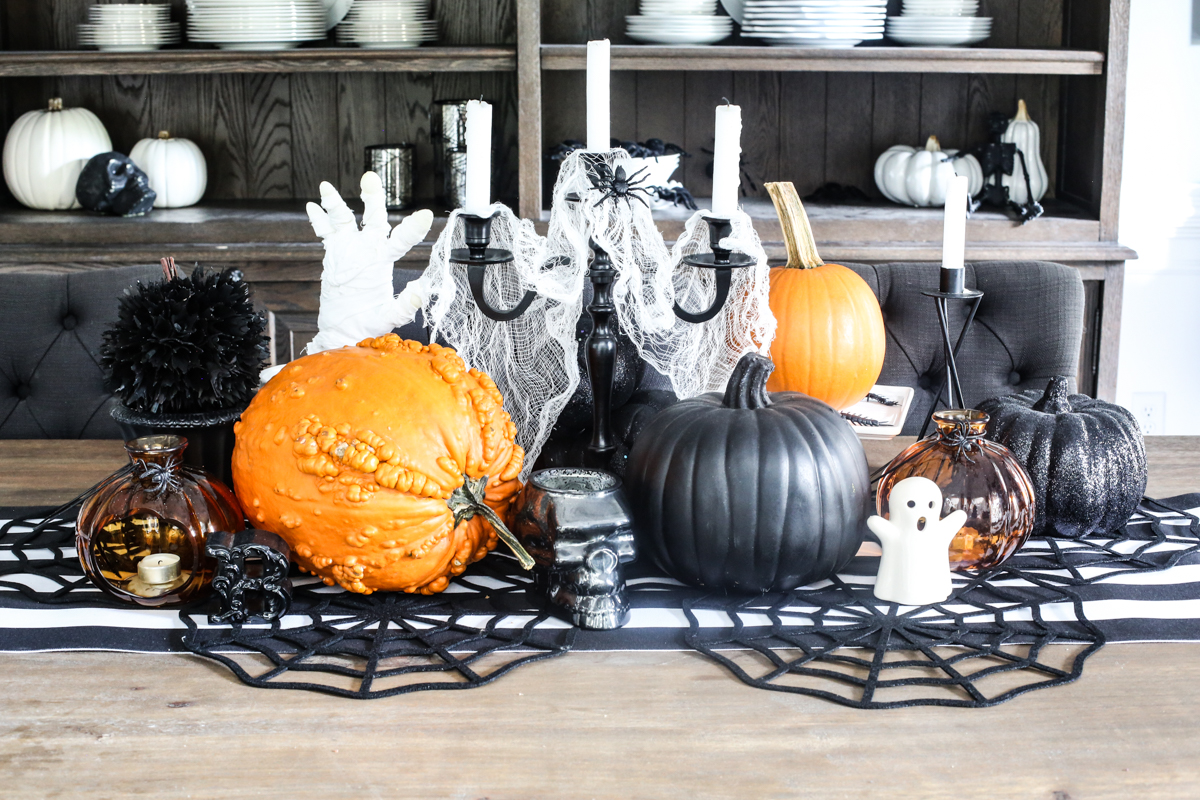
START WITH A RUNNER
The runner is a new favorite from my friends over at Classy Clutter. They opened up a little shop with home decor and furniture and it is worth checking out if you are a fan of bold decor. I am obsessed with the scalloped edge on this runner!
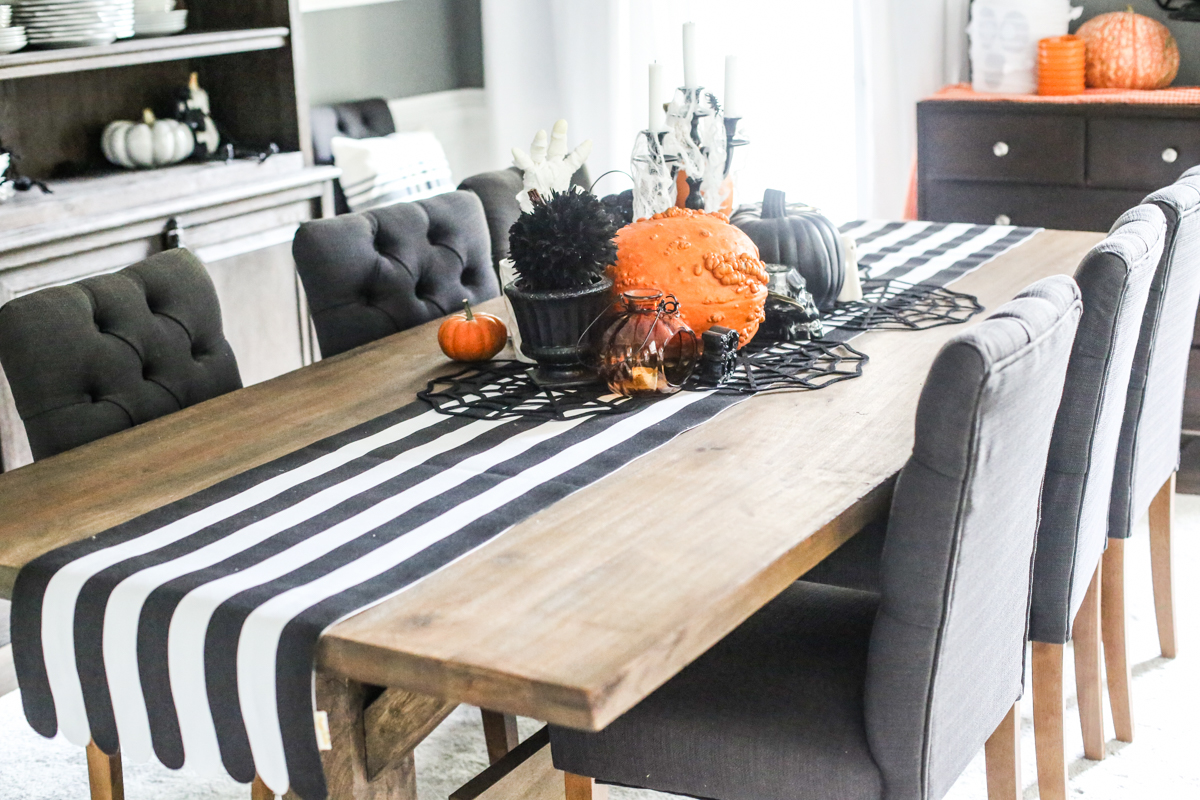
The centerpiece was built around all things spooky (and I skip the gory stuff for the kiddos!).
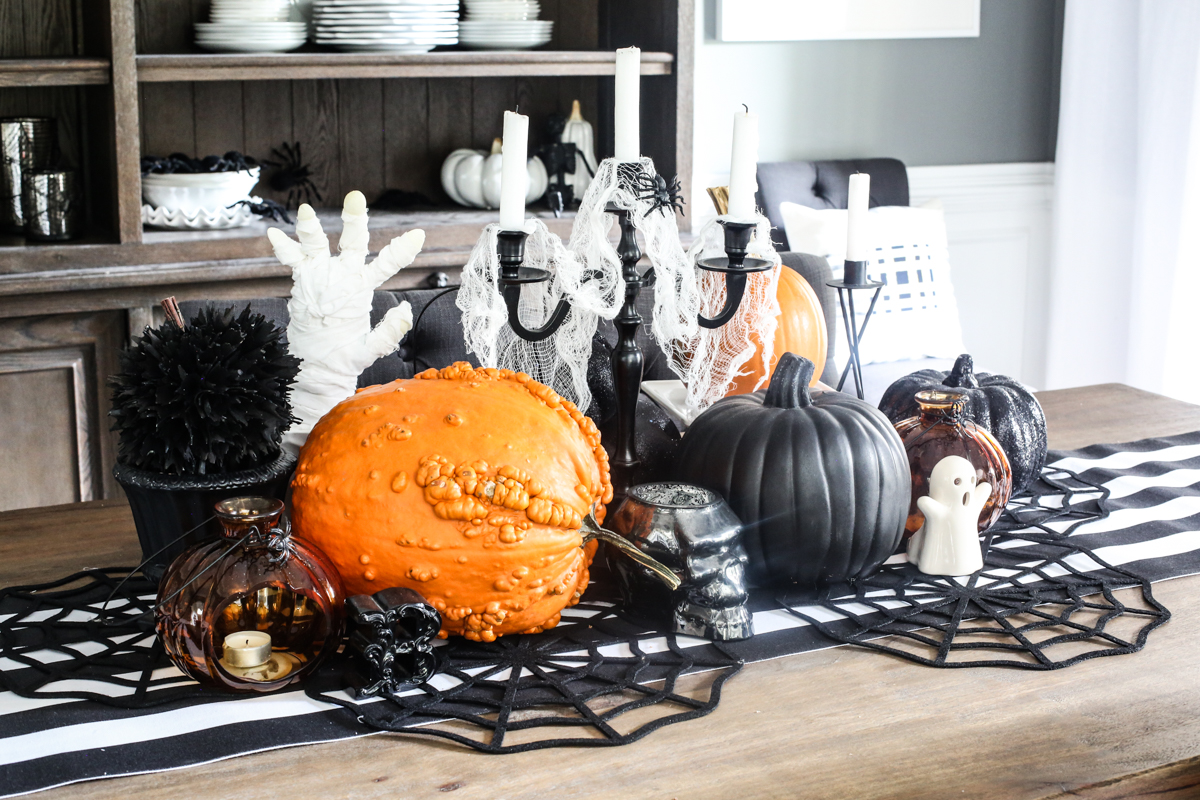
ADD HEIGHT IN THE CENTER
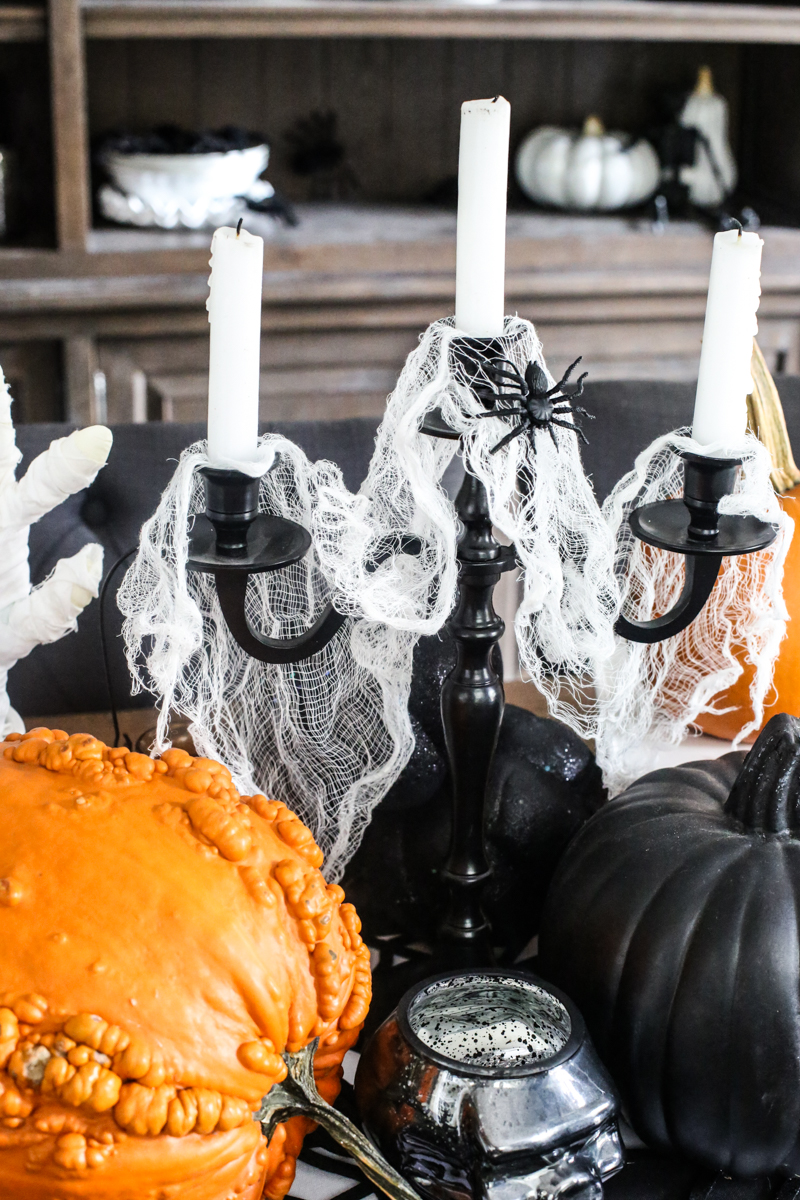
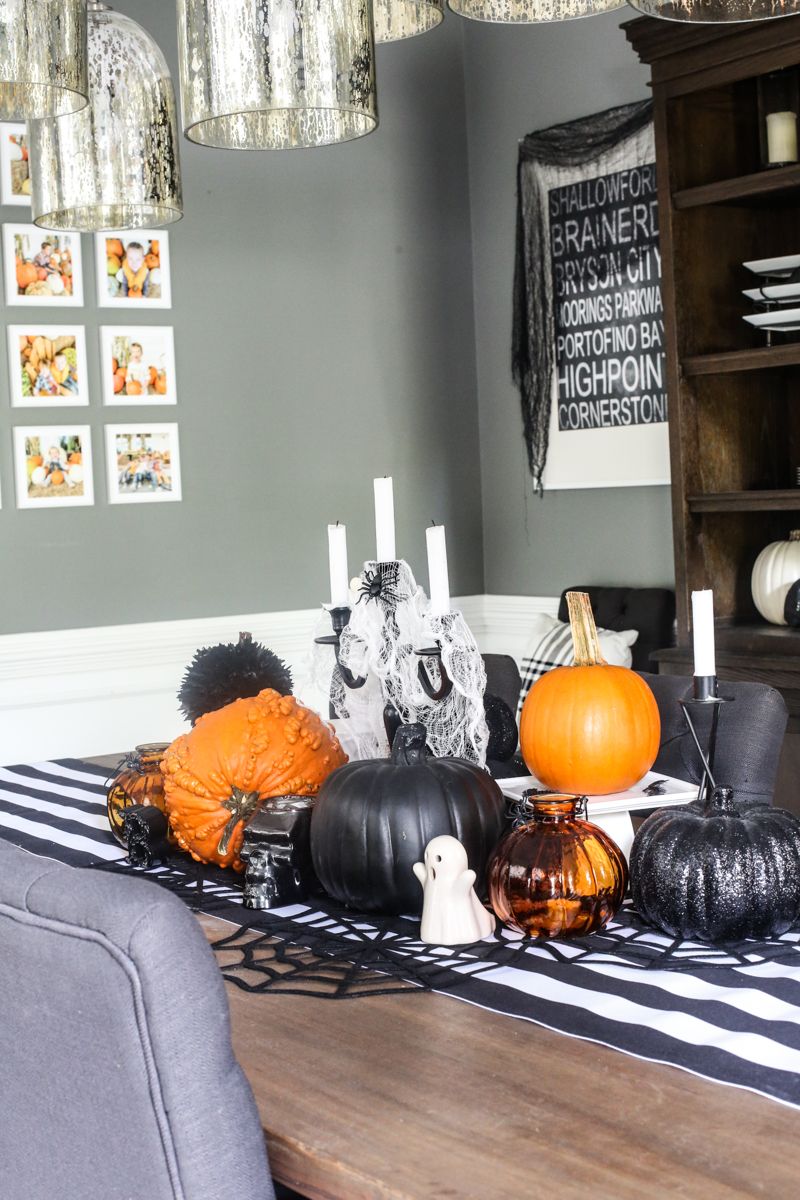
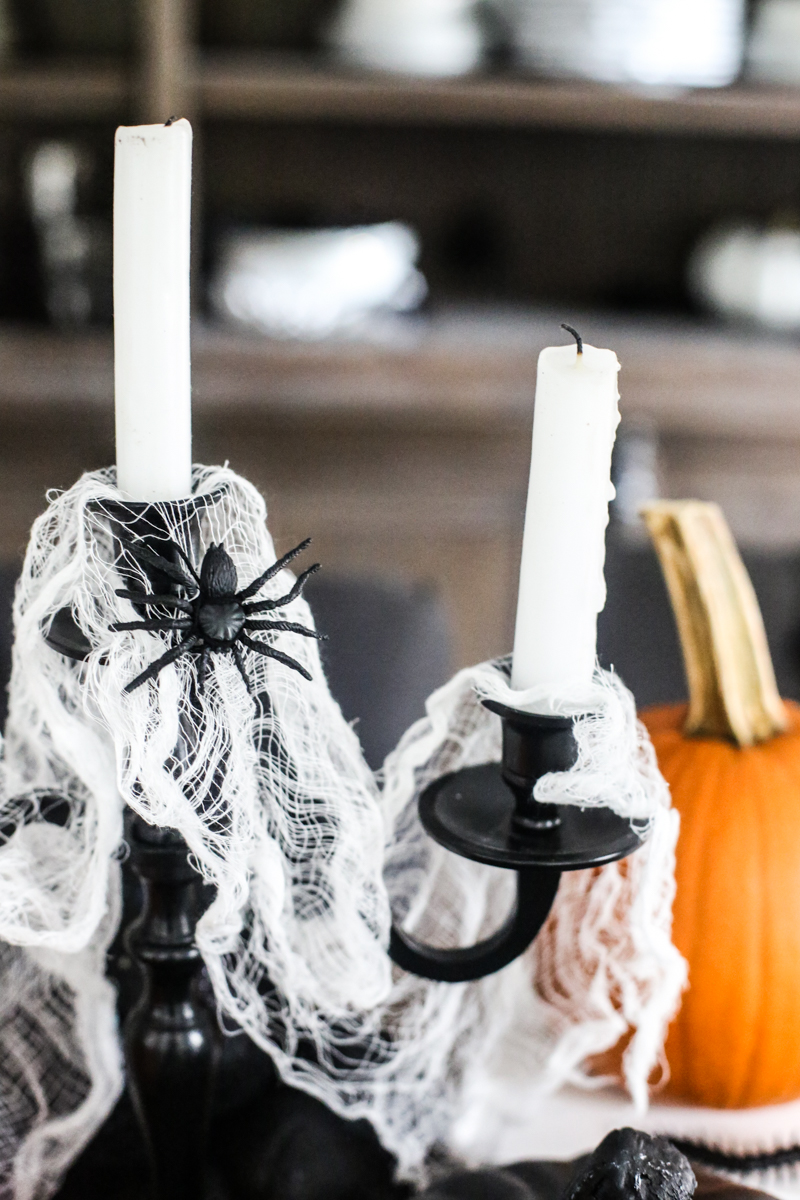
I always add height into the centerpiece and a black candelabra is just the thing for Halloween. Draping it with cheese cloth makes it feel extra scary. Can candelabras be scary?! Say yes.
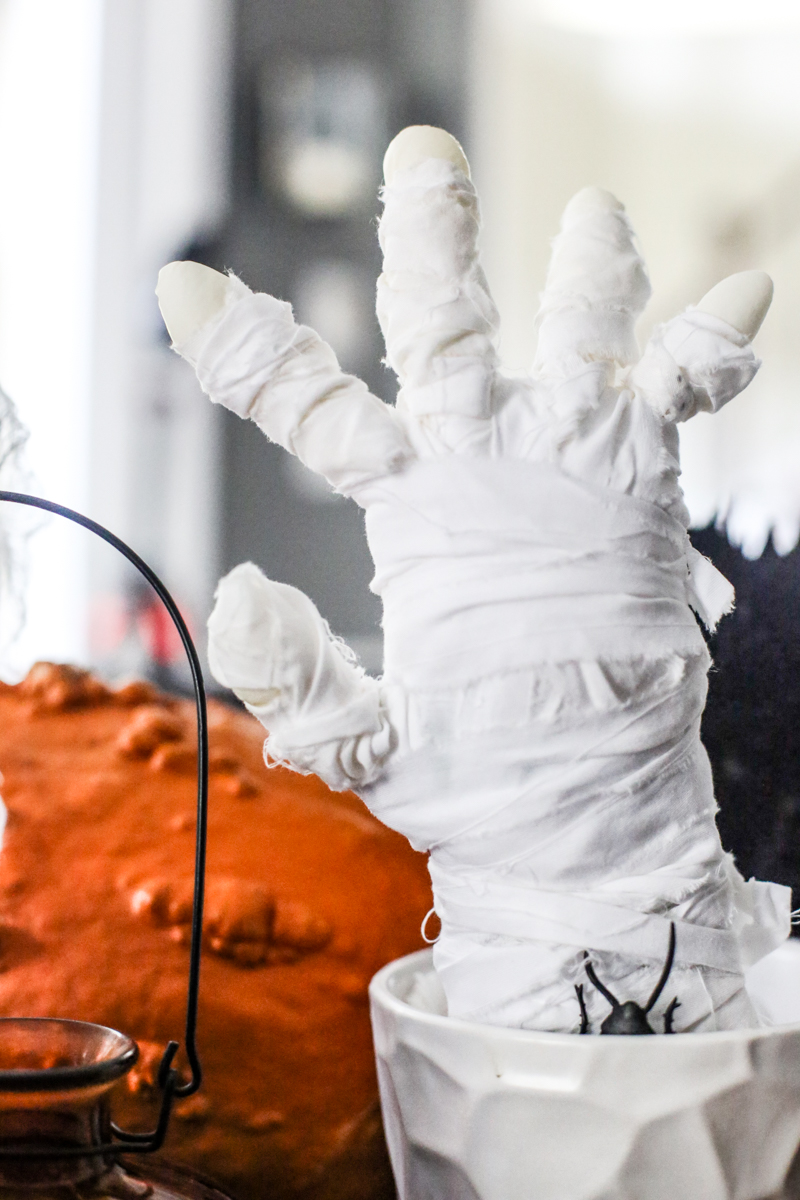
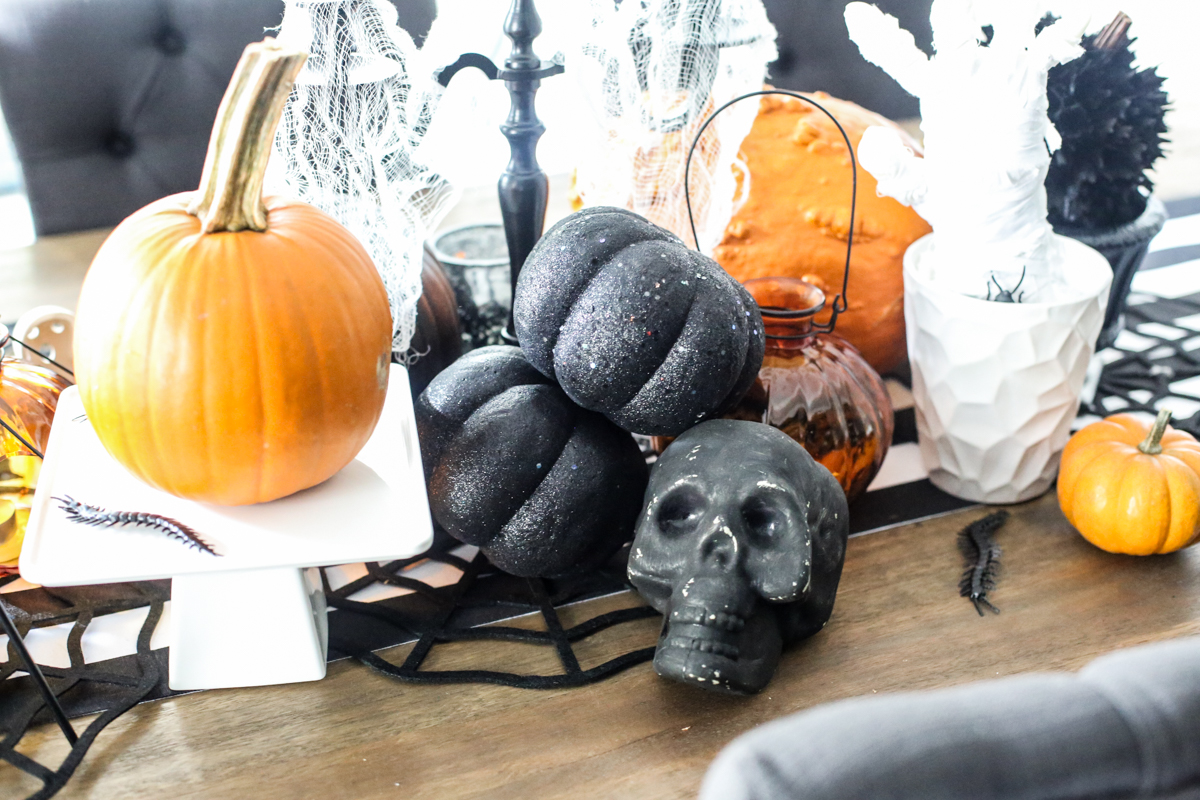
The next tallest thing is this mummy hand that I made out of a rubber glove stuffed with polyfill and wrapped in strips of white cotton. It’s a super simple craft but very effective.
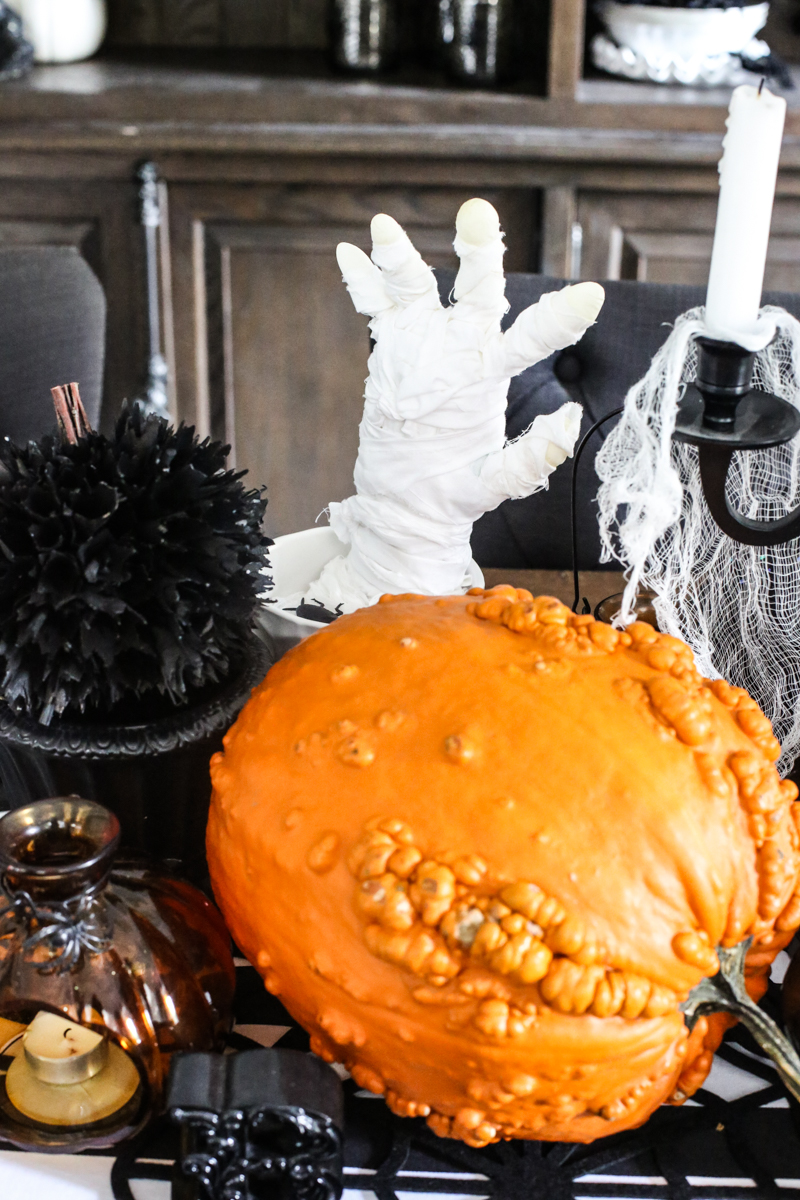
I put the base of the glove around a rolled up piece of cardboard so it stands up and it looks like the fingers are all gnarly and weird. The bottom fit nicely into a vase and I filled around it with extra ripped bandages and topped it with a fake roach peeking out. It’s enough to make your skin crawl!
ADD WEIGHT AND COLOR
Centerpieces should also have some weight and this one has a big ole fat pumpkin smack dab in the middle. It is one of those ugly bumpy ones that I LOVE. They are like witches pumpkins 🙂
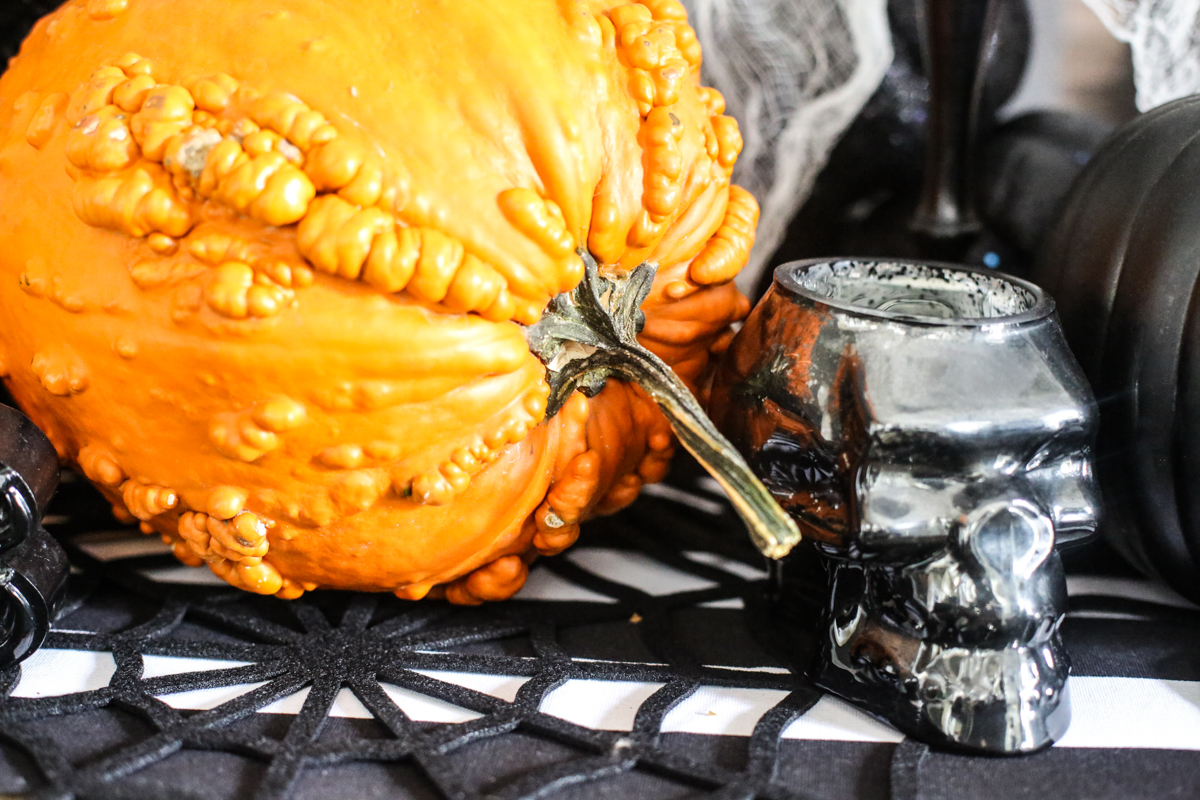
I balanced the orange from the witchy pumpkin with orange on the other side of the candles using a smaller pumpkin on a cake stand. It’s always good to do a balance of color on both sides of the arrangement. I did the two orange pumpkins and then also three orange tea lanterns. The odd number is easy to work out visually and the balance of colors helps lighten things up.
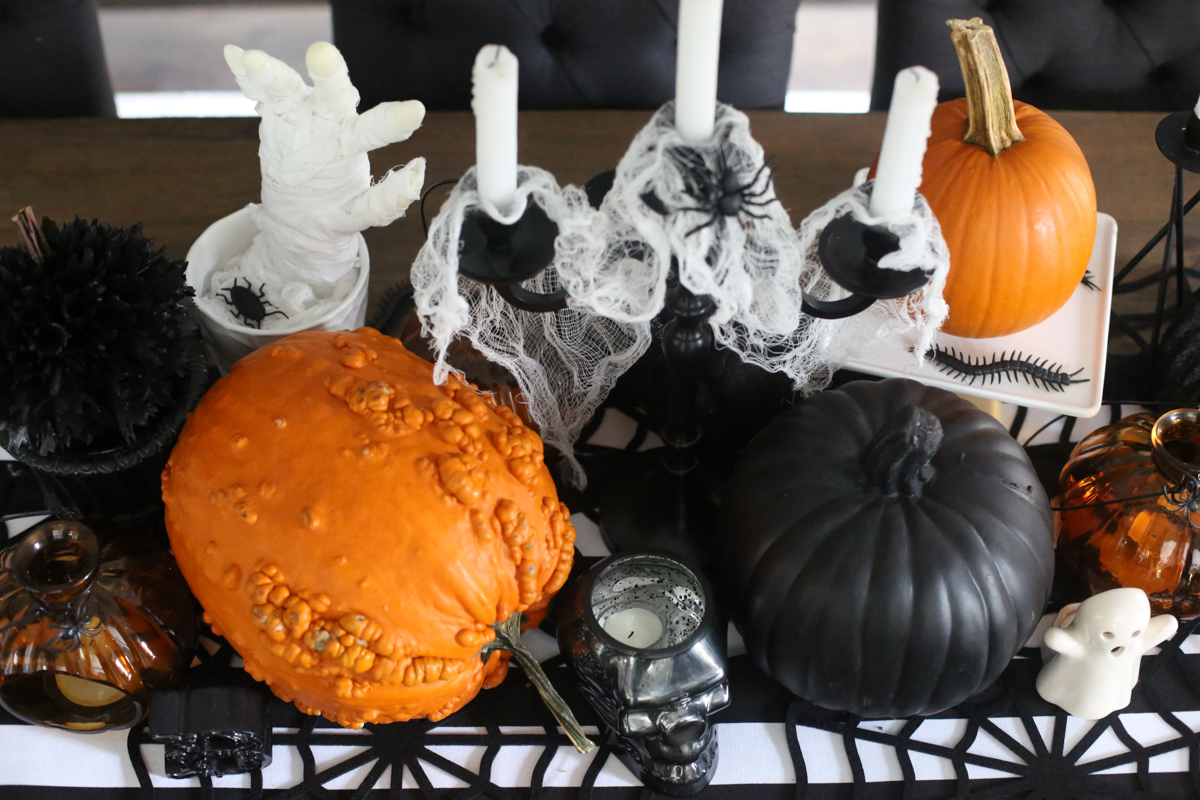
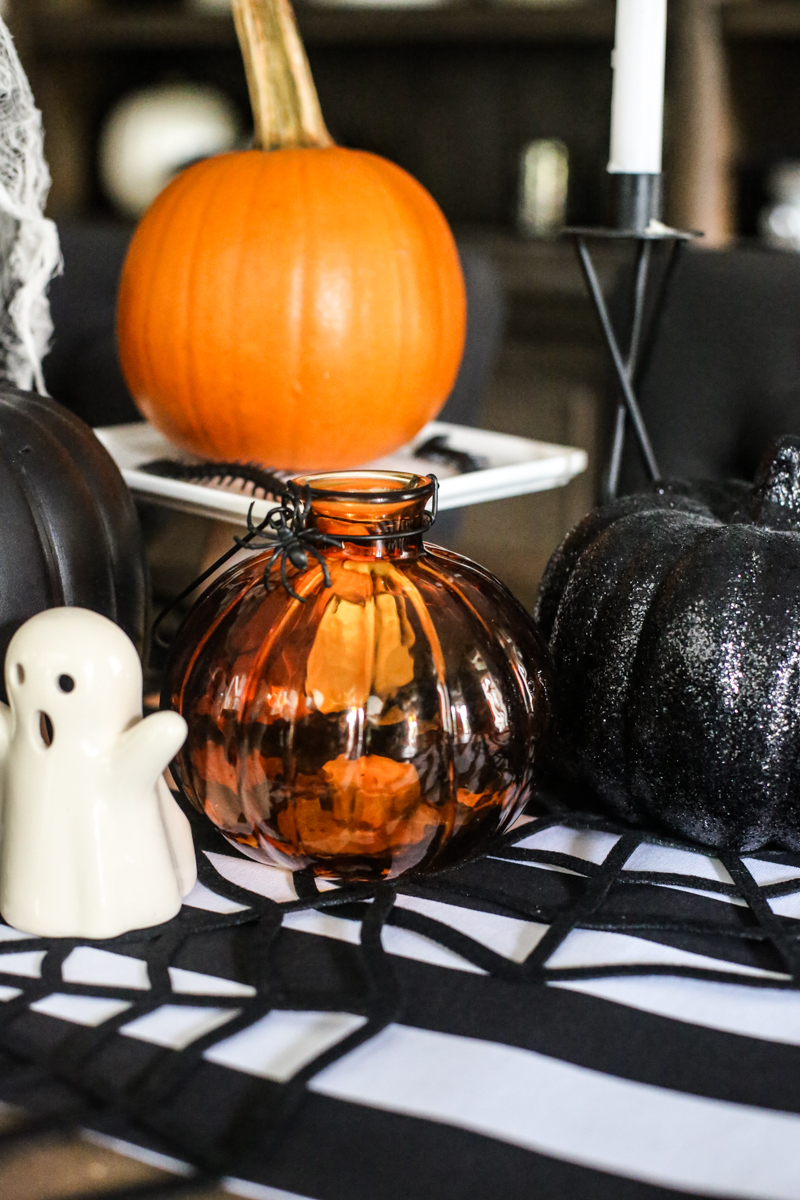
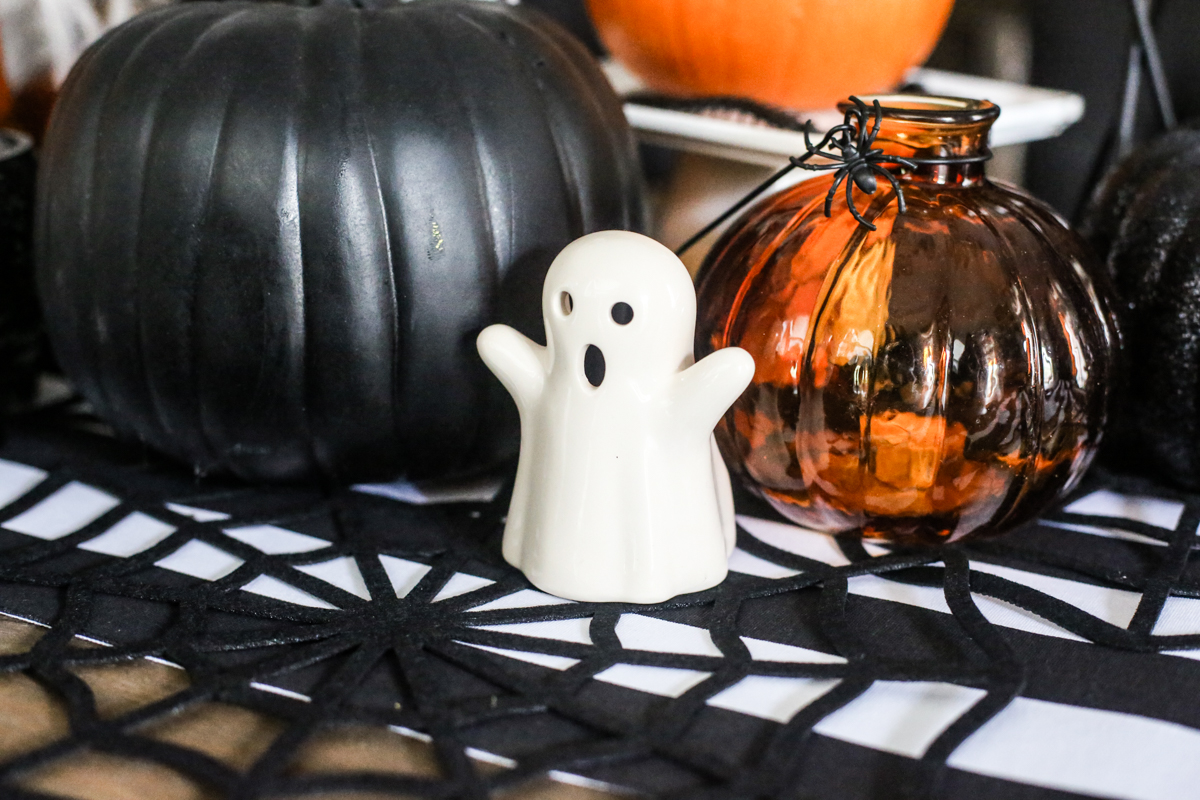
The orange glass lanterns are also nice because they add a transparent touch. It helps make things varied. See how the mediums in one shot are all different? We have ceramic, glitter, glass, textiles, metal and even wax. It has so many different things to look at but the cohesive color scheme ties it all together.
ADD LOTS OF LAYERS
I love using layers especially when it comes to centerpieces. It adds interest and fleshes out the theme. I layered the cheesecloth on the candelabra and then topped it with a fake spider. I layered spiderweb placemats on the runner and then added the centerpiece. I layered the pumpkin on the white cake stand and added fake centerpeds. It is all about adding those extra touches.
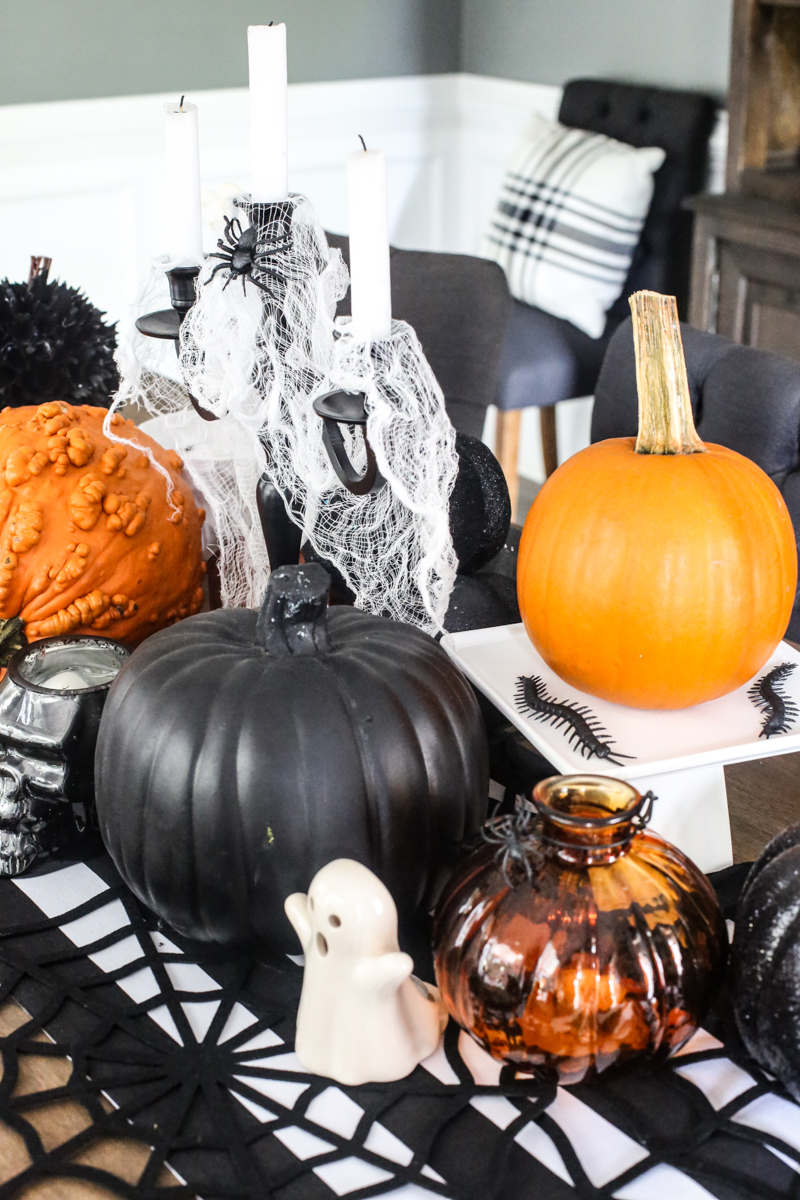
I also make sure to check the back. I love a centerpiece that is fun to look at from all sides….this makes the people sitting on both sides feel extra special.
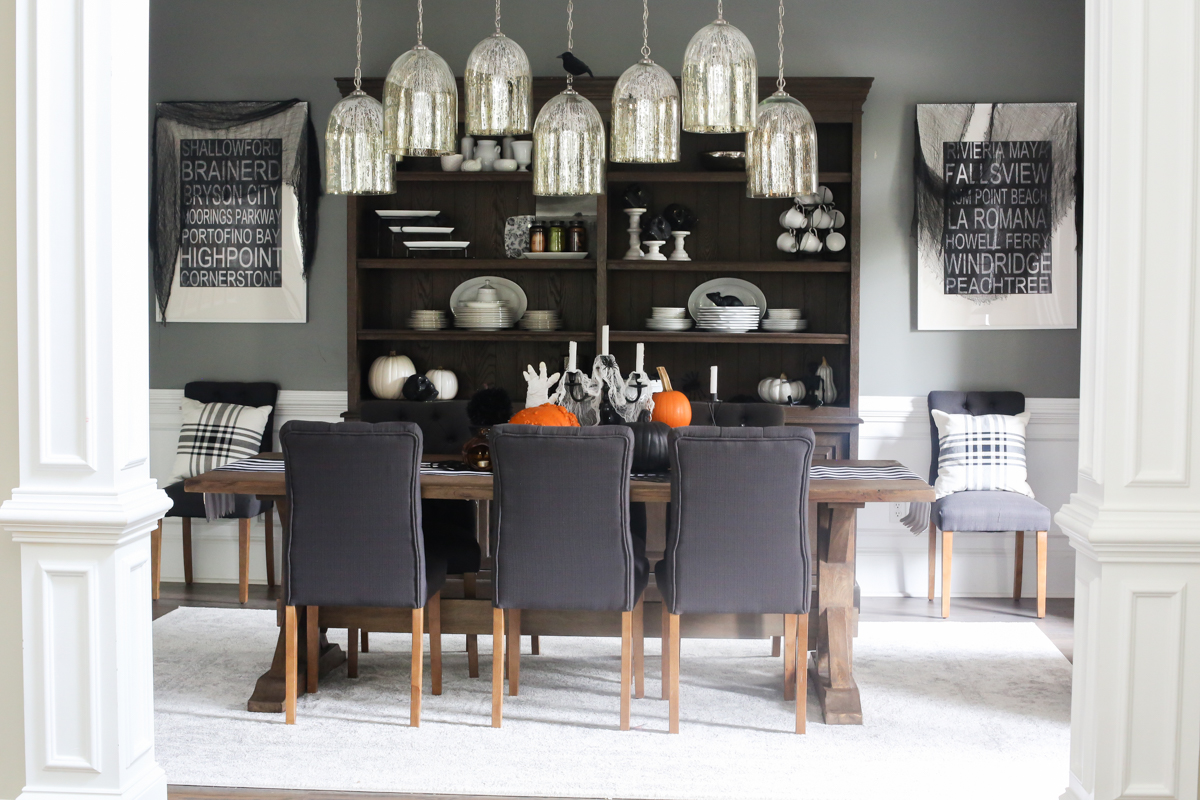
In the room I added a whole lot of other Halloween items….like the single crow perched on the pendant light.
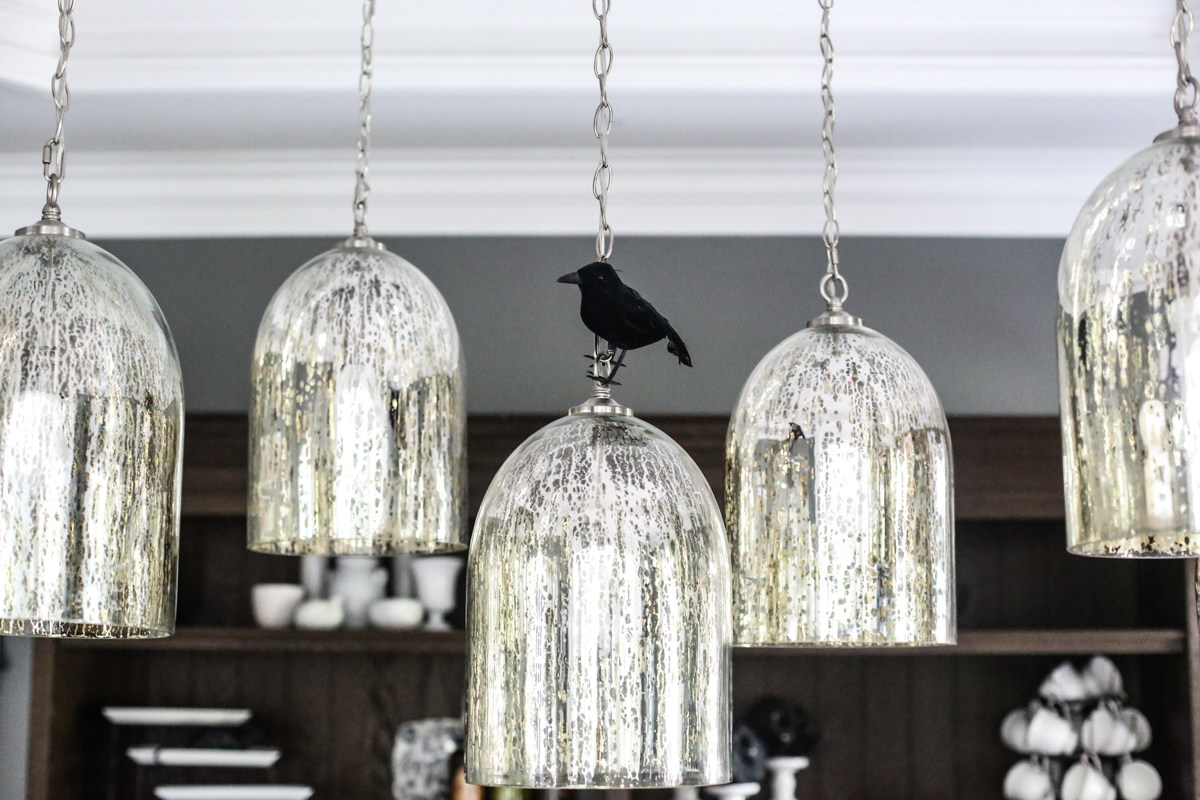
Next year I will have to get TONS of them and have them flying in the room – won’t that be fun?!
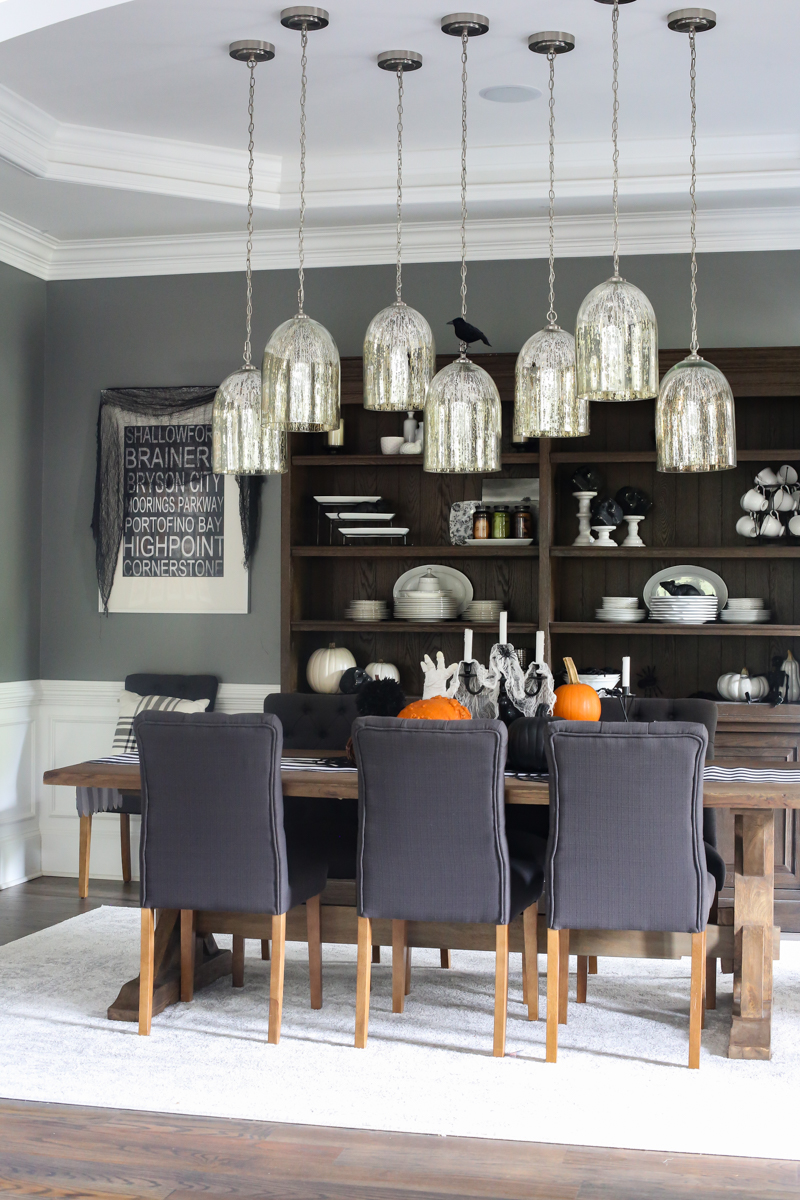
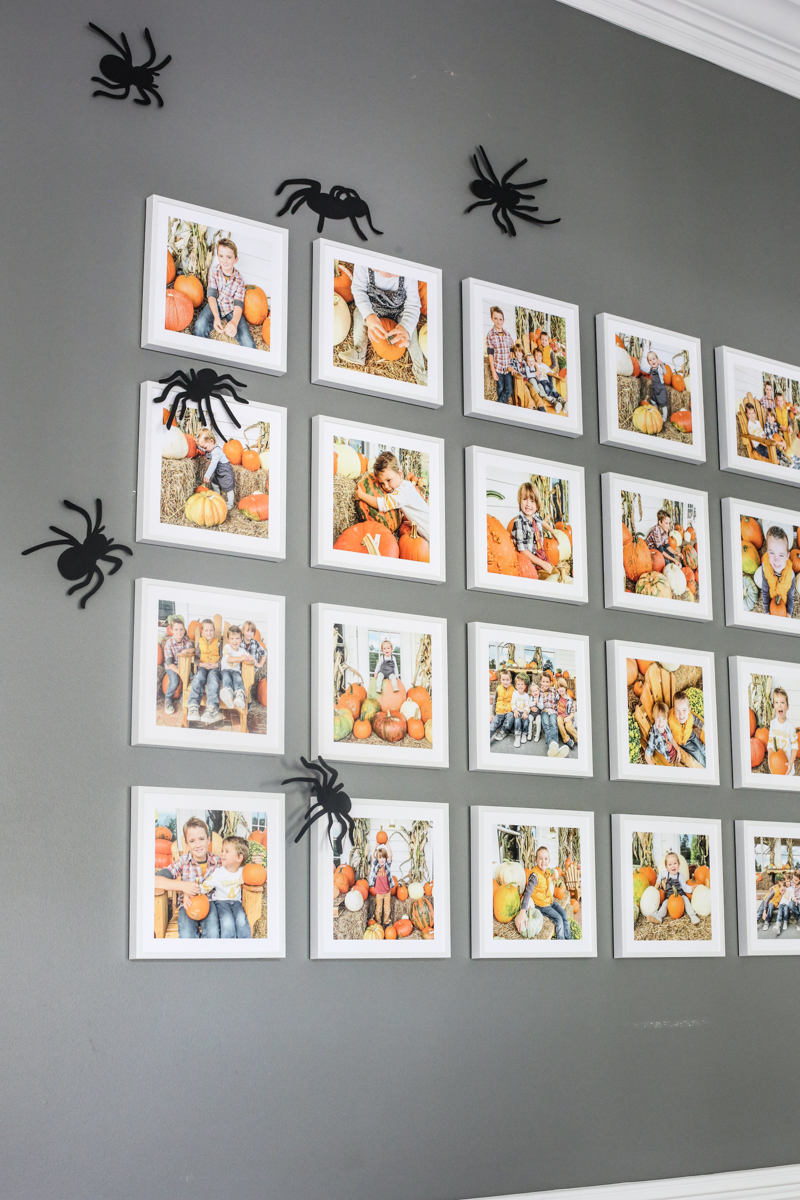
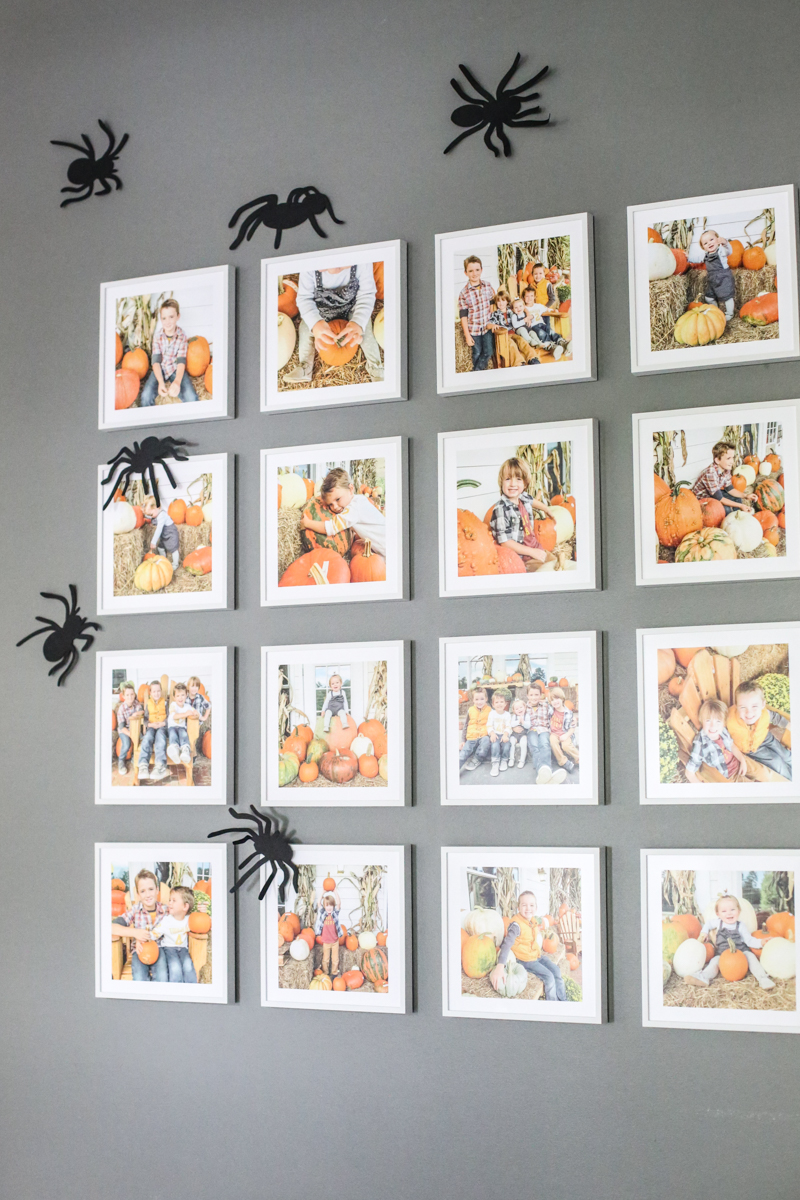
And you may have noticed that my centerpiece goes really well with my new gallery wall!
I couldn’t leave that out of the Halloween fun! I added my good ole spiders that I got many years ago from TJMaxx.
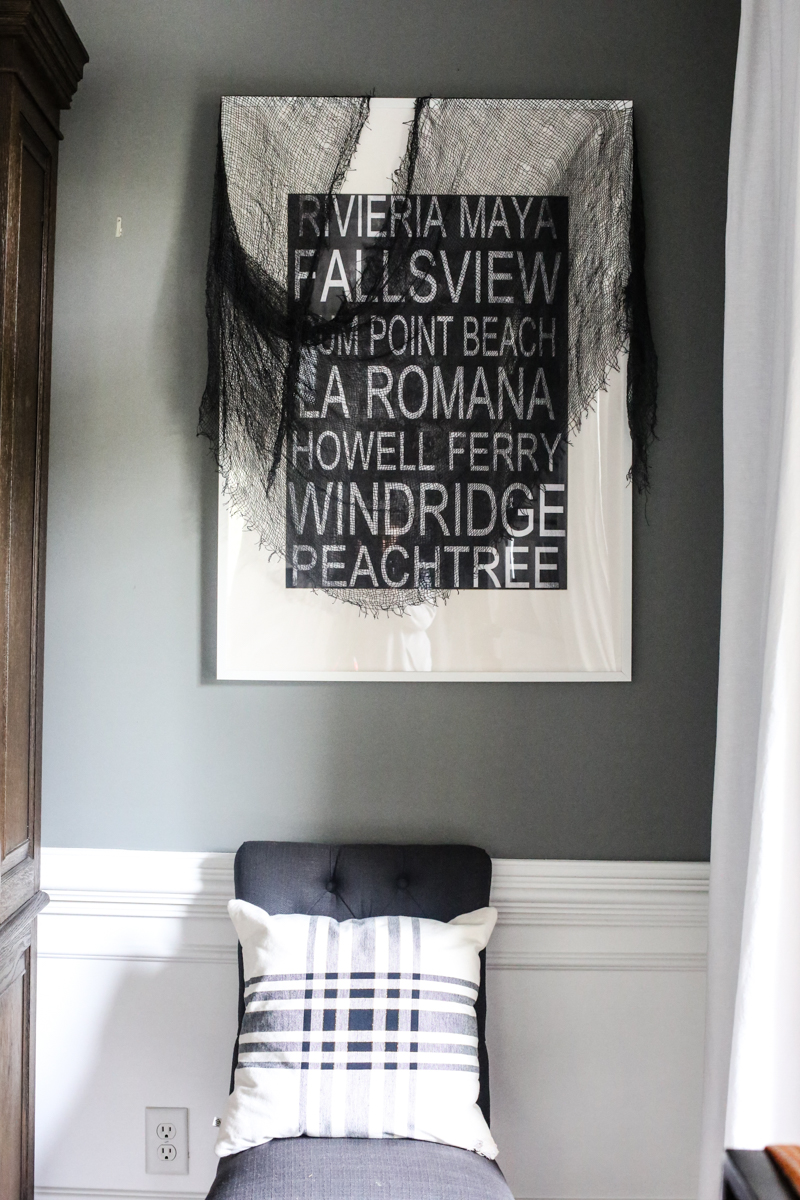
and on the pictures flanking the hutch, I draped black cheesecloth and called it a day!
Beyond the table there is a little bar area and I had to add some favorite things over there too.
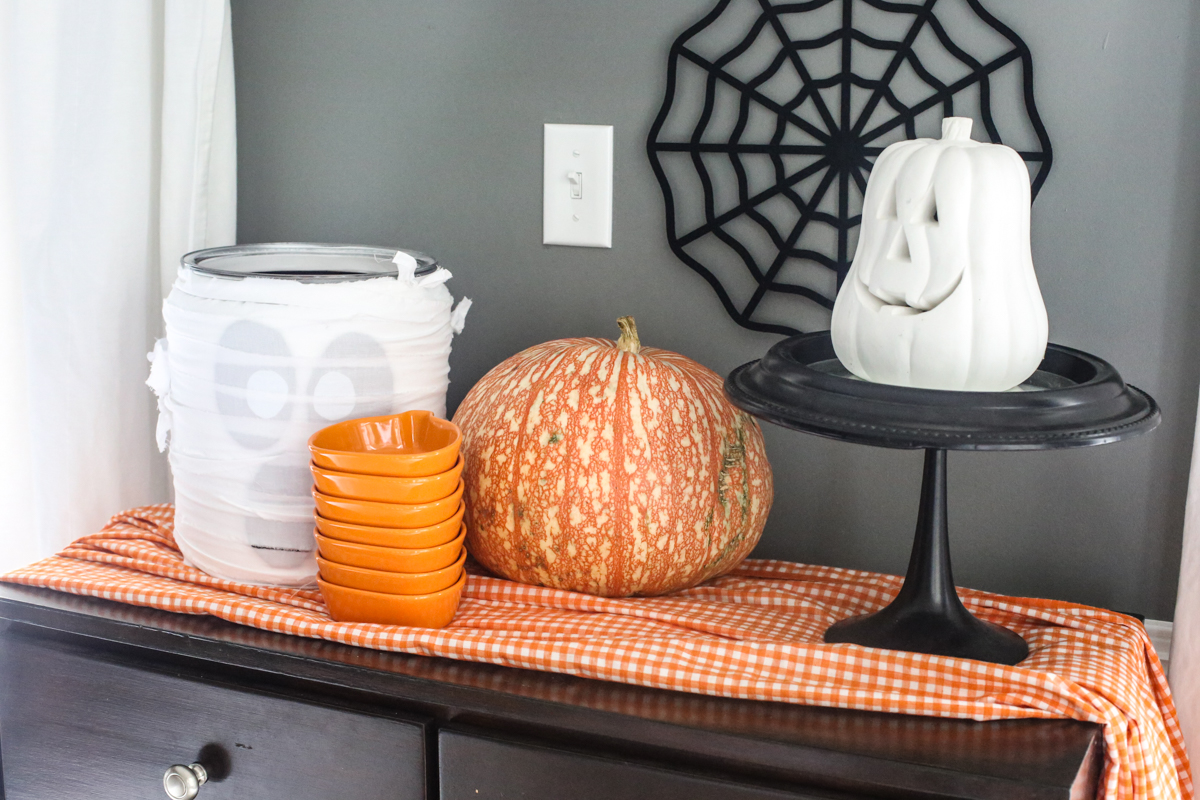
I made a big jar that looked like a mummy or a ghost….you pick! And I use it to hold things that I need for our frightful dinner. I put in paper plates and napkins and everything else that I didn’t want the kids into!
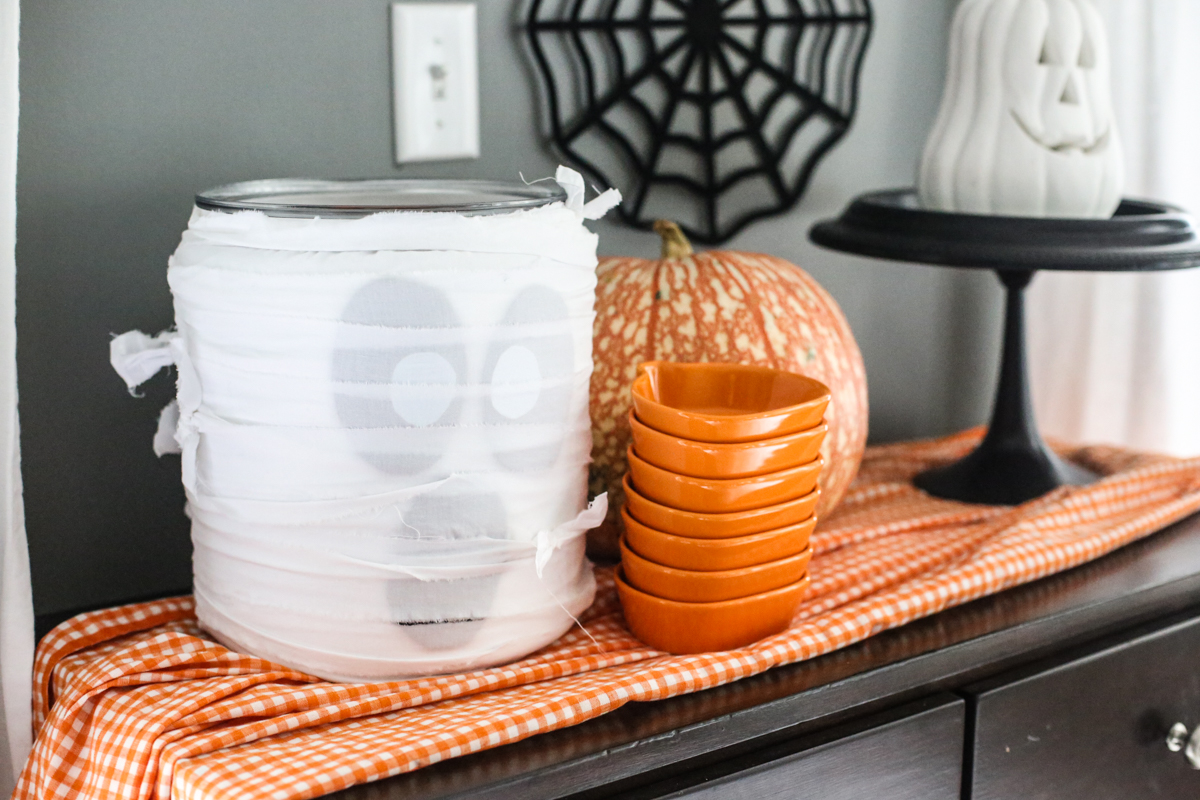
Its very simple to pull them out and pop in a lighted candle to make our mummy (ghost?) glow at night!
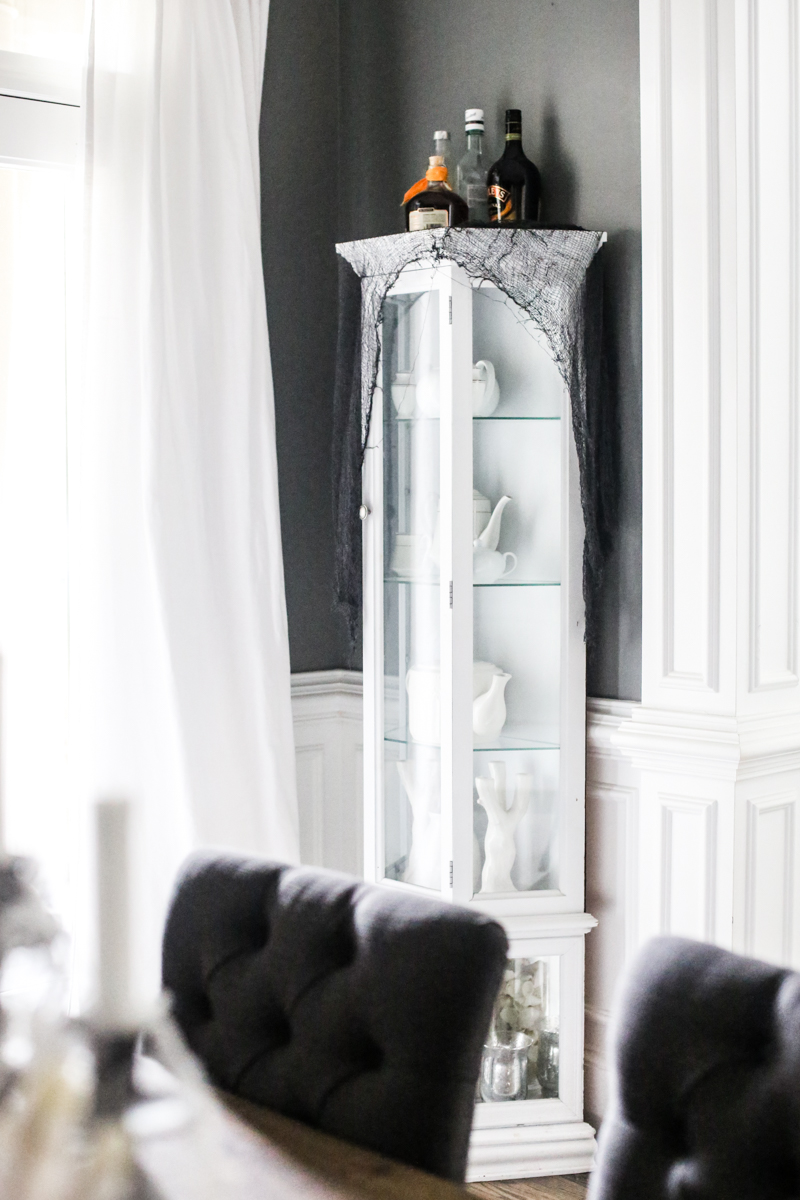
And the small glass tower got draped too. Cant leave that area out! The teapots would never let me hear the end of it 🙂
Oh and did I mention I put some spooky items on the hutch too? Yep. Sure did. There they are.
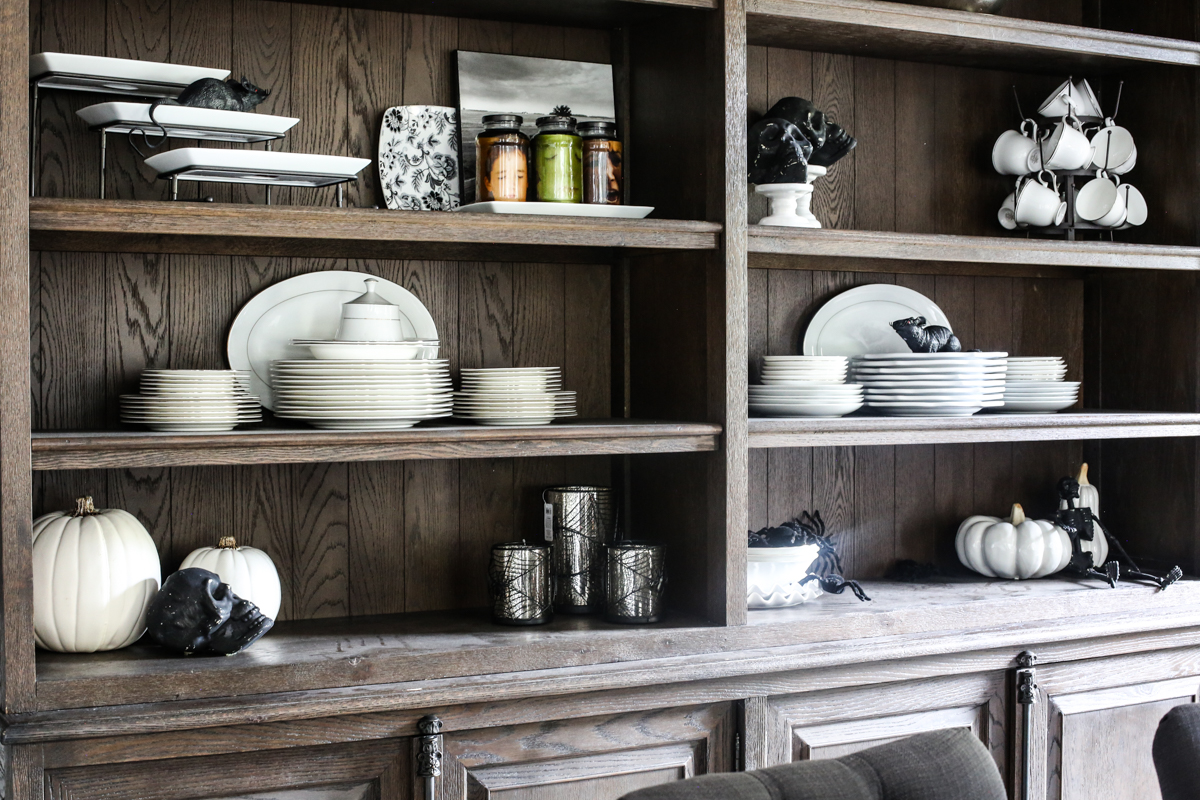
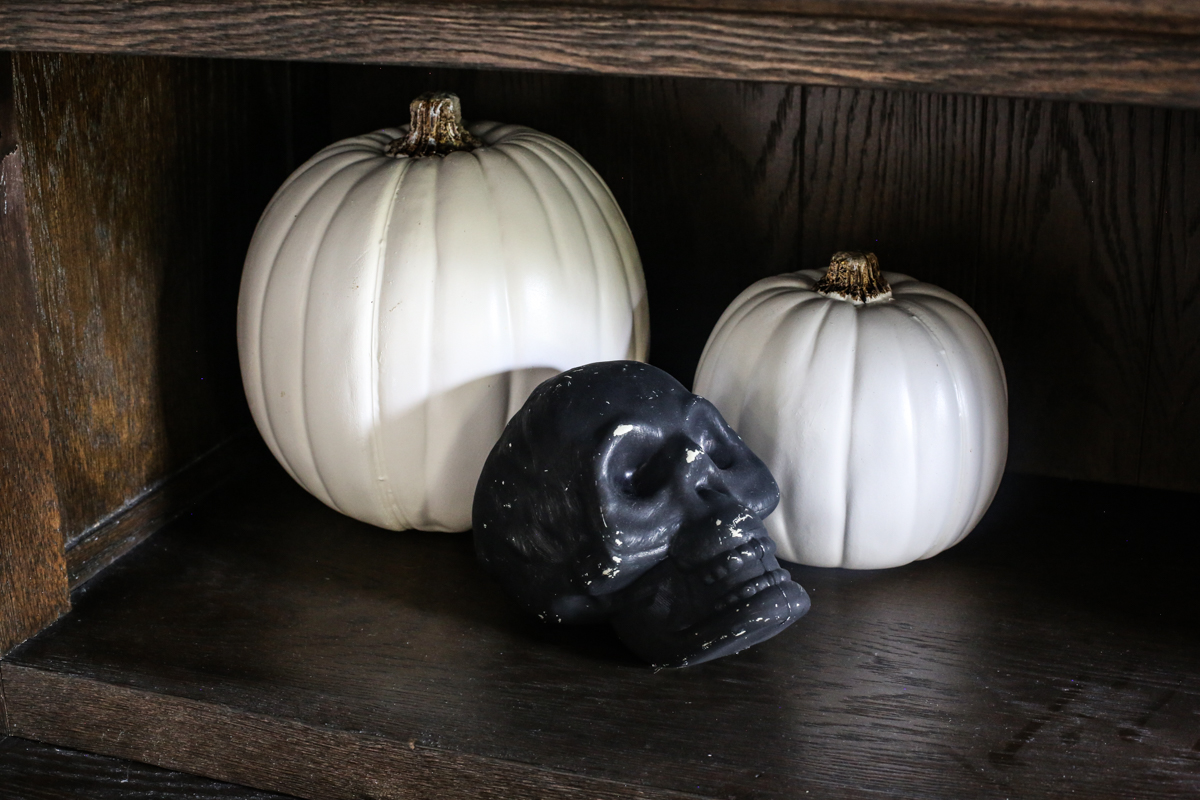
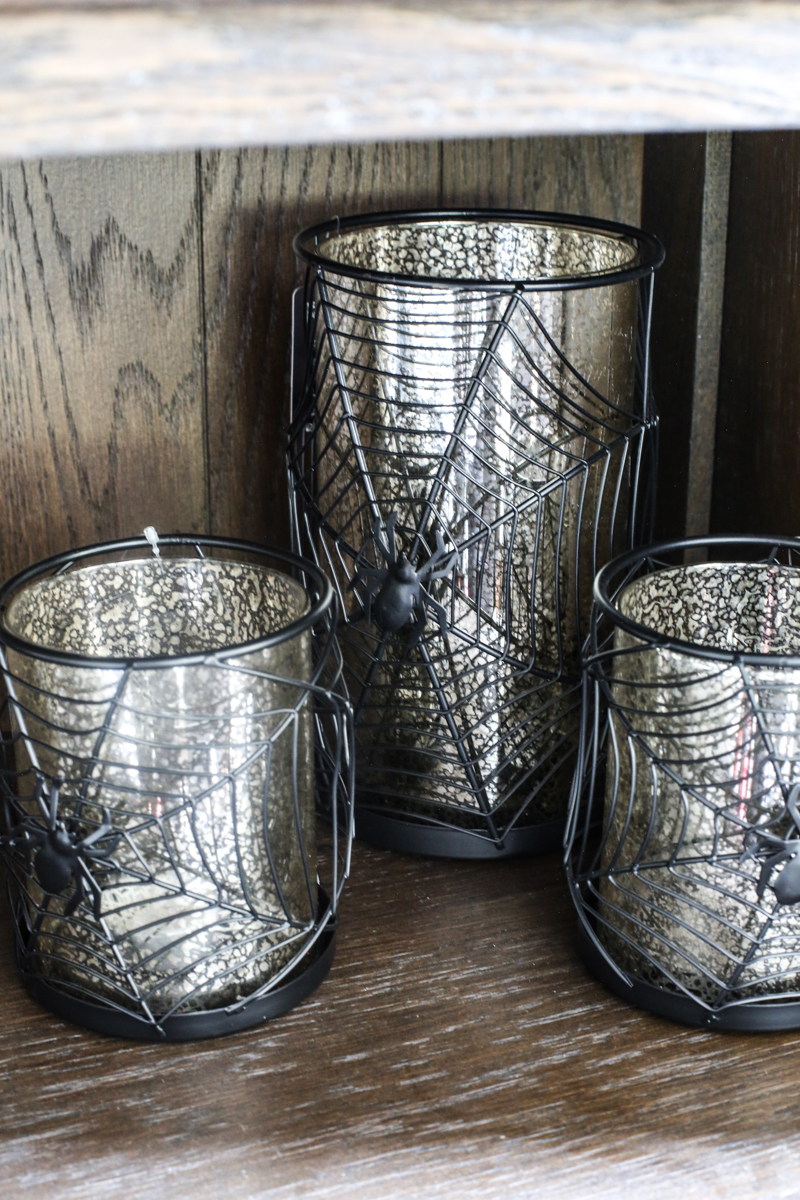
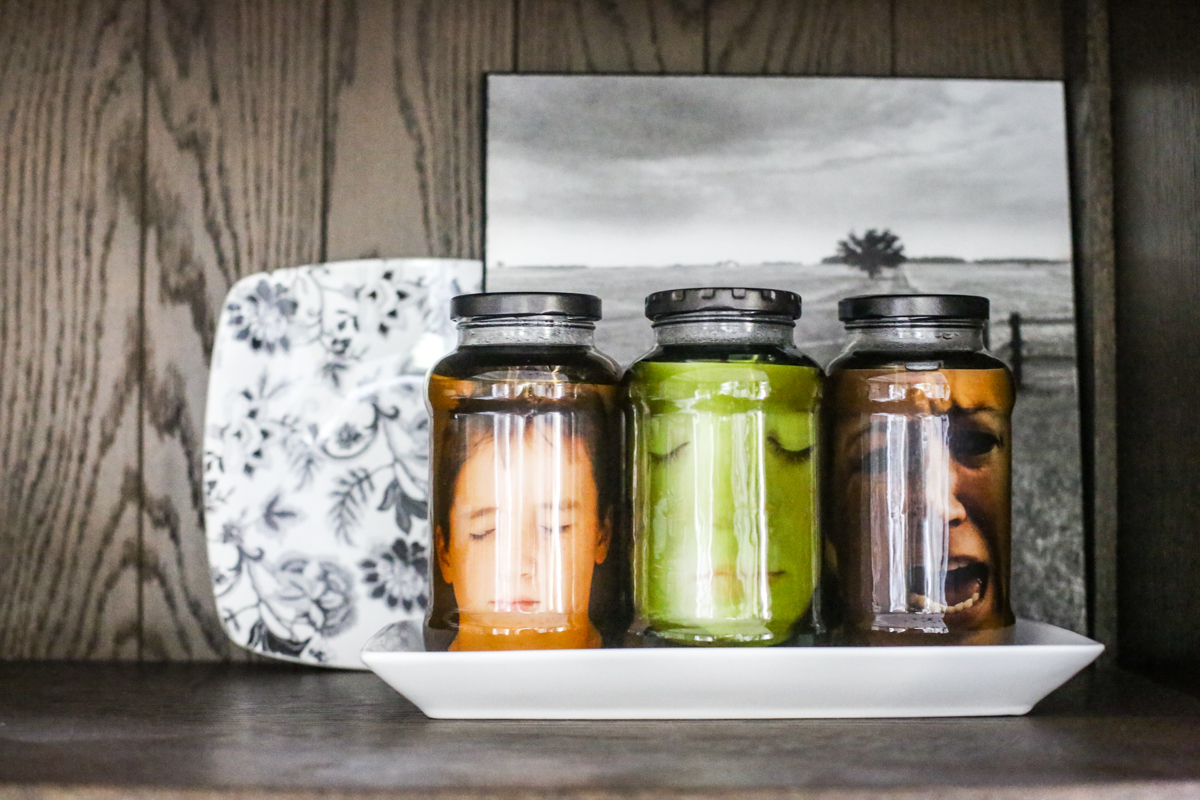
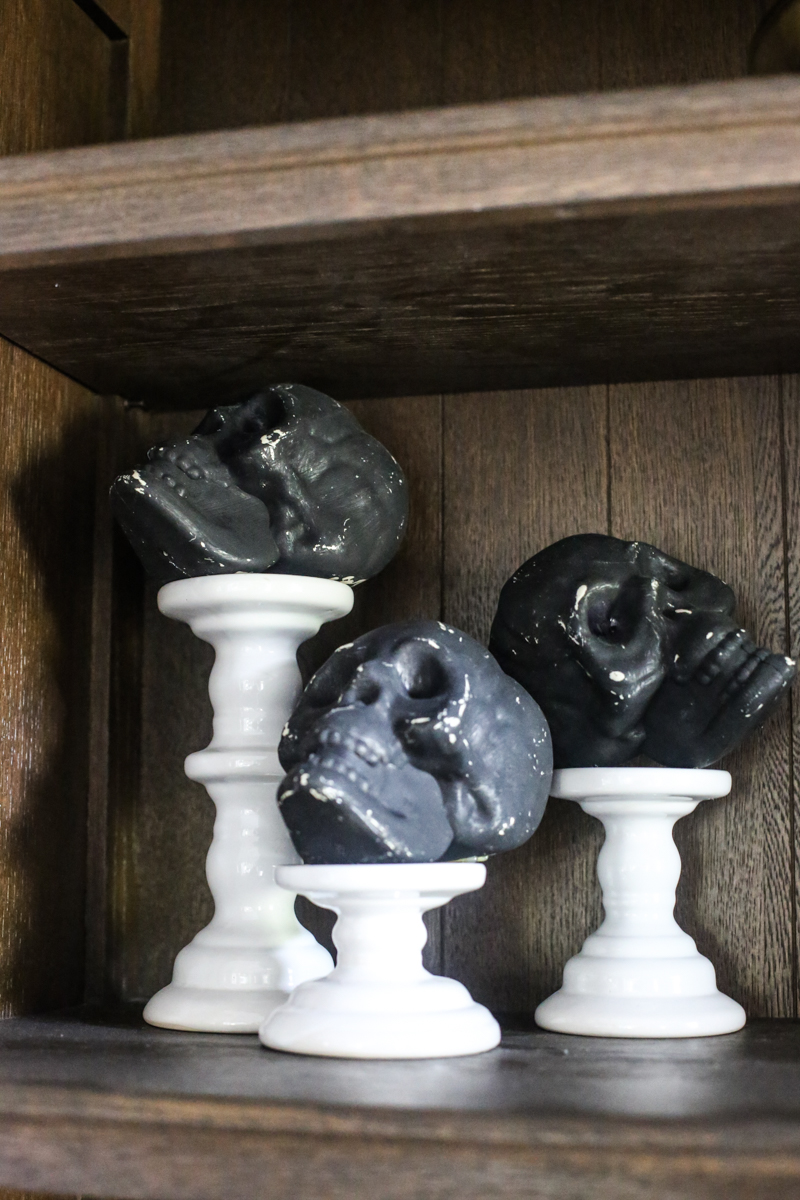
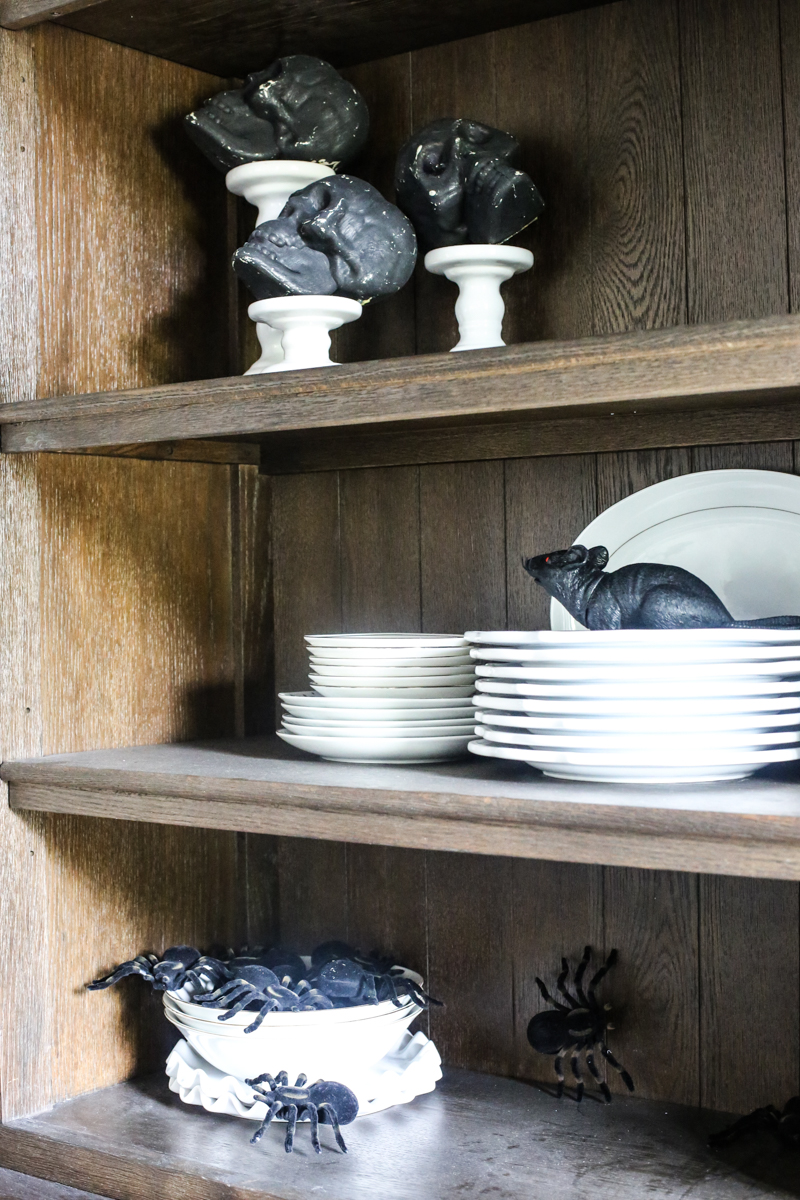
Just so everyone knows….I added that dust so that it looks extra scary. Yeah. Thats right.
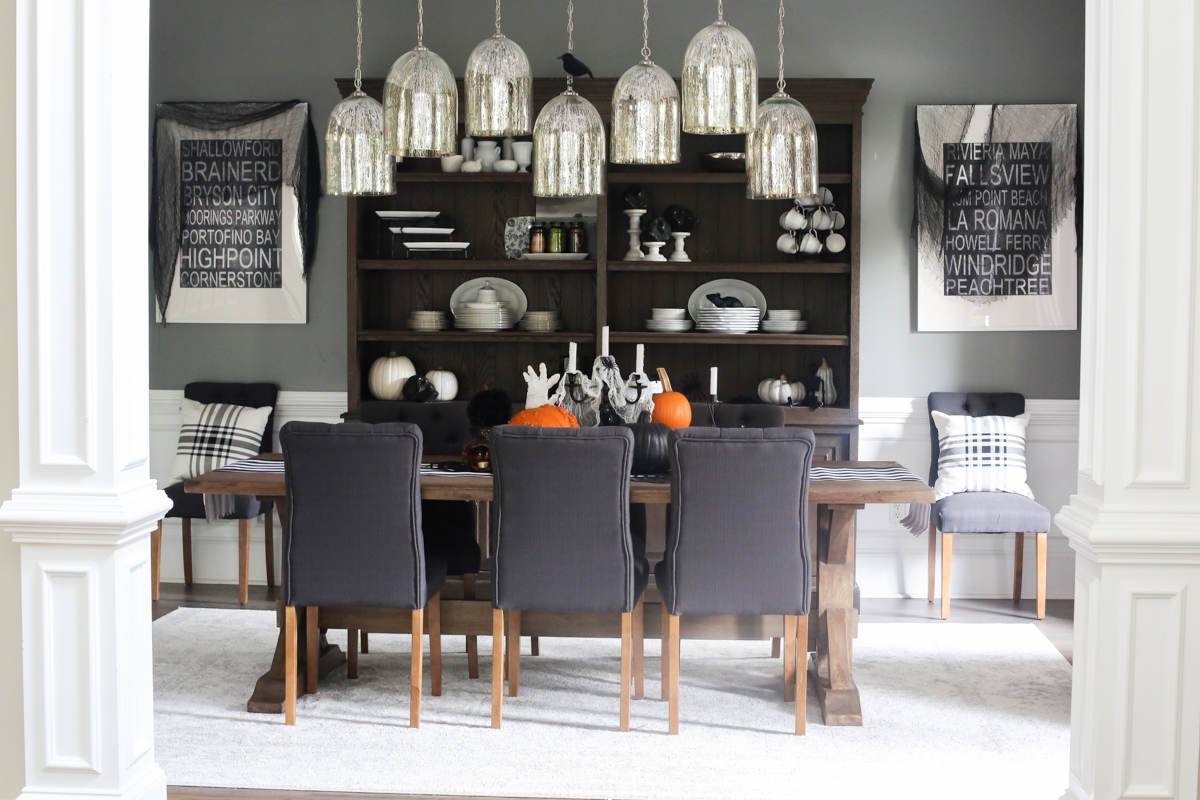
So there you have it folks – our very spooky dining room and I hope you like it! I know I am looking forward to seeing all my sweet babes on Halloween and I can’t wait to see yours too! I love me some costumed kiddos! Stay safe guys! And come back tomorrow to see our halloween costumes from last year. I made everyone dress back up in their outfits after I lost the memory card on Halloween night – and I finally got around to putting them all together! I’m totally on top of things y’all! ha!