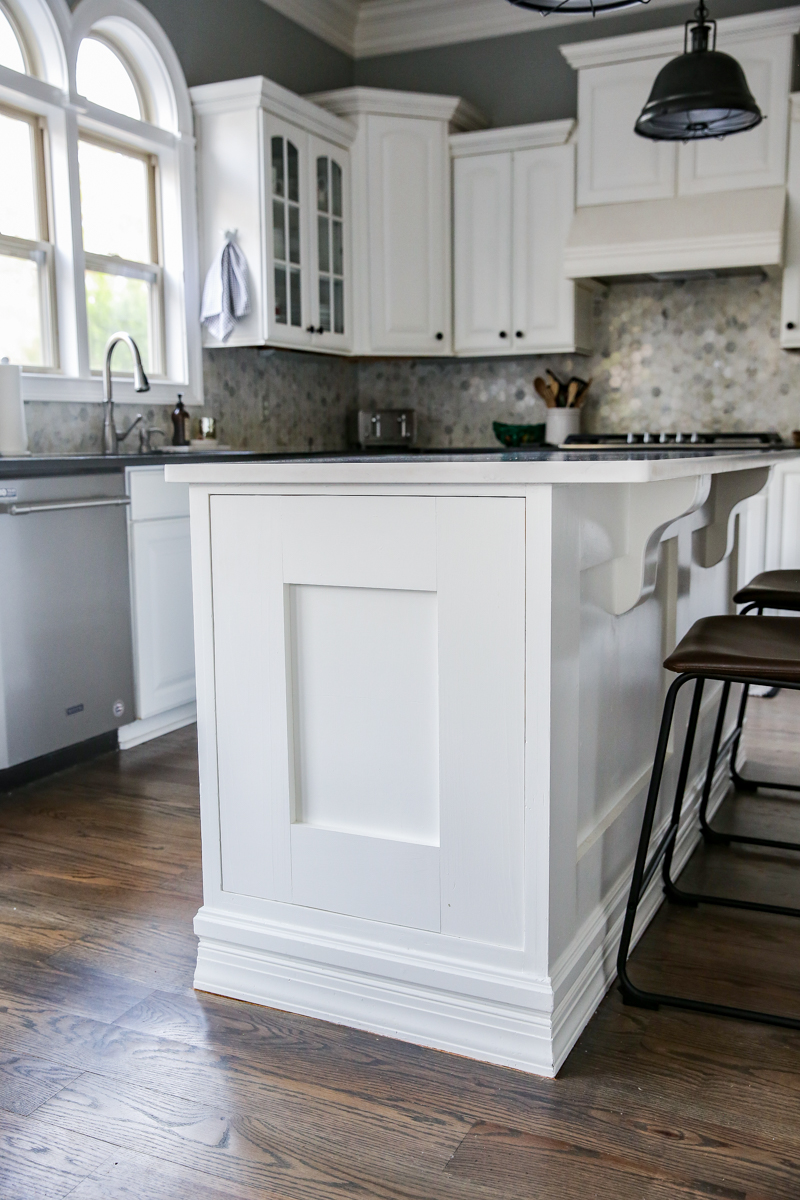
One of the nagging items on our kitchen to-do list is to finish out the end of our island with a cabinet door. Don’t you love those little nagging unfinished items?! They are equal parts frustrating and demoralizing. They stare at you and taunt you with a sticked out tongue and crazy eyes. No matter how beautiful the rest of the room looked, my eyes focused solely on the unfinished items. I decided that this year I wanted to move forward with unfinished business. Kind of like a new years resolution – just finish. But that meant that I had to build a cabinet door. That is actually something that doesn’t seem that complicated but I have never actually spent time building a cabinet door so who the heck really knows?! But here she is now and I LOVE it….
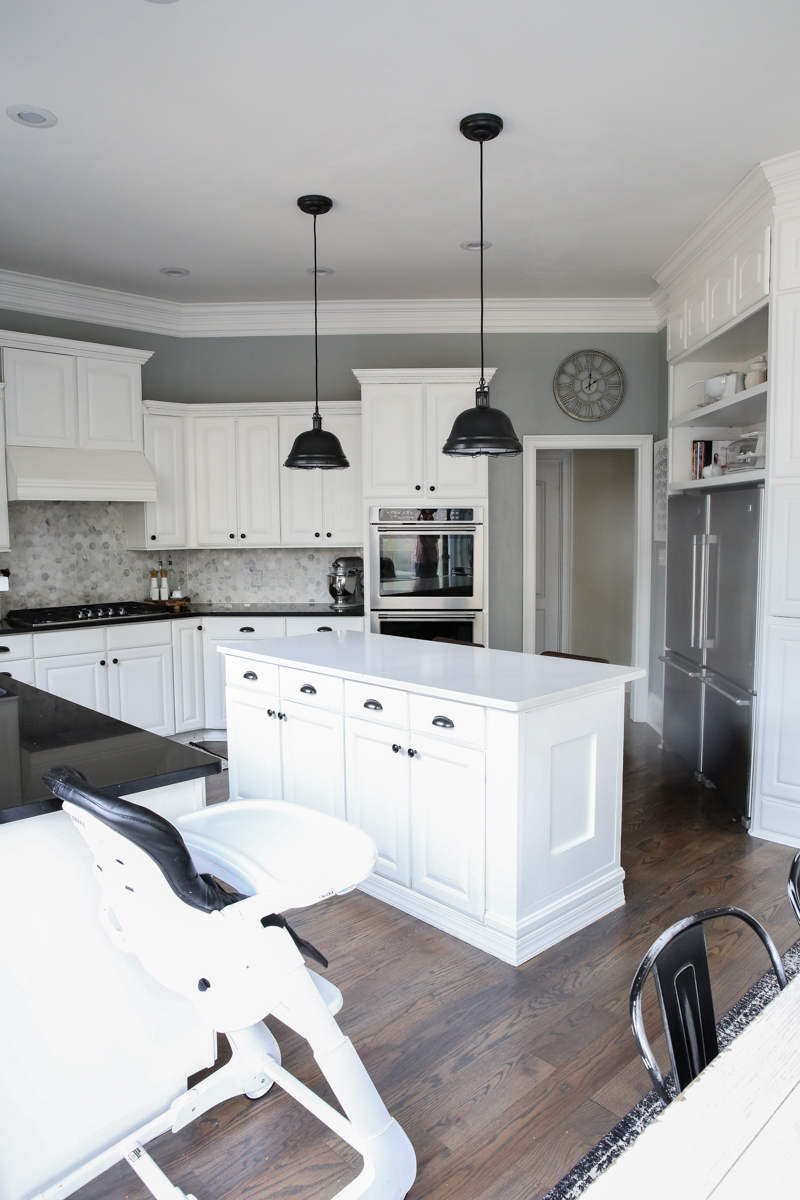
Of course there are other things I want to finish in here….but that island is done!
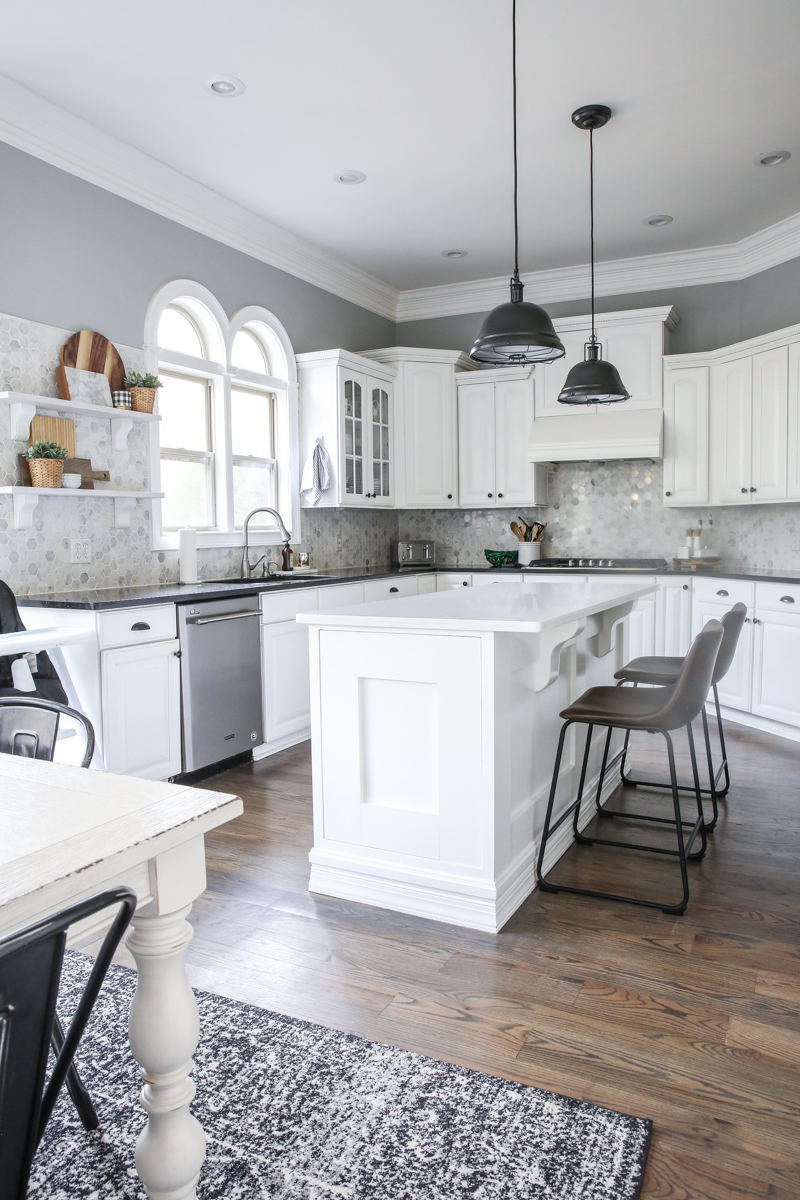
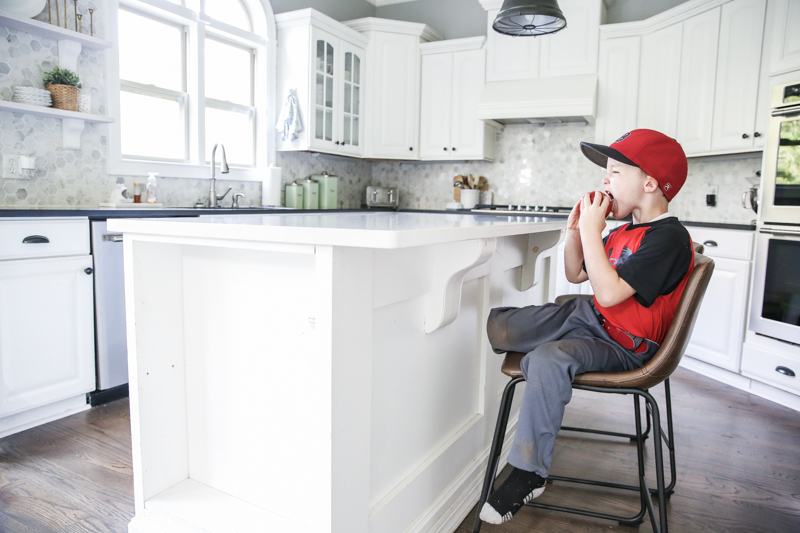
As a reminder, here is what it looked like just a short time ago…
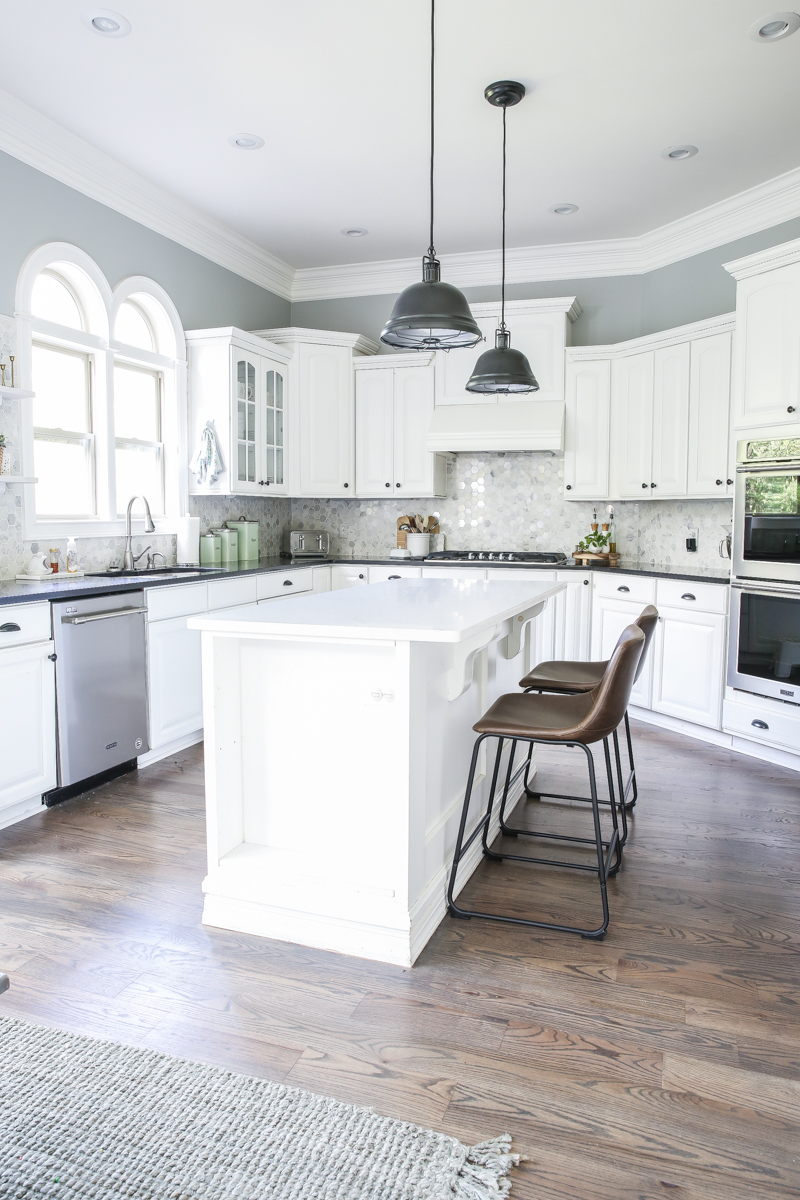
So the cabinet part of it was actually shelves but it is constructed like a very shallow cabinet so that’s what we called it.
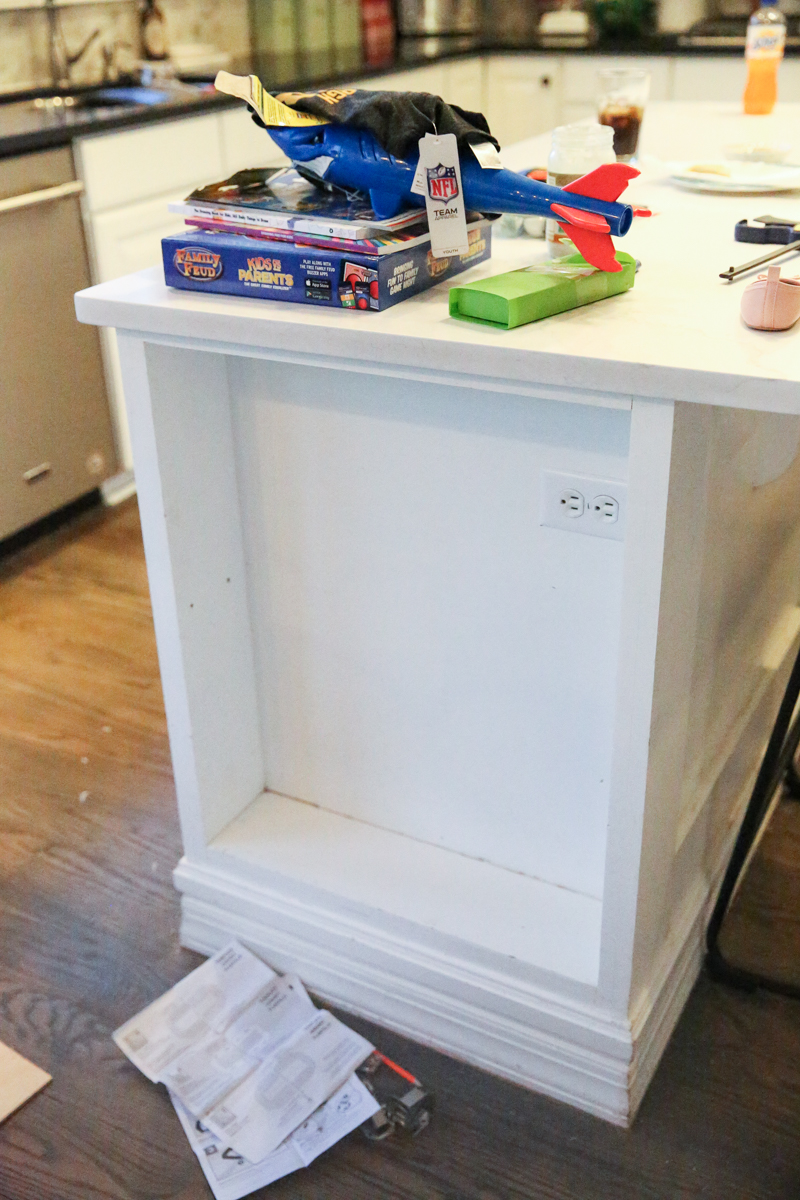
The first thing we did to create the door was cut a piece of thin plywood. It was 1/4″ thick and since I knew we would be trimming it out with thicker wood, I was good with that.
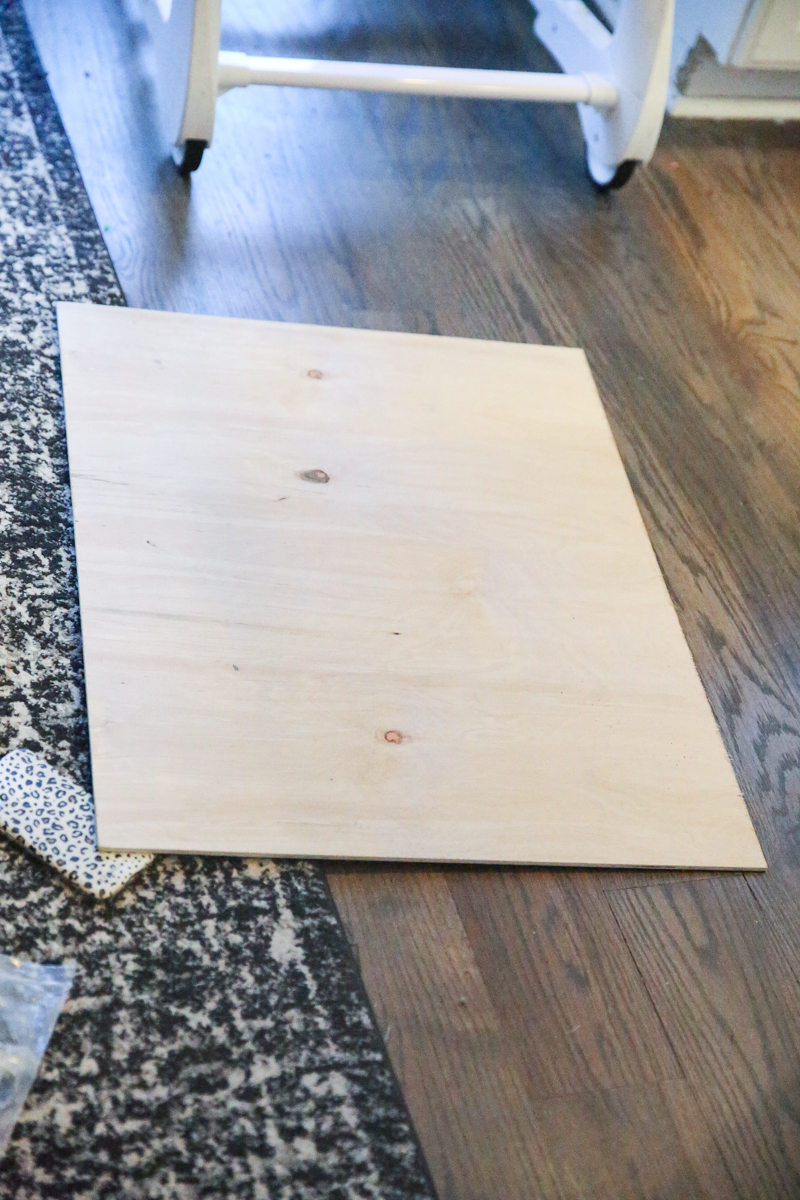
We cut it to exact size of the cabinet minus 1/4″ of an inch on the width and heigth so that it would have a small amount of clearance.
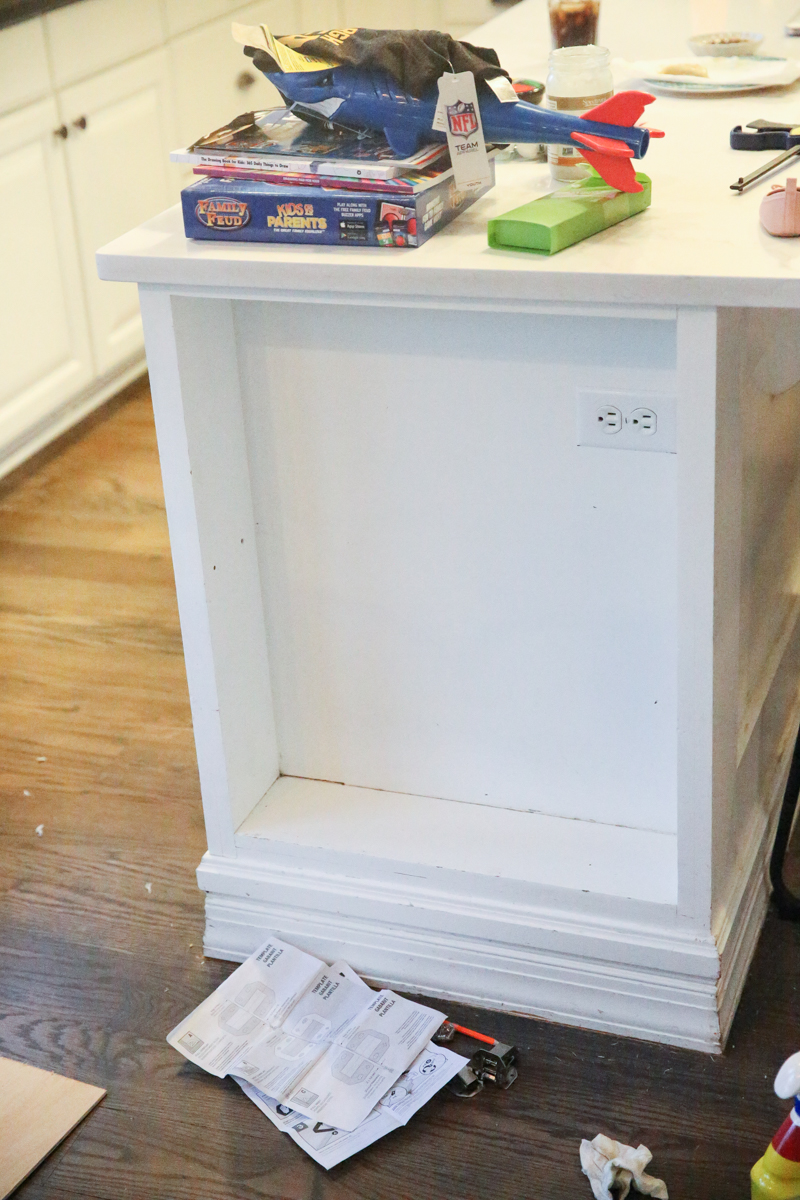
Then we bought a piece of 1×6 white primed boards from Home Depot. These were cut to the length and then we fit the pieces between them to finish out that chunky shaker style door.
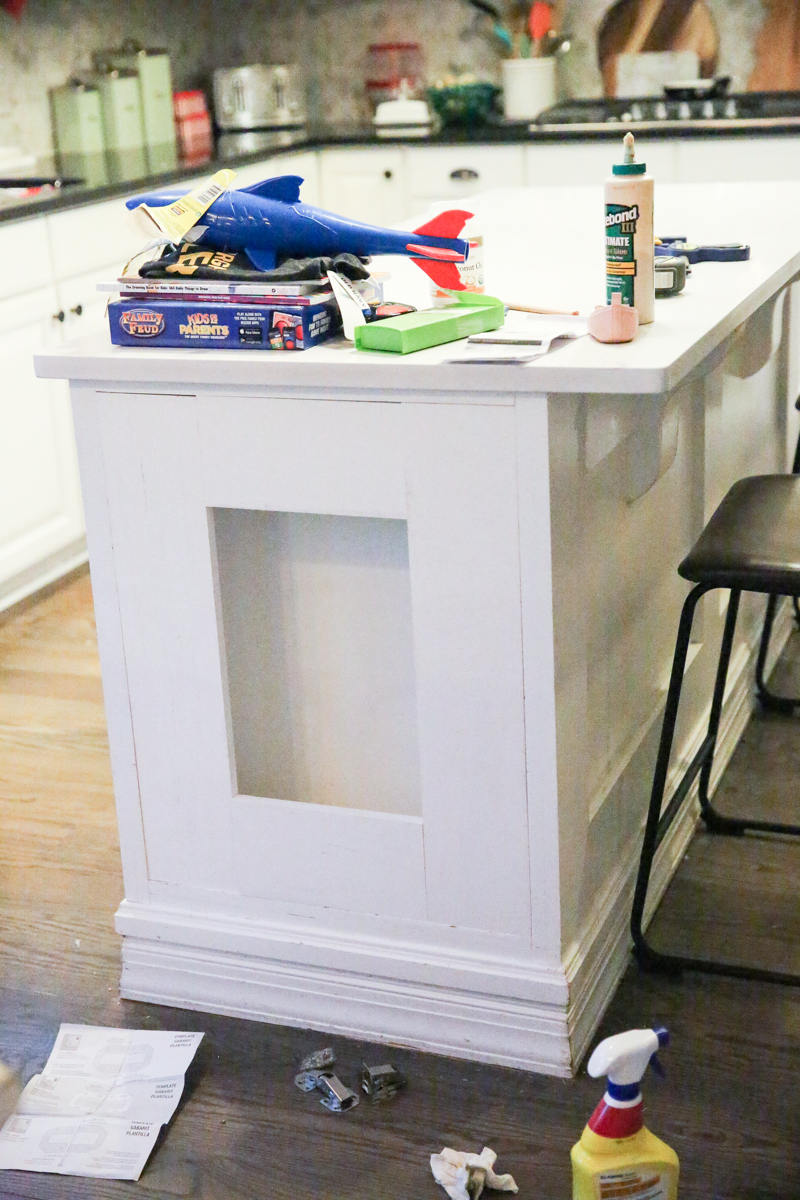
The boards were glued to the plywood with wood glue and clamped till we could pin nail everything into place.
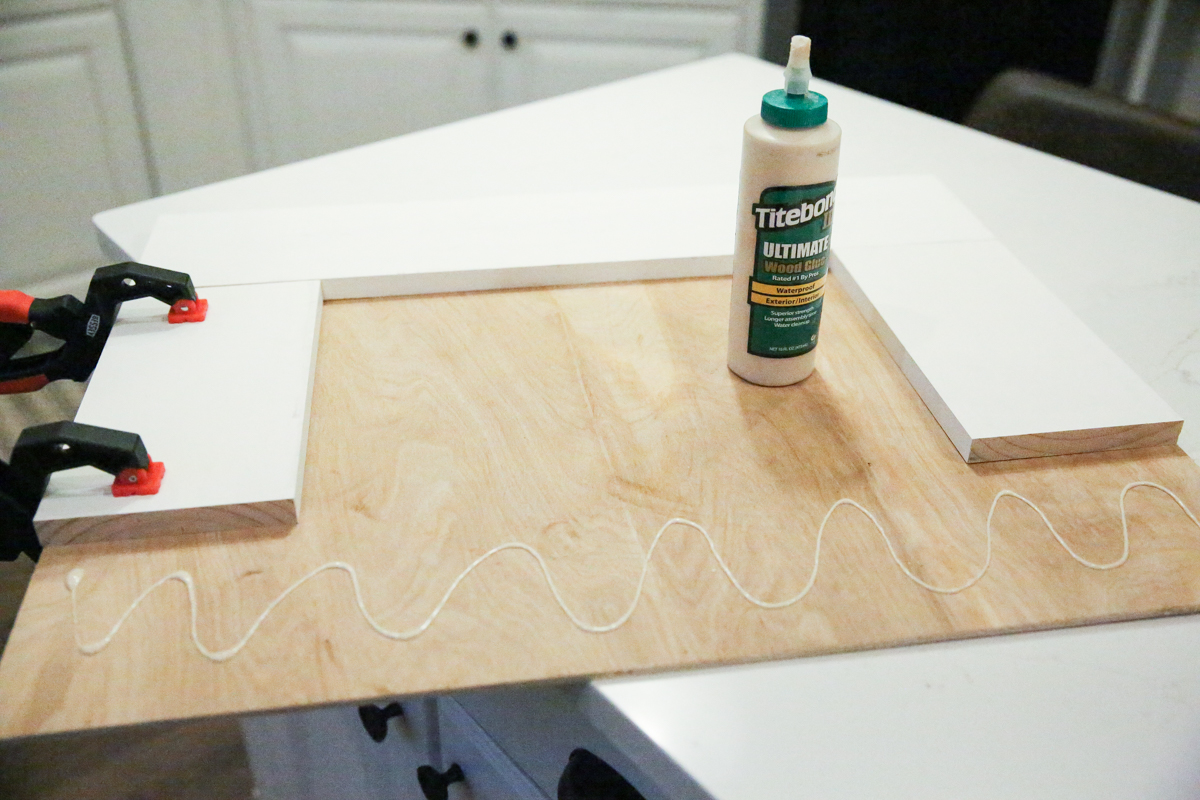
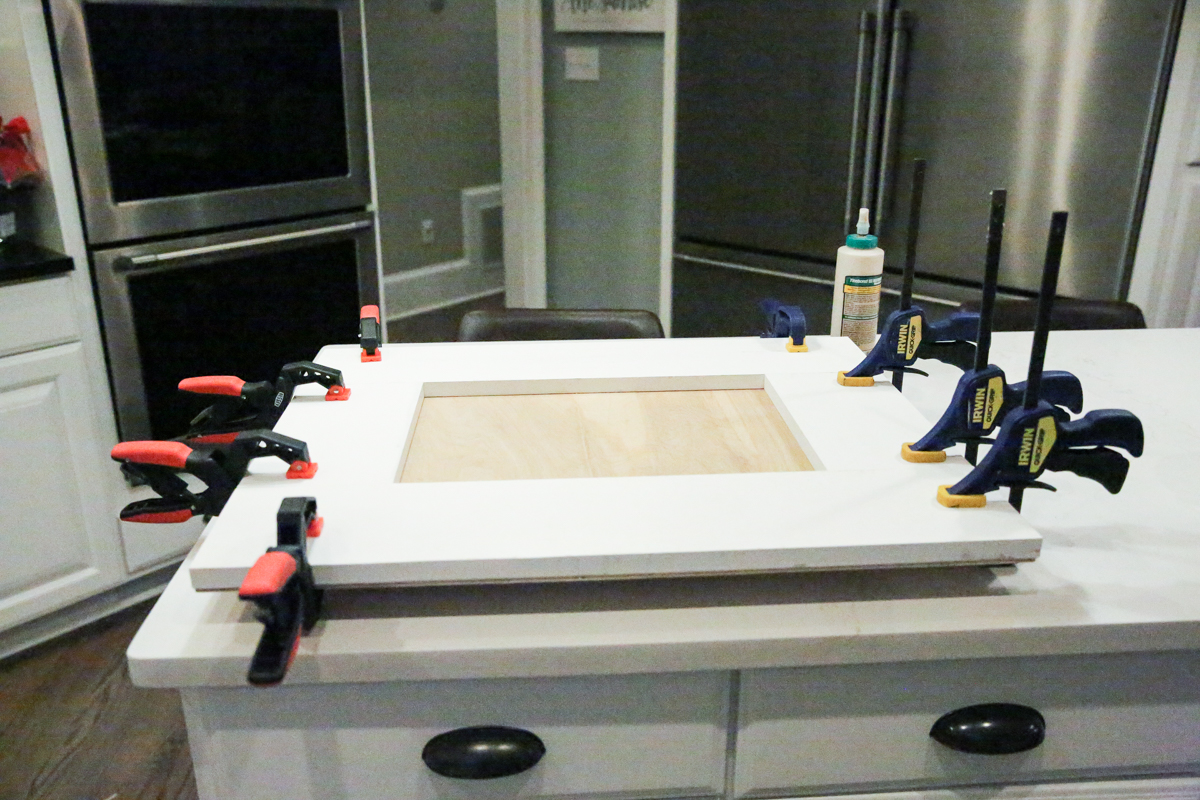
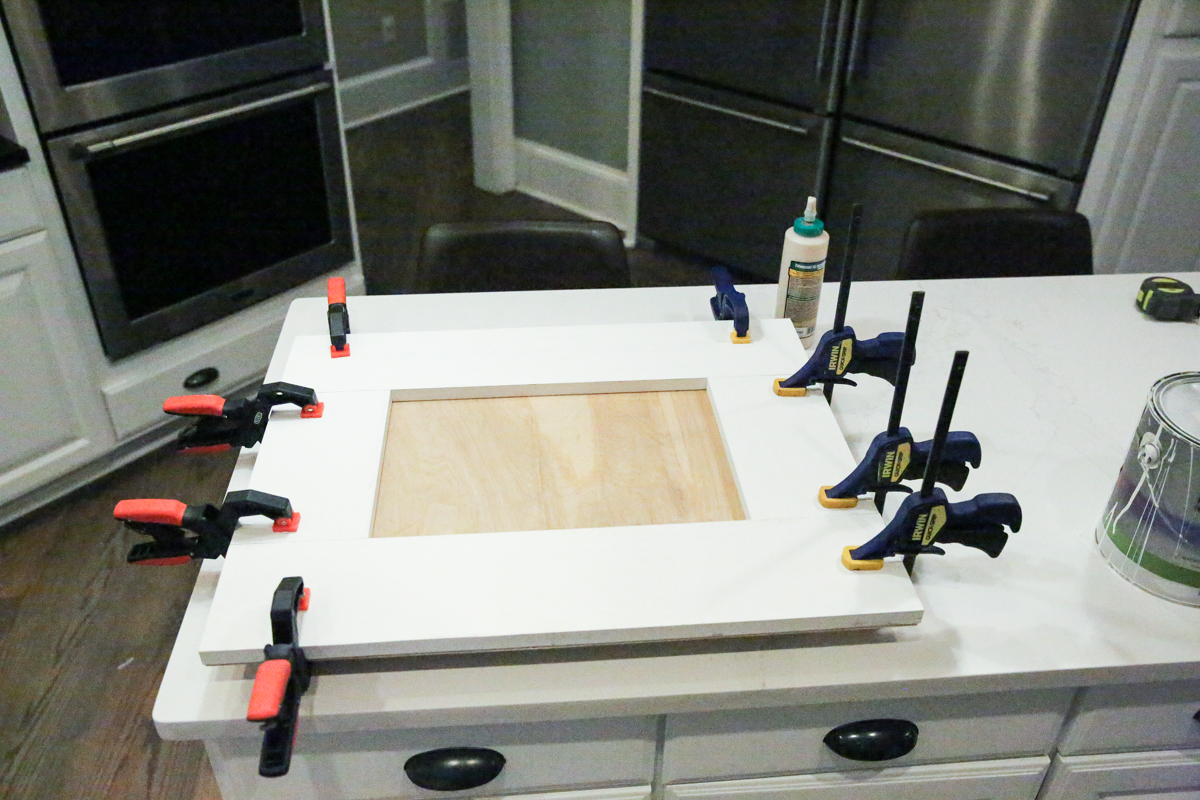
I just used a pin nailer but a brad nailer or a stapler would have worked too. I went with the pin nailer because then when the door was open, you wouldn’t be able to see the marks it left.
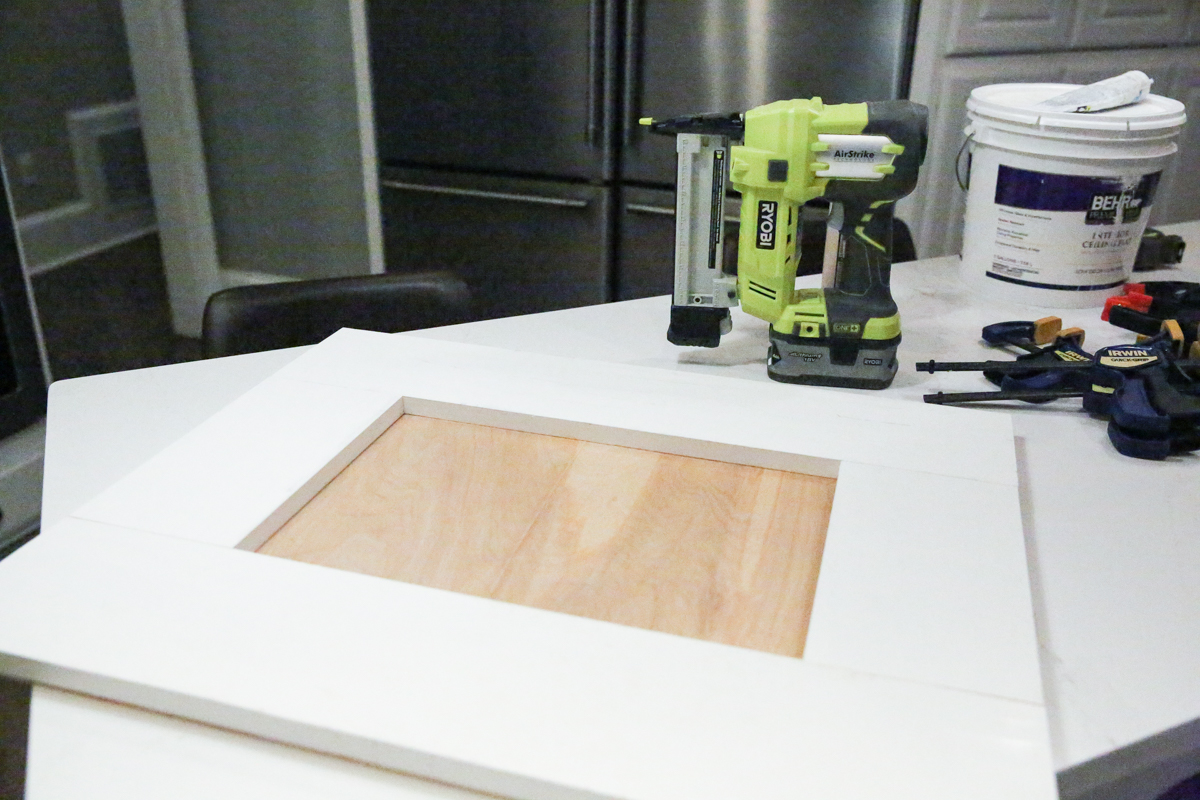
We dry fitted the door to make sure it would fit and sanded off any areas that rubbed.
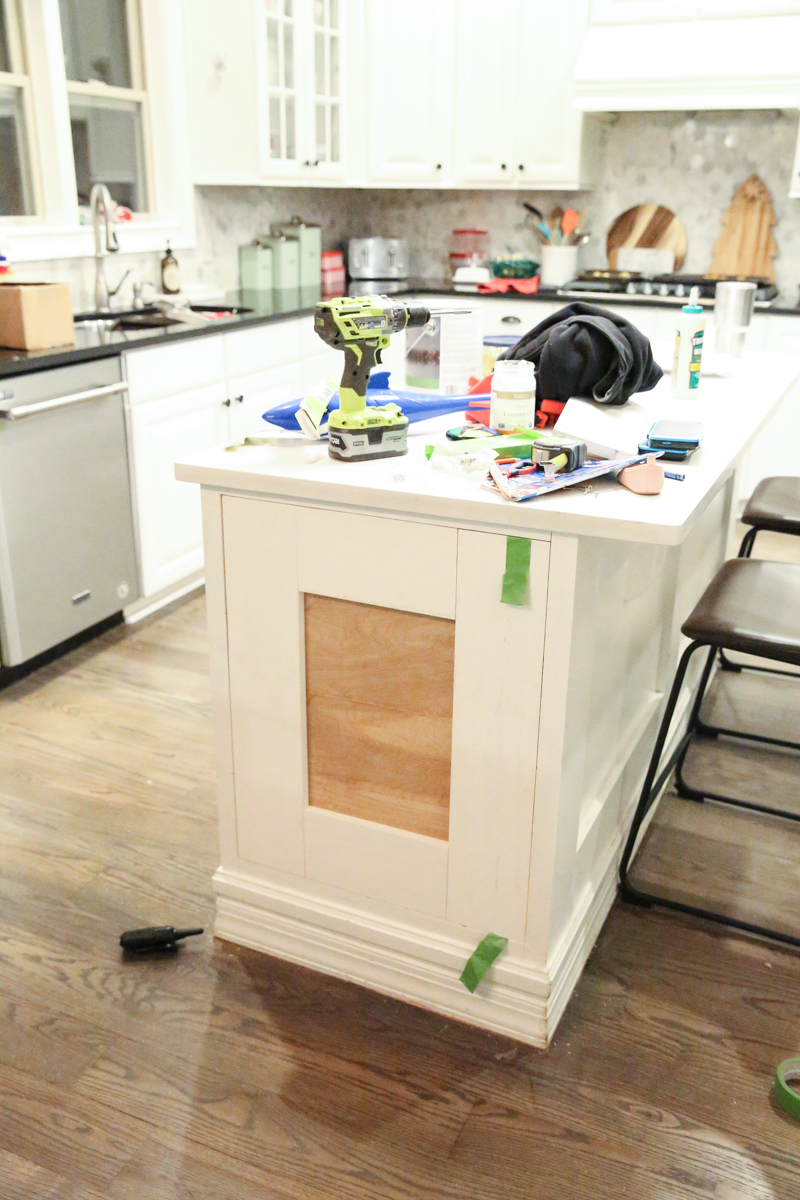
On the inside we used inset cabinet door hinges to install the door so that it still can open. Honestly I have no idea what I am gonna put in here (I was thinking maybe some of my larger cutting boards that I only use for charcuterie boards but we shall see).
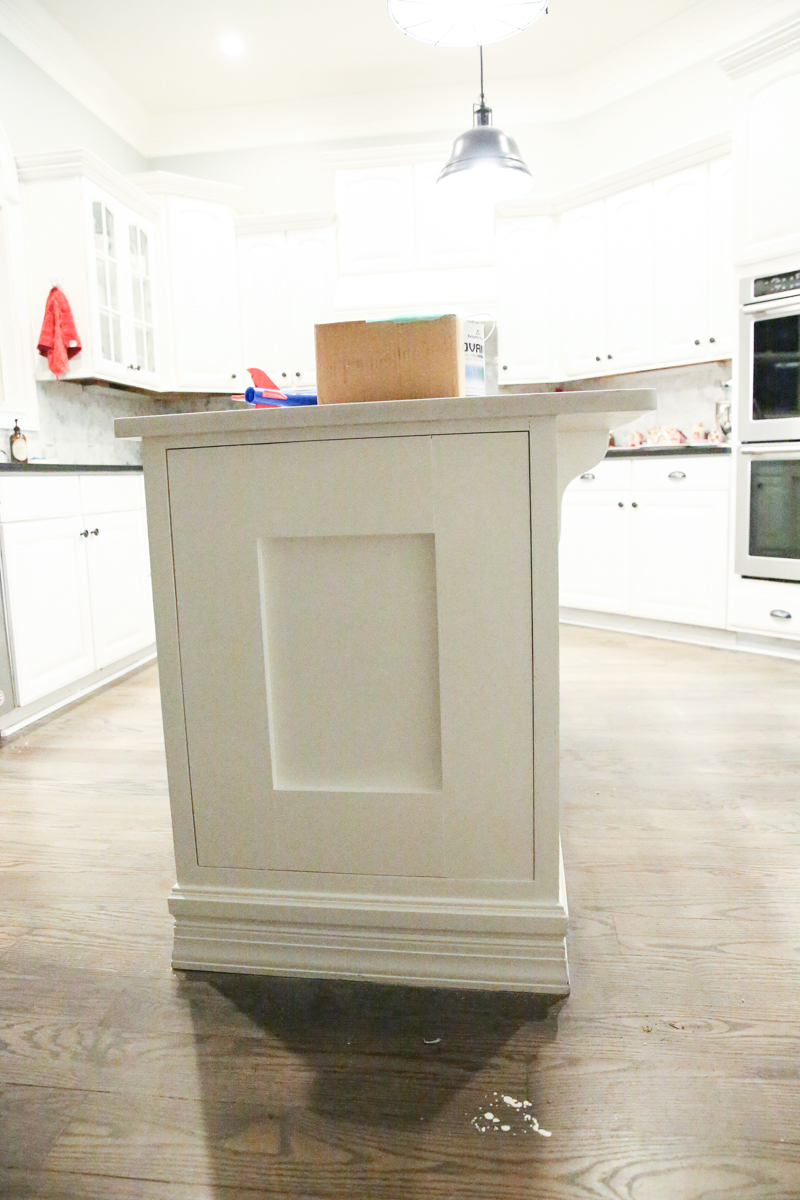
And yes, I had to caulk the inside edges and paint everything. At one point Ella was trying to play with the paint so I got distracted and dripped a bunch on the floor.
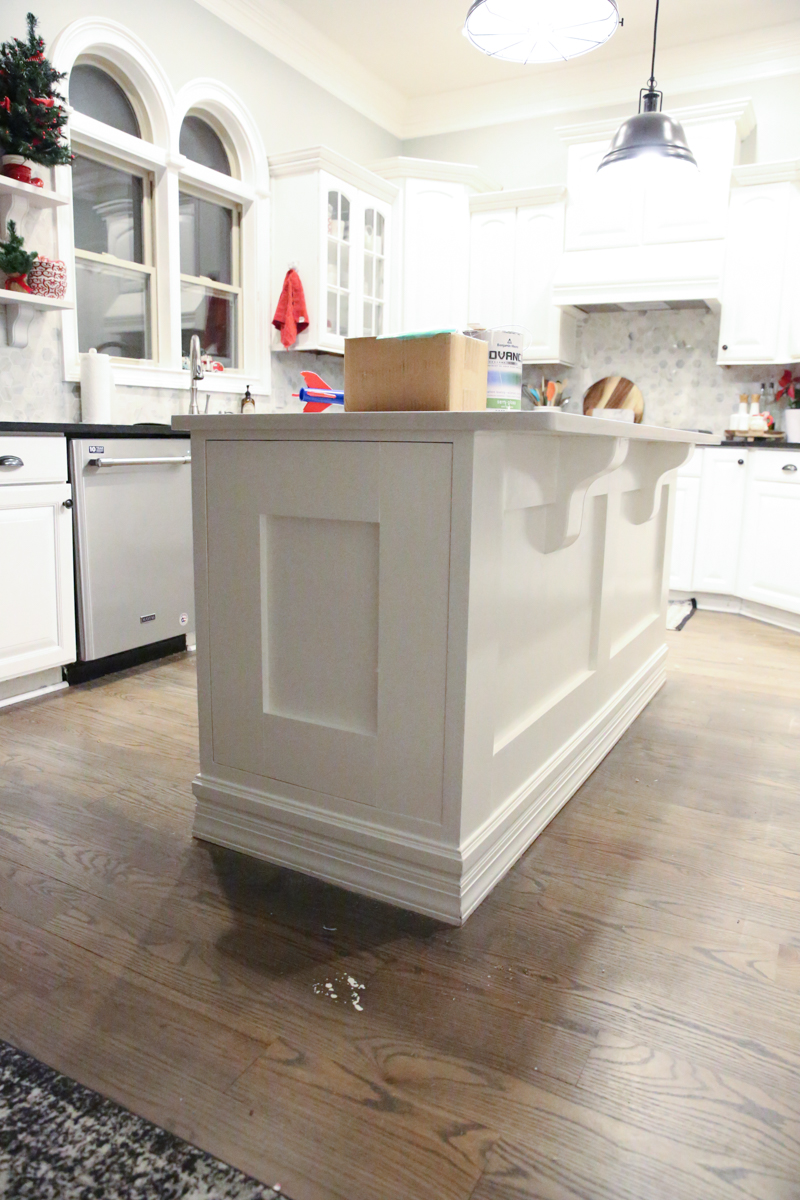
If that ever happens to you…the best thing to do is to let it dry. If you wipe up right away, it will smear and make a huge mess. Just leave it and when it hardens, you just peel it up. It’s much easier!
Now check that off my list of unfinished items. Only ten thousand fourty three more to go 🙂
BEFORE:
AFTER:
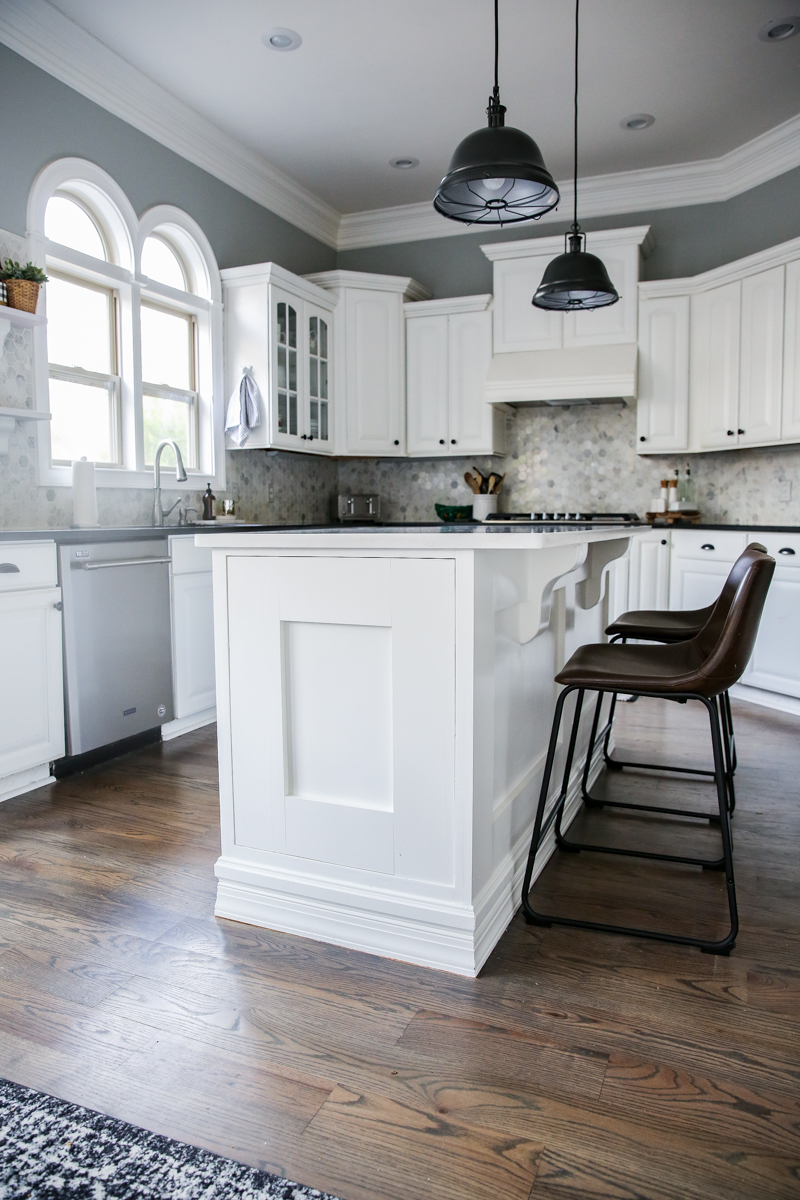
I’m so glad that it is done and even though we have come such a long way in here, there is still so much to do and tweak in the long run and I CAN’T wait to make all those nagging items checked off the list!
Quick Links –
- rug – we have it in charcoal
- table
- chairs (this is a 2-pack)
- similar light fixture over table
- barstools (2-pack)
- highchair
- pendants (we have them in a color no longer available but here is a similar version)
- pin nailer
Wall Paint Color – Metropolitan by Benjamin Moore (it’s their 2019 Color of the Year!!!)
Cabinet Paint Color – Simply White by Benjamin Moore in Advance paint