I’m probably too cheap for my own good sometimes. It’s a blessing and a curse I suppose.
But in this case…it was definitely a blessing. I am talking about Will’s big boy beds.
He slept in a crib that converted to a toddler bed for the longest time. I’m not one to rush the kids into the next stage. In fact, when they start crawling I get legit ragey. Don’t get me started on walking. And so this whole nonsense about sleeping in big boy beds is up there with driving and bar hopping. Kids, you can be the weirdo that climbs into bed with Mommy and Daddy after your prom. #kiddingnotkidding
I just like keeping them young as long as possible, ya know?! So when Will started asking about the big boy beds, I had a twinge in my heart but I knew that it was best for him in the long run.
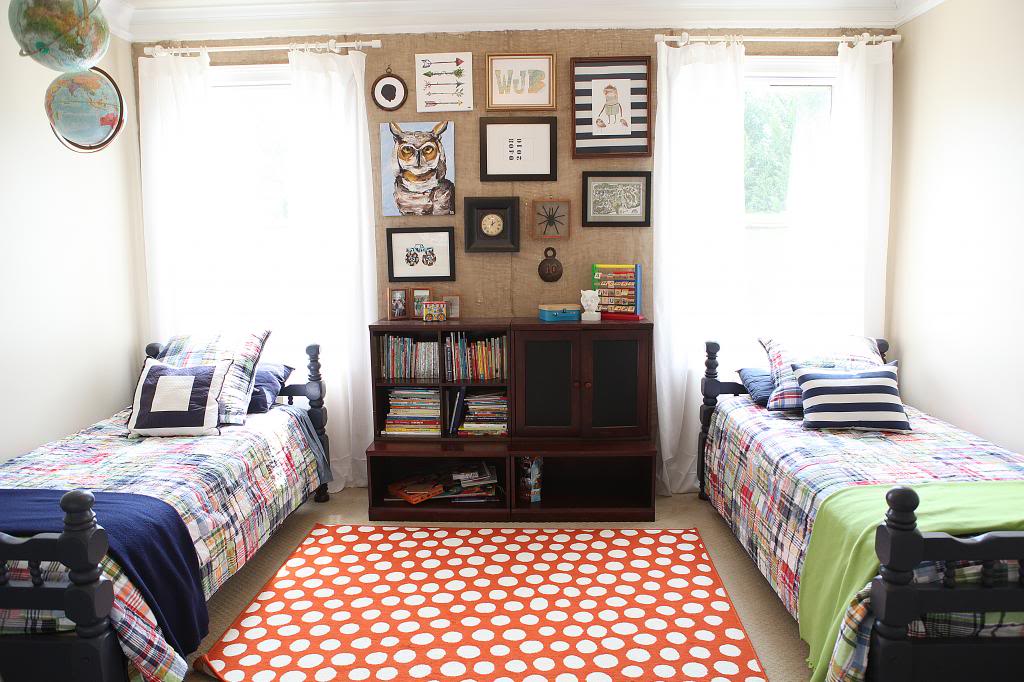
That is Will’s current room situation. It’s not done…so ignore that part. Focus on those navy wooden beds. They actually came to us from humble beginnings. They were curbside pick ups looking for a hot date.
Yup. Way back in 2010 I freaked out about these very orange wood bunkbeds that I saw in the trash pile. Jeremy waited till I passed out, resuscitated me and then went and picked them up like the awesome boytoy that he is.
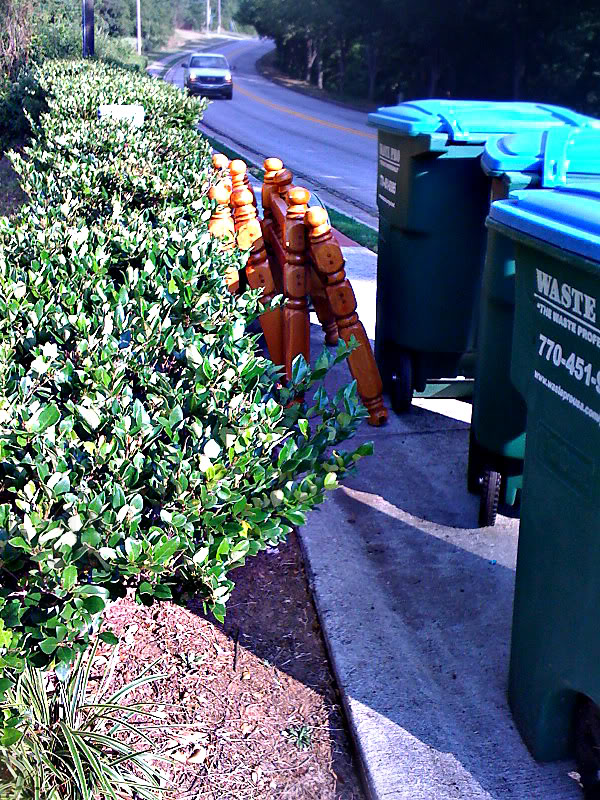
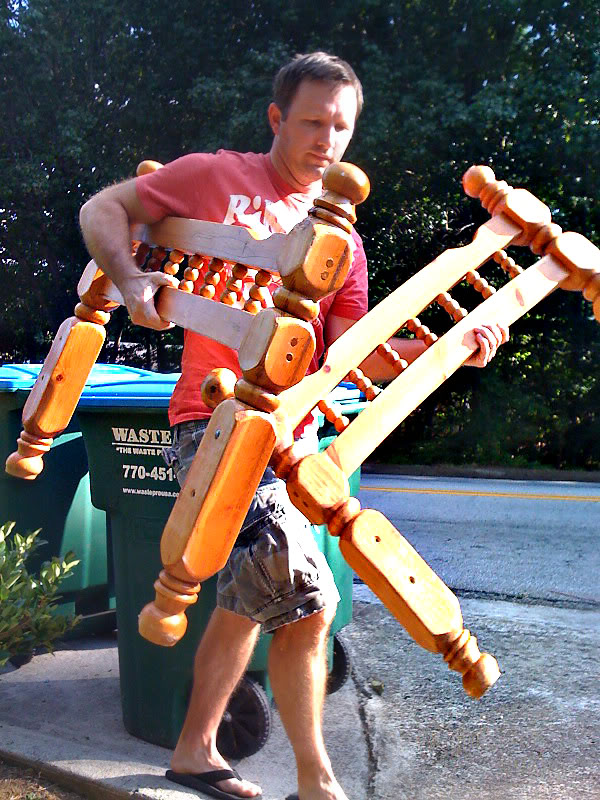
We’ve had them in storage ever since. I joke that I am a hoarder but I do actually try to use the things that I keep for years and years. It’s called practical hoarding and there is no shame in it. Well…maybe just a little 🙂
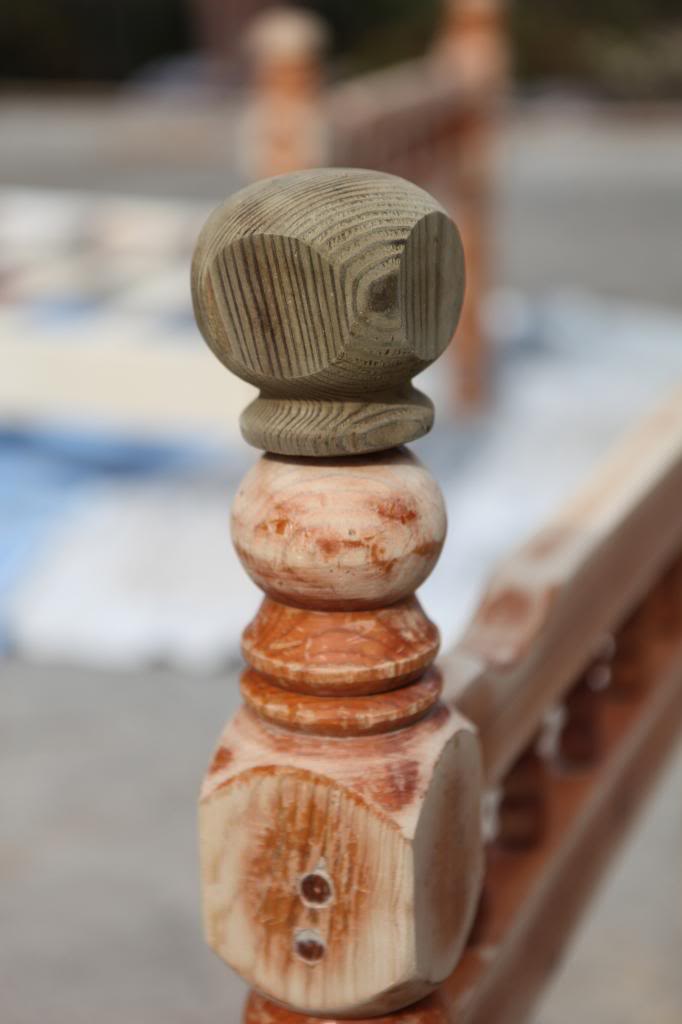
So the first thing that we did was to come up with a plan. I knew that I didn’t want to use them as bunkbeds because Will is a little too little to be sleeping on a towering bed. If we were gonna use them as twins, then we had to figure out a way to make the lower bunk pieces look more finished. That’s when we decided to divide the beds up into one lower bunk piece (future headboard) and one upper bunk piece (future footboard). The lower bunk pieces had holes in the tops so we added an outdoor fence post top.
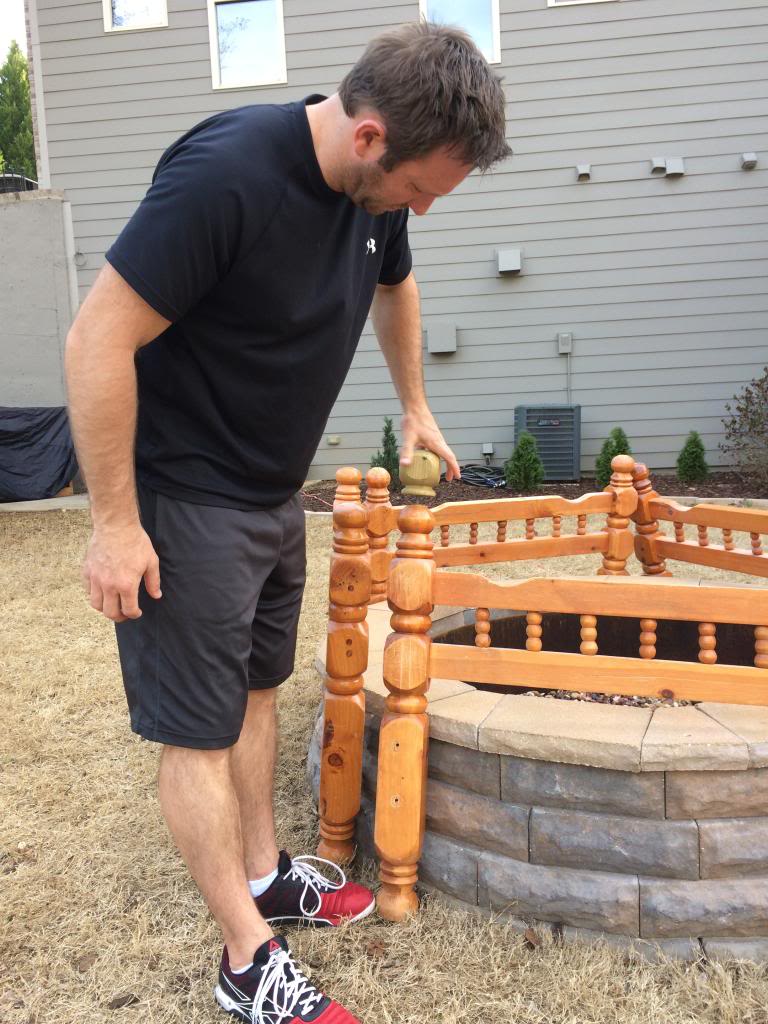
They were a different wood type and color but that didn’t matter because it was all getting painted anyway. I just wanted to make sure the finished look was okay. Since the shape was similar and the size wasn’t too big, they looked like they would work just fine screwed into the existing hole in the bunk bed headboards. Not only would it cover up the holes…but this solution added a little height to the headboards and allowed us to have the flexibility to switch it back to bunkbeds if the boys ever wanted.
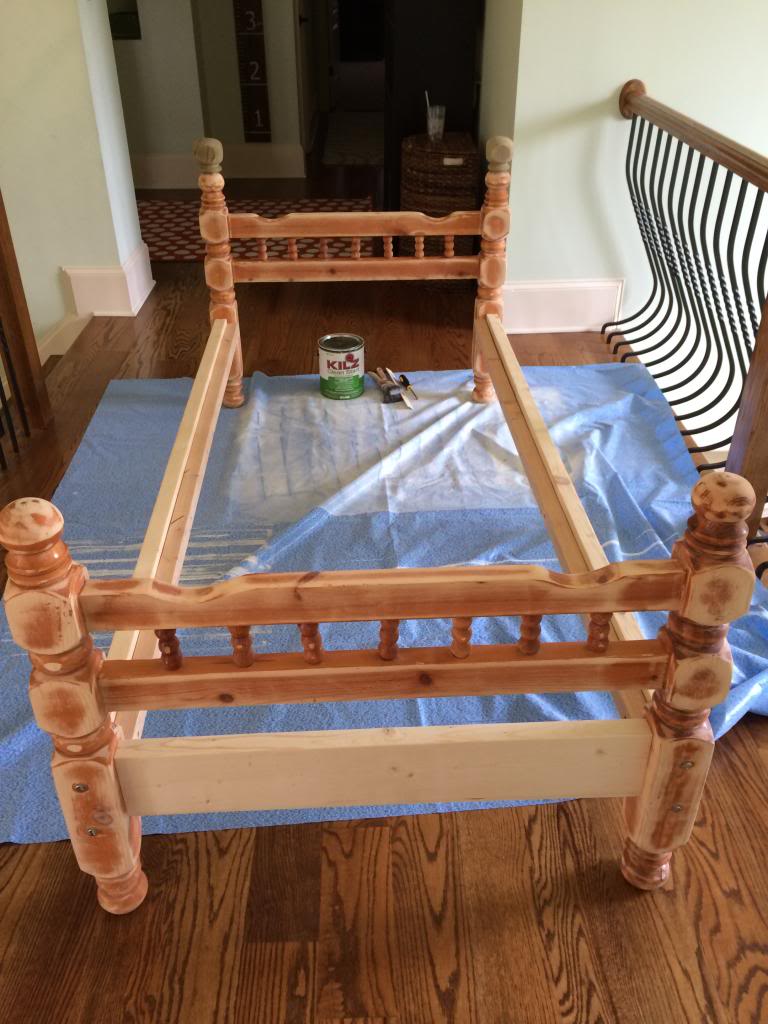
As you can see, the bunkbeds also got sanded down completely.
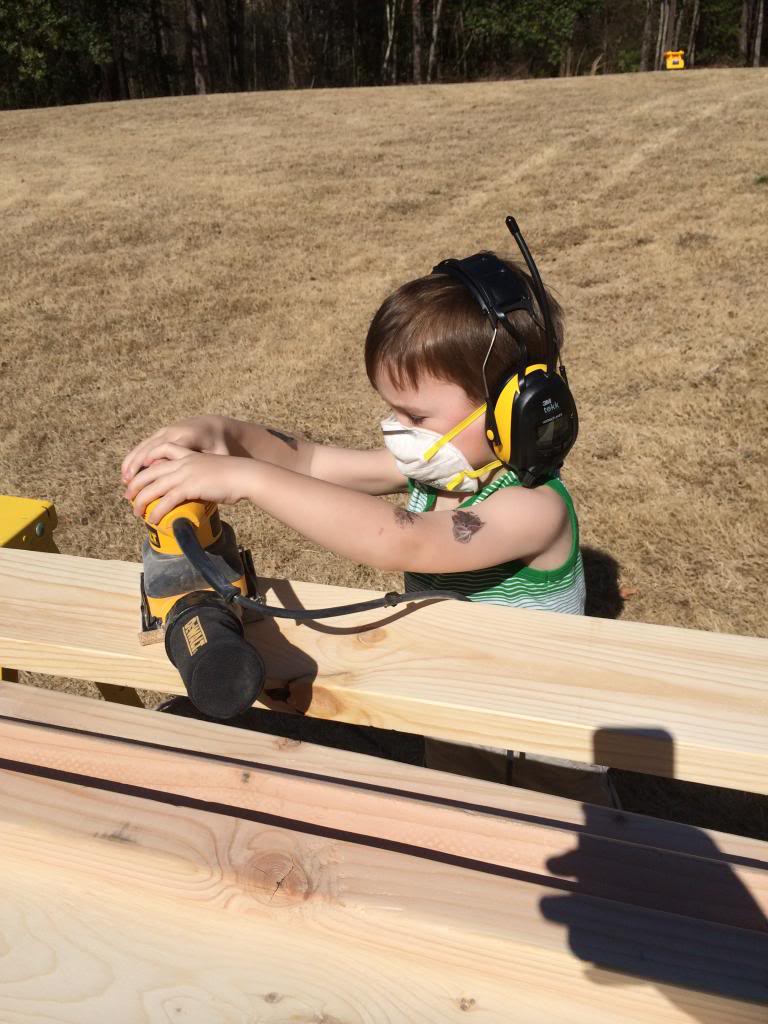
That sanding process took forever. We put Will on the job at one point…
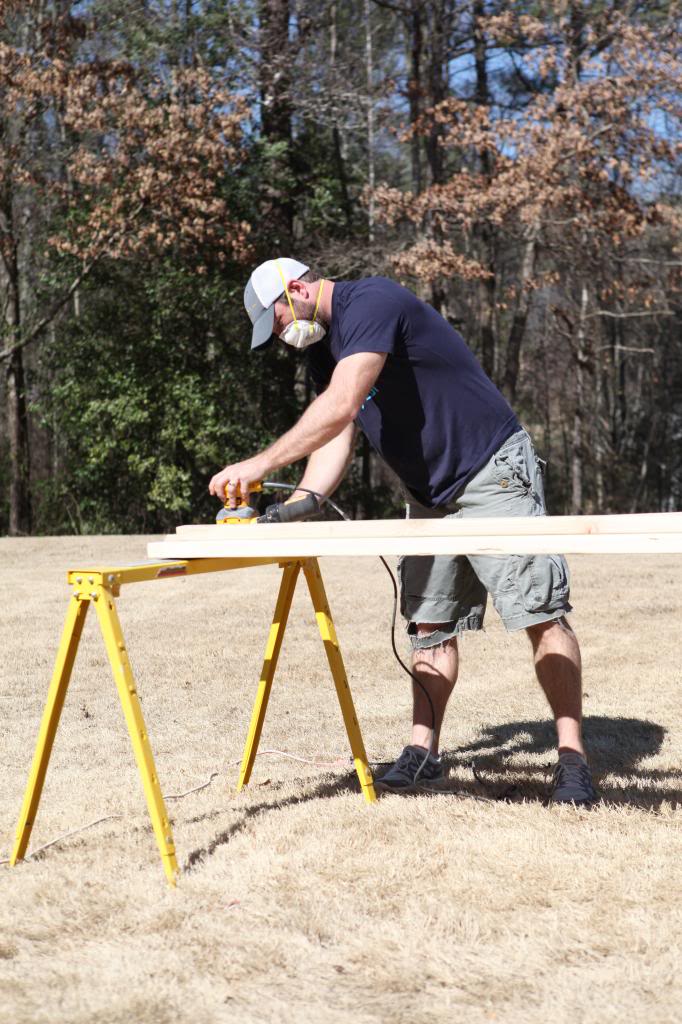
Sanding all the pieces for the bed is really important when it comes to the finish. We usually do a medium grit and then fine grit sandpaper for the best finish with a little ‘between coat’ sandpaper in between.
Then came building time. Since these were trash finds, we didn’t have any side rails. Nothing for the mattress to sit on. Our solution was to get lengths of 2×6’s and make rails and then attach 2×2’s to them for the mattress to sit on.
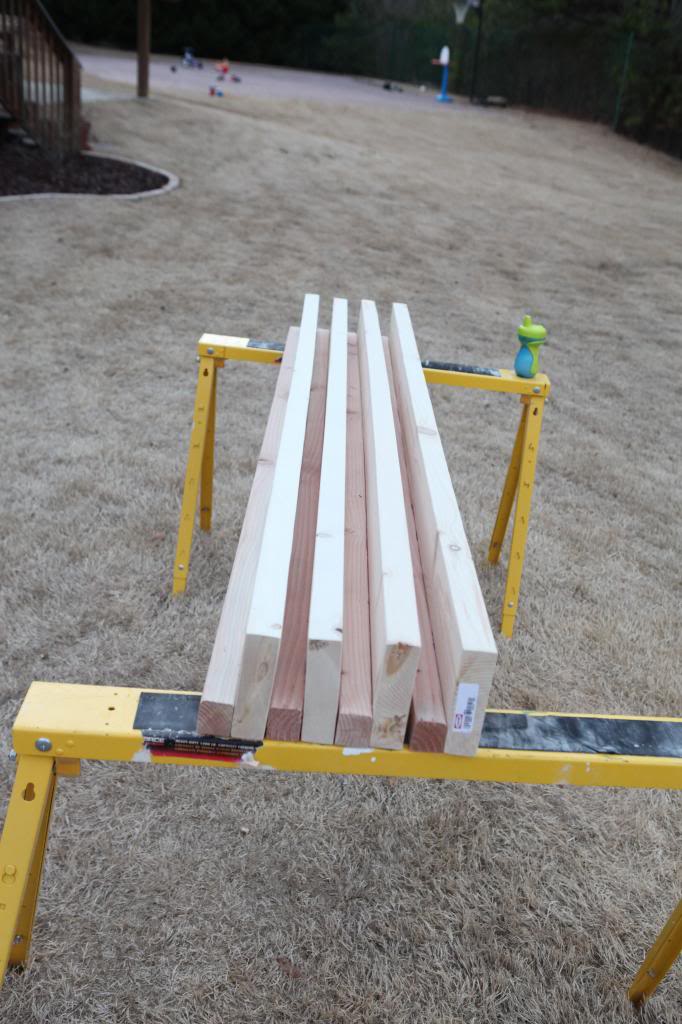
The original plan was to attach them with the ledge on the lower part of the 2×6’s so that a mattress would nestle inside the rails. Jeremy and Will even built them like pictured above. But then we realized with some measurements that the mattress wouldn’t ‘nestle’ like it should because the headboards were too narrow.
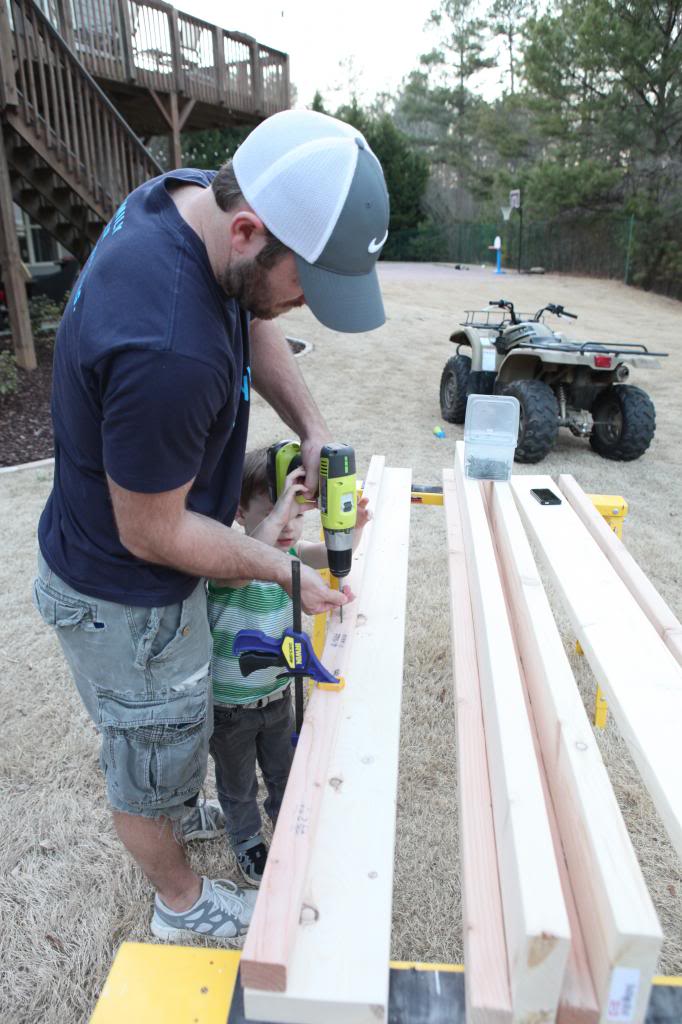
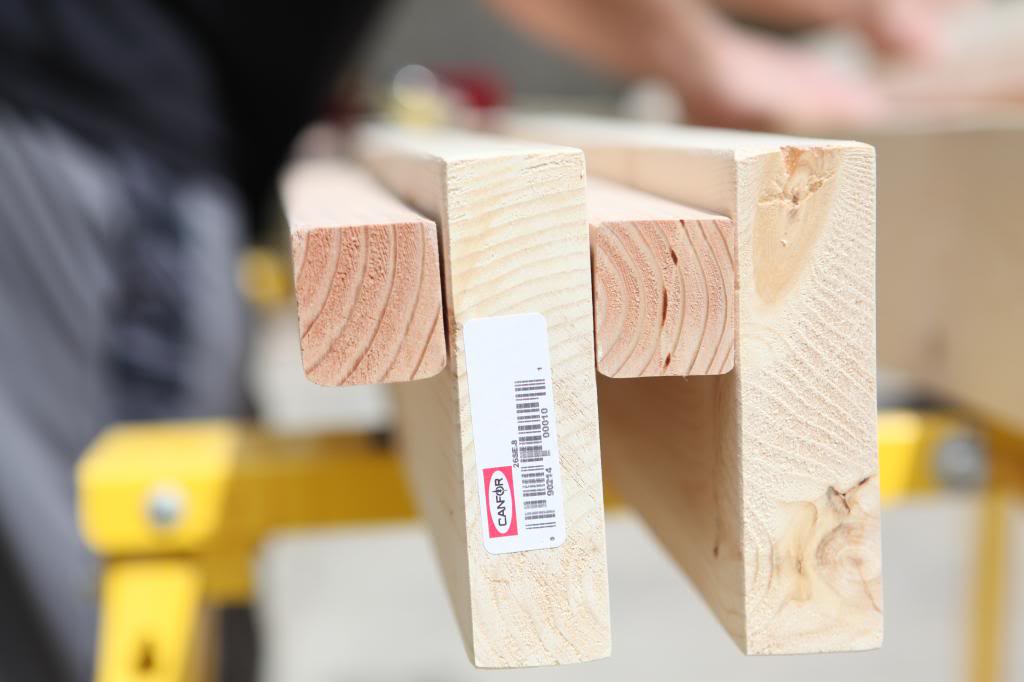
So Jer unscrewed all the 2×2’s and reattached them about 3/4″ from the top so that the mattress rails could fit on the ledge and the mattress would sit on top of the rails.
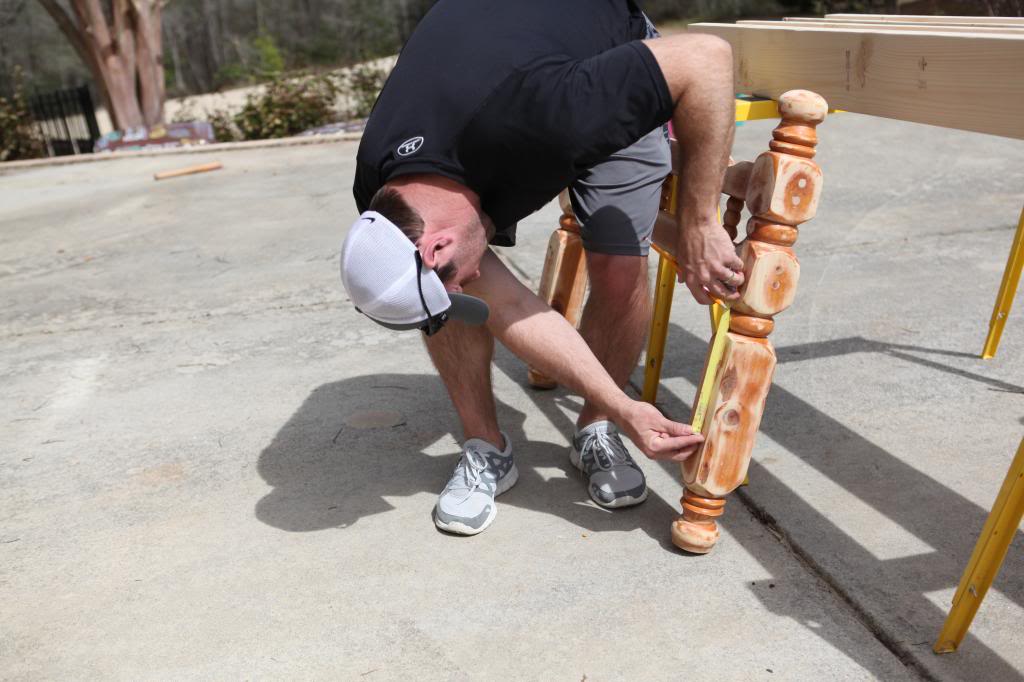
Jeremy worked on attaching the rails to the beds at this point…he had very fancy and technical methods. They included measuring the existing holes…
Marking and predrilling the side rails.
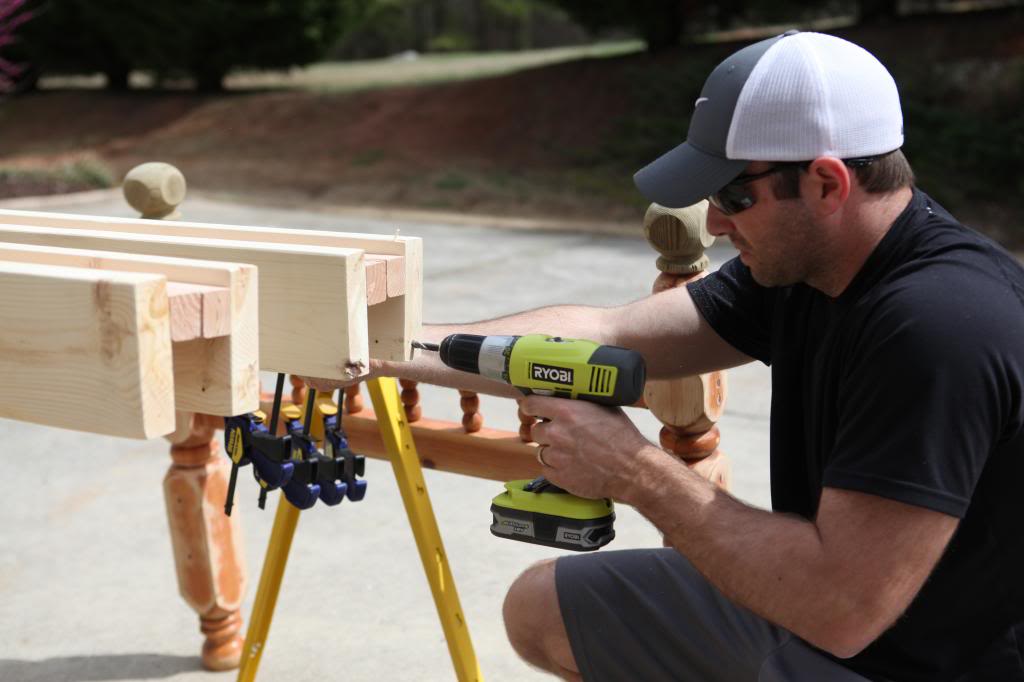
And then using lag bolts to attach them all together.
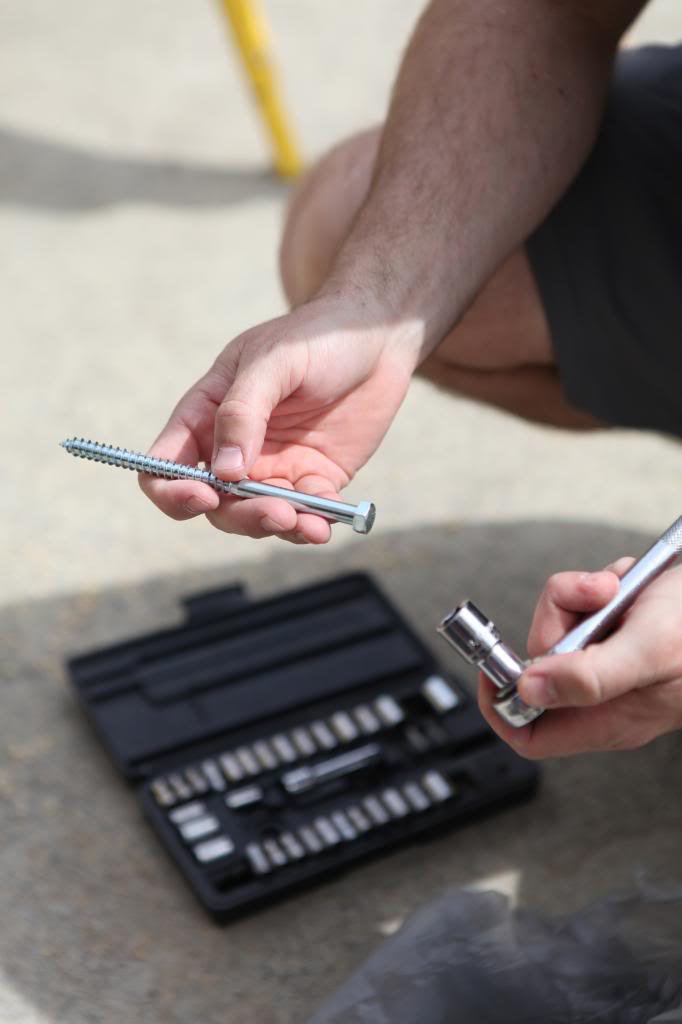
I was all skeptical that we needed lag bolts (that’s what hold decks to houses) for a little kids bed but Jeremy assured me that if we had anything less that it would collapse and crush our child as he slept. He has a way with words, no?
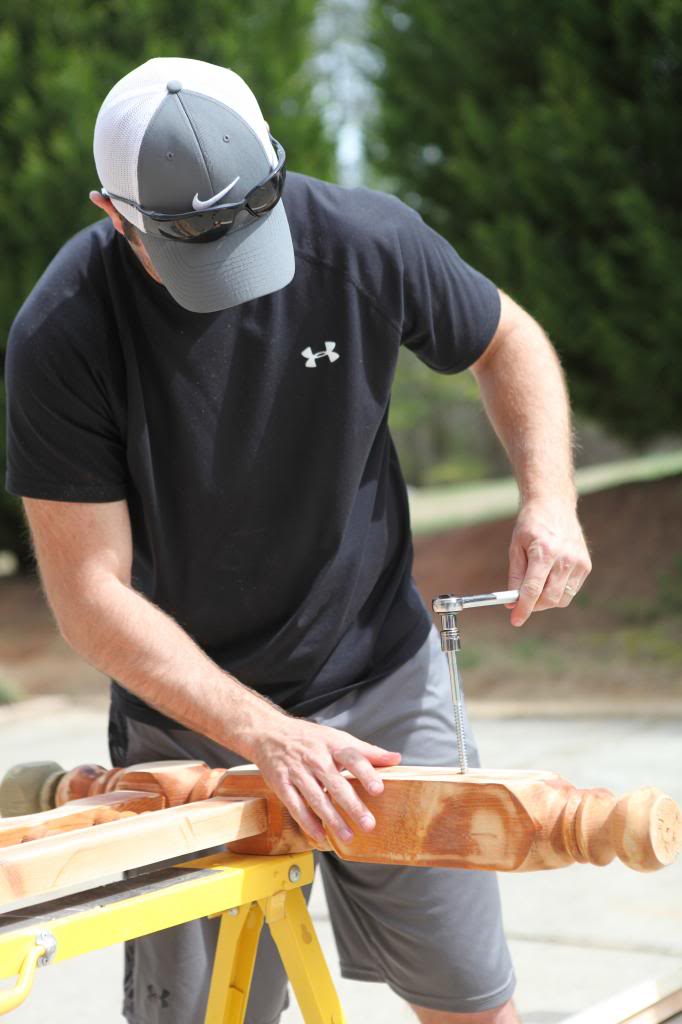
I watched from a far as he attached it all together. Obviously kids live here.
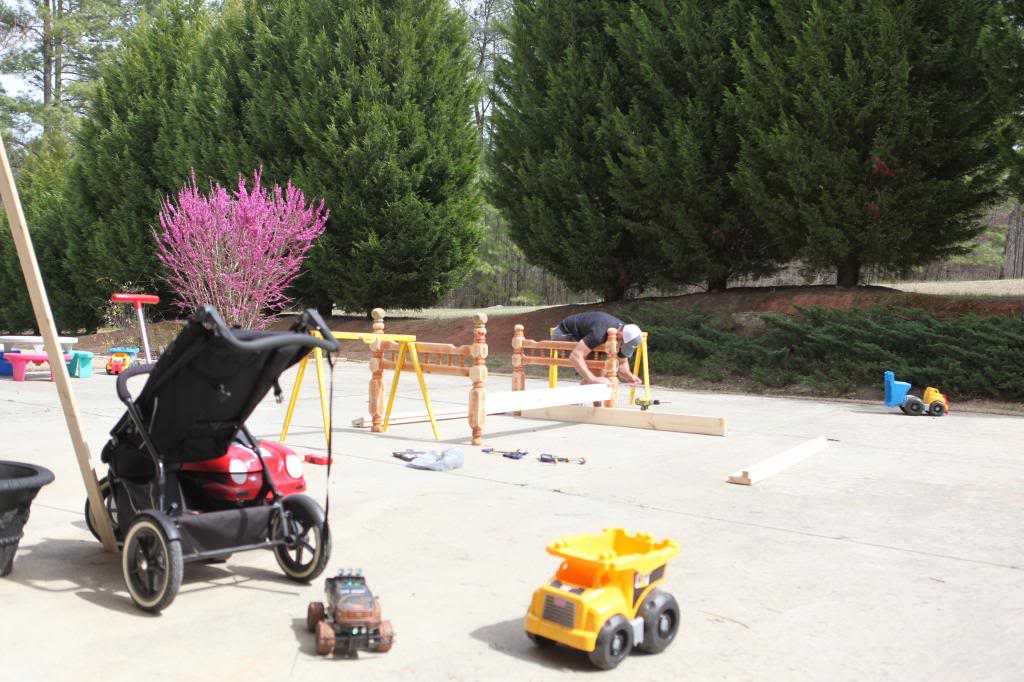
Then Jer cut the slats for under the mattress. Those slats were just scrap lumber we had on hand. Ignore what is happening in the background 🙂
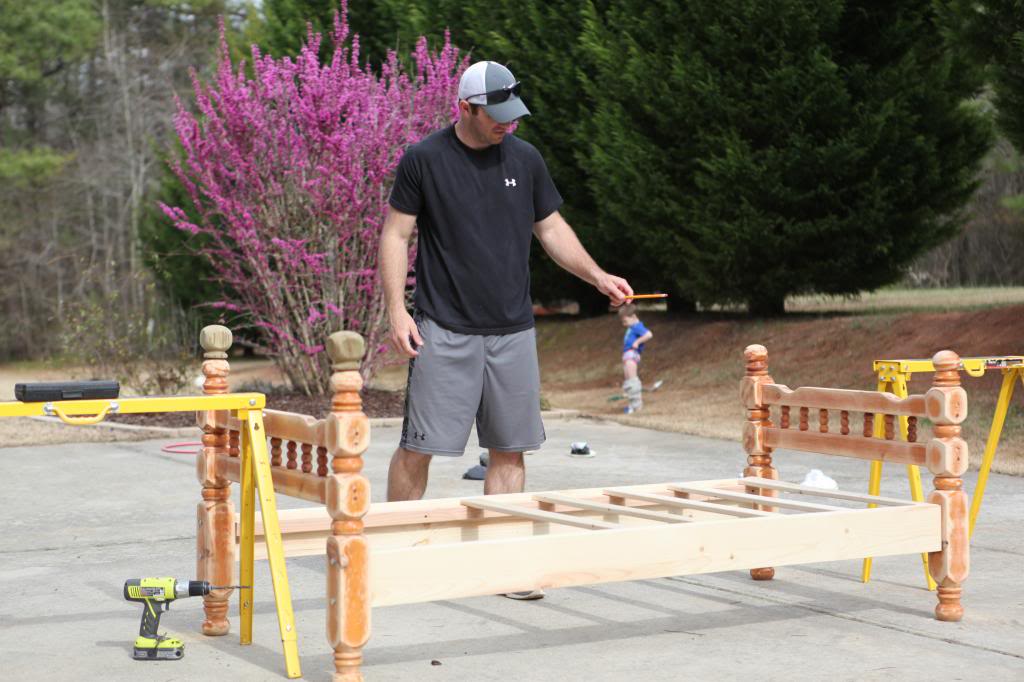
We also had a bit of extra 2×6 wood that we added to the footboards. We used pocket screws and a Kreg Jig to attach it all together.
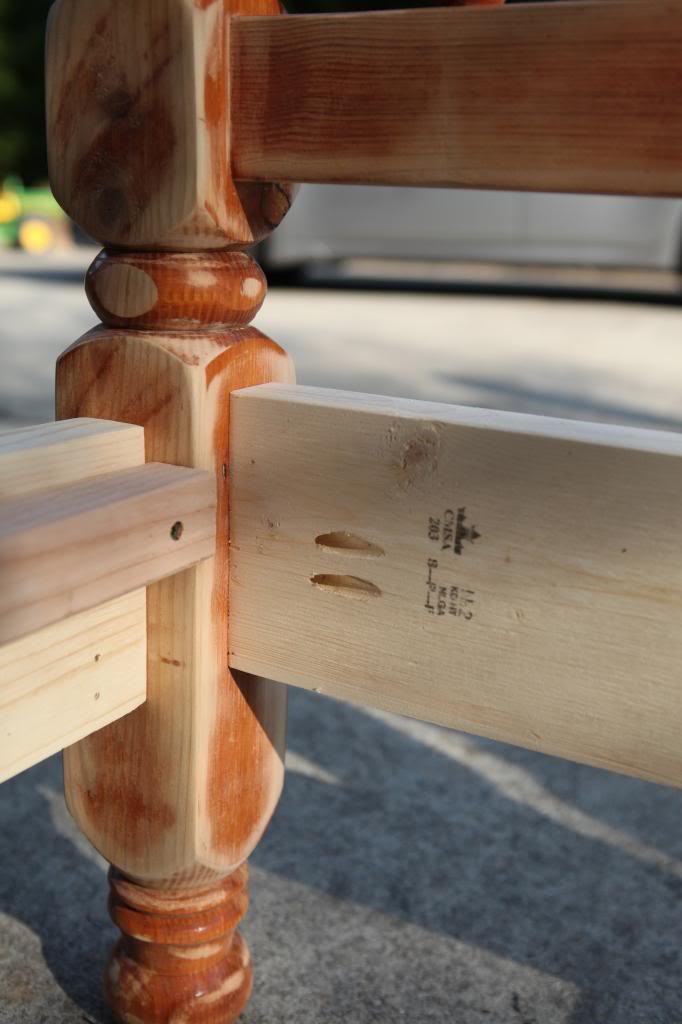
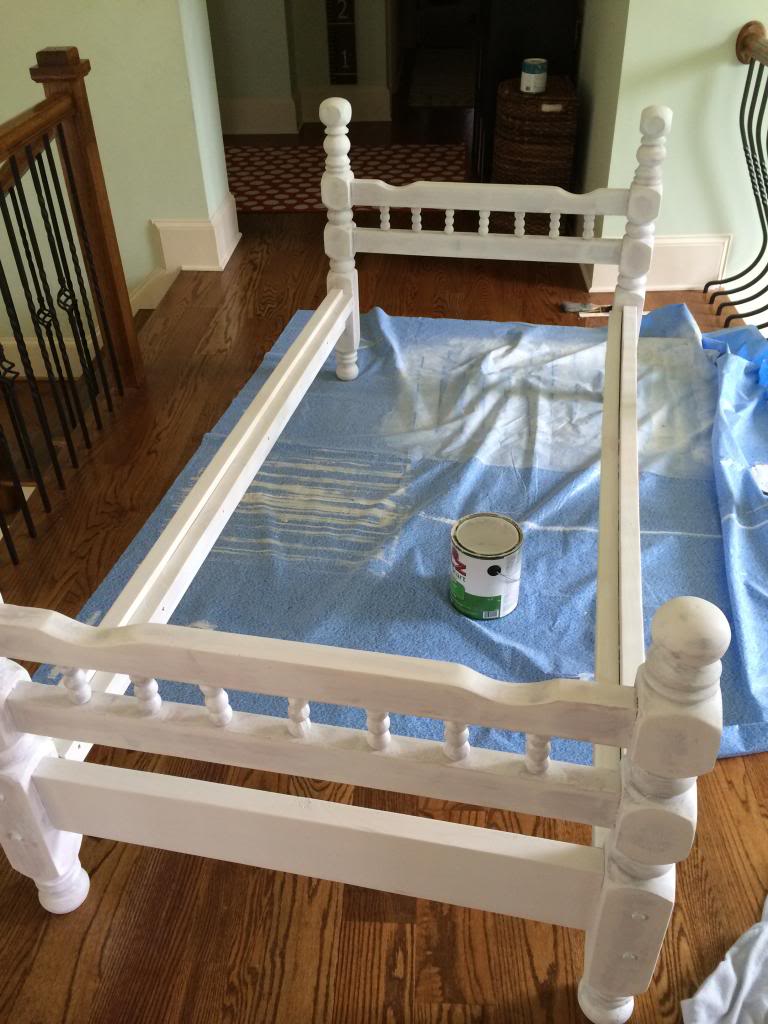
Finally came time for painting. Oh right…did I mention that we started this project while I was over due? Nothing like a little last minute bed makeover!
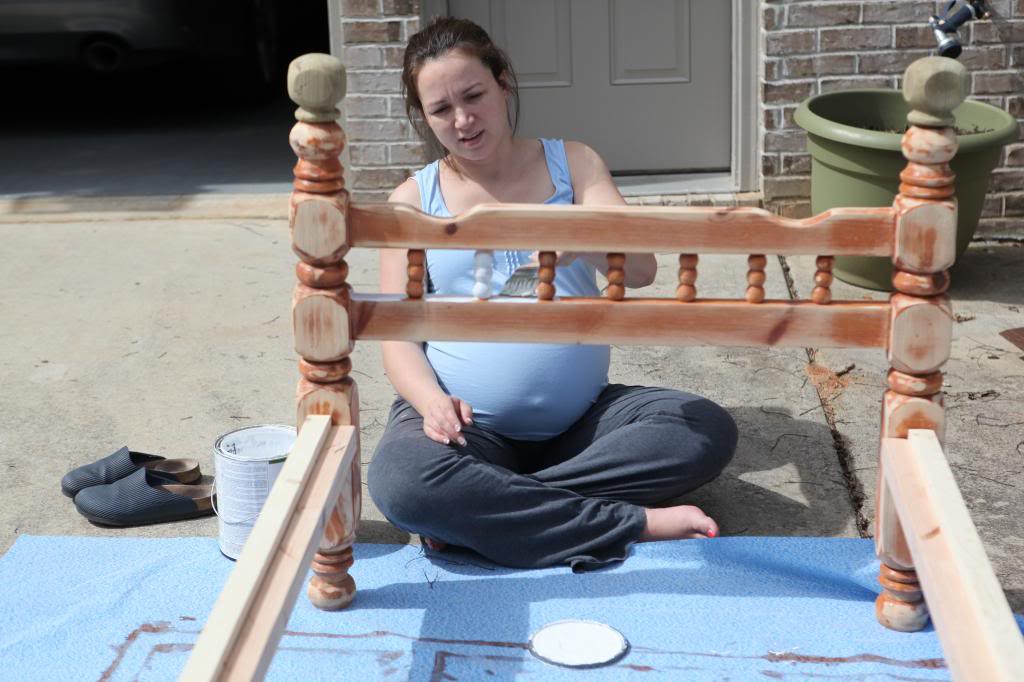
Will got in on the action here too.
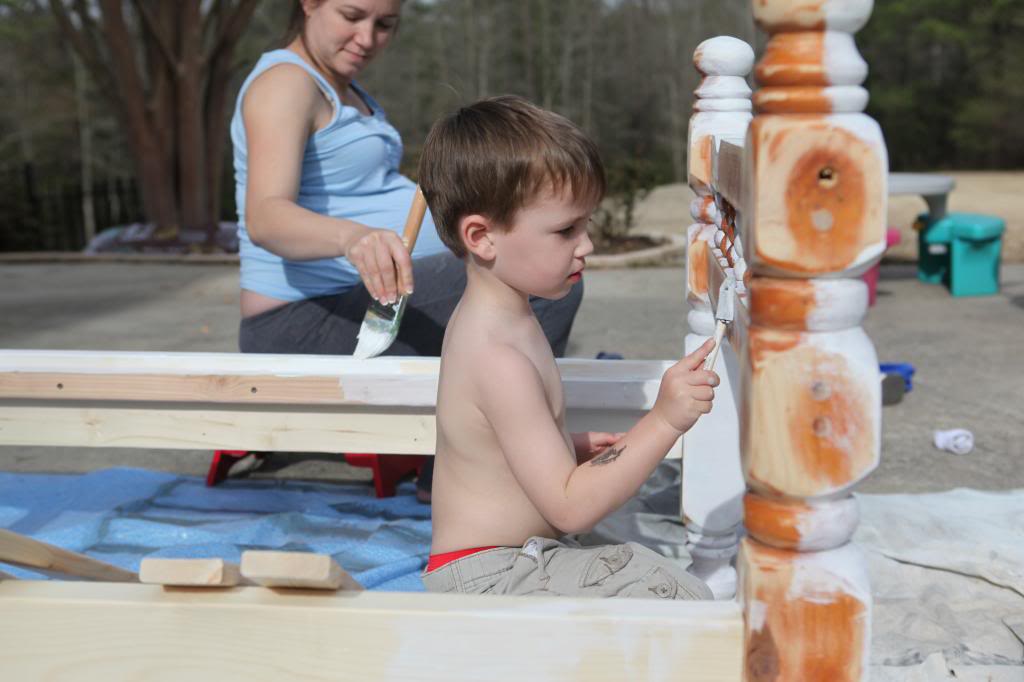
People always ask why we prime (vs. just using a paint that has a primer built in) and here’s why…
a 2 in 1 paint works best on previously painted surfaces. Since most of our projects are built from unpainted and unprimed wood or makeovers of discolored or uneven paint, the coverage factor is really important as is adhesion. Primer is formulated to adhere much better than 2in1 paint. Also, cost comes in play for us. We paint a lot of stuff…and primer is about half the cost of 2 in 1 paint. So if we were trying to paint a bed…we could use one coat of regular primer and then two coats of 2 in 1 paint and save a little bit vs using three or four coats of 2 in 1 paint.
Make sense?
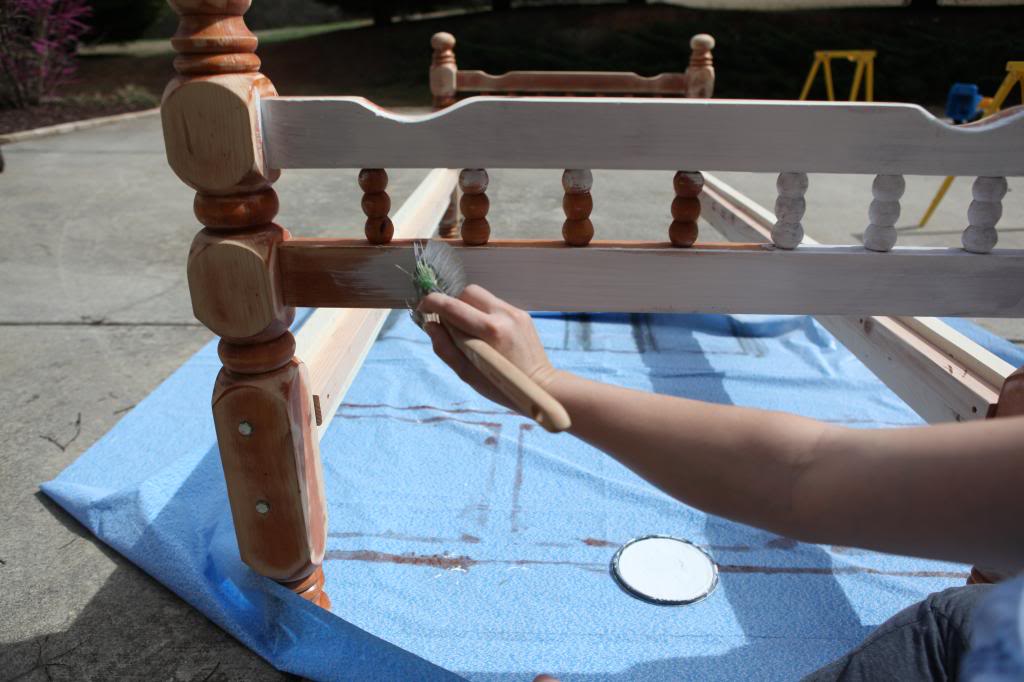
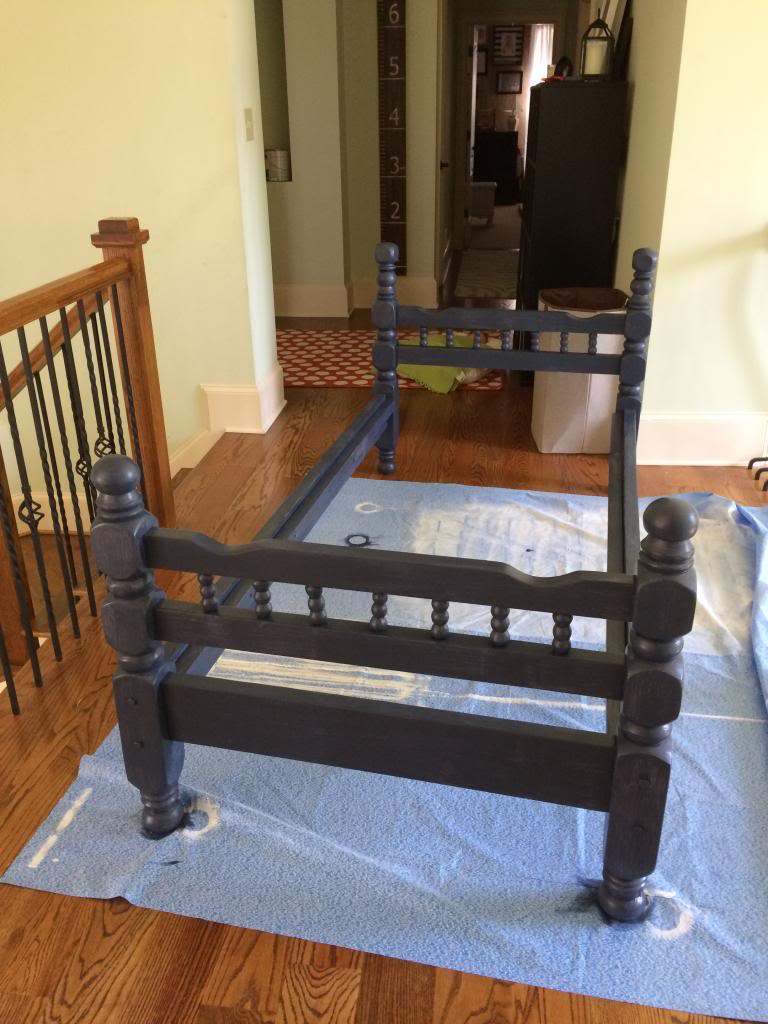
After priming, we used one quart of Behr’s satin paint to make the bed’s Benjamin Moore’s Hale Navy.
Side note…did you know that if you know the name of the Benjamin Moore’s color that Home Depot can color match it to their paint for you? It can be slightly off vs going to a Benjamin Moore dealer and buying their paint directly but we’ve been pretty lucky at getting a really close match. Also, it’s helpful when the nearest Benjamin Moore paint store is AT LEAST 35 minutes away.
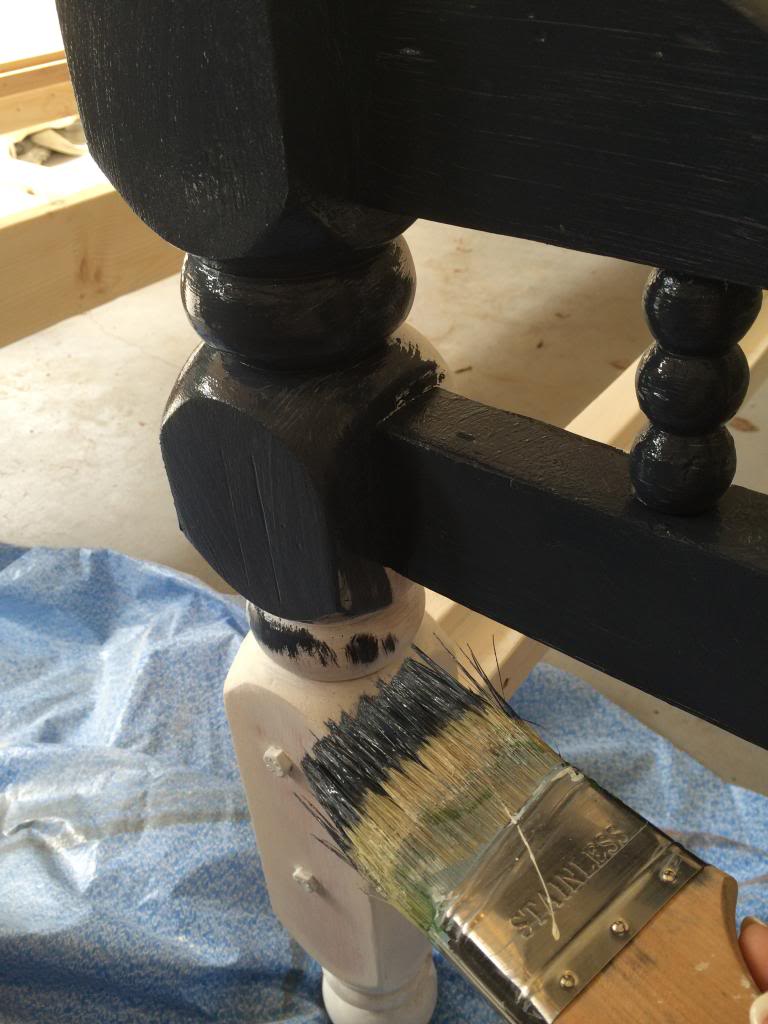
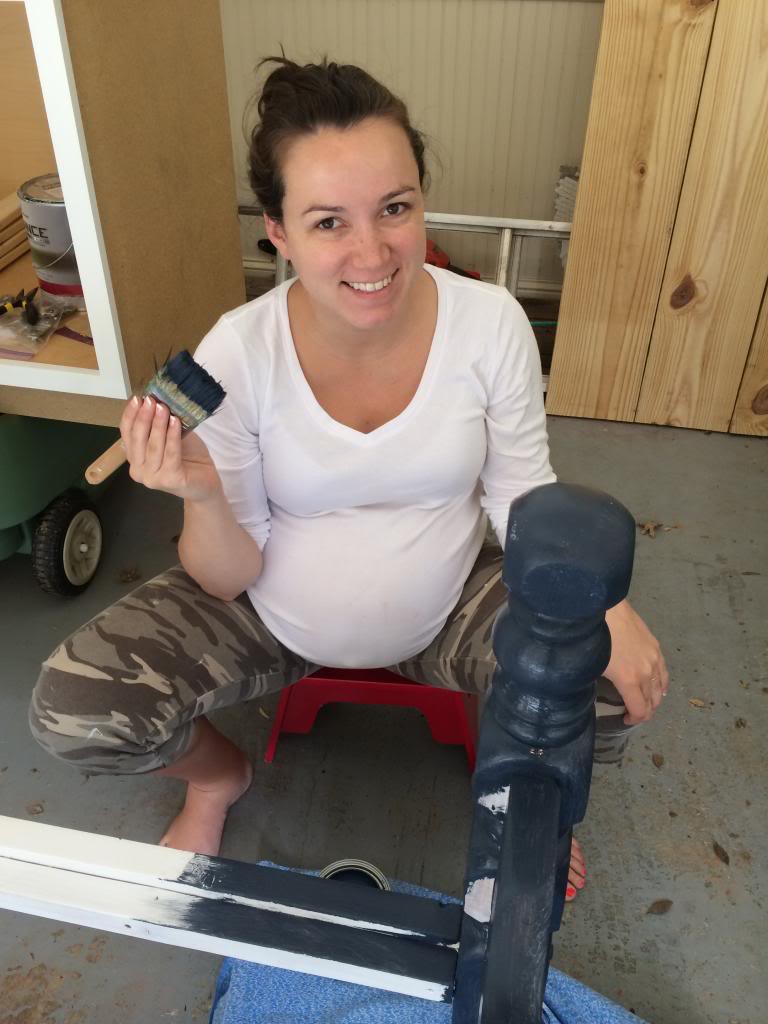
It was actually pretty funny because I couldn’t do much around the house at this point with my sciatica pain. I guess LJ had shifted down and was sitting directly on that nerve so walking was out…but I could definitely sit well and my painting hand worked just fine. I told Jer that we needed to build a ‘sciatica stool’ that had wheels and had hydraulics for adjusting the height. I could be a billionaire with that idea.
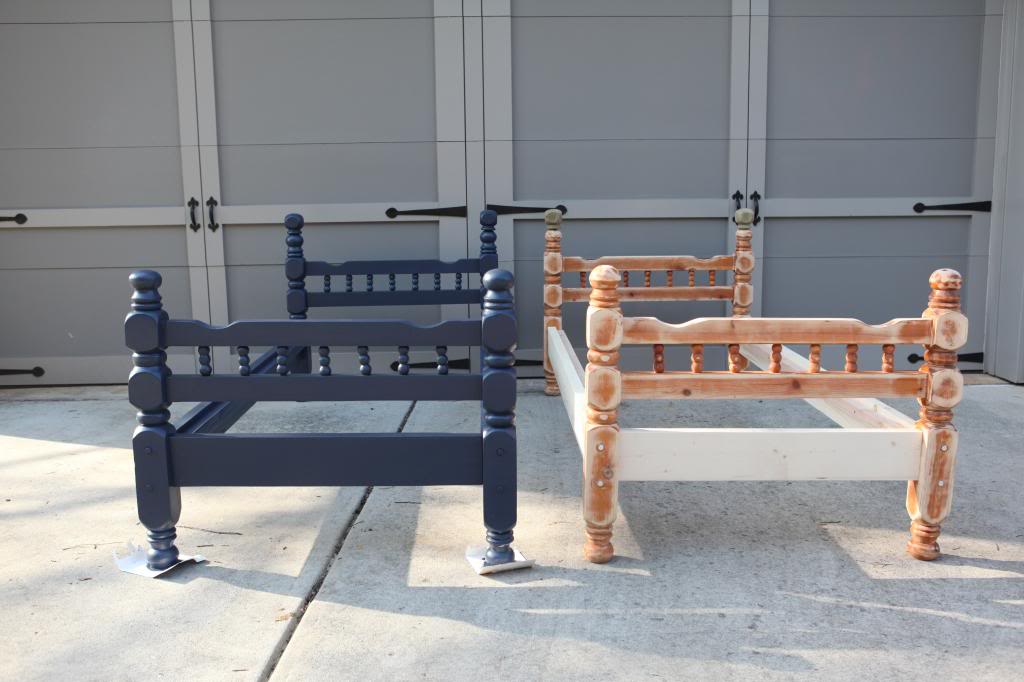
Here is the side by side before and after…
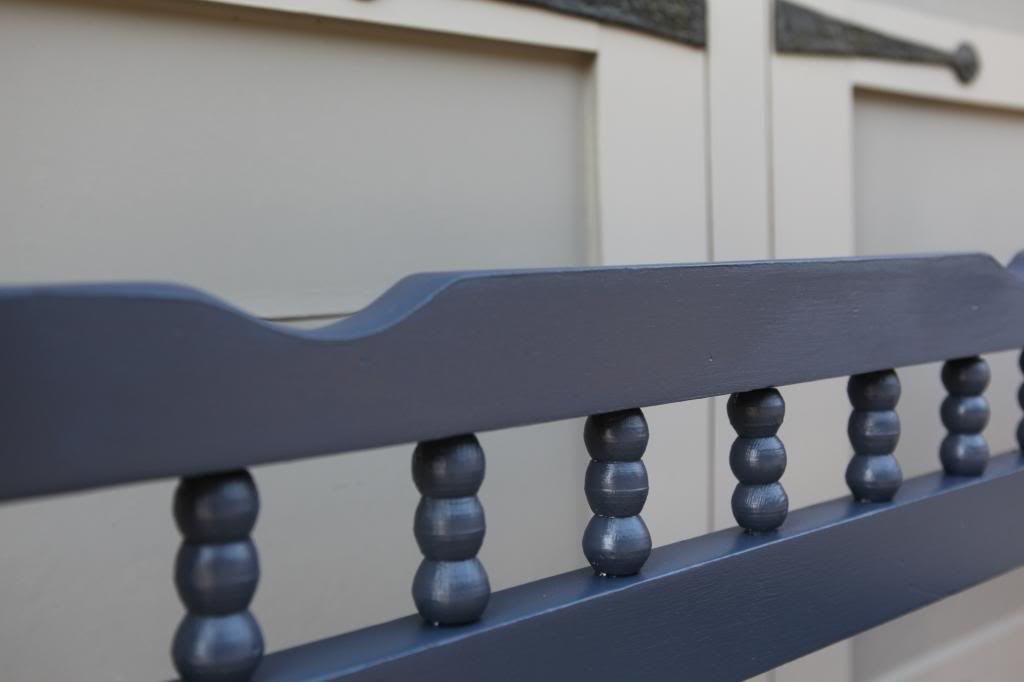
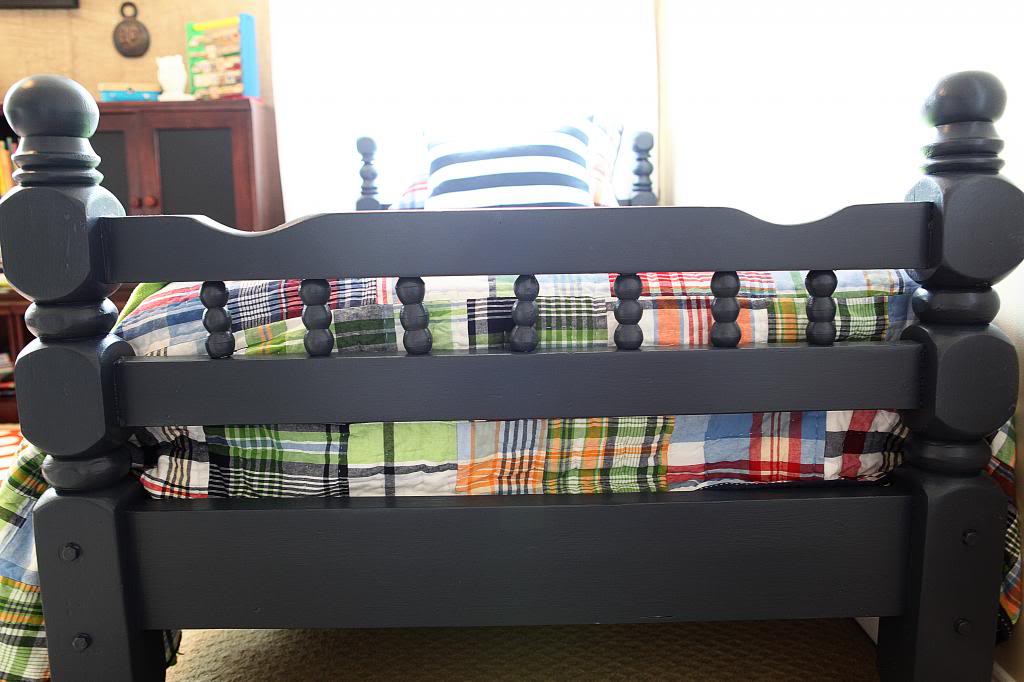
My favorite part of the beds is the little details. These little stacked balls were a pain to paint but they were worth it in the end because I think that is what makes the beds look vintage and playful.
The other bed I didn’t tackle until after LJ arrived so I was able to do it inside (we had rain for a few days and this was a much better option).
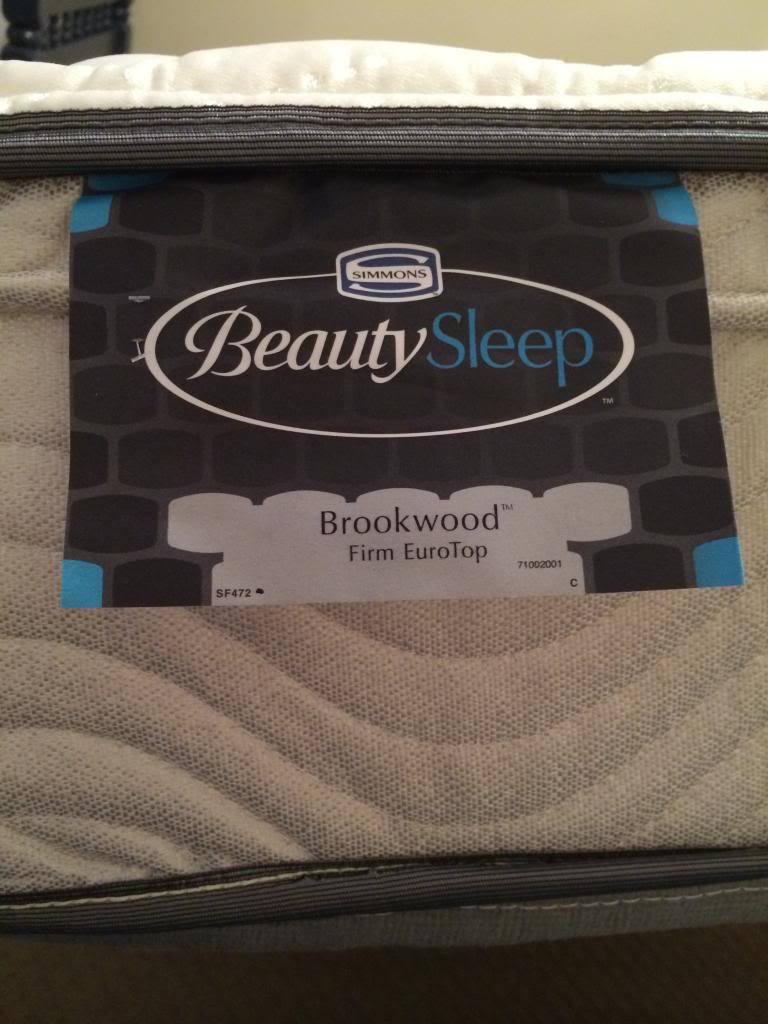
We also needed a new mattress because we didn’t have two twins. I suggested price matching in our little town and we found a decent one at Mattress Choice. This Simmons Beauty Sleep Brookwood Euro Top is usually $239 for a twin but we got it for half that – $120.
And of course we got the obligatory sitting-on-the-mattress photo….
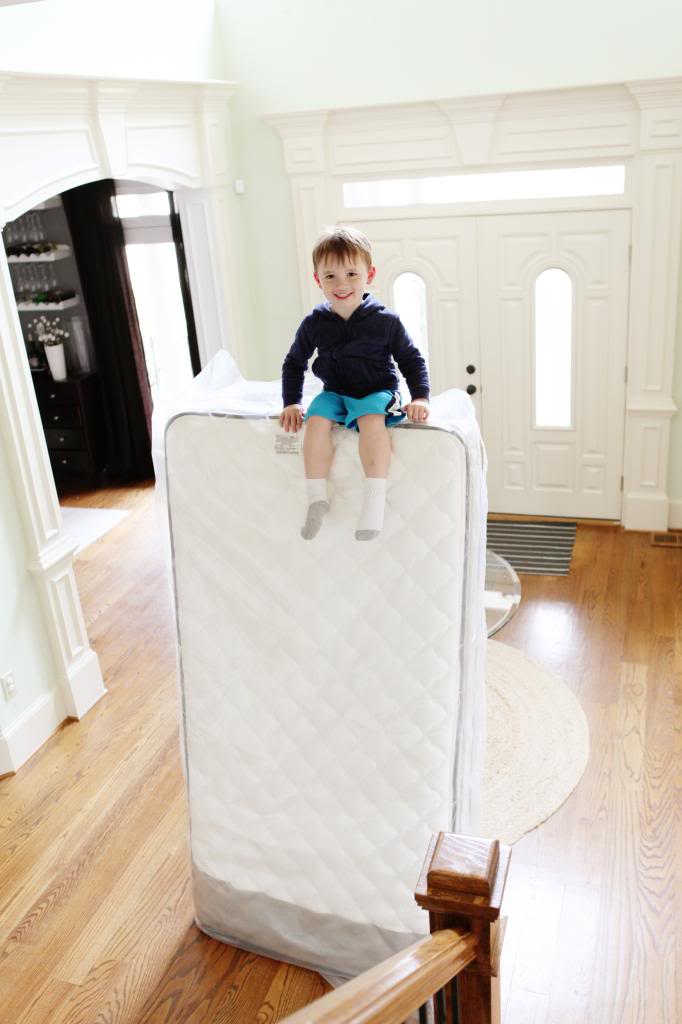
Don’t ask me why we do this. I don’t know. It’s one of those weird things that we do when we buy new mattresses. Maybe subconsciously I am dating the mattress with a photo so that we know when it can be replaced? Probably not…but that’s a decent excuse.
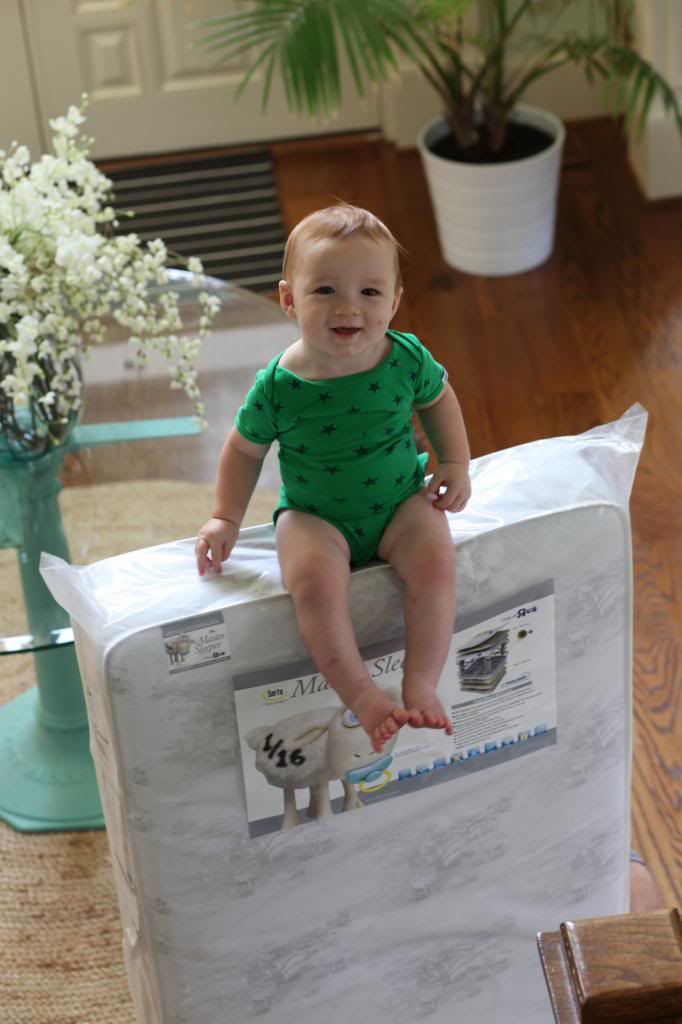
This is Weston on his crib mattress and his future bed mattress (when he moves from a crib one day!).
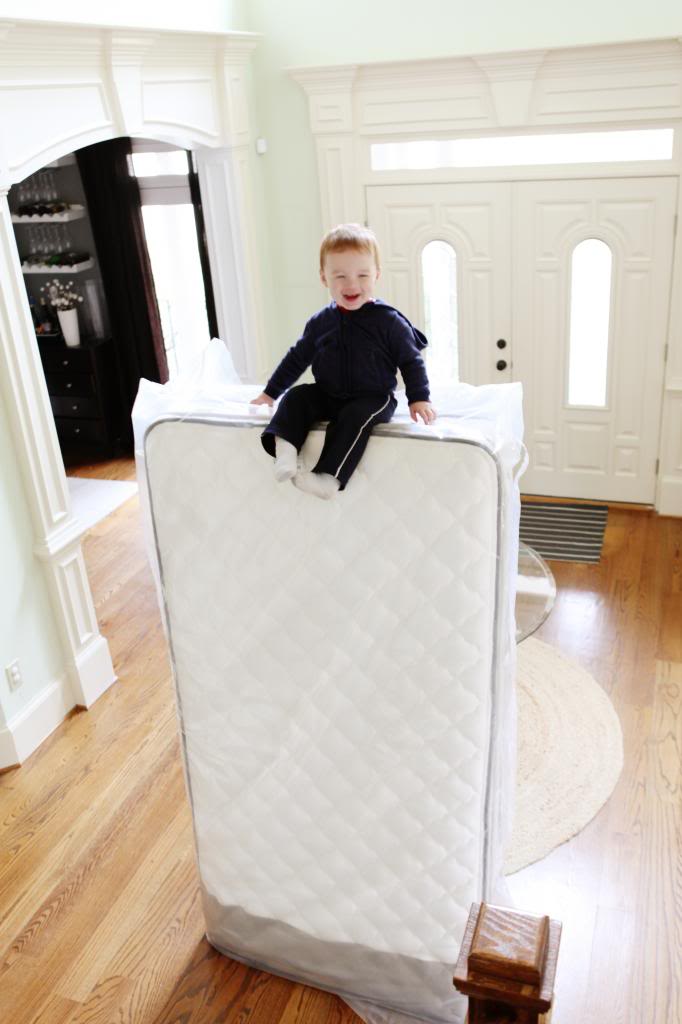
When everything got moved into the room…the boys and I all celebrated 🙂 #randomshoeonashelf
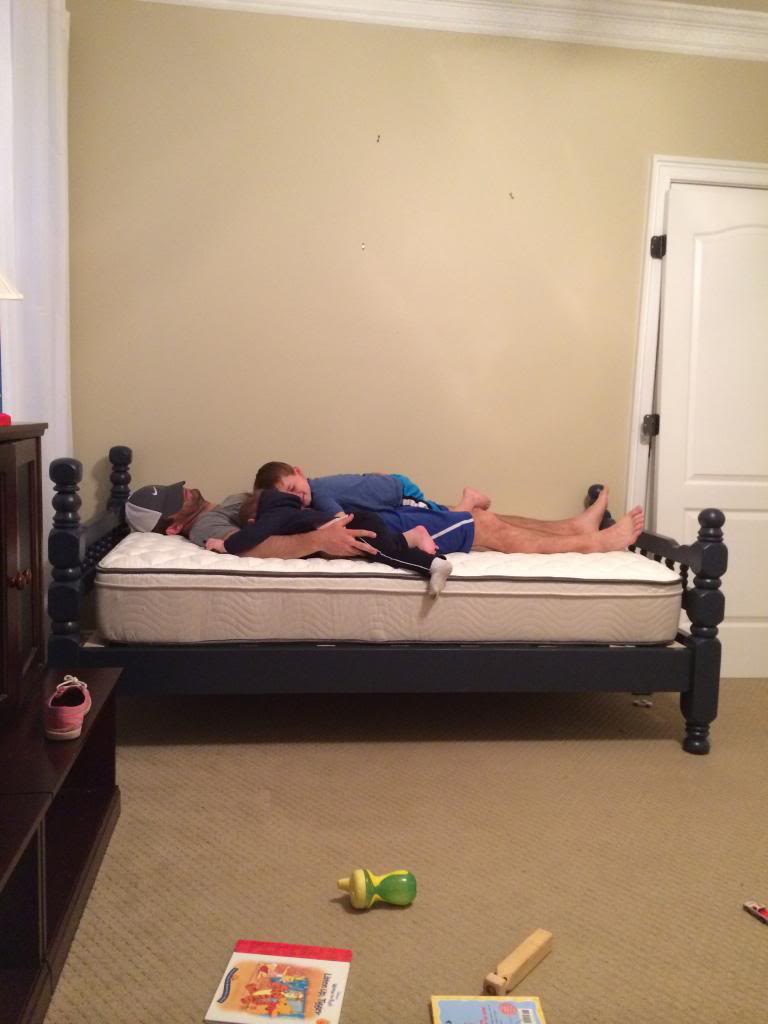
And now it looks a little bit more finished with the bedding in place…
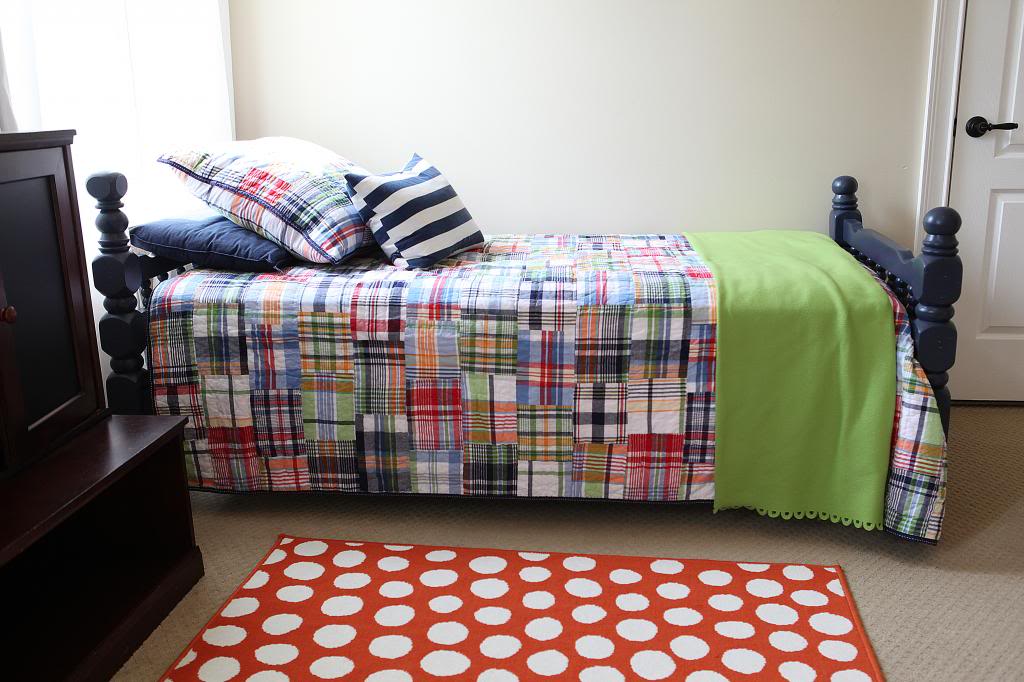
Overall…it was a great feeling to save money and not have to purchase two brand new beds but instead use what we have and modify them to work. Plus these are much more sturdy and chunky to hold up to the boys bouncing and banging and general boy-ness.
Speaking of cost…here’s the breakdown…
(16) 3/8″x6″ lag bolts @ $.90 = $14.40
(4) Post tops @ $3.36 = $13.44
(4) 2x6x8 wood @ $5.08 = $20.32
Slat wood – already owned
1 Quart Paint = $9.97
TOTAL = $58.13 (approximately $30 per bed!)
In theory, if you didn’t have the slat wood or the primer or sandpaper on hand, this project would cost probably about $15-$20 more per bed but even $50 per bed is a great price. Plus…Will gets to say that he helped build and finish his own beds and that is priceless.
So that my friends is how we took some trash and made it something worth sleeping on. Have you been recycling anything lately? Any trash pickers in the bunch? I get all excited when I see a big pile curbside…you just never know if it’s worth diving into!
They look fabulous!
You did such a great job! I love the new beds! You are such a good momma to those boys!
They look great and you can’t find beds like that anymore! My most recent deal was a real wood high chair I got for $20. I am in the process of painting it bright yellow for my little girl’s first birthday party.
I love the details on the beds and that you were able to use someone’s leftovers and bring new life to them. Would hate for them to end up in a dump somewhere.
BTW… is Will peeing in that one picture behind Jer? Kids 🙂
This is great! I love that you put a lot of thought and effort into building these, and then gave the post to us in one, start-to-finish piece, instead of drawing it out like so many blogs do now. Your budget breakdown is realistic and helpful, too– and that actually looks like the Hale Navy I’ve seen in person, not blown out in photoshop! The beds look fantastic and your family is adorable.
How on earth do you get the matteresses to stay standing straight up with a child on top? And how do you avoid the child falling off? I’m all for rough and tumble boys, but a child falling on a glass table scares me a little!
You make trash pickin’ look glamorous! Where did you find those madras quilts? Strong work , KB!
I love them! Could you tell me where you found the bedding? I just love madras!
The progress of Will’s big boy room is so cute! I think it’s really awesome that he got to help build and finish his beds. I bet he was really proud!
Can not stop laughing a the dropped-drawers photo!
Great post, thank you!
Love that dark paint and that bedding!
The beds look great.
Is someone standing behind the mattresses to make sure they/the kids don’t fall? They (the mattresses) look so tall!
So cool, I found similar twin beds that were solid maple at a yard sale, same orange finish, paid 25 bucks for the pair, and painted them a navy color. (Buzz lightyears night color from the Disney line) It was so time consuming to paint them! With all the details, I think the paint sprayer would have made sense. They look so nice, love the quilts!
They look amazing. 🙂 How do you decide what to paint by hand vs. using the sprayer? I would think these would have been easier to spray??? Brush strokes on projects like this make me crazy!
It is crazy to me you found this in the trash. The end product is amazing!! Great find, great work!
Amazing. The room is shaping up beautifully. You are so lucky to have Jeremy.
I love the term “practical hoarding”!!! Lol…I’m going to have to use that one! Great project 🙂
So random – but I noticed that you and YHL haven’t teamed up in awhile. Are you all still friends??
This is awesome! I’m always inspired by your DIY skills!
Liz @ http://www.shoppingmycloset.com
Do you mind sharing why you decided to hand paint vs. using your sprayer?
They look fantastic…I’m seriously envious of your great find!
As a fellow Mom of 3 boys, I sooooo appreciate the photo of Will watering the lawn. Makes me feel all warm and fuzzy. Is that weird? Naaaaa! 🙂
Yes I am 🙂
xo – kb
Nope…my kids are just awesome at balancing atop really tall mattresses 🙂
KIDDING! Jer is holding the boys at their waists – there is no way they could do that! Not yet anyway 🙂
xo – kb
It’s from Pottery Barn – I got it at the outlets 🙂
xo – kb
It’s from Pottery Barn (I purchased it at the outlet!)
xo – kb
HAHA! The boys and mattresses are not balancing – Jeremy is holding the boys up with his hands on their waists and the mattress is leaning on Jer’s chest and forearms. There is no way this could actually happen 🙂
xo – kb
Are you kidding? Of course we are. We haven’t teamed up because we are both busy…I don’t know if you know this but we both had babies!
xo – kb
I like the sprayer for big projects…like the interior doors or the trim work that would require a lot more time. I also take into consideration the drip factor. Anything that has non-flat angles can have a lot more drips with the sprayer because it applies more paint than a brush…so something like these beds with round spindly ball thingies would be hard to spray and get perfect coverage without getting drippy.
xo – kb
This was easier to brush because of the chance of drips. The sprayer unloads a lot more paint at once…so the chances are that the spindles would have loads of drips.
xo – kb
The beds look great! I’ve had two beds ready to make over (probably upholster) for months…this is great inspiration to get them done! 🙂
Geez, thank goodness! I was wondering the same thing! 😀
The beds look awesome! I love your decorating/DIY updates. There are so many little inspiring details. I think I need to start paying closer attention to my neighbors trash piles 🙂
I LOVE Will’s bedroom! It’s so fresh, and nostalgic at the same time! Just curious, I know he was having some sleep issues, is the switch to a big boy bed helping with that? I hope so, my heart went out to you when I read those posts. 🙂
I love the beds! This totally makes me feel like the next time I see a wooden bed out in the trash I should snag it. I got our chandelier out of someone’s trash and spray painted it (it was brass) and it’s one of my favorite things in the house. I love trash picking projects!
I adore these beds! I’ve been looking for something similar for my daughter’s room with no luck. I guess I need to start checking curbs!
Geez I love Hale Navy! These are awesome.
Those are so cute!! Oh yes, I’m a curb shopper. 🙂
I’m all about practical hoarding for reasons like this! Unfortunately, we’re still in one bedroom apt so my hoarding is limited to my car trunk and ‘craft’ closet. The beds look great and I love that Will can say he helped build them. The pictures of the boys on the mattresses are adorable.
I really love that you guys were able to salvage and reuse these, instead of just buying new beds. Those are seriously “built like a tank” and will never break. They also turned out looking really great! The only thing I didn’t get was why you didn’t paint them in pieces. You must have really wide doorways and hallways to be able to bring them in in one piece.
Nice job.
-JC
That background image of Will cracked me up! Ah, Boys!
I love these beds. My cousin had a similar bed growing up and when you first showed these pictures I remembered building forts and playing with all his star wars toys in his room. They definitely have a vintage feel, but the Hale Navy updates them considerably! Great vision!
I was wondering about this too. Glad it was done safely since you can’t really see the hands.
Adore these beds! What a perfect color too. It’s awesome that you were able to have enough foresight to scoop these “trash pieces” and make something beautiful out of them a few years later! I have no idea how you do all that you do – you are SuperWoman!
We have a similar in design twin bed that we were given a year ago. It’s in a dark wood stain. I love how well yours turned out with the paint. Now you’ve got me thinking….:)
I LOVE how Will’s room is turning out. It’s exactly the vision I’ve got for my little guy’s big boy room. A little preppy with lots of fun! My older son has navy blue bunk beds and I LOVE them! Great work!
I love it! Where did you get the bedding?
Love the navy you chose for the frames 🙂
Just wondering, are you going to give us an update on your new house now that you officially own it? Dying to see what you guys are going to do with it!
You had me snort-laughing at Will in the background. You’re such fun to follow! The beds look awesome. (And I totally would have bought a sciatica stool when I was pregnant.)
Yes I am! We are crazy busy with it right now and can’t wait till we get the chance to update everyone!
xo – kb
We definitely should have checked our doorways (we ended up having to remove the doors to get them through!)…but the reason we painted after assembly was because we honestly didn’t know if it would work! After it all got screwed together, we don’t like removing the bolts because reinstalling screws and bolts usually is progressively less tight.
xo – kb
Pottery Barn Outlet! Cute, right?!
xo – kb
It does seem to help a little but not completely 🙂
xo – kb
I’m so impressed with your vision to turn trash into treasure. I don’t have that vision, but maybe I can just copy you. 🙂 Also, I know co-sleeping is a loaded topic, but I always slept with my parents and love that your kids sleep with you. It creates such security and closeness.
I love the fact you were able to re purpose those beds and I LOVE the color!! funny too with Will in the background of that pic and the random shoe. Things I wouldn’t even of noticed unless you pointed them out and it makes me laugh 🙂
Em
Those beds turned out so nicely! I’m really impressed by your painting skills, everything looks so even! Mine are always gloppy.
I’m with you on the freaking out when they start moving thing! It’s awesome in a way, but also annoying and terrifying! Our little girl is a bit behind (will be turning 16 months in a couple days and not yet walking; has been late on all her milestones so far) which in a way has been kind of easier for us, but I’m also dying for her to walk. Mixed blessings!
Those beds turned out great! I also love the quilts on top.
You were so adorable pregnant! 🙂
These are lovely! Great job.
I don’t know why I thought of this in the middle of teaching a language arts lesson to 4th graders today, but I have an idea for you (that you’ve probably already had, but I haven’t read about it. . . )
Since you plan on having lots of kids, have you ever considered making that cool hang-out-living space that’s attached to your bedroom into the baby nursery? That way, you’d have the big-boy bedrooms for the bigger kids and the babies would always be near you until they’ve moved on into a bigger room? It seems logical to me, as I, too am one to keep my babies close until they’re old enough to have their own room.
Just an idea!
Marianne
Great DIY! Love how it turned out1
http://thegirlinredlipstick.blogspot.com/
LOVE these! Both of my kids beds came from humble beginnings, http://namesakedesign.blogspot.com/2012/07/big-girl-bed.html and http://namesakedesign.blogspot.com/2010/01/new-year-new-house.html.
Fortunately both of mine still had the hardware in place to attach rails. Thanks for the great instructions on building new rails – I am sure they will come in handy.
Wow, I actually HAD that bed when growing up; I shared it with my sister. And I live in the Netherlands so that’s kinda weird!
Hahaha, I was wondering too!
We did think of it! My grandmother had a large room attached to her bedroom…it was used as a nursery for a long time and then as a bedroom and I always thought it would be cool 🙂
xo – kb
Lovely family. Those are so cute 🙂
Also the beds look great.
Thank you Katie for the lovely inspiration.
All About Bed
Sorry for the super late comment but we are trying to update an old rope bed to use for my 3 year old son and are trying to figure out how to do the rails. One question for a fellow boy mama, did you screw down the slats or do they just rest on the support? I am worried if we don’t attatch them that they might slide around with all the rough housing. Thanks so much and I love how yours turned out!
You can screw them down or use apholstery binding and attach them together to make a bed rail roll.
xo kb
I love the quilts! Where did you get them???
They are Pottery Barn. They are linked in the SHOP OUR HOUSE page. And yes, they get better with each wash 🙂
xo – kb