We were itching.
Itching bad.
And that itch had ‘KING SIZED BED’ all over it.
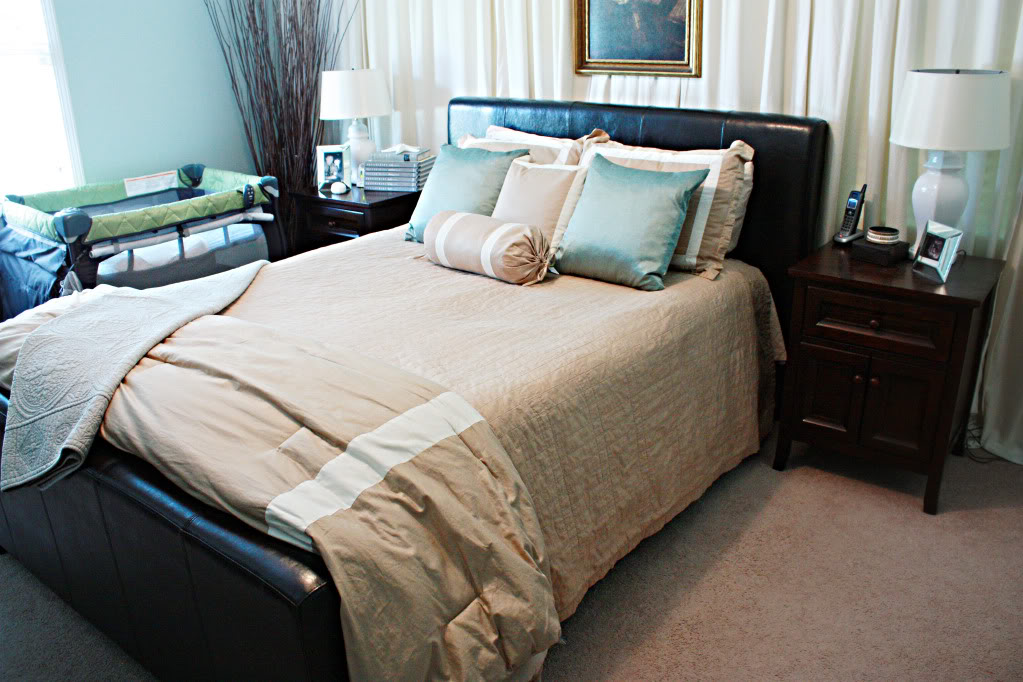
I blame the summer vacation. We slept in an amazing king sized bed. At the time, we were co-sleeping some with Will (like after his 5 am feeding) and that little guy is a cuddler. I am not. So you can imagine him squirming closer and closer to me each night…and me squirming closer and closer to hanging onto the bed with one hand while the rest of my body was our floor. Let’s just say that it didn’t make for restful nights. So when we got home & sold our guest bedroom suite, we knew that this was our chance to spring for a new bigger bed that would fit two moderately chunky Bowers and one pint sized redhead Tinkler.
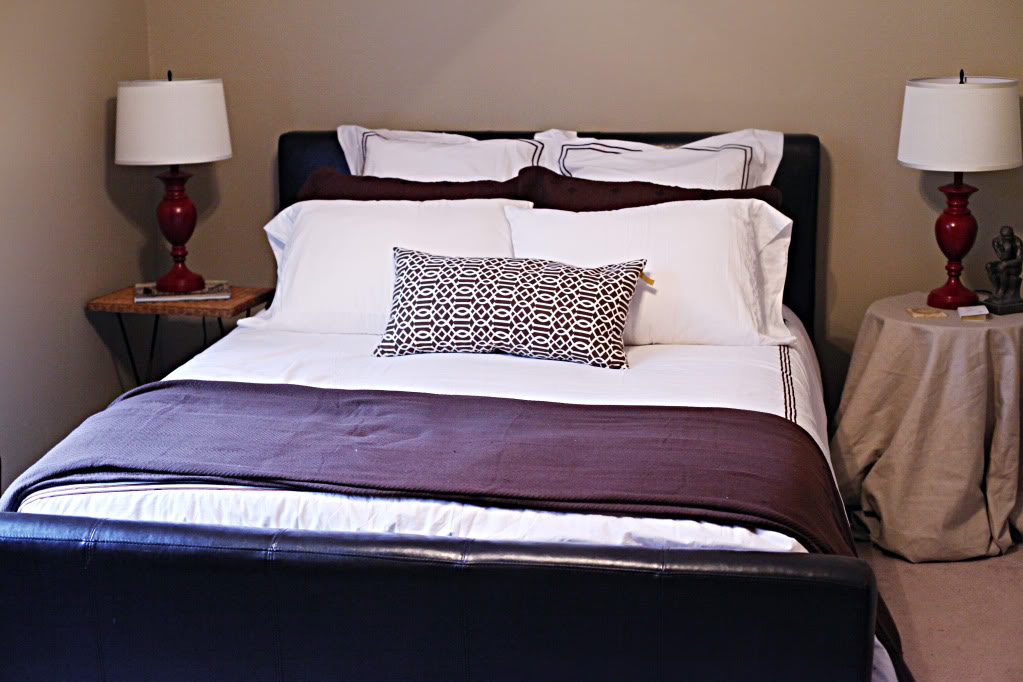
Our existing chocolate leather queen sized bed would have a new home in the guest bedroom. Since we were going for a red/chocolatey-goodness/white color scheme in there, it worked out perfectly. (oh and for those of you wondering about the color of the lamps that I spraypainted…it’s Krylon Cherry Red in Gloss).
The first thing we did was realize that we had no bed to sleep on. And when you have a baby…the only thing you CAN focus on is getting into bed and snoozin…so this was top priority. We ended up at a discount mattress place purchasing the Beautyrest Classic…it was last year’s version but brand new and only $500 with the box spring (a far cry from the $2000 versions at the bigger name-brand stores!). Obviously Will approved 🙂


I wish I had a photo of the mattress on the floor…but I forgot. We slept like that for a few weeks while we came up with a game plan on building a bed. You already saw it during the messy house tour…but here is another video of Will & I enjoying the mattress on the floor.
Will Laughing from Katie Bower on Vimeo.
He cracks me up. Anytime I watch that it almost makes me wanna wake him up from his nap just so I can cuddle him for a while. Almost…
Anyhoo….we found some plans online at Ana White’s blog (the blog star formally known as Knock-off Wood) and they provided just enough info for Jeremy to get the confidence to build the bed. Listen…the boy can build walls and run the lights and hang the drywall, mud and trim but this was his first go at woodworking…so it definitely helped that he didn’t have to ‘design’ the thing.
I’m not gonna go into the details of how to build the bed…you can head over to Ana’s to see those steps (and a slew of other AWESOME woodworking plans easy enough for the beginner). But I will say this: like any plan you need to check your measurements and there will be some modifications needed.
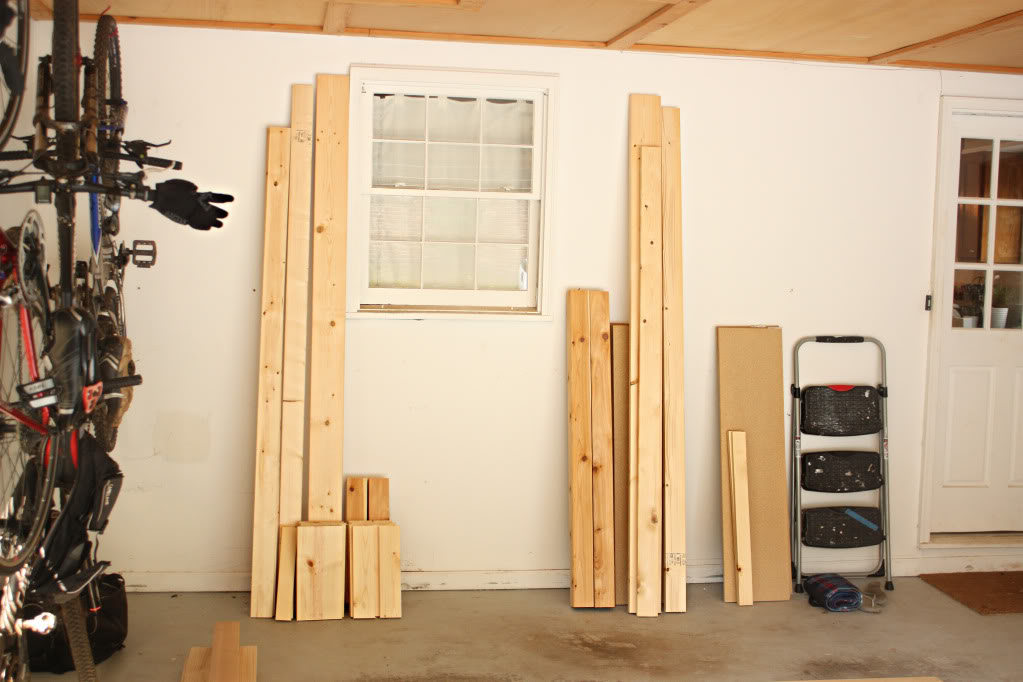
When it came to the slats on the back of the bed, we decided to shave the edges to achieve a more defined separation.
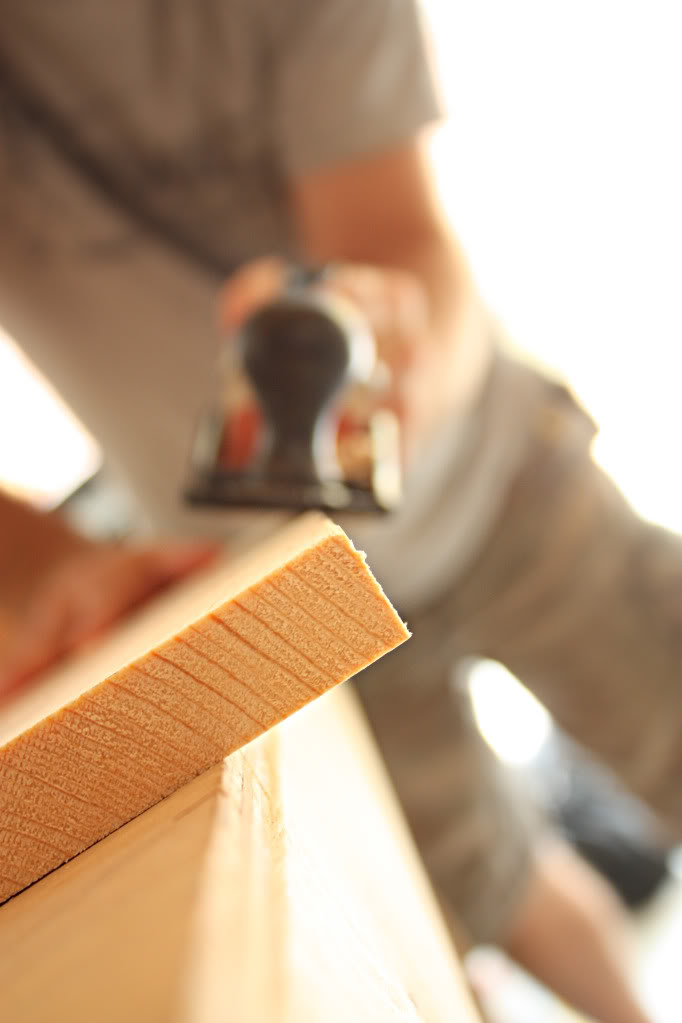
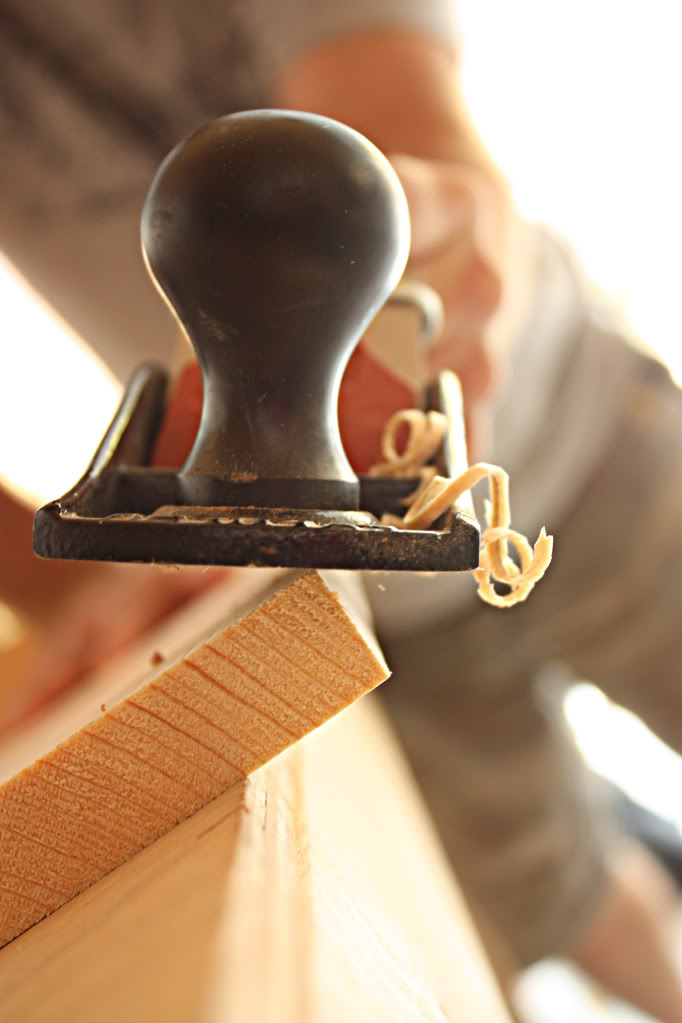
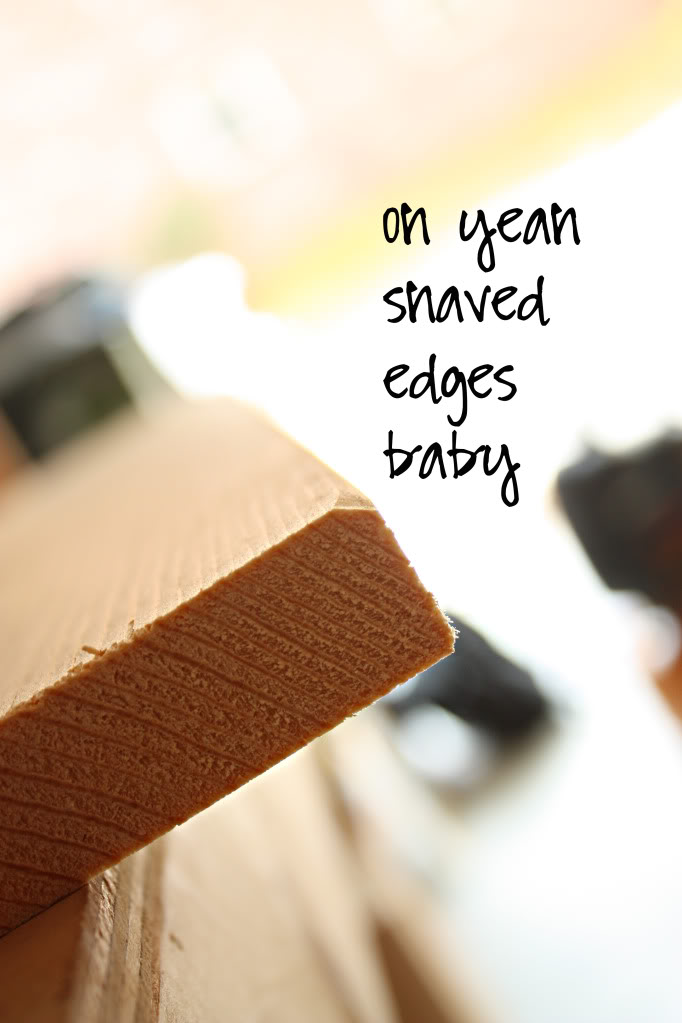
I loved the curly cues…I think they would make great vase filler. Gosh darn. Now I wish I saved them.
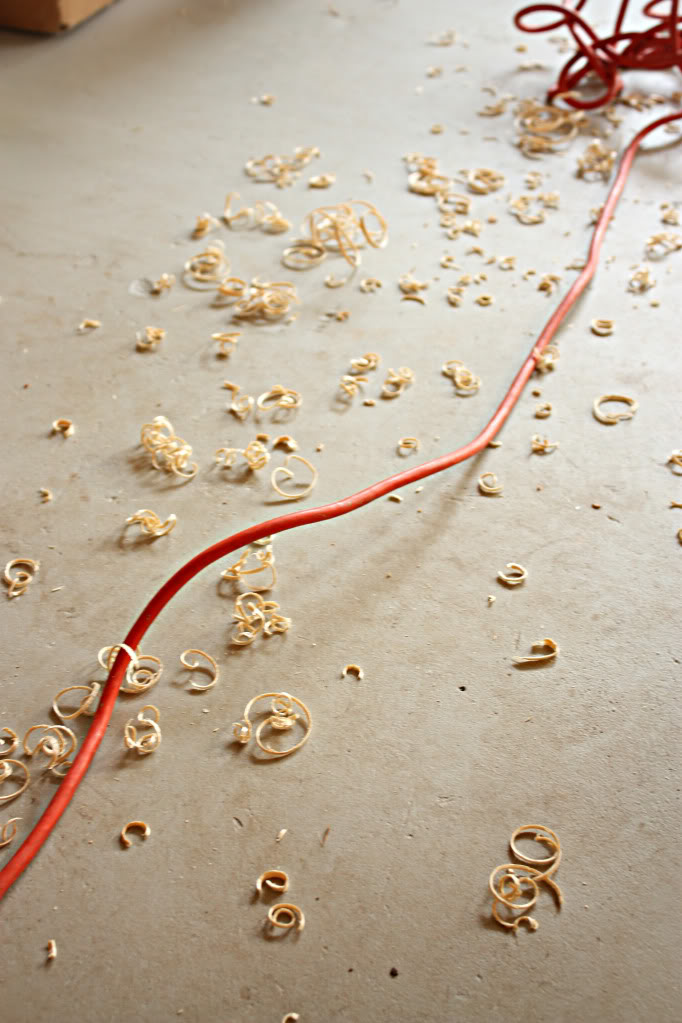
Now with all the slats for the headboard…
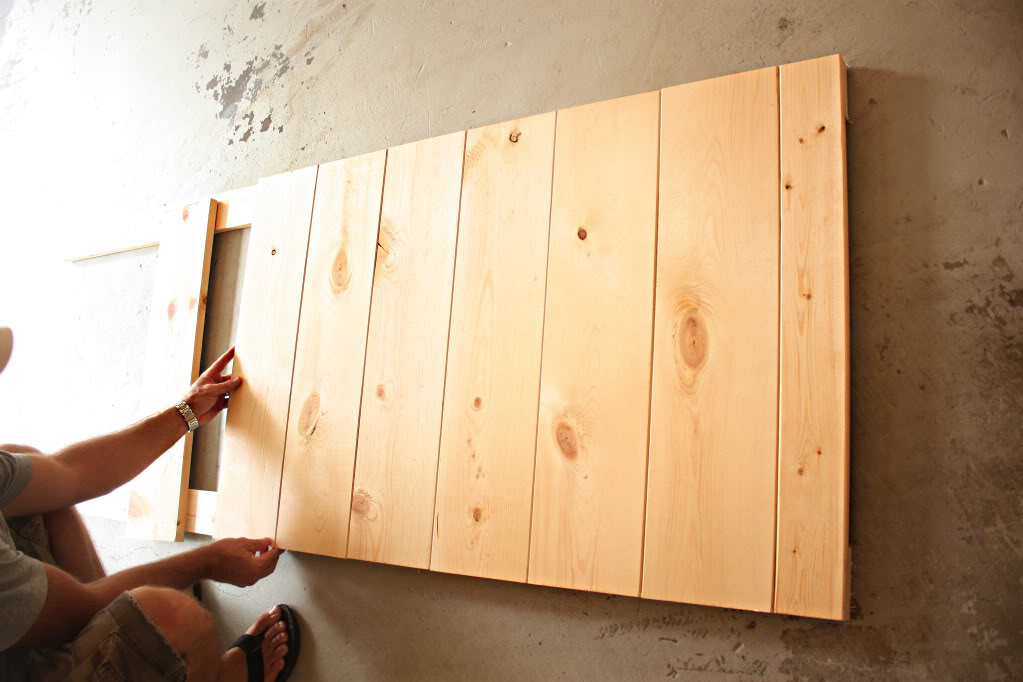
it was ready for the top piece to sandwich it down. Only a little glue (second bottle purchased after the first one exploded in the garage. Granted, bottles of glue tend to do that when people run over them with the car. Not that I would know.) and a little bit of nailing held it in place.
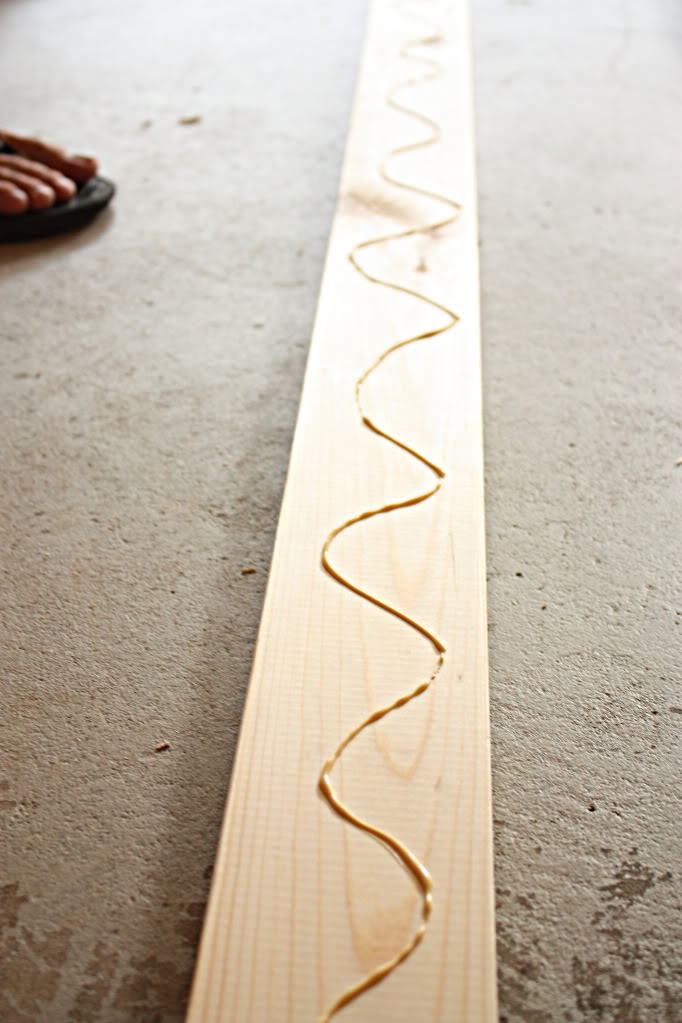
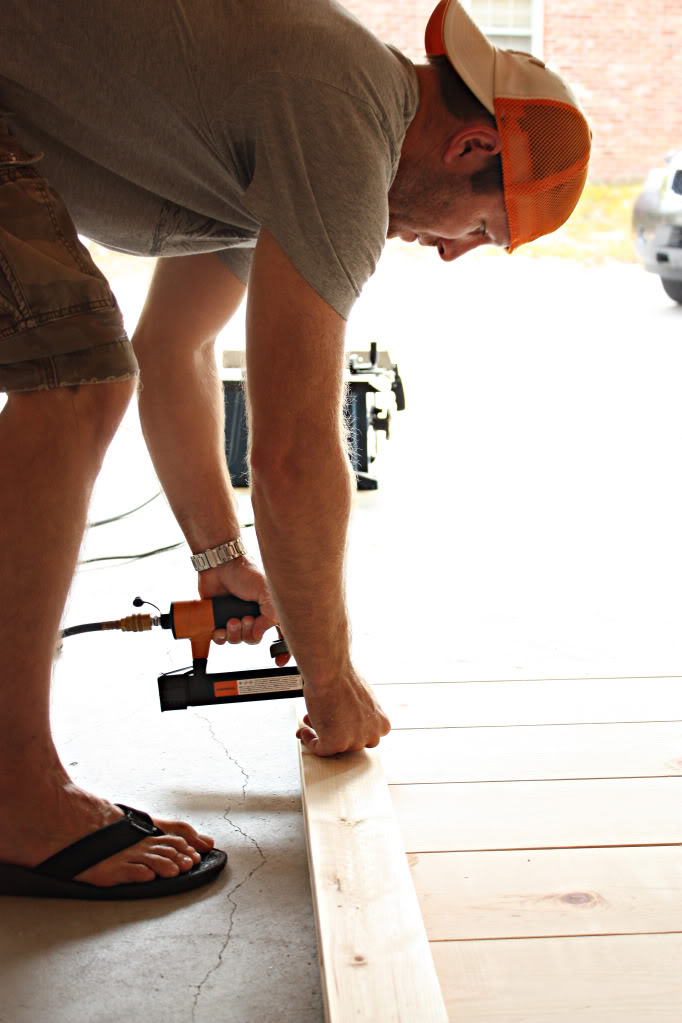
Lovely sandwiched headboard.
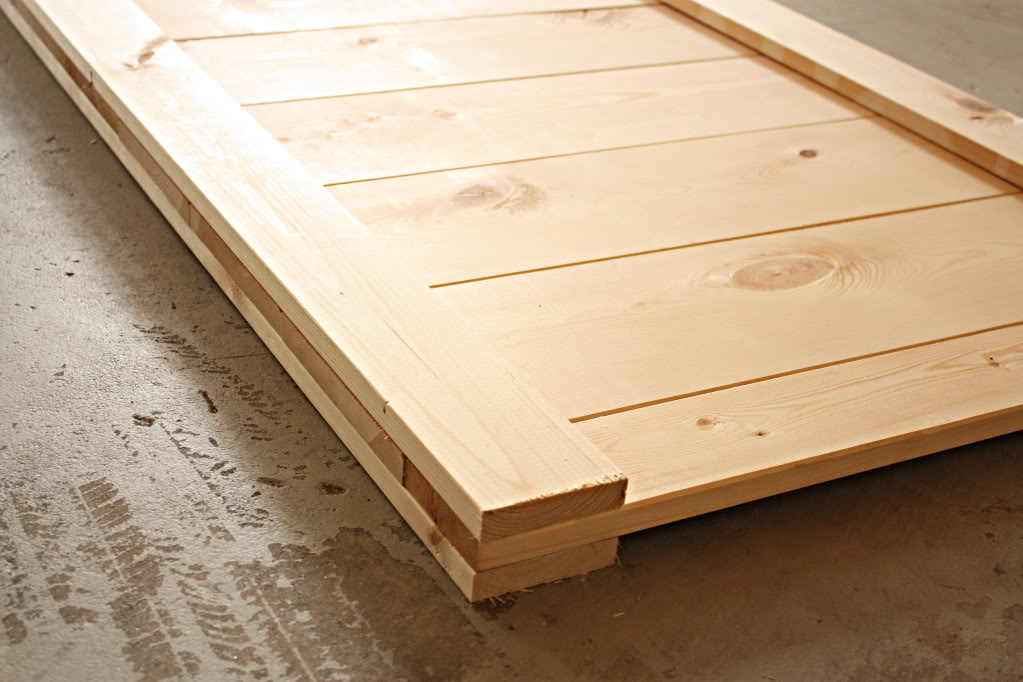
And then we attached the posts and the top boards to create a standing headboard.
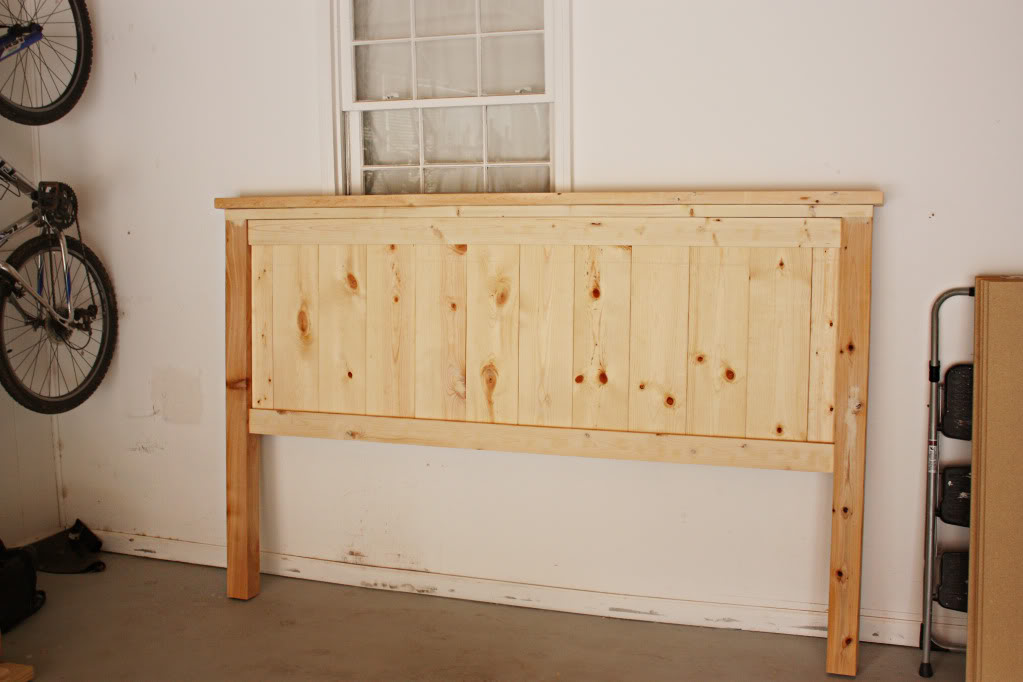
We simply followed the same steps and then moved onto priming…
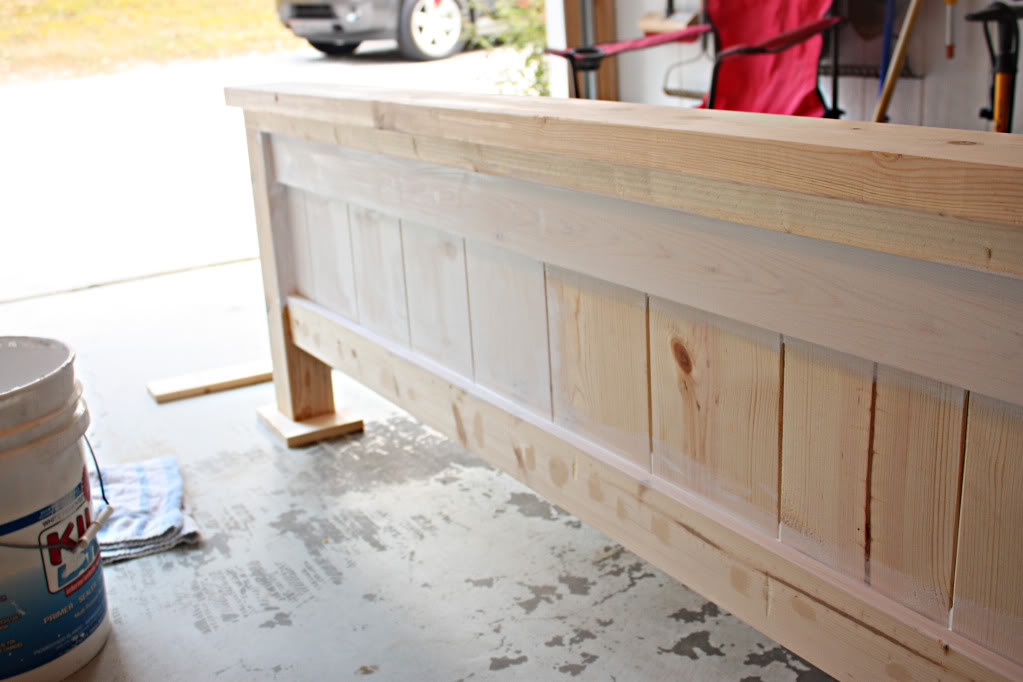
…and finished up with three coats of paint.
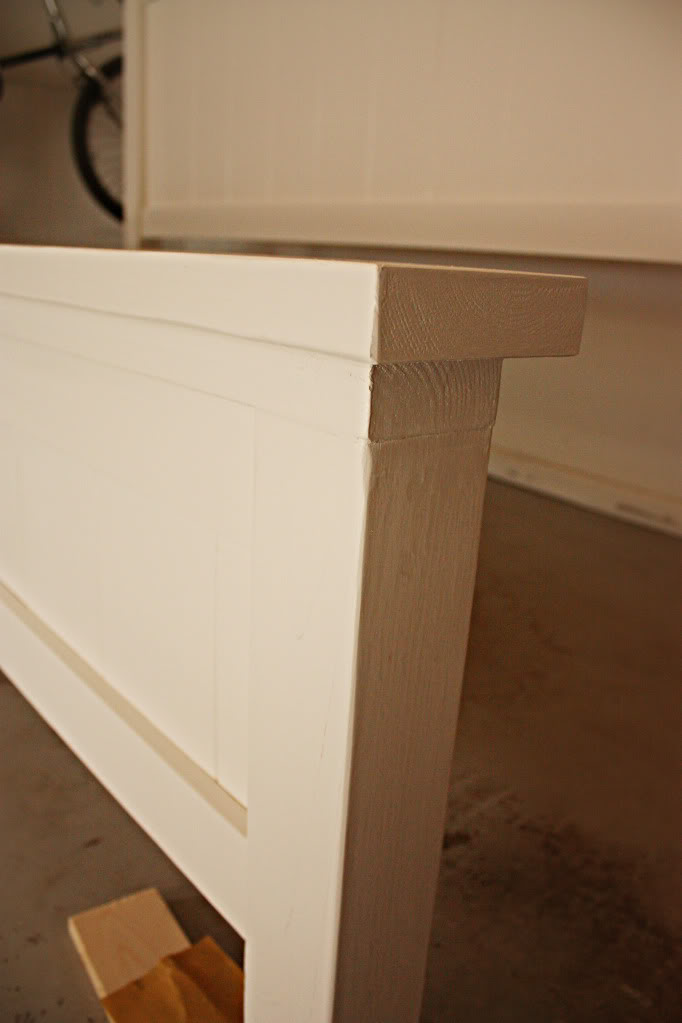
Let me take this time to tell you guys how we did this piece…with major help from True Value. You may remember that we were chosen to be on the blogsquad. Shocker. I know. Construction was a piece of cake with T.V. on our side…afterall, no other store carries the length screw we needed.
But back to the finishing…we sanded it really well. Mostly because of the rough wood. This is made of standard sizes of wood that you can buy in any home improvement store so it tends to be rough. After a thorough sanding, we primed the piece (we used Kilz waterbased primer with a 2.5 inch Purdy paintbrush curtesy of True Value). Then came time for the first coat of paint. I picked Benjamin Moore’s Antique White and had it color matched at True Value in a semi-gloss. Between each coat, we used ‘between-coat’ sandpaper for an extra smooth finish. After one coat of primer and three coats of paint, it was FINALLY finished.

That’s when we decided to go for a slightly rustic look. We chose to distress and glaze it. My boyfriend calls it the ‘dirty’ look…but I like to call it the antique Pottery Barn appeal. It was really simple to achieve. All you do is sand the edges…
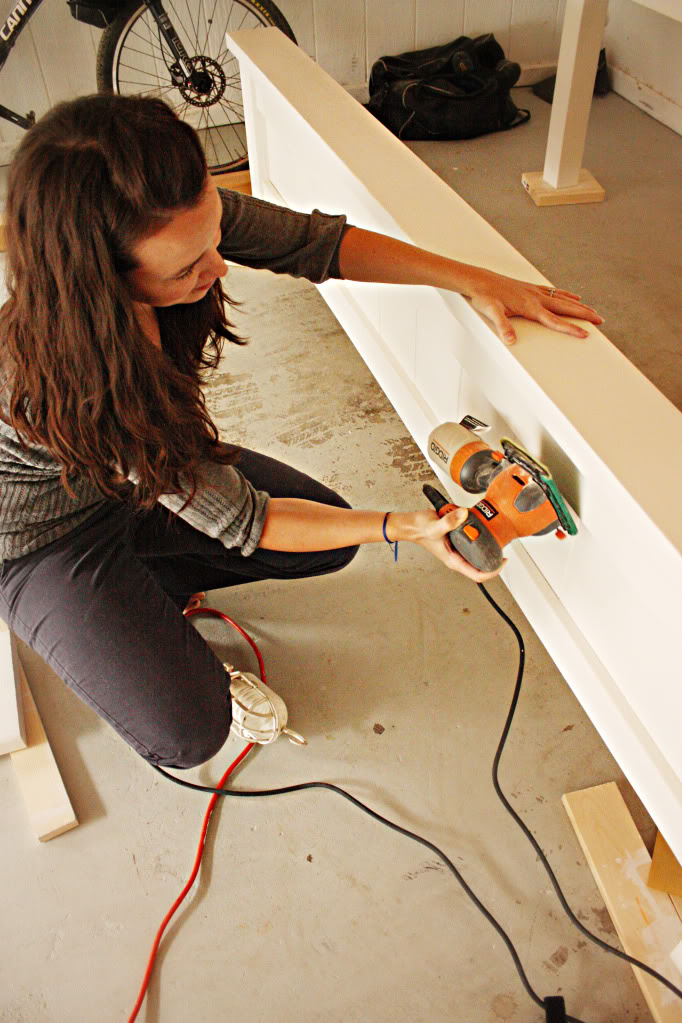
and then spread glaze all over and then wipe it off.
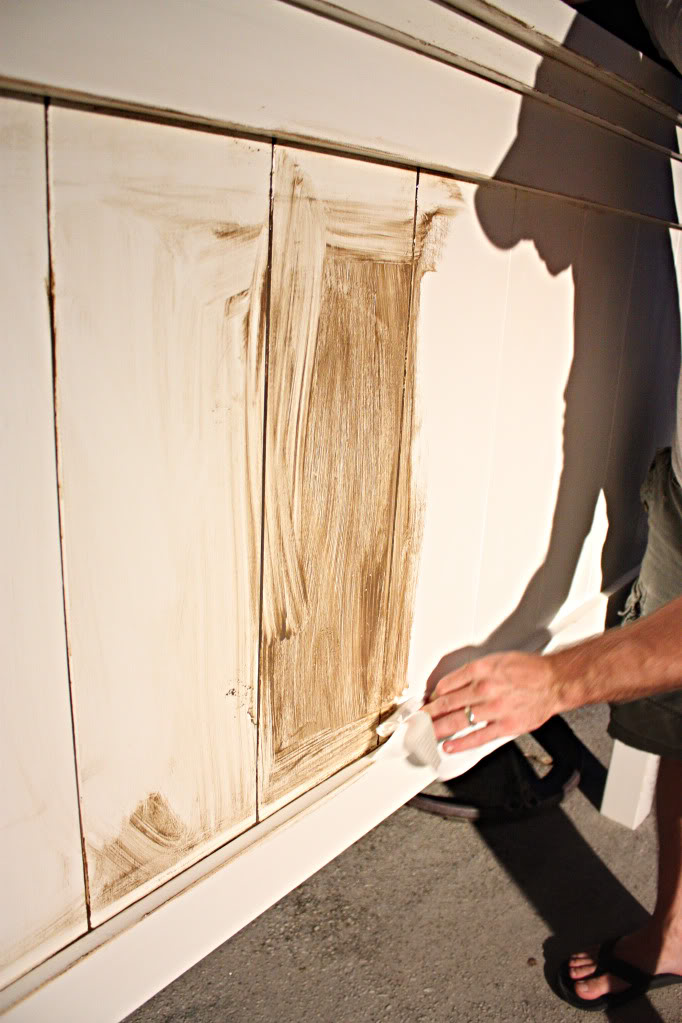
Instant antique-pottery-barn-look…
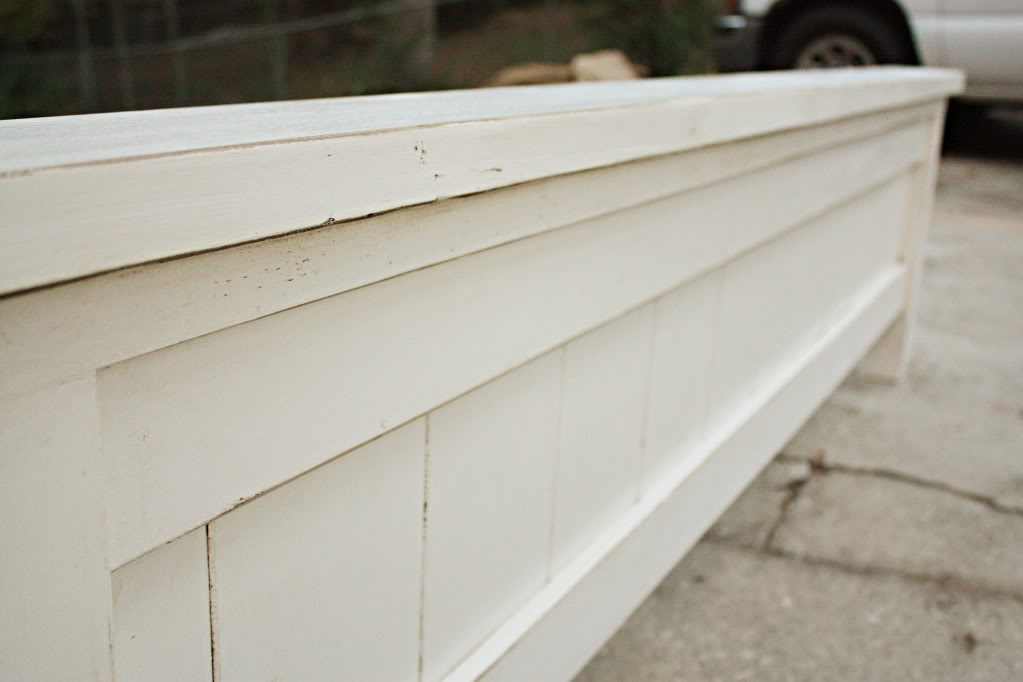
And it defines the grooves so much better.
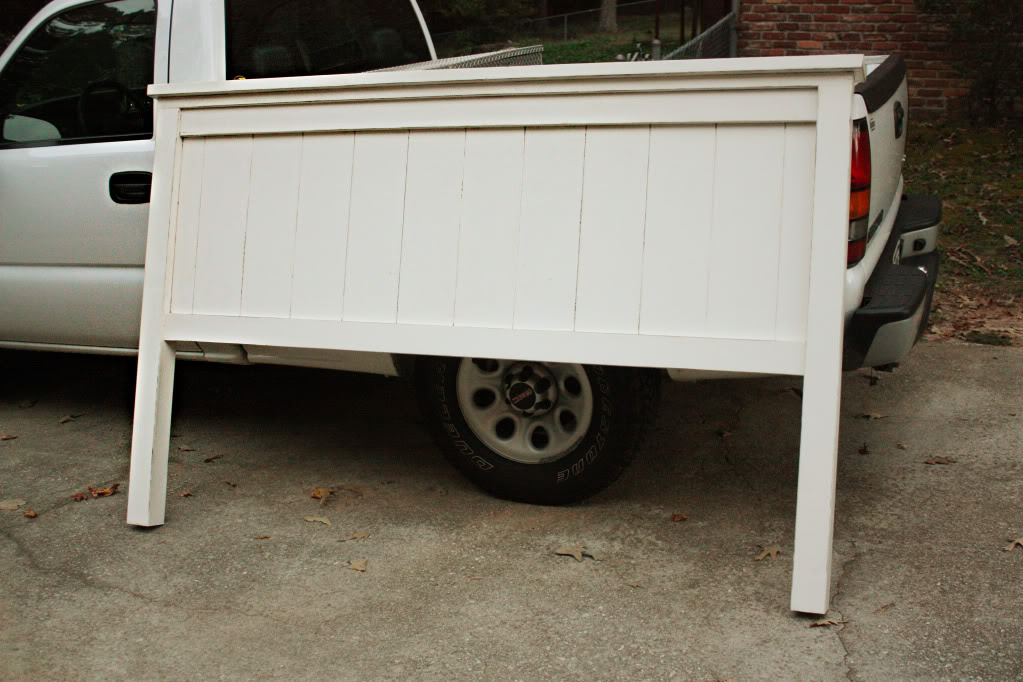
After that, we decided to polyuerathane the entire thing. Generally we don’t use regular poly…because it turns yellow…we use Verathane instead…but for this piece, we wouldn’t mind if it turned a little more cream colored. I think it would only add to the antique look.
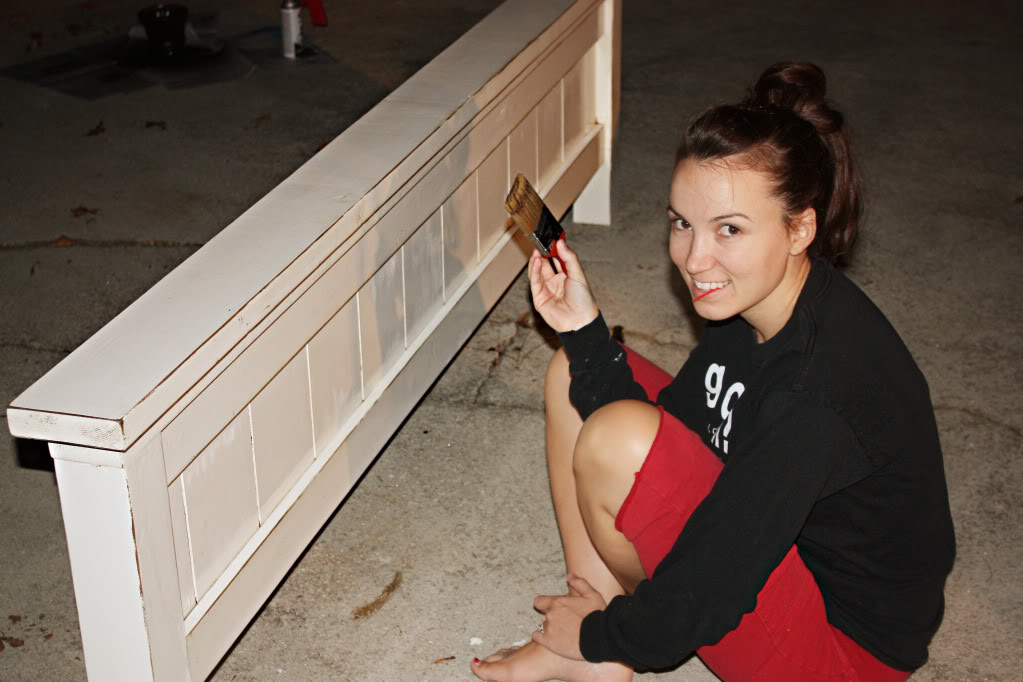
After the entire thing was dried and ready, we cleared the room (crossing our fingers that it would fit in our room).
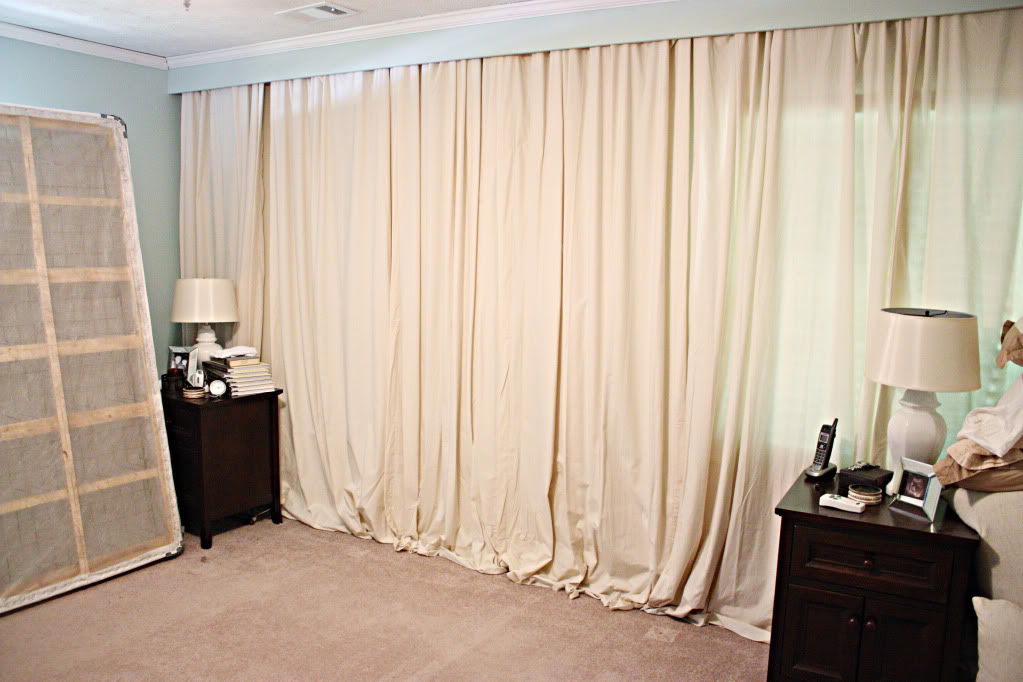
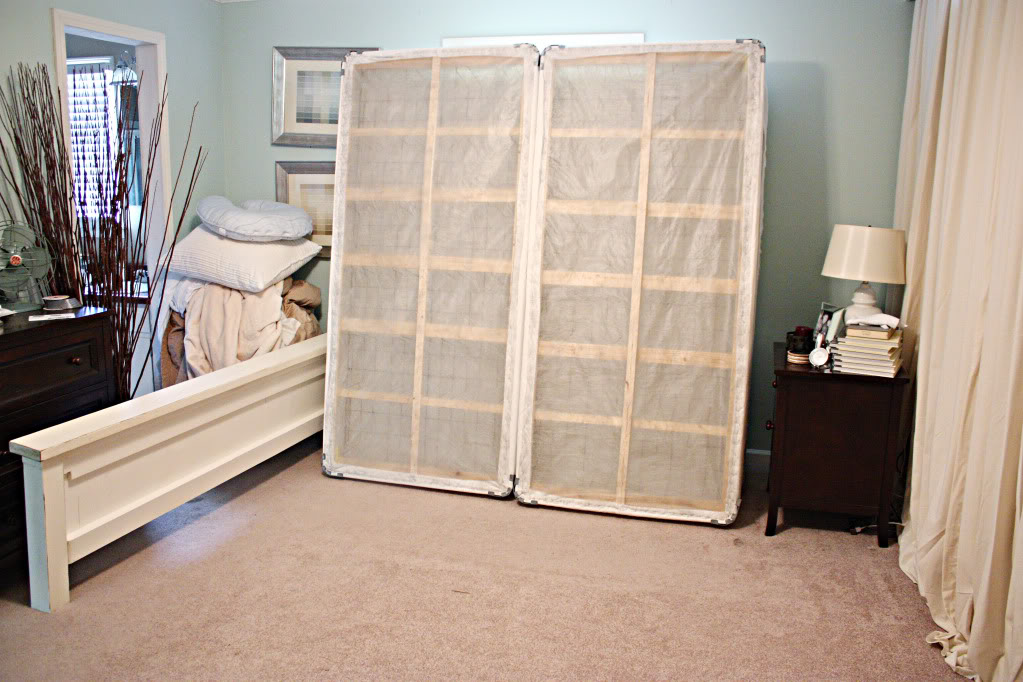
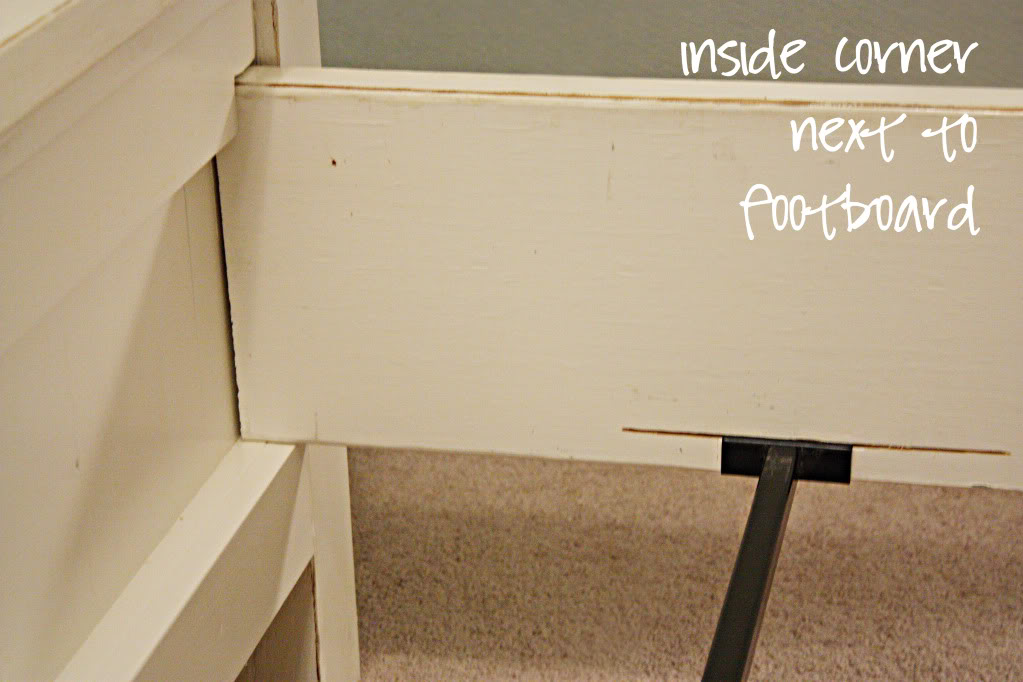
Then came time for assembly. Notice that we notched out a board on the inside of the footboard to create a slot for the sideboards. Also, we cut a little slot for the boxspring supports. I wish I knew where you could get them…I picked them outta someone’s trash.
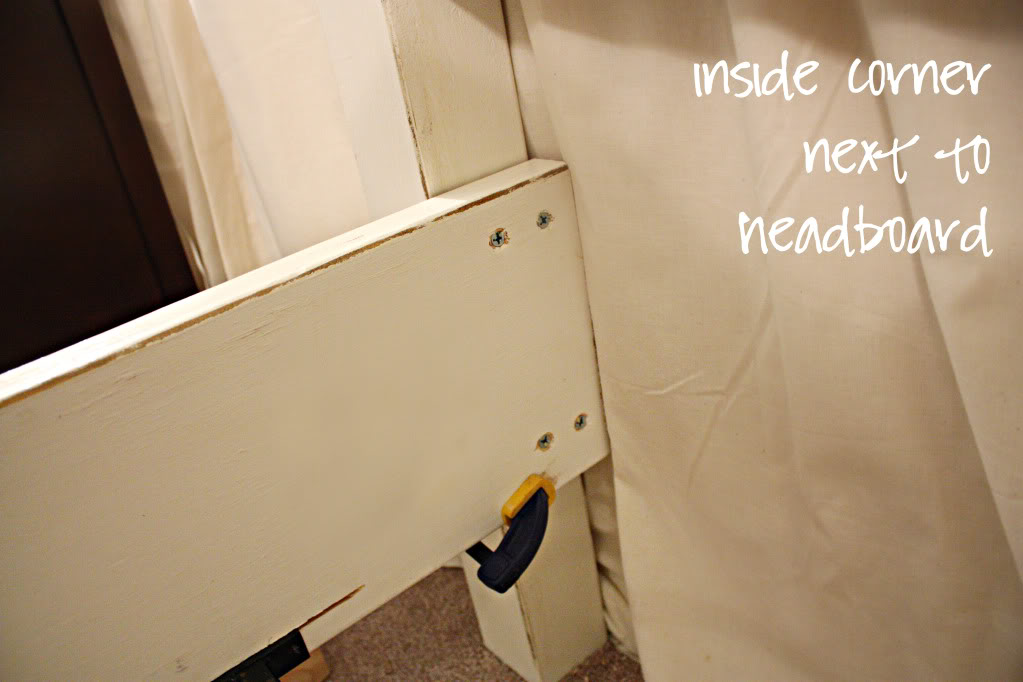
Next to the headboard, we just screwed the posts to the sideboard.
After everything was screwed into place, we simply placed the boxsprings in place….
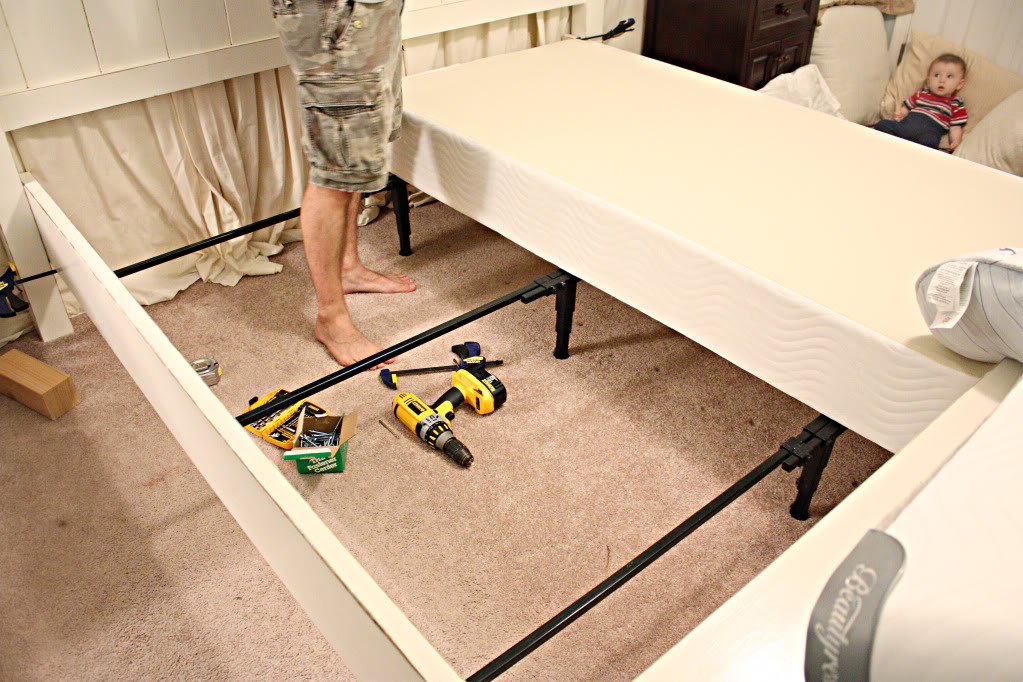
And adjusted the legs supporting the boxsprings so that the mattress would lay evenly.
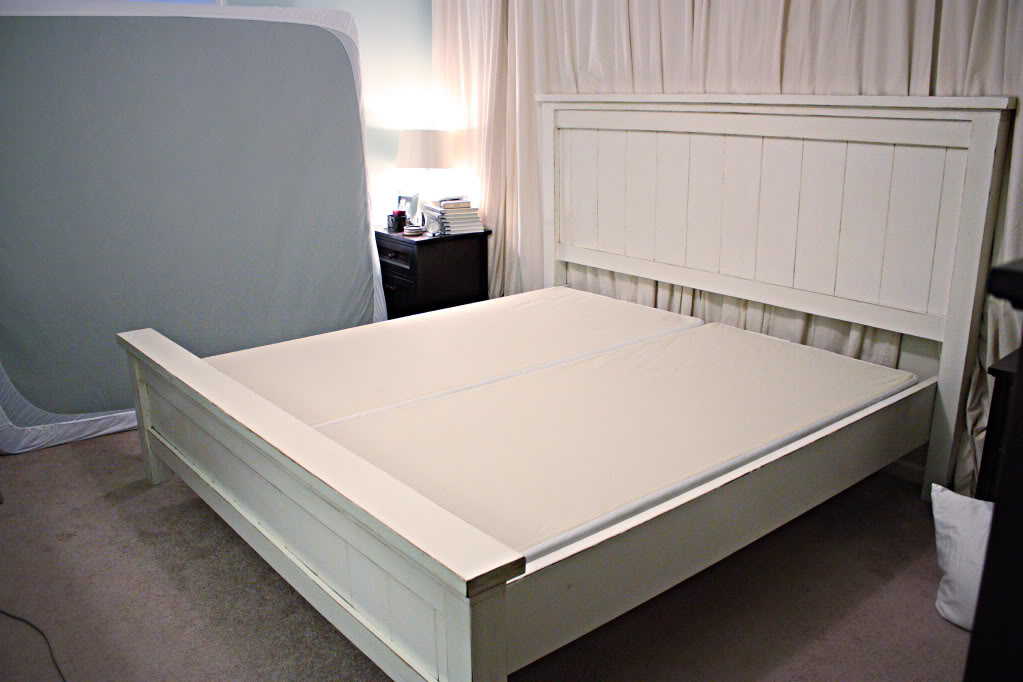
Now for the finished product.
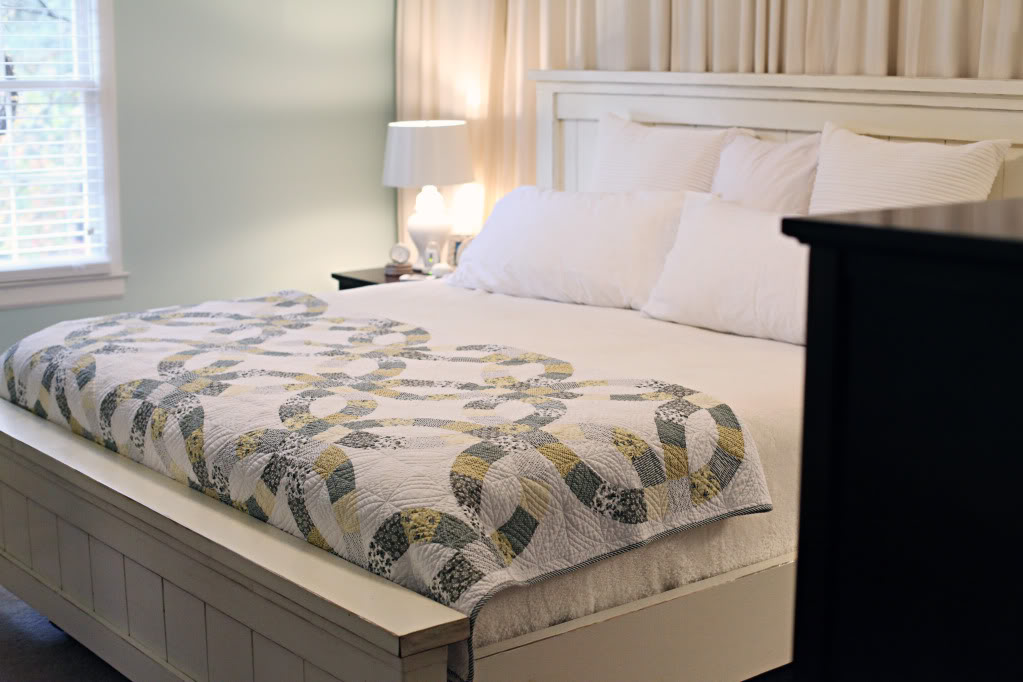
Not bad, huh? And for less than $150 (including the cedar posts that we had to splurge on because no standard 4×4 posts were available).
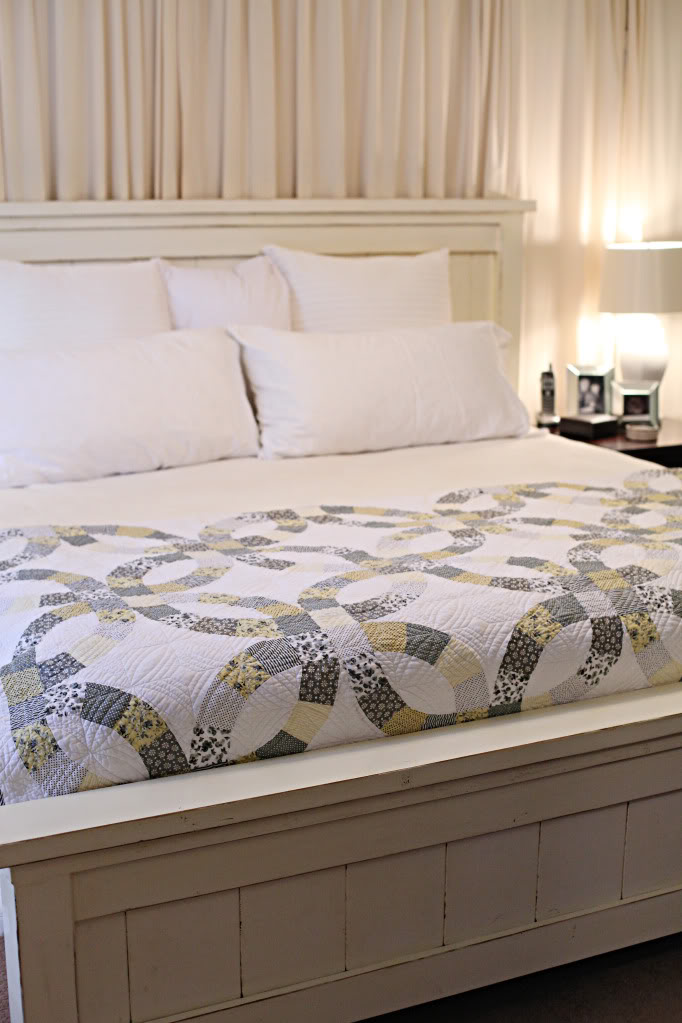
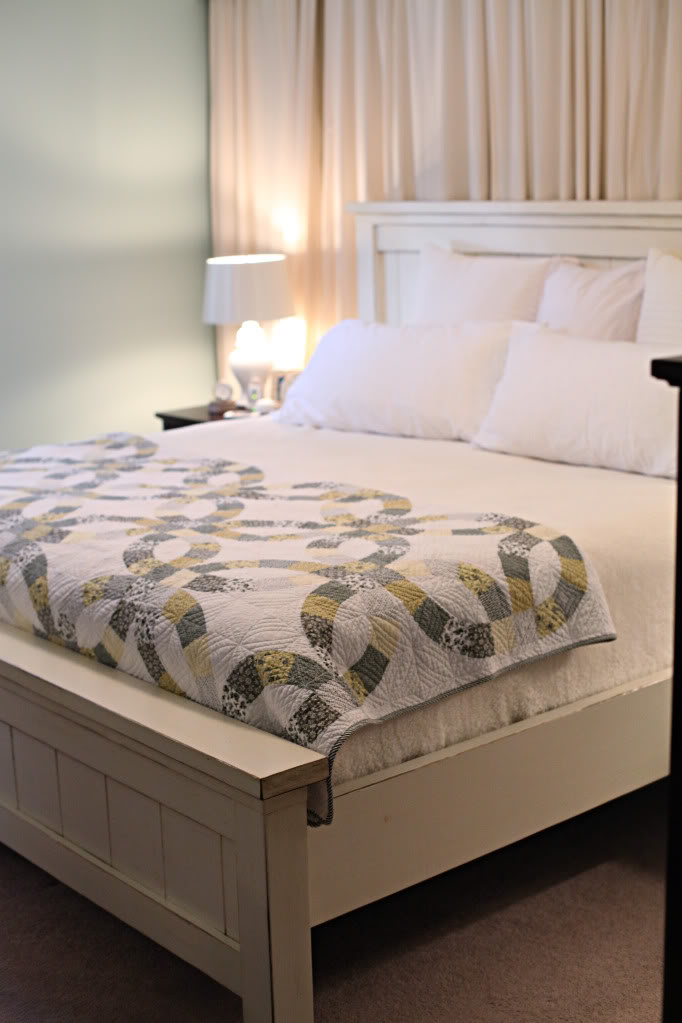
And the queen quilt was only thirty smackers on clearance at HomeGoods while the blanket was an old $20 Black Friday at Target deal (why I bought a king sized blanket last year is beyond me…a guess just a sign of future bedding glory!). Now we just have to order the REAL quilt and shams and finish this room up with a coat of paint.
“I was one of the bloggers selected by True Value to work on the DIY Squad. I have been compensated for my time commitment to the program as well as my writing about my experience. I have also been compensated for the materials needed for my DIY project. However, my opinions are entirely my own and I have not been paid to publish positive comments.”
Are you kidding me? That video is adorable!!!
Nice looking bed. Love it. The yellow quilt—is that the Homegoods or Target find?Iwantit.
Angela – it is HomeGoods! Isn’t it darling?! It’s available online for $100…it’s called Southern Living yellow wedding ring quilt.
xo – kb
The bed looks great! I love when you can build your own furniture for a completely custom look at a much more affordable price!
OH MY GOSH!!!!!!!!!!!! …and Jeremy will require how much to drive to NH and make one for us? Seriously…reaching for my check book. We got a King (can you say ‘life-changing’?) sized bed about 3 months ago. Weve yet to find an inexpensive, stylish, head and foot board that wont overwhelm our already smallish master. That frame is GORGEOUS!!!!!
Wow, the bed looks professional and super high end! I need to get myself some woodshop skills…
GREAT job! I am in the middle of a Knock-Off Wood project myself — the cubby storage wall. Have you shared your bed with Ana yet? (Wait, that sounds weird… haha)
Will cracks me up in the photo of the box springs being put in the frame. xo
Ok so you just saved my Pier 1 Bed from being listed on Craigslist! Its VERY similar in style to your new one here and is already the antiqued white. I was going to sell it b/c Ive wanted to re-do our master BR for awhile now(its always the last room we choose to focus on) and cant wait to see what wall color you go with. So hurry up & git R done!:)
LOVE your blog!
Katie, I am FLOORED by your bed construction skills!! WOWIE! It looks amazing. I am dying for the day we have a house (living in NYC means all our construction projects take place in the living room) so we can really go to town with some wood and paint. Great job! Love your blog and always get good ideas from you. Oh, yeah, and you have the cutest family ever! 🙂
That video is adorable – love his laugh and who doesn’t like jumping on the bed?! The DIY bed is seriously impressive, too!
I love this!! My husband is going to blame you when I demand (a.k.a. ask very sweetly but don’t take no for an answer) for a new bed when I see him today!! thanks for the idea 🙂
Wow! That looks like it’s straight out of a magazine!
you guys are INCREDIBLE! the bed is amazing and your offspring isn’t too bad either 😉
Katie, the bed is asbolutely beautiful!!! I will be copying…um, should I say, my husband will be copying it!! Quick question, what color glaze did you use for the antique look? I like that it’s a little darker so that it can go with darker furniture in a bedroom.
Love your blog – I’m a little obsessed, I check it everyday 🙂
Very impressive and inspiring. I guess there’s nothing too big for you to tackle. Now I’m getting the germ of an idea to attempt something like this, too. I’m going to be redoing the master bedroom soon, and am still tossing around whether to keep the queen sized or go for the king. I really want that king. Sigh.
Hi Shannon…I’ll be posting a tutorial on exactly how we did the glazing later this week.
xo – kb
Holy balls that bed is AMAZING! I just might copy it. WELL DONE!
I LOVE the bed, and can’t believe it only cost you $150! We have a queen right now, but could definitely see a King in our future…
Wow! That’s all I can say. Very impressive!
Katie, that is absolutely gorgeous!!! seriously! I have bed frame envy! it is a masterpiece…you guys did a wonderful job! very impressed!
Holy WOW!
LOVE LOVE LOVE the bed!
Also, I wish I could watch the video right now, but I’m in a crowded classroom!
OH.MY.GOODNESS!!! You and your boyfriend are super talented!!! We have built various pieces of furniture over the years – but never a BED!!! And it looks AMAZING!!!
Well done you guys….I am super jealous, but super inspired…maybe we need a new bed frame now!
It looks awesome, Katie! Great job!
so proud to be outbuilt by you! Absolutely beautiful!
Aww thanks Ana….I’m totally blushing. And thrilled to use the plans…your site is AHHMAZING.
xo – kb
Your bed looks awesome!! Love the glazing idea and great explanation. I am attempting a fake fireplace mantle and think I’ll try the glaze on it. Great move going for a king sized bed. We have 4 kids and it’s a must have for the nights that you end up with little people wanting a place to sleep! It’s turned sleep less nights into restful ones at our house.
Beautiful! This is my favorite project you’ve done… I just had to comment! It really does look straight out of a Pottery Barn Catalog 🙂
You kids have crazy crazy skillz! I am so impressed!
GORGEOUS! You guys did an incredible job … what a great project 🙂
Oh my word! That bed turned out awesome!! You guys rock!
Absolutely Beautiful!
Just have to add my voice to the already Wowed and Amazed crowd. That Bed is just beautiful! I wish we had the time to tackle projects like that! You INSPIRE ME!!!!!
Looks GREAT, Katie! We recently purchased our house and I’m so eager to do many of Ana White’s projects!!! Thanks for sharing!
Beautiful bed Katie! Ya’ll did a great job!
Jen
OK a couple things:
1. Will = beyond adorable. I love squeally baby laughs. They can make your day!
2. That bed looks amazing. I would have believed you if you said you bought it new from a store!!!
I am making that bed! Lol, correction…it’s actually for my daughter’s Christmas present. A doll bed and I love the color and staining so I just might have to do what you did because it came out beautifully!! I cut all the wood out already, just don’t have any 1 1/4″ screws (have every size but that one!) and I should be done building in less than 2 hours. Now only if I need another “regular” size bed to bed.
*to build
Absolutely gorgeous!
It looks super!! I love Ana’s website too…
Gorgeous! That really turned out amazing!
Hands down my favorite Bower Power project so far! The bed turned out so good! Great job to you and Jeremy!
You two did an amazing job. It looks wonderful.
And Will’s face when you propped him up with the pillow? Priceless!
Oh WOW! You guys did such a great job! The bed looks awesome! Now can you come to Germany and build one for me, too? 😀
Also, that video of Will is hilarious! Completely cracked me up! He’s such a cutie!
Hi Katie,
This is AWESOME and I definitely want to replicate! I am looking forward to the glazing post. Can you mention what paint finish you started with before you put the glaze over? I’ve never glazed and I’m unsure if you do it over flat paint, semi gloss, etc. THANKS!
This is a GORGEOUS bed! Y’all did an awesome job, bravo!!!!!!
Holy goodness that’s amazing! Is your boyfriend cool with being rented out to others?
That video of Will is so cute! I love baby giggles, they make me smile all the time!
Looks great! You’ll love having a king-sized bed! They’re glorious. I can’t understand couples who are ok with queens. They don’t know what they’re missing!
Okay, that video of Will is probably my favorite thing I’ve ever seen on your blog. Ever. Sorry, dude. You got upstaged by that adorable munchkin! 🙂
OH and your bed is super fabulous as well 🙂
You guys did a fabulous job on the bed – beautiful! Will is SO adorable! 🙂
Yeah Lacey – I thought I typed it but I guess it’s easy to miss with all those other words 🙂 I know. I talk too much. And it is semi-gloss but Ana used gloss on hers and it looks great too.
xo – kb
I don’t know where you get the determination for these projects! But good for you – looks great, of course!
Congratulations to you both – it looks fantastic!!!
How long did it take you to build? I’ve been eyeing the plans for about 6 months now and keep hinting at my husband…who, obviously, doesn’t take hints well. I keep trying to tell him “it won’t take very long”…. but I honestly have no idea. I just need construction time because I’m on my own with painting so it doesn’t matter how long that takes!
the bed looks great. very impressive!
and the picture of Will on the mattress is too cute.
It took less than a week to build (Jeremy works slow & steady) but it took a little over two total (all the painting, glazing, & polying included). It definitely isn’t the easiest project out there but totally worth all the work. Plus, your hubbie will have bragging rights for YEARS.
xo – kb
I just watched the video of Will and it was the most adorable thing I’ve ever seen!! It even made my hubby smile! 🙂
You really are like super mom! You fly and everything. And Will’s laugh – I wish I could put that on repeat, turn it into an MP3 and play it all day! Love the bed and I can’t wait to see what you do with the rest of the room. We’re about to take on an AW project too. I’m hoping it’s easy, so there will be more to come!
Great job – it’s beautiful!!!
It boggles my mind that the bed used to just be a pile of wood – fabulous job! Love Ana’s plans, she’s such a talent, and you guys are obviously aren’t too shabby either since you pulled it off!! 🙂
Love the bed! I wish my hubby and I were handy like that, we’re currently sleeping with out new (well we bought it a month ago) king sized mattress, because we don’t want to spend the big bucks for a bed yet 😐
How did y’all learn how to do all that woodwork and stuff?
Are you kidding me? This is amazing! I can’t believe you MADE that bed. It looks like it’s straight from Pottery Barn. Well done, Bowers!
Seriously Funmilayo….Ana’s plans are super easy. They walk you through the steps…just make sure you double check everything before putting it all together 🙂
xo – kb
OK, this is a dumb question but what is the tool that you used for shaving off the edges of the boards? I really, really love how that defines the planks.
Looks fantastic!! How sturdy is it?? I would be terrified to give it a little bounce But great job guys!
Ashley…I literally laughed out loud with the sturdy question.. This thing is a BEAST!!! It took both of us to bring it up the stairs….it was that heavy. It’s probably the sturdiest bed ever.
xo – kb
I think it is called a hand plane. If you use an electric version, I think it is called a power planer. Had to ask my Pappap for that one 🙂
xo – kb
The bed looks amazing! My husband and I LOVE Ana White’s blog, she’s got so many good plans it’s hard to go wrong. 🙂 Also, your quilt is incredibly sweet! I’m not sure if you know this, but the pattern is an interlocking ring pattern that’s traditionally for marriage beds – it’s supposed to represent interlocking wedding rings. Thought you might be interested 🙂
Ok – 1 amazing and I’m inspired to make something there for real now. Let me clarify have my hubs make something!
2 – where did you get a king mattress for $500. We are looking for mattresses but haven’t started much yet and I saw one for $500 at sams and thought it was a good deal but that was a queen w/no box spring…. Was it at a local place or chain?
Amazing work! And, with the lighter furniture, the king size bed does not overwhelm your room. It looks a lot airier. Love it!
How tall is you bed (with mattress and box springs)? My husband built us the same bed, but shortened the legs WAAAAYYYY too much because he thought it would be too tall with the boxspring (I think the plan is designed without the boxspring, if I recall). I want to convince him to add a little extra to get it off the ground more so I can vacuum. Thanks!
It was a local place called DISCOUNT MATTRESS. And then it had a sign in the window that said “CLOSING OUR DOORS – CLOSEOUT PRICES”. We bought one of the least expensive ones too…mostly because we were gonna try a firmer version than our previous queen and a little nervous about droppin big bucks on a mattress that would need to be resold if it wasn’t the right fit.
Happy shopping!
xo – katiebow
LOVE it! I love Ana White’s blog, too. She’s pretty awesome.
oh.my.gosh. that video of will laughing might be the cutest thing ever! i loved it!! i have a 2 month old little boy and i absolutely can not wait to hear those kind of giggles from him. so presh! i love all the pics of will!
oh- and the bed is great too! haha…almost forgot this post was about a bed! totally pottery barn for an unbelievable bargain. love your bed, love your blog and love your baby! =)
That video made my day!
Thanks for being my procrastination outlet.
I now have an itch for a king-sized bed, I caught your bug!
I love the look of your bed frame – love it.
My husband doesn’t like me reading your blog, you wanna know why? Because I get all these ideas of things to do around our house and his ‘honey do’ list keeps growing. haha just kidding – he doesn’t blame you, he knows his list will continue to grow either way!
Your boy is adorable – I mean how cute is his laugh!
Sorry for all the randomness. Have a great evening!
Wonderful! The Pottery Barn effect totally makes the bed!
It’ll come Angela – those sweet little smiles that turn into chuckles that change into squeeling laughter. It’s the best. Absolute best.
xo – kb
holy crap that looks amazing!!! Nice work Katie!
Great looking bed!
Oh, and feel free to drop by our house anytime. My husband does woodworking as a hobby and fills a giant garbage can with those wood curly-cues about once every 2 weeks! I could fill your vases for months and months!
I LOVE your bed (amazing work!) but those baby giggles steal the show!!!
1. the video of you and Will is SO cute. His baby laugh melts my heart.
2. I LOVE the bed. I have been wanting to try one of Ana’s projects, and a bed is definitely on the list…now I just need to convince the hubby. You guys did a great job, it looks wonderful, and comfy!
I absolutely love your blog! We are currently looking for nightstands and all the ones we seem to find are huge. Do you remember where you bought yours because they look the perfect size. Thanks!
They are part of the Canopy line at Walmart 🙂 Yes, we love Wallieworld…
xo – kb
I’m totally inspired! how do you convince your hubby to do big projects like this?!?
It’s called sex. JK. It’s called chocolate chip cookies. And a threat that I will quit the blog and he will have to listen to me talk. all. the. time 🙂
xo – kb
Seriously, AMAZING. I freaking love it. You two can come build me one now…….
I would SO buy that bed from you in a heart beat – any chance you would think of shipping it to Idaho? 🙂
Awesome job!
What is the exact name of the poly you used? I recently refinished a dresser to use as a media stand, but the poly I have seems to be too shiny. I have Minwax Polycrylic in Satin, but I did a test spot and it seemed pretty shiny. Is there one you recommend? I am going for the “Pottery Barn smooth” look and finish.
Question, how did you go about attaching the foot board to the side boards? Also did anyone find out where you can get the metal support bars that were used?
Hey Nate,
You see that photo with the ‘inside corner next to footboard’ written on it? Yeah…so the footboard had two pieces above and below the slats sandwiching them together…and the bottom one we made double thick and the top one we notched out for the sideboard. Then when we assembled, we drilled from the inside through the sideboard into the footboard right below where it sat in the notched spot 🙂 Does this make any sense?
Also, check out the message boards on Ana’s blog to see if other folks came up with different solutions. They might have an easier fix 🙂
xo- kb
Ah, I did not catch the doubling up on the bottom board. Thanks for the reply… now I am off to get it done for the wife!
P.S. She loves your blog.
What kind of wood did y’all use for the bed? I saw that you used cedar post but not what was used for the rest of the bed. Me and my husband are about to tackle this project but wanted to see what kind of wood you used first! Thank you!!
We just used regular ole pine planks…the cheapest ones you can find at Home Depot or Lowes.
xo – kb
Beautiful bed! I bought the same $20 comfy blanket at Target this Black Friday. After a week in the Target bag debating whether we would keep it, I saw it at target for $39 and decided I got such a great deal, we should keep it. The only one that loves it more than my boyfriend and me is our kitty!
This bed is amazing! Can you tell me more about the glazing process? I want to do the same thing to a piece of furniture in our house. What product did you use, and where did you get it? Any insider tips?
You rock!
Hi Linda,
I have plans for a complete run-down in the next week or so…
xo – kb
Wow! That bed is beautiful & looks fairly easy to make. I’ve been dying to make our own bed b/c right now we have a king bed just on the frame. I’m definitely going to try making one like this. Thank you for the inspiration!!! LOVE IT!
Brandy
I LOVE this bed! I am planning to attempt to make it myself. I was wondering about the primer you used. You used water-based…have you noticed any type of bleed through? I’ve read that oil based covers things more thoroughly but that it’s also a little harder to work with/clean up. What would you suggest? Thanks!
Andrea
Hi Andrea,
I think it depends on the surface you are priming. Oil based does cover things more thoroughly which is great especially if you are dealing with pieces that already have been finished…but you are right – the clean up is harder, the wait time is longer and the finish can be unpredictable. With a water based, you are risking the bleed through but also there can be issues with the wood soaking up the primer to make the finish uneven. And the water based is obviously easier to clean up and is sometimes a bit cheaper but that doesn’t necessarily mean the best results…especially if you are using two different materials (like pine and hardwoods). There is also a shellac primer that I use that works great – super fast dry time but that can lead to ‘clotting’ if you don’t do the entire surface fast enough. And it is easy to clean up and it sticks to anything but the cost is more. The key here is this – with this bed, you are dealing with unfinished wood making water-based primer equal in finish to oil based. The only difficult part is when you use different wood for the posts than the actual planks. If you are worried about bleed through (we haven’t had any problems at all with that!)…then go with the oil based…but if I had to do it all over again, I would still use the water based.
Hope this helps!
xo – kb
Hey Katie!
I have been waiting to move into our first house, so that my husband and I can start some DIY projects ourselves! We have officially moved, and we are really excited to make a headboard… but I can’t find that corner shaver tool anywhere! What is it really called and where can I find one?
Thanks for all you do!
Megan
I believe it’s called a ‘plane’….your local home improvement store should have one in the woodworking tool section! Good luck!
xo – kb
Very useful blog. This bed design is very simple and easy to make. Here are some more tips, if you are planning for a new bed.
http://www.rebornhouse.com/
Hi Katie,
I know this is an old post but what brand paint did you use for the bed? Was it Behr, Antique White? I’m hoping to copy this soon and gathering up my research. 🙂 Congrats on another boy too! Your boys are so adorable and I know this one will be too!
Jessica
The color was Benjamin Moore’s Antique White. I had the swatch color matched to a different brand 🙂
xo – kb
I was not sure how to send you a note – Not a real computer expert but wanted to tell you that you can buy box spring supports at most mattress or bedding furniture stores.
Can you give me the dimensions of this bed for a queen?
And how thick would the box springs need to be?
The plans for a queen are on Ana White’s site. You can search “farmhouse bed” on her site 🙂
xo – kb