Happy Tuesday guys! I am back at work on #thePedrazaProject today (follow us on Instagram @bowerpowerblog to see little sneak peeks of our progress! We are currently making a laundry/mudroom nook and we are gonna be finished with it this week so you don’t want to miss out.) and as I am over there, I wanted to start sharing Max & LJ’s nursery stuff.
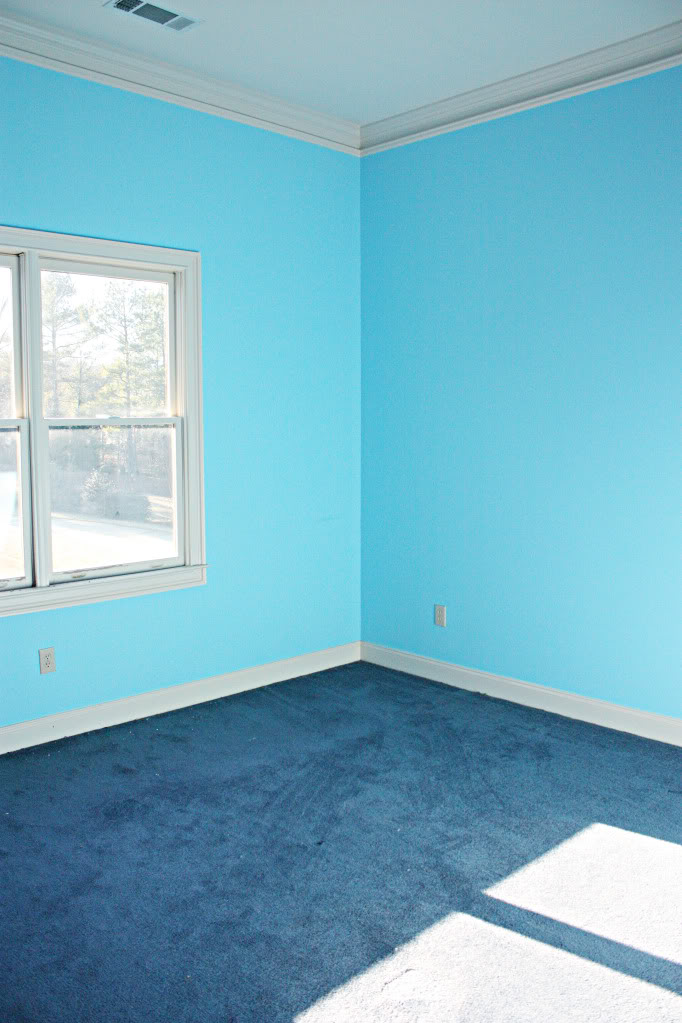
This room used to be very very BLUE…
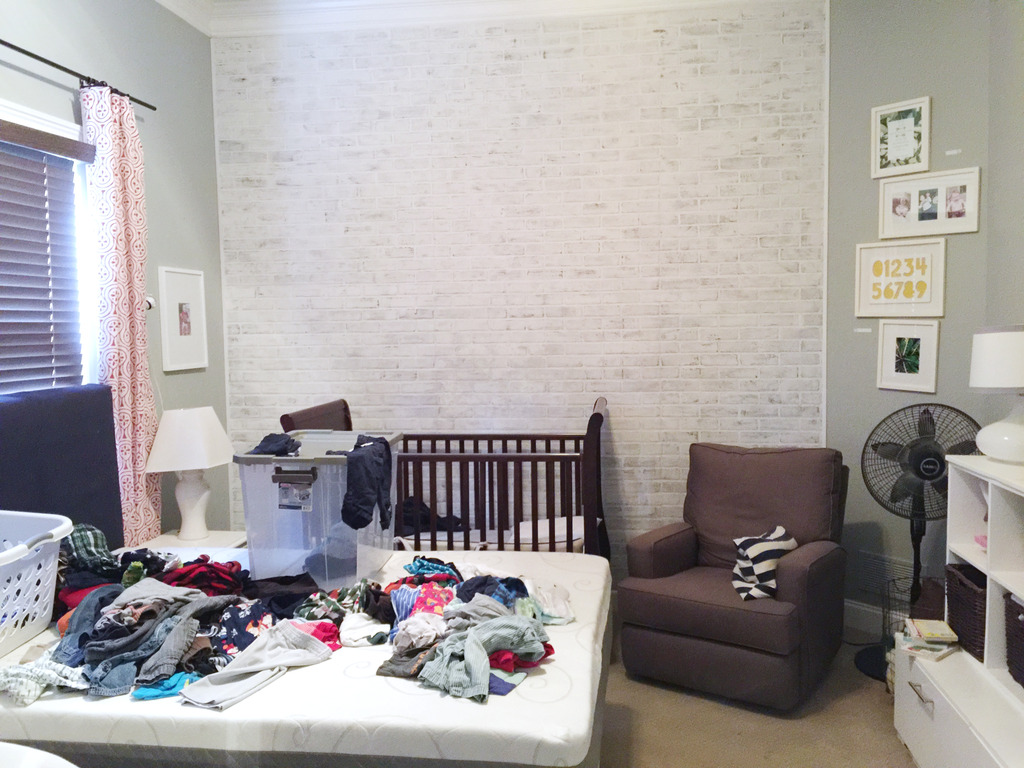
And after we bought the house and had another kid, it turned into Weston’s nursery complete with faux brick wall…
Two kids later, Weston moved into the Big Boy Room and the nursery turned into more of a haunted house….you never knew what would jump out of the bushes and get you…
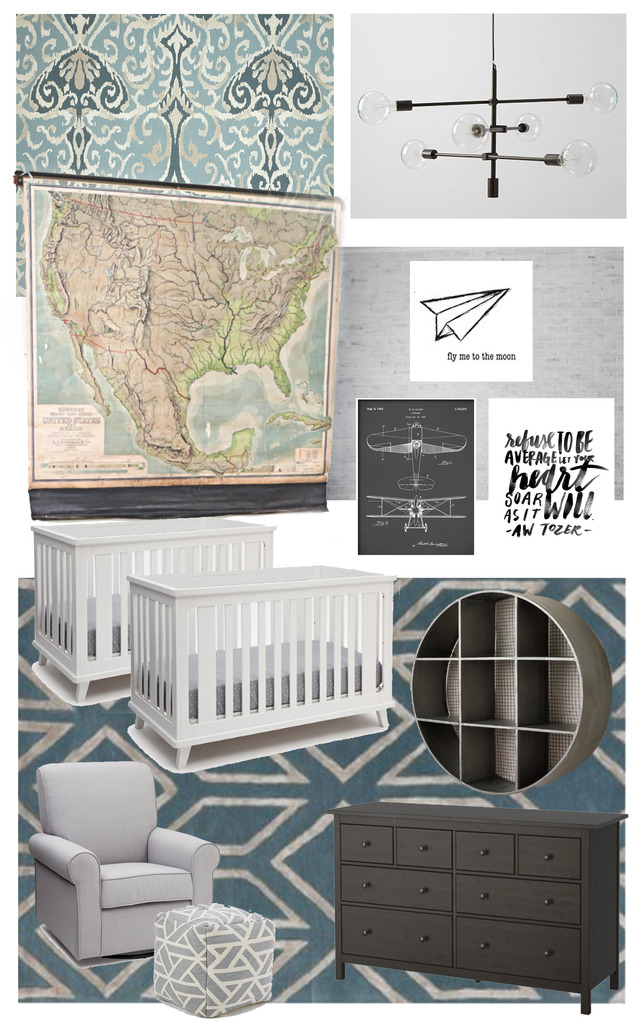
Well….we had a plan that we discussed here….
But I really was on the fence about the whole airplane theme. I liked the idea but when it came down to it, I just didn’t LOVE the rug. Yes, it is a beautiful rug but for whatever reason, I just didn’t love it in here for the boys. So I went back to the drawing board and decided that I was just gonna put stuff in their room that I felt was very LJ or very Max. And that is what brings us to this post.
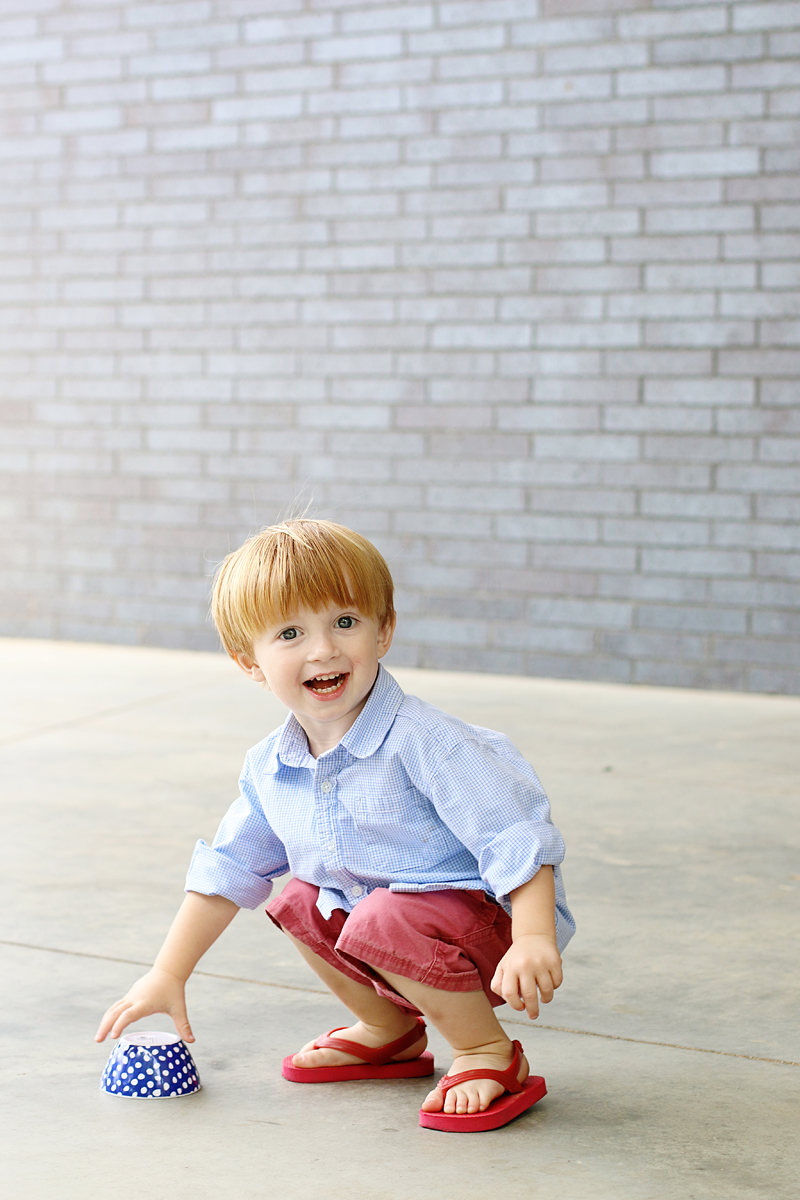
So LJ’s name is Leonard. We chose the most fitting name ever for that little boy because it means Brave as a Lion and BOY is he ever! That kid is our littlest in stature but BIGGEST in daring, take on anyone and anything bravery. The kid has no problem jumping off high places (even when people are NOT ready to catch him), into the pool (even when people are NOT ready to catch him) and has no problem attacking a brother twice his size (and has been known to leave teeth marks). He is OH so sweet and OH so little (he and Max are the same size clothing now) and can talk up a storm and there is nothing he won’t do. I have a feeling he is the one that I am gonna need to have an extra insurance policy on 🙂
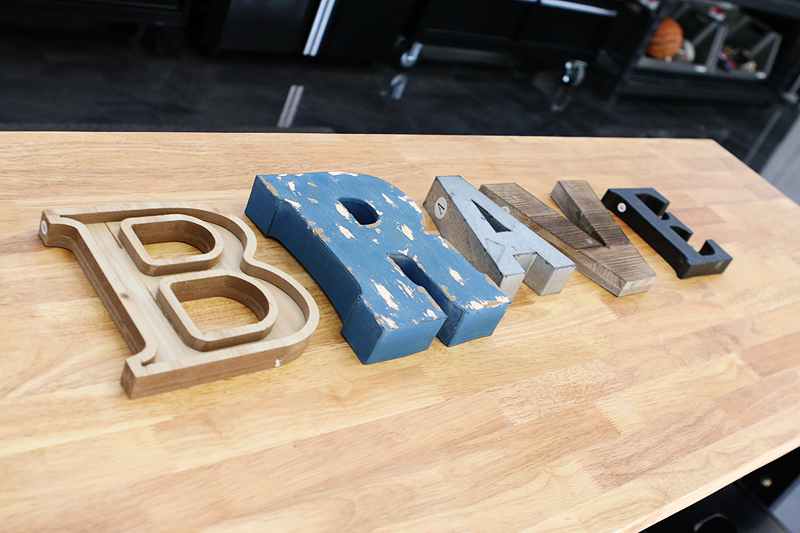
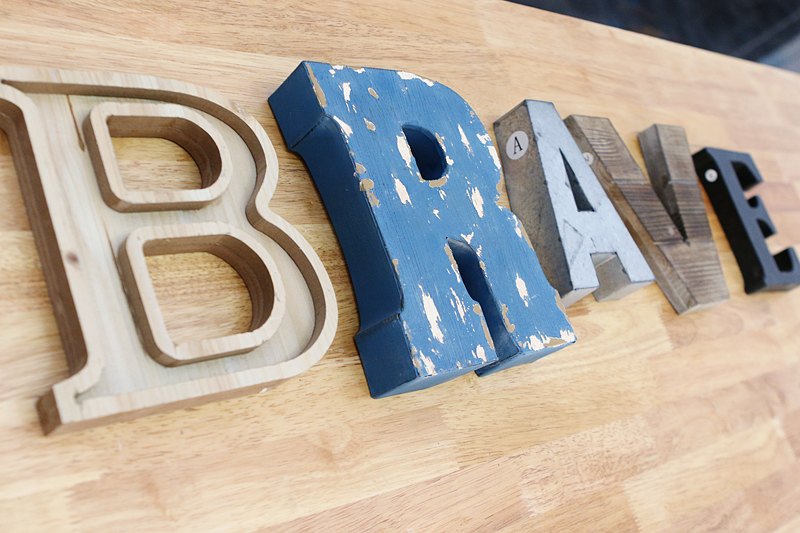
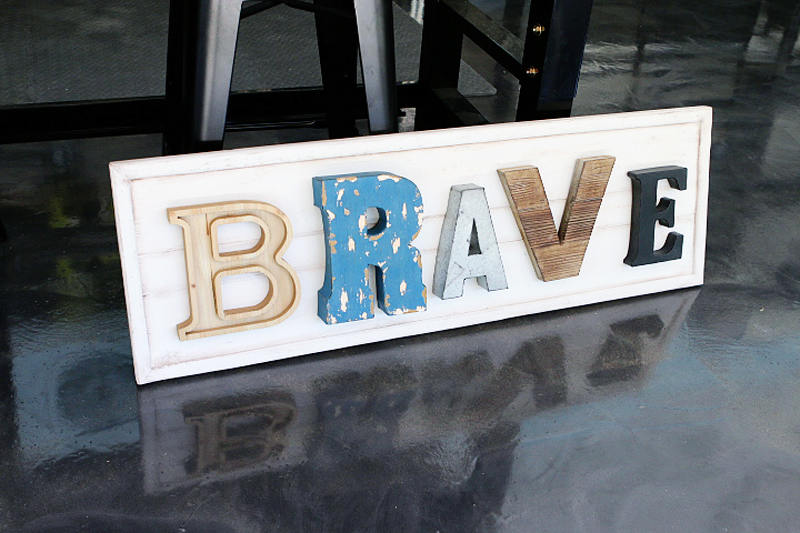
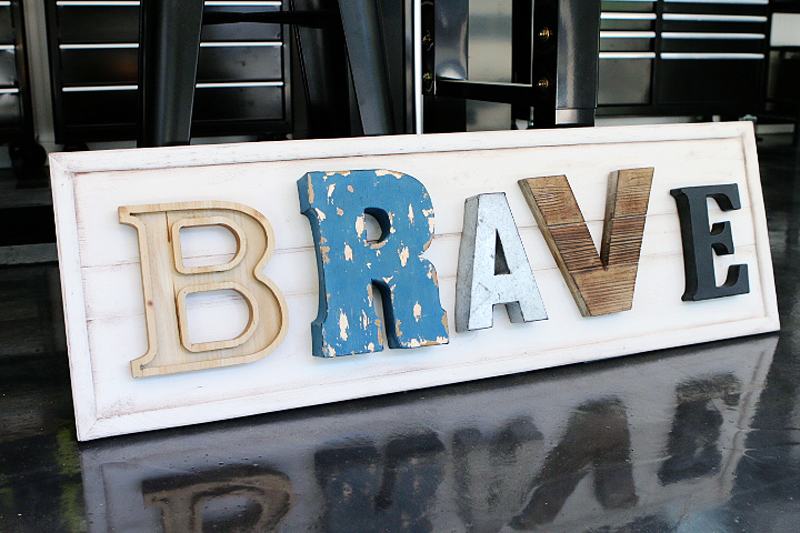
I saw these letters at Michael’s and knew that the word BRAVE needed to be in his room.
It kinda reminds me of the Magnolia lettering…right? From Fixer Upper?
People have been putting these kinda letters together forever….so I really can’t credit a specific person for this idea. BUT I would like to give a shoutout to Liz Marie because I think she does it best. She has a great eye for making these signs and puts the letters together in pretty ways. She uses beadboard as a backing which is just lovely and easy and you can see a bunch of ones she has made by CLICKING HERE. Go visit and tell her she is pretty….because girl won the gene pool.
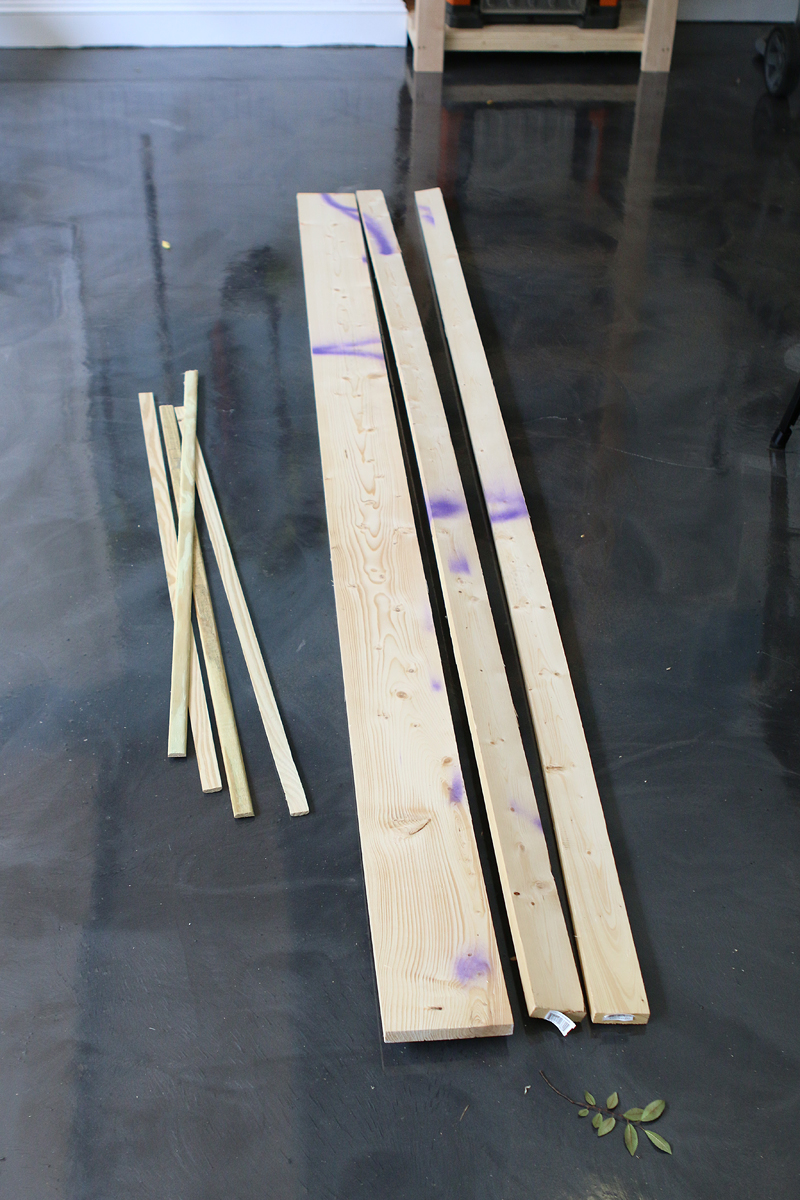
So I wanted to make my brave sign a little hefty so I used regular ole scrap wood. The cheap warped kind that costs pennies in the discount section of the Home Depot. Tip of the day – most HD’s have discount wood WAY back in the back and it can be a huge pile or none at all…and it has spray paint all over it indicating the discount. Sometimes it will be broken or very warped but in most cases, it is ridiculously cheap….think a quarter for a 1×6.
The letters are all from Michael’s and they range in price from $3-$7. You gotta buy them with the sale and a coupon to get the best deal!
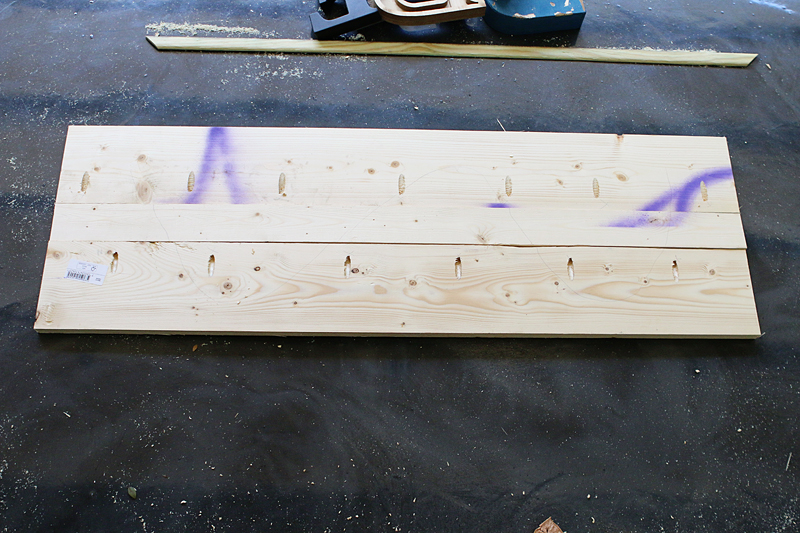
So the first thing I did was cut my boards to length. I had some scrap trim that I wanted to use on the edges so that was my length 🙂
And I Kreg-Jigged it all together on the back before sanding.
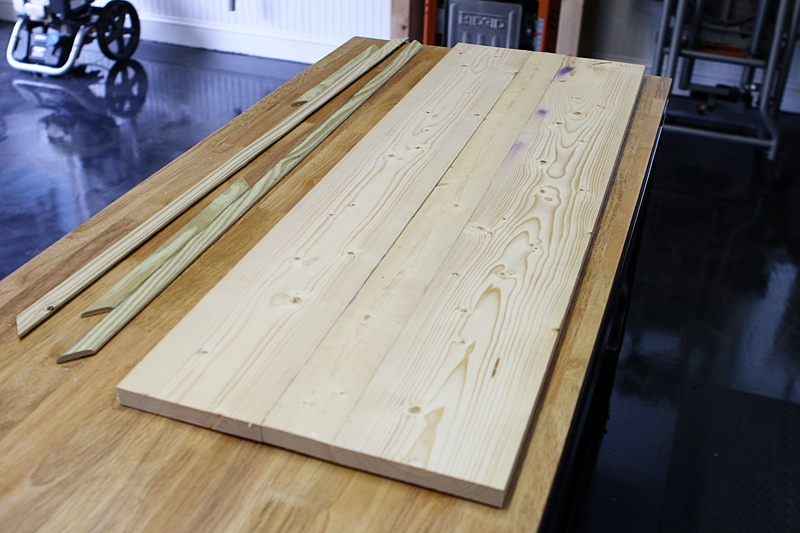
Errthang flipped….
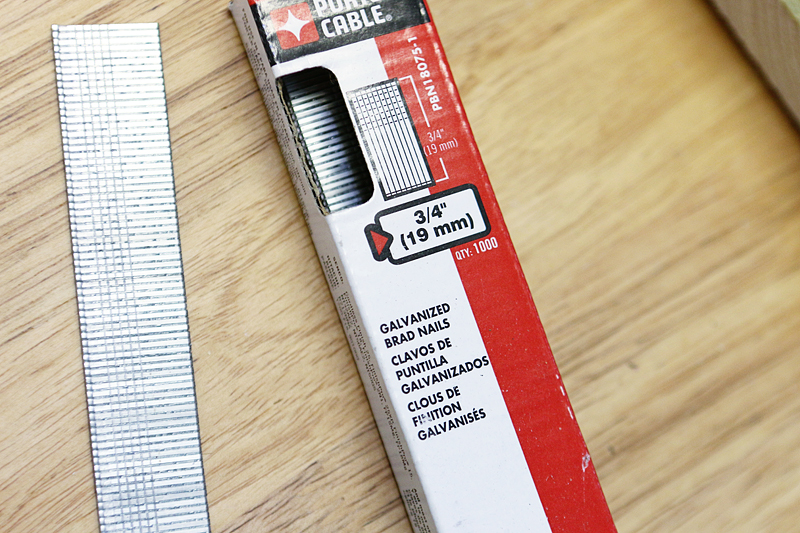
The brad nails I used to attach the trim to the 1x’s.
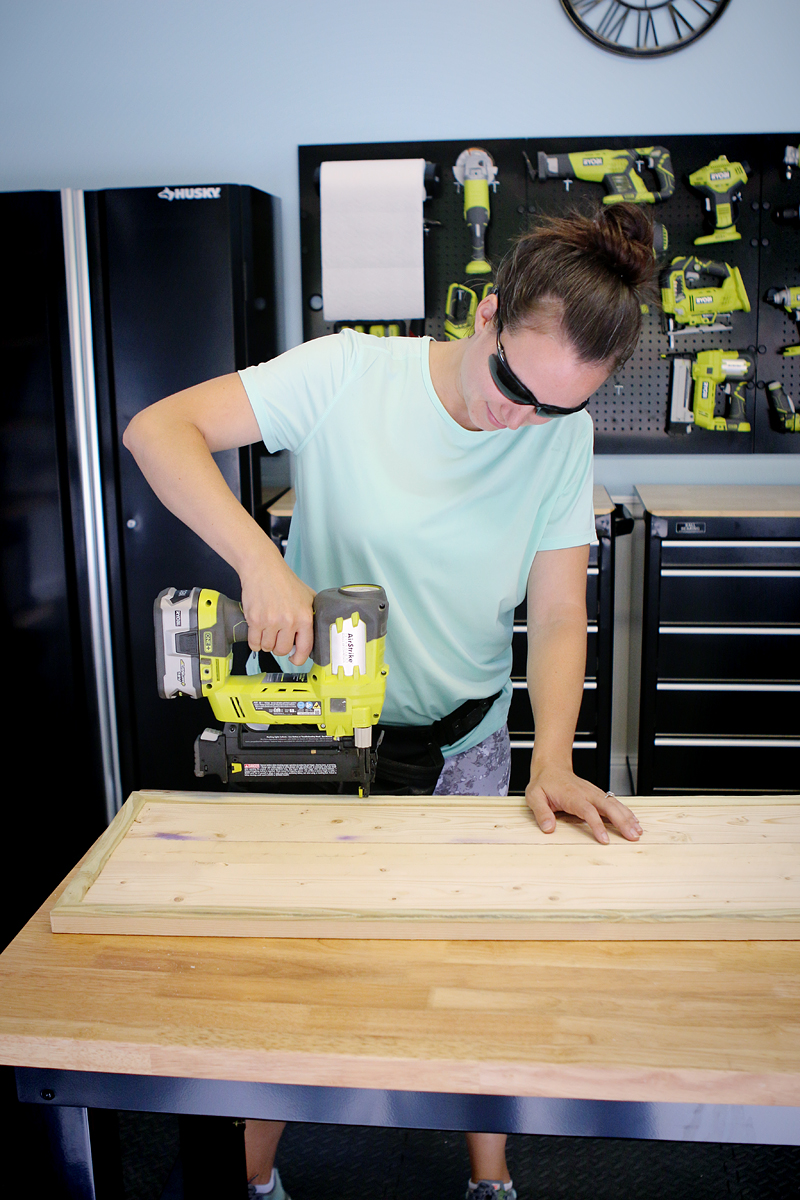
Using the brad nailer to put it in place. If you haven’t played with this tool yet….I highly recommend it. It is instantly gratifying. It is so easy that my mom could do it. And she doesn’t know how to check her text messages. I wish I were kidding on that. Love you mom.
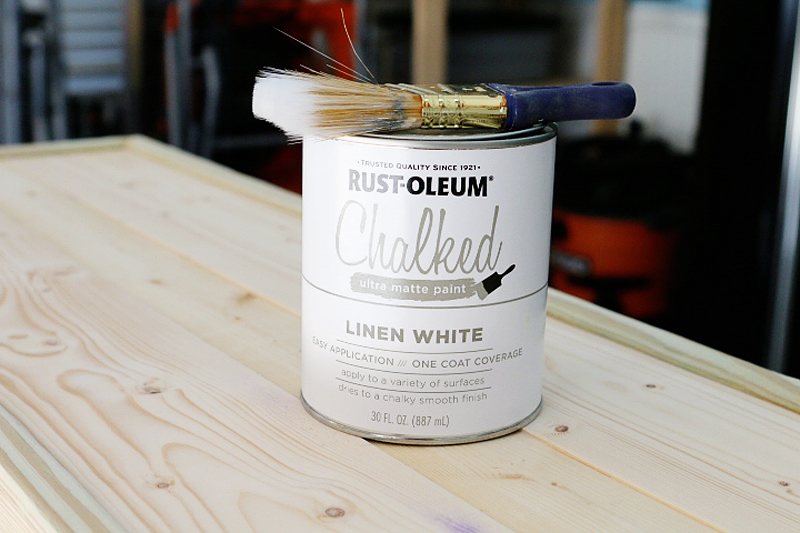
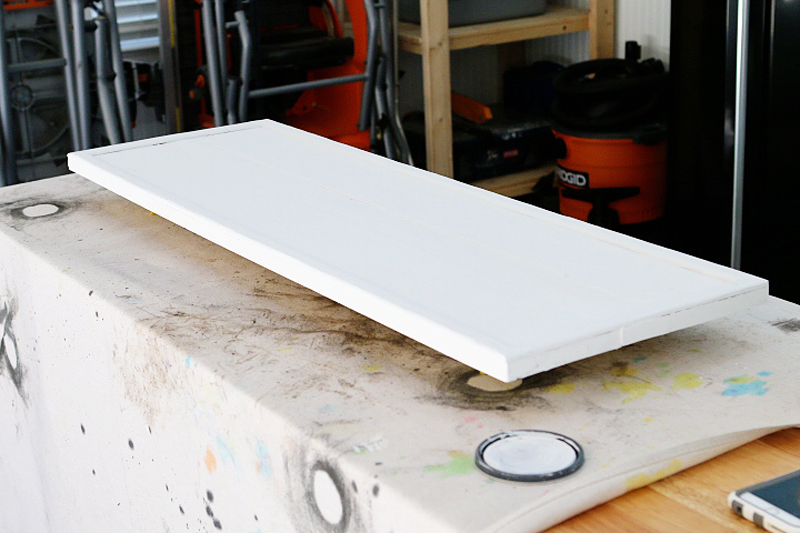
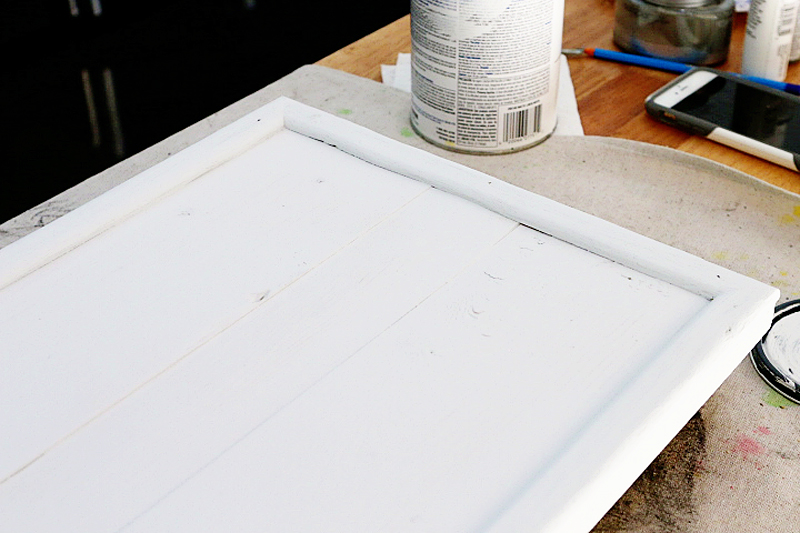
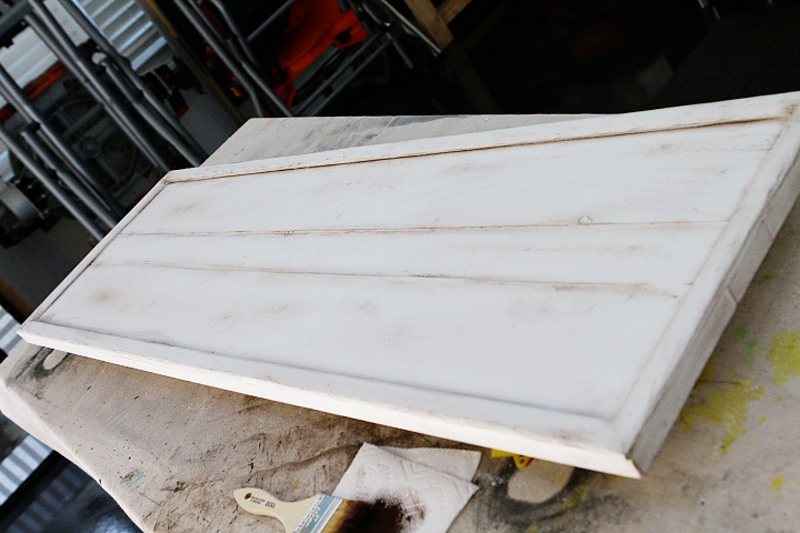
Once everything was assembled and sanded, I gave the wood a coat of this chalk paint….which guys, I really need to find a project that I can paint white…because it’s been a while and I really REALLY like painting things white.
This was barely enough to satisfy my urge.
The thing about this chalk paint is – you need to give it a once-over with sandpaper to really see how velvety soft it is. I know it’s an extra step….but trust me, it is so worth it.
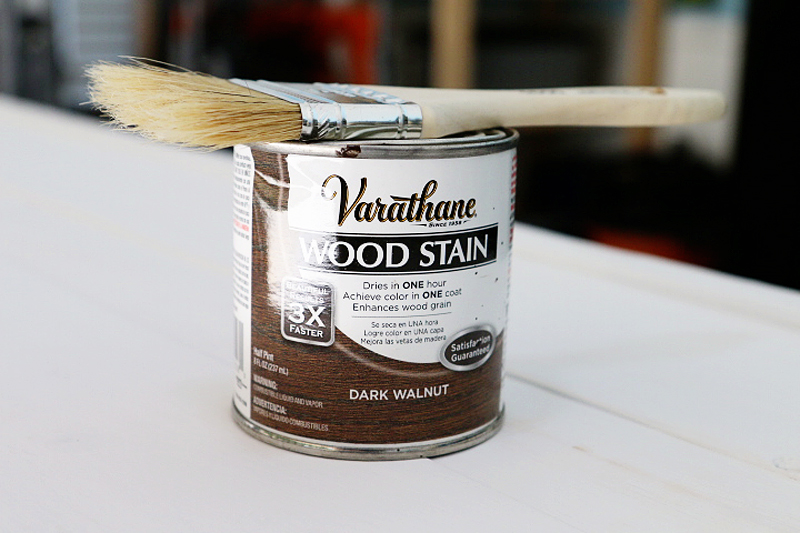
Then I decided to get a little crazy and bring out some of the details by dry brushing with some dark walnut stain.
Check it. Those details a poppin’ like a dancer on a Beyonce video.
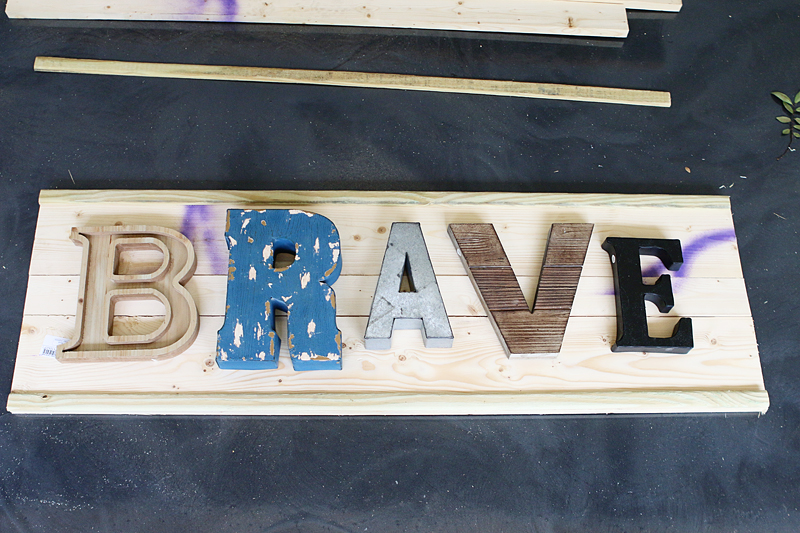
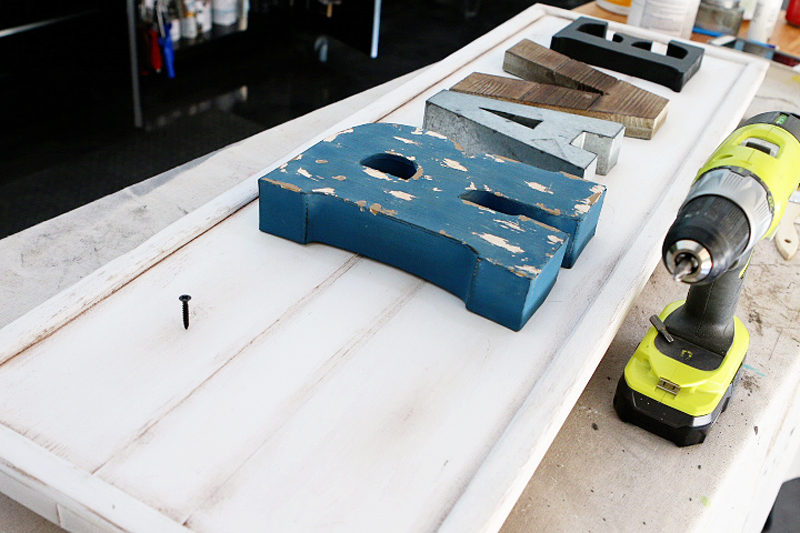
I used a variety of screws and nails to attach the letters to the sign. Each letter had a different hanging bracket on the back so I just used an assortment to make them work.
Now isn’t that the cutest little brave sign you have ever seen?! It’s adorable, right?!
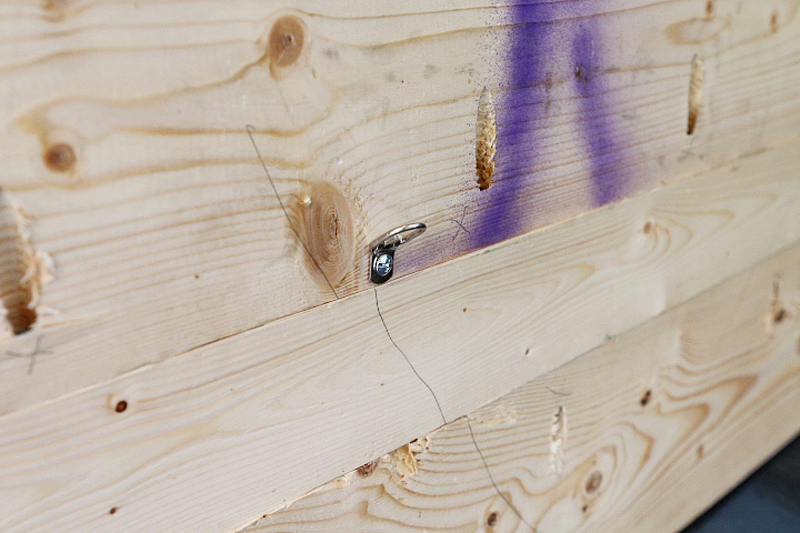
To hang it, I attached some D-rings to the back and then strung wire between them. You’ll have to wait to see it in the baby’s room!
I think I might make another one just for fun….but what word to pick? Maybe BACON. 🙂 Or ICE CREAM. That’s a cool one. Pun very much intended. In fact, I backspaced for that pun 🙂 What word would you pick?
p.s. I’m giving away a Titan Fitness rack on Instagram right now! TELL YOUR CROSSFIT FRIENDS!

Oh Katie — you are such a tease! I can’t wait to see this makeover! xo – D 🙂
First of all, LJ is adorable.
Second, thanks for the inspiration to go and work in my Woodshop.
My word would be FAITH. Because I honestly don’t know where I would be without it!
Adventure
Love this!! It came out perfect. Are you planning on making another sign with a word that depicts Maxi Knight? Can you post a link to the brad nailer you are using?? Thanks.
Love that sign. So cute. I need to figure out how to use a Kreg jig too. U give me so much inspiration every week. U r awesome!
Hi Katie! I was wondering if you’d think about sharing your camera settings under the pics of your kids. You have totally mastered toddler photography! I am still learning to use my camera on manual, and catching my 2 year old in a crystal clear picture is SO hard. But your pics are always great! I’d love to learn more from you.
Looking forward to seeing this room come together. Love the sign.
I definitely want to incorporate something for Maxi – probably his first words 🙂 And here is the brad nailer I love!
xo – kb
Oh man…I just don’t have the time! But I will say this…take pictures during the day, in the shade and always have your shutter speed above 1/300. It’s vital. Other than that, just try to set up and wait for them to get into place and make funny noises 🙂
xo – kb
Hi Katie, I stumbled across your blog a little while ago and have been busy back reading your posts! I love your house and your writing style. I am super excited to see this room all put together and love the brave sign. It absolutely reminds me of the Magnolia sign and the lettering Joanna Gaines used in her boys bedroom, Keep up the great work!
no matter how many times i’ve seen them – the before photos in your house always get me!
adorable, katie!!!
hey, do you think you could use that chalk paint on kitchen cabinets? would it hold up?
I don’t really know for sure. I’ve heard of people using it but I would be nervous because it needs sealing over the top. Most times people use chalk paint and then use a wax or a finish coat and you would absolutely want cabinets to be washable….so yeah….not quite sure.
xo – kb
Your next one should definitely be BOWER. 🙂