We are making major headway in the transformation of the basketball court. It’s a HUGE space so it feels like it’s going at a snails pace but when we are done, I’m positive that we are gonna LIVE out there. Today I wanted to share with you the funnest part to date….installation of the basketball goals! It’s funny because some folks call them basketball hoops and some basketball goals – but no matter what you call it – they are the most fun part of this makeover!
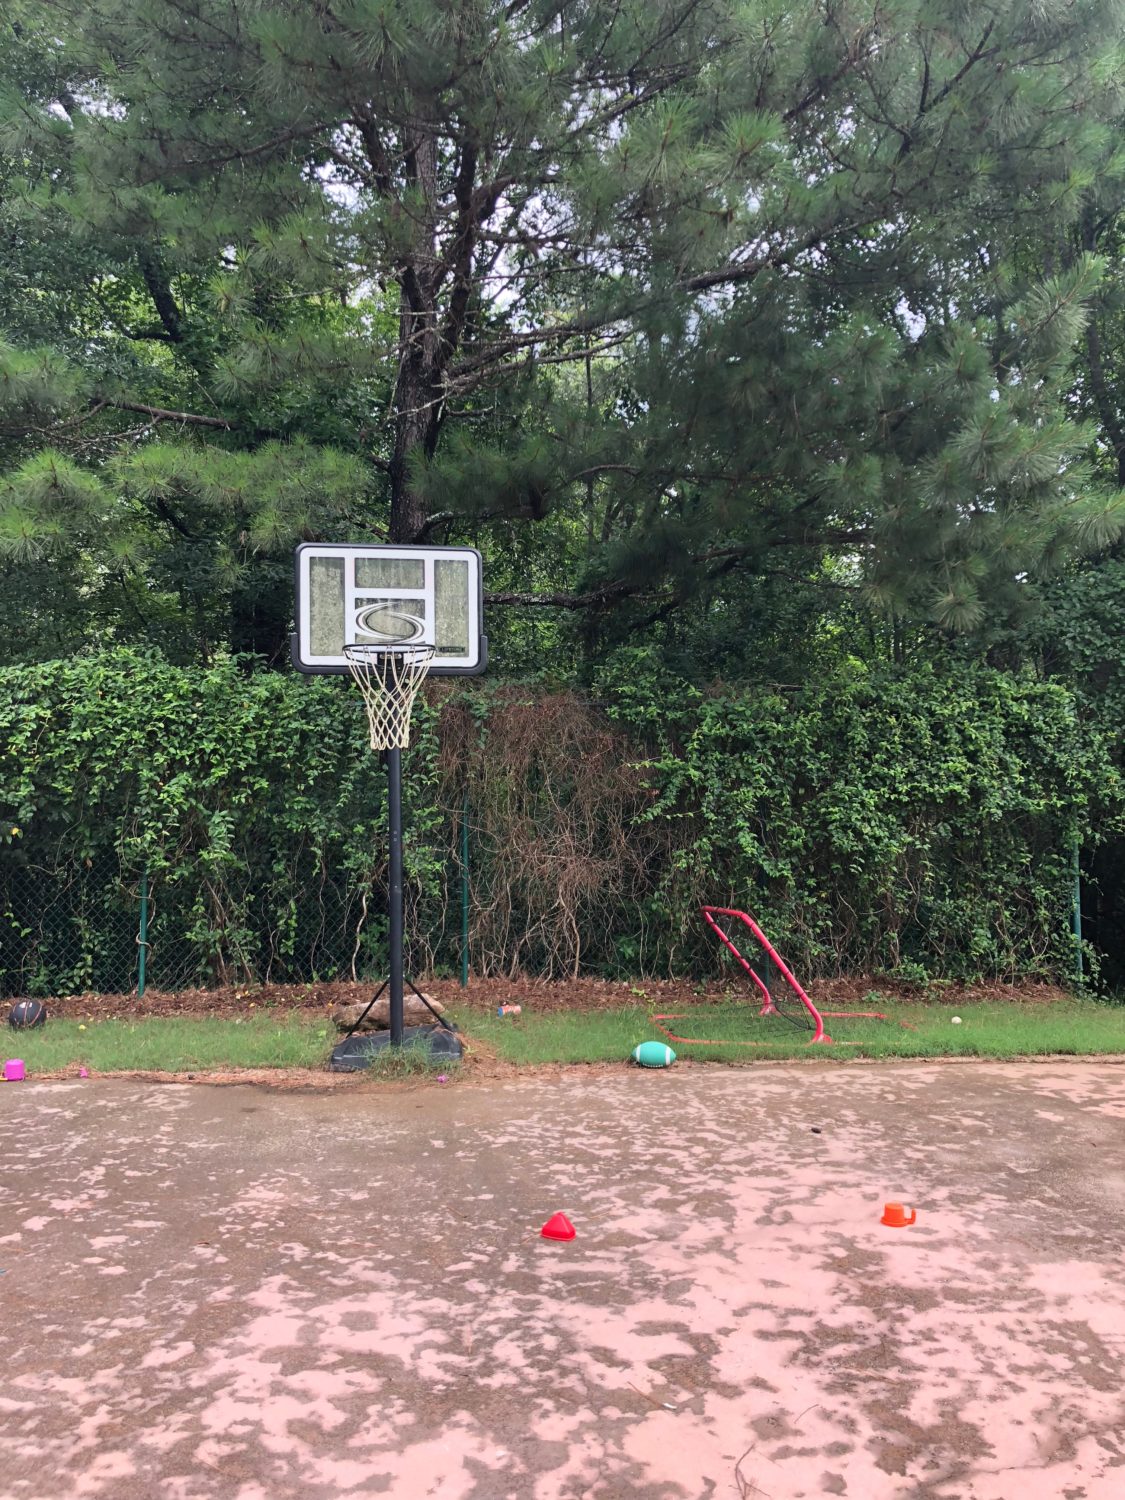
As you may recall – our basketball goal before was rather pathetic. It couldn’t even stand upright by themselves. We had to anchor it down with a giant rock and the boys hated it because it didn’t get low enough for them to shoot :/
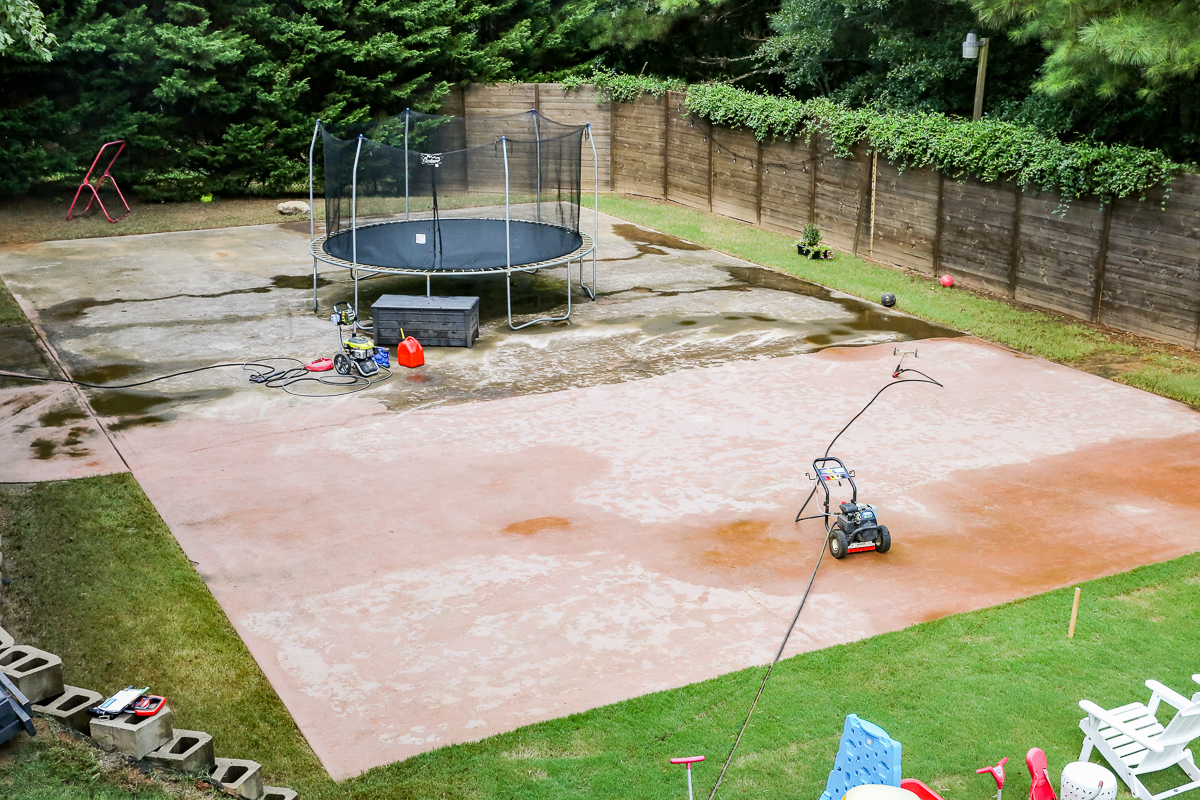
Earlier we had installed the fence, moved the trampoline and donated the goal, and pressure washed the court and retaining wall.
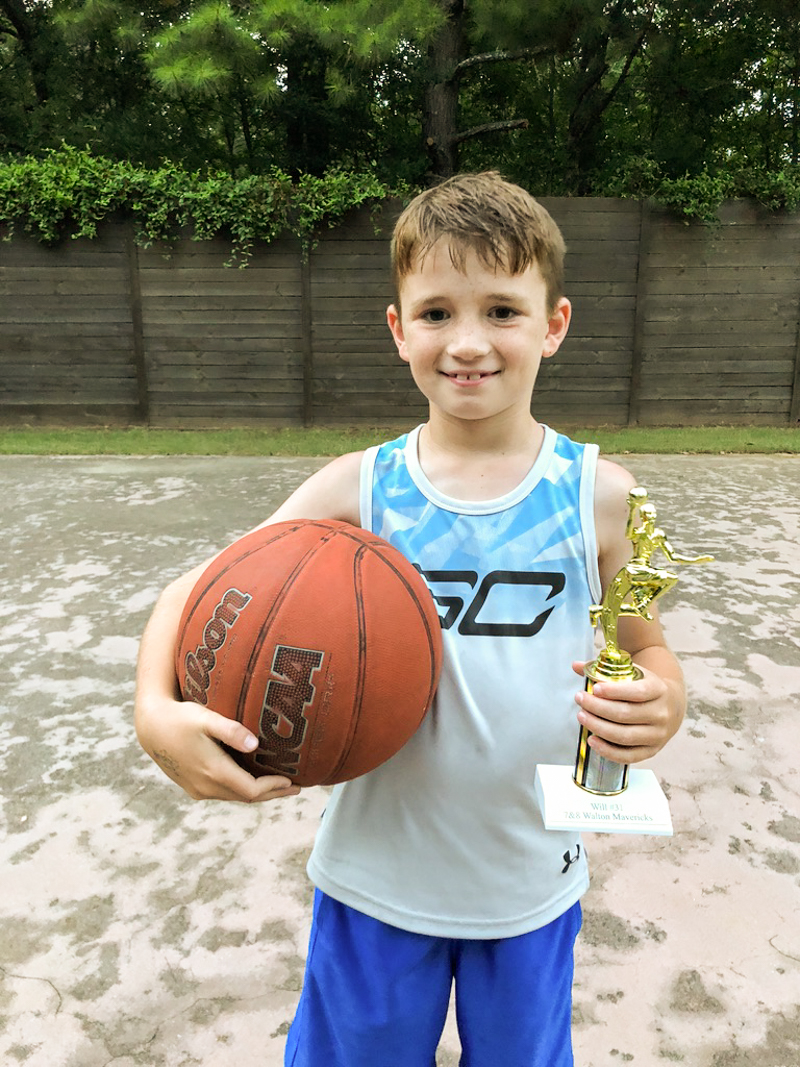
William has already shown that he loves basketball (maybe not as much as baseball yet but still…there is time to covert him to my favorite sport! ha!) and we want this court to be a long term investment….an area where ALL the boys and their friends want to hang out and play. I remember playing till the wee hours of the night with my siblings and really love those memories.
Jeremy did all the research on the very best basketball goals and decided that only the best would do. Jeremy has this thing where he likes to have the best equipment for sports. He said they needed to last through the years with our five kiddos and they needed to be adjustable for little ones and strong enough for when these little kids aren’t so little. That is why he chose the Goalrilla goals. I’ll walk you through the entire process (which was super lengthy so hold tight to your basketballs while I get through this!)….
DIGGING THE HOLES
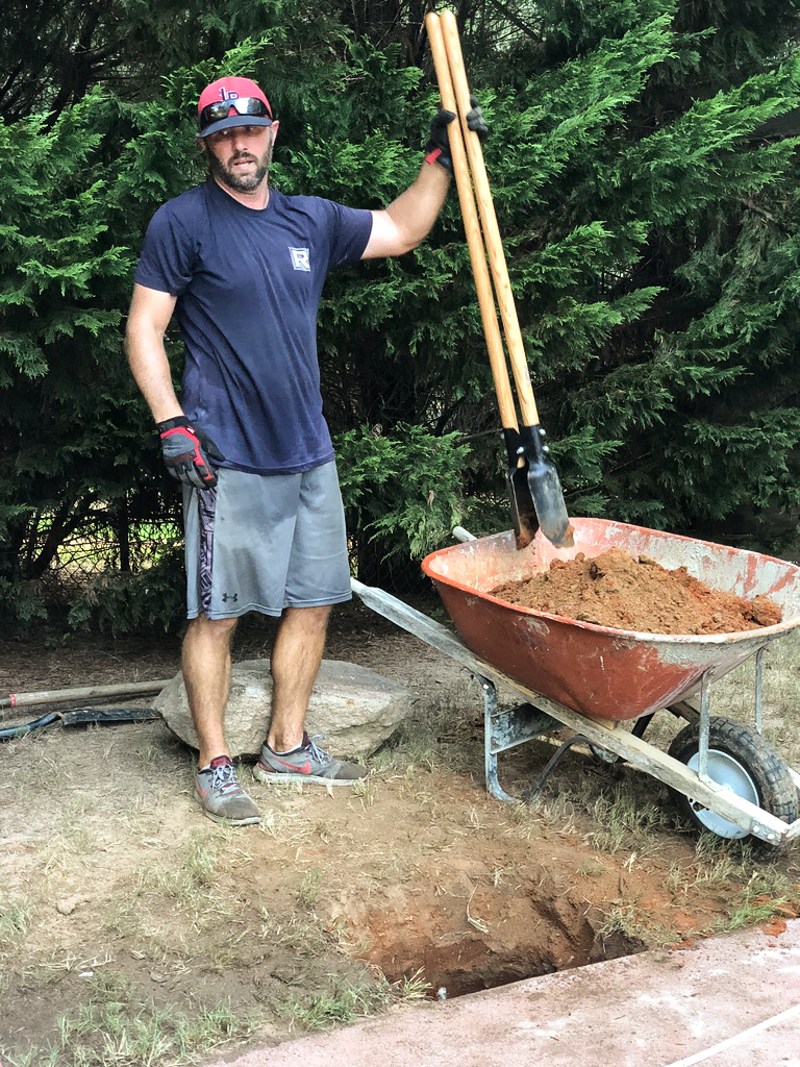
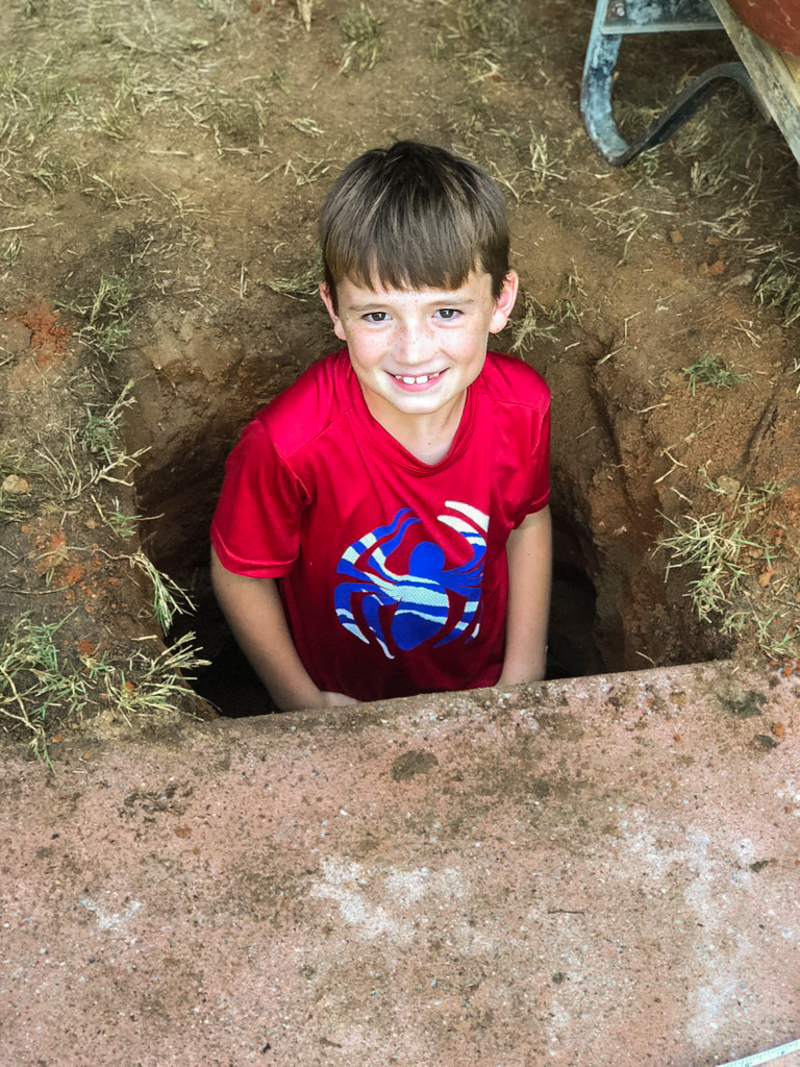
First thing we had to do was dig the holes in the location of our goal posts. The anchoring system with the Goalrilla goals required a very deep hole that was filled with concrete and rebar. That meant that Jeremy (along with some helpers) got to dig out the holes….
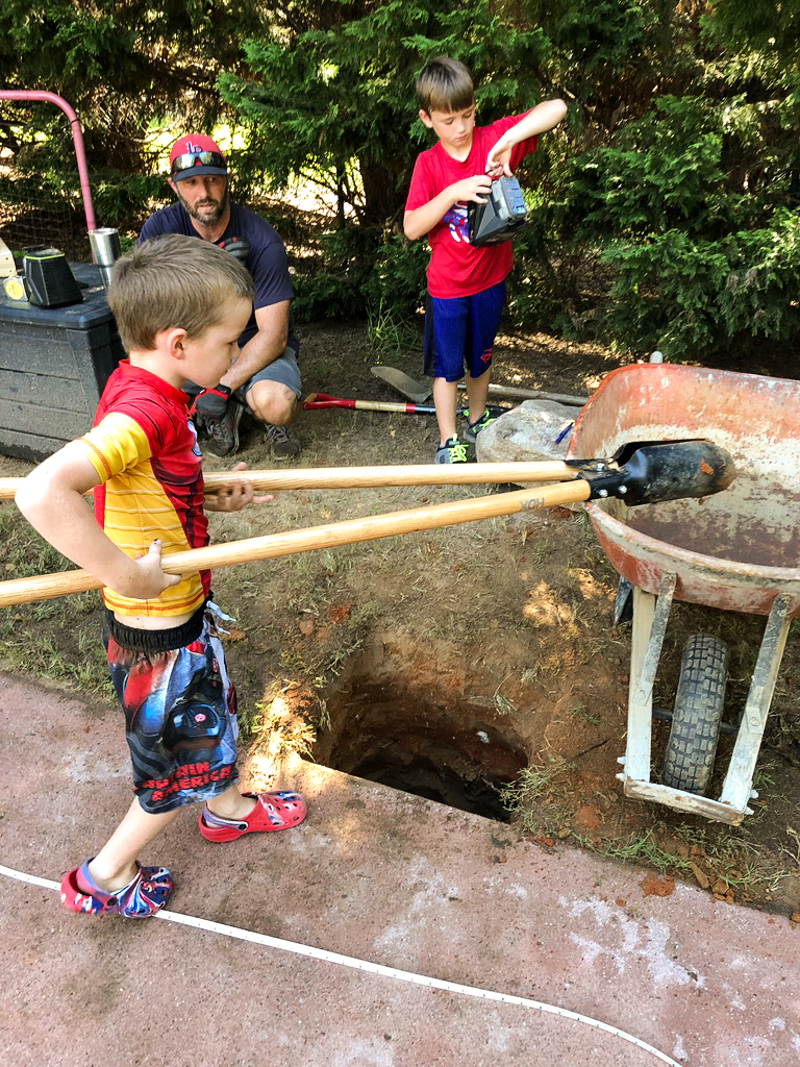
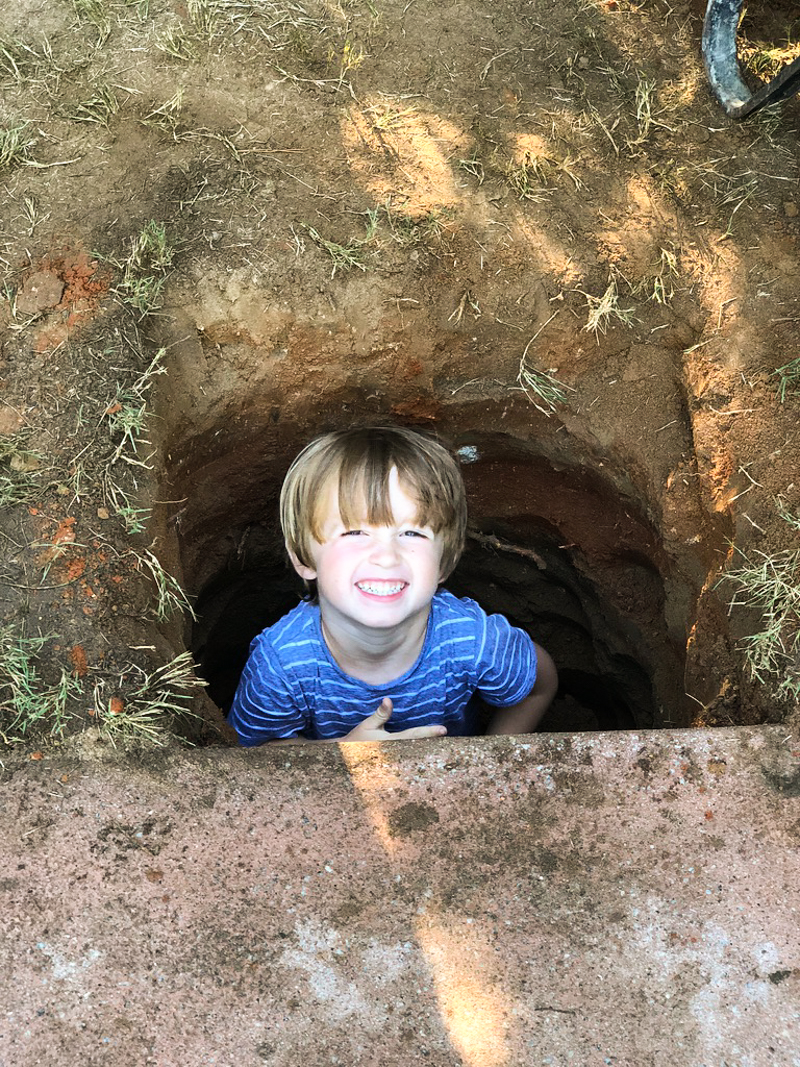
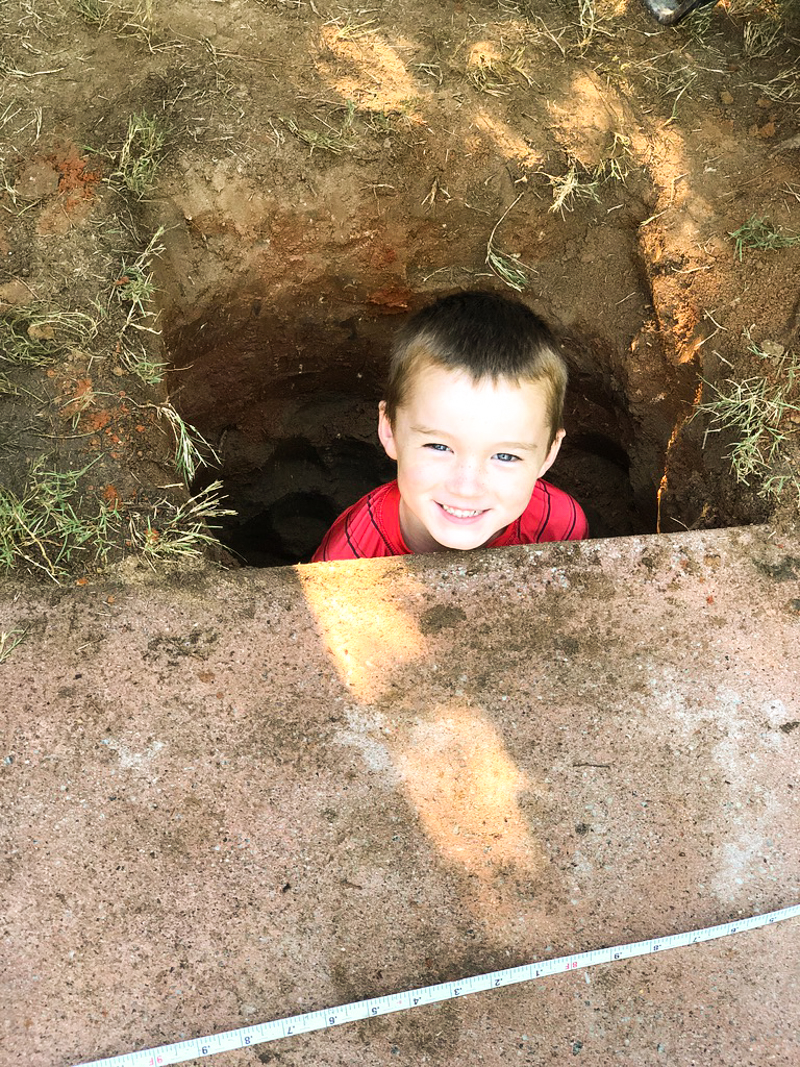
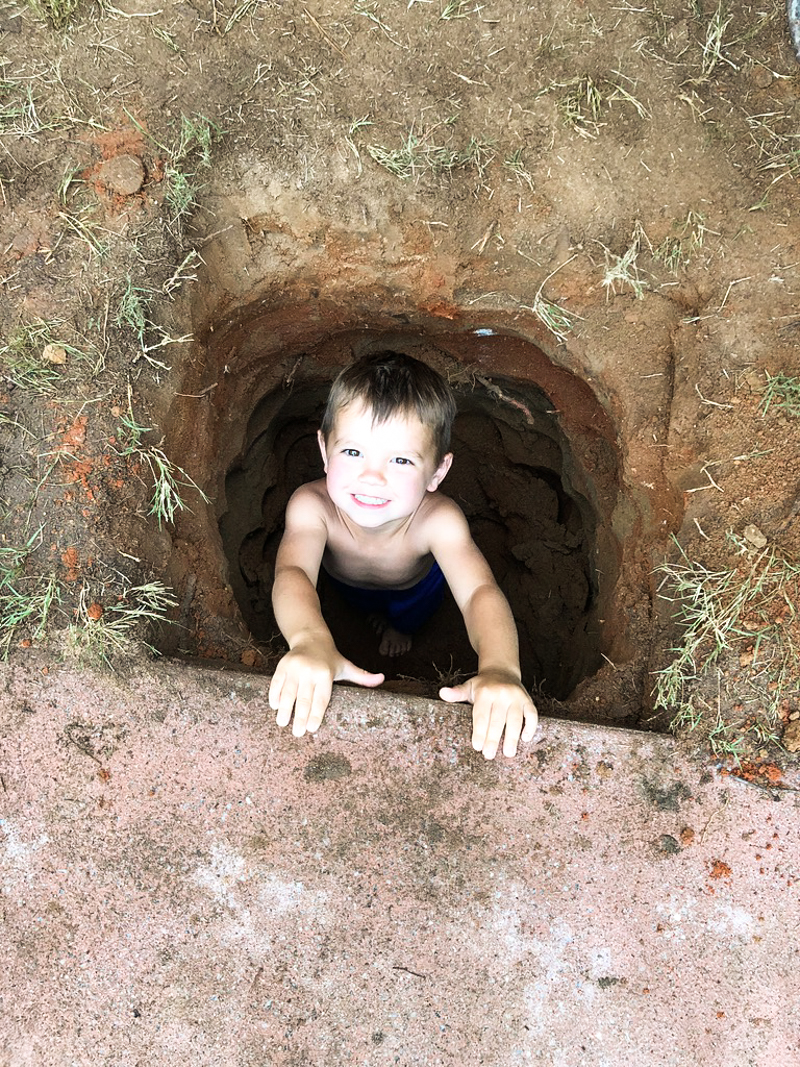
The kids were thrilled that they were so deep….
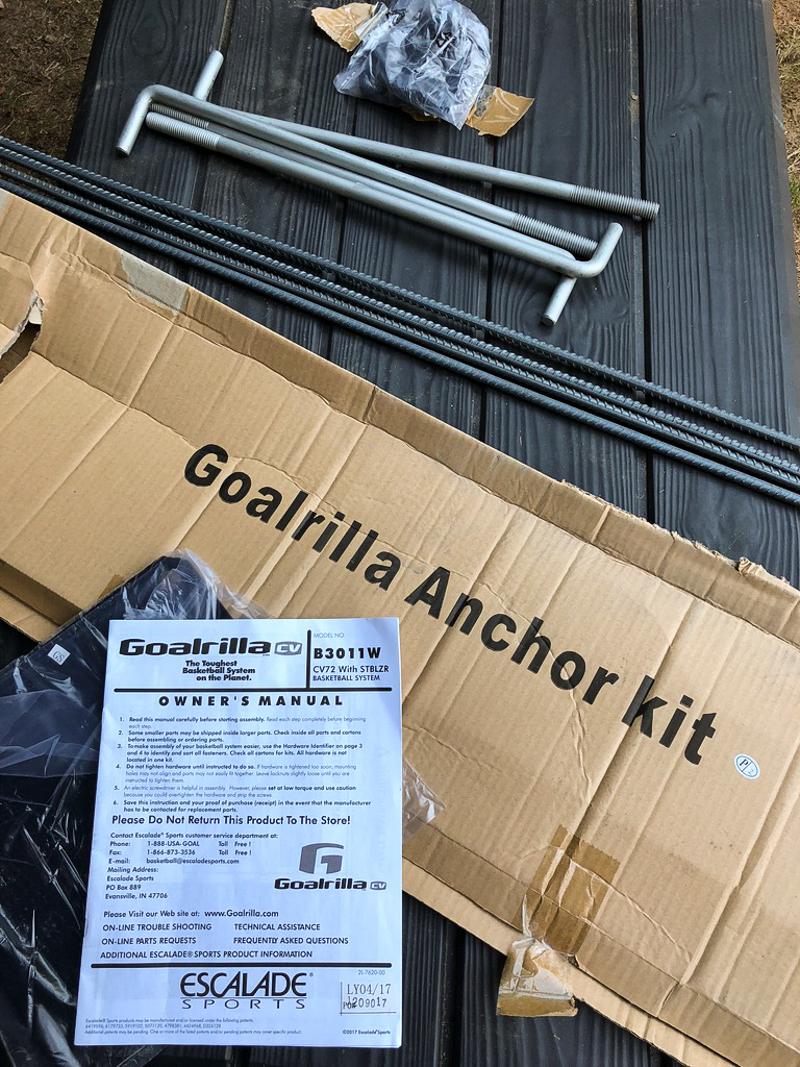
The anchoring system walks you through the entire process. This package comes with the goal and it is really helpful to read through it a couple times so you know exactly what needs to happen! There are also helpful installation videos HERE and HERE.
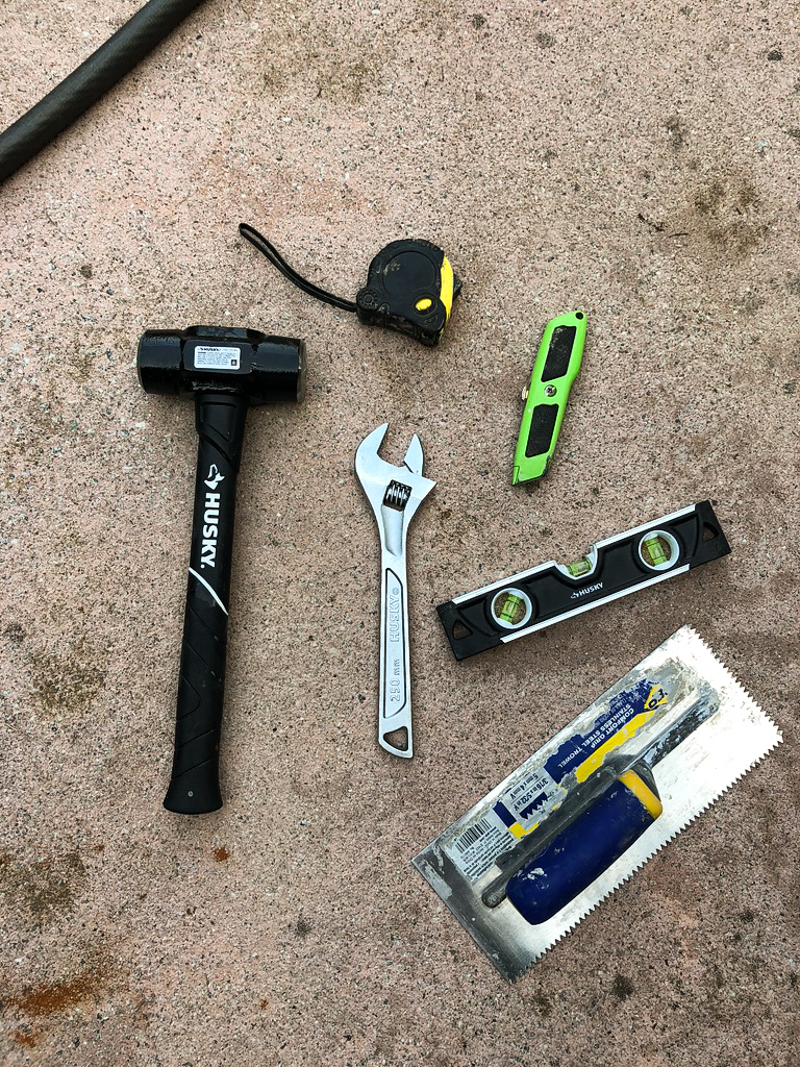
There were also a few tools required to install the anchoring system beside a shovel and a hole digger and a wheelbarrow and concrete with water.
FILL THE HOLE WITH CONCRETE
Speaking of concrete – that is one of the hardest things about the installation. We needed many bags of concrete to install both goal posts. The hole is roughly 2 feet by 2 feet by 4 feet deep so it required mixing LOTS of concrete.
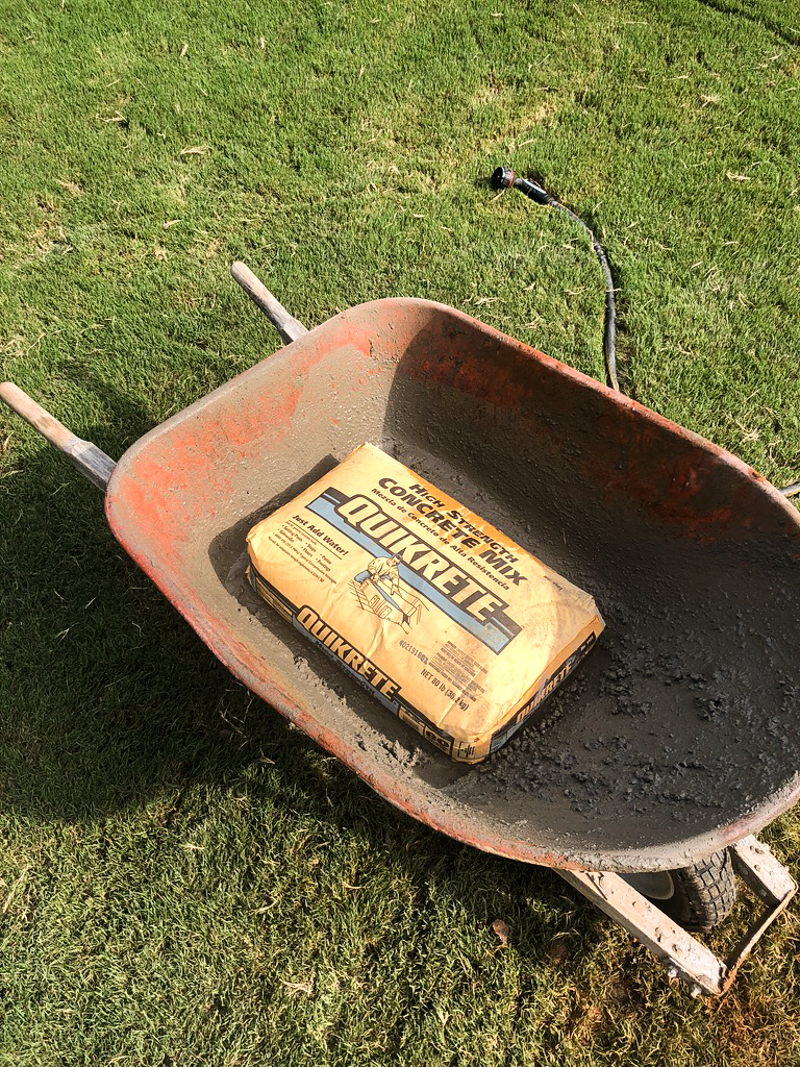
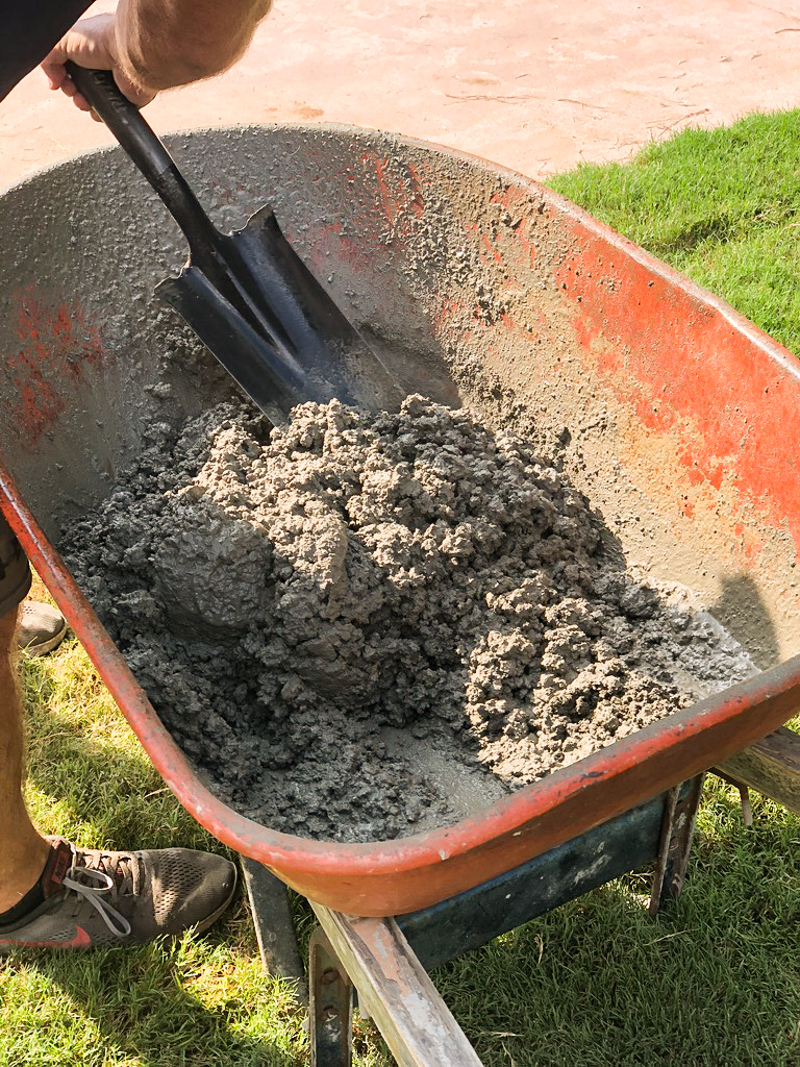
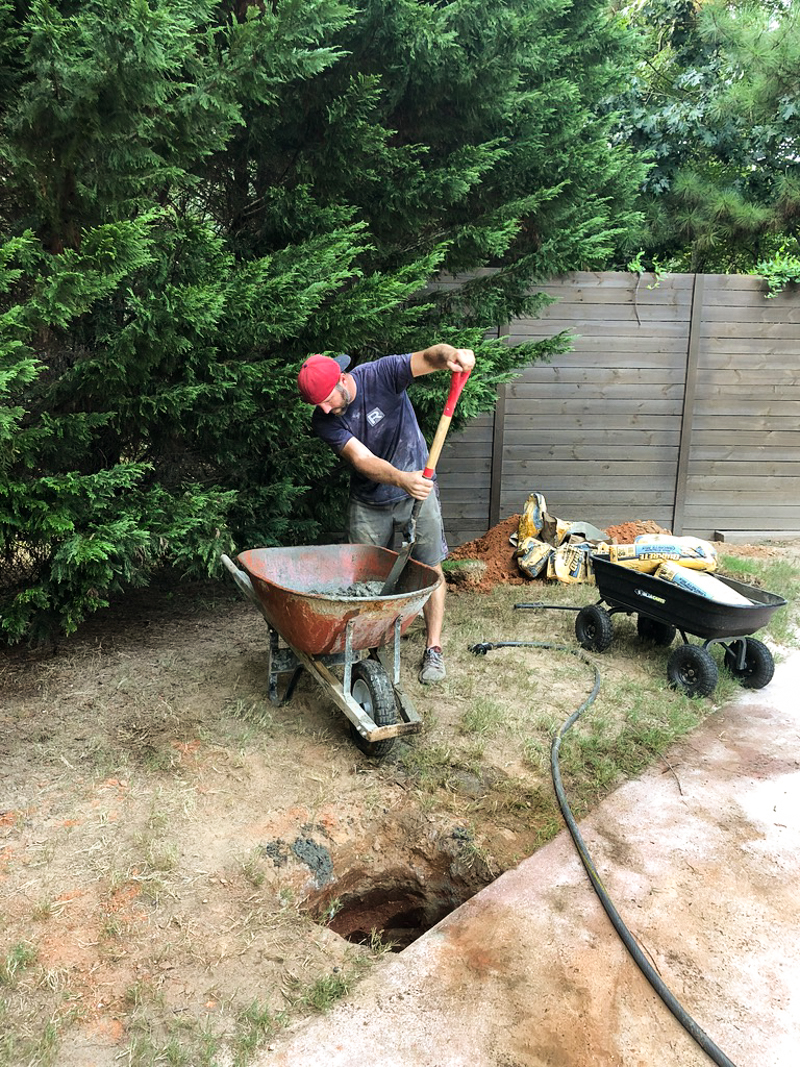
Jeremy borrowed our neighbors wheelbarrow and mixed the Quikrete in it till it was the right consistency.
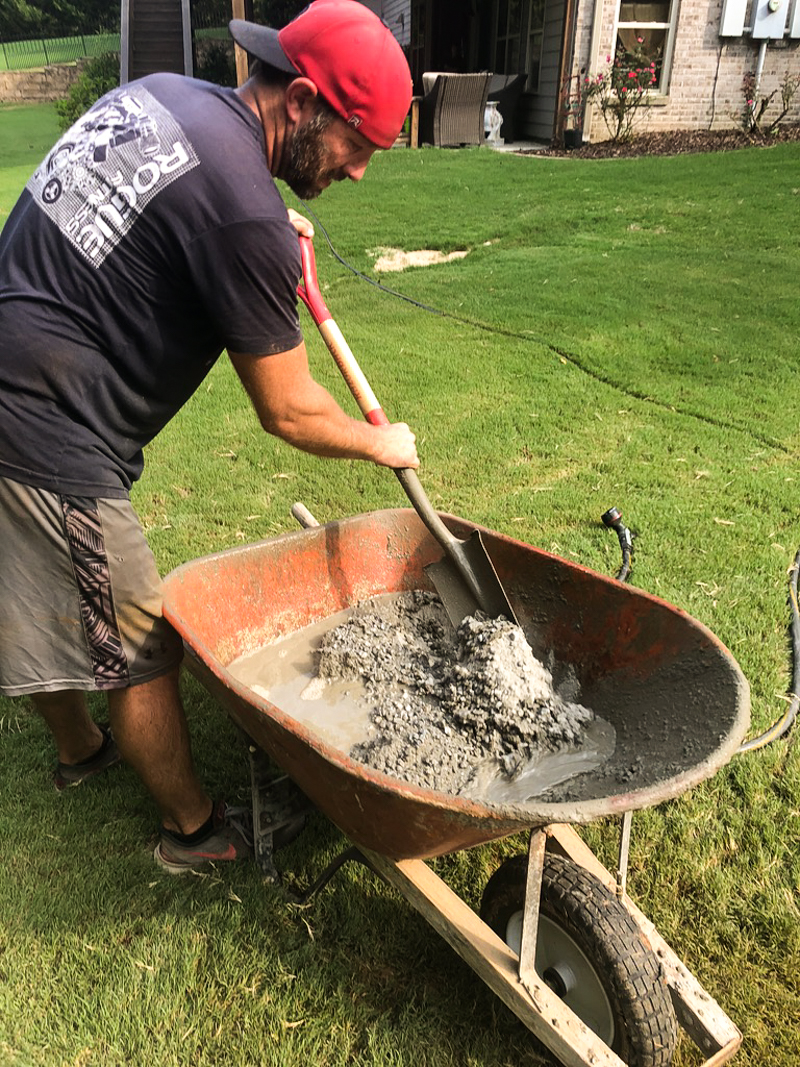
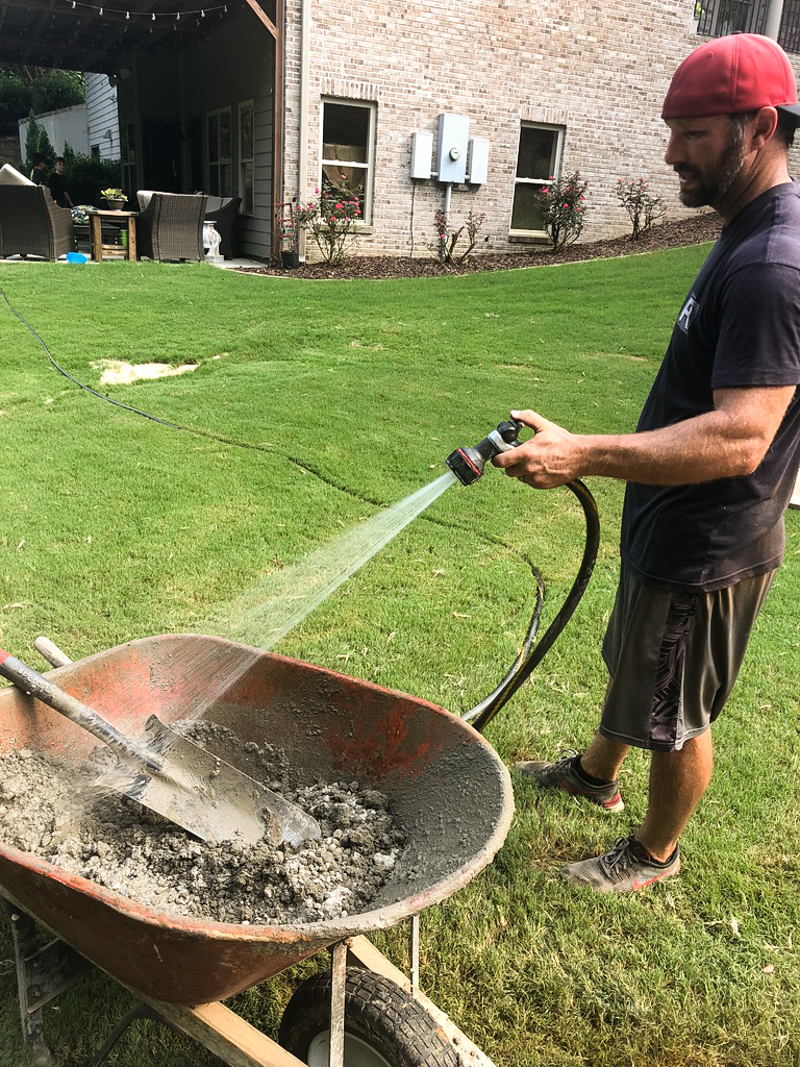
Then the concrete mix was dumped in the hole.
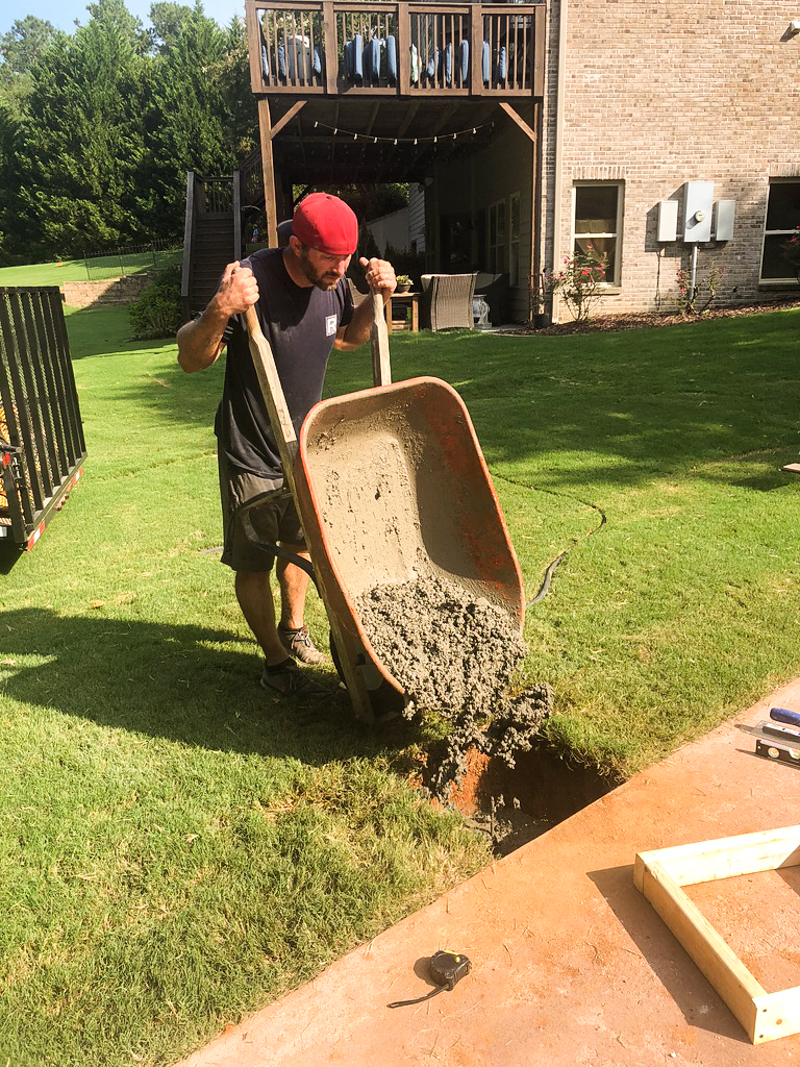
Repeat. repeat. repeat.
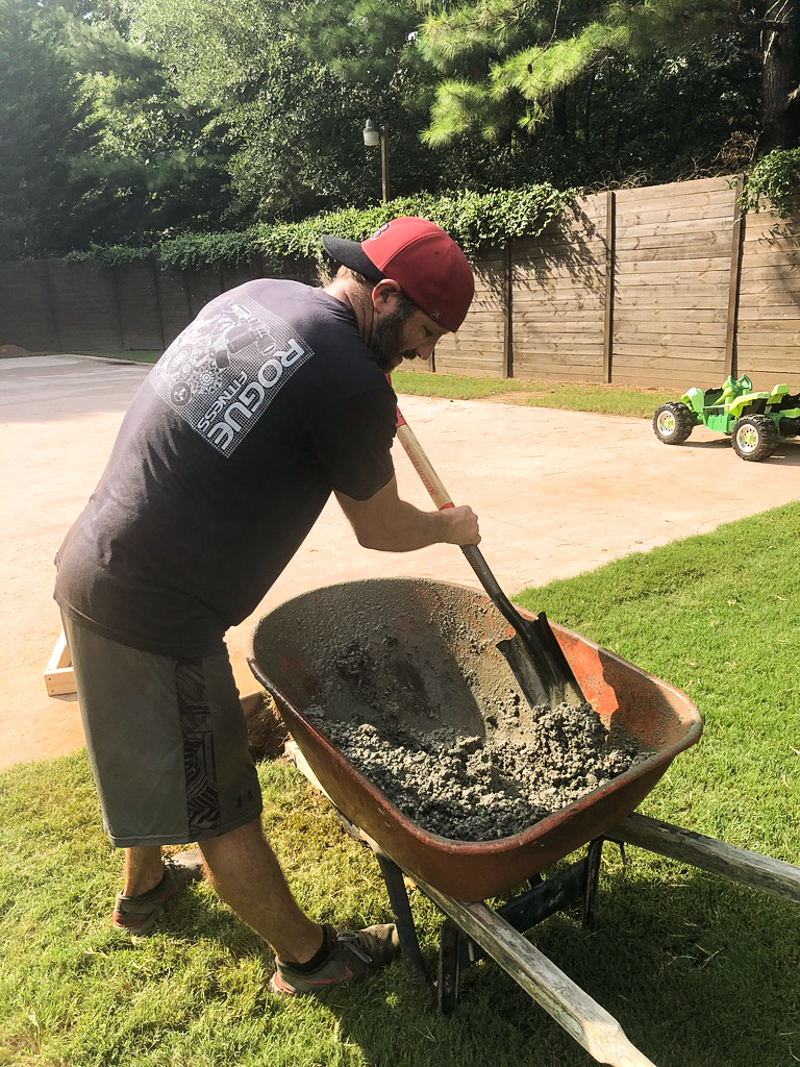
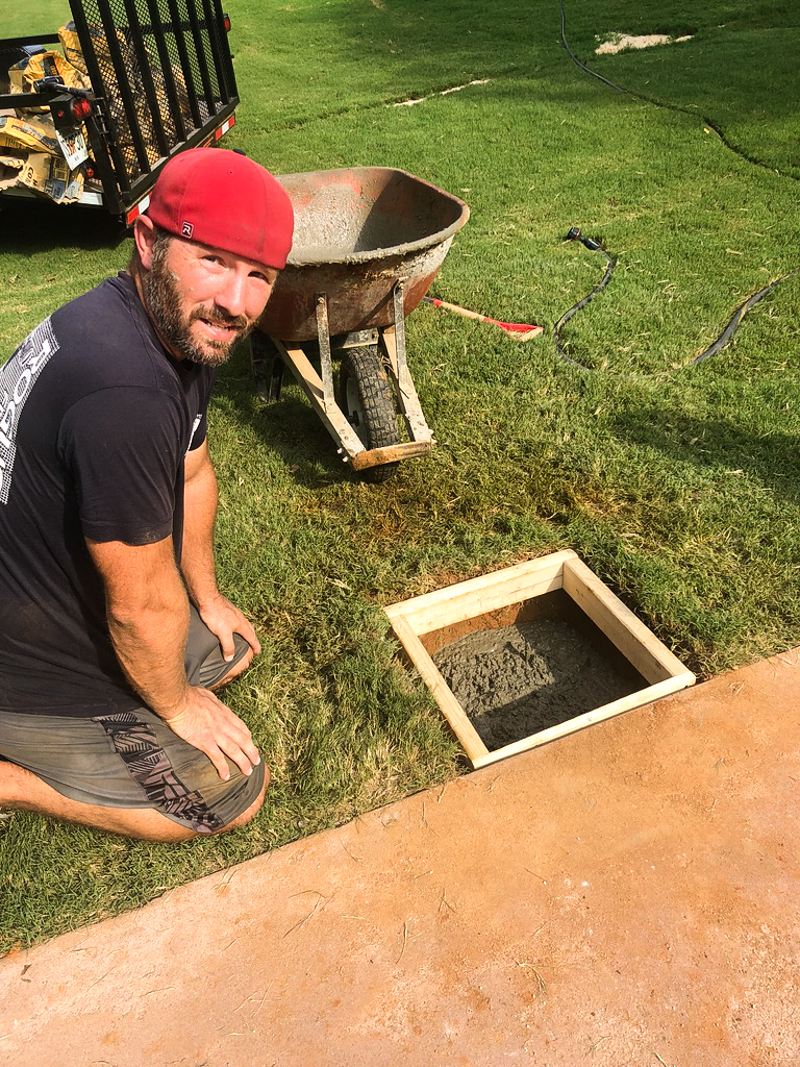
The concrete then comes up to a form. Jeremy built our form out of three pieces of 2×4 and one piece of 1×4. The narrow piece of wood went on the side closest to our concrete pad.
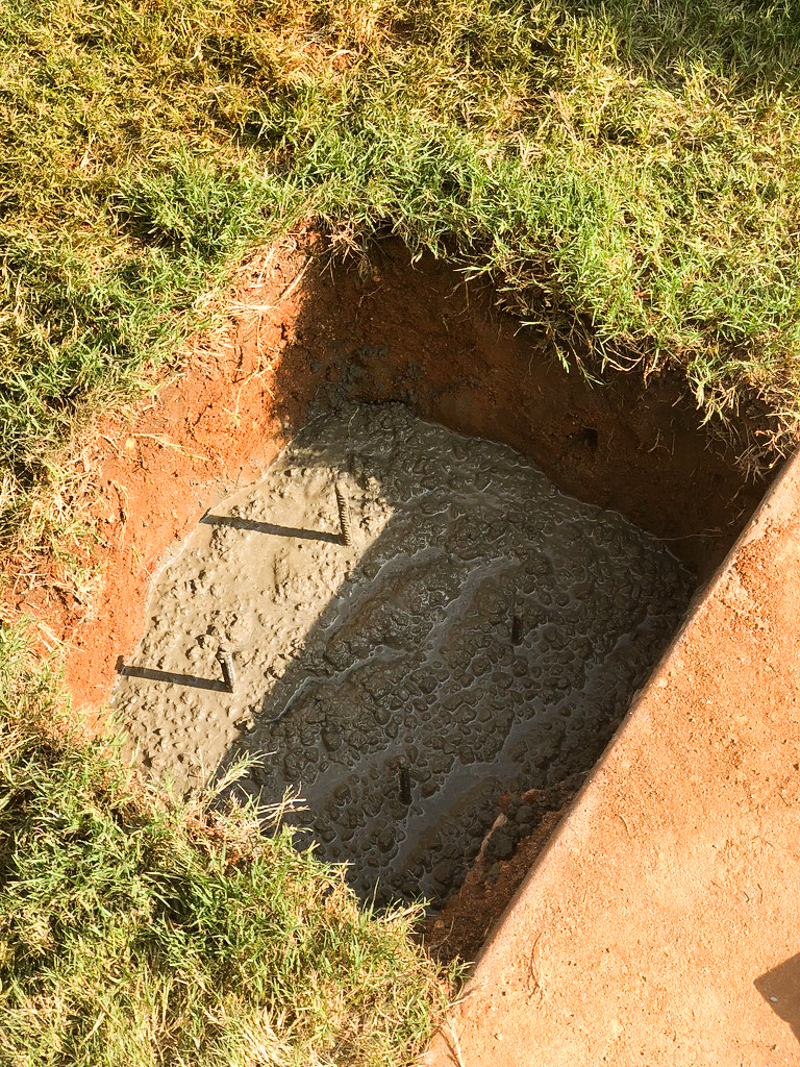
Once you get up to roughly 12″ below the ground level, it is time to install the rebar.
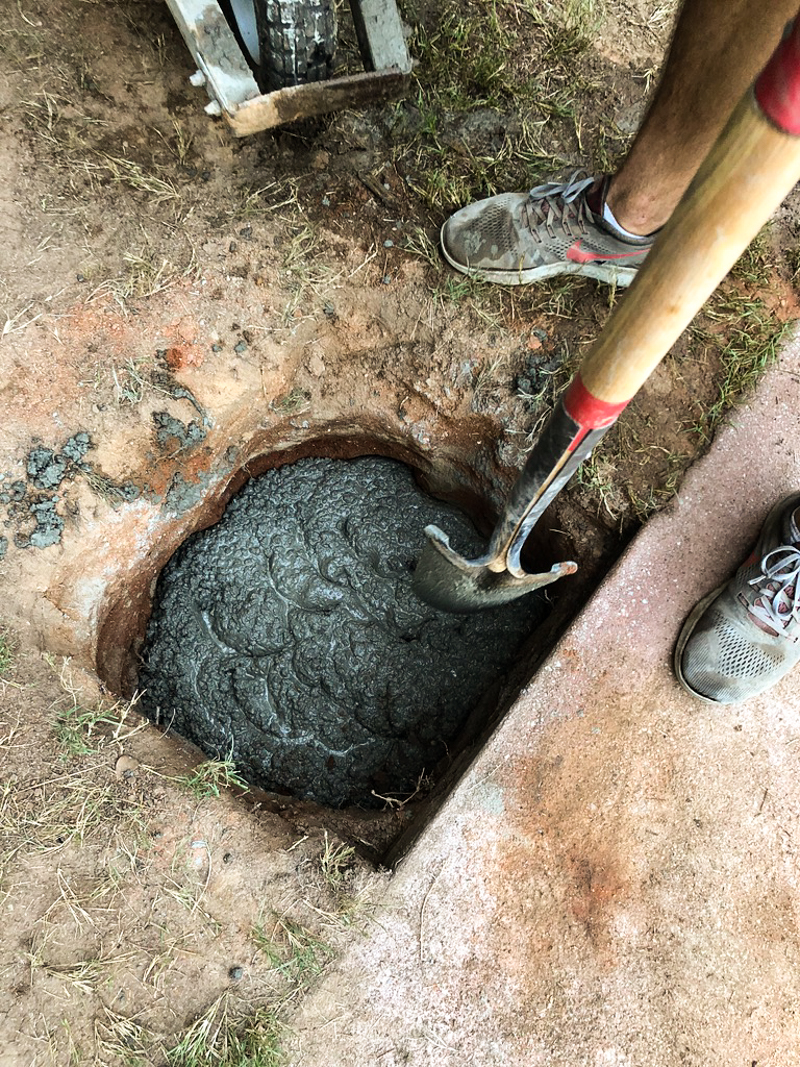
Jeremy wanted me to remind everyone that prior to installing the rebar, you want to make sure you are consistently mixing the concrete that is in the hole. You do this by shoving your spade down in there. Basically you are just stabbing it so that the ‘batches’ are mixing together. It also gets out air bubbles.
REINFORCE THE CONCRETE WITH REBAR
The concrete gets reinforced with rebar. Rebar adds strength and stability.
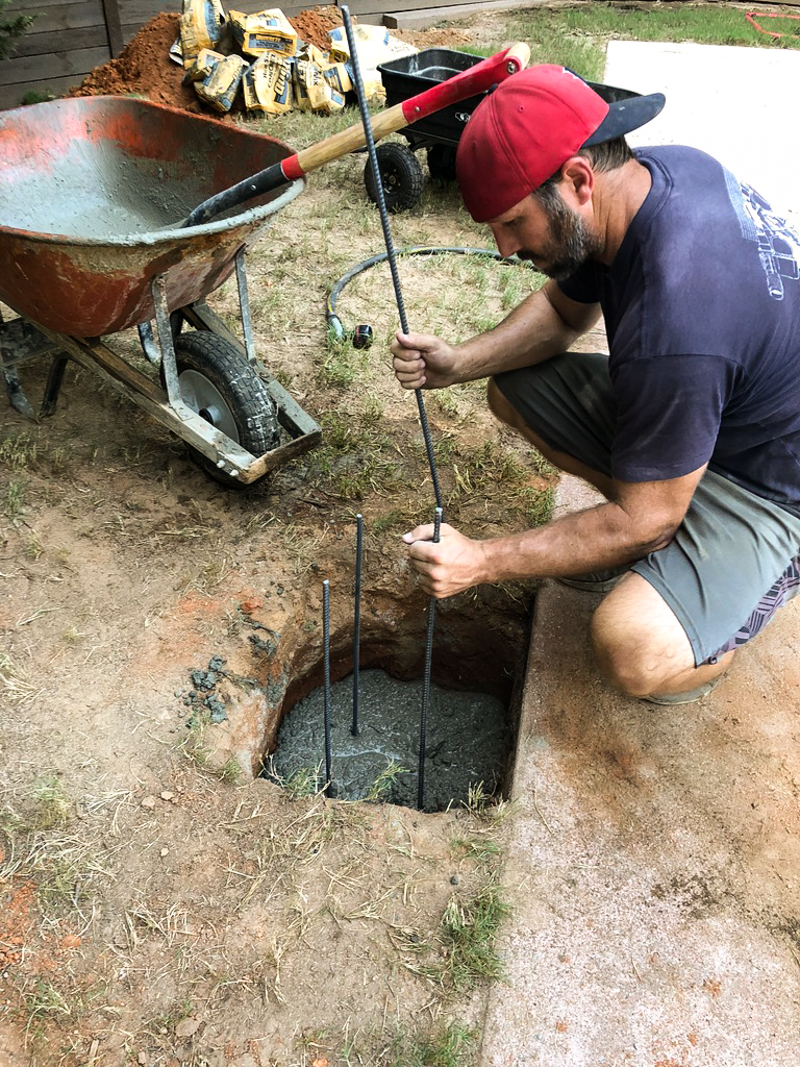
The anchoring system comes with four pieces for each goal. It is cut to length and you simply push it down into the concrete. The spacing should be 8″ from neighboring rebar.
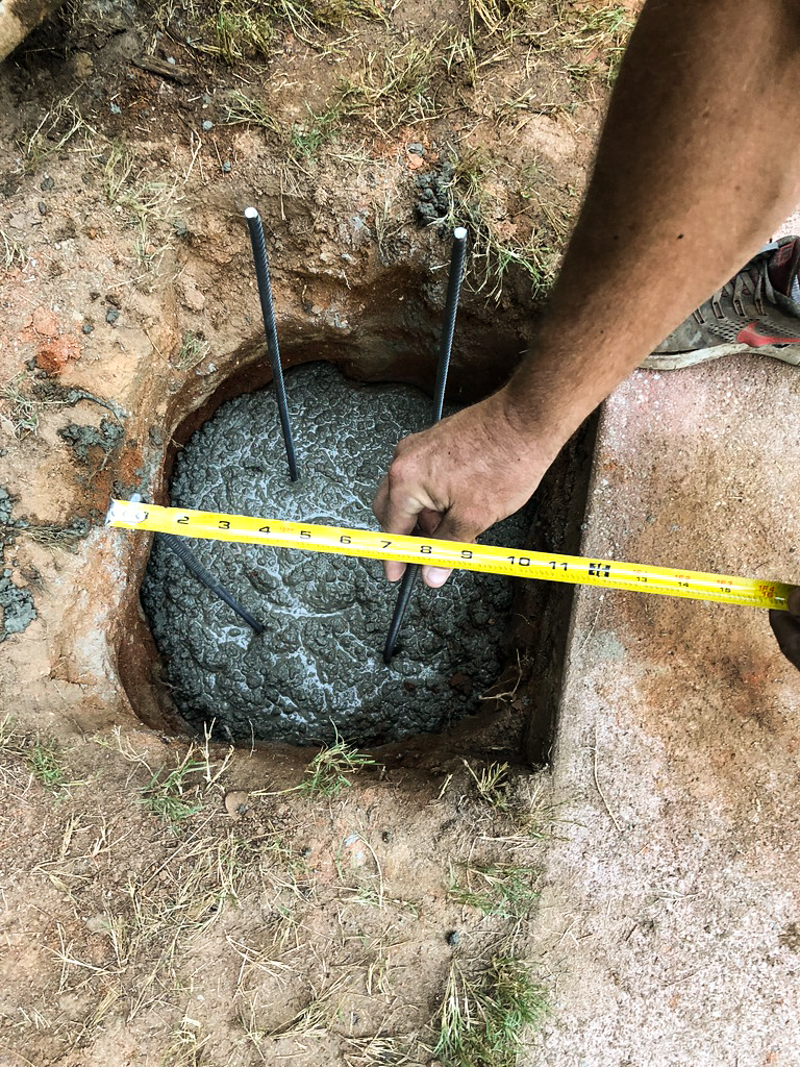
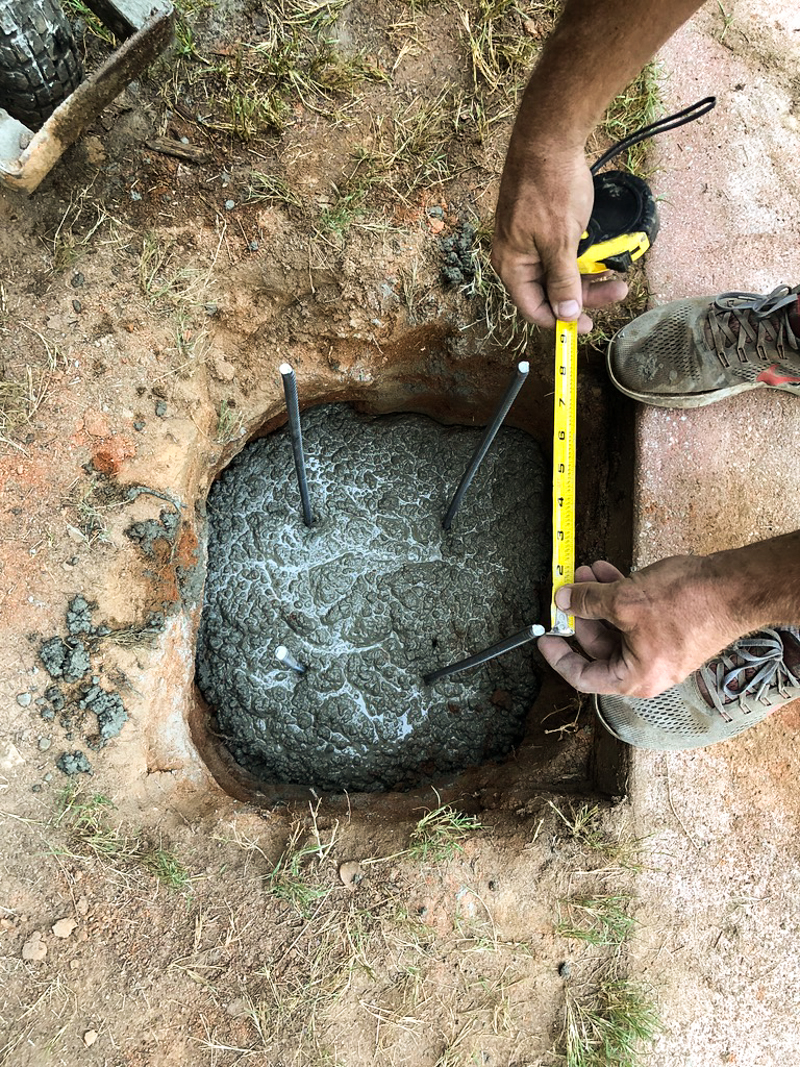
They will only go so far down in the correct location….
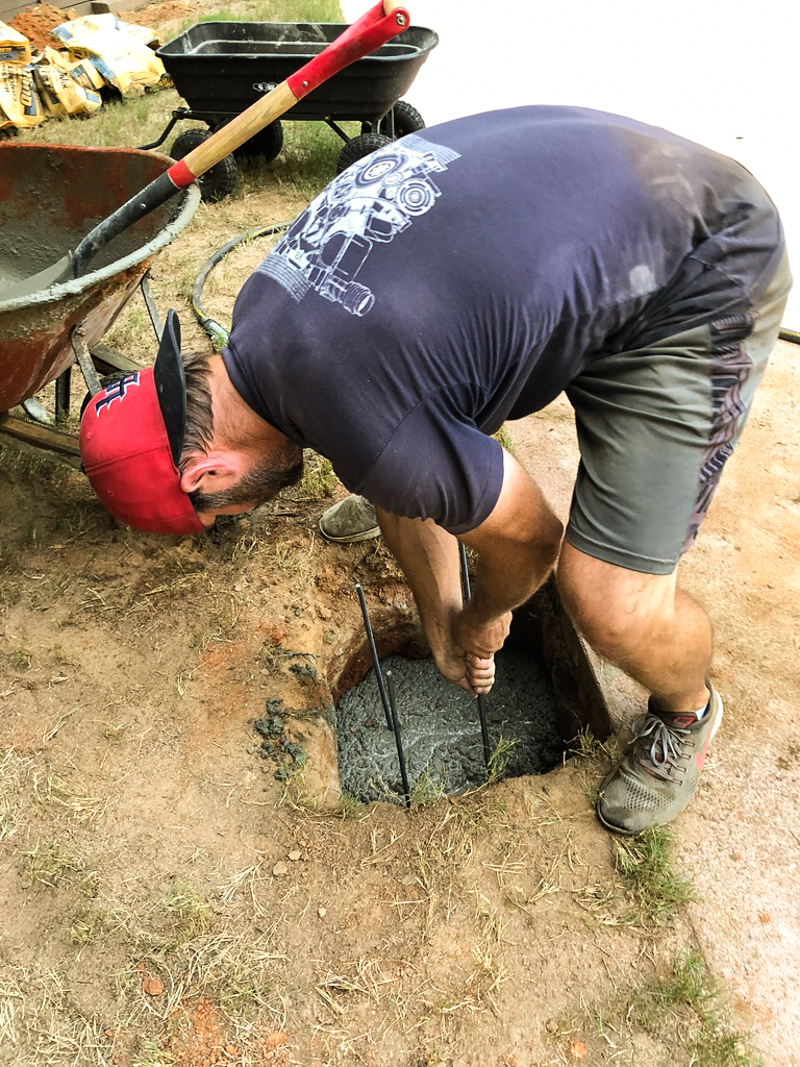
then you will have to hammer them into place.
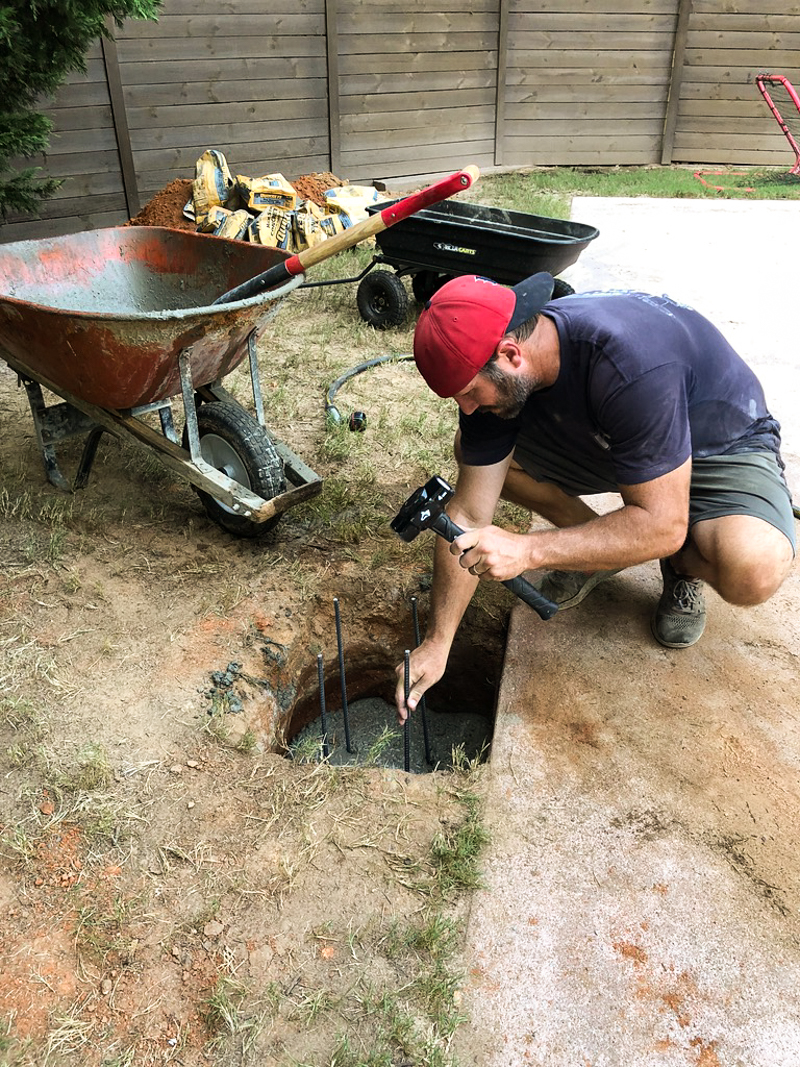
After hammering them into place, you fill with concrete to the level of the form.
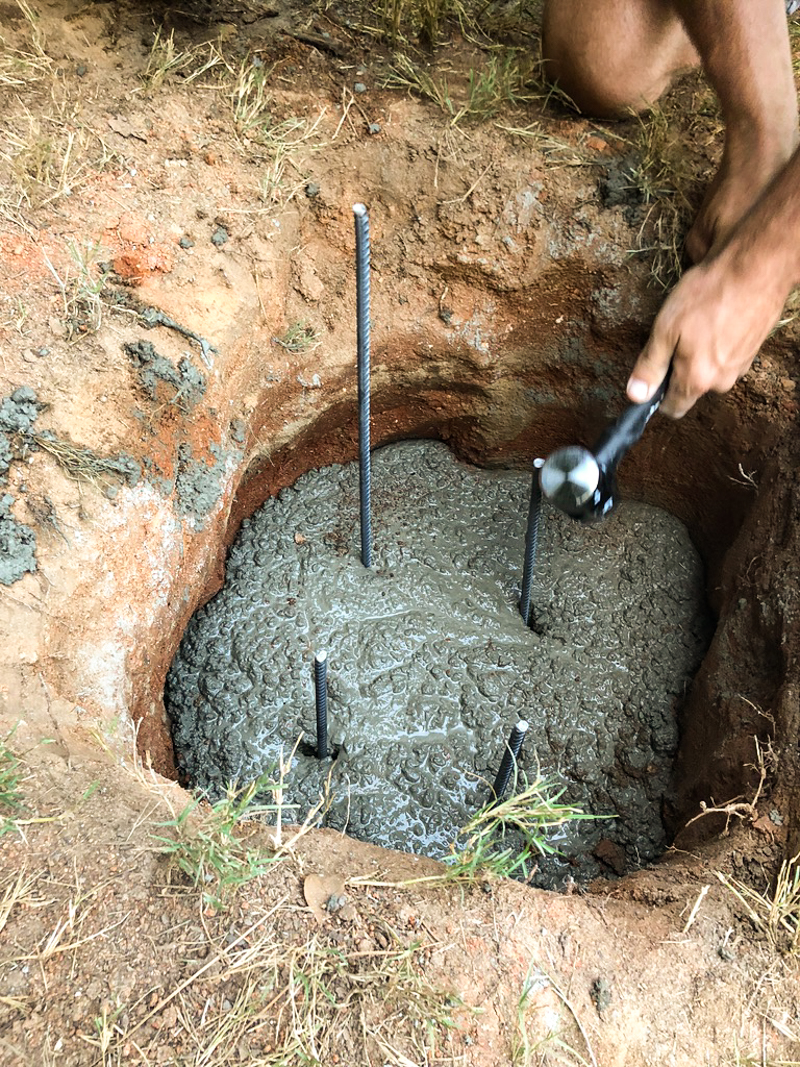
Jeremy had two holes to do because we were installing two hoops so that is why some of these photos are from different locations.
INSTALL THE FORM
The wood form goes in after your support column is filled. The form needs to be centered for the hoop to be centered to it’s a good idea to mark center on the wood and then align it with your court measurement.
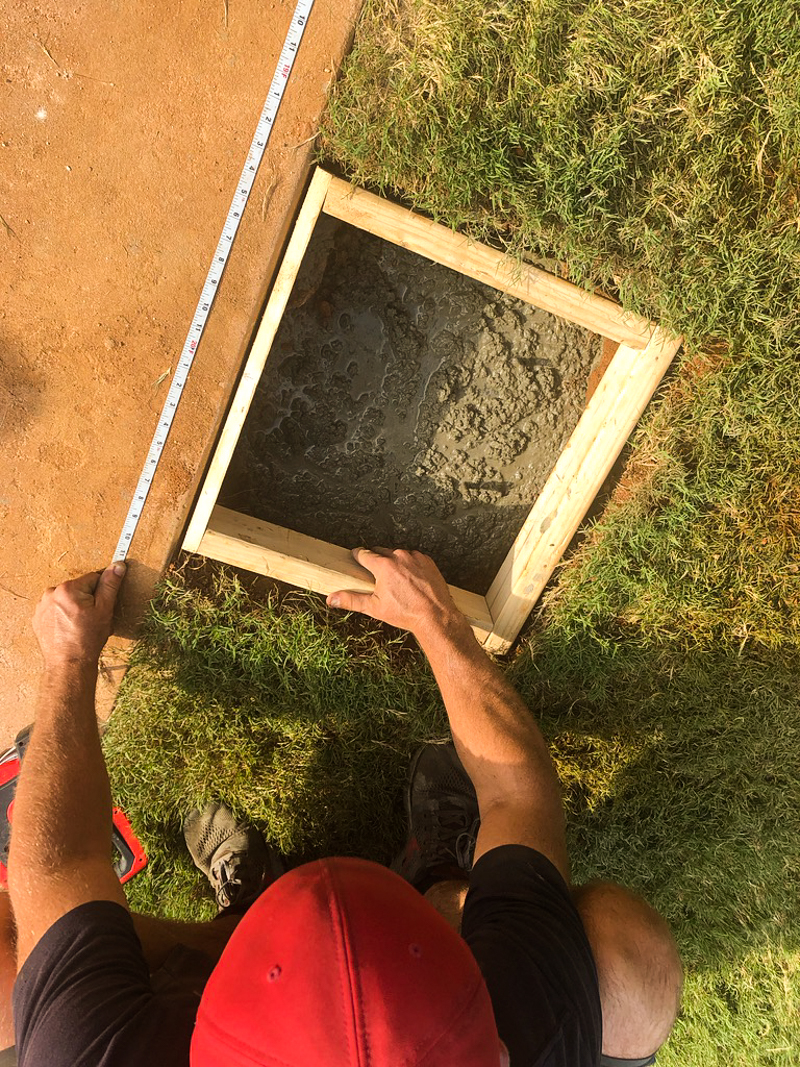
It needs to be flush with the court too….which is suprisingly more complicated because it needs to be in the right spot, level and your form might be a little wonky if it’s made of warped wood.
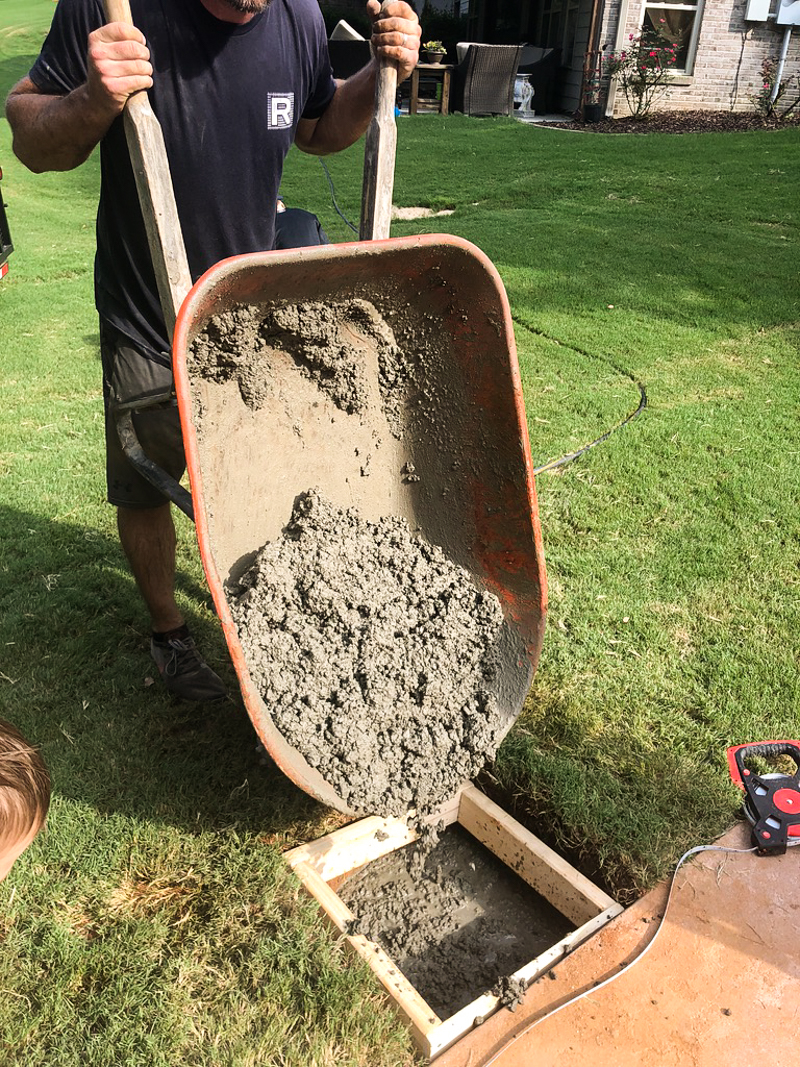
Once it is in place, it needs to be filled…maybe just a smidge overfilled…
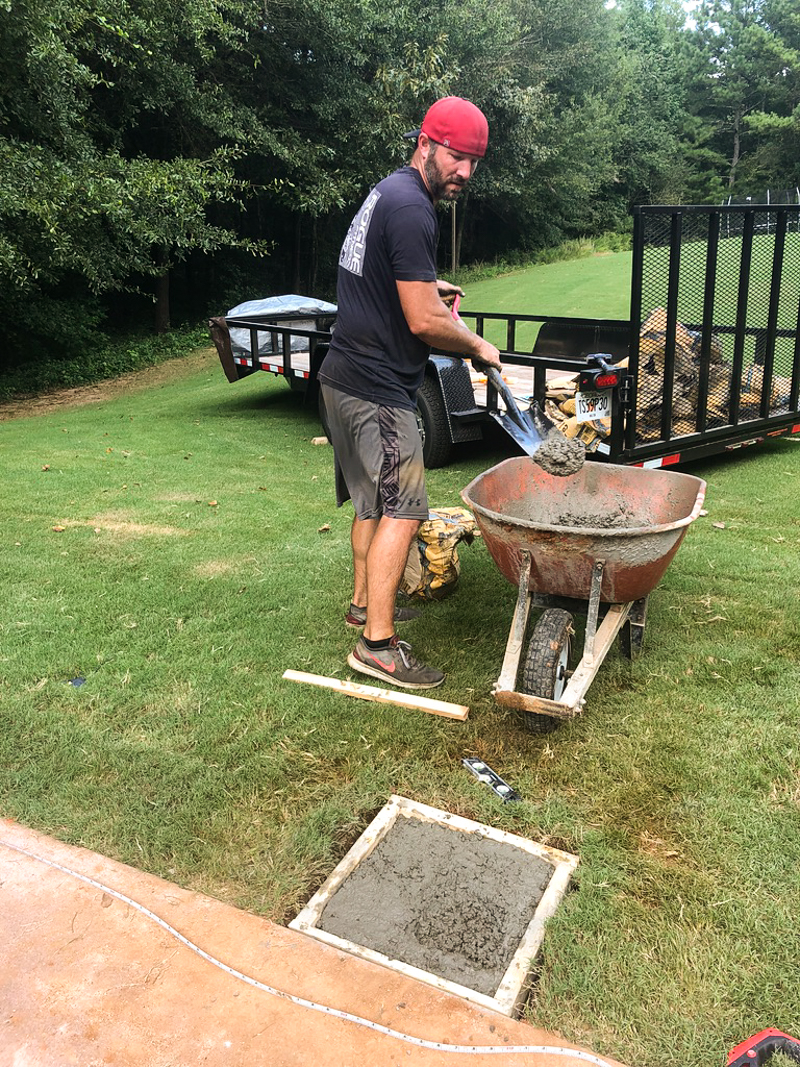
then we scrape off the excess with a sliding back and forth motion. This is called screeding concrete.
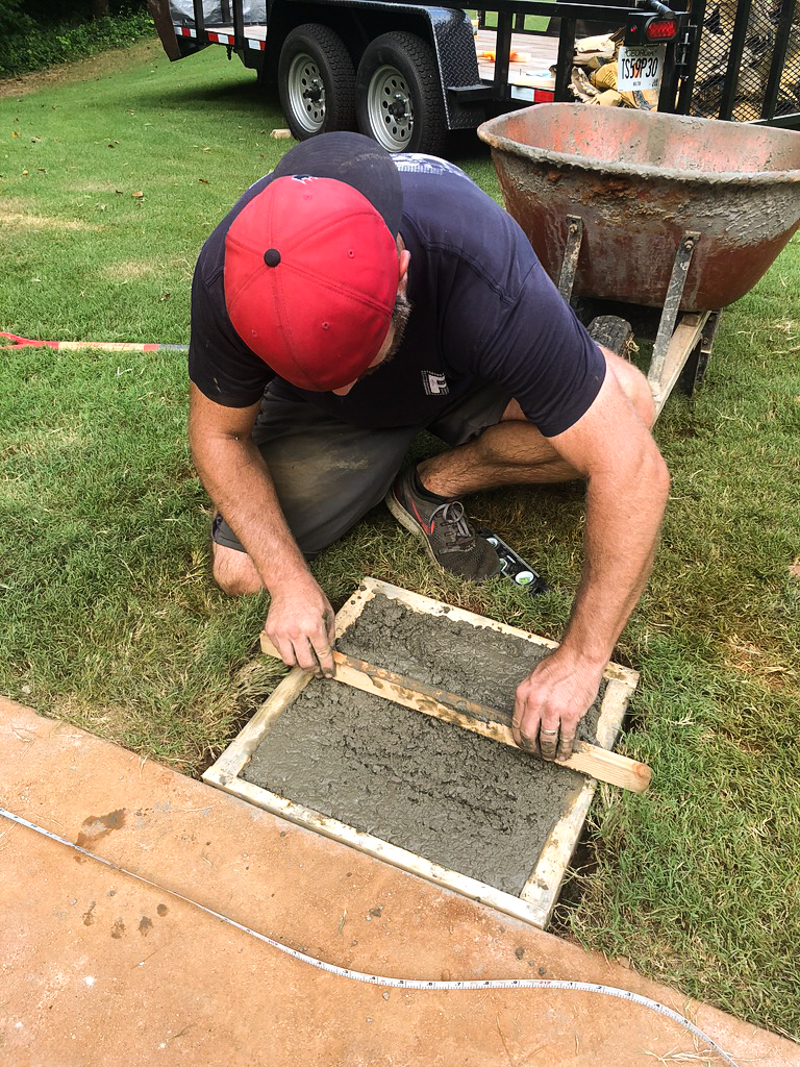
It’s important to not push DOWN on the frame or it will throw everything off.
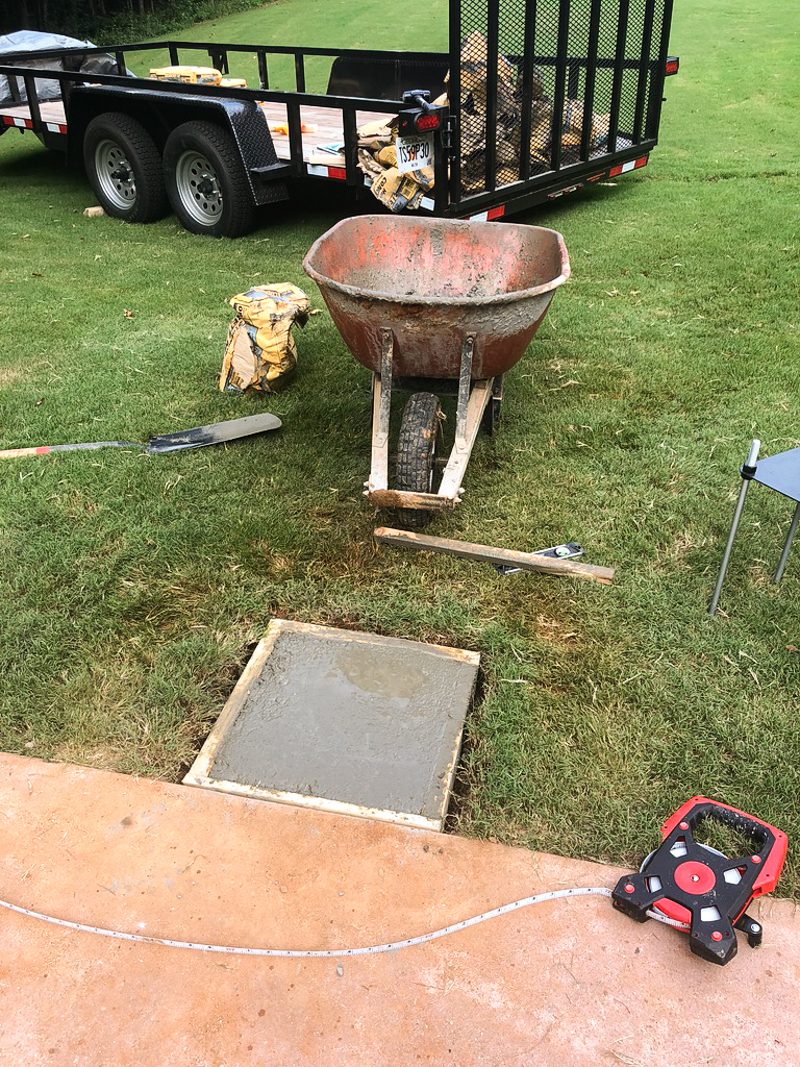
A lot of the water will come to the surface and Jeremy used a trough to smooth things over.
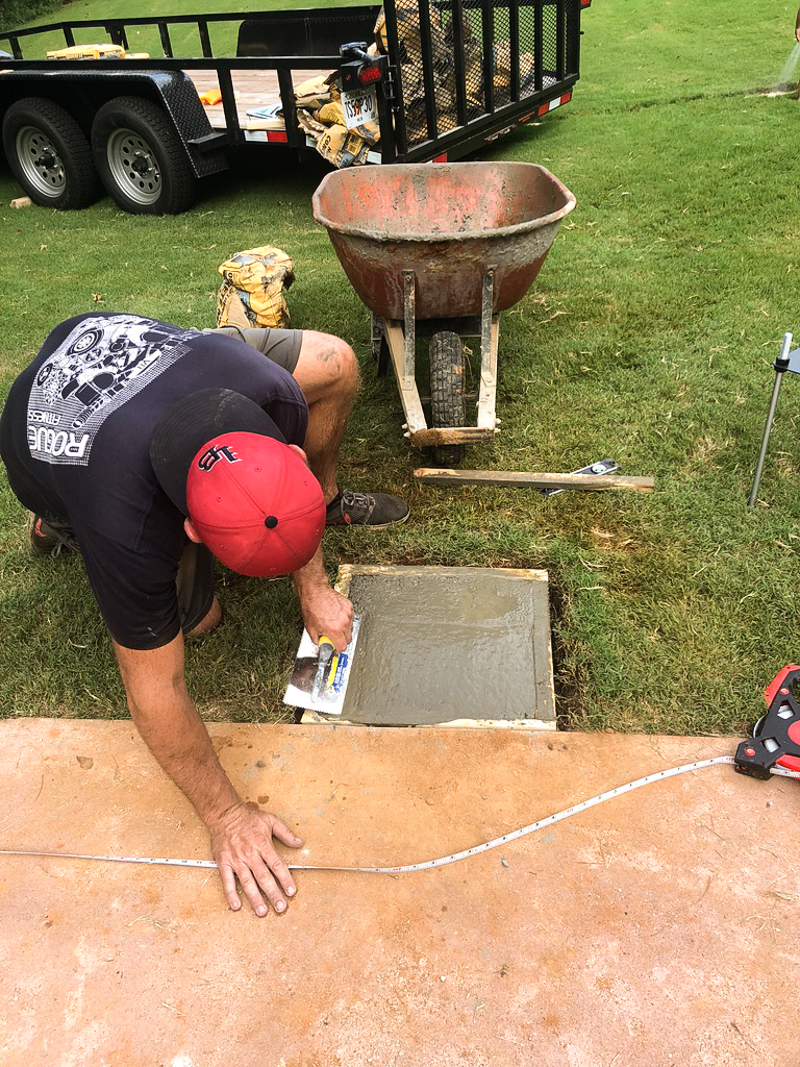
INSTALL THE ANCHOR
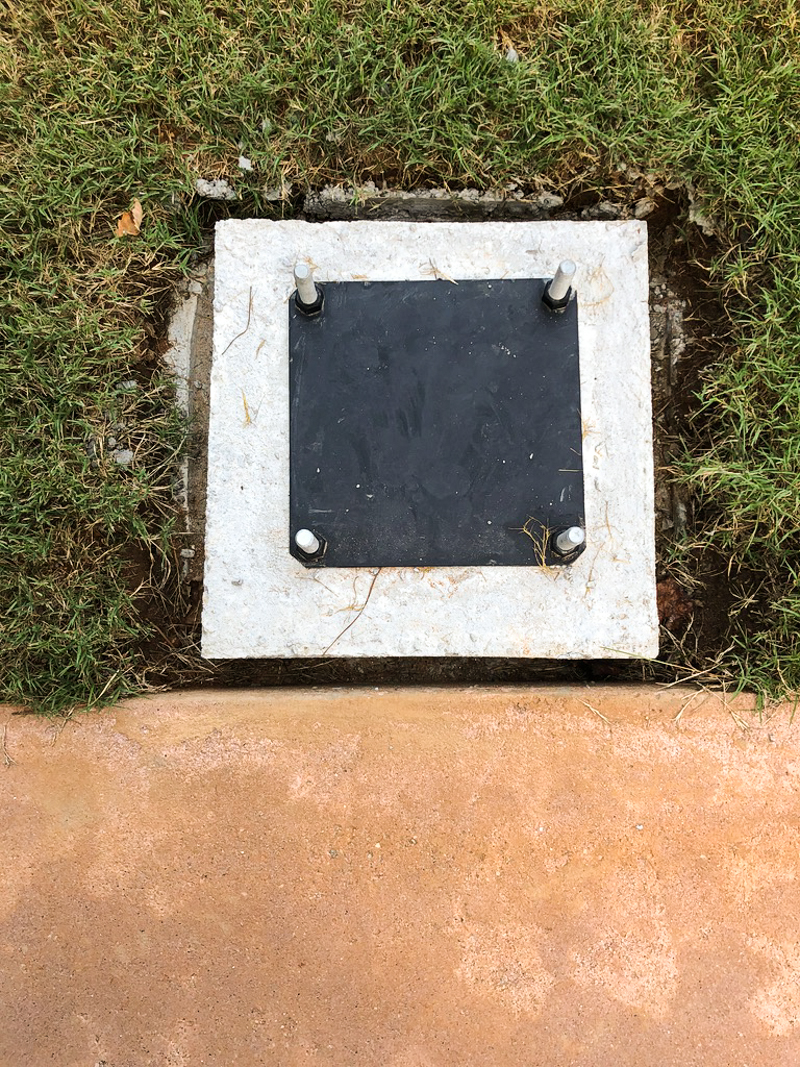
After form is installed, the anchoring system goes into the wet concrete. First we marked the location of where the unit goes. The unit is a metal plate with L-shaped legs that are bolted onto it. It is the thing right behind Jeremy’s head in the photo below.
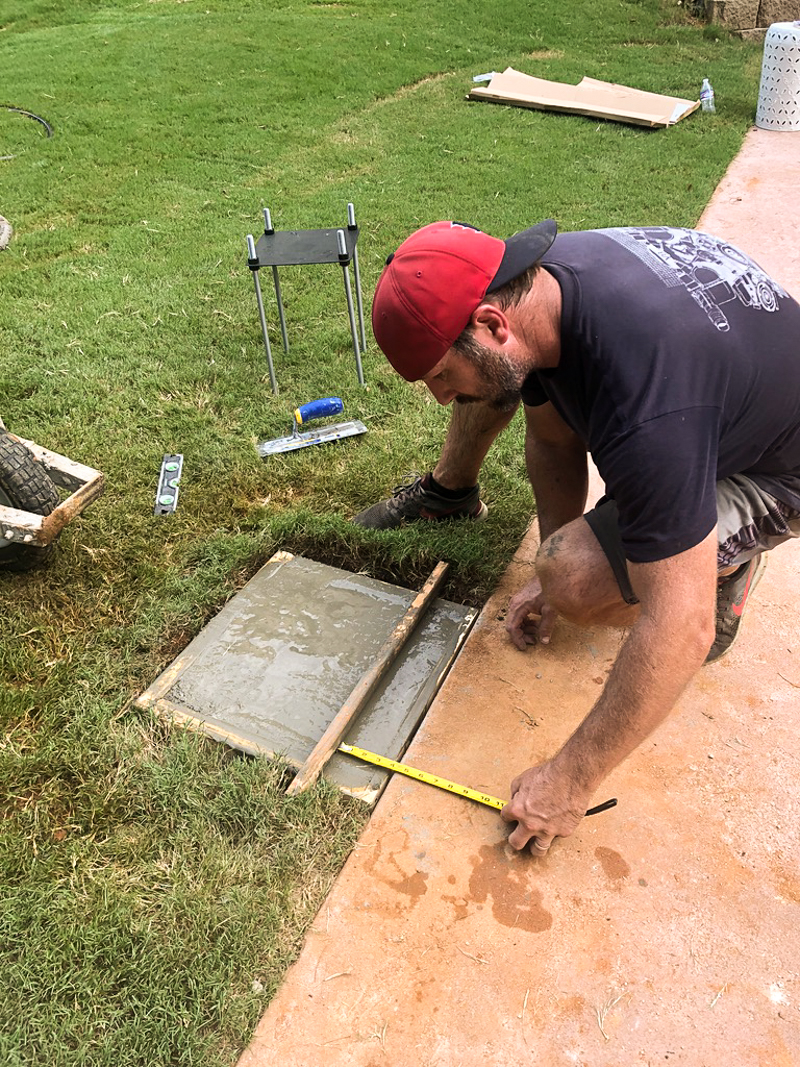
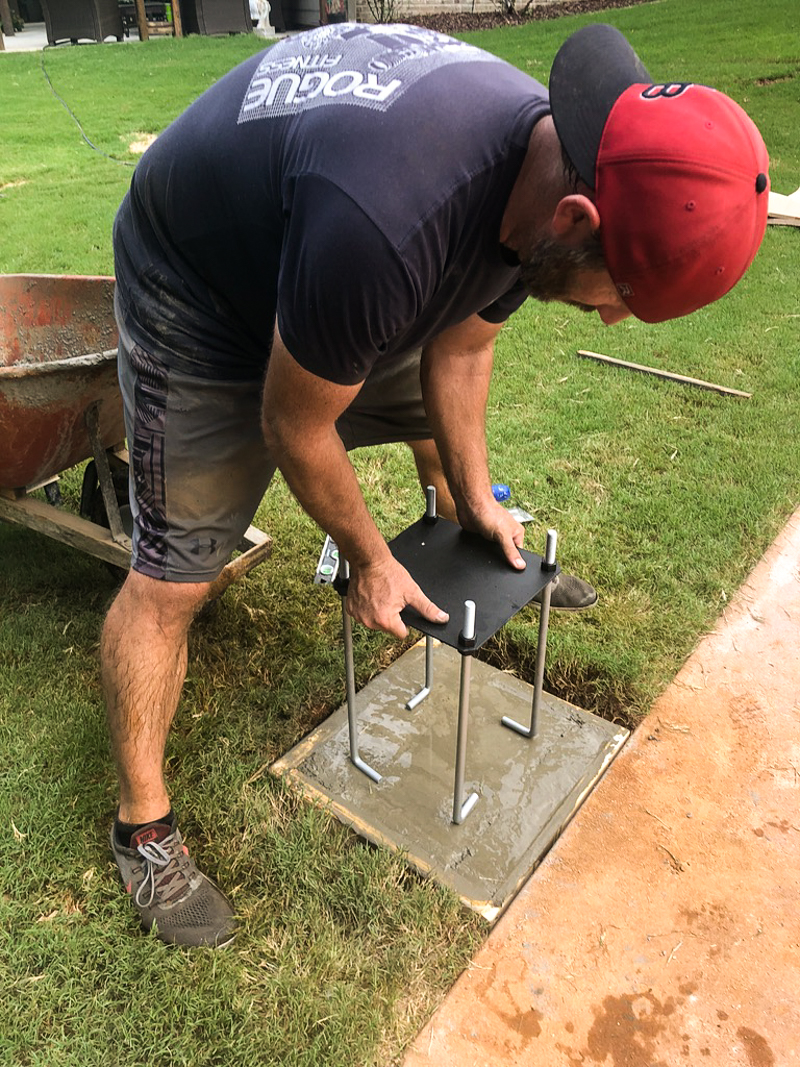
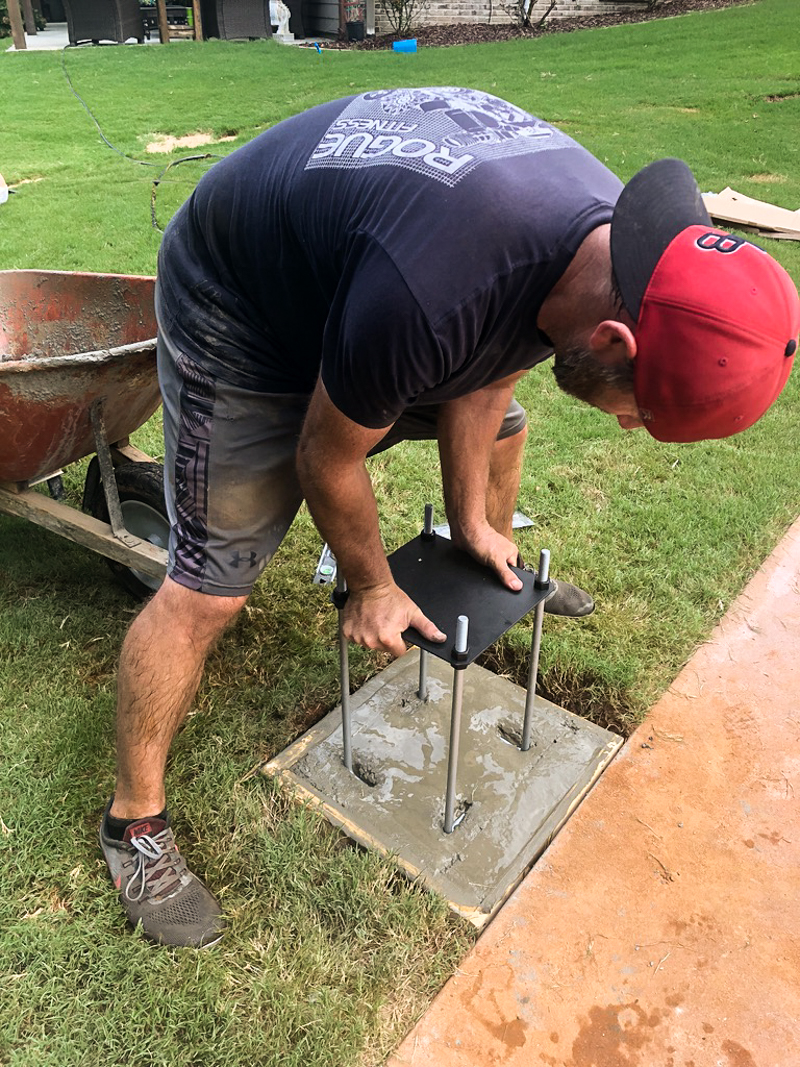
Watching it go in was so nervewracking!
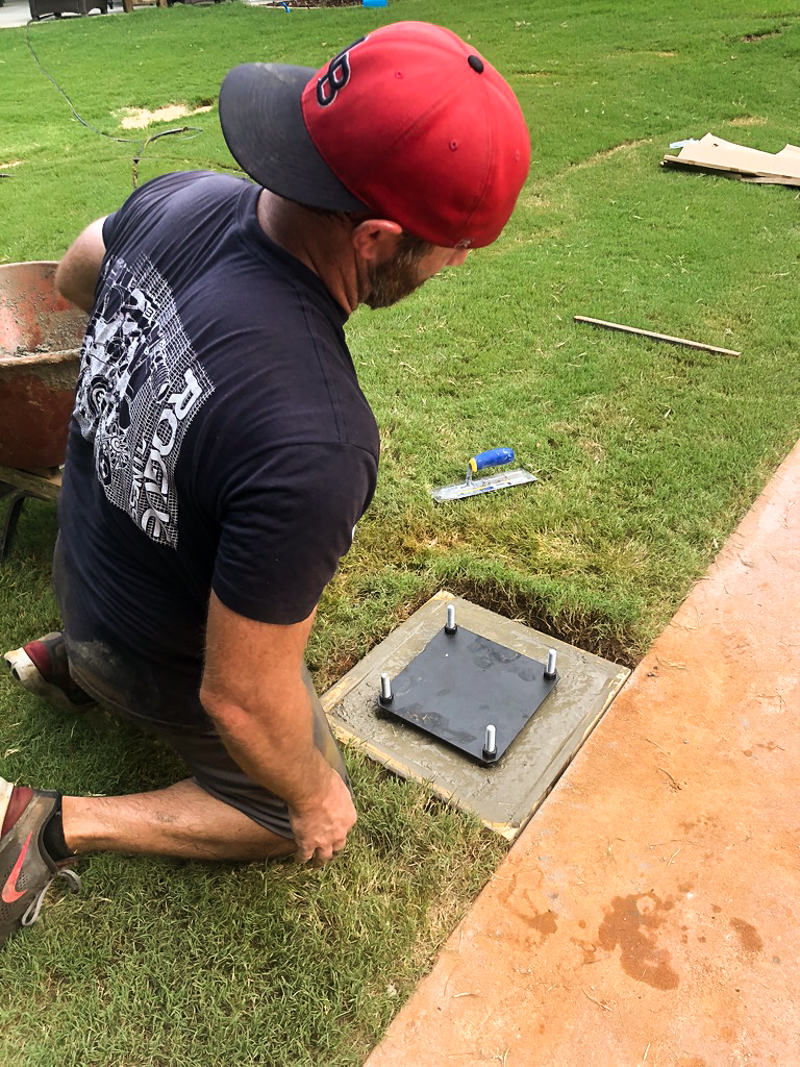
The most crucial part of this part is getting the plate barely above the concrete that is still level.
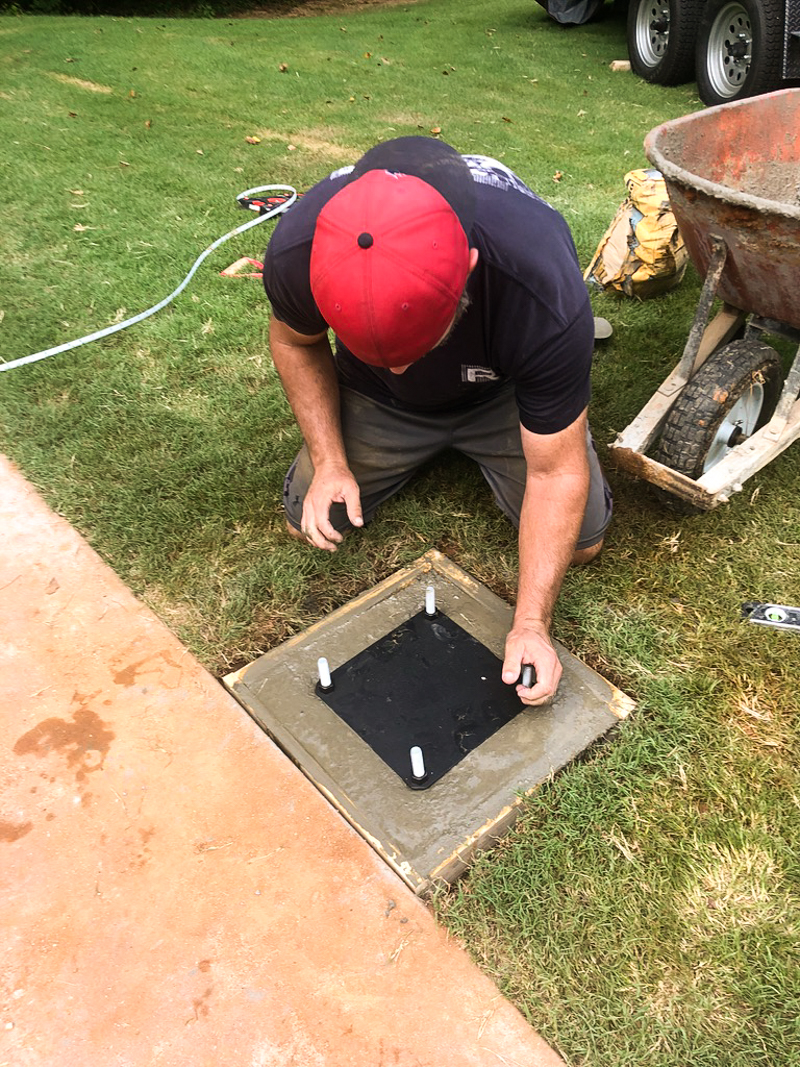
All the excess concrete is removed from the bolts and the plate so when it dries, it is ready for the post installation.
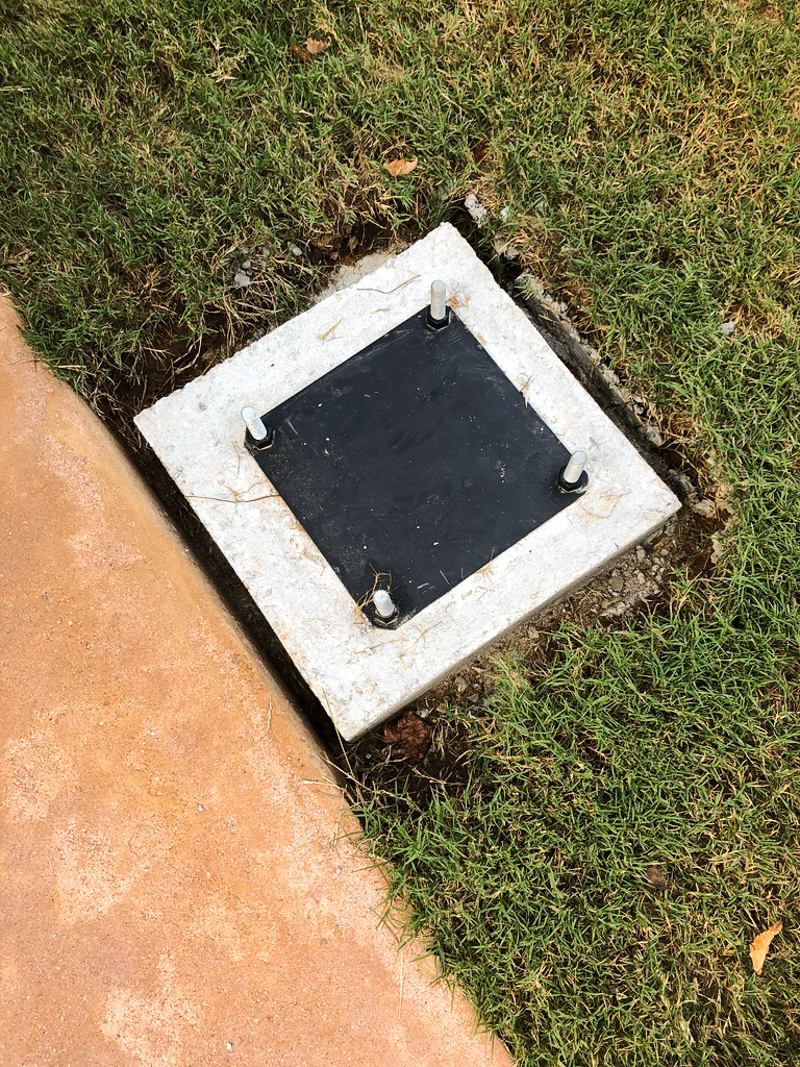
INSTALL THE POSTS
I didn’t capture all the parts of the post assembly (Jeremy knocked it out in a half hour!). So just know that it can be a one person job. But it definitely helps with two.
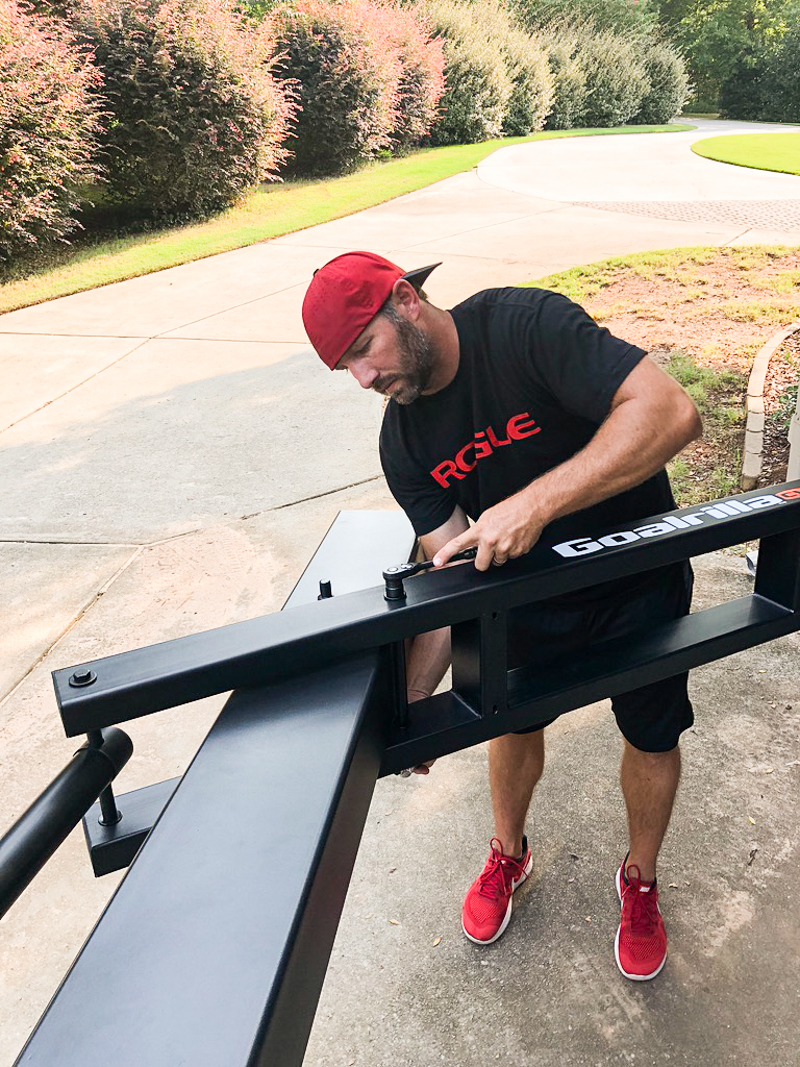
The assembly might be a one person job but the lifting of the post is definitely NOT. In the instructions, it says it requires at least three people…..in our case, two strong backed guys 🙂
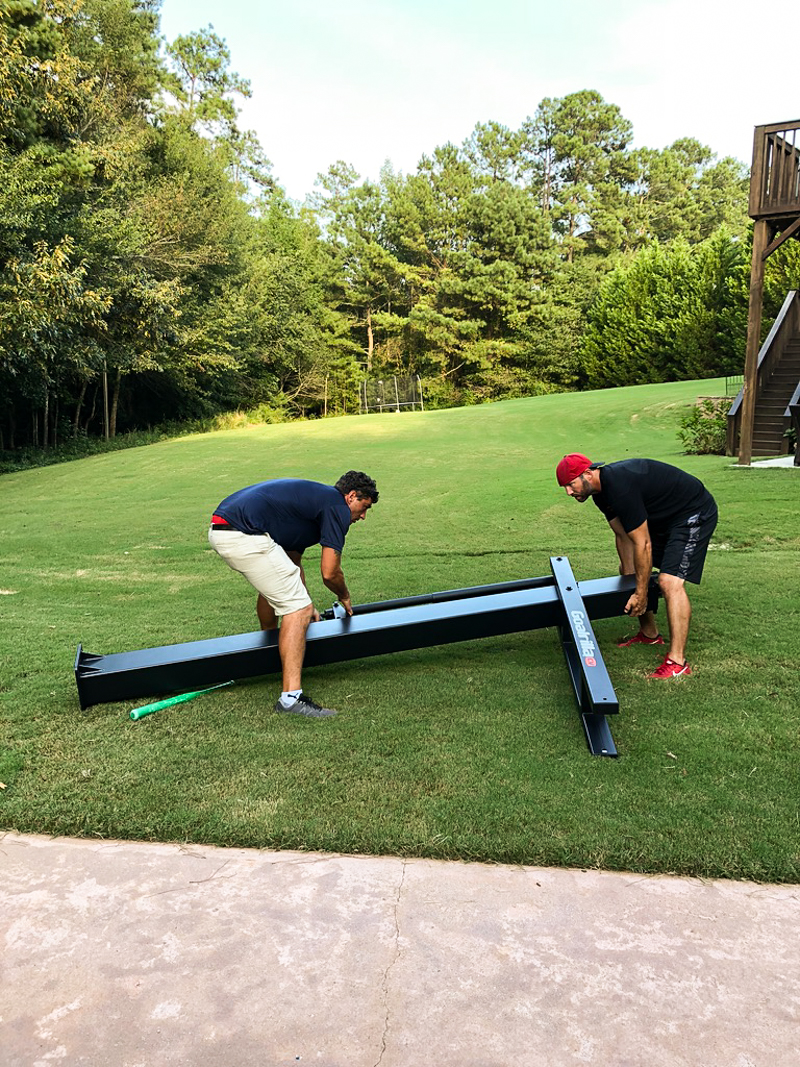
They got it all lined up….
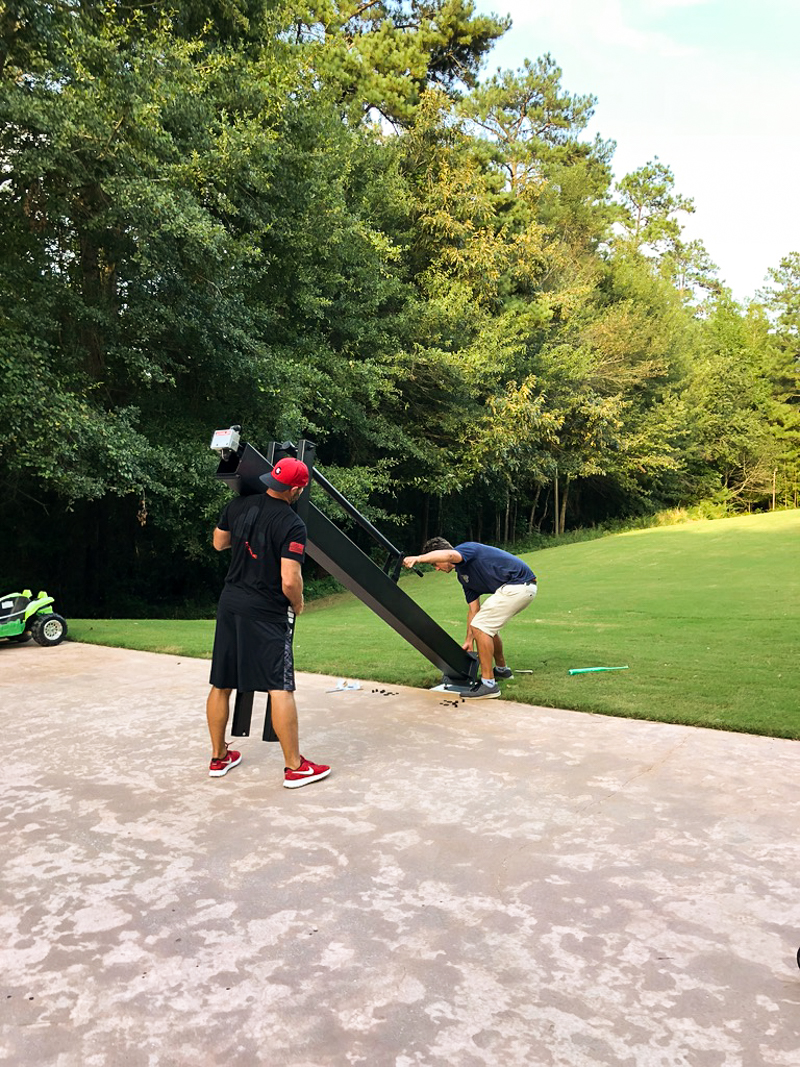
the holes in the base go over the bolts in the base plate….
and then the whole thing gets lifted up….
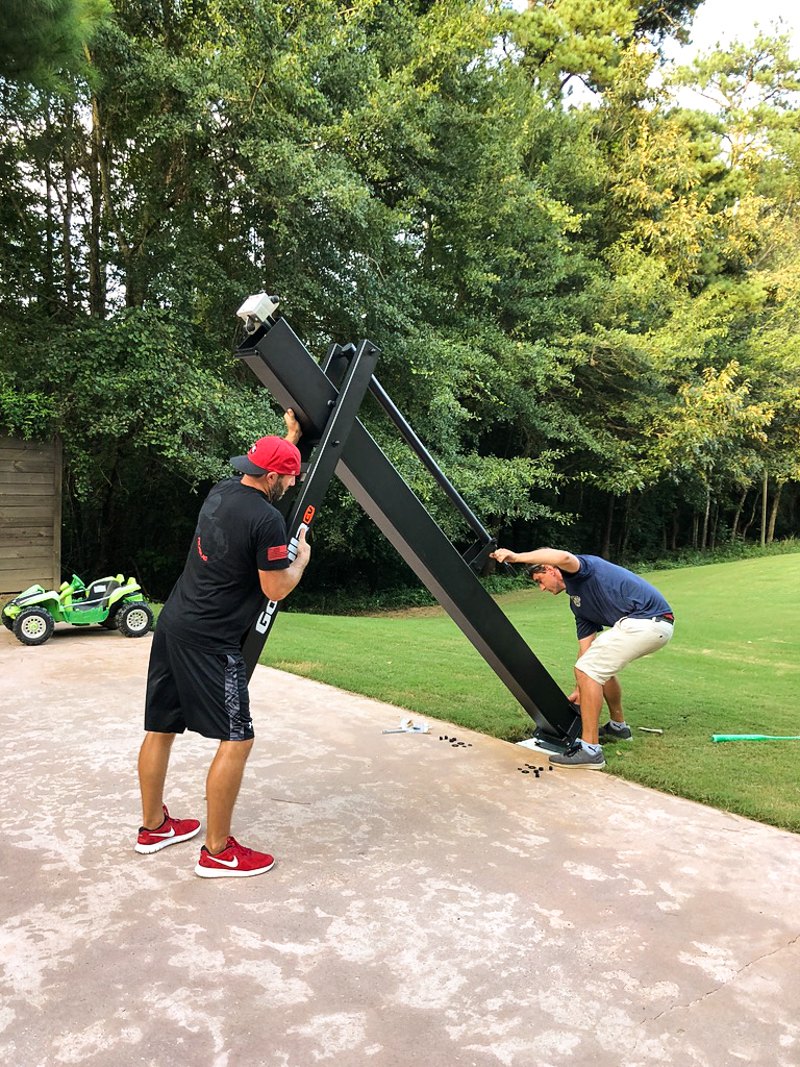
BOOM! It’s up!
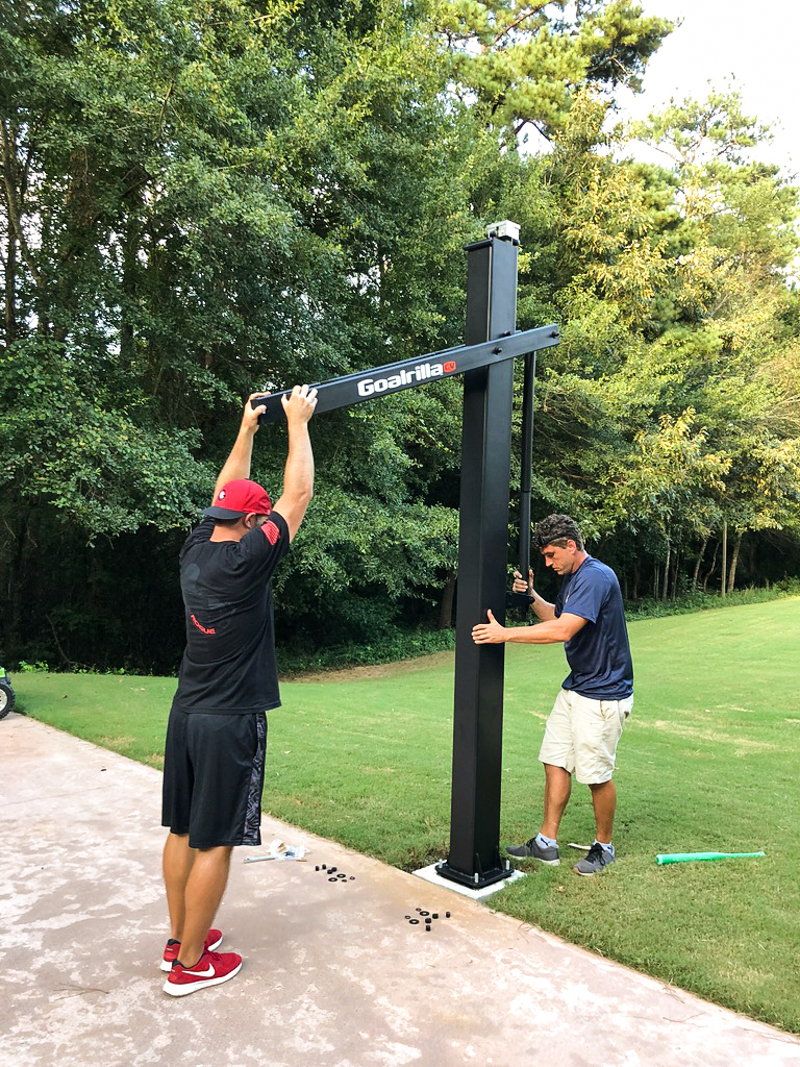
They lined it up and made sure it was level….
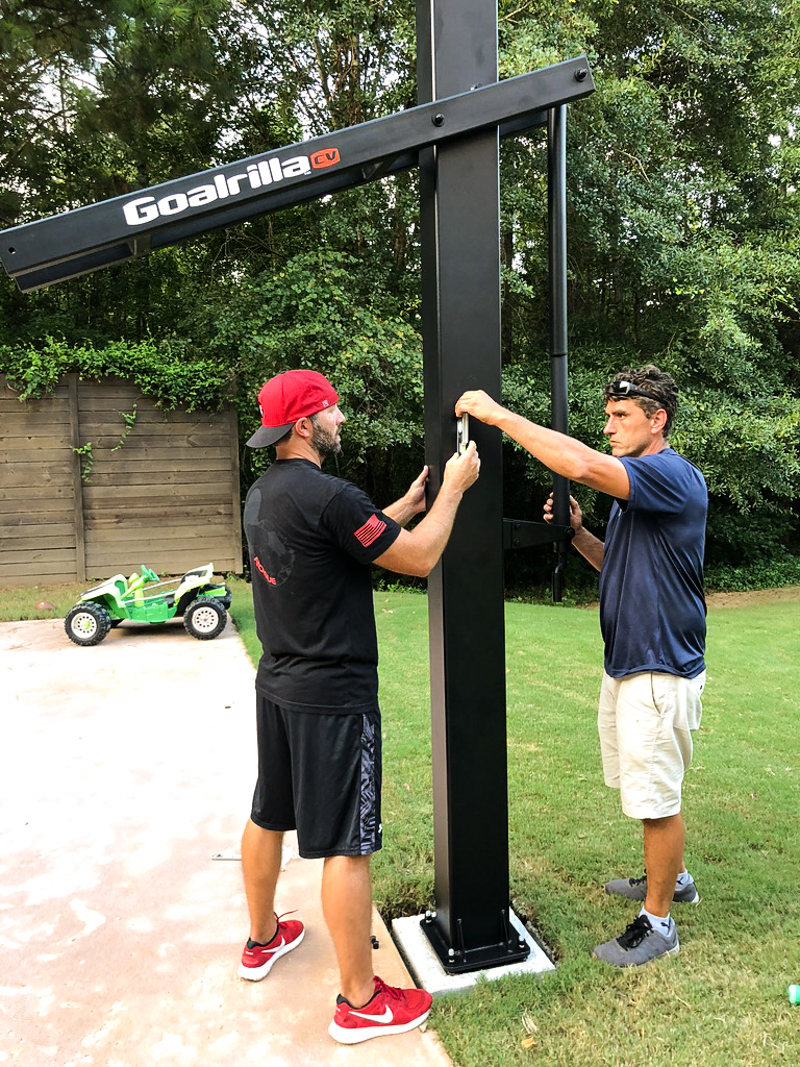
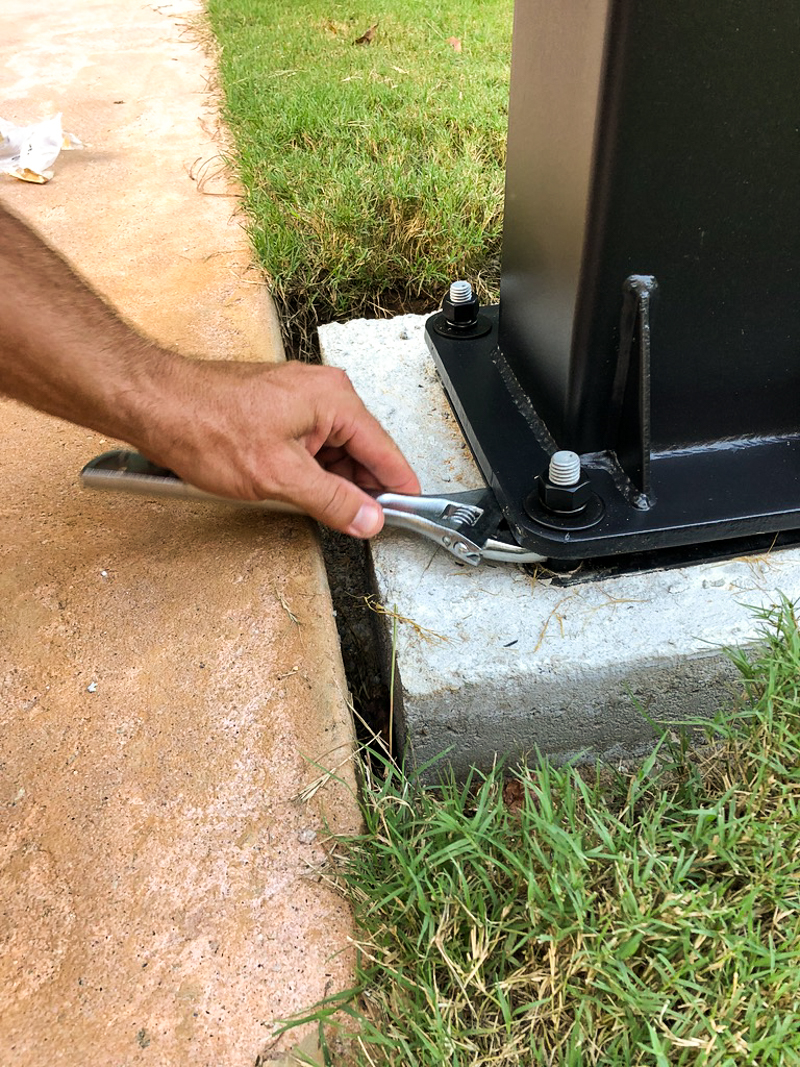
All the adjustments were made at the base. You can adjust the bolts below the post to make things more plumb….and lock it all down with the top bolts.
Now comes the tricky part. The hard part. The part that made the guys give major side eye and look like real life versions of GIFs.
INSTALLATION OF THE BACKBOARDS
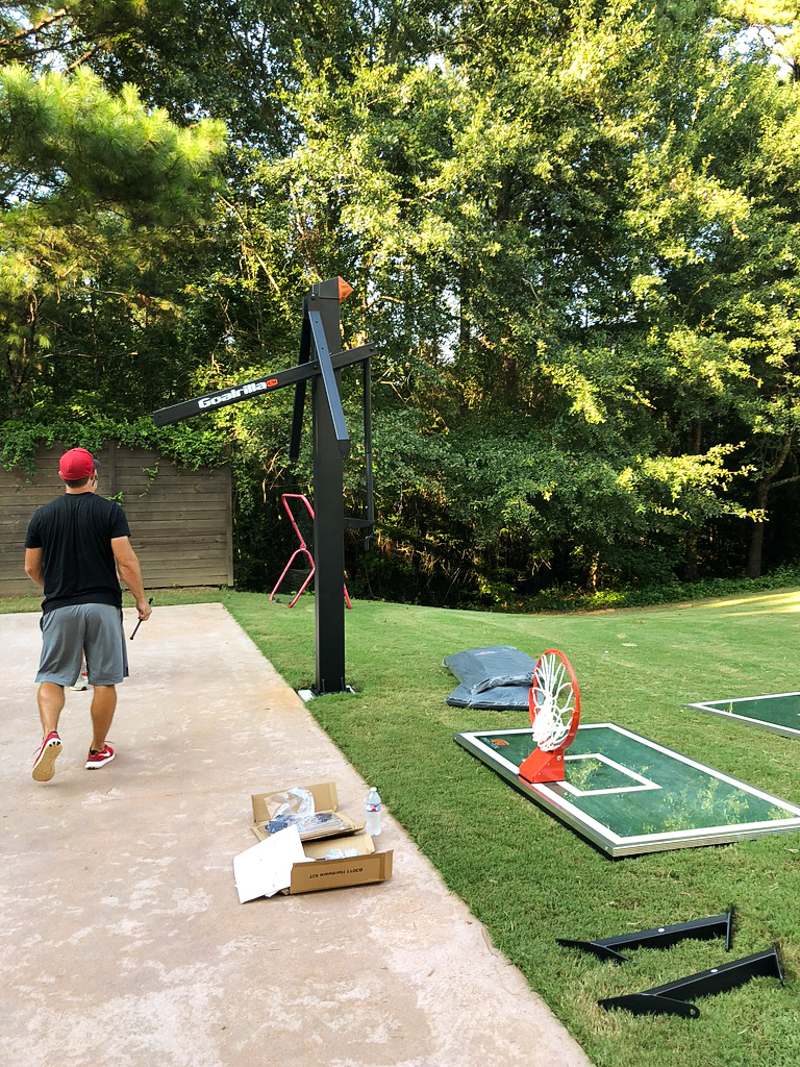
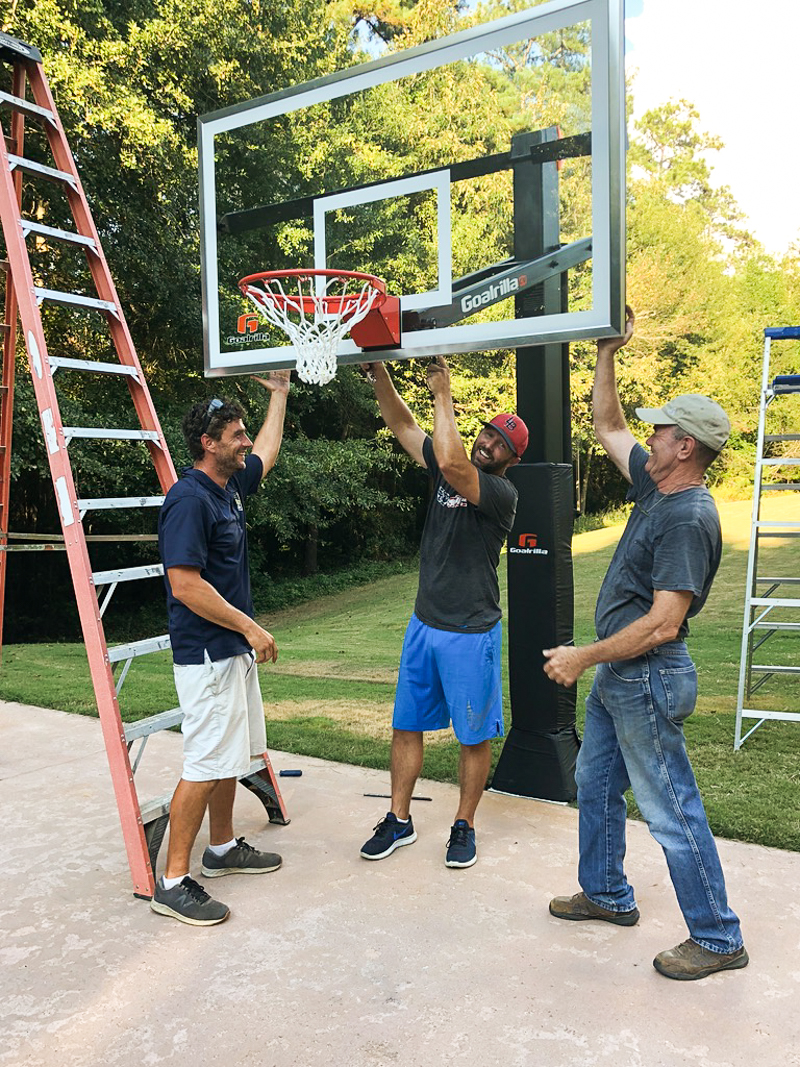
Let me preface this with the fact that we watched videos. We read the instructions. We were well educated on the idea of installation. But the idea was very different than ACTUALLY DOING IT. The instructions said that we would need five people. We had six. Three guys and all three of their wives.
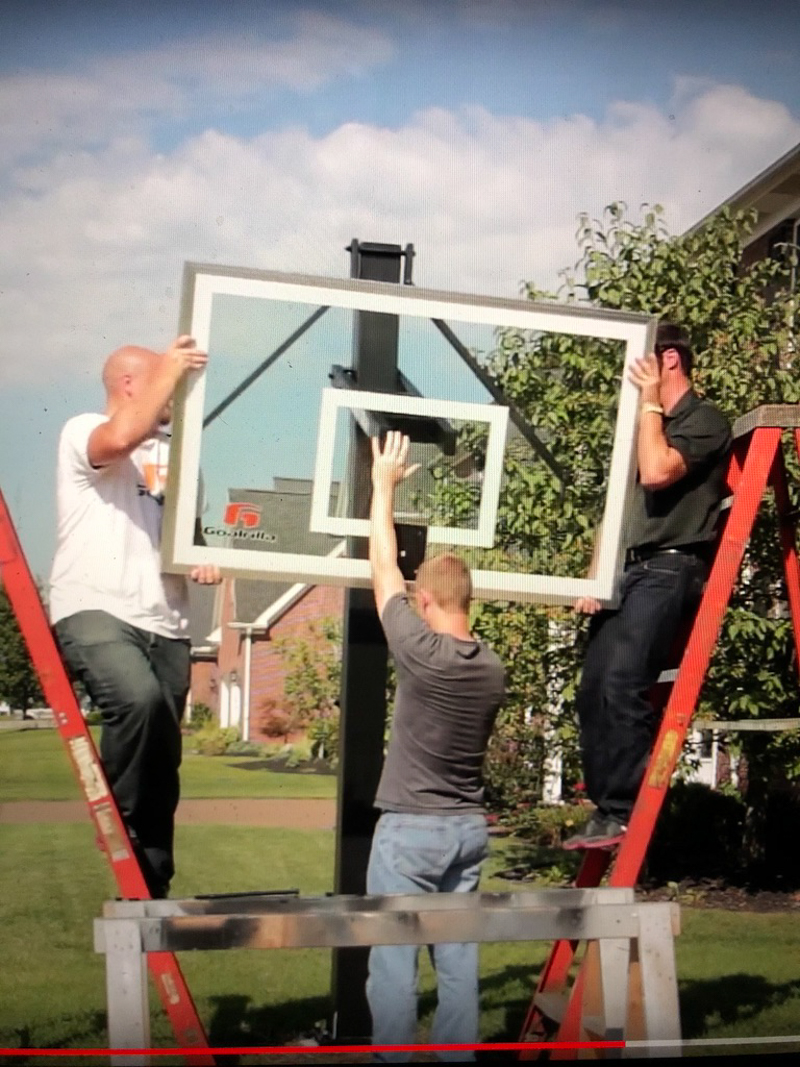
And the backboard was deceivingly heavy. It was basically 200 lbs of awkwardness. We all tried several times to hoist it up high enough to get the bolt in but basically – it was impossible. There wasn’t a way to control the top of the massive 72″ backboard from falling backward or forward and still lift it high enough. The guys brainstormed tons of different ways but at the end of the exhausting night we all decided – we needed a mechanical lift.
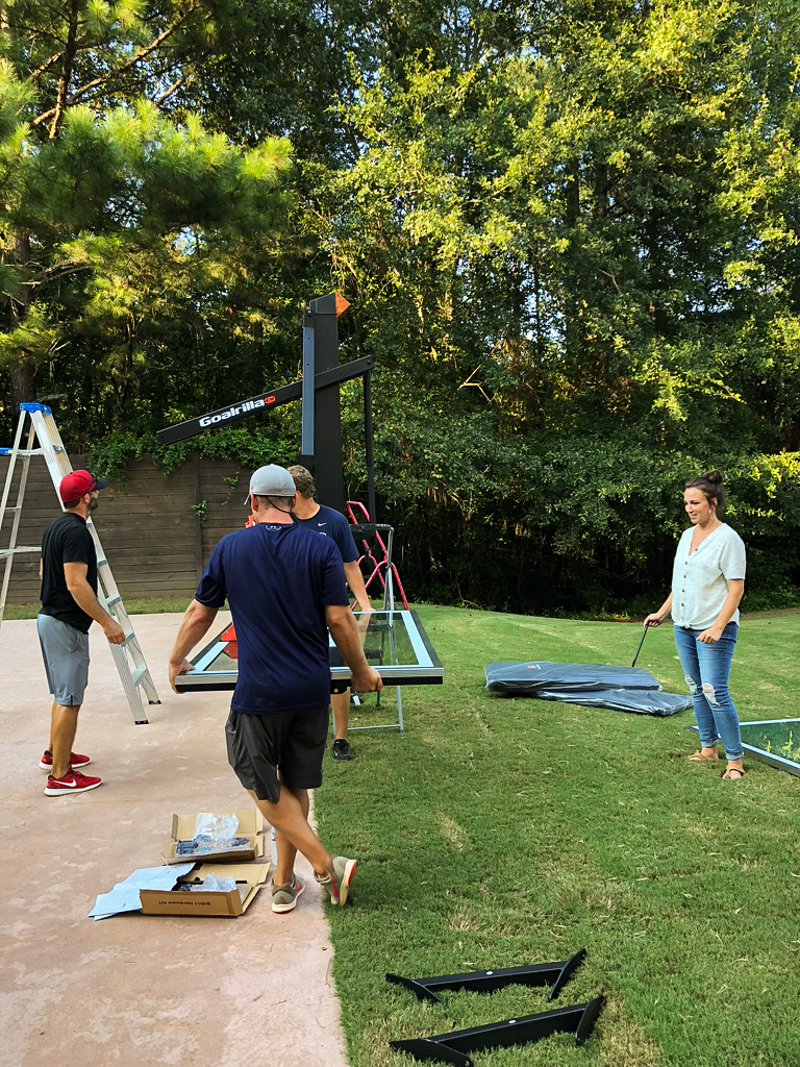
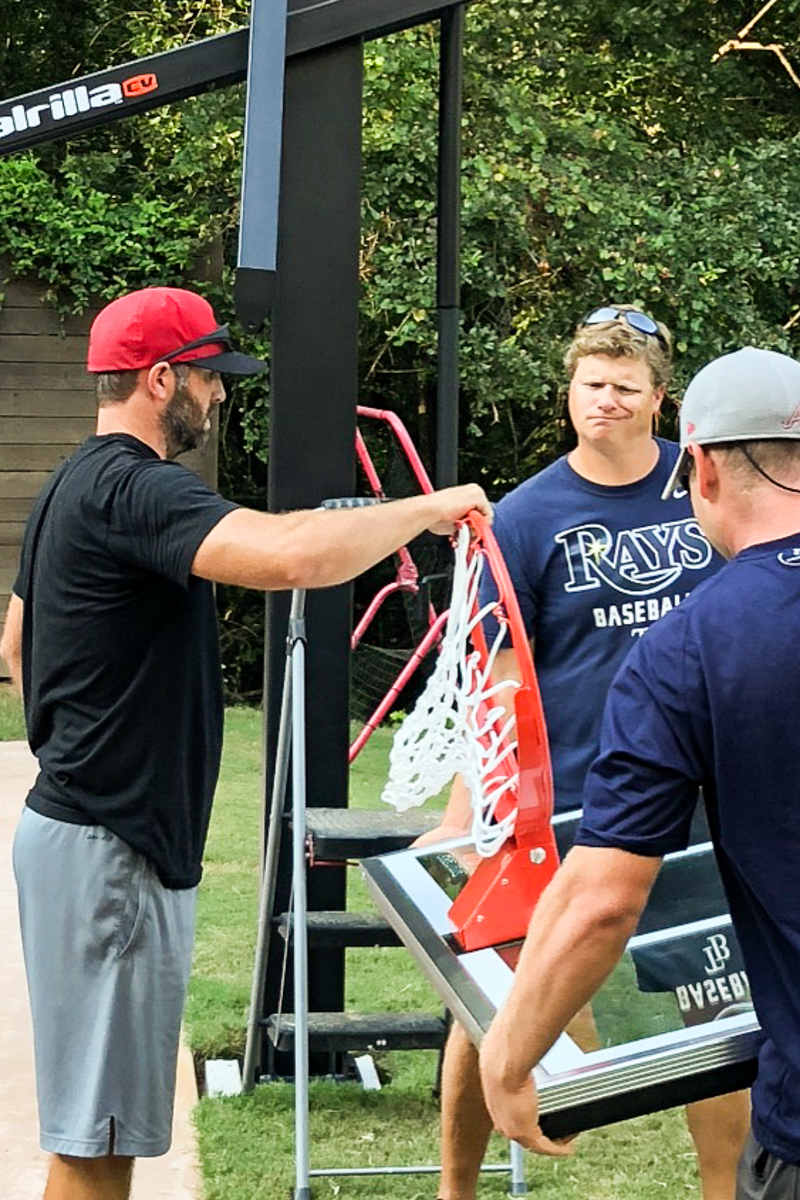
I think our friend Walker’s face says it all here. This is EXACTLY what we were all thinking. I was thinking that followed by lots of expletives. Can you even imagine one slip and the entire backboard shattering?!
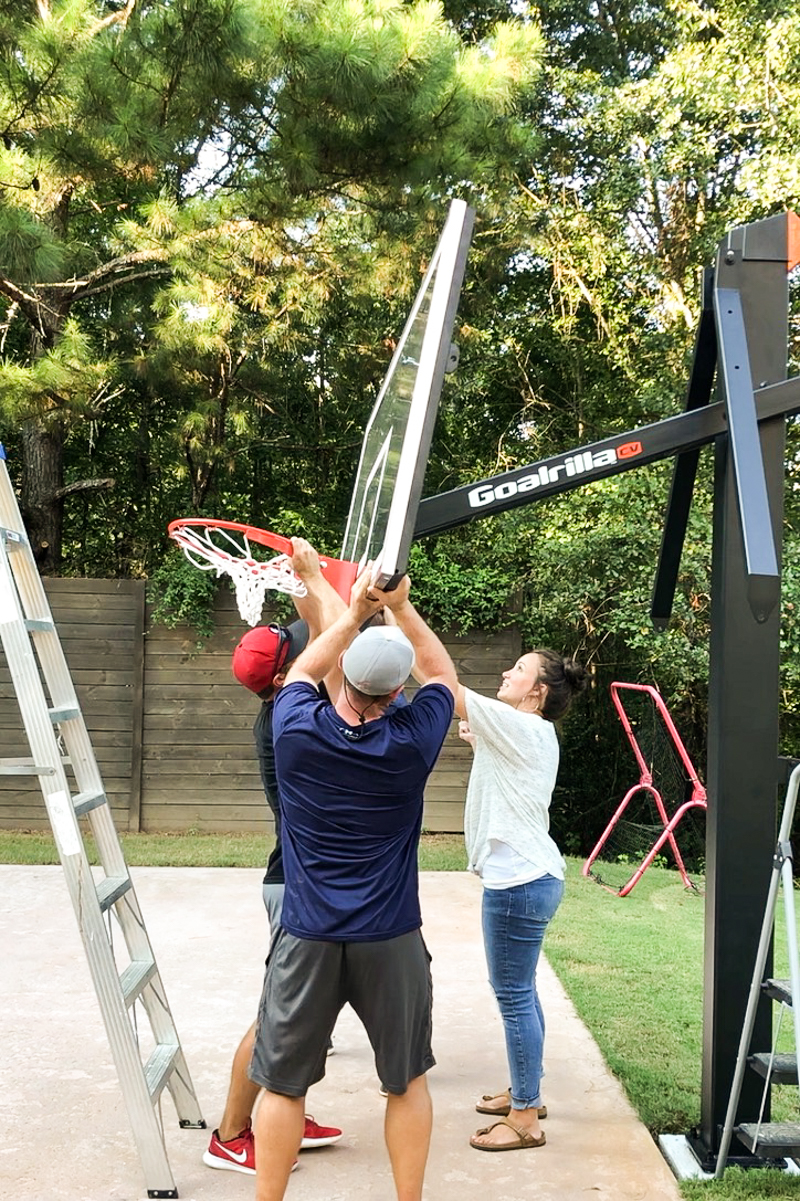
Even with our best attempts…there was no way we could have gotten the pin in to hold it in place. It would have been impossible. We realized that when we actually did install it.
So how did we finally get them up there?!
One trick…..A DRYWALL LIFT.
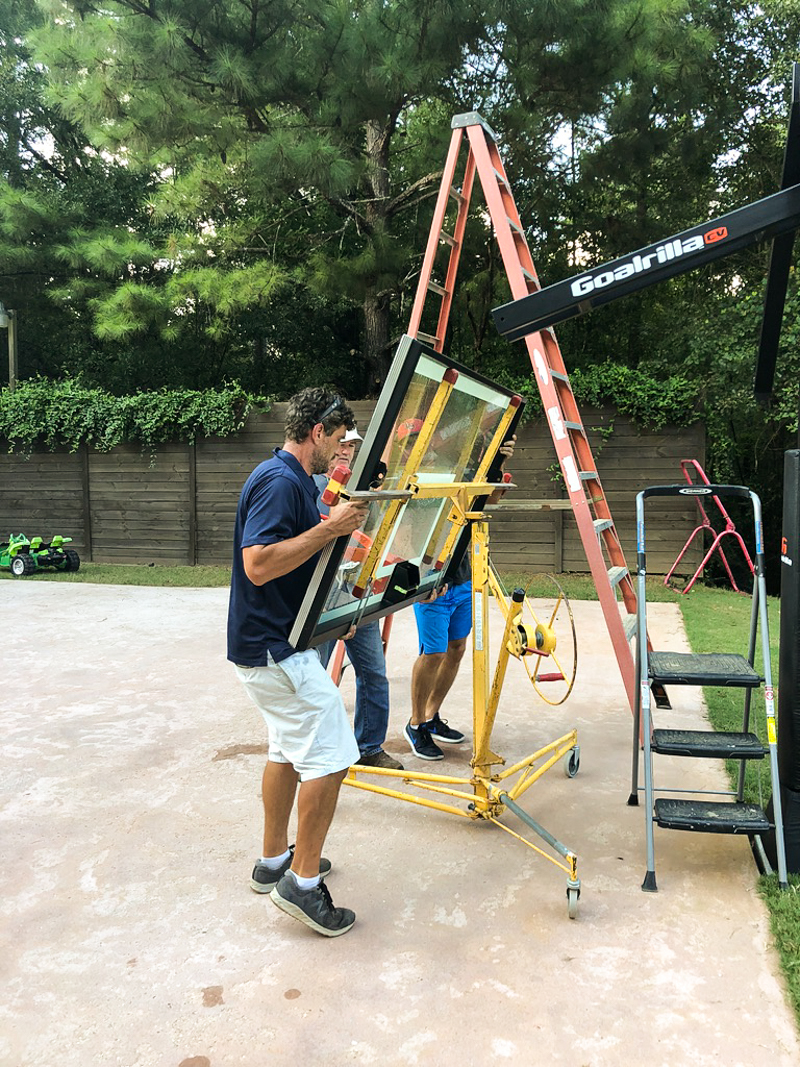
We mounted the backboard onto a drywall lift so that the guys could hold it onto the lift and then guide and slide it slowly into place. The lift post had to be off center to make it work – otherwise the arm from the basketball goal would knock it. Also the red rubber supports that drywall rest on….that went under the lip of the backboard so that the weight was fully supported.
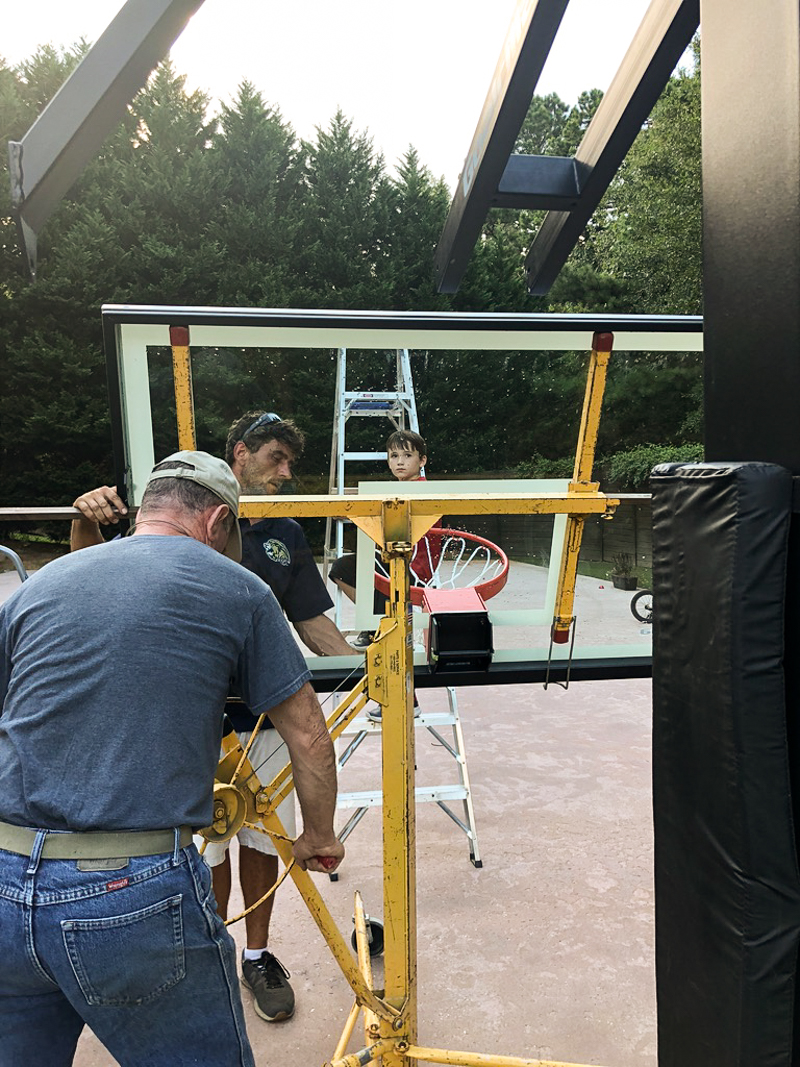
Here is a photo of when the lift post was centered. You can see it gets in the way of the goal arm. It wouldn’t mount with the pin so that is why it needs to be off center.
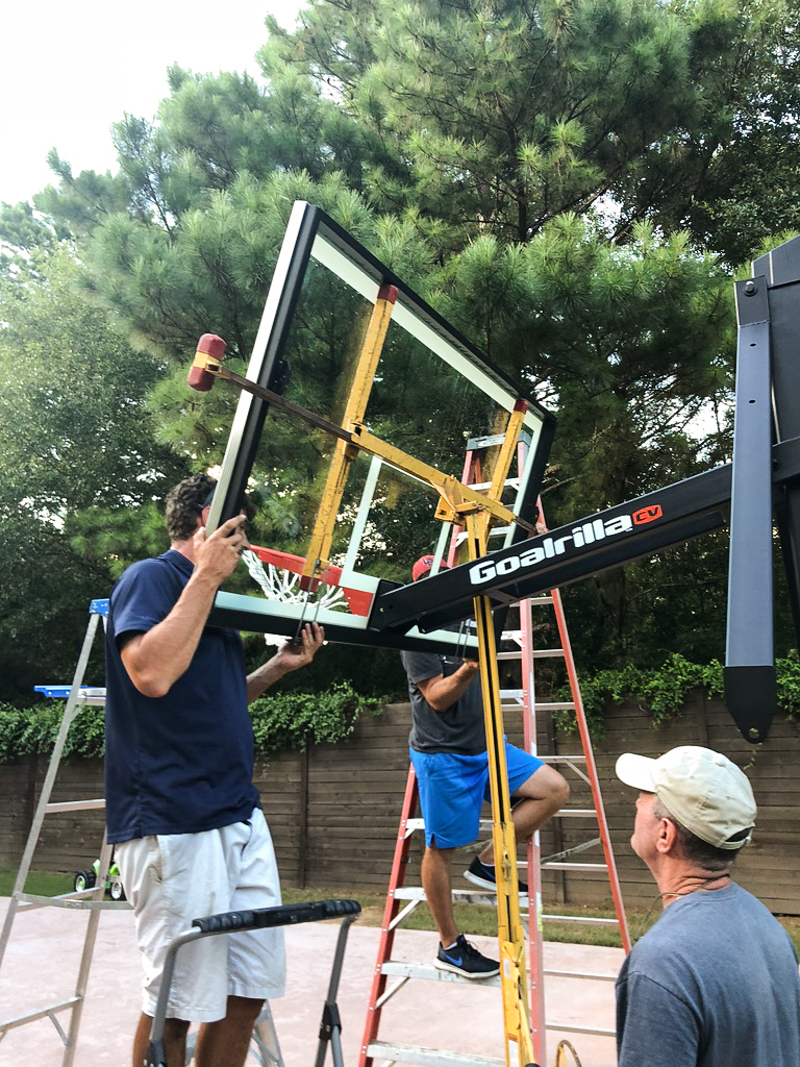
When it was all said and done, the pin went through and the backboard was attached to all the arms and UP!
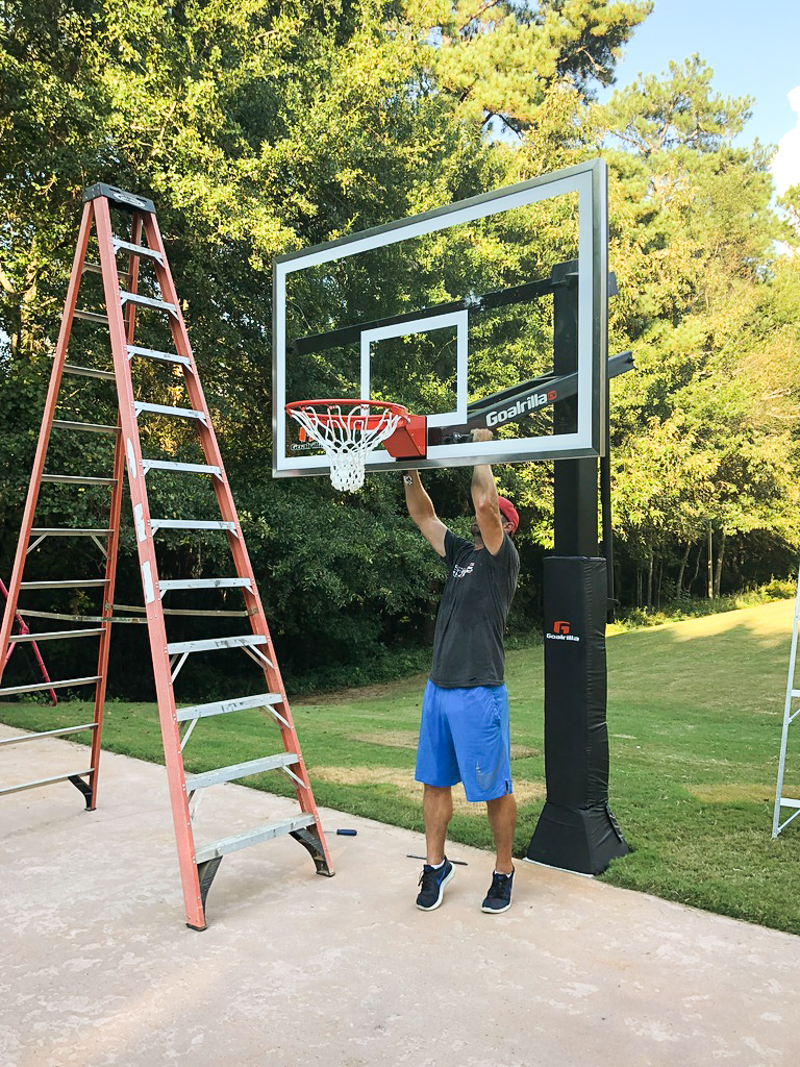
They all laughed at how easy it was with the drywall lift compared to trying to dead lift it. Work smarter not harder, right?!
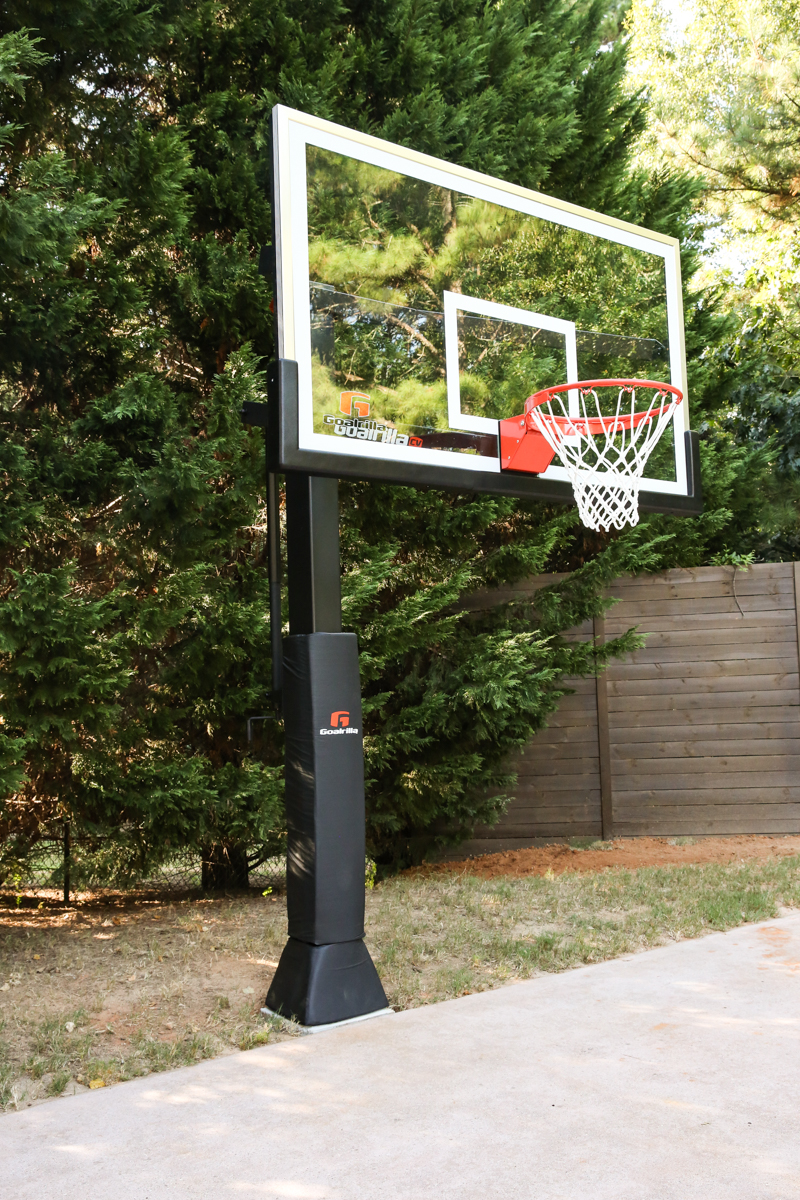
Jeremy couldn’t wait to get everything tightened and install the pads around the bottom and I have to admit – they are pretty amazing.
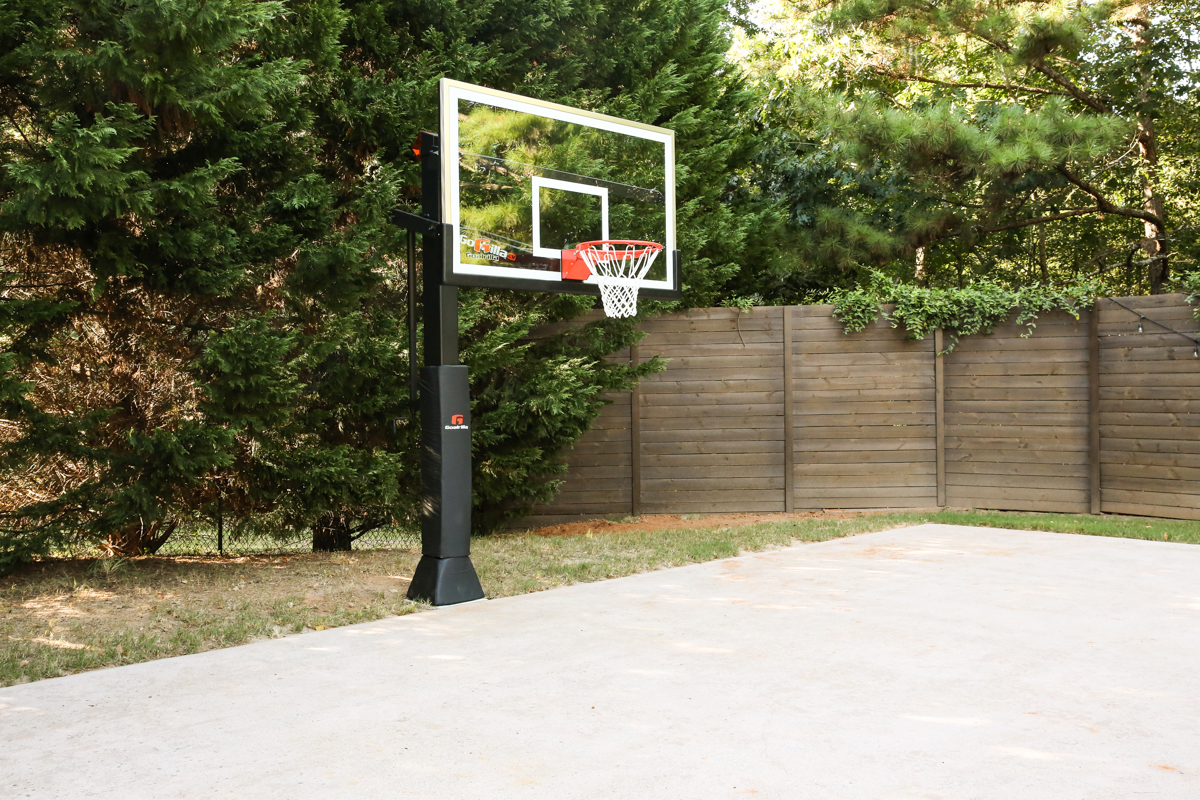
I originally thought that we would only do one at the far end and Jeremy convinced me that we needed two. I’m glad we went for it. Already it has been great for the kids….when a few of them want to play different games, the two hoops have been great to eliminate the fighting.
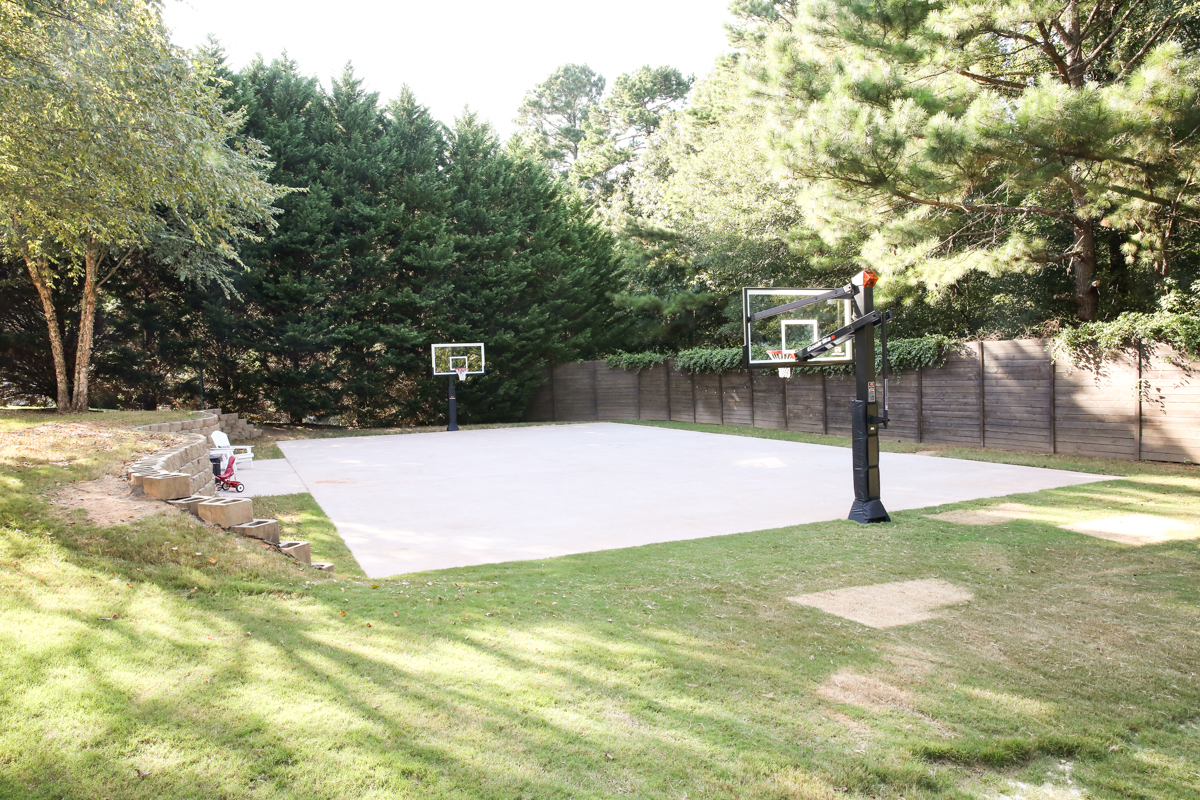
And honestly they are sooooo pretty. A few of our friends have already said that they can’t wait to see this thing done so that kids can play on one hoop and the adults can play on the other!
Even my dad said he would be more likely to come over when the court is done 🙂 He did play ball in college and coach for over 20 years so that might be why!
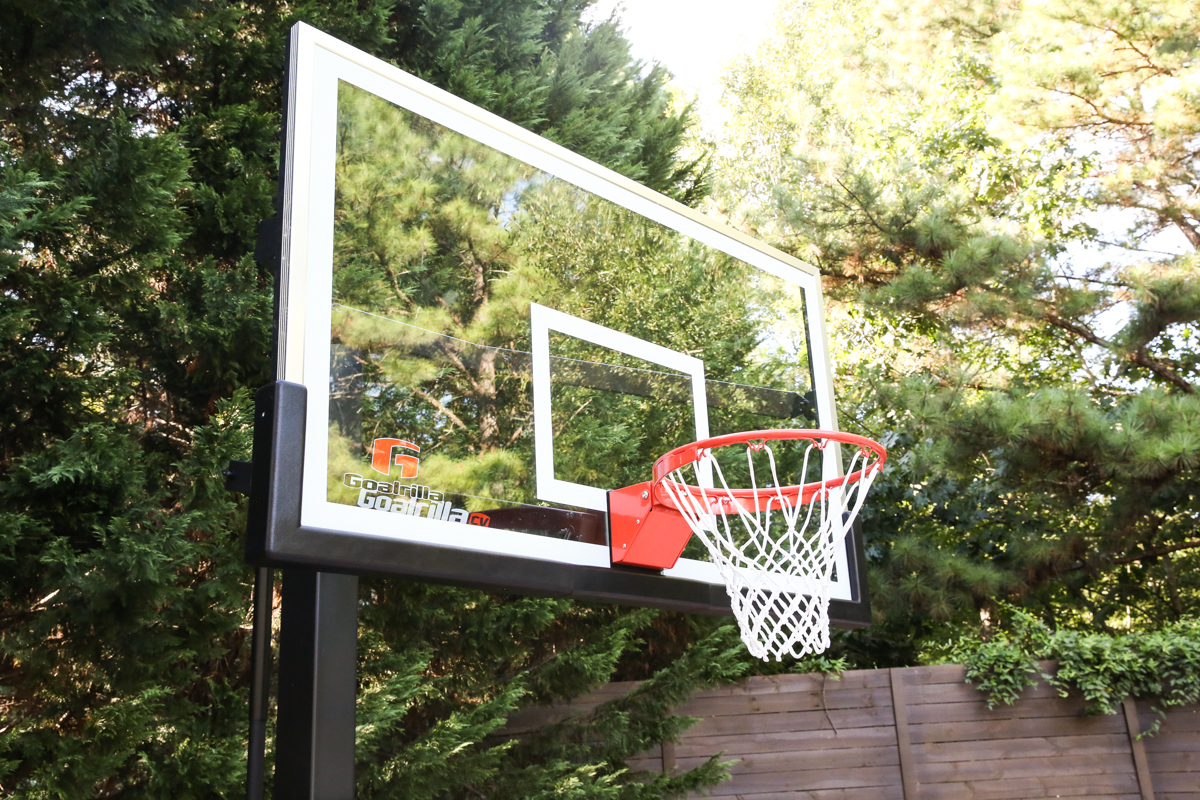
Also in full disclosure – we did get a discount on these hoops – but we actually purchased them first (because we knew they would be the thing we really wanted!) before Goalrilla gave us a discount. And they are well worth the investment in my mind….they will be here FOREVER.
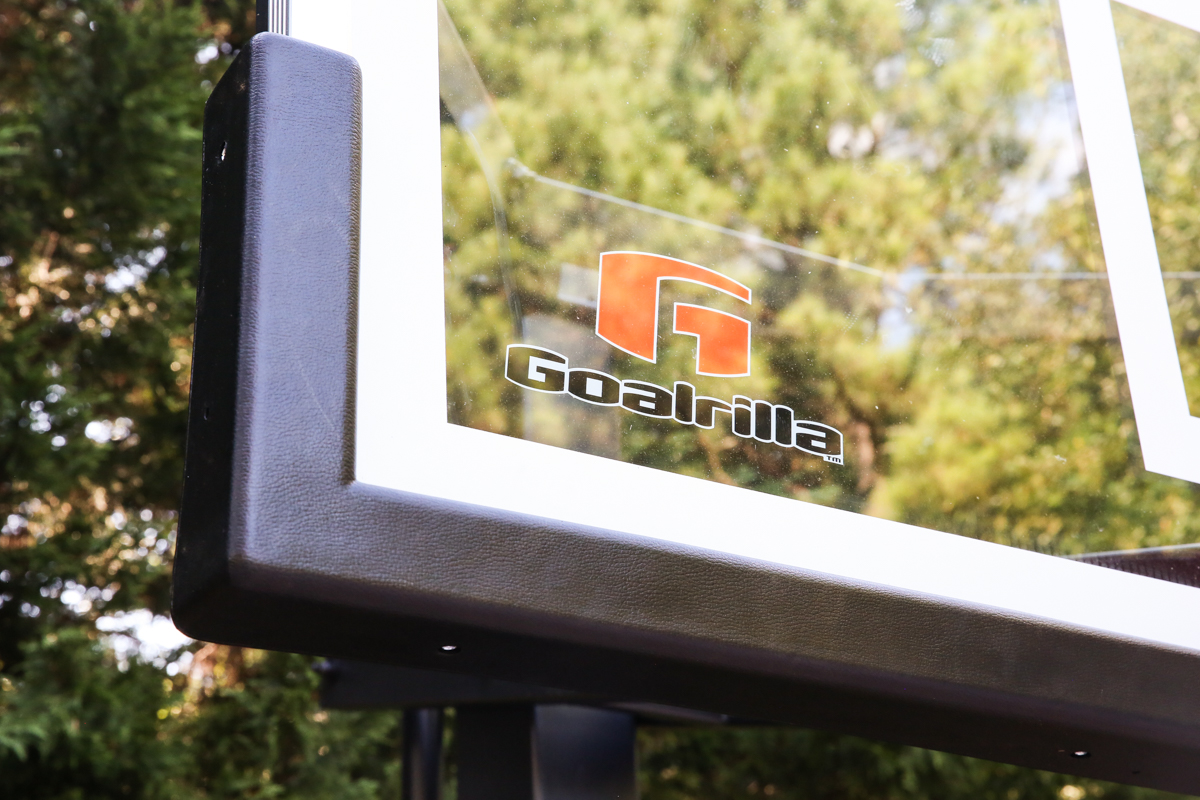
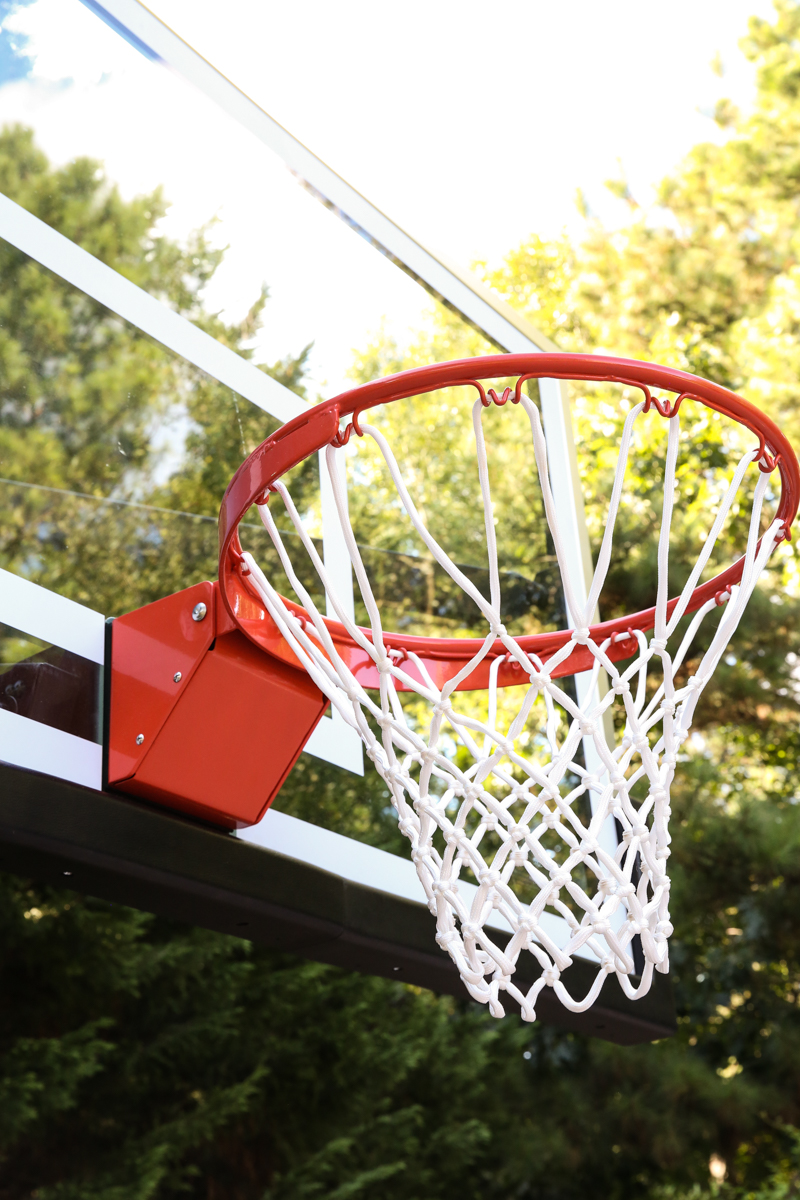
The materials are top quality….the adjusting mechanism is easy enough for my eight year old to do himself, the goal is extra wide so it makes it a little easier for my four year old to hit the backboard (which is very encouraging for him! He is loving it!) and the backboard is shatterproof for when Jeremy tries to do his Micheal Jordan impression.
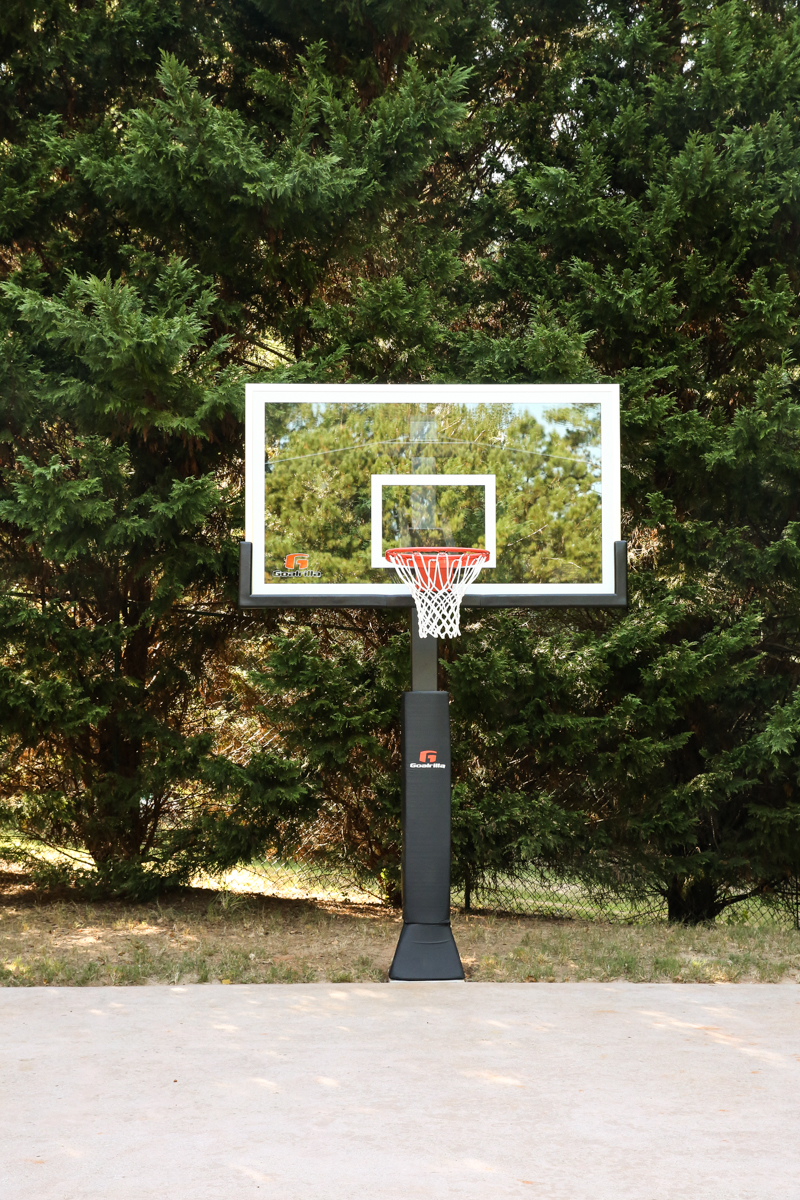
Overall – I am SO pleased with the way these turned out. Totally worth the effort!
And if you are in the market for a basketball hoop, HERE are the specs on ours.
So what’s next on the list?
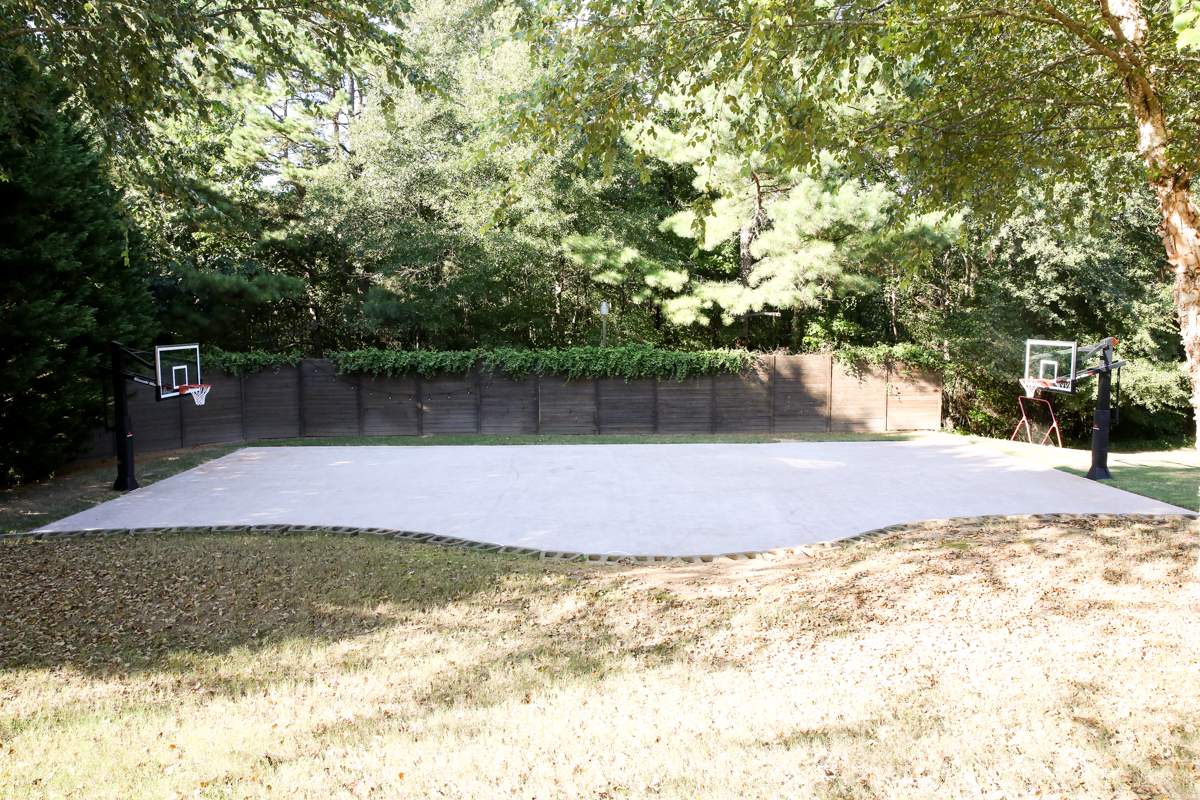
We have to build a bunch of storage. And a pergola was on the list…but I’m thinking maybe a pavilion would be better? It would be a big jump budget wise and work wise to make something covered but it might be better in the long run? Thoughts?
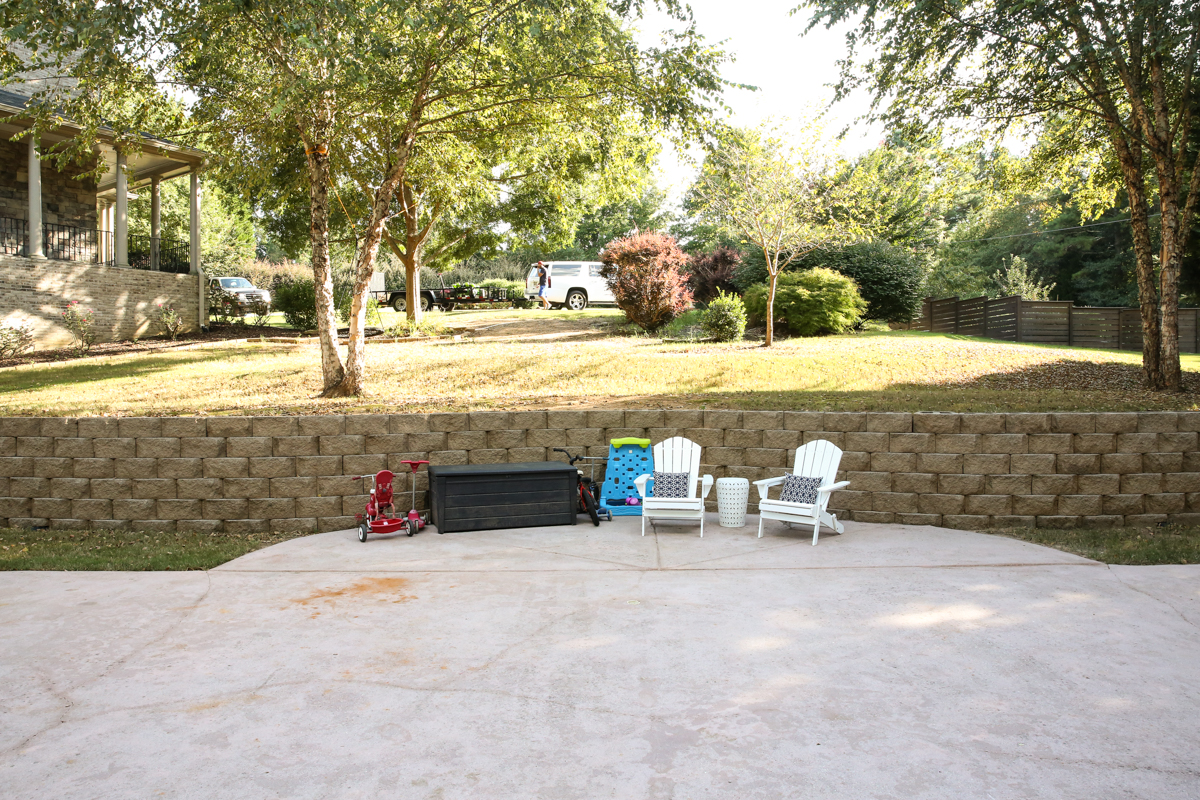
And then we also need to do all the court covering….the ‘paint’ and lines and all that!
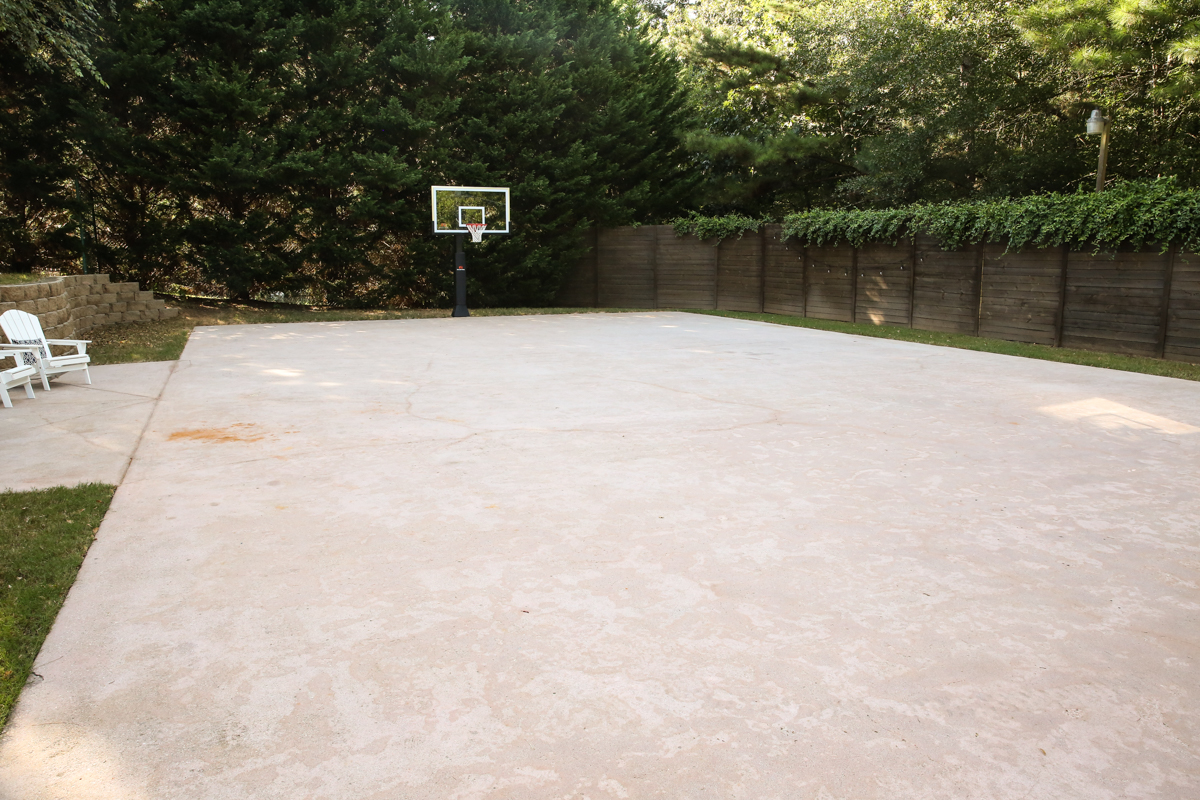
Whew! And with that I am OUT! Let’s play ball!
Definitely a pavilion. Maybe one you could use that still could look pretty with flowers growing up the columns. It will help with the shade and weather:)
FANTASTIC JOB, KUDOS TO ALL YOU GUYS! Wow, so nice, I bet the kids are ecstatic!
Nice! Lots of memories to be made on that court. Maybe little Ella will be showing up the boys! Great job.
That area is drool worthy! Can’t get over the difference in the fence!
This looks awesome! Growing up, we had a 1/4 basketball court in our backyard and it was so fun. Your kids are going to have a blast!
looks like a lot of fun, but what I noticed is how many different shoes Jeremy is wearing!! My husband literally has one pair of shoes! Does he have a little bit of a shoe problem? 🙂
I think the Pavilion idea would be GREAT!! Especially on those hot days, it offers a little bit of shade etc.! It looks FANTASTIC!!!
Wow! That looks great! My kids would be so envious – we just have a hoop on the street, with a big rock holding it down. But it does the job and and all the neighborhood plays there. One suggestion is that you quit calling them “goals” 🙂 I have a kid playing NCAA basketball in college and another in high school and I have never, ever heard a basketball hoop referred to as a goal. I realize that the “hoop” is just part of the whole thing, but still sees to be the norm. I suppose there could be regional differences (we Iive just outside of boston), but as I said, I have a kid who plays college ball and I have spent a lifetime watching basketball games (my dad was a big fan)! Love what you guys are doing with the space!
Dude. The man loves shoes. He gets a new pair of sneakers every six months and will.not.throw.them.out. It doesn’t matter how gross. He just keeps washing them and rewearing. In his defense…he does only shop good sales so I feel like two pairs a year is doing ok…especially seeing as how he doesn’t buy other shoes in general.
xo – kb
It is regional! We had several family members play high school and college ball and we call it both. I went to school on a scholarship, as did my brothers! My dad played NCAA basketball and coached and he said that we should learn to call it both because it’s like dinner/supper.
xo – kb
I hope so. My sister and I LOVED being able to score on our brothers (even if we couldn’t dunk!).
xo – kb
I didn’t have a scholarship to school like you and your brothers but I did go and graduate from college. I am not sure what having a scholarship is suppose to prove to any of your blog readers? Instead of going back and forth over if it’s a hoop or a goal it is very easy to google and find the answer out.
Neither one of you are correct!
Technically speaking, the proper term is a basketball system. When using the term basketball hoop or goal you are only referring to the orange ring or rim.
So, now we have learned something new and the disagreement can hopefully end.
Your sarcastic comments back to readers are a real turn off to keep coming back.
This is too funny to me, because I have never heard them referred to as a “hoop”. I’m in Kentucky and it’s all goal all the time. So interesting how different regions refer to the same objects differently
Nice! What a good investment for your family. Imagine the kids playing pick up games for hours as teens. So I vote for 4 s’s. shade, storage, seating and snack options. Or basically a place to put down waters, Gatorades and all the food that those kids will inhale when they are even older.
A sports scholarship is usually reserved for those who are experienced in that particular sport and add value to the team. It lends itself to adding validity to knowing the terms of that particular sport. I’m not being sarcastic. I think with a quick google, you will find that ALL of those terms are ok and if you want to call it a “tall thingie with a circle thingie” you can do that too… I wasn’t disagreeing with Monica – just telling her one reason why I chose my words. Also – just so everyone knows…it’s a good thing to use both terms when writing on a blog because it helps for SEO value. If you want to talk about that and how key words are important for google searches, please email me!
xo – kb
That is funny, I’ve never heard of them called anything other than goals. I’ve also been on the design and construction teams for two NBA practice facilities and only heard goals on both projects and those were in the US and Canada. I’ve heard people say they shoot hoops though. It probably is a difference in regions and levels of play. ♀️ It’s fascinating to hear what others call things.
Love the goals! So much fun is going to be had! I never played in school but I loved playing ball on our driveway. There were constant games going on in our neighborhood with mine and my brothers friends.
A pavilion would be awesome! How does that location fit in with where you would put a pool (if you do one)? Could be great if they were close and you could use it later as a pool pavilion/house too.
Isn’t it funny how different people call things different names? My dad’s best friend calls diapers “pampers” and for the longest time I was like why is he so opinionated about the brand Pampers?! HA! Also the pavilion wouldn’t be near the pool area (although that would be awesome) – it would be just closed roofing over the half moon area of the court.
xo – kb
Just an FYI if you find yourself digging holes for more equipment (or pavilion posts!) down the line. There is now foam you can use to fill the holes instead of concrete. While it sounds flimsier, it is actually stronger than concrete. And SO much easier. Fask 2k is one brand they sell at my hardware store, but I’m sure there are many more.
Love seeing how this is turning out. We have a lot of kiddos as well, so I am always looking for inspiration on kid friendly spaces!