Friends the reveal is here! Come check it out! Let’s lift our glass of champagne! Let’s raid our kids leftover Easter basket candy! Let’s celebrate with dancing with whatever crazy music Pandora chooses for us!
I am so so so excited to share with you the finished space….mostly because it’s DONE and I don’t need to go back up and down those steps again….but also because I just truly love the finished product. It’s got such a different vibe than what we have going on up stairs in our regular kitchen and even without normal things like a window or a pantry – it still is a beautiful and fully functional kitchen space.
Ok Katie stop wasting time – we want to see it!
(Yes I am talking to myself. Totally normal.) Let’s get to it….
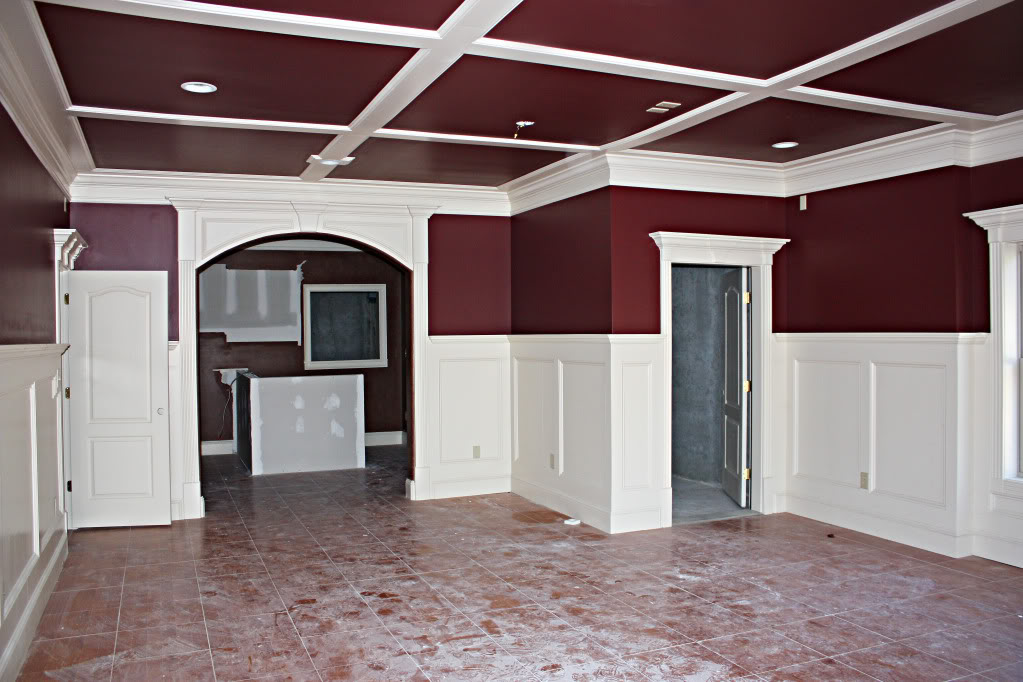
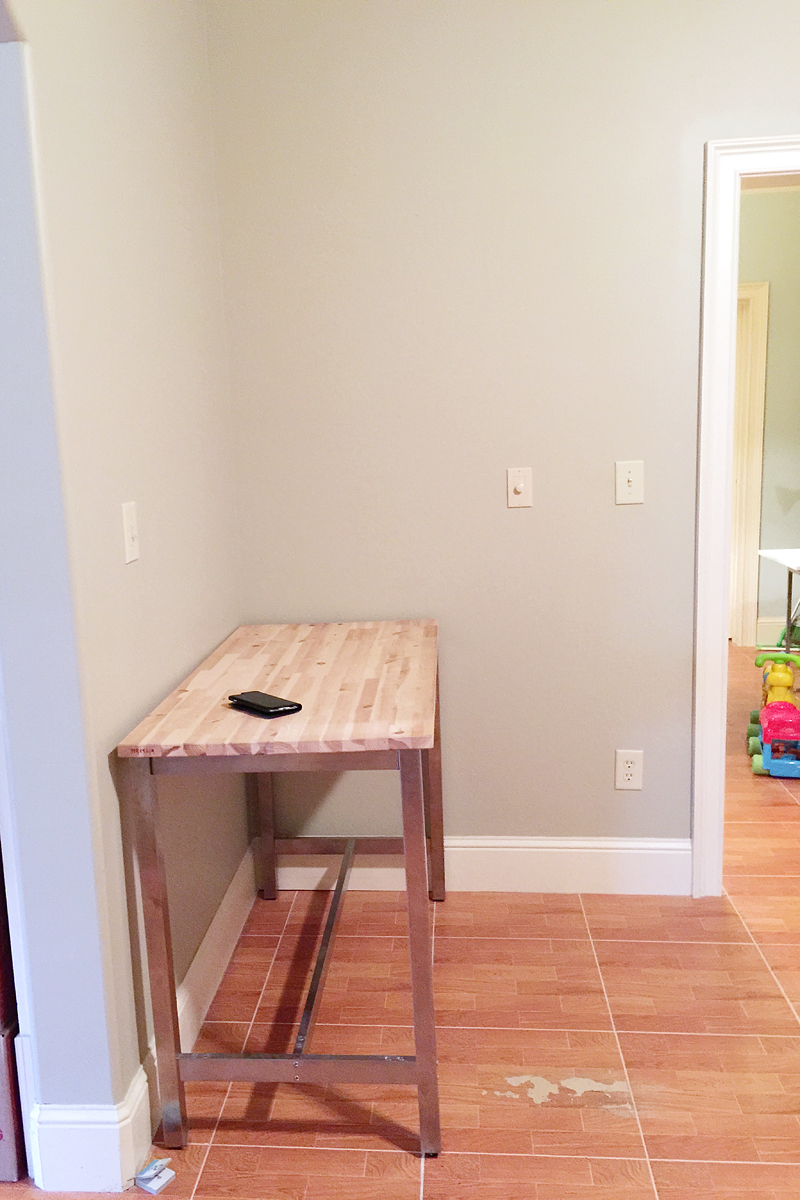
When we bought the house, the kitchen was a weird bar area that didn’t utilize space well…
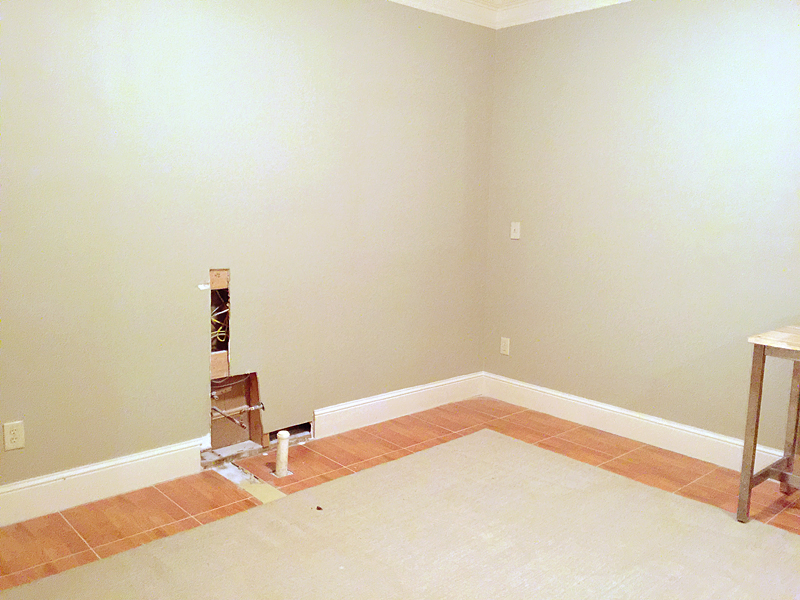
It had a strange window to a storage area and no cabinetry.
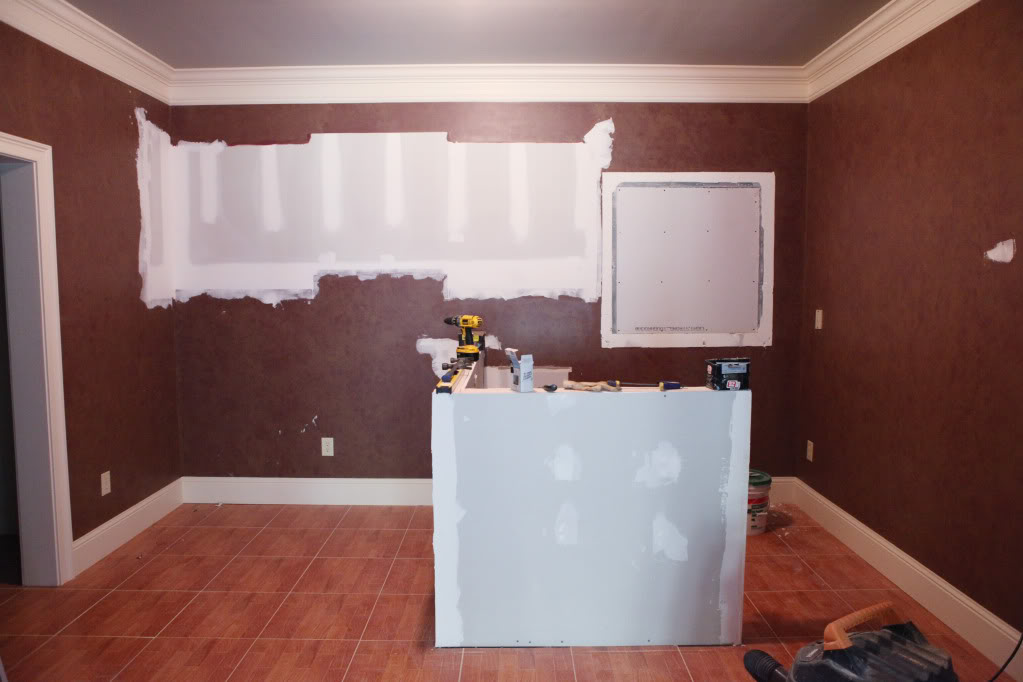
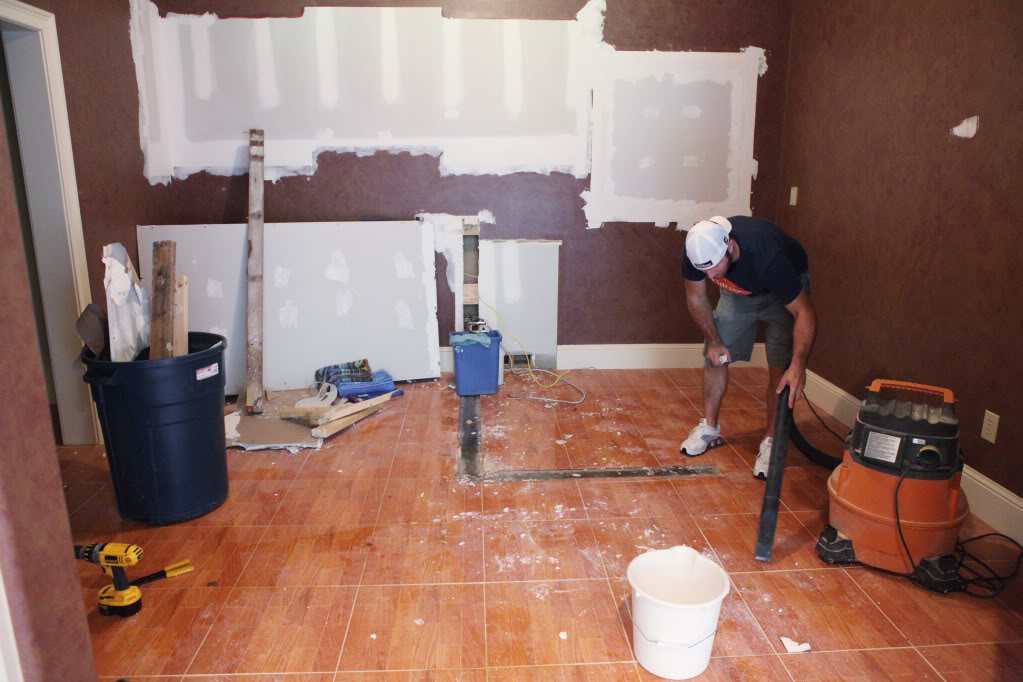
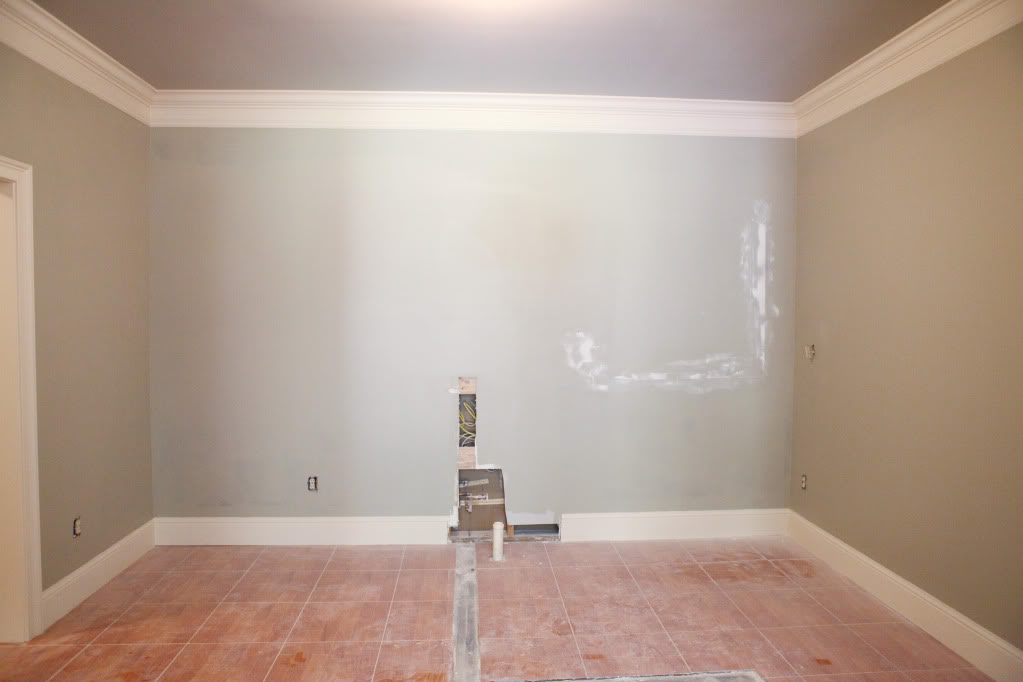
Jeremy removed the bar, fixed the ‘hole’, and we painted over the red textured walls…
The room actually looked similar to this for a very long time until we had friends that needed a place to stay and so we started on the renovation to put in a fully functioning kitchen.
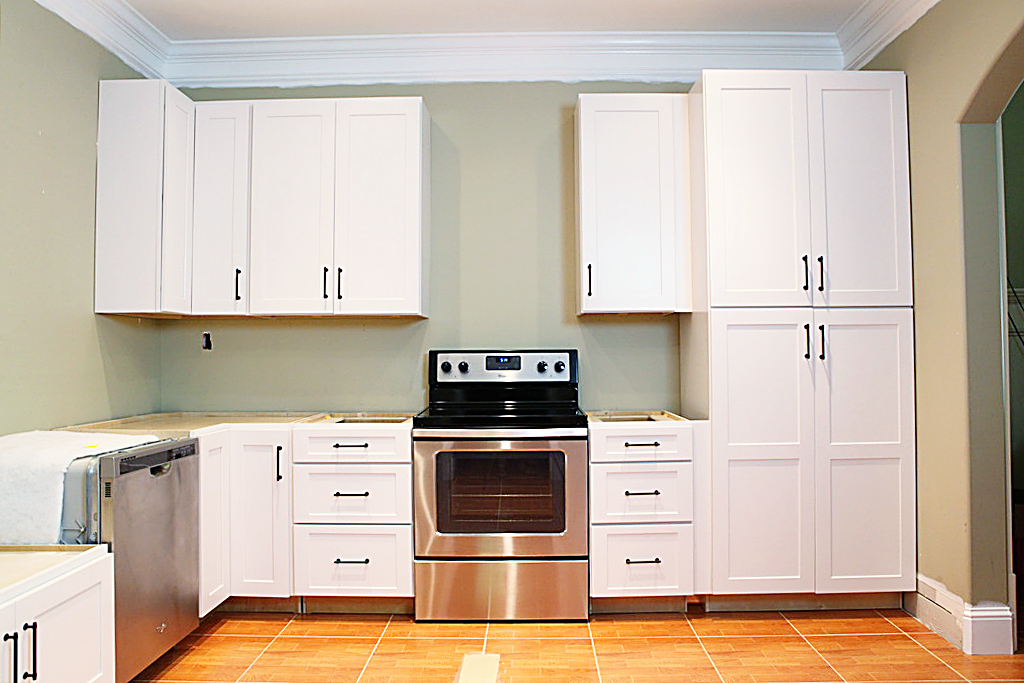
Plumbing and electrical were all done. Jeremy installed a lot more lights. The ceiling and trim were all painted. But the biggest transformative power was done with cabinetry. We assembled these gorgeous shaker style cabinets from Cabinets.com and they immediately made the space feel like a kitchen.
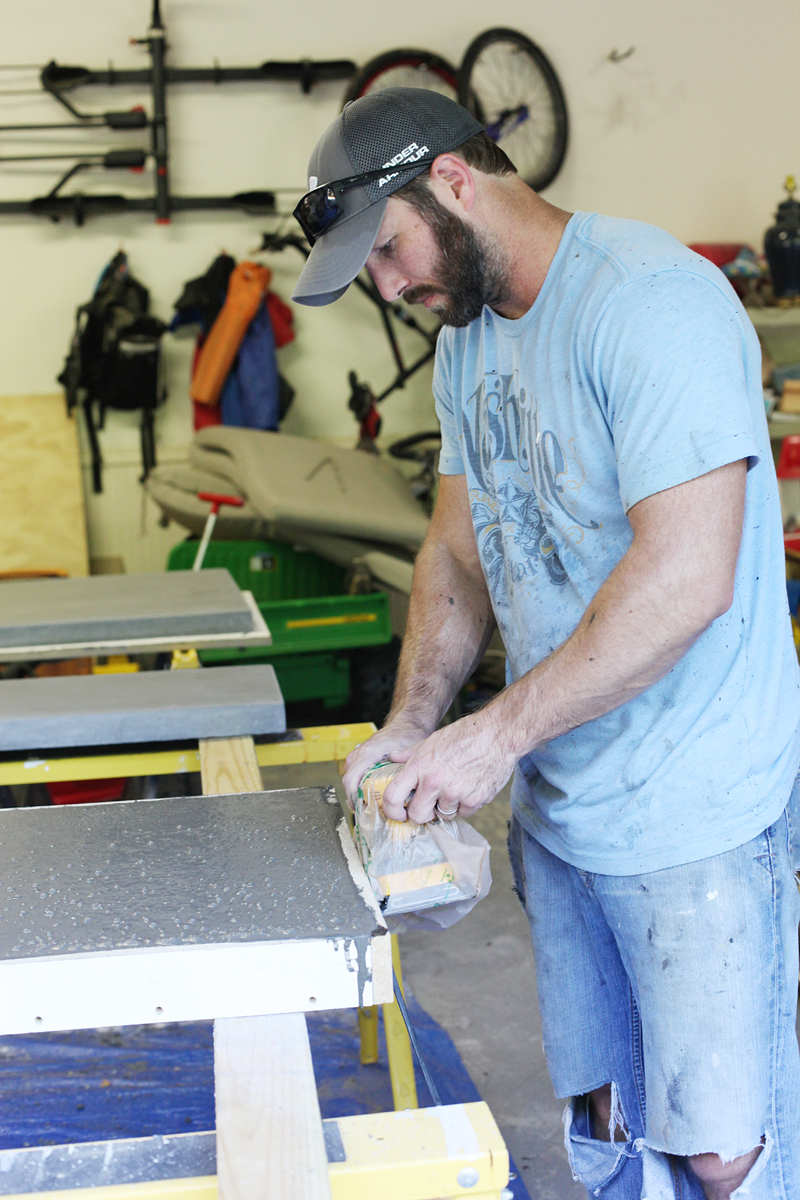
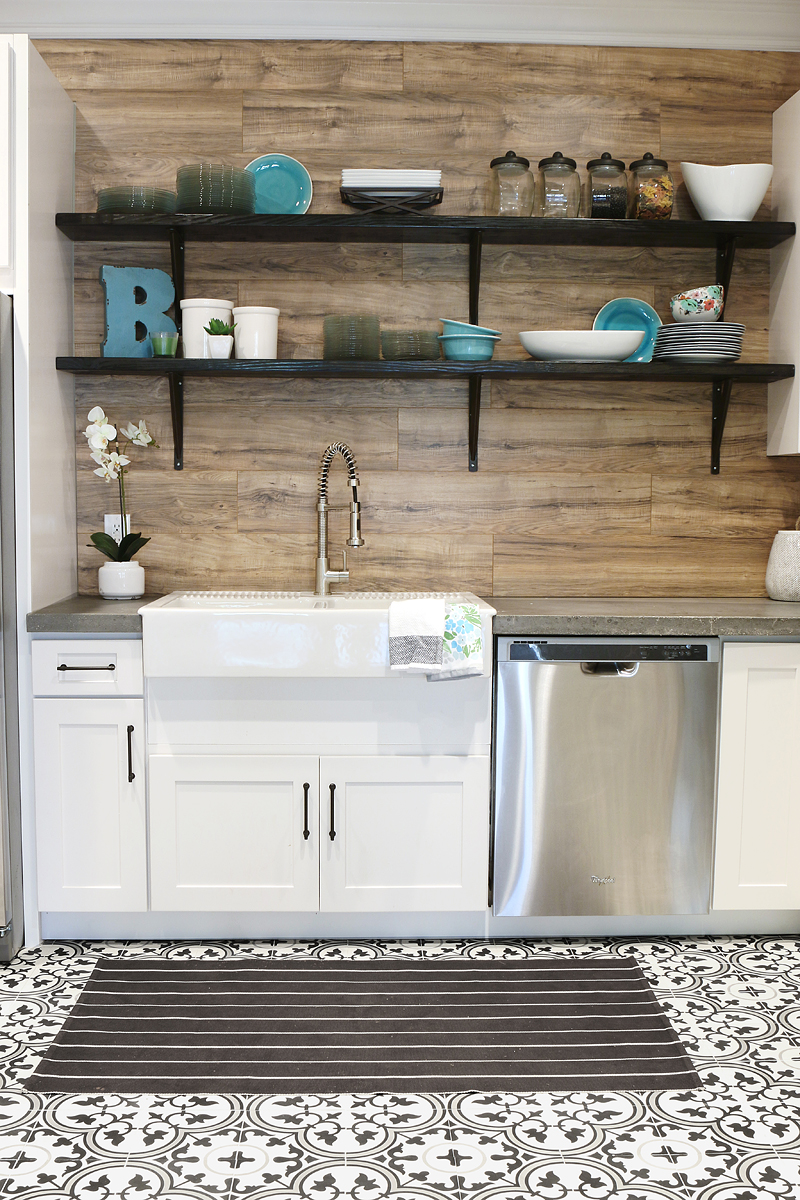
Then we made concrete countertops…
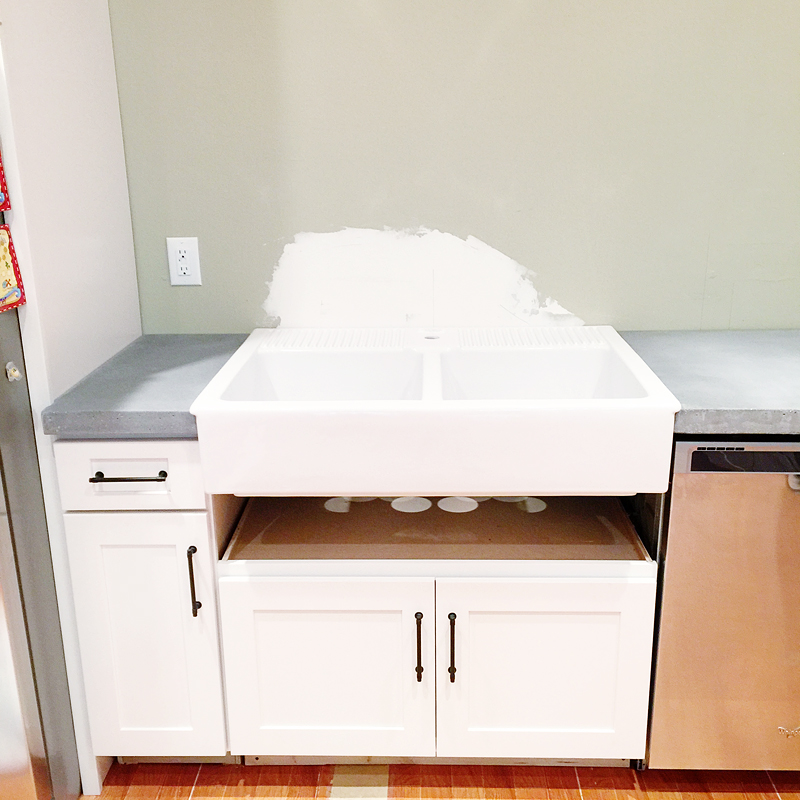
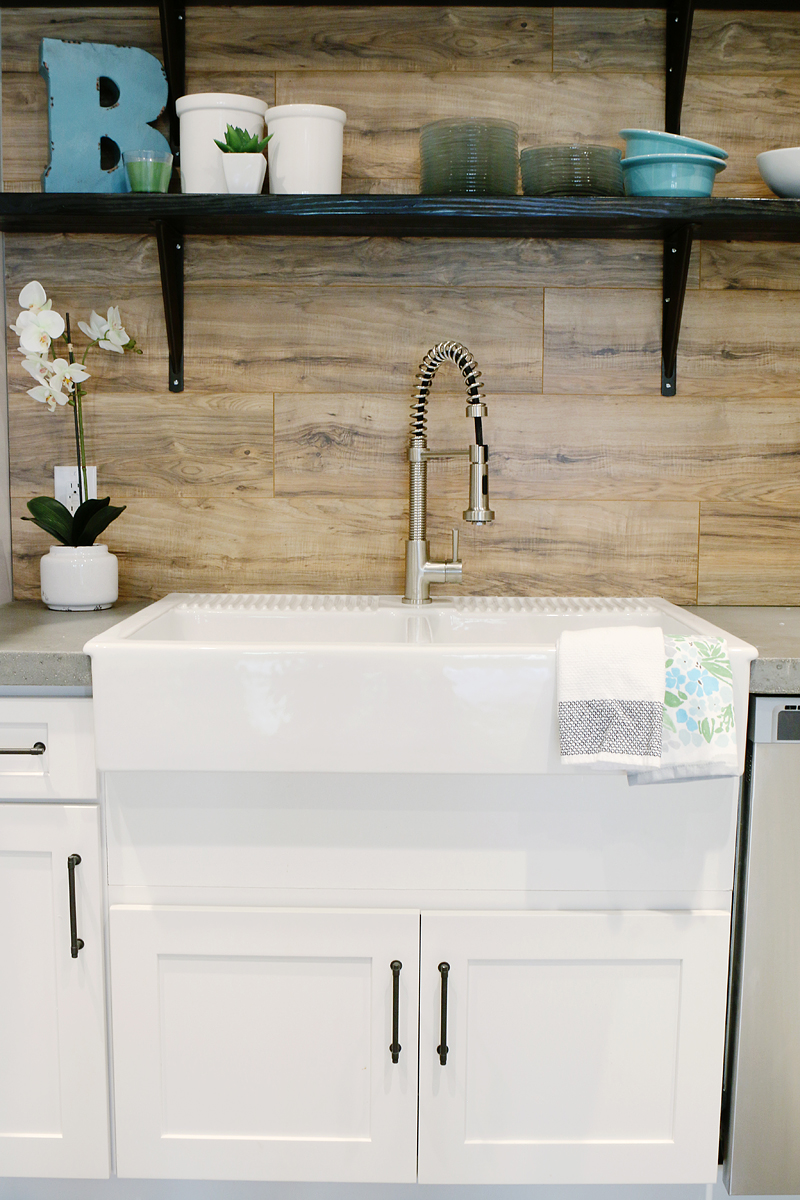
installed a farmhouse sink…
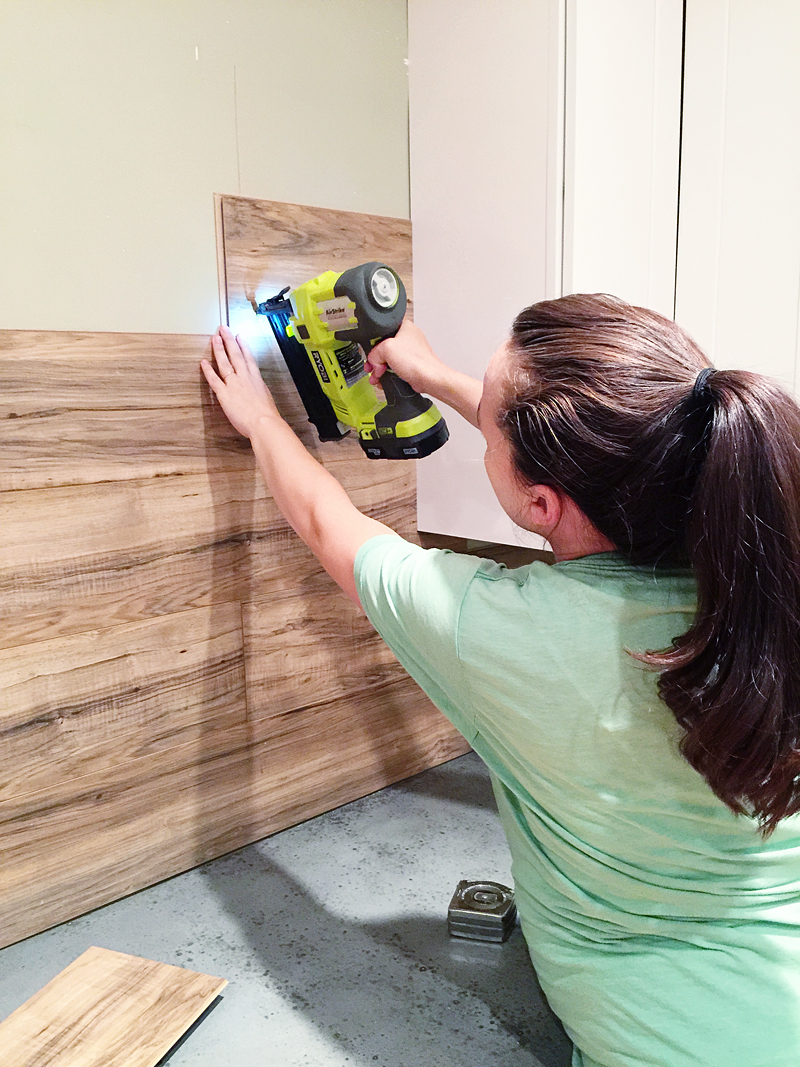
and used an inexpensive material as a faux wood backsplash.
We had saved a lot on appliances and those were installed and perfect for this space.
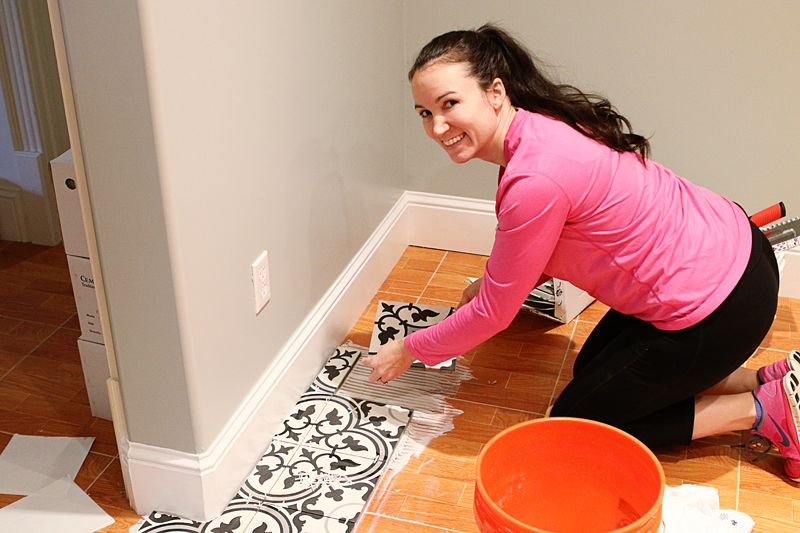
Then came the flooring and my first experience tiling with concrete tiles! It was definitely an adventure since it was also my first time tiling on top of tile! Needless to say – covering that orange faux wood tile was a huge impact on the room and it helps balance out the wood backsplash.
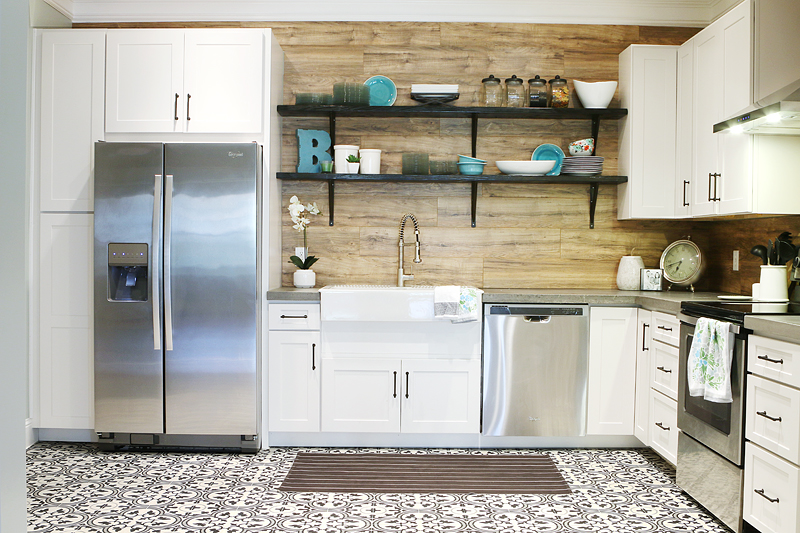
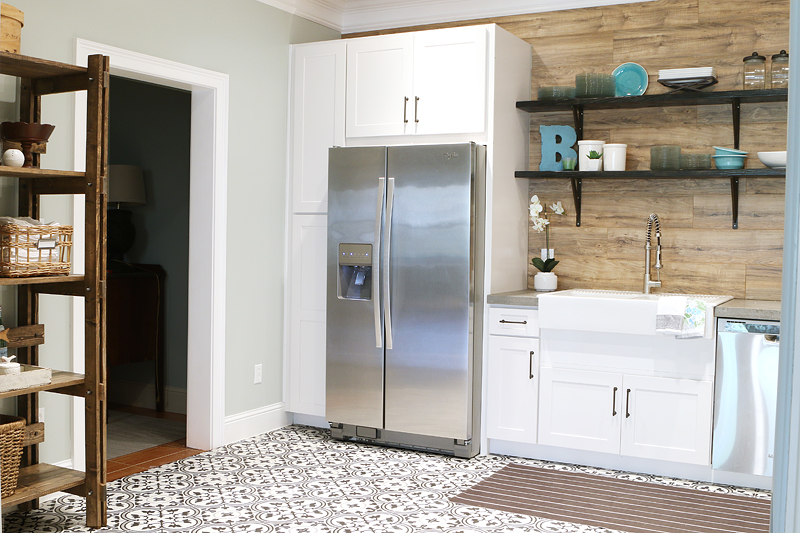
And now the space looks like this….
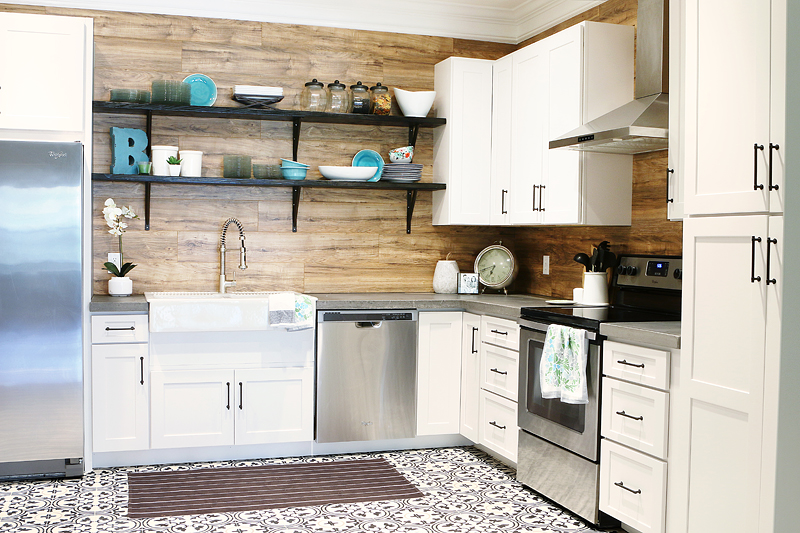
Everything turned out exactly the way we wanted! And even thought the room lacks natural light and a natural focal point (it has no windows and is in a basement) we were able to give the room loads of contrast, tons of storage and still manage to make it feel light and bright and clean!
Since we installed lots of white cabinetry, we were able to bring in lots of interest with TEXTURE. I mean – the backsplash has visual texture, the concrete has texture – even the faucet brings in texture! The whole space just begs you to touch it and get cooking!
My absolute favorite part is the industrial vibe we have going on down here. Even the materials – concrete, stainless steel, and black metal with wood – they all scream industrial but in a way that doesn’t overpower you. I was even able to add some floral items to the scene to soften it up and it doesn’t feel out of place!
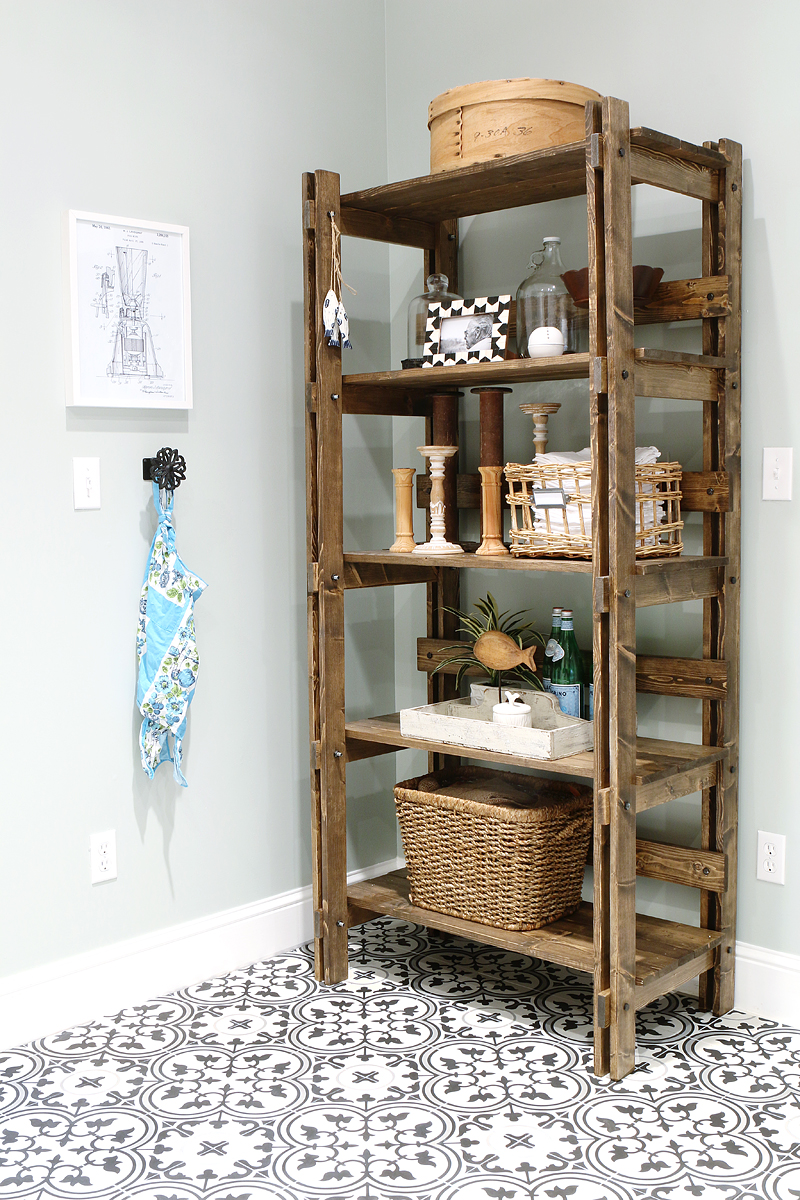
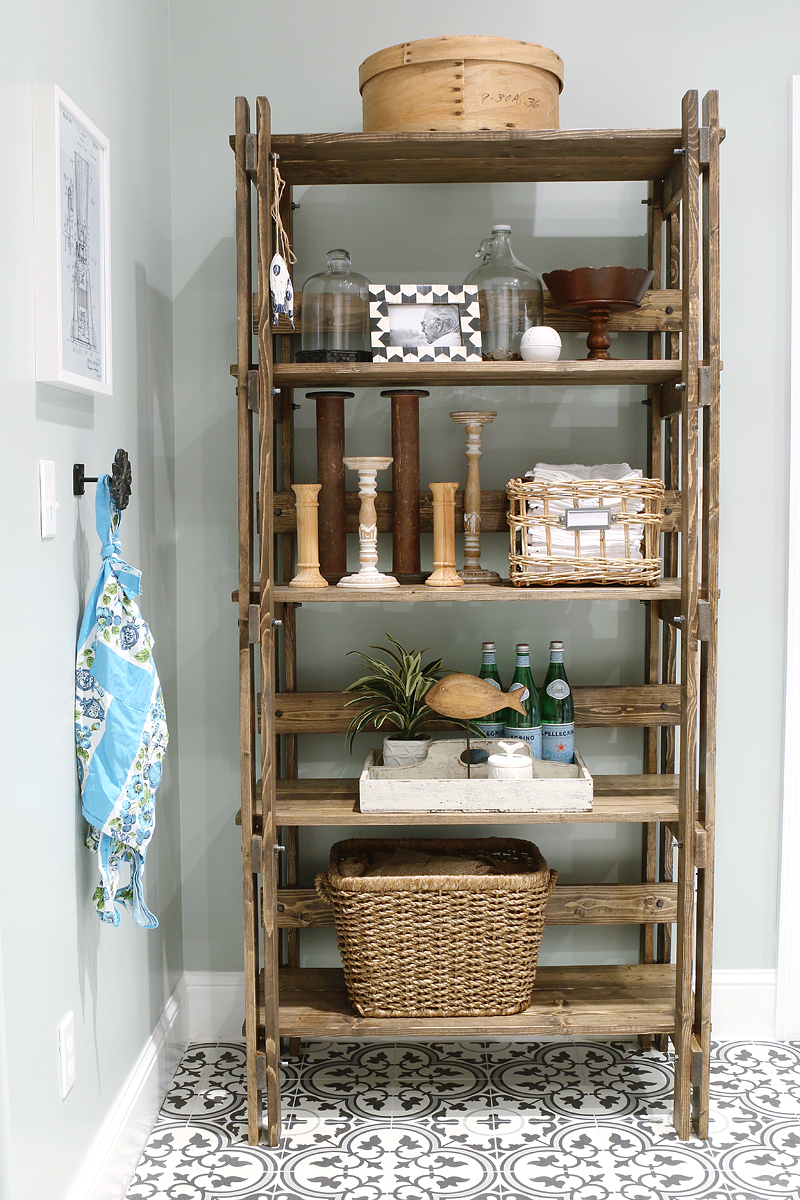
In the opposite corner of the kitchen I built a shelving unit that adds additional display space and storage.
Since the whole theme had industrial vibes with farmhouse touches, this shelving unit fit right in! The simple design and the warm finish is gorgeous – giving nods to the farmhouse style….and the dark bolts help bring in the industrial.
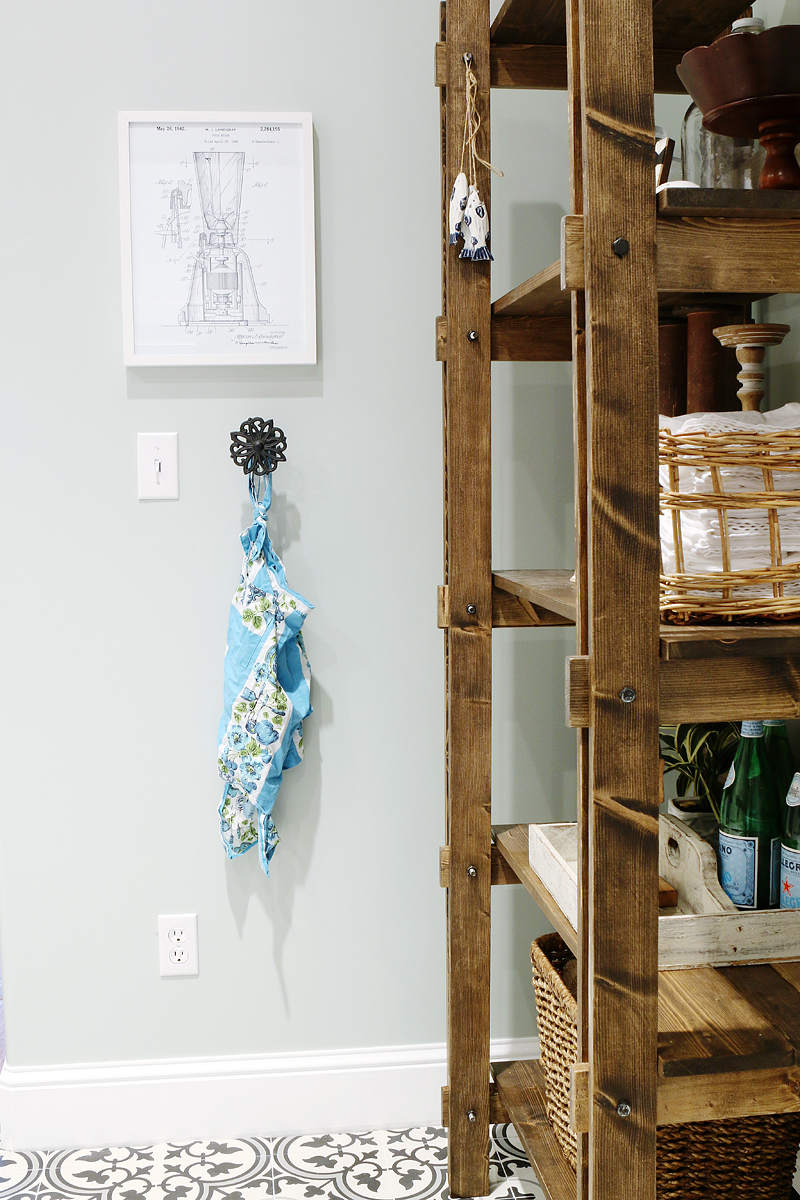
I like the fact that this corner is contributing to the overall function of the kitchen. We could have put in a desk or a spot for a tiny dining area – but really every cook knows that a kitchen needs storage first and foremost. This shelving unit holds decorating items for the next hosting event and does it in a casual don’t-mind-me-I’m-just-a-beautiful-basket-of-napkins kinda way 🙂
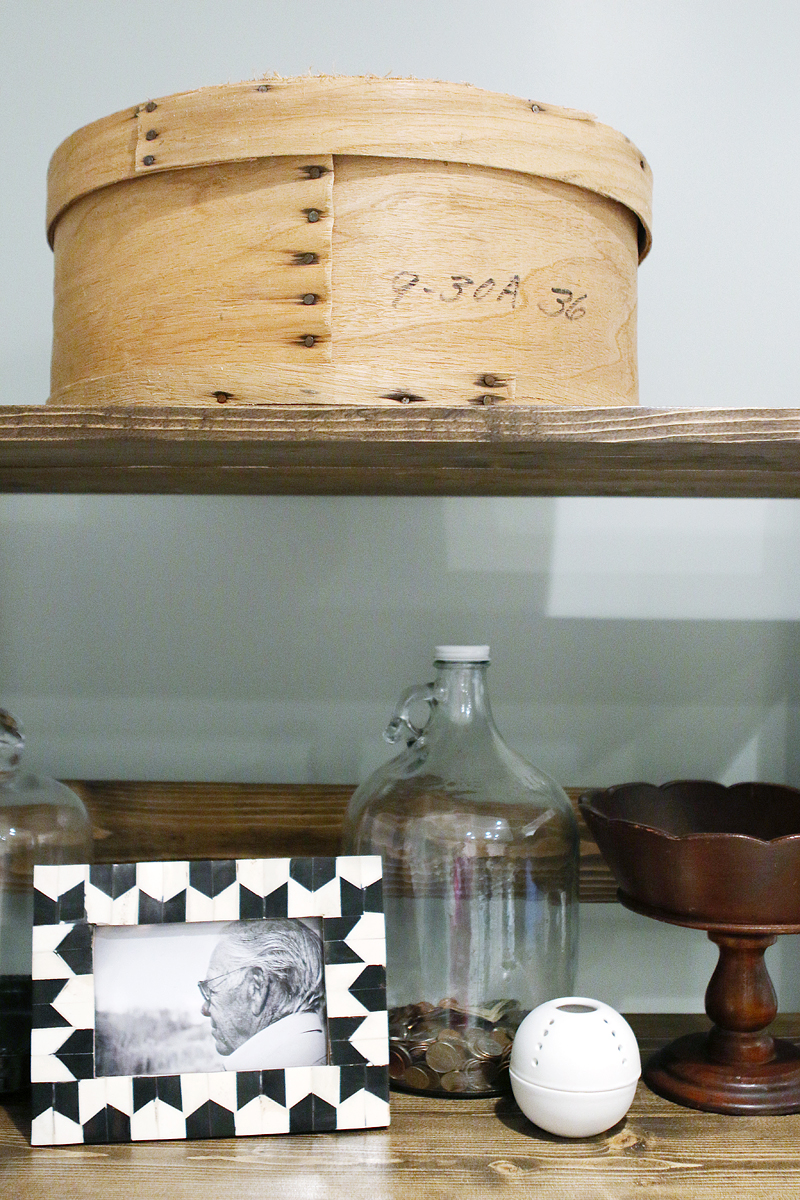
The other part that steals my heart is that the corner has some vintage charm due to the cheese box, the photo of my Pappap, old spools, my grandmother’s apron and an old patent print of a blender. Little touches like that make me feel right at home in a brand new space.
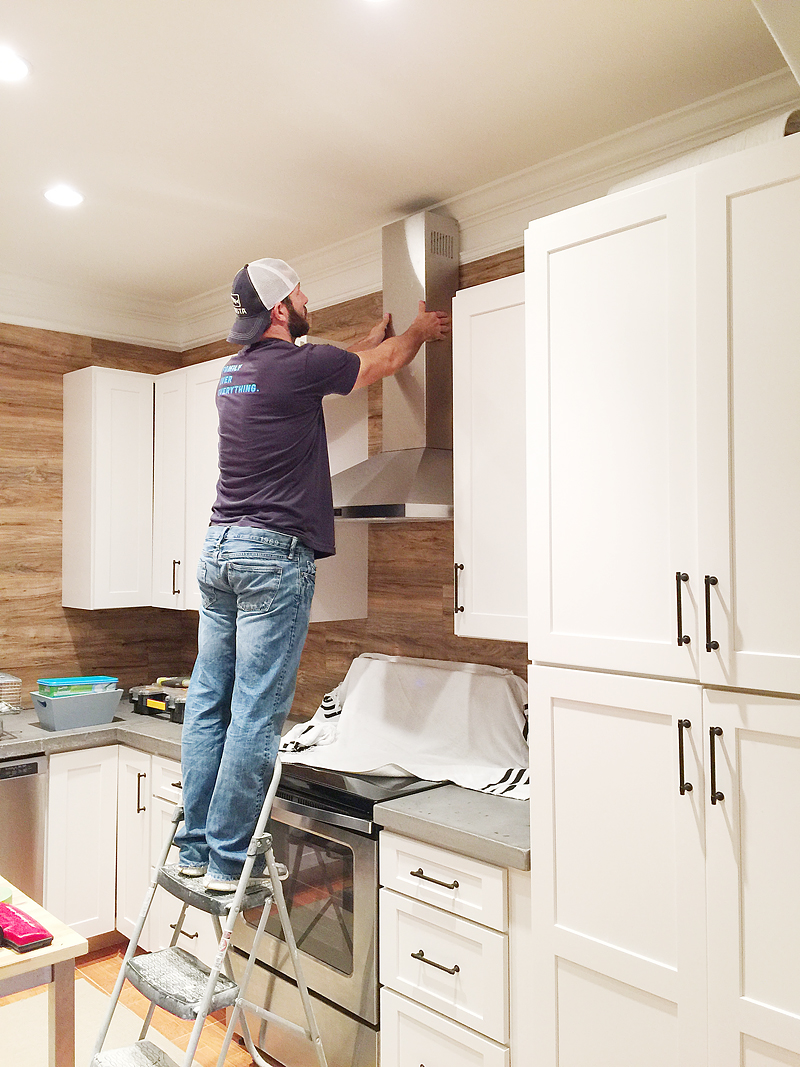
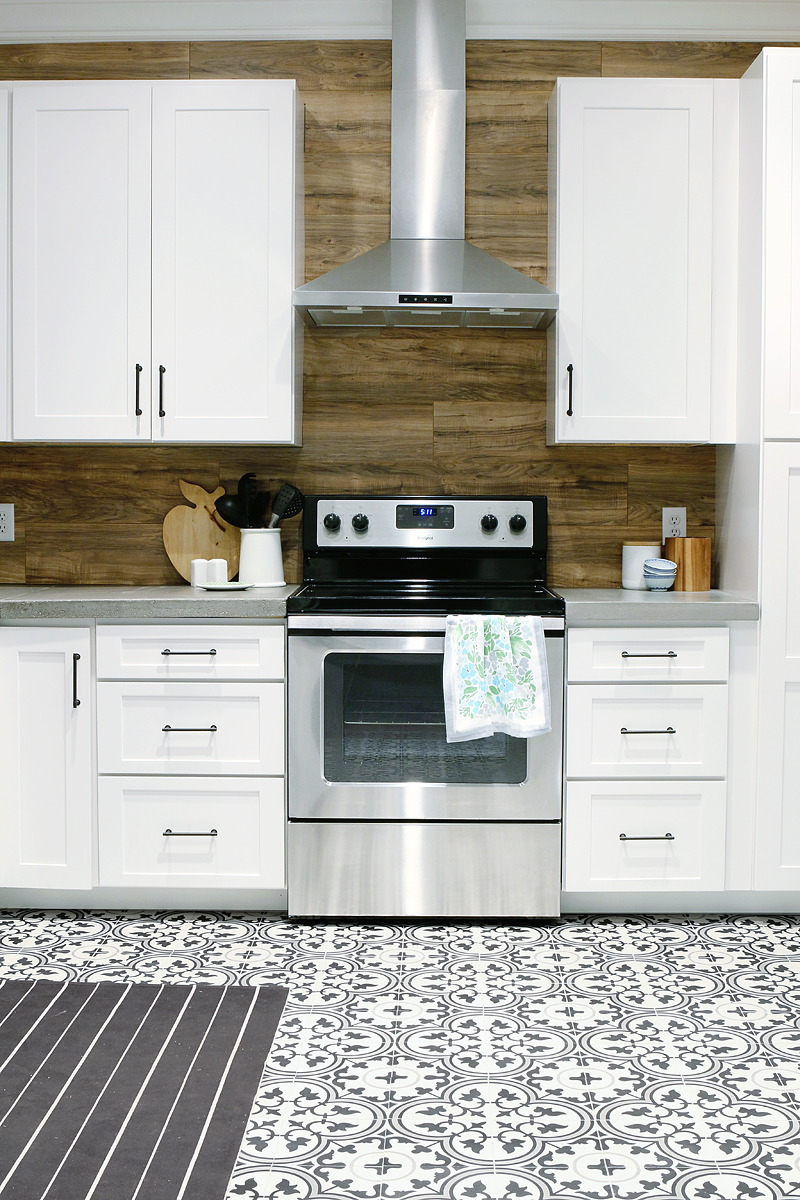
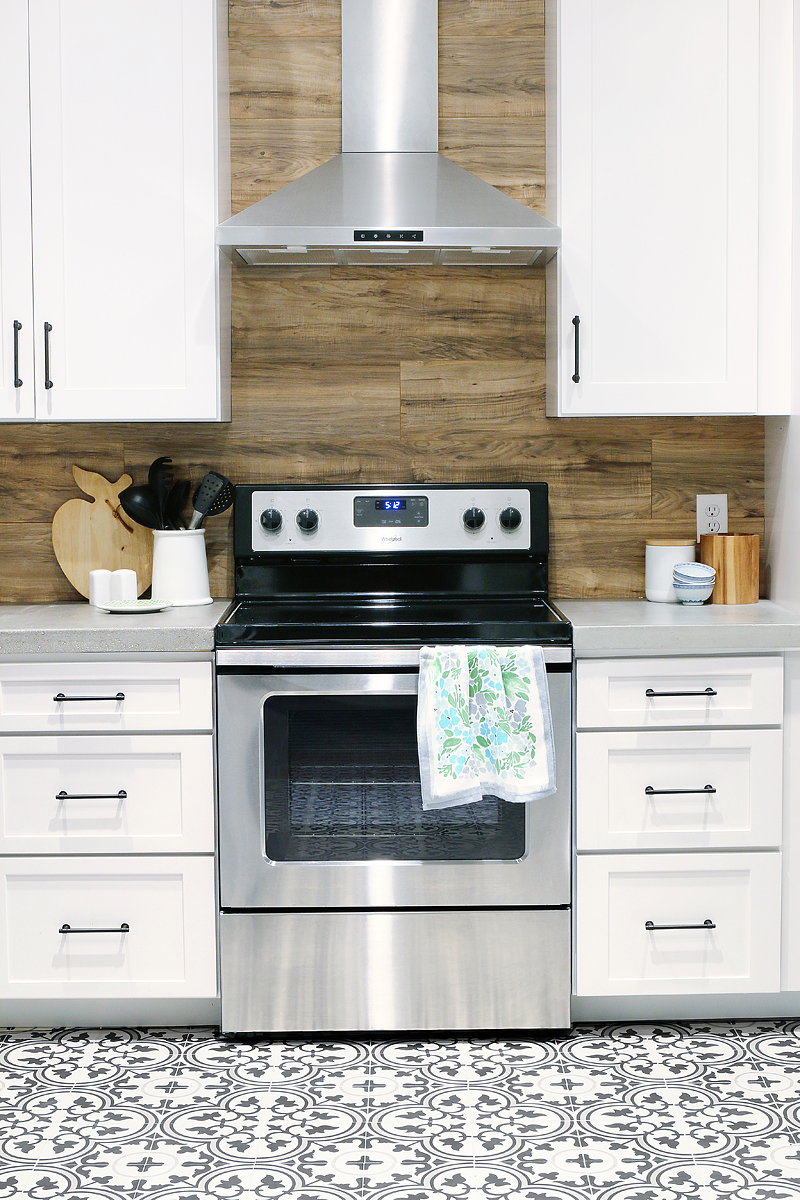
The other side of the room has the stove and hood and the built in pantry.
I love the fact that it feels high end without actually having super expensive appliances and the whole backsplash cost us only $60. That’s ridiculous!
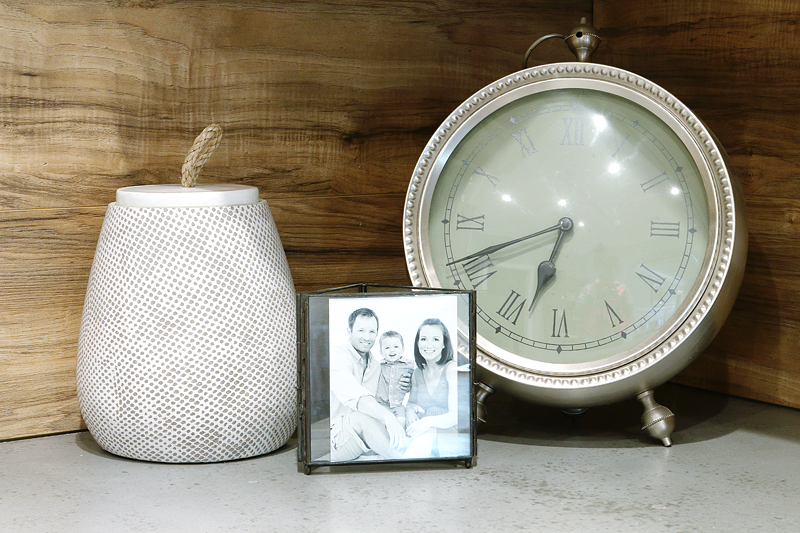
I added lots of older styling items and mixed them with some newer finds like this lidded jar from Target.
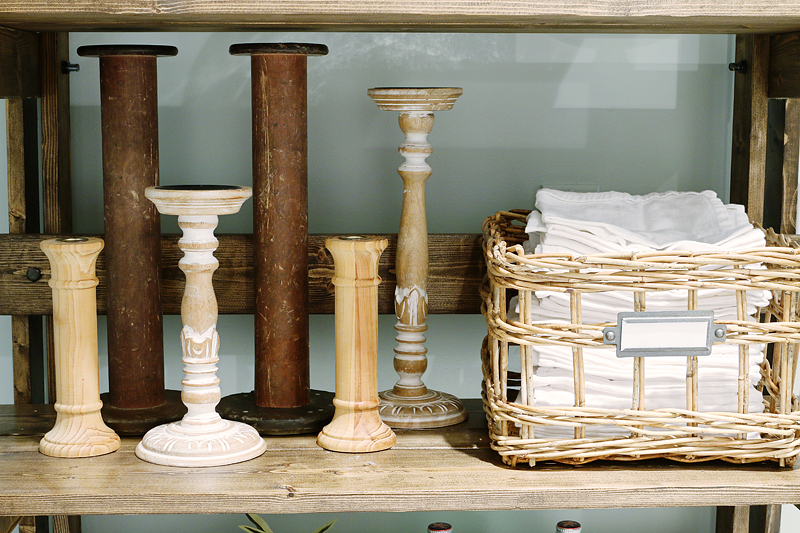
The majority of things in here were thrift store finds….various candlesticks….
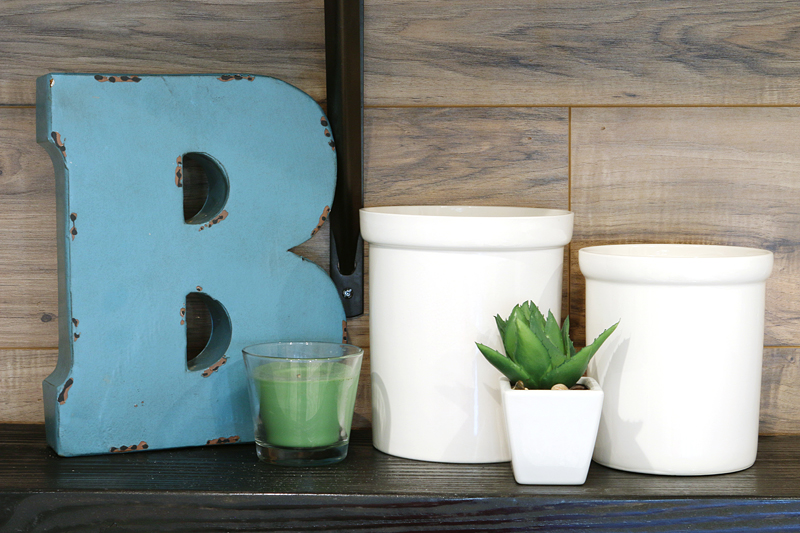
ceramic canisters….
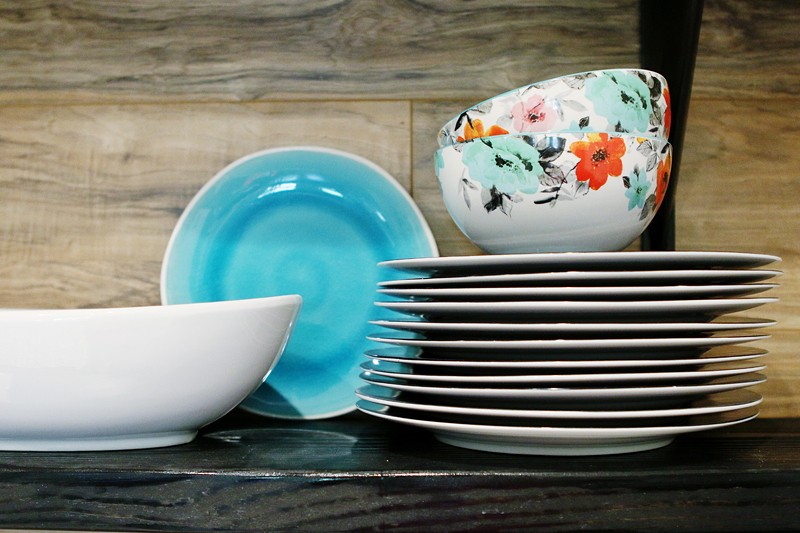
stacks of matching dishes…it all came together to be ‘collected over time’ which makes the space feel not so stark!
And let’s not forget about the sink! It was one of the biggest splurges in this space and I love it paired with the stainless industrial faucet!
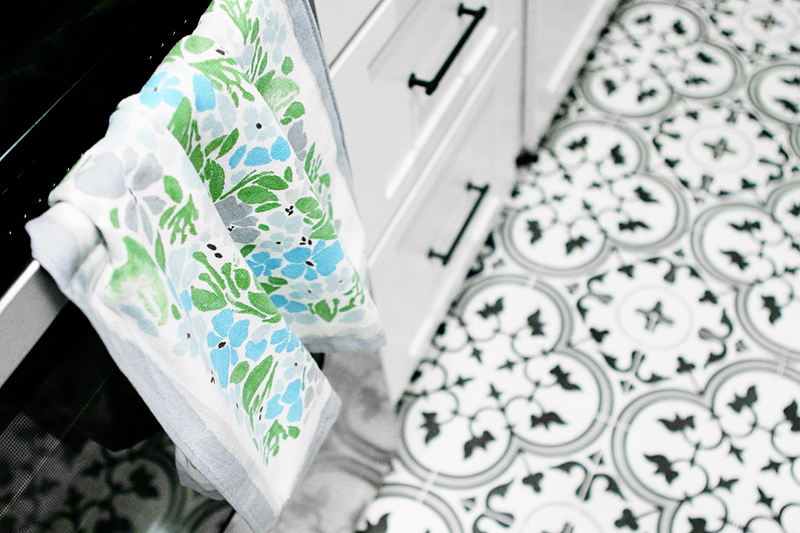
Speaking of splurges – the black, white and gray tile is gorgeous and worth every minute of making sure it was laid perfectly and sealed correctly! Check the concrete tile off my tiling bucket list!
Now for some before and afters….
Doesn’t it look so much better?! And having an additional fully functional dishwasher has already come in handy on nights when I cook bigger meals! #spoiled
Even my mom has showed her friends the space and told them that she would be very happy to have them come visit her in this kitchen when we have to take care of her in her old age. She probably is already planning the menu 🙂
Overall – it has been one of our longest renovations to date – spanning pretty much the entire time we have lived here – but one of the most fulfilling as well because now we know we have a finished space that can be used by friends and family whenever they need! And we would like to thank the brands that gave us discounts or helped provide some items for this space! We appreciate working with companies that have amazing products so that we can help teach and show our online friends and family how to use them in a space. Thank you Quik-rete, Cabinets.com and Cement Tile Shop!
If you have any questions about the space, I would be happy to share! I still have to calculate all the receipts for the space – so I may update this post in the future with a budget breakdown. Here are some of the basics….
- Cabinetry – Cabinets.com RTA Titusville
- Tile – Cement Tile Shop Floret
- Paint Color – Allen + Roth Portico
- Faucet – Vigo Pull down faucet
- Sink – Ikea DOMSJO Double bowl sink
- Hood – Kitchen Bath Collection Range Hood
- Hardware – Franklin Brass Soft Iron 5 inch Francisco Drawer Pulls
- Blender Print – CLICK HERE TO DOWNLOAD
If you would like to catch up on past basement kitchen posts – here are the links….
- Clearing out the Basement
- Planning the kitchen
- Assembling the Cabinetry
- Saving on appliances
- Building concrete countertop forms
- Screwing up the concrete (attempt 1)
- Successful concrete countertops
- Concrete countertops FAQ
- Retrofitting a cabinet for a farmhouse sink
- A Laminate Flooring backsplash
- Installing a hood and shelves
- Concrete Tiling Details
What was the timeline of the kitchen renovation in comparison to when your friends lived down there? Were you working on this while they lived there? Was it done when they moved in? Or did this straddle their time in the space (started before and finished after)? Just curious. It turned out great!
Wow! It looks beautiful! Is there a dining space somewhere in the basement?
Yes, there’s a small dining space to the left of the fridge.
xo- kb
That turned out beautiful. Love the shelf you built too! 🙂
Love, Love, Love the shelving unit!! Did you DIY or purchase?
You have done and amazing job! I’m so impressed by your willingness to conquer something new even if you have to do it afraid. I love your style and blog. Your boys are utterly adorable! Keep up the great work!
Is there a lip where the concrete tile meets the old tile in the adjoining room? If so, how did you handle the edge? Love the finished look. The backsplash and tile floor are awesome!
Fabulous!
Looks great! Random question where did you get those cute kitchen towels in one of the last pics? Love!
I never knew that this exactly what I wanted a kitchen to look like until now.
Just absolutely gorgeous! You did a fabulous job!
I love the bookshelf you made! Did you do a post on them that I missed? If not, do you plan on doing a post about it? My husband has been doing more woodworking lately, so I am always on the look-out for fun projects for him. What a beautiful space!
It turned out awesome! Love that tile.
Looks great!! Did you follow plans for the shelving unit? I love it and would love to make one.
Pardon me if you’ve already addressed this, but where does the hood vent to?
I’m a little confused on the timing of all this. How long have you had occupants in the basement? If this just getting finished now while they’ve been living there?
wow! what a beautiful space! did I miss it or are you guys turning this space into a income rental?
Not yet, but I’ll be posting the plans real soon!
xo – kb
What about the transition from the new tile to old sense you put it on top?
It’s a ventless hood. You just change out the charcoal filters every 3-6 months depending on the amount of cooking you do.
xo – kb
Job well Done!!! At what stage in the remodel was the kitchen when your friends lived here? Any long term guests lined up to stay anytime soon?
It’s just beautiful, I love every single thing 🙂
It’s GORGEOUS! I am in love with the back splash and the floor…seriously swooning over here!
Looks absolutely amazing, totally worth all the hard work!
Wow! What an amazing transformation! That tile is to die for.
Wow I love it! It can be your “spice kitchen” (it may just be in certain cultures, but a spice kitchen is a secondary kitchen where you cook things with overwhelming scents, like curry or kimchi, etc., so your whole house doesn’t smell for days). 🙂 My favorite parts are the tile, wood wall, shelving unit, and styling. So, essentially, everything.
Looks amazing, Katie! Do you plan to share how you built the shelving unit? It’s awesome!!
The floor looks great!!! What type of adhesive did you use to install the cement tile? Mastic or Mortar? Also, what product did you use to seal it?
It looks great! I like the combination of light cabinets and the dark wood on the wall. That industrial shelf is amazing!
I love it Katie Bower! Where I live in the south suburbs of Chicago, basement kitchens were very popular in a lot of the older homes here. Italian and Polish grannies would have second kitchens in the basement for making pasta and pierogi. A lot of the time they were literally a counter with an extra sink and stove. I really really really like this version better, and am thinking another kitchen in the basement would come in pretty handy. It’s tradition after all.
Utterly amazing! I am very impressed and a little envious. xxxx
The anticipation has been building for this reveal, and it did not disappoint! I love that it’s on the smaller side and that it was done with more budget-friendly materials. As much as I love the big kitchen remodels full of dream sources, this feels like something I with my fresh-out-of-grad-school millennial budget could feasibly do. Great work, Bowers!
What a nice transformation! I really LOVE the tile! Makes me want to rethink the wood floor I have planned for my kitchen remodel… hum….
Thanks for being willing to share your projects with us, you are such an inspiration!
These post always make me a little sad. I only have 1 kitchen in my house and it sucks compared to your two. Maybe someday in 20 years when the kids go to college we can afford to upgrade it. Beautiful job. The flooring would of made a beautiful back-splash as well. I’ve always loved that pattern.
Love the entire thing! That tile is to-die-for! I will be saving my pennies!!
It’s not my style but I appreciate the effort that went in and the quality of the end result. You should be proud!!! Can you breakdown your timeline? At what point did you friends move out and when they did, what state was the kitchen in?
And PS – Two have a second fridge and a second dishwasher… heaven!!!
Katie, you never cease to amaze me, not only with your ability to design such a beautiful and functional space, but your ability to do the work yourself. I am 60 years old, and I want to be you when I grow up.
It looks fantastic!! Such a beautiful space.
What made you decide to go with Cabinets to Go?
Sorry, cabinets.com.
Looks awesome! May I ask where that cute hook below the Blender artwork is from? Love it!
so beautiful!! and incredible that it’s all diy :). have you considered adding a faux cabinet door with a handle to the space under the sink? in the photos, it looks maybe the teeny tiniest bit unfinished…
but it’s still all so fabulous!!
That’s something I did not think of. It’s interesting though – I’ll have to take another look!
xo – kb
We did a cost comparison of all Ready-To-Assemble cabinets and honestly we didn’t decide to go with them until after we had contacted them about their free designer mockups. The sketches and information really pushed us over the edge….plus they had a lot of attention to detail and the price was comparable to Ikea.
xo – kb
The hook is from Hobby Lobby!
xo – kb
The whole space was red when we moved in (Feb 2011) and we painted it and removed everything that summer for my sisters wedding. Then we really didn’t do much until January of 2015 when our friends were needing a place to stay. We worked on it off and on until I had the baby (in June) and then our we left it as our friend’s space until they moved in November…it was fully functional but not staged or with rugs or that shelving thing or any of that stuff…they had their stuff in there 🙂 We did the finishing stuff like tile (we sat on the tile for a long time) in December-January to talk about it now.
xo – kb
All that info is in the last post linked up. It was a mortar and a empregnating sealer made for concrete and natural stone.
xo – kb
Yes! Soon!
xo – kb
They lived here from start to near finish. We had the tile but waited to install it until they moved. It was fully functional for them but by no means pretty. We have a couple friends that we have offered it to because they have said they are looking to move and all of our in-laws have claimed it 🙂 But no….no definite plans right now.
xo – kb
We will put the laminate right up to the tile and there will be a slight transition in which case we will add a regular ole wood transition to hide the height difference.
xo – kb
Nope! Just remodeling it so that it can be a short-term place for family or friends that need a place!
xo – kb
Our friends were there most of 2015…they moved in Jan 2015 and didn’t actually move their things out till November. So we didn’t want to finish the tile or stage it with them there – just out of respect for their space and because it would be asking them to move everything. So we started back on it in Dec-Jan and decided to wait to post about it till now because of the whole chronological thing…that’s what is best for the blog story even if it is a bit confusing.
xo – kb
I sortof made it up based on a piece I liked but I will be sharing it soon!
xo – kb
DIYed! Plans coming soon!
xo – kb
Yes there is right now but hopefully that will be diminished if we install floating laminate and underlayment. We will still need a transition though!
xo – kb
TJMaxx! Aren’t they cute?!
xo – kb
What color stain did you use on the shelving unit you built?
Looks awesome! You said the lidded jar was from Target, but what is the brands. Trying to find online…
Everything looks great! How awesome for you to have that additional space for entertaining or any guests who need to stay awhile! We have a large unfinished basement and I’d love to do a kitchen down there.
this kitchen is beautiful. I’m shopping for a house and want to use this as inspiration. I hope I can find a white kitchen to start … 🙂
seriously, I want this as my own kitchen!
It’s absolutely beautiful, Katie! You guys did such an amazing job making that space look bright and airy and fun. I LOVE it!
It turned out wonderfully. I would be so happy to use this kitchen. It doesn’t look or feel like a basement at all.
absolutely love this space, which is no surprise to my usual Bower space envy.
It is so amazing…love it!
So I had no idea that I wanted a floor like that… until this post. Now I need to find a pattern similar to that… but probably in linoleum (our home is in a low to modestly priced area…). Here’s my question… this pattern is kind of retro for a floor… and I am not seeing ANYTHING like this in linoleum type products. Have you by chance seen any, anywhere? It’s gorgeous, btw… you did a great job!
WOW! it’s a wonderful transformation. Would love to see a cost break down of the entire project.
This kitchen looks awesome! I’m fixing to undertake a Kitchen reno that has virtually zero natural light and this gave me some major inspiration to not go white paint crazy!
I love the finished kitchen! Did you consider Ikea cabinets, and how did you choose cabinets.com? We are in the planning stages of a kitchen remodel and I’m stressing over cabinet choices!
SUCH an excellent job.
Perfection! Love it!!
OMG I LOVE LOVE LOVE the space!!! Totally my style, I’ll pack my stuff and move right in, thank you!! 🙂 Just wondering how did you finish off the tile going into/blending into the other rooms? I absolutely love your blog!
It looks awesome!!! Can we move in? 😉
When are you moving? 🙂
xo – kb
Well the other spaces don’t have flooring done yet (we plan on a floating laminate) so we haven’t done that yet but we will and when we do, we will share 🙂
xo – kb
Threshold!
xo – kb
It’s Rust-Oleum Ash.
xo – kb
They were in before it was functional…it did take some time to get it going. They moved in literally two weeks after we offered the space so cleaning out the whole basement was our biggest and most important task. Then we started working on the kitchen right away. We had all the appliances in within that first month and the cabinetry. We finished the tile after they moved out…but everything else was up.
xo – kb
We considered both and didn’t make the decision until after we saw the designers mockup of the space. Since the cost was comparable – we went with their options since they had better construction materials and still had the perks like soft close drawers 🙂
xo – kb
Will you be posting plans on the tall storage shelf you built? HINT HINT 😉 I love everything about the beautiful new kitchen!!!
Yes soon!
xo – kb
LOVE LOVE LOVE the kitchen! Do you just want to go downstairs and stare at it?
1. where did you get the shelving unit?
2. where are the floral bowls from?
3. where did you find the floral dish towels?
Great job!
Hi Liz! I built the shelving unit myself – I’ll share that soon! And the floral bowls are Pioneer Woman at Walmart (so affordable!) and the floral dish towels are from TJMaxx.
And yes – I want to stare at it all the time 🙂
xo – kb
Looks fabulous! It’s been neat seeing the process. Have you thought about framing out the area under the sink so it mimics the shaker style?
I haven’t. It’s really not as blank feeling in real life. I know that is hard with a photo.
xo – kb
What kind of glue would you recommend for the laminate backsplash instead of using a brad nailer?
If you want to glue, then use a Liquid Nails to adhere.
xo – kb