My oldest has always been obsessed with throwing. Always. My mother warned me. She said “You think it’s funny and cute…..now. But just you wait.”
Well mom….here are those magic words….you. were. right.
Not a day goes by when I don’t say about thirty times (no exaggeration) DO NOT THROW IN THE HOUSE. Of course, once Will discovered that there is an actual sport that involves throwing small spherical objects, he was hooked. As a three year old, he would sit and watch a baseball game on tv. Not the entire thing or understand what the heck is going on….but he knew that there was throwing, running and hitting…and he was GAME.
We signed him up for baseball this past spring and he was on a team that had much bigger and more experienced boys. He rarely hit the ball and only caught a couple of rolling balls but boy did he make his little five year old legs hustle! He would chase those hit balls down like a tiger hunting prey! He would run those bases like it was his job! And he would slide whenever possible. And he even received a game ball (admittedly each person on the team got a game ball because they won a lot).
And this fall he played again. He actually got placed on the A’s again! He improved soo much from last season and he seems to LOVE everything about the sport. This season we went to one game where the A’s were down a few runs and in the last inning it seemed like a long shot for Will’s team to win. He had already hit two home runs in that game and somehow the boys slowly started gaining momentum! The end of the very last inning, bases were loaded, two strikes, down by one run and Will nailed it! I was that mom praying silently on the sideline (I know I know)….as soon as the ump saw the kids tag the home plate, he called the game….WE WON! (I say we because I played a very important role as official crazy camera lady.)
He got the game ball and nobody was more excited than my little man 🙂
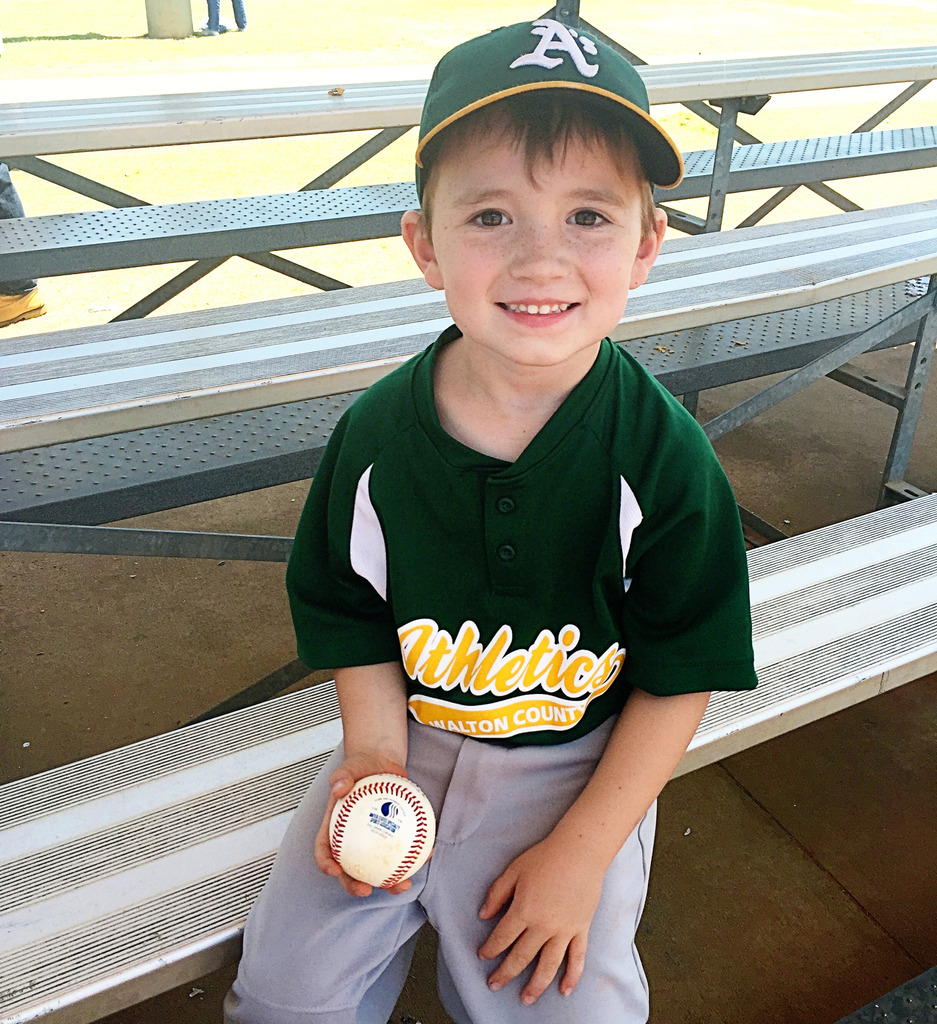
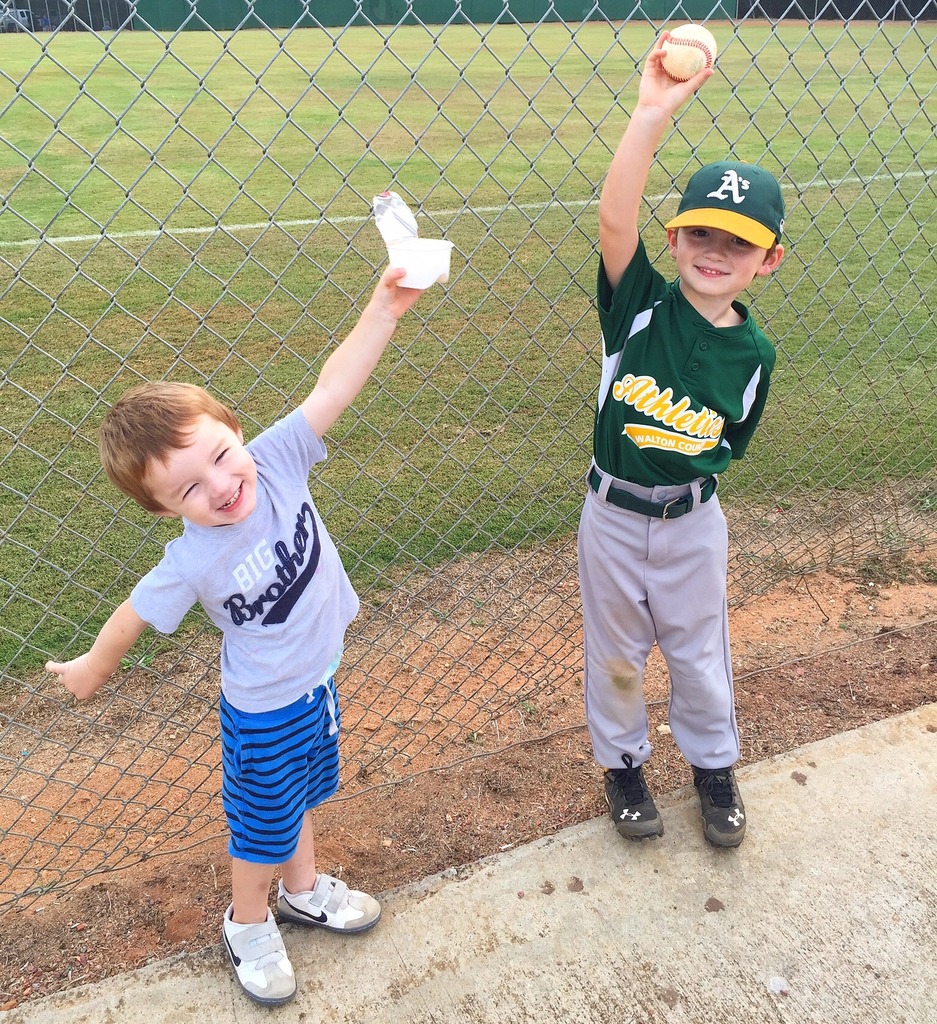
(Game ball #1 & Game ball #2) (and Pringles container by Weston!)
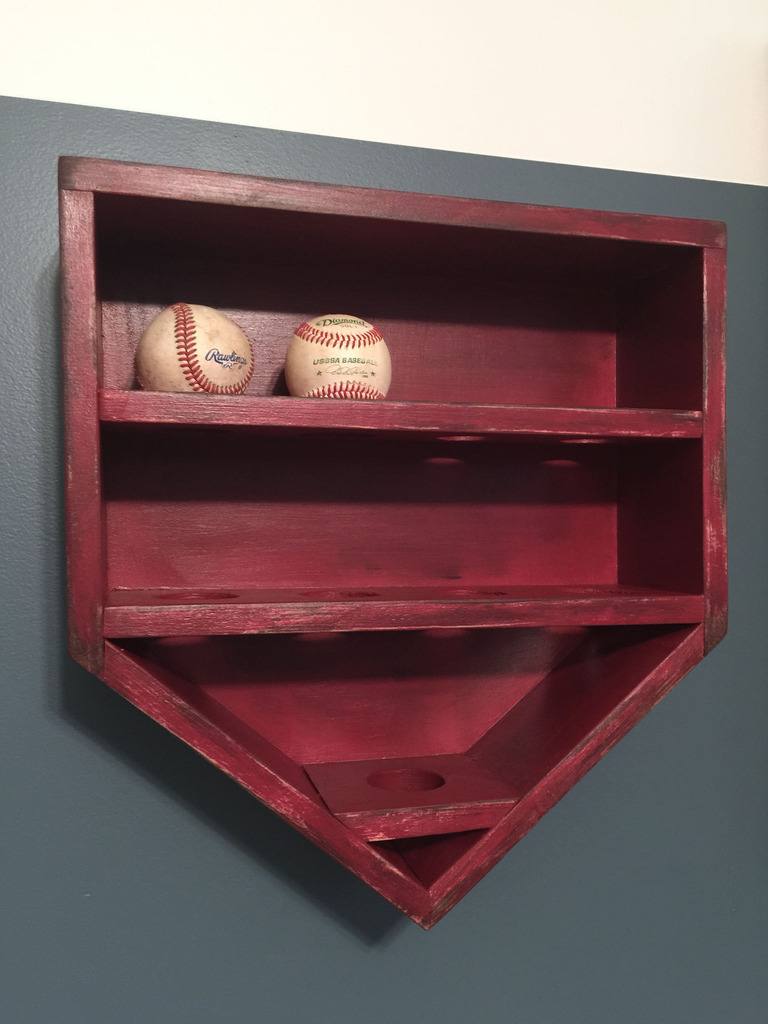
I promised the little man that I would build him a baseball holder but he had to do it with me and I think it turned out pretty darn cute 🙂
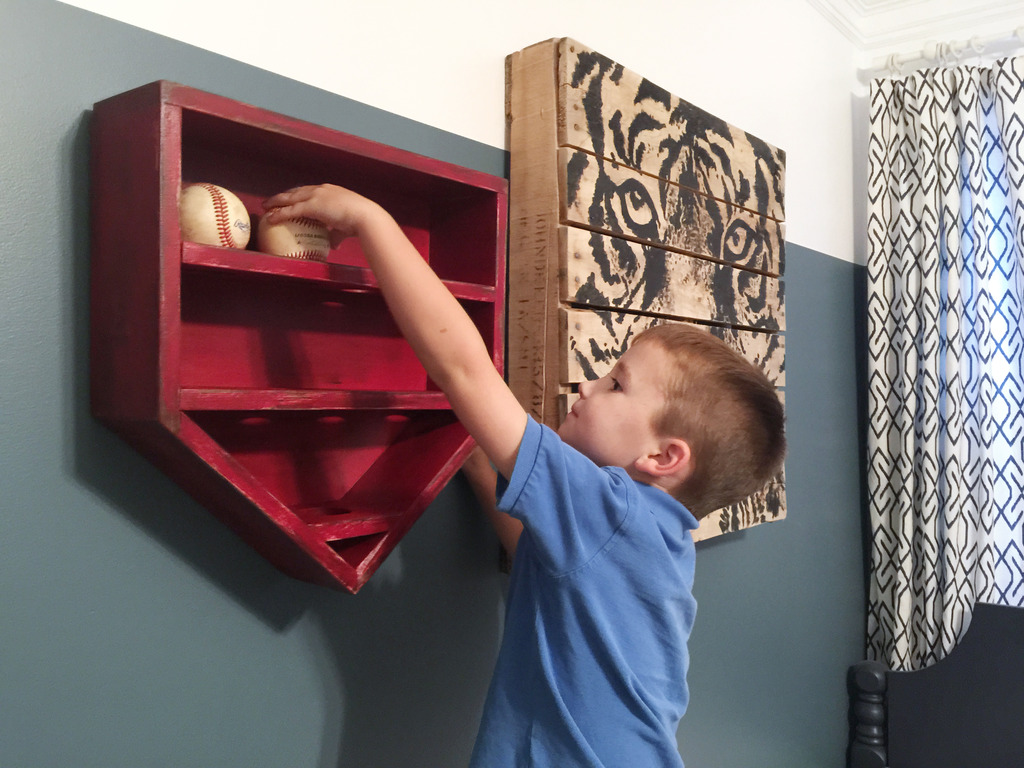
It was kinda complicated for me to figure out the angles (especially the boards were slightly warped) but eventually I got it where I was happy. If you want to make one yourself, it is not too hard but you will need a brad nailer and a miter saw.
The frame itself is shaped like a home plate….ya know…cause mama loves themes 🙂 The boards that have angular cuts are all 40 degrees. Here is the cut list –
Top frame piece – 1 x 5 x 17″
Two side pieces – 1 x 5 x 11″
Two diagonal pieces – 1 x 5 x 10″
Two shelves – 1 x 5 x 15 1/2″
One small shelf – 1 x 5 x 5″
We couldn’t find 1×5’s at the store so we ripped 1×6’s down with the table saw. After you cut the frame pieces, you can tack them together with a brad nailer. It may seem a little flimsy at first but don’t worry – it will be super sturdy by the end of the process.
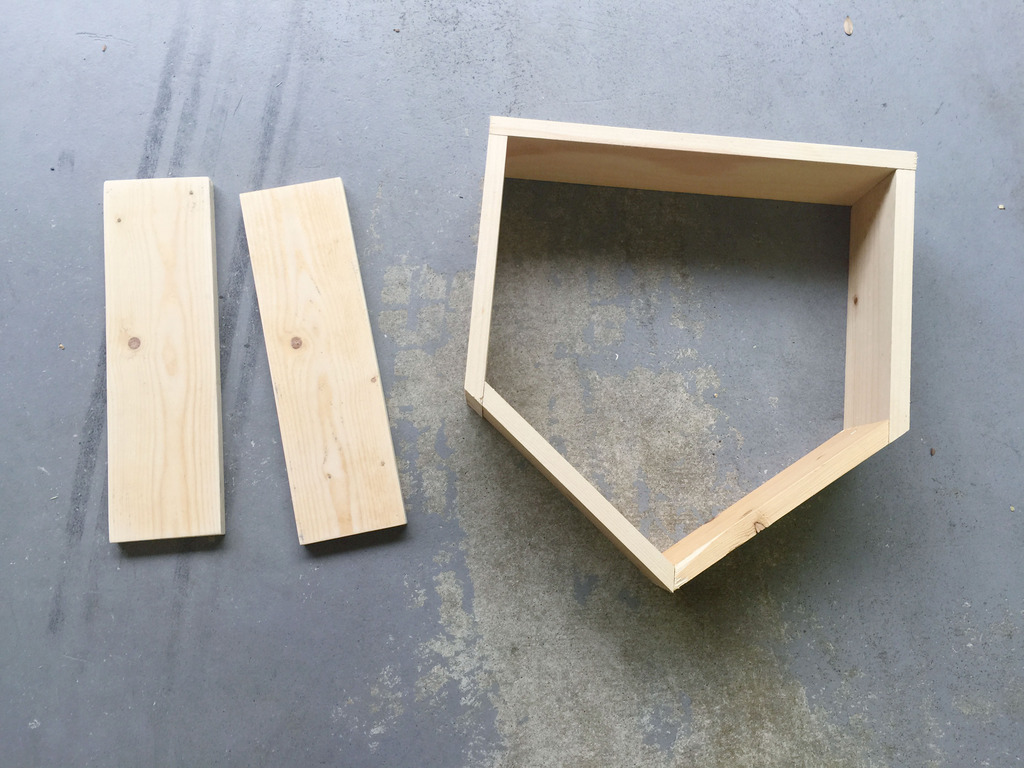
Next you will want to put the holes in the three shelf pieces. The two big shelf boards get four holes each and the little five incher gets a center hole. Mark your holes so that they are centered from front to back but also evenly spaced. We used a 2″ hole drill bit attached to the corded hammer drill.
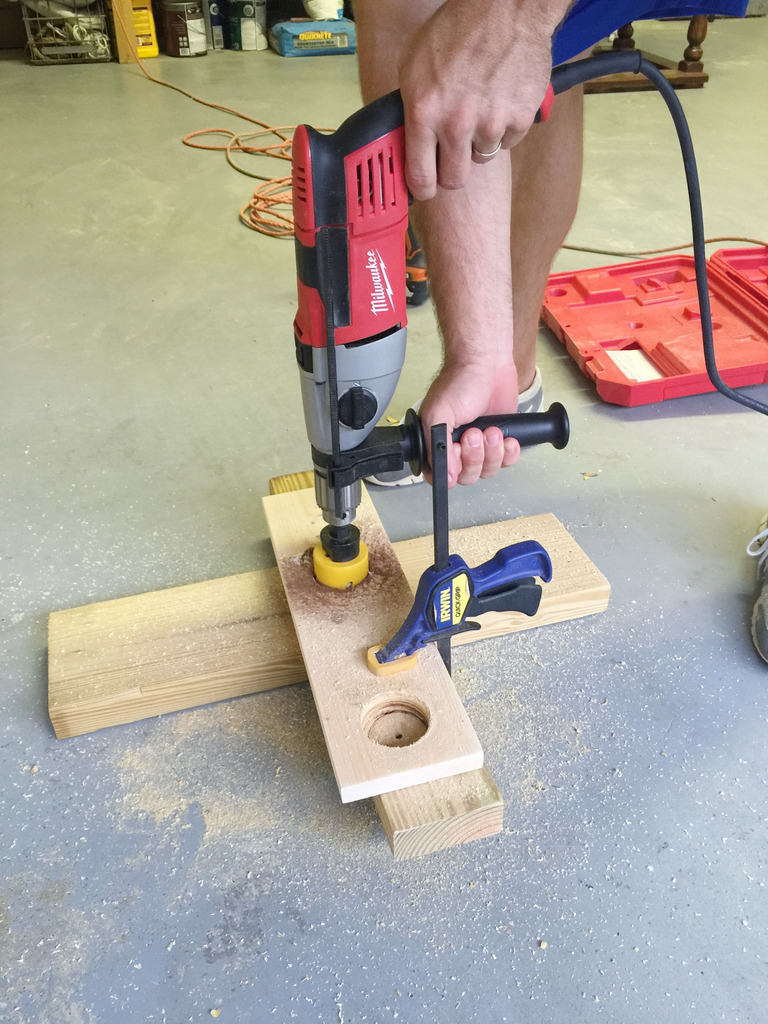
Once the boards are drilled and sanded, you can place those in the sanded frame.
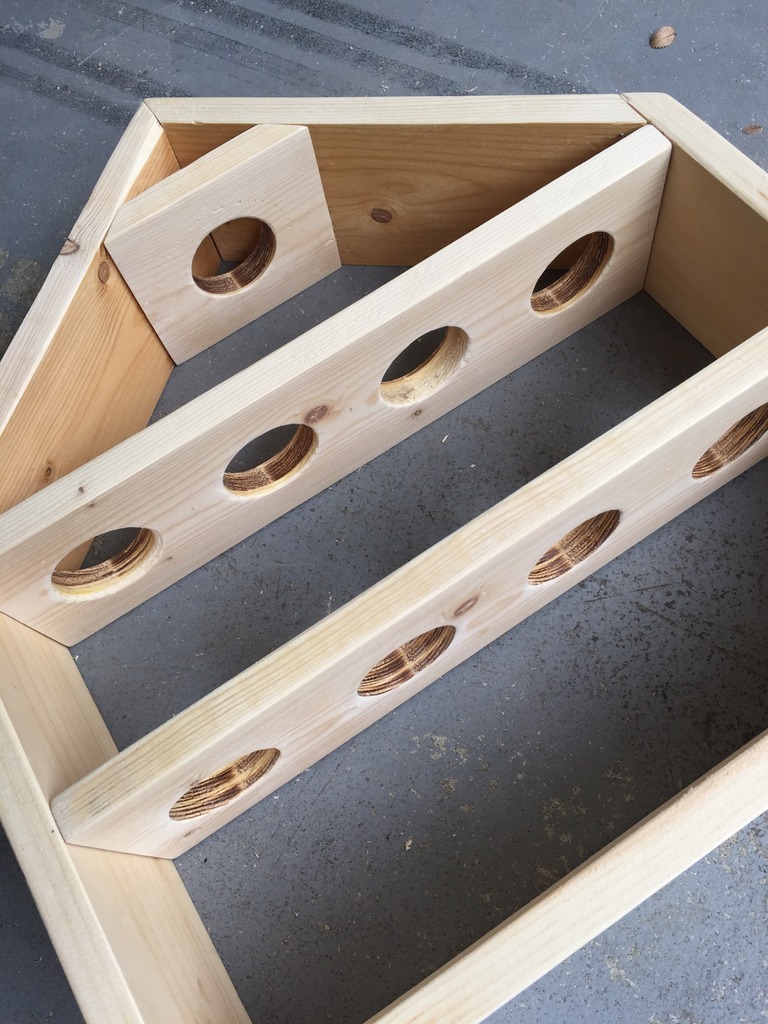
The shelves also get brad nailed into place. Make sure you use long enough brad nails 🙂
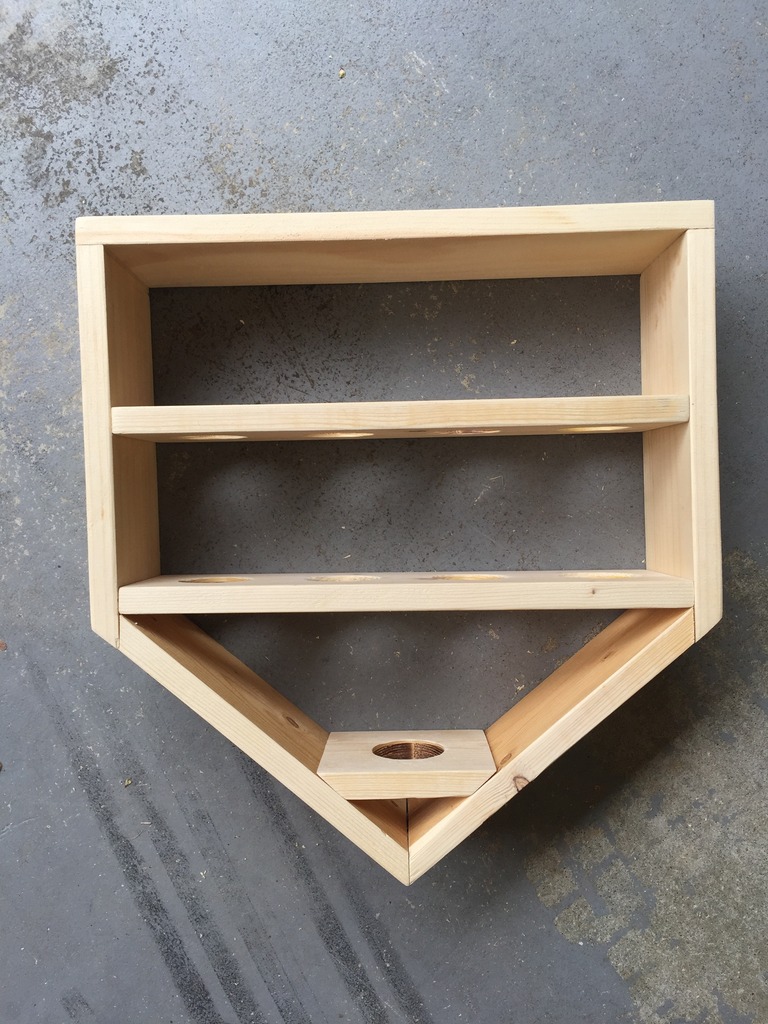
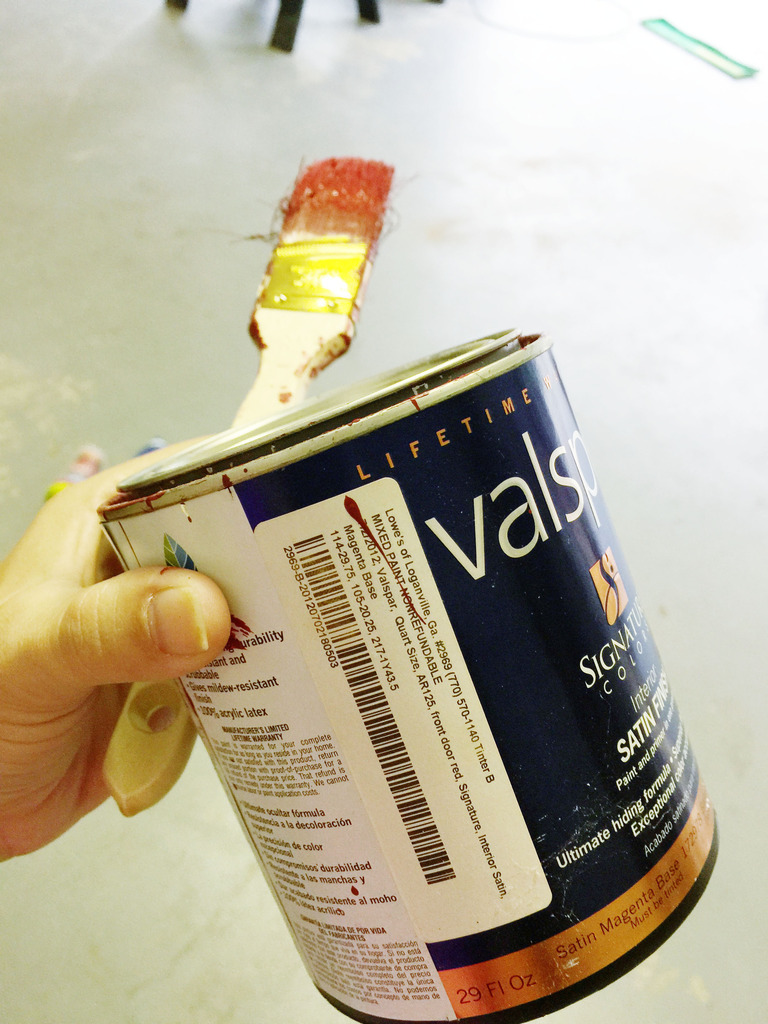
Next comes painting! I was going to make the base white and distress it but then Will decided that he wanted it red. I should have known. Red is his favorite color 🙂 I had leftover paint from other projects that I used….it’s Valspar’s front door red in satin.
Will is so pumped that he got to do the painting. (For those mama’s who like a even paint job but want to include the kiddos on projects like this – all you have to do is take turns! They can lather up those boards and get the paint everywhere while you go smooth drips and clumpy bits out! Win-win!)
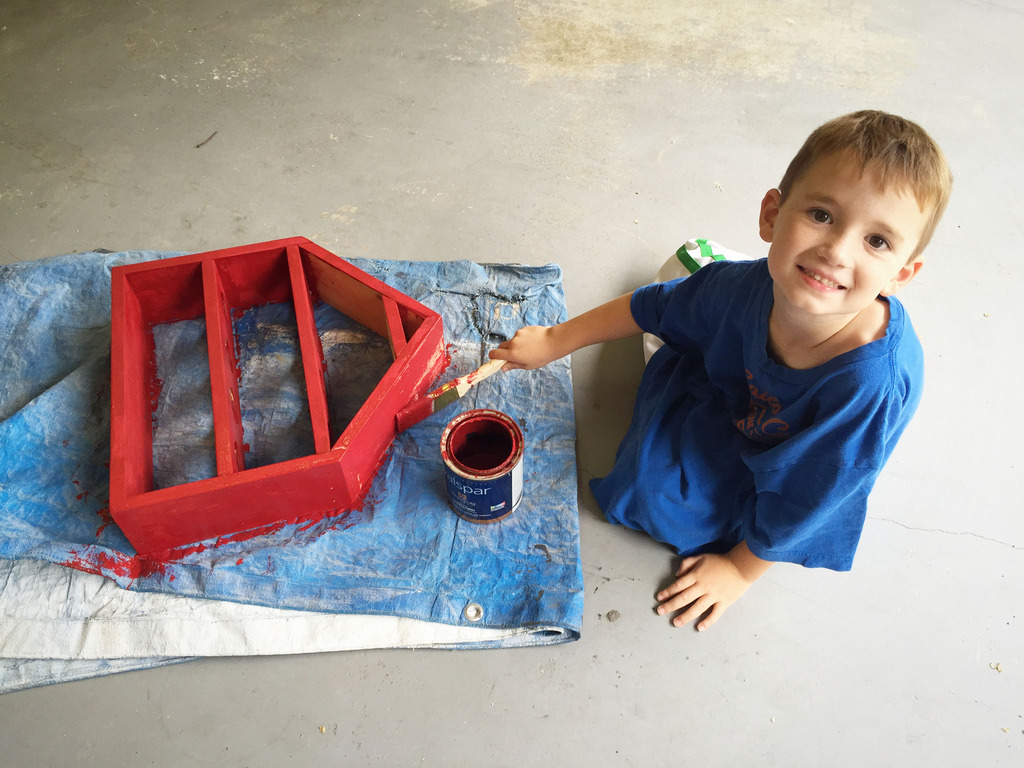
And this picture perfectly illustrates the phrase “watching paint dry”. Gotta love the daddy tshirt and shorts 🙂
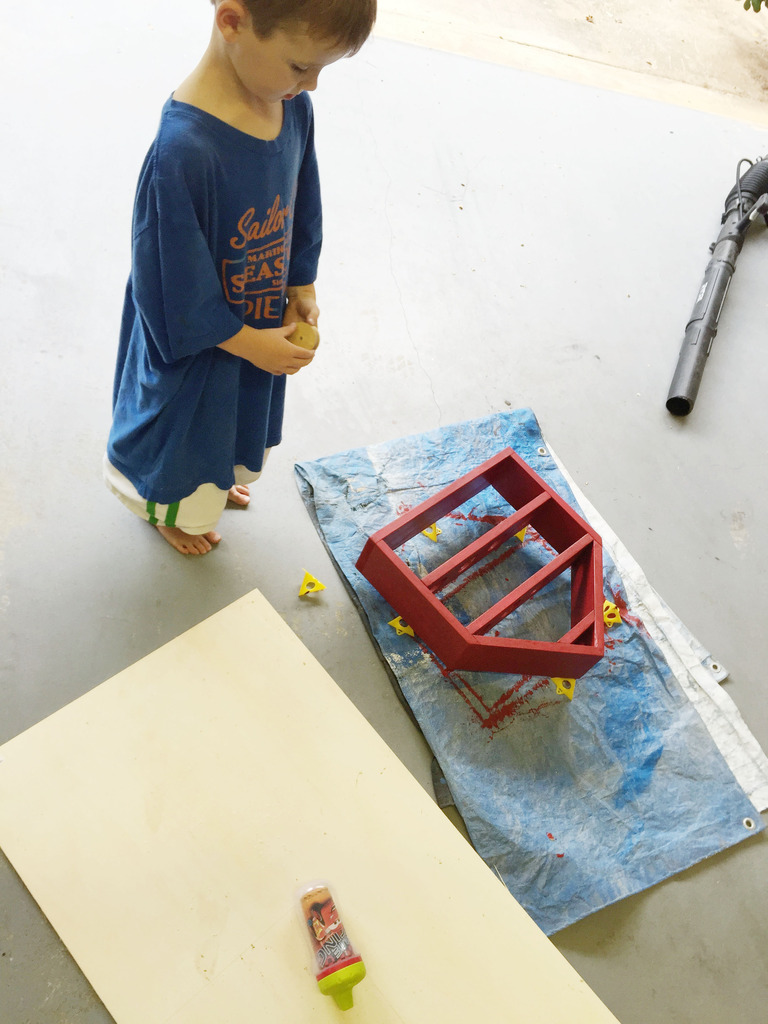
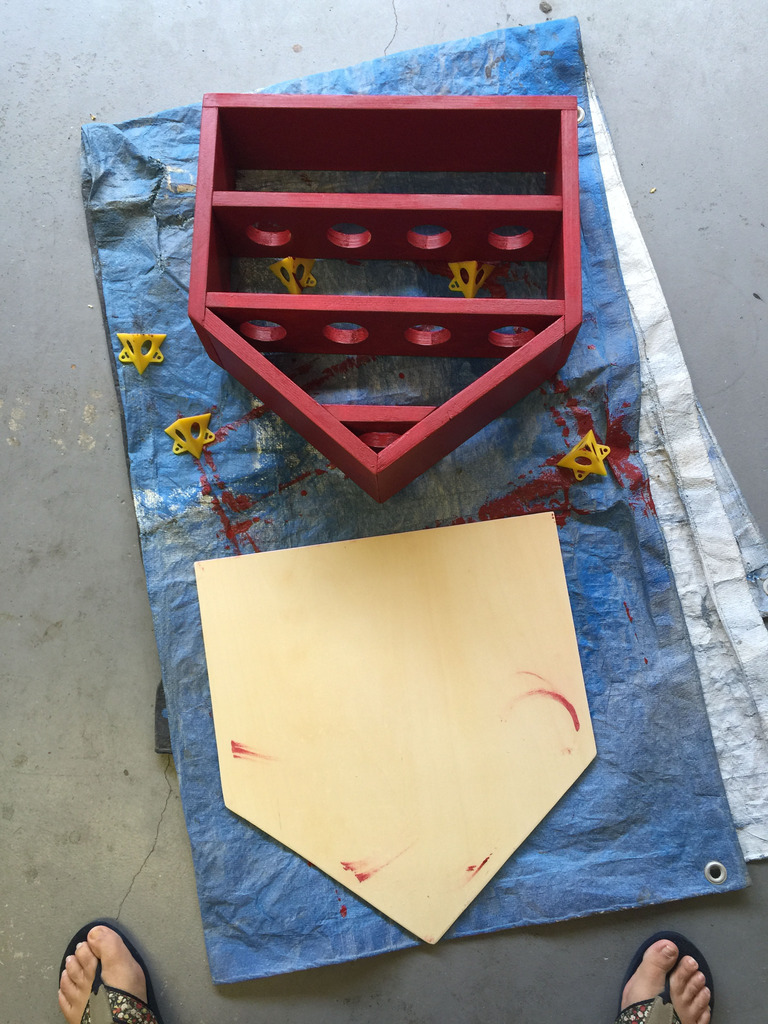
So as the frame part is drying, you can transfer the entire piece to a thin 1/4″ piece of plywood and trace the edges to make the back. I cut mine out with a jigsaw.
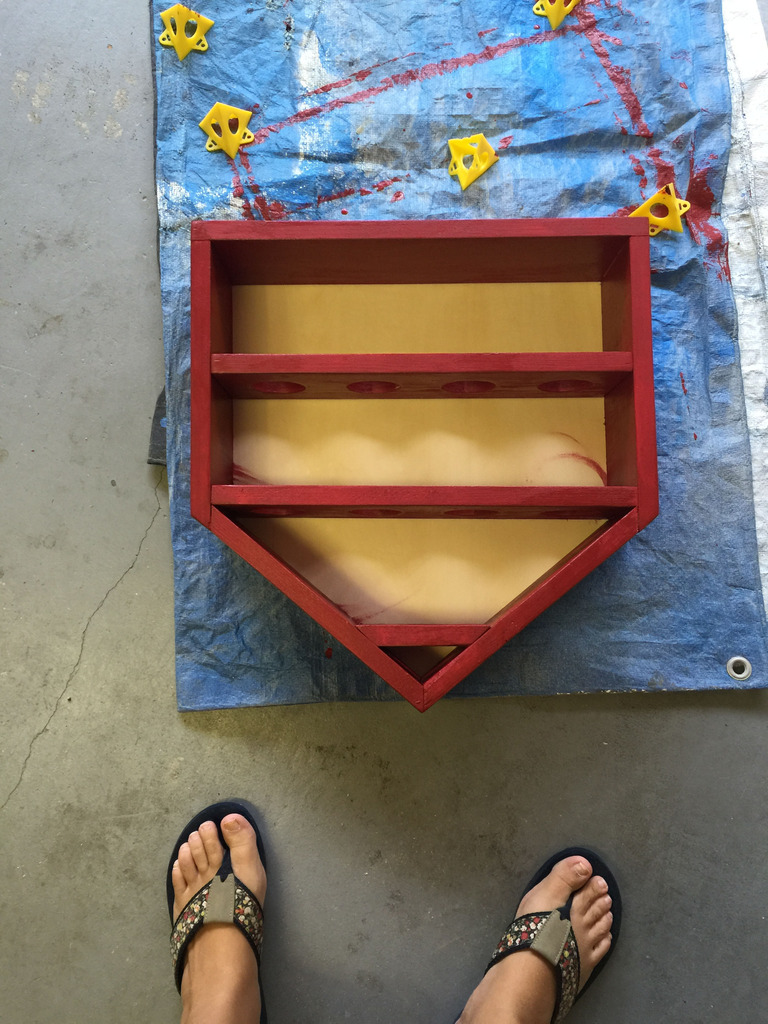
You will want to paint the back before attaching it. I sanded mine, painted it and then distressed the entire piece with Rust-Oleum Kona stain before tacking it on with the brad nailer.
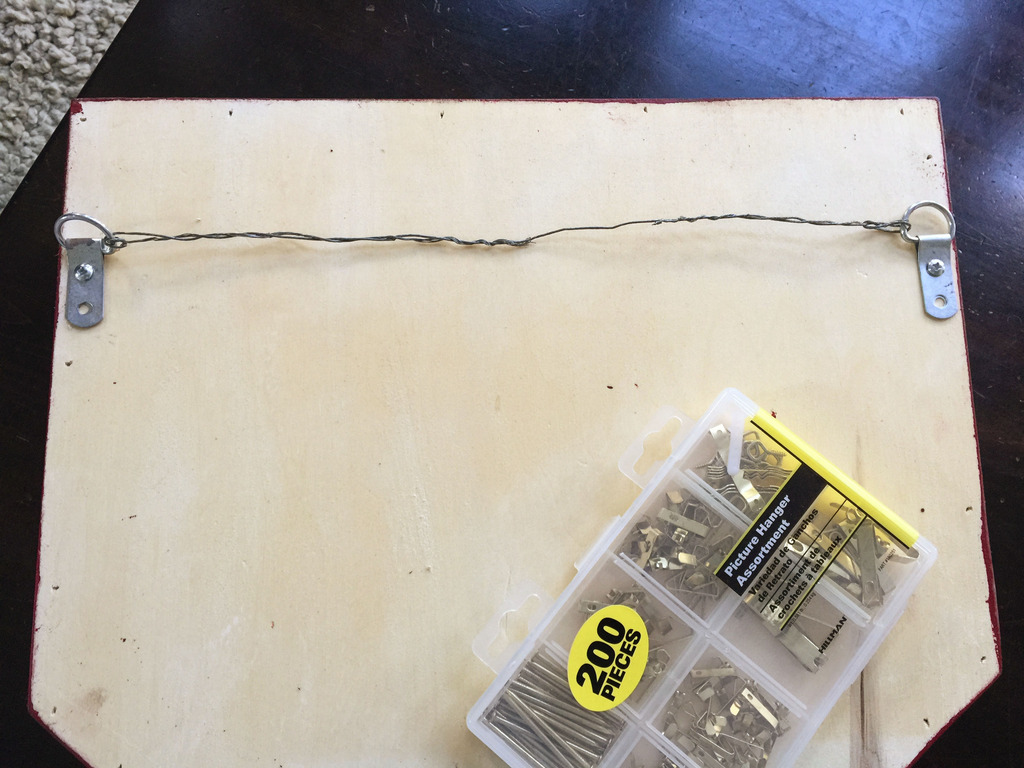
In order to hang it, I screwed a couple D hooks on the back and put some thin wire between them.
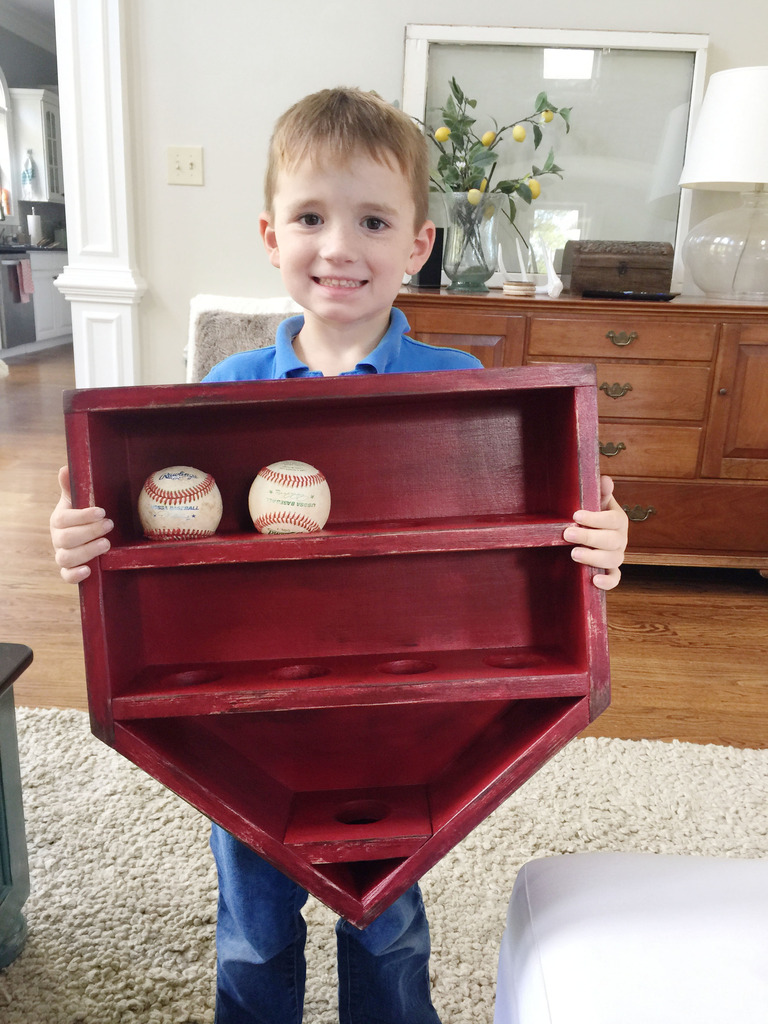
I mean seriously. Look at that kid. He is super proud. Also, he said that one day we will have to build him one as big as a house for all the game balls he will win. #competitivemuch
We decided that the perfect place would be in his room next to his tiger art. We figured that it would be in a place where he could see the balls everyday but the little babies wouldn’t be able to touch them. Also….that is a giant spiderman doll in the corner. My mother brought it over and the boys are obsessed with it.
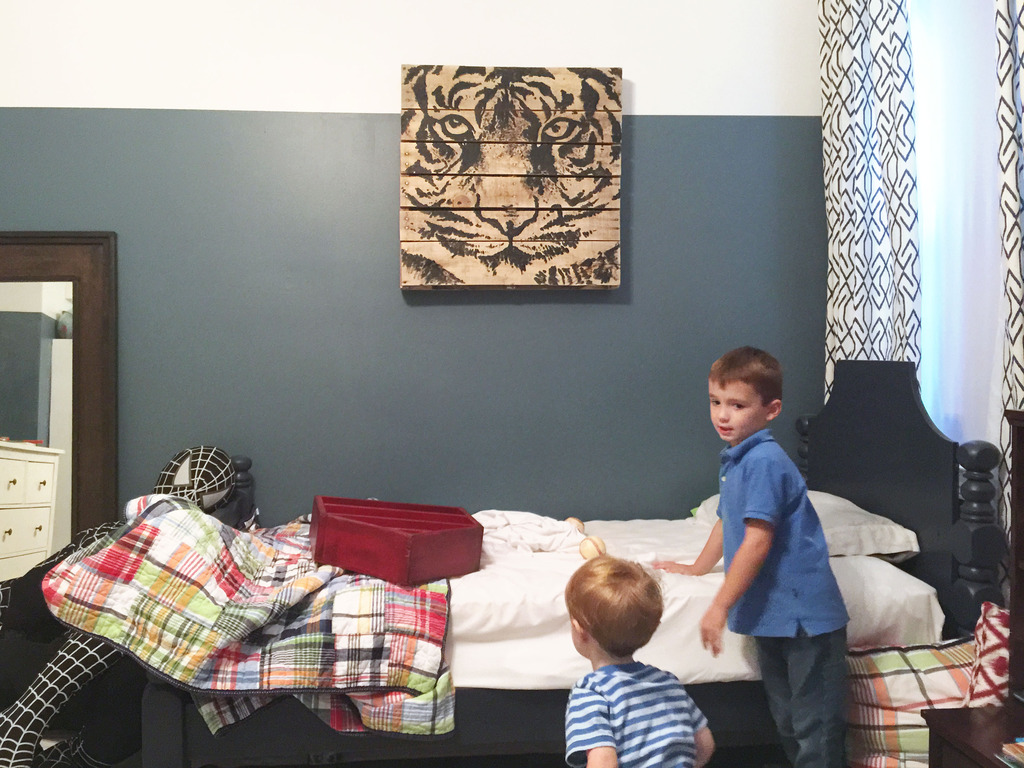
After it was hung, we banged on the furniture and did a drum roll while Will placed his game balls in. It’s important to make things as dramatic as possible.
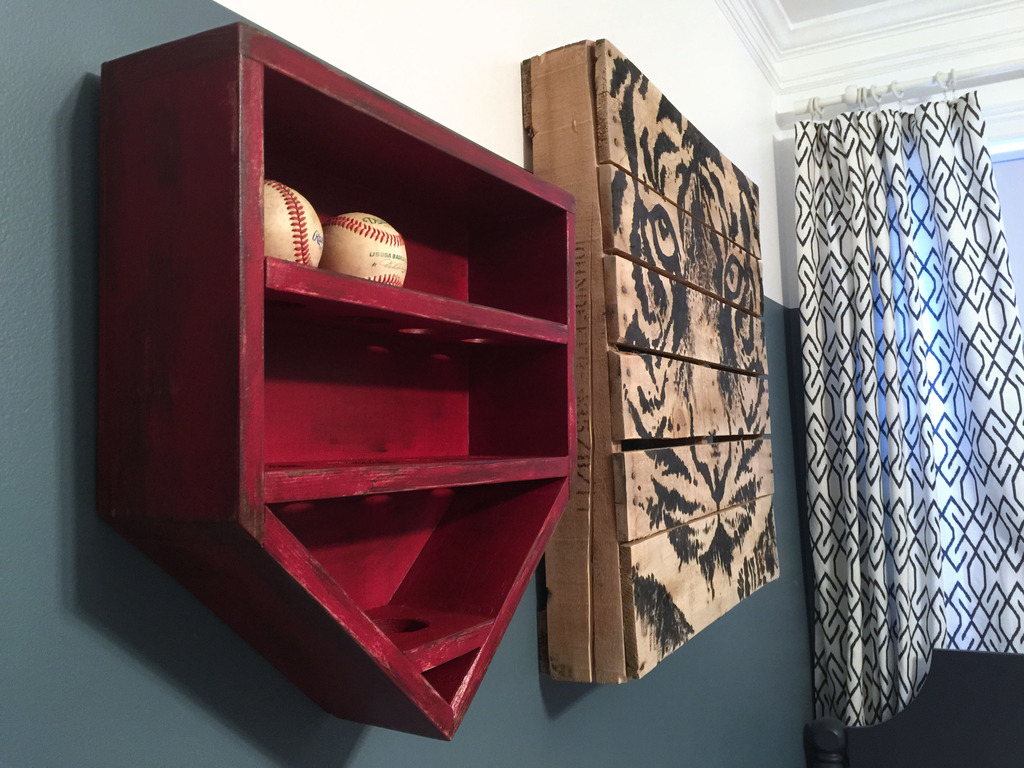
So there you have it folks….one baseball holder fit for a home run king! So cute, right? I know some grown ups that would love this too! And it’s perfect for personalizing. Happy building!
OMG, this is so stinking adorbs! I wish I had boys, and liked baseball, LOL!
Perfect! Are you labelling the balls at all so he knows in the future when he received them? (Year, team etc?)
That is the cutest thing I’ve ever seen. So perfect for little boys (or big boys) and their baseballs.
So cute! In the red I thought the shape was inspired by the Superman emblem at first.. then I read it was home plate-shaped and I realized that was pretty obvious (probably moreso if you went with the white, but the red gives it a dual-theme, I think!)
You should add little tags behind each ball with the date of game, team name, etc – because when he’s older it would be nice to remember where they are all from. 🙂
CUTE!!! I am definitely saving this one for the future! It would be a super cute shelf in general for a little dude’s room.
Jess | FashionByCommittee.com
We write the date, the team and the “name” (either game ball with stats or home run)…love remembering those details!
xo – kb
You could even add a little ‘vintage’ label with the year the ball was received on the edge of the shelf beneath each ball. 🙂
So cute!
I have a golfer who collects golf balls. This is a great idea!
I have been following your blog for a long time and I always remembered Will’s throwing pictures you would take. Sure enough I now have a 2.5 yer old thrower of my own and always wondered if the throwing slowed down for Will. My thrower is obsessed with baseball and throwing. Any tips on handling this?
I wish! We made a rule of no throwing in the house but yeah…that still gets broken every day 🙂
xo – kb
Great idea to label the balls! This looks great and I love that Will helped make it! He looks so proud watching it dry 🙂
There’s a wrong dimension somewhere. The angled boards cut at 10″ will not yield 17″ at top
Mine is exactly 17 3/16 at the top and the sides (straight cut on one end and angled on the other) are 11″ at the longest side and the bottom ones (both sides angled) are 10″ if you measure one side (short side of angle to long side of angle). The 10″ boards need to start as 10.5″ before cutting the angles. Hope this helps!
xo – kb
Our ended up being closer to 16″ on the top because we cut it after putting it together. Ours was not coming out right with the measurements given either.
I <3 BASEBALL!!!!!!!!!!!!!!!!!!!!!!!!!!!!!!!!!!!!!!!!!!!!!!!!!!!!!!!!!!!!!!!!!!!!!!!!!!!!!!!!!!!!!!!!!!!!!!!!!!!!!!!!!!!!!!!!!!!!!!!!!!
Thank you for the info! Turned out awesome!