Disclaimer – This is a sponsored post brought to you by Canon. All opinions are 100% my own.
Ever have a toddler ask you a million times how many days left till school starts? or how many days till vacation? or DISNEY? OR CHRISTMAS?!
Sorry for yelling but it is for emphasis. It’s enraging. I have three little ones that will ask me how many days till….fill in the blank….and they don’t understand how long a day is, or that a week is longer than an hour, or that mommy is stressed easily by repeated questions….but they ask. over. and over. and over.
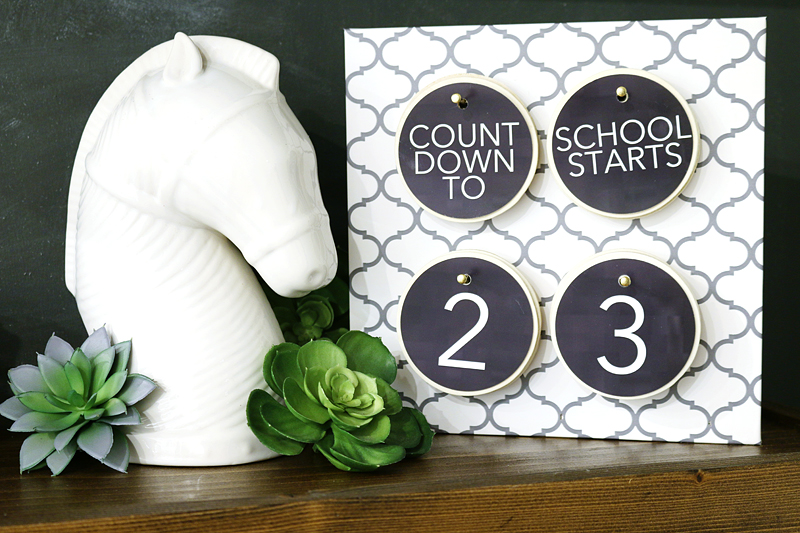
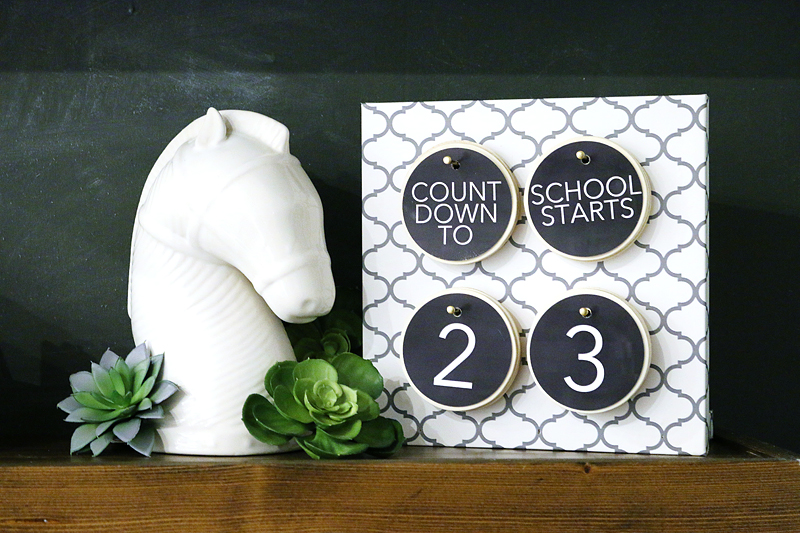
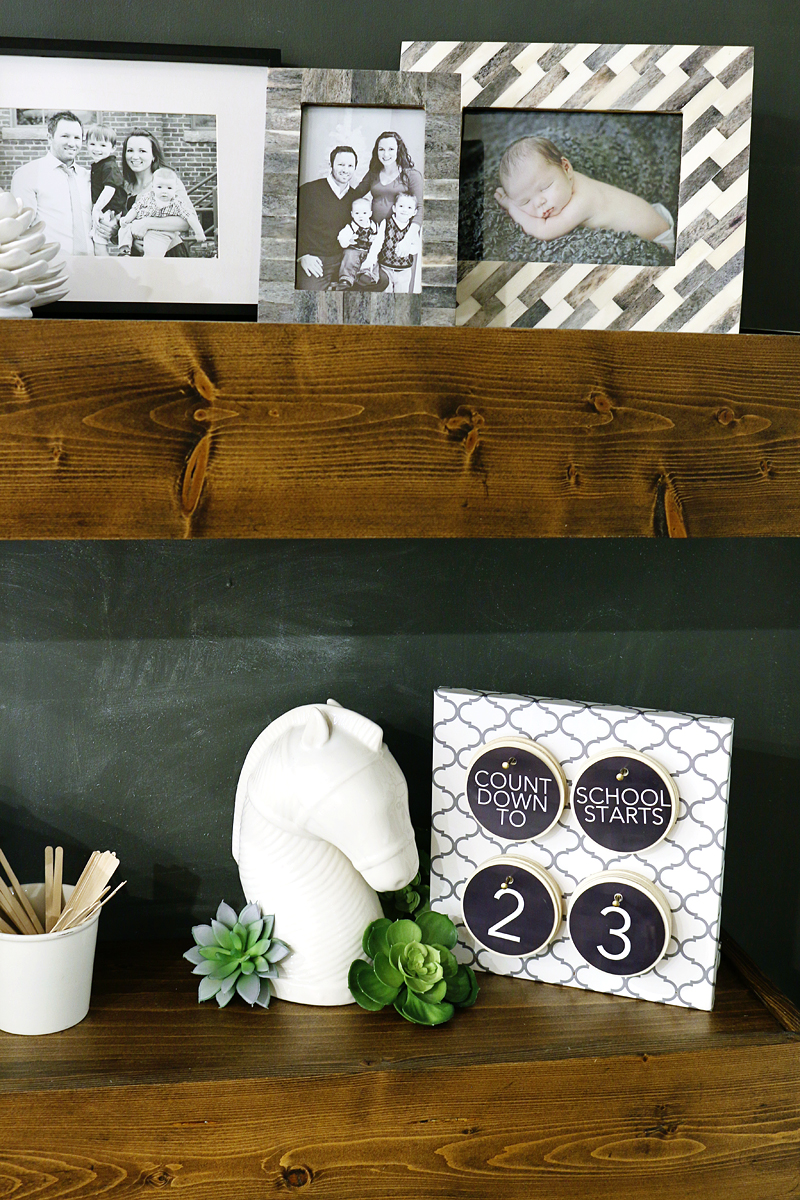
And that is when this project was born. I wanted to come up with an easy way to show the boys the number till we headed back to school. or till Santa comes. or till their birthday. I looked at a bunch of stores and NOTHING. Nada. I couldn’t find anything that would blend well with my decor and so I decided to make this beauty.
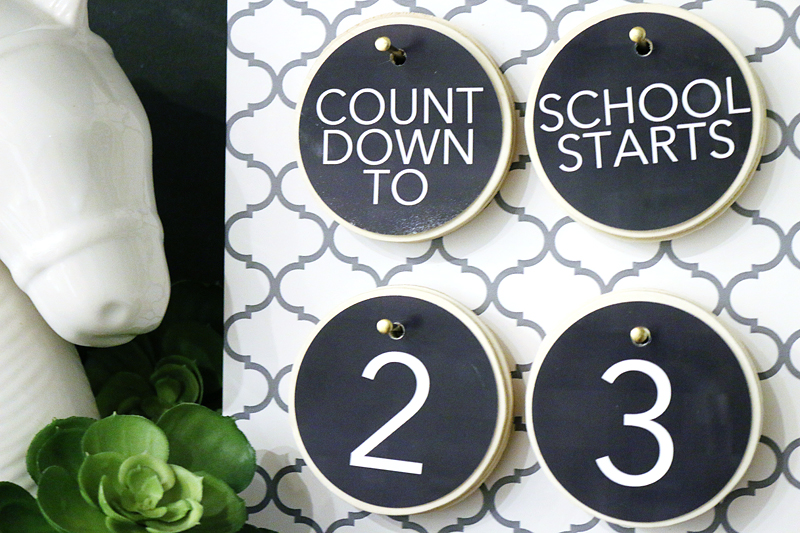
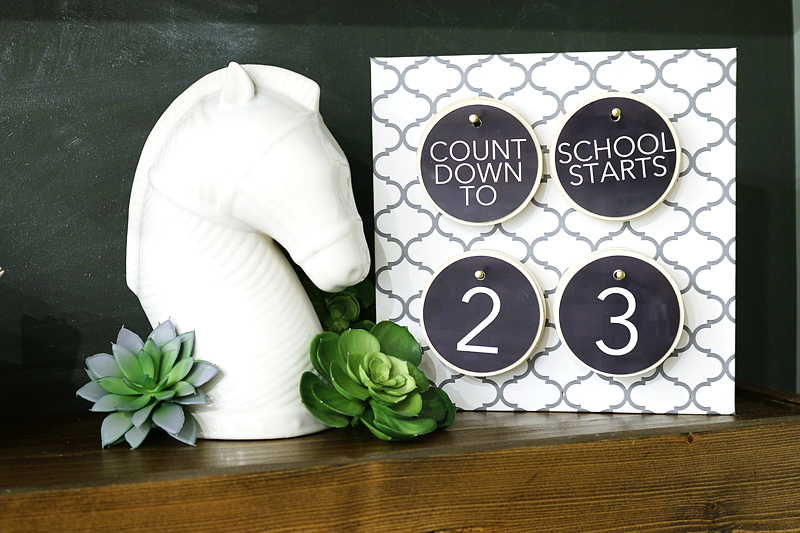
Isn’t it adorable? And super easy!
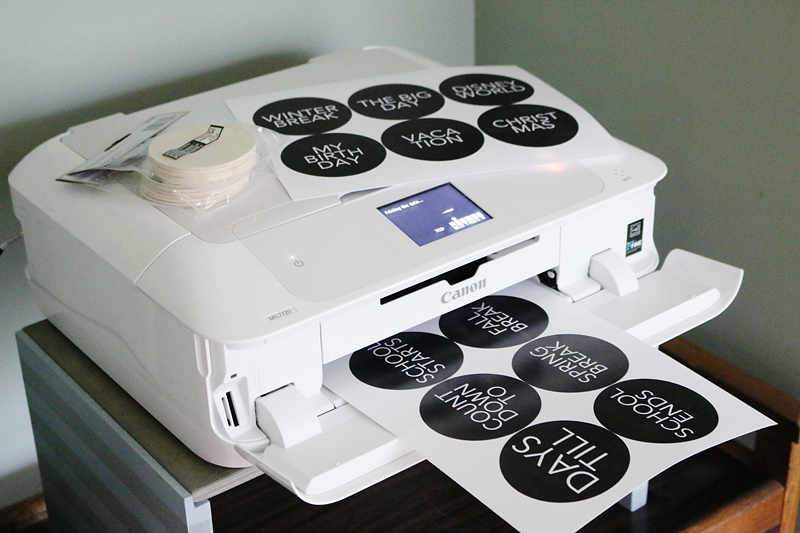
So first – let’s all be jealous of my printer stand….
And get excited because you can do this project with four semi-gloss letter sized sheets of paper and your Canon PIXMA MG7720 wireless printer. It’s really SUPER easy. And the printer still looks beautiful in it’s shiny white glory even if the stand is less than stellar. (working on a plan for that btw!)
So I created these printables for myself to hoard and enjoy. You people will have to figure it all out yourself.
Kidding! I’m a sharer!
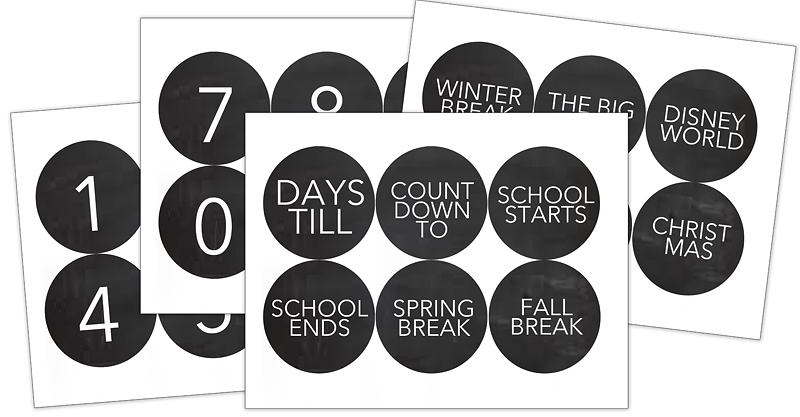
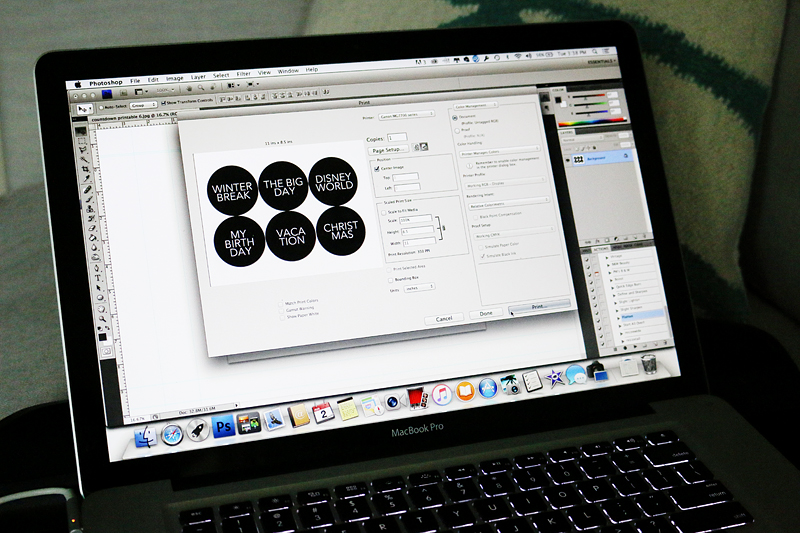
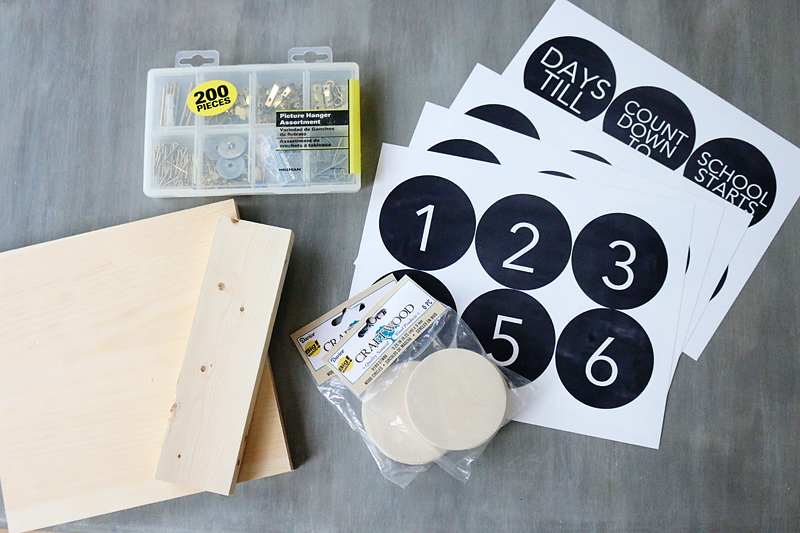
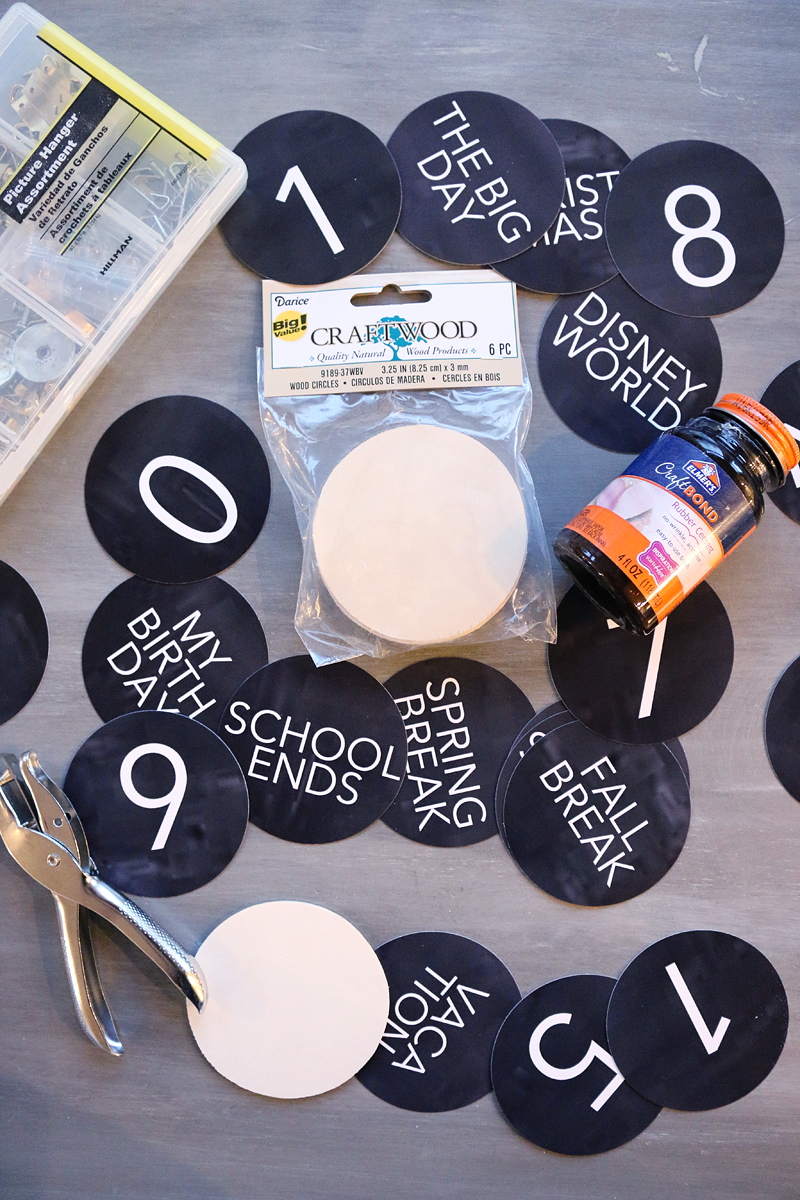
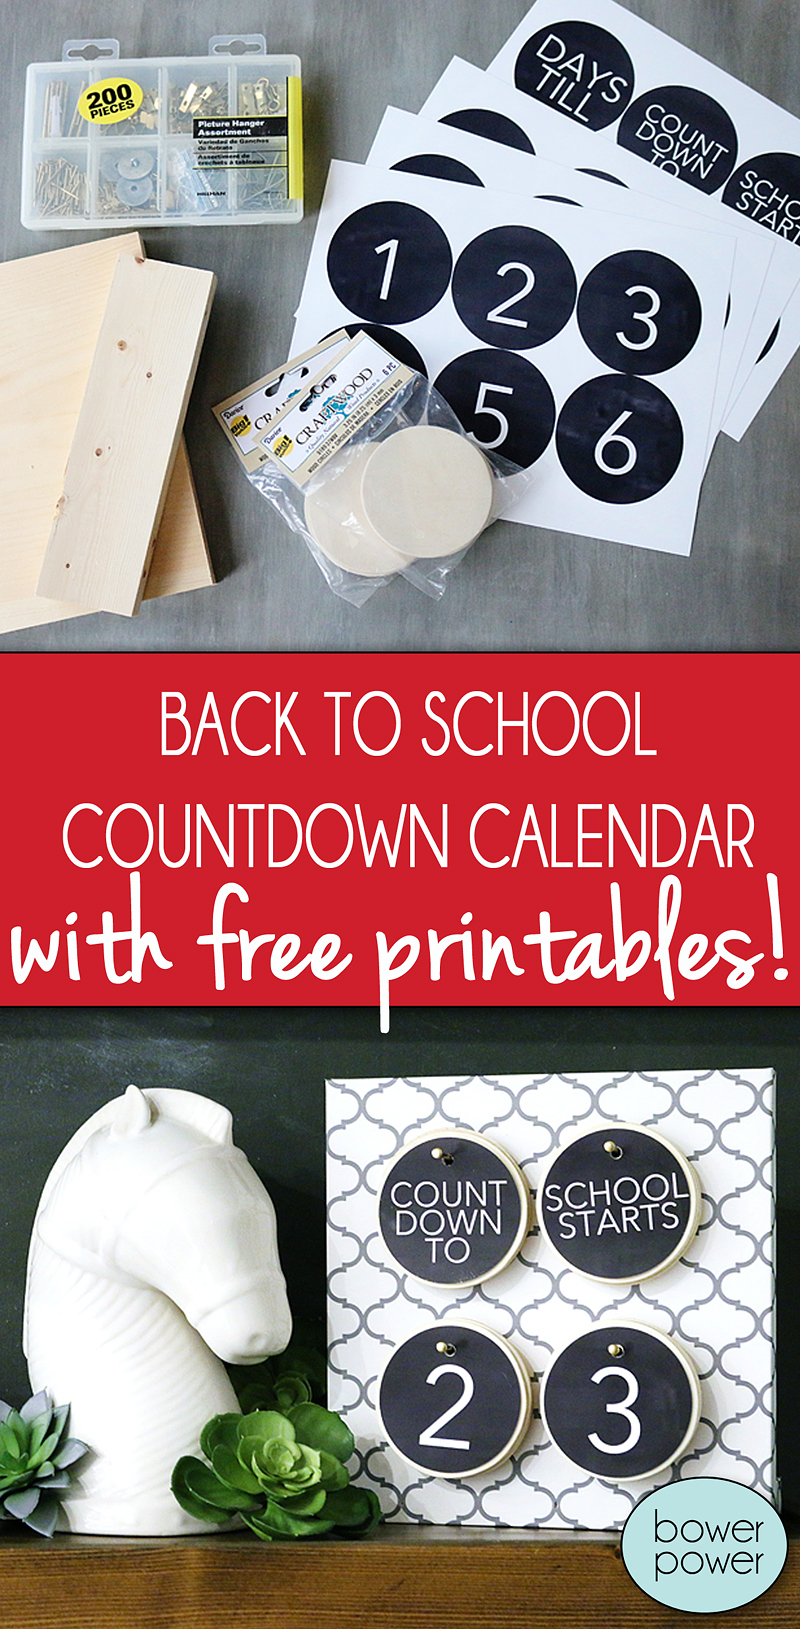
I created these four sheets and here are the PDF’s for all the free downloads. You can print them out on 8.5×11 photo paper and make sure you use semi-gloss because it resists little sticky fingers the best and these are gonna be touched.
****font is AVENIR NEXT
****new blanks circles and additional printable for you guys!!! HERE IS PRINTABLE – BABY DUE
I made them so that you can do a back-to-school countdown AND switch it up for any holiday, break or event that I could think of.
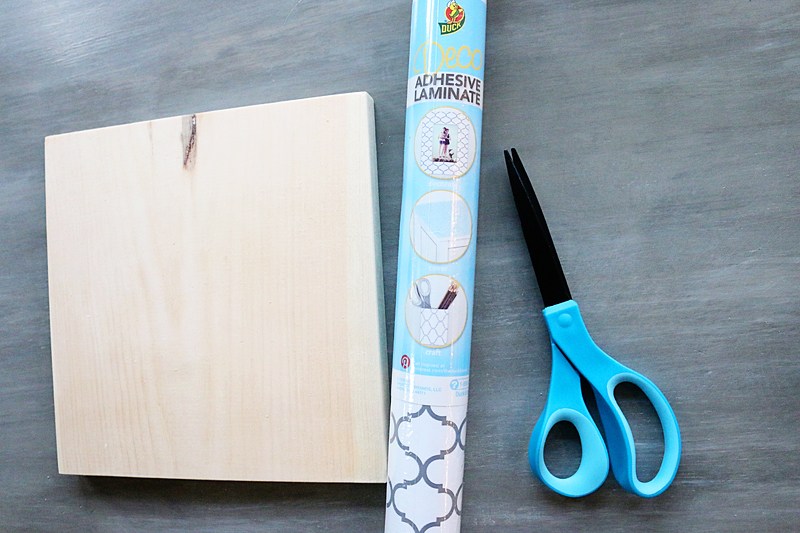
You will also need four long nails, some craft rounds (I got mine at Walmart for $1.26 for 6 rounds) and some scrap wood. Mine is 1×10 that we cut into 9″ square and then a little 1×3 cut for it to stabilize on the back. You will also need a hole punch, brad nailer, rubber cement, your finishing material (paint, stain or in my case, adhesive laminate) for the wood, and a drill.
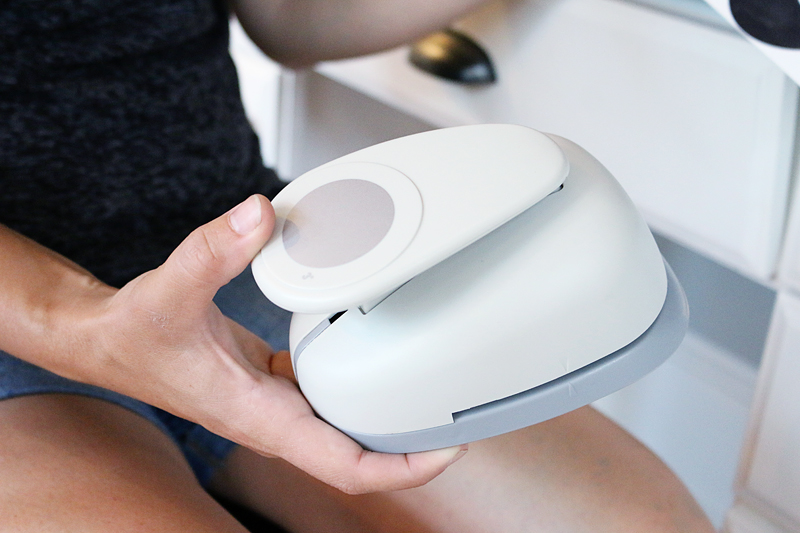
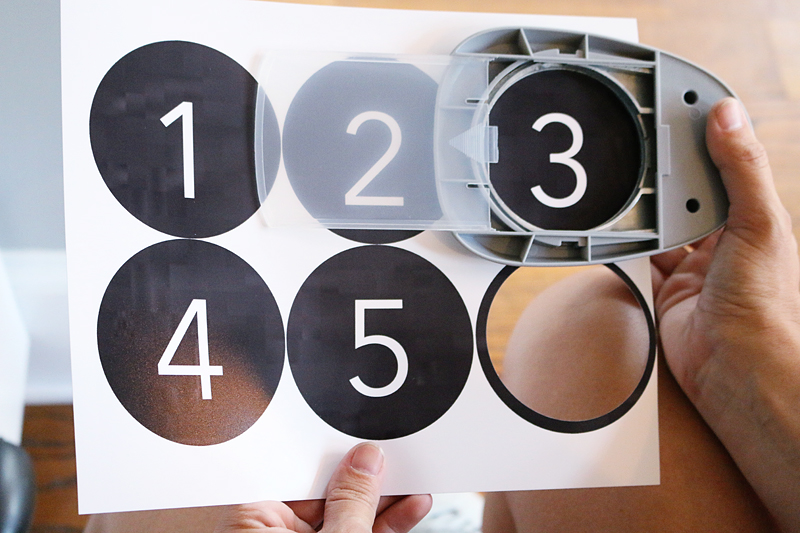
I also used one of these 3″ crafting punches to cut out my circles and save time. You can do it just fine with scissors though!
With the punch, I like to line it up by viewing the punch upside down. Then I can make sure to leave a small margin at the top of the number circles for where the nail will be.
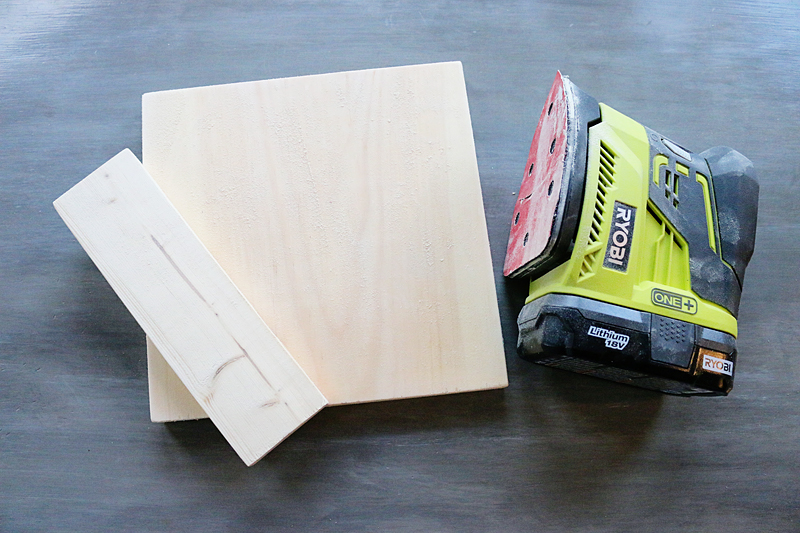
Finishing the wood is really up to you. Anything is a possibility! I tried to make something I wouldn’t mind having out in the kitchen all year long. First I lightly sanded the wood…because splinters aren’t cool unless you are a rat that knows karate.
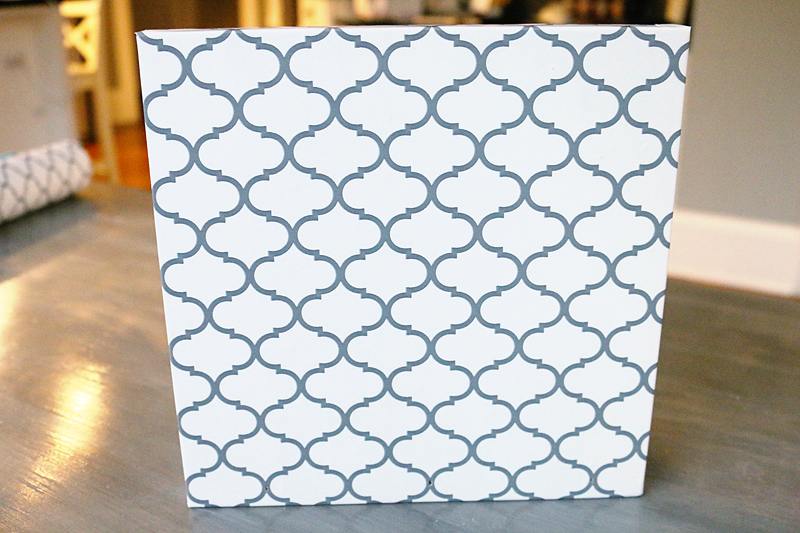
And then I broke out the adhesive laminate. This is my first time using this product – and I actually really like it! I bought it to line some drawers in an old dresser but it’s almost too pretty to hide away!
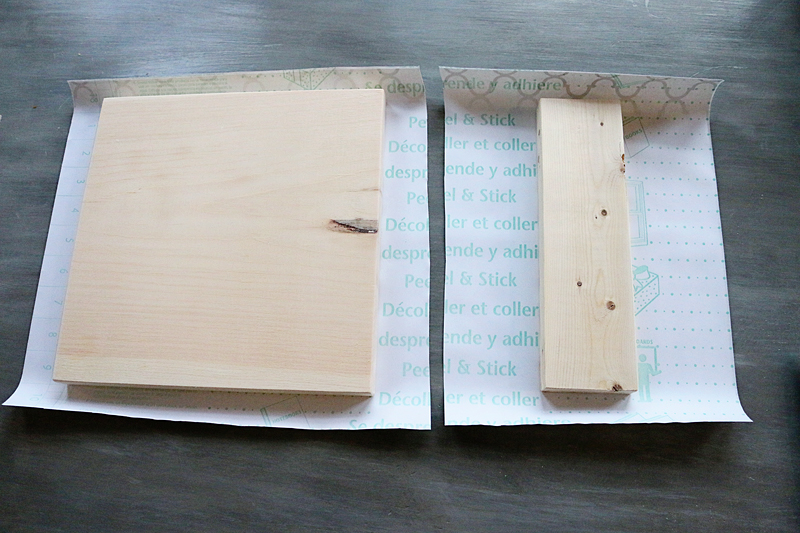
I cut a piece to cover the front of the larger wood piece and to wrap around the support.
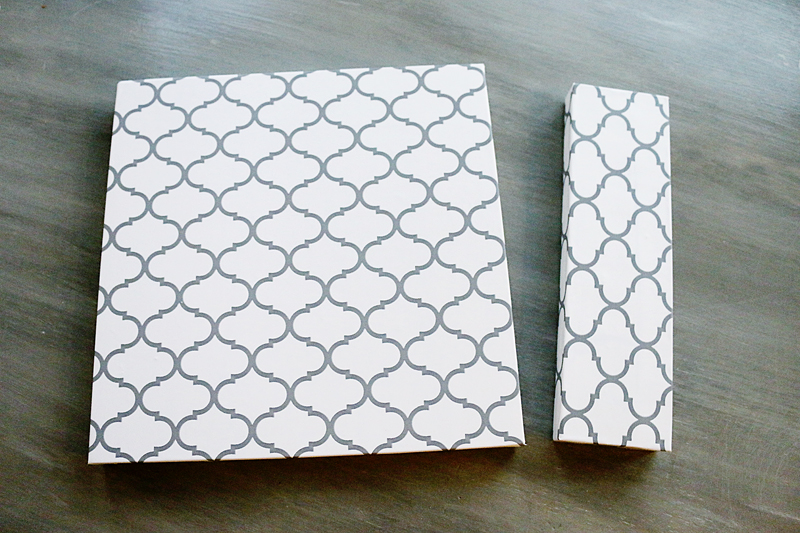
Then I just wrapped them like a present. Lookin’ good!
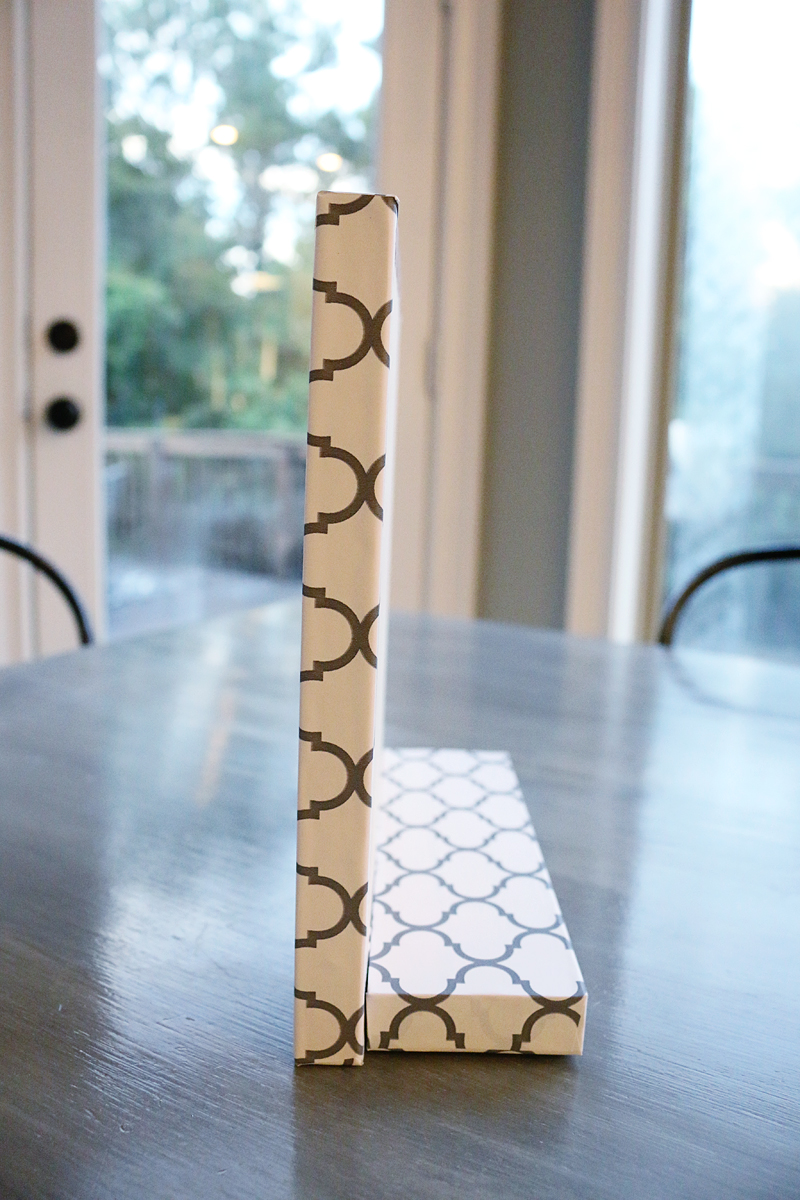
Then I just lined them up like the photo below and used a brad nailer to attach the smaller board through the big board.
Okay! Stand complete! Now let’s make the interchangeable numbers and event tags.
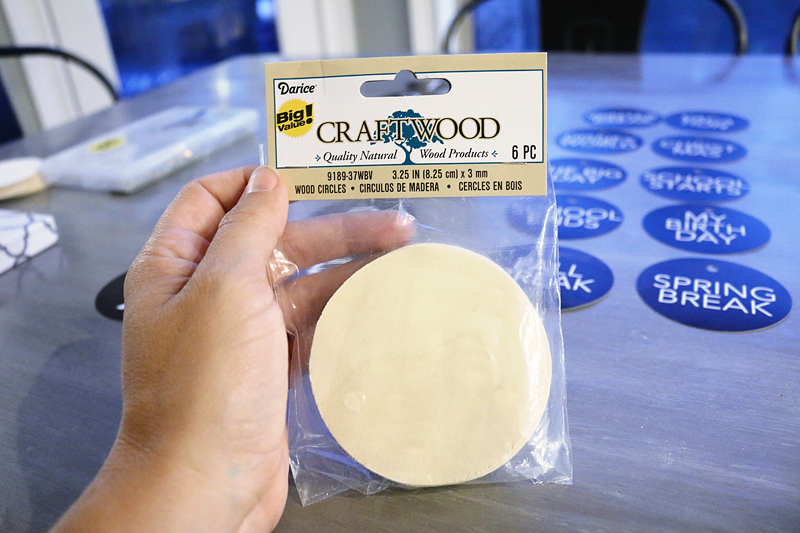
The photo circles will go on top of the wood discs. If you wanted to hang them as photo paper – that would totally work too….it just wouldn’t be as beefy 🙂
The wood discs are plain and inexpensive. I used three packs for this project.
So first hole punch your photo circles. Then you will want to lay them on the circle disc and mark where the hole should go.
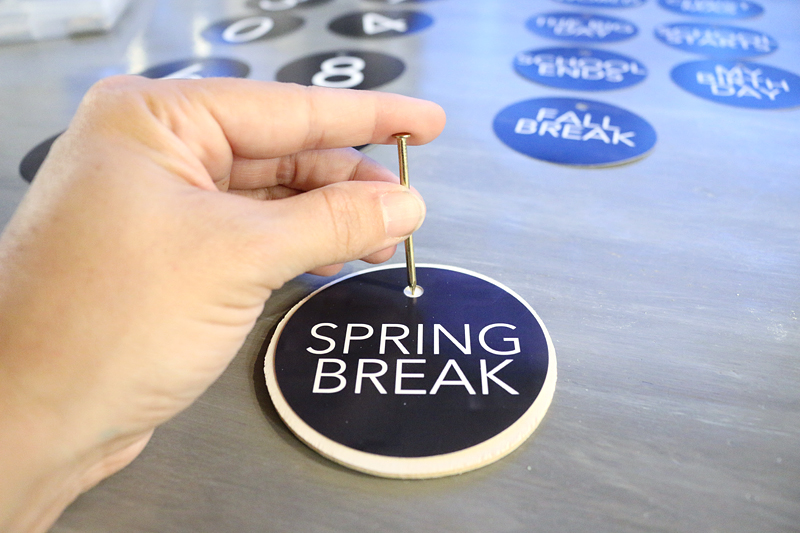
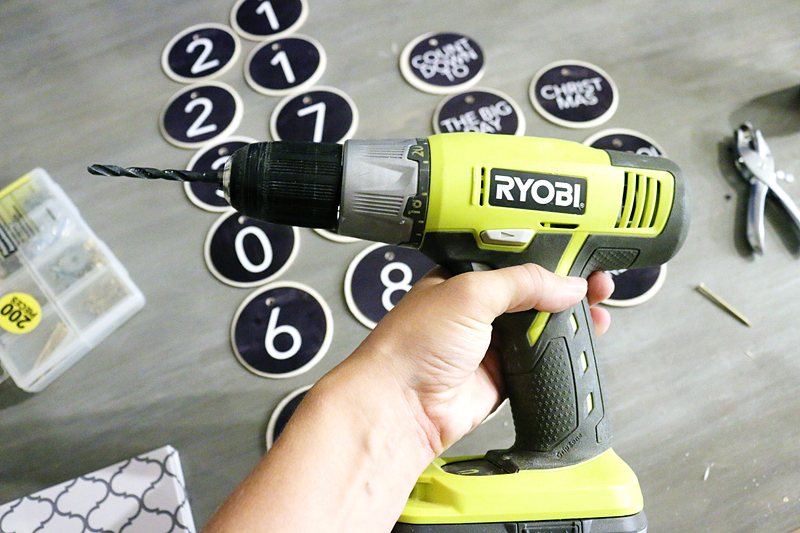
Then use your drill and a bit that is larger than your nail head to drill a hole in each circle disc.
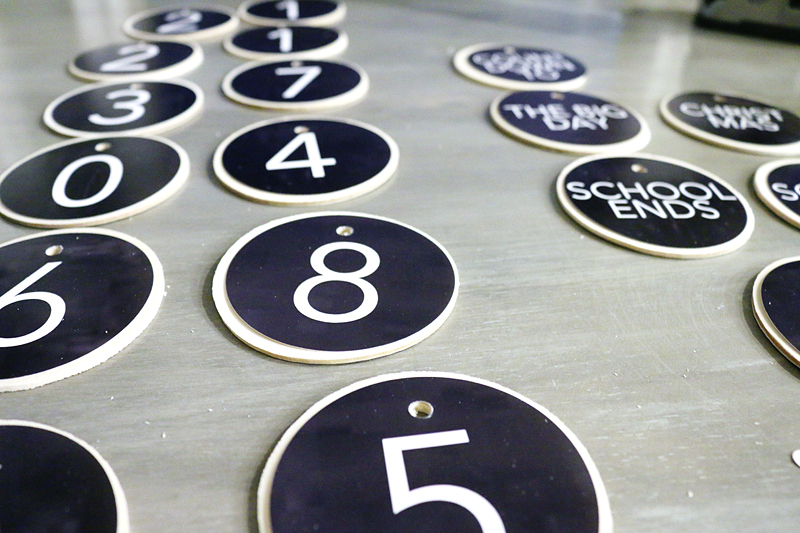
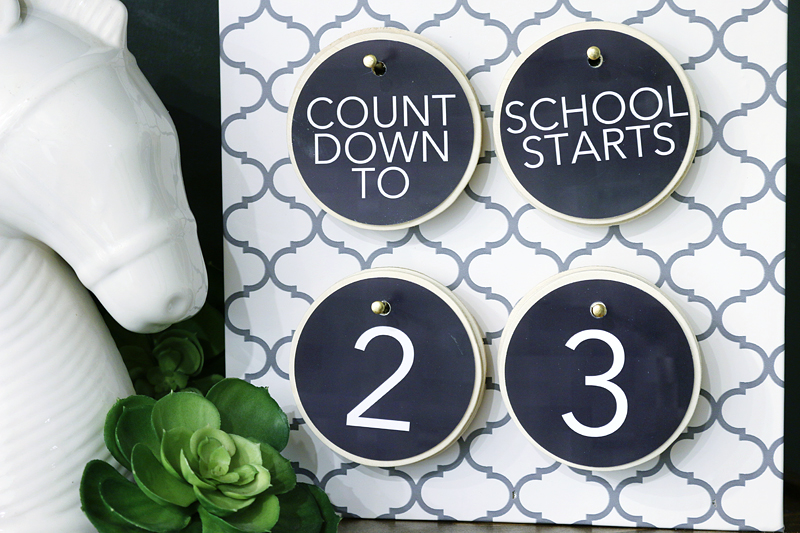
The event tags can be double sided but the numbers really need to be individual if you want to use them up to 9. I decided to make a couple extra numbers (1 & 2) because that allows me to count all the way up to 32. My kids cop out at 24 and skip right to 100 so I think I’m good.
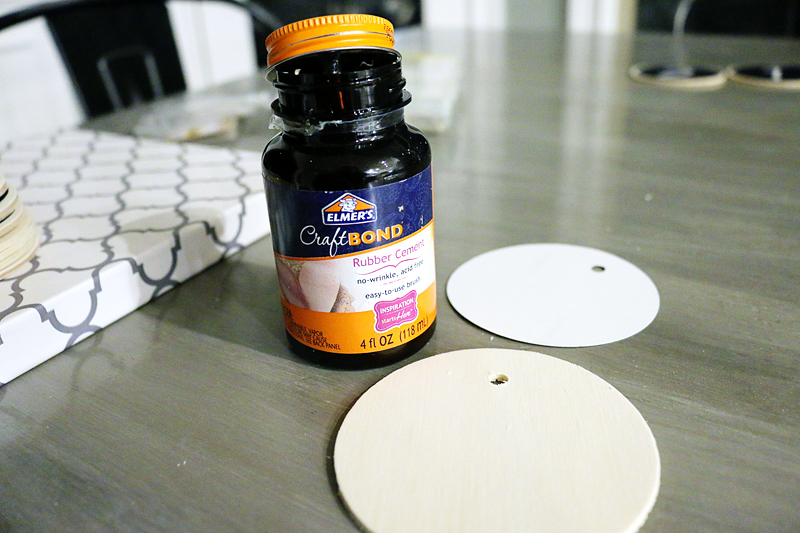
Add a smear of rubber cement to the back of the photo before lining it all up and letting it dry.
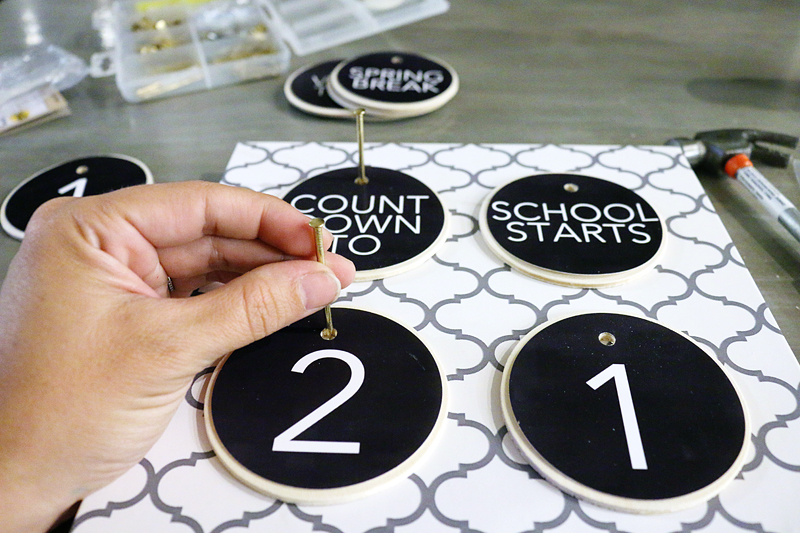
Then all you have to do is line up your circles and put a little nail in each spot! It’s super easy at this point and so fun to change out the events.
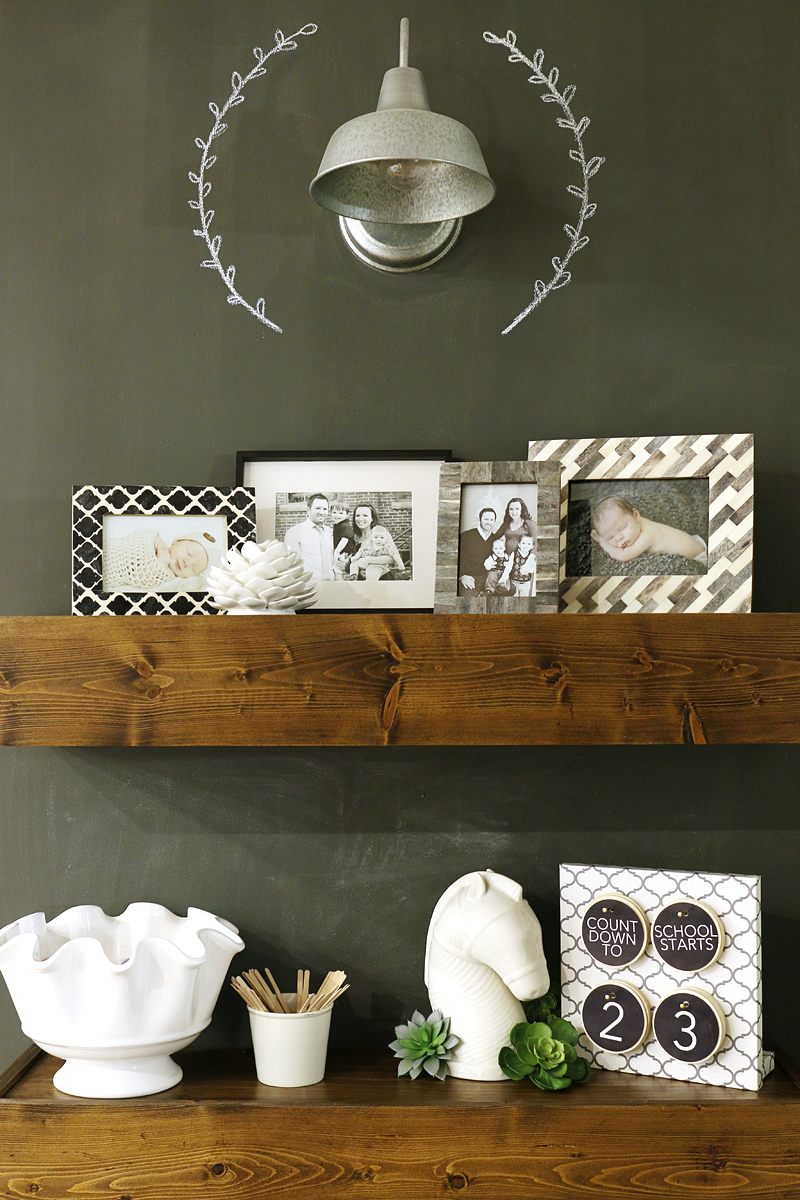
Doesn’t it look so cute? I love how now we can do this fun ‘switch’ each morning. And since it is directly over my coffee machine, it will give me something to do other than complain about burnt tastebuds from drinking coffee too soon 🙂
I actually love it so much that I think it would make a fantastic gift – especially for anyone that likes functional art. It’s clean and perfect for anticipating those big events!
Actually tomorrow is when our first day of school is for William but Weston is going to start preschool this year and we adjusted the numbers for him. I can’t even handle the fact that my kids are so old. Will’s teacher told me to not blink because if you open your eyes, they will be sophomores in college. I started crying. I did. Right there in the classroom. Right next to the supply closet and the reading corner.
Seriously though….I’m equal parts dreading them going off to school and leaving me forever and then also relieved because we will be back on a schedule with a real routine. At least now we will know exactly how many days till fall break 🙂
Doesn’t it go well with the other black & white things I have on my shelves?
The best part is – you can make it however you like! You can paint that back piece or stain it or add fabric for a pattern or try wood burning or ANYTHING. It’s perfect for personalizing!
Now I’m off to go double check the lunch got packed for Will. Knowing me, I probably packed one and then ate it 🙂



Jealous that you have 23 days, I have FOUR and all I do is cry about MY BABY and KINDERGARTEN and HOW is this POSSIBLE?
This is also seriously super cute and useful, we have made many a (wasteful!) paper chain to count down days, this would have been much better. Now for next time!
Well we had 23 when these photos were taken…now we are down to 15! I am so nervous for Weston! Will actually already started last week!!!! So early!
xo – kb
Are you calling Will William??? Such a big boy name! My Adelaide is four and went to Pre-K today, her FIRST DAY. five years ago my world was thrown upside down when we found out we were pregnant and now…
Sniff sniff. I am so proud of her. And she loves school. I am literally counting down the hours to when I’ll pick her up and she’ll tell me all about her new classroom, classmates, and teacher.
BUT that’s not why I’m commenting! I’m commenting because this is a great craft and I can see doing it for an advent calendar or a days-until-uncle-nate-gets-married calendar. I want to make one because for the first time in the year since we moved into our home, it is starting to feel like ours. Because… I started painting.
I have a TINY TINY NON EXISTENT BUDGET and here’s what I did:
– Found cheapo reject paint in the reject section and painted the ceiling soft seafoamy blue-green, inspired by the Petersik’s showhome office ($3.00)
– Found cheapo reject paint in the same section for peacock blue – get this – CHALKBOARD paint and painted a wall in my kitchen for my kiddos who love it already just for the color and don’t yet know they can go to town chalkin’ it up ($9.50)
– Bought paint (full price, wah!) and repainted my purple-walls-with-pink-50s-tile-bathroom white, CRISP BEAUTIFUL WHITE and now the tile can sing its song and not make me go insane
– Painted the other purple bathroom white!
– Had enough paint leftover to paint two walls of my boring muddy blue grey kitchen white
– Painted in huge numbers our address number on our painted brick and it looks awesome (so for the white bathrooms, kitchen, and address numbers it was $40 total for all the white paint)
So what else would you do? We have tools, some scrap wood, some more random paint here and there – I’m thinking of sharpie-ing some walls for a faux wallpaper look, but I’m basically obsessed with finally making this place feel like ours. Bold paint choices for us it is. If I could have a couch that I like instead of the one I’m stuck with that I hate and a rug to go with… man our place would be fabulous.
Oh and by the way, why is having a clean home after it exploded such a huge satisfaction?!?! Not sure but it was up there with a room reveal. And it’s free!
Long time fan
Secret Stalker
xoxo
Not seeing the printables
They are linked PDF’s in the middle of the post above the photo of them. I’m also gonna add a blank version for you guys 🙂
xo – kb
Love this & it would be handy w/ a little box/basket on the back to hold all of the extra discs.
Actually I just stack the extras behind the front one and it makes it really easy!
xo – kb
As a teacher all I could think was “laminate those!” Teachers love to laminate 🙂
I don’t have shiny photo paper. Would a heavyweight paper mod podge onto the wooden disc work?
Very cute project!
It could work….but I wouldn’t risk it. I would probably stick to a glue stick or a rubber cement. Mod Podge could smear your work.
xo – kb