Behind our couch in the living room lives a monster. A green eyed sharp toothed growling aggressive monster. It haunts me at night. Oh heck, it haunts me during the day too. It’s been known to devour small children and consume organizer’s souls.
It’s our children’s playtable. beware. it can see you and is hungry.
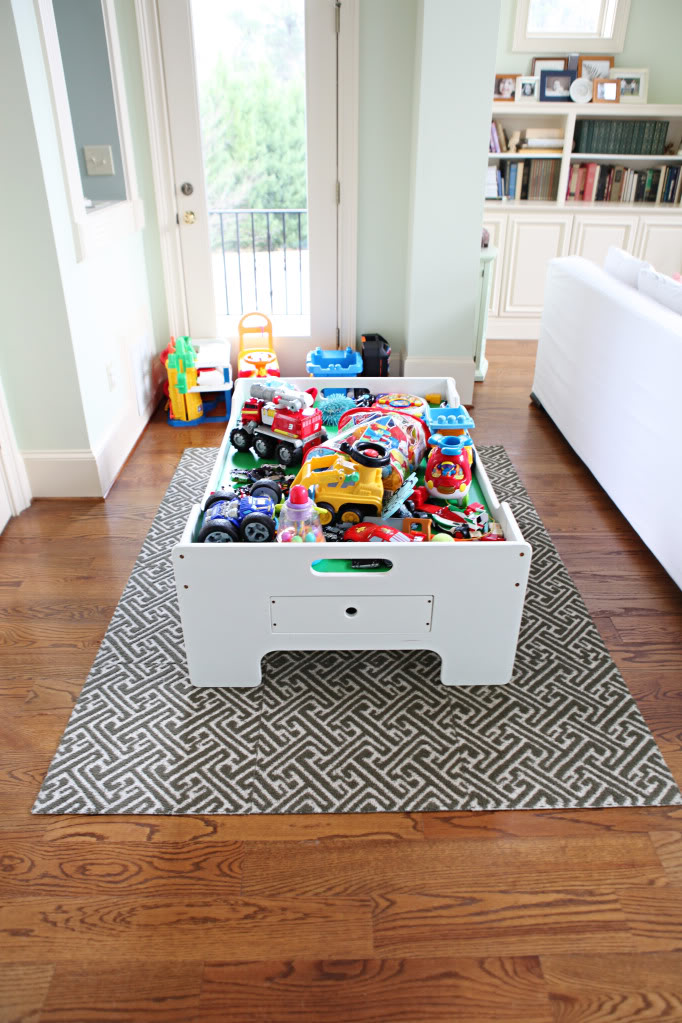
So Jeremy and I decided that we wanted to take every single toy off it and turn it into a train table. Will got a Melissa & Doug train set
to celebrate Weston’s arrival and setting it up was numero uno on our to-do list. The problem was that I am a commitment-phobe. I know that there will come a time when Will will no longer play trains every single day. The day will come and I will weep quarts of tears. And I don’t want to scrap this playtable just because we commited to a train setup. Gotta think of the future siblings afterall 🙂
Instead the plan was to cut a tabletop piece the exact same time as the existing top. Jeremy just used some 1/2″ plywood. He clamped them together and marked the sides.
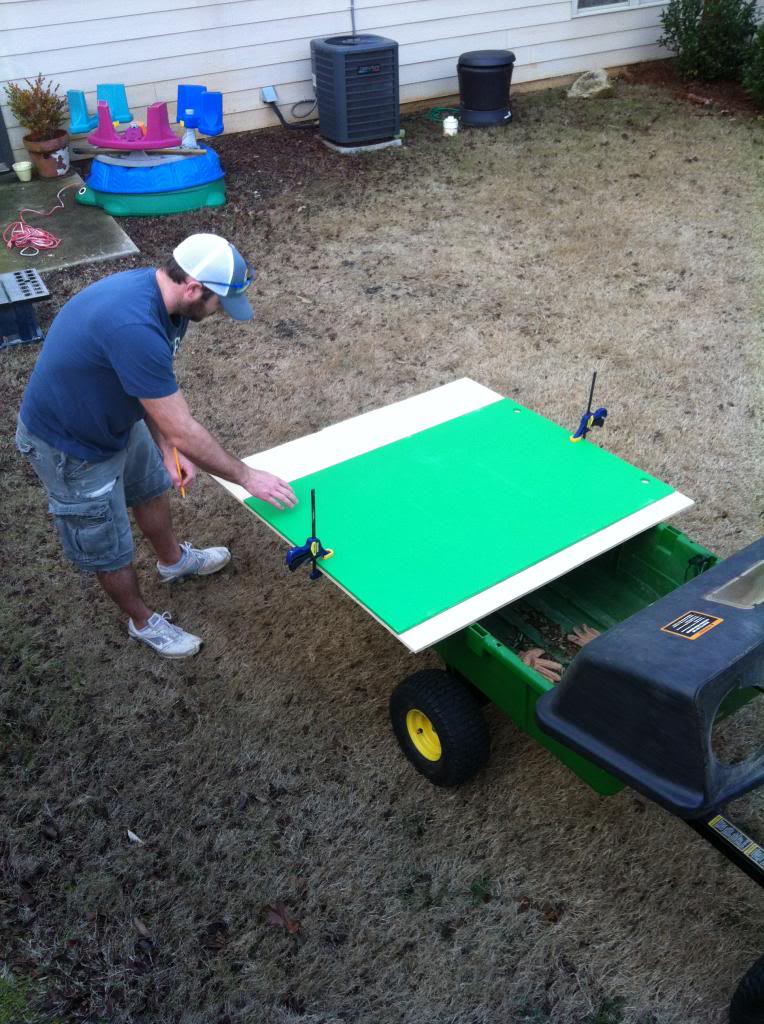
Then using the table saw, he cut it to size.

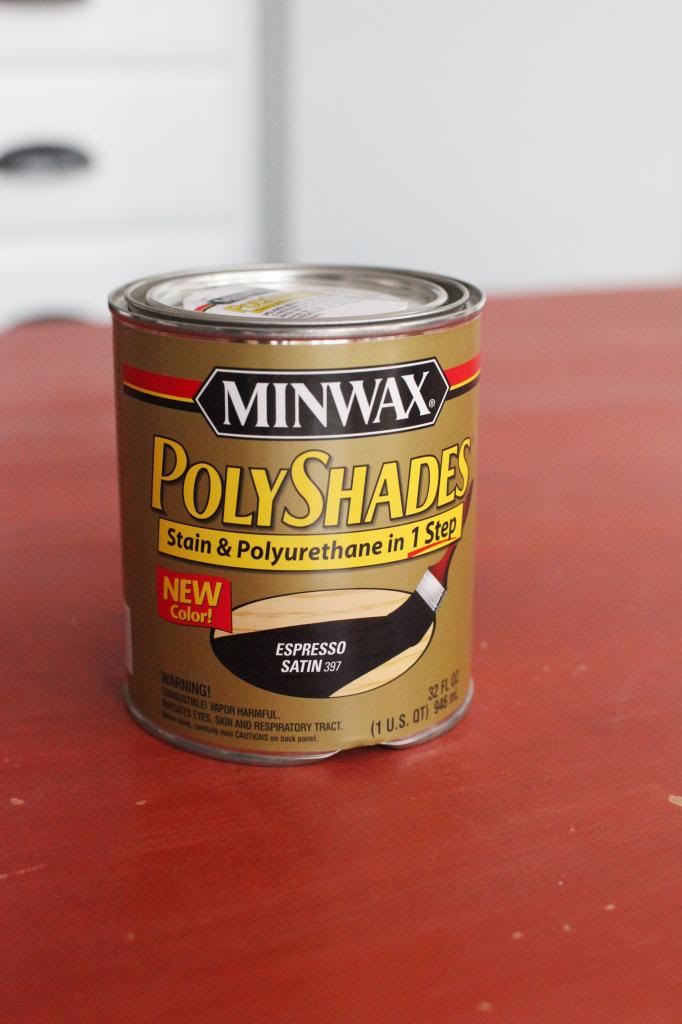
After that, we sanded it down and applied two coats of PolyShades stain & polyurethane in one to the top.
Then Jer and I set up the train tracks. Since there are a ton of configurations, we chose the one that used the depot, both bridges and had an inner and outer track. Jer took piece by piece apart and applied the wood glue. It took a lot of patience but it is super sturdy for when Will tests it with ‘crashing train wrecks’.

On one end of the train table, we wanted to be able to lift up the board. The existing top had a couple holes drilled in it for that very purpose. We decided that a handle would probably be the better fit in this situation. One end of the board had a little bit more room left for this very specific purpose.

I found a cheapo handle in my stash (I always pick through the clearance bin at Home Depot and Lowes for goodies).
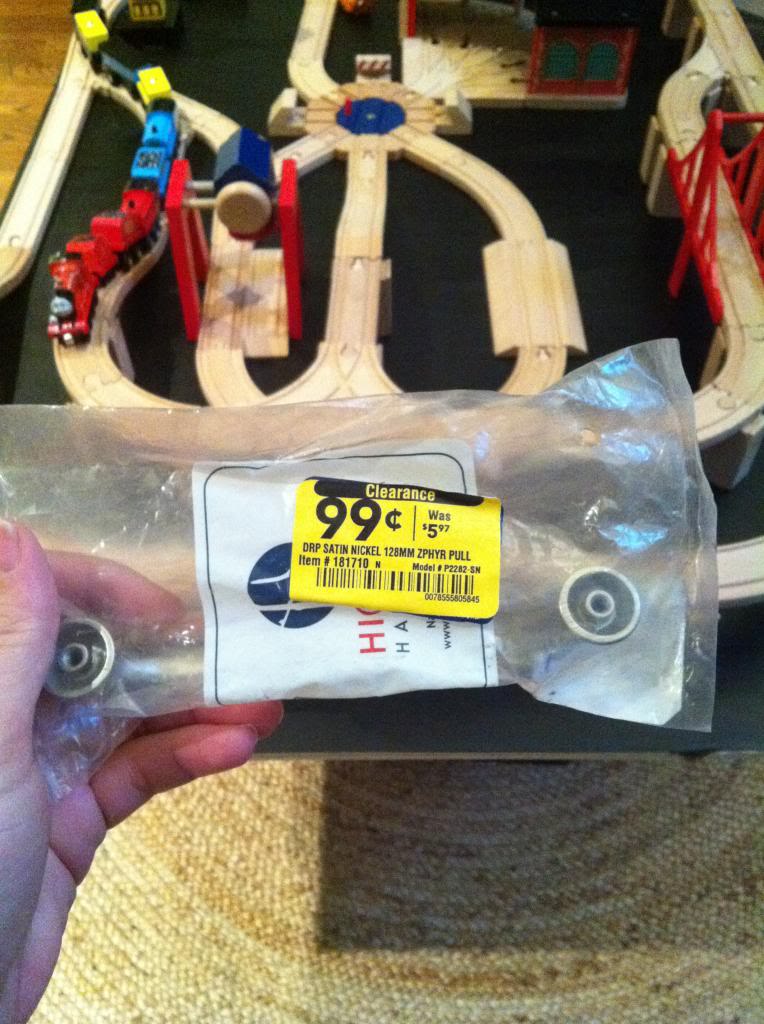
Here’s our trick for attaching handles perfectly….take a piece of Frog Tape and stretch it out over both holes.
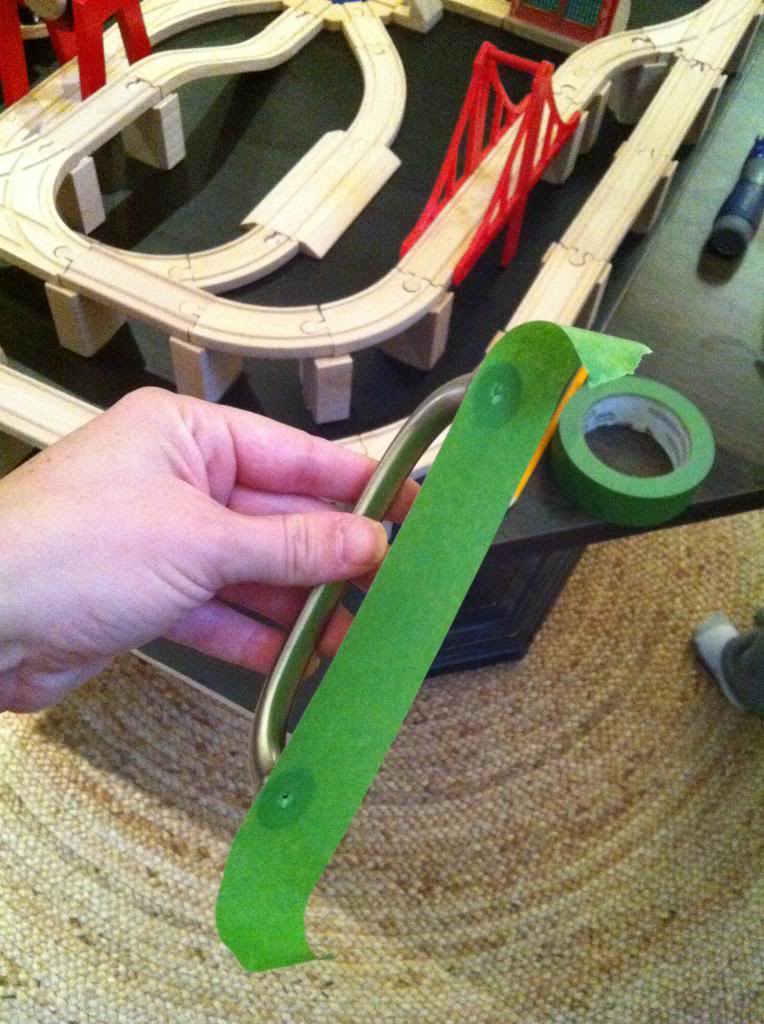
Then use a sharp object like a pencil (well, some pencils aren’t sharp but that’s neither here nor there) and puncture the holes.
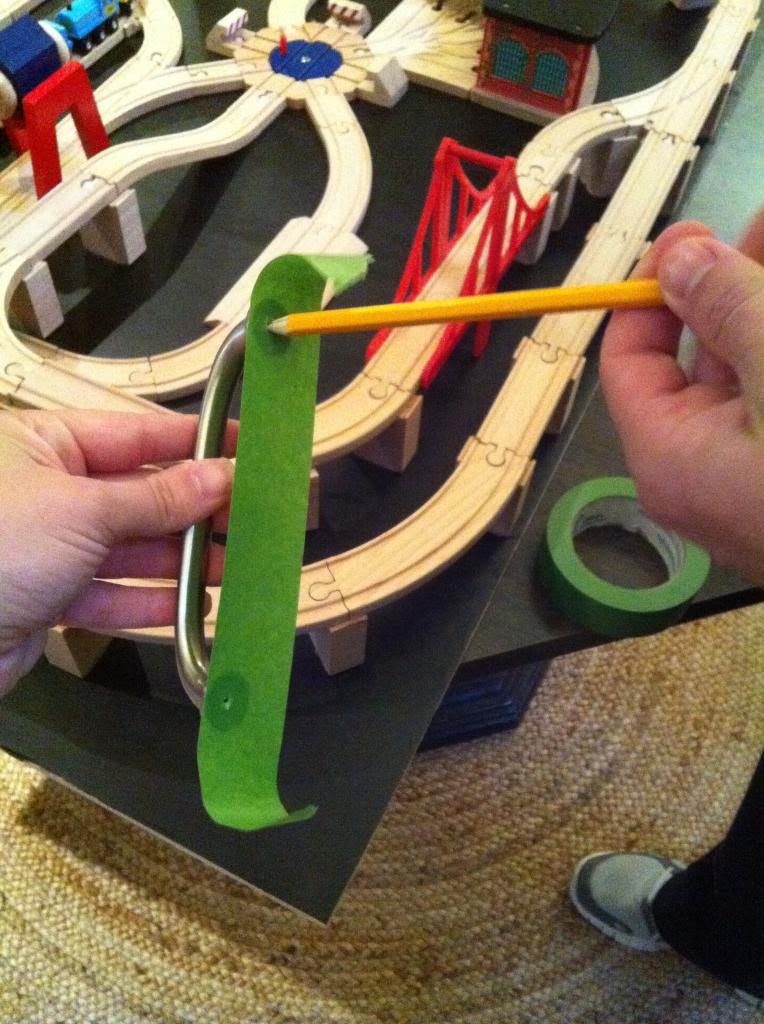
Then remove the tape from the handle and place it on the board.
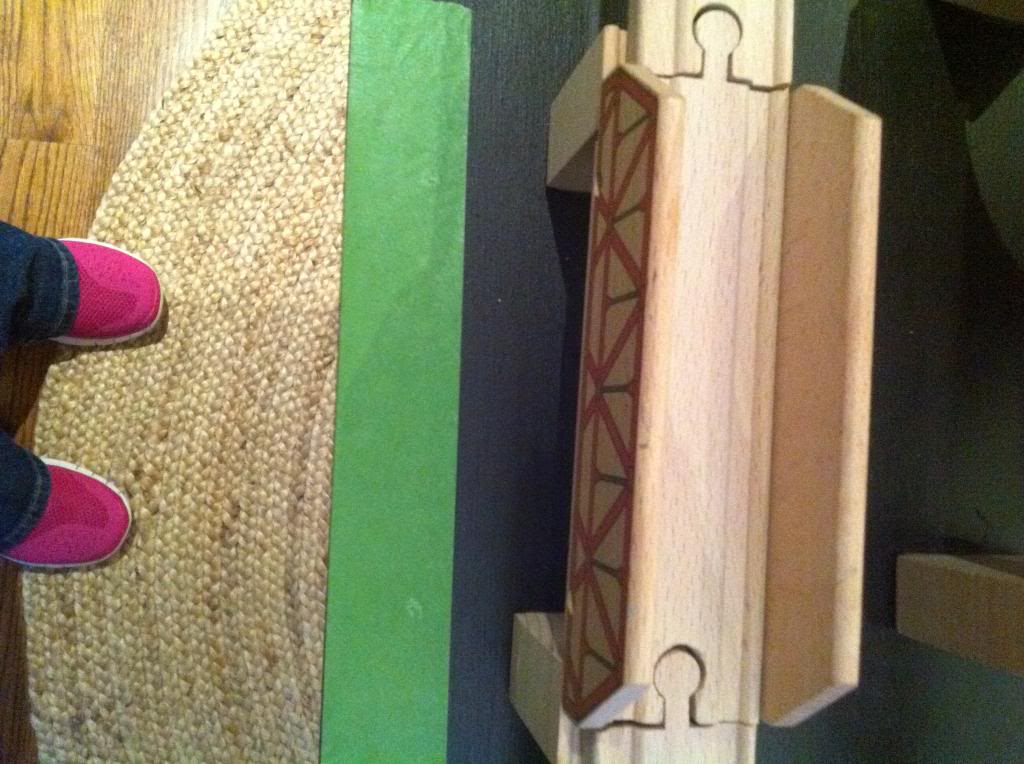
Then you predrill through the tape and into the board.
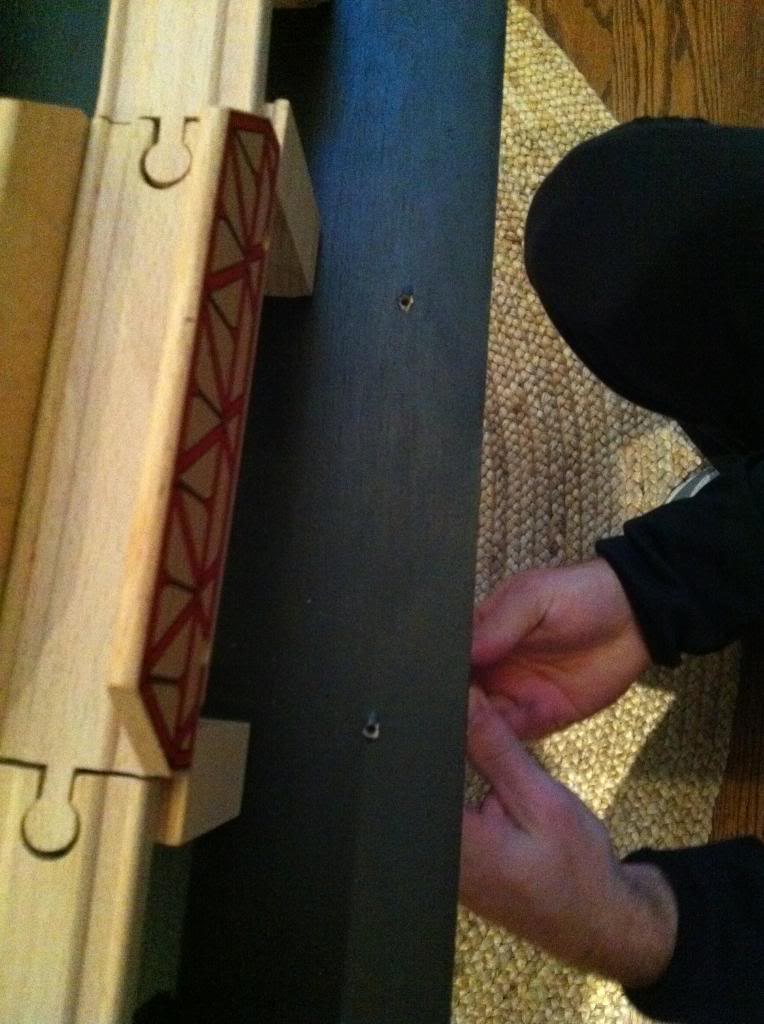
The screws should be perfectly placed.
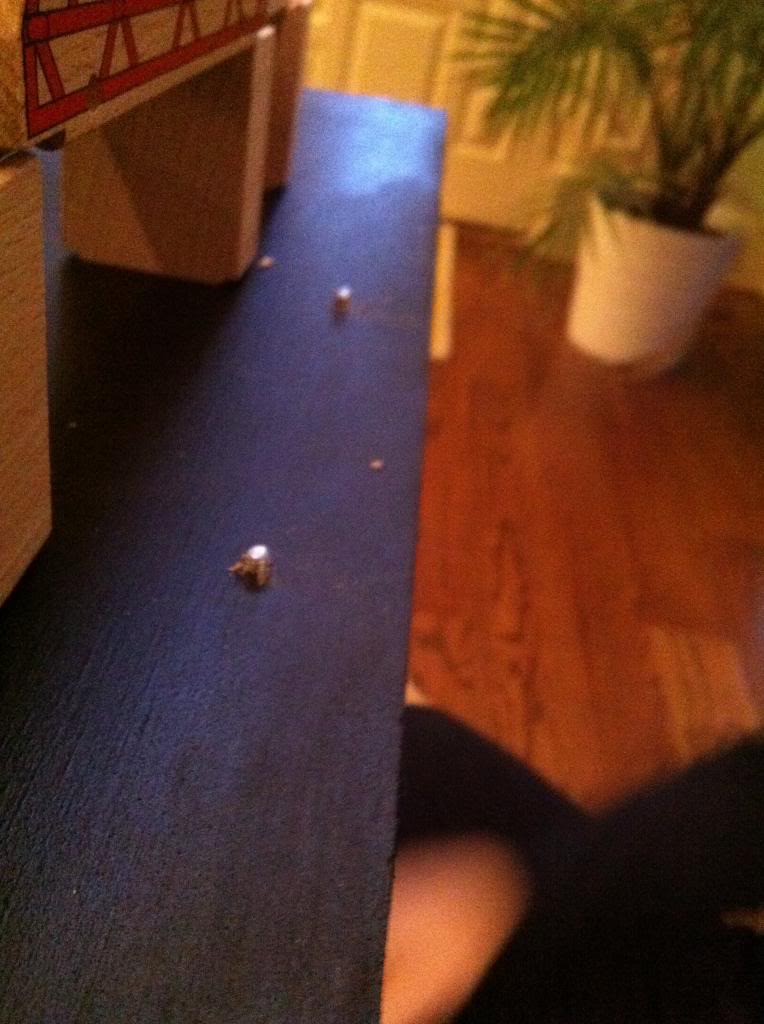
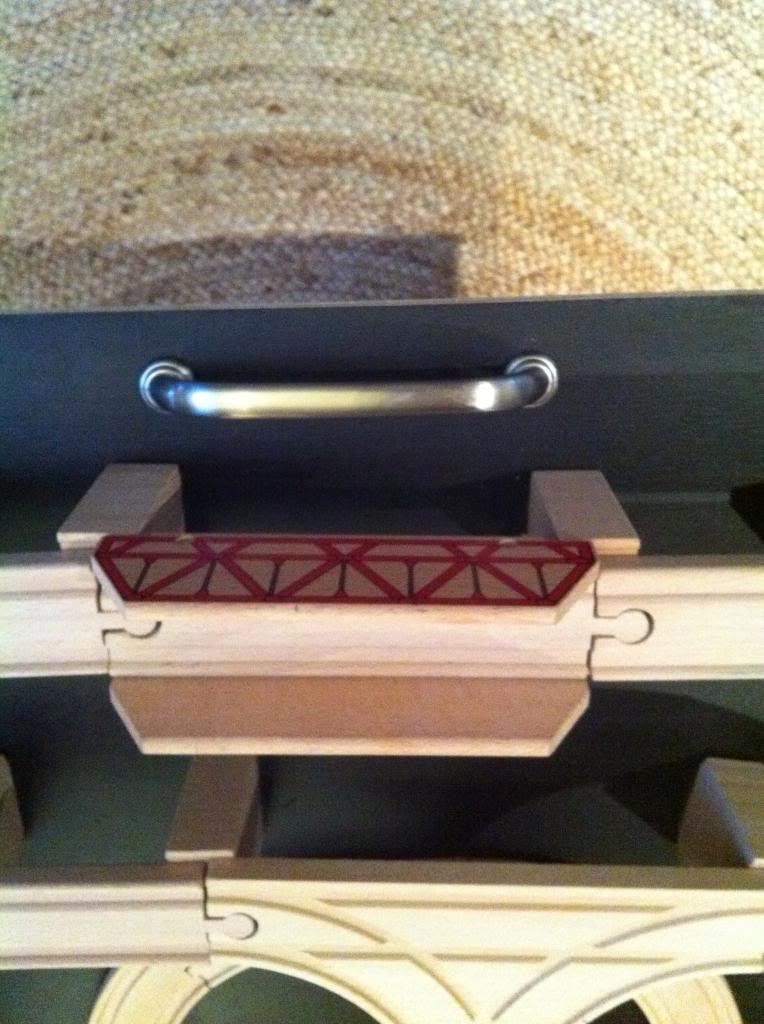
The handle was the last finishing touch. All we had to do was place the new top on the old one.
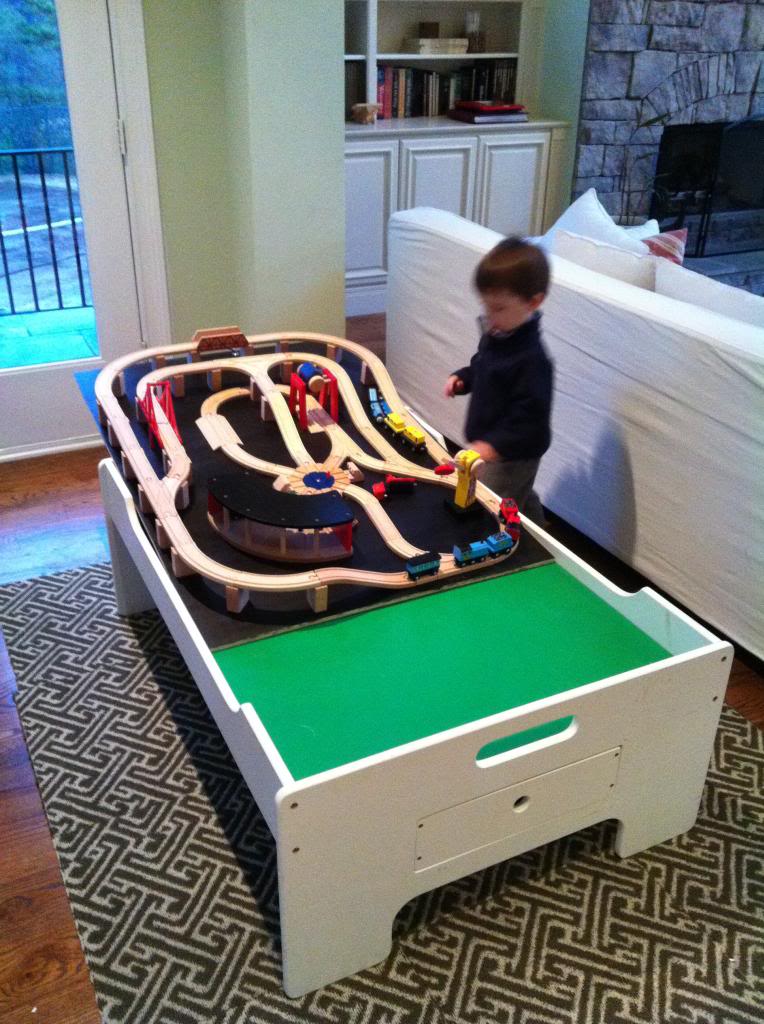
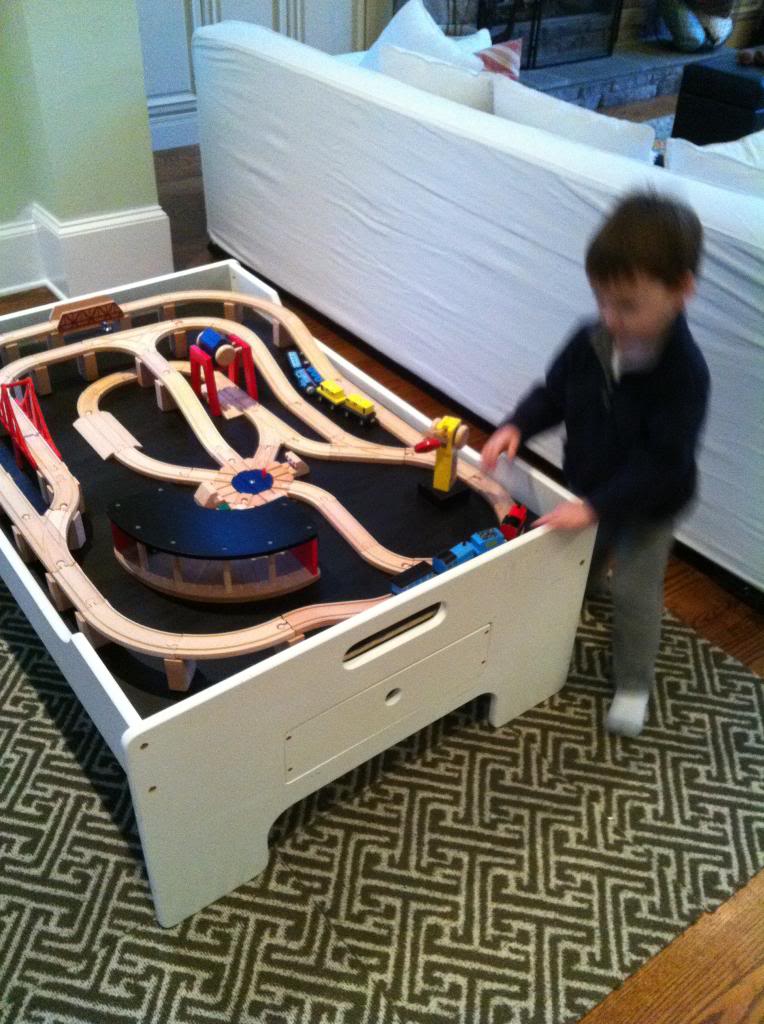
Will is obsessed.
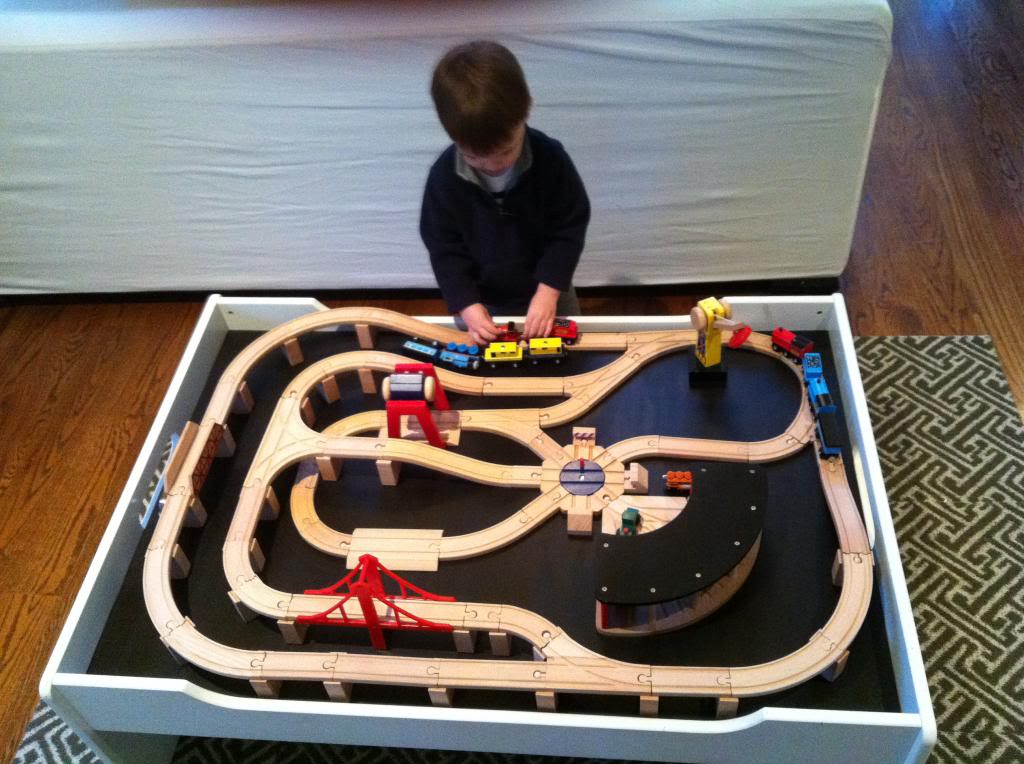
And I am happy too. The new table looks so much better as compared to the old monster. The future plan is to keep all the toys in this room in the white storage ottomans (see the one behind Will below). Hopefully it will help keep future mess at bay.

So there you have it…a little train table update. There are a ton of different ways to skin the train table cat. I love these versions too:
p.s. This is a sponsored post brought to you by FrogTape. All opinions and jokes about Will’s toys eating you alive are mine. Except that’s no joke.
What a great idea. I love that the train set is removable- you get all the benefits with none of the commitment… Genius!
Also, love the Easter pics- you have the most beautiful family!
Glad the monster won’t be keeping you up anymore!
Will is one lucky boy 🙂
What a great idea!
This looks like a child’s dream.
http://happinessiscreating.com/
Nice! Great idea 🙂 xo Kristin
Looks good! And thank you for that tip with the tape. 🙂
What a great idea! We have the same train table and sadly the same problem with toy overflowage. It’s a never ending battle. :/
Oh, I wish I could play with the table! It looks like so much fun. This brings back fond memories of when I used play trains with my siblings or when my dad set up his big electric train track.
These train set tables are such a great idea. Something about having the tracks firmly in place just makes kids more interested for some reason…
I used this same method when hanging an awkward wall decoration. Worked like a charm. Gooooo Frogtape! Love how the train table turned out!
My now 26 yr old had a train thing, going on back in the day, too. He was three when he got a “wood choo-choo” for Christmas…and those Brio trains were his obsession for a long time. I think the power of concentration/fine motor skills help develop his future art ability and guitar playing prowess. I still have them packed away for any future grankiddoes 🙂
http://www.etsy.com/shop/mfrancoart
Son of a!! Where were you and this idea 2 years ago??? LOL Kicking my self for not thinking of this. I guess maybe I didn’t want my son to be bound by one configuration of tracks…. now that he is moving from Thomas to Cars and other stuff I realize that just having a good set of tracks with lots of hills and turns like you did would be plenty for playing and sparking the imagination.
Seeing your little guy playing with his trains reminds me of my baby boy. He’s 11 now, but when he was Will’s age LOVED his train set and Thomas. So precious. I miss it. We still have his train table and all of his engines and cars in storage, can’t bear to part with them. Maybe one day his kids will play with them too! 🙂
I love the handle suggestion. I have some to install on a new nightstand; will definitely try that technique. Thanks!
My son loved s train table. Looks like Will is really enjoying his too! Just wait until he gets a bit older and you can repurpose it into a Beyblade battle ring. I did it for my son and it was a hit! So many uses for a train table.
Great idea! I wish I would have thought of this when my son was younger instead of buying him a separate train table!
We have the same table! What an awesome idea. Where are the white storage ottomans from? I need some or 5…. Or maybe more. #somuchcraptohide.
Hope all is well with you and those adorable men in your life!
The idea you have to use the tape to measure the holes for the handle – BRILLIANT! And I wish I would have seen this a couple months ago. I butchered a nightstand I was re-painting because I drilled the holes in the wrong place for the new handle. And I didn’t fill like filling in the holes, sanding, re-painting, etc. so I just said “the heck with it” and put it in my son’s room (because he doesn’t care). But I really wish I used some tape to mark the holes. How easy!!
very cute!
The white ottomans are a good idea for toy storage. For my son, I bought four large plastic storage bins from Target. I then glued fabric to the insides of the bins to make them prettier and hide the toy mess. We divided up his toys between the bins. Since he is only 1 and too many toys can overwhelm him, he gets to play with one bin at a time. It has been a win-win situation for all of us. He plays with each toy longer when there are only a few out and we don’t have as many toys taking over our lives 24/7. 🙂
Hi Katie!
Great train table top! Could you tell me where the rug/rug tiles are from? Love the pattern.
Awesome post! The table could double up as a lego table too.. Am sure to nick this idea ! 😉
Love it! what a great idea 🙂
So will Will be able to take it apart and reconfigure it later? My little boy always thinks that’s the best part of his train set.
Wow, you two are the best parents. Our son has loads of tracks and this is a great idea. Gluing them down so you have one amazing and complex track is a great idea. Those ones you see at the store have the kids in wonderment! Thanks for posting this fantastic post!
Hi Katie,
The train table looks great! Just wanted to clarify (before I dive into the project for my own son) that all you used to hold the tracks down was wood glue? Not a single nail or screw? That sounds far easier than others I have seen.
Thanks!
love that you had enough foresight to think about future use – and thanks for giving us the same advice! will definitely give your train table a go in our own house.
that’s awesome!
looks so nice! My son is actually obsessed with building and rebuilding his tracks in different setups (multiple times a day!) so gluing it down won’t work for us. BUT, that configuration you set up is very snazzy, so Im going to copy it and it will give me one more option for helping him set it up! We need every option I can find!
Loved the handle idea too!
You did a great job, but I think the fun part for kids is creating different train set ups. Just don’t glue his Legos together for him when he gets older!
What a great idea – now the boys can still play on the table, but with way less clutter than just a table for toys. I’ve always had a soft spot for train tables, too 🙂
So gluing the pieces down means they are permanently in that track configuration? Huh. Making new tracks is the best part of playing with trains. It’s an interesting project, but maybe a little short sighted as he gets older and doesn’t want to be held to that design forever. My boys spend hours designing new and exciting tracks.
And the best mother of the year award goes to Katie, in the right corner!
Seriously. I want a train board now. And I don’t have kids. Maybe my boston terrior wants one…
This is awesome! I feel like my four year old’s train table doesn’t get as much use as it could because it’s not always set up, so this would be so great for him. Pinning for hubby to work on later! 😉 Hope you’re having a great week!
Yeah…probably a good solution for short term…but we figured that since he is only interested in crashing the tracks, this holds his attention longer. If we found in the future that he is really into building, then we could always go to ikea and buy him another pack of them for cheap.
xo – kb
Haha! Can you imagine?! That would be kinda awesome actually 🙂 No more lego-in-the-foot syndrome 🙂
xo – kb
what a fab idea!! easy to keep up with all the goodies…and hours of fun for the munchkins!!
Yup…just glue. I wouldn’t recommend picking up the entire board by the bridge or anything…but it is definitely sturday enough to withstand the crashing trains 🙂
xo – kb
No. Not unless we loosen the glue…but it’s probably just easier to sell it on Craigslist or get him a completely different set from Ikea and pass this on to the little siblings 🙂
xo – kb
From FLOR. They were Martha Stewart Trellis 🙂
xo – kb
Ours were from Pottery Barn outlet but I think they still sell something similar!
xo – kb
I am a 22 year old female and even I want to play with that train table. Good job!
I love reading your blog Katie but why oh why glue the train set to a board ?!? The whole fun is setting it up in 101 different configurations ! My boys spend hours (ages 6 and 4) spend hours doing this…
Hi Katie,
Would love to do this for my lil one who is currently choo choo obsessed. Quick question – which table is that?
This is genius. I love that it blends really nicely with your decor and that it isn’t permanent. Also, the tape idea to get perfect holes for hardware? Genius. I already knew you were genius, but this takes the cake.
I’m starting to get nervous about toys taking over the house. So far, I’ve been able to keep it at bay, but I’m afraid it’s going to be scary once we hit Henry’s first birthday. Small house + little storage = scary mess.
YAY! I love this and we have that same table so I am totally copying that great idea! Thanks
My mom got it for us…Here’s a similar one.
xo – kb
Well, we waited two months for Will to get into setting up the tracks. No dice. Granted, he’s probably too young but he has always loved crashing things and we wanted him to be able to actually play with the toy. So gluing the tracks together was probably not for everyone but we could always buy him more later if he gets into building. Plus, we can pass this down to younger crash-obsessed siblings 🙂
xo – kb
I just wanted to drop a note to say thanks for linking up to the train table I posted! I saw some traffic coming from you and came over to check it out. Glad to have found your blog. Your boys are adorable. (I have 2 as well.) Your table turned out awesome.
Thanks again!
What a great idea! We have the same table for our 22 month old boy and he rarely uses it! I’m really glad I saw this project! love how you can just place the new top on top of the old one! would love to do something similar! It looks fun! Ingrid
My boys actually love the track glued in place, especially the wooden track because it doesn’t really stay together well otherwise. You can always pick up some of the plastic Take n Play track if he decides that reconfiguring the track is the fun part. And, yes, you WILL weep quarts of tears at some point.
Aww thanks Cheri…love your blog too!
xo – kb
I think it is a great idea and in no way think your child will lose his sense of creativity. My kids are 4 and 6 and they love to destruct everything! I think that gluing the tracks to a board is much better than having a couple hundred dollars of tracks and accessories thrown all over the place. You can always have tracks for use on the floor….when they can use them for building, and not destroying. It also provides younger siblings a safe opportunity to plane trains too.
Would you be able to tell me the dimensions of the board you made? I want to buy the table and train set but I figured I would start working on the board first.
Well, we made our board for the inside of the train table…so we just measured that…I imagine that most train tables are different so I would probably recommend you get the table first or know the inside dimensions. Our table inside dimensions were 31.5″ x 47.5″.
xo – kb
Thanks so much! I appreciate your response. I love your blog!!