Our laundry room renovation is literally running on fumes at this point. To say that it has lost momentum is the understatement of the century. And every day all I think is…I NEED A LAUNDRY ROOM COUNTERTOP! THAT IS ALL I NEED TO BE HAPPY IN LIFE!
and then I go through some sort of stress-induced coma. also known as a nap.
The laundry room started last year. You read that right. I am the Michael Jordan of slow mo renos. You can see the original room here. We ripped out the floor, vented our kitchen hood through this room, built up and painted the upper cabinets, got a new light, painted the walls, made a crazy ombre wall, and tiled the floor (here and here).
And then we stalled out. Right before LJ was due to arrive, I realized that our laundry room was lagging behind and we did a surge of stuff…but it was still slow going. That’s this post. Sounds titillating huh?
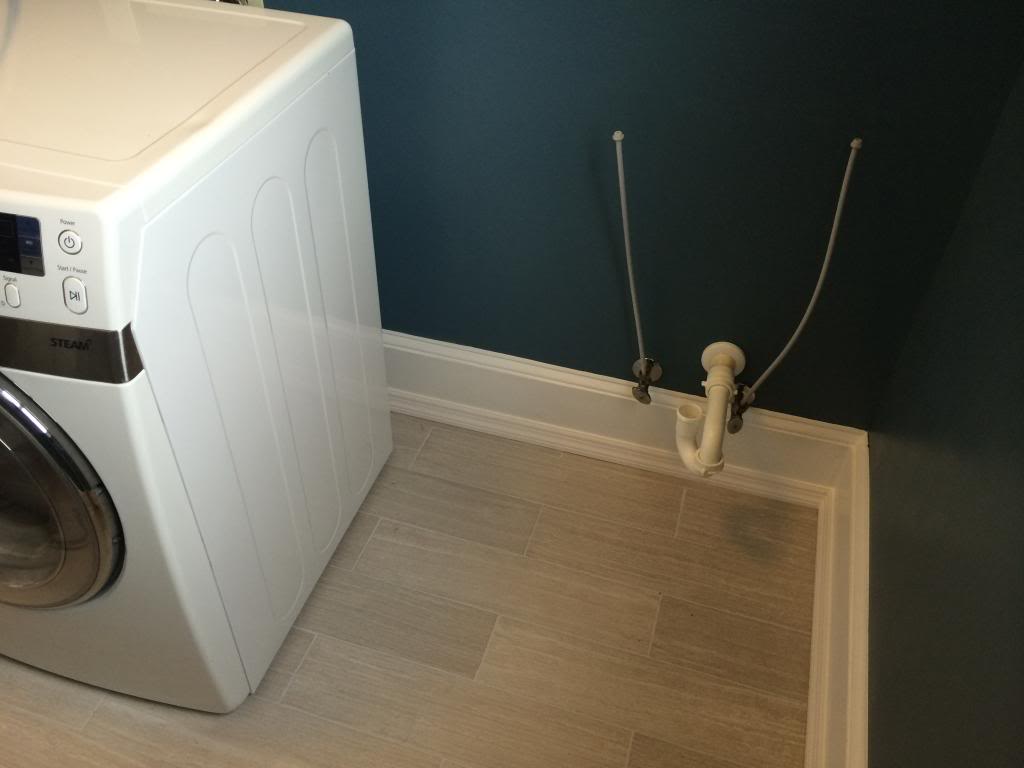
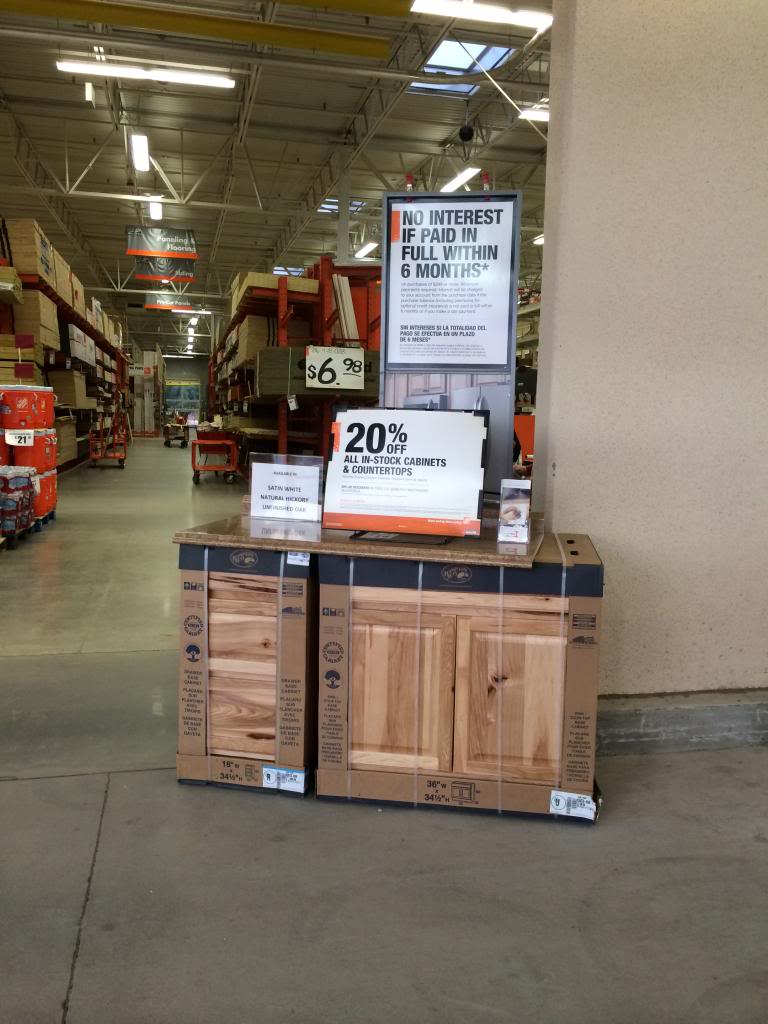
So the space to the right of the washer and dryer was for a sink. In the past it had a utility sink that did it’s job but was about as attractive as a boob job gone way wrong. We headed out to grab something to have a little more storage and to hide all those pipes. Thankfully Home Depot was having a cabinetry sale and so we scored an unfinished 36″ cabinet for $115.
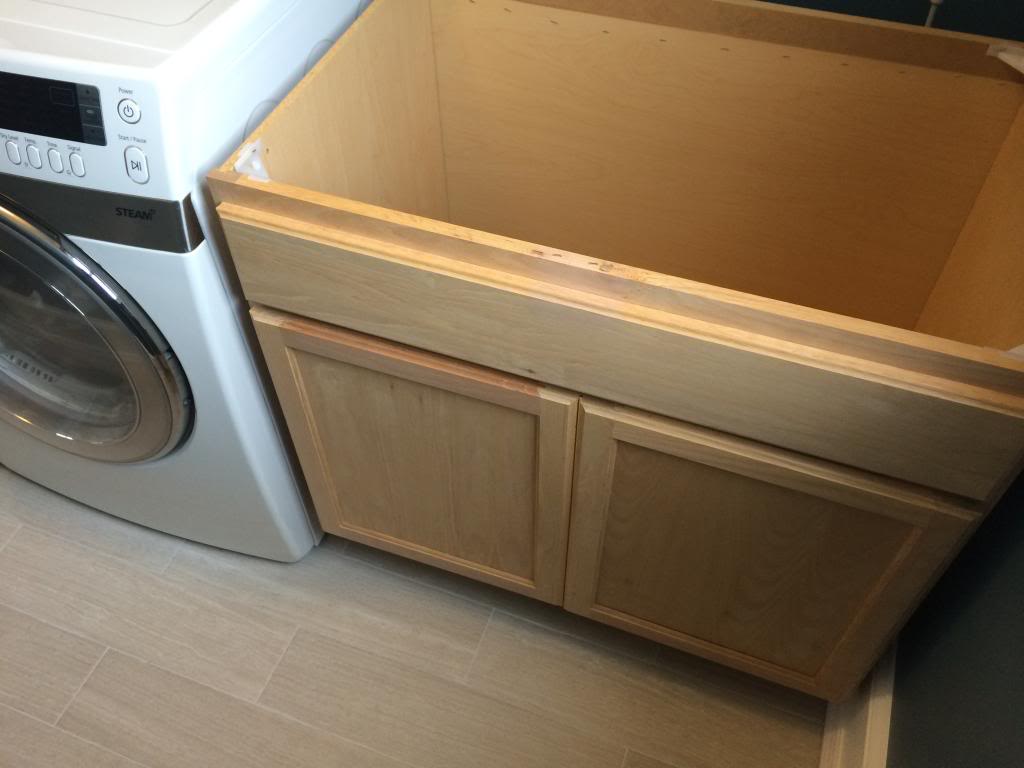
When we got home, we tried the fit in the space and thankfully it looked great. Jeremy and I both use the little kitchen sink for our paint brush cleaning and clothing needs so we wanted to make sure this zone had loads of countertop space and the 36″ allowed more for that.
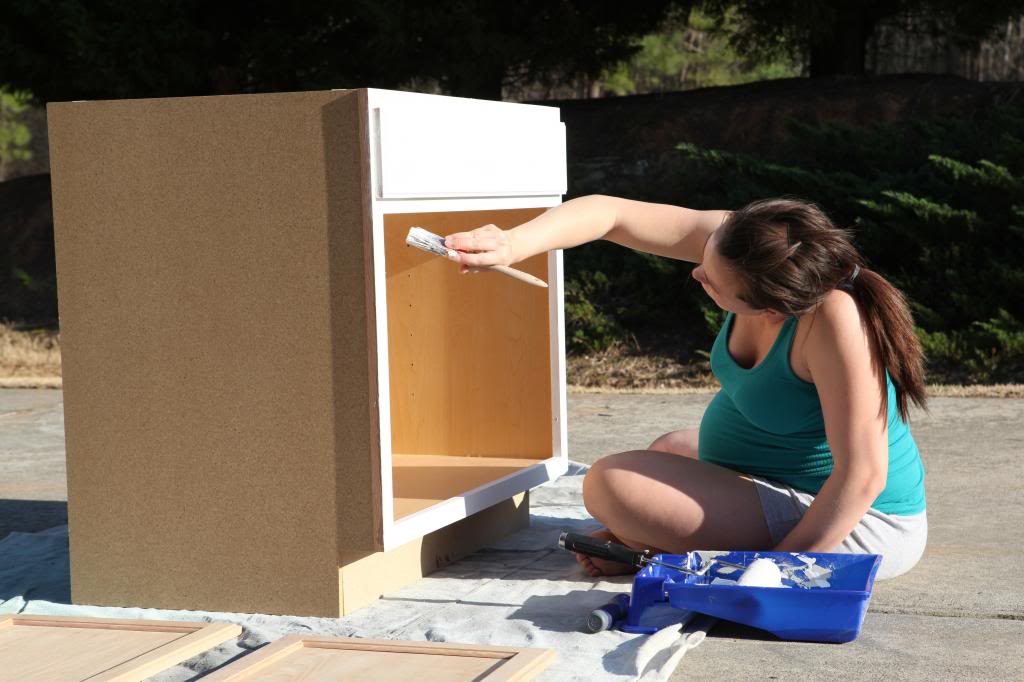
Then came the painting. As you can see…I am huge with child. I don’t even know why I wore pants in this photo. They weren’t needed 🙂
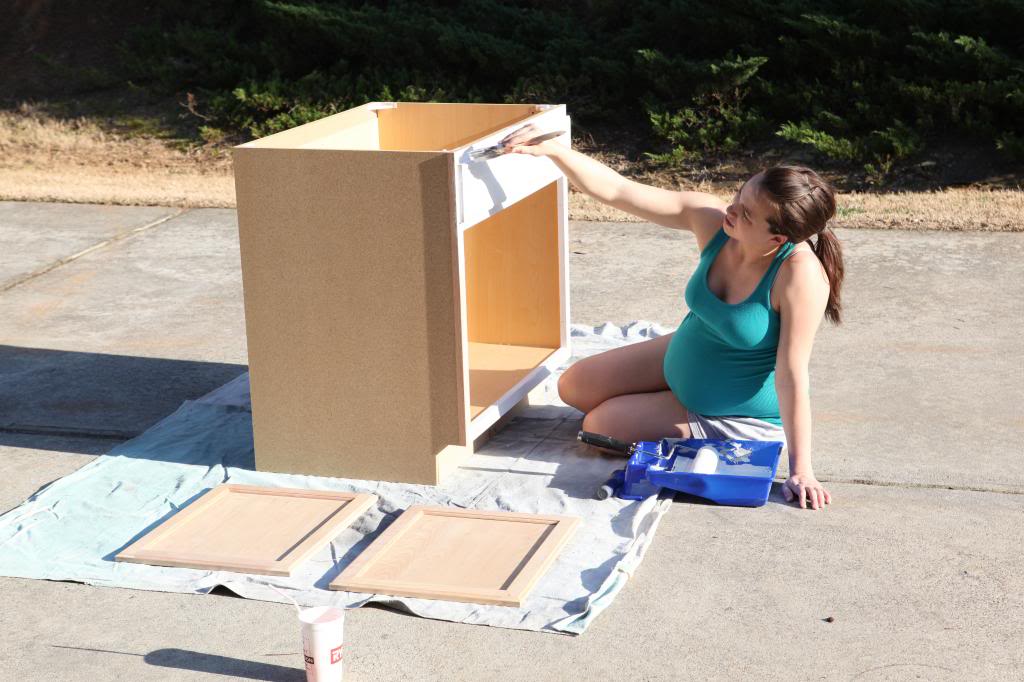
I primed the cabinet and painted it with the same paint as I used on the upper cabinets (Kilz Clean Start primer and Benjamin Moore’s Advance Paint in Simply White).
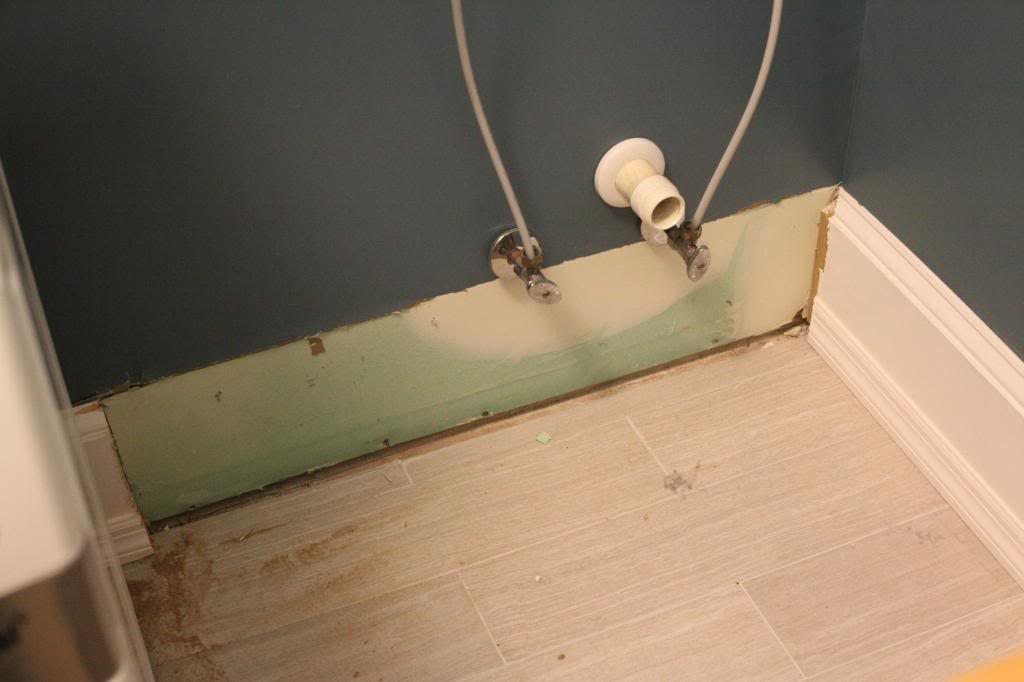
Then came fitting time. We wanted to make sure that the cabinet fit all the way against the wall to make any future countertop fit properly so we removed the moldings in the back.
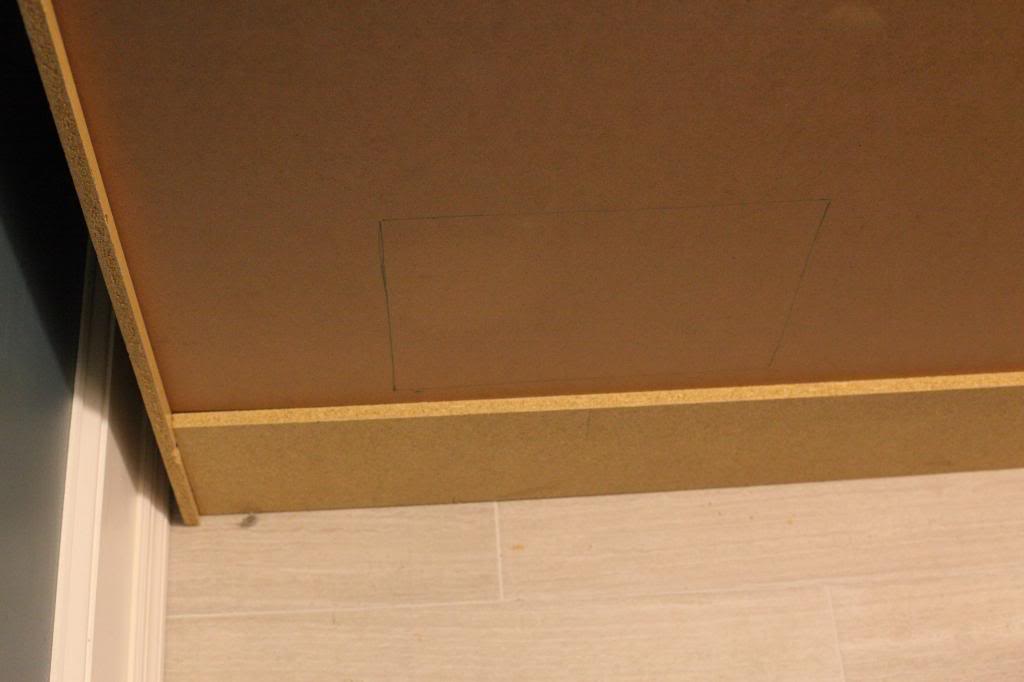
Then I made a template for where the pipes would fit and traced it onto the back of the cabinet.
Jeremy used the Dremel Multi-Max tool (I think it’s actually my Dad’s tool…maybe not…I’ll have to ask) to cut the thin board.
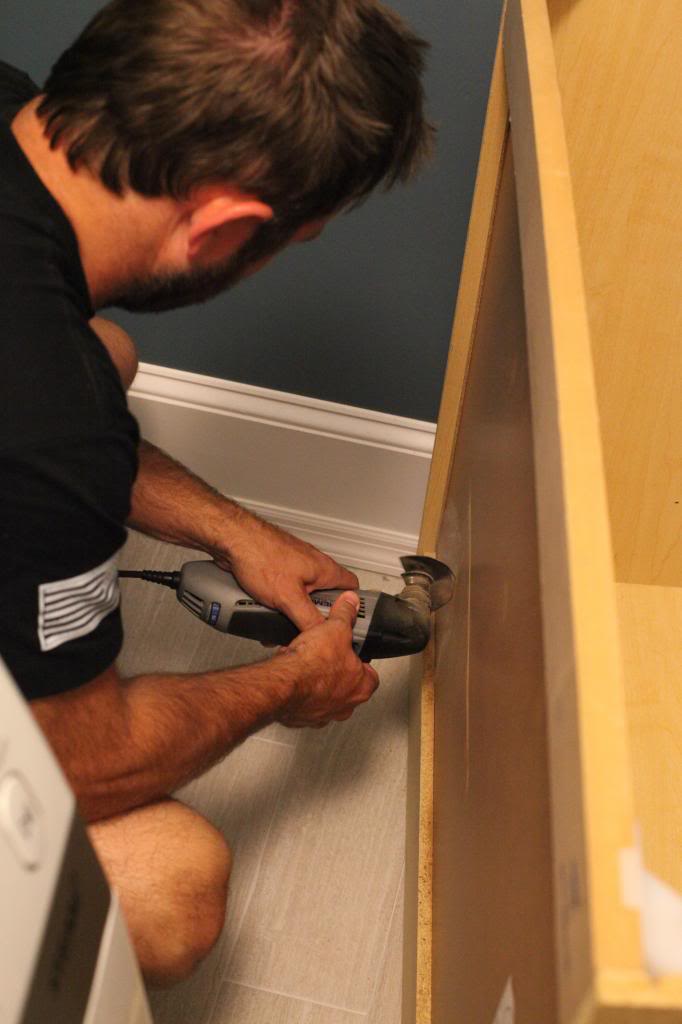
I love it when you can see the blade pierce through. Oh gosh I sound like Dexter.
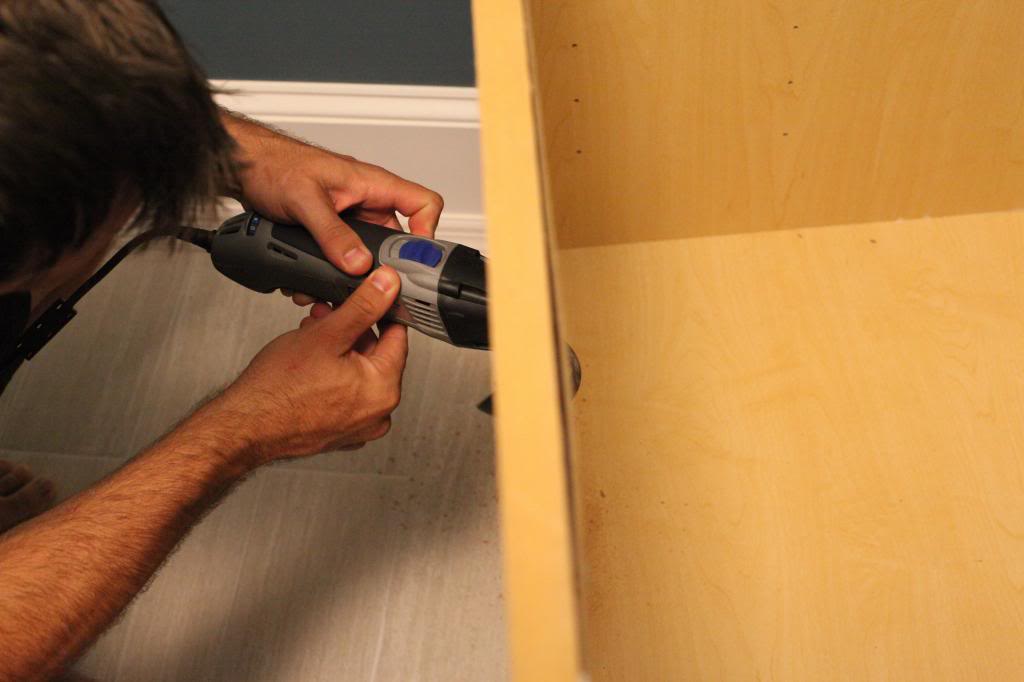
Once we were able to slide the cabinet all the way back to the wall, we were able to trace where to cut the floor moldings to cut those. Since the cabinet side has a toe kick, it was a more complicated step-like cut.
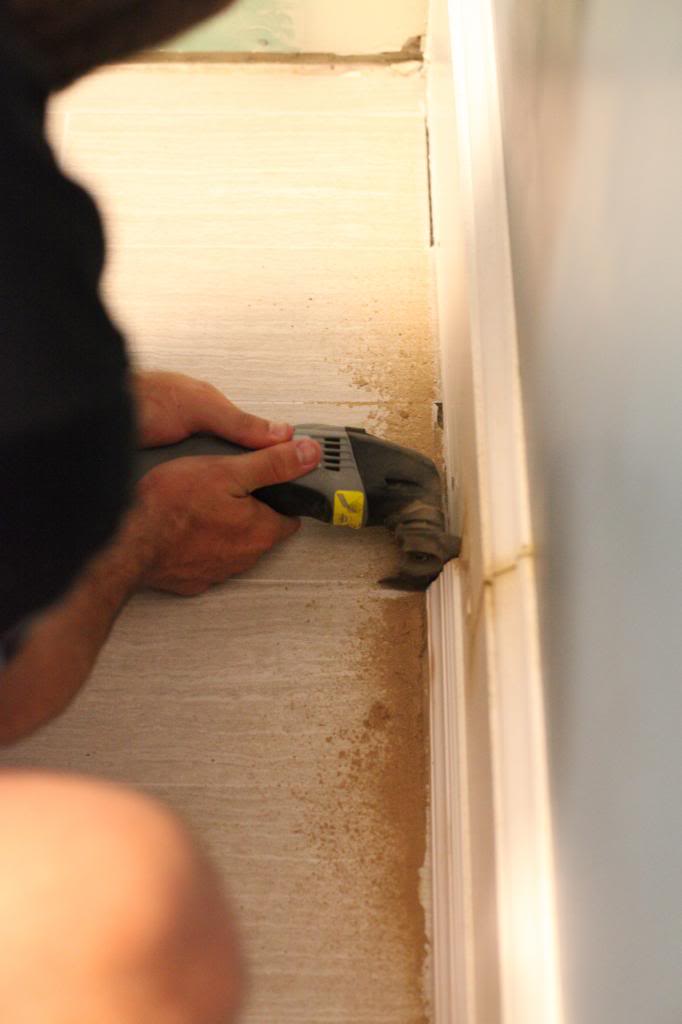
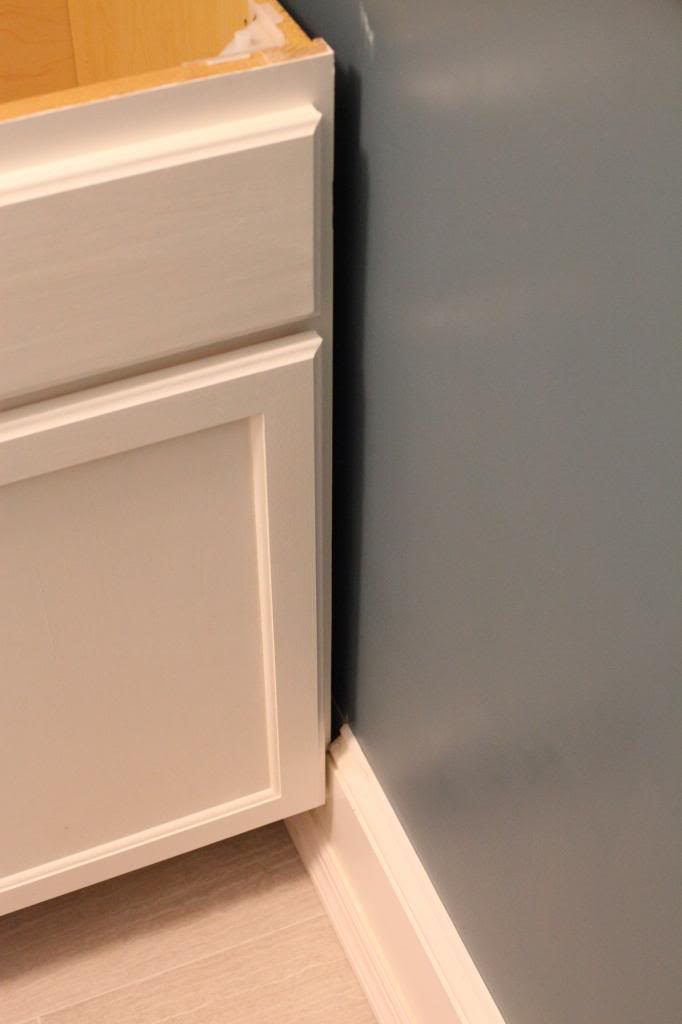
But after Jer removed all the pieces, we slid the cabinet back and it fit perfectly. Now all we needed to do was fill that gap between the wall and the side of the cabinet.
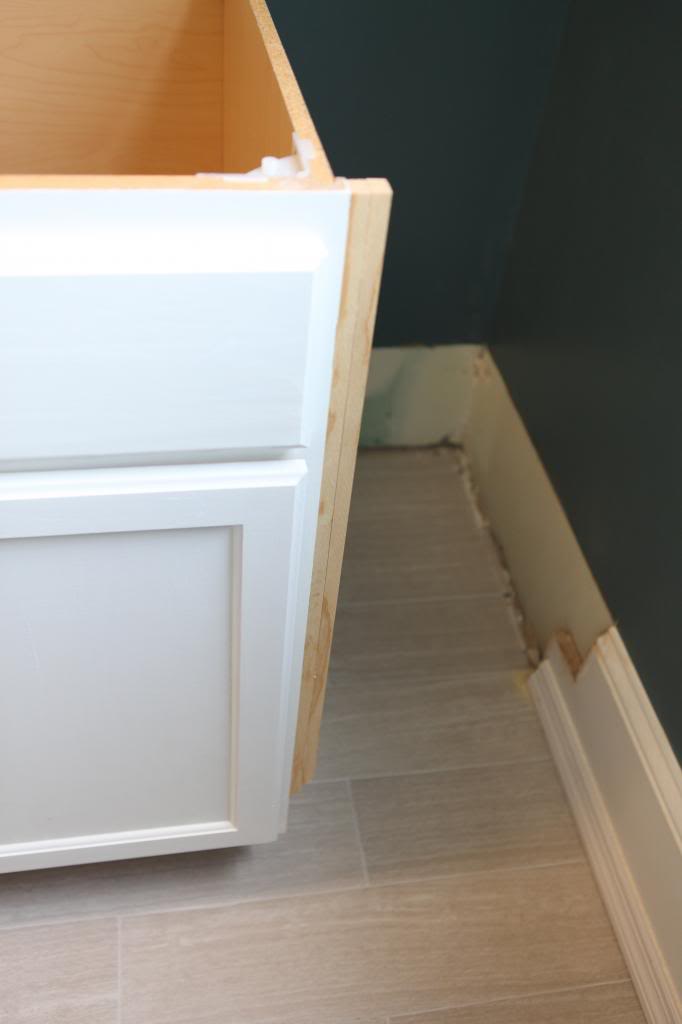
I found a few pieces of wood in our scrap pile and I cut them to length and then ran some glue and fastened them with some brads.
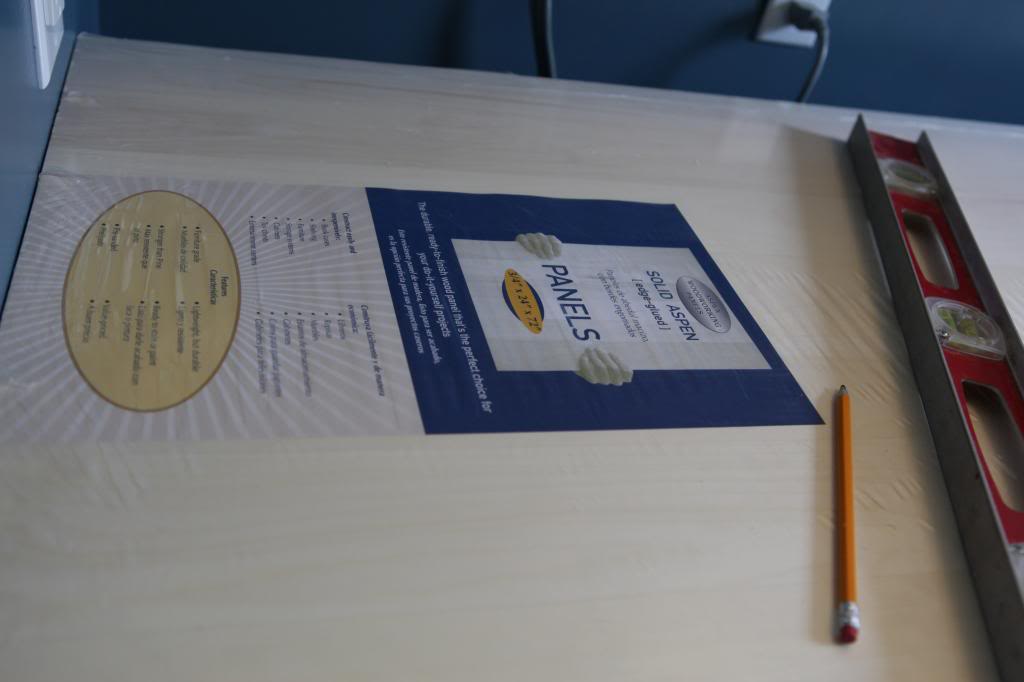
After we slid the cabinet into place, it was time to tackle some other supports for the countertop. We got a random panel piece from the store so that we could estimate where all the supports would go.
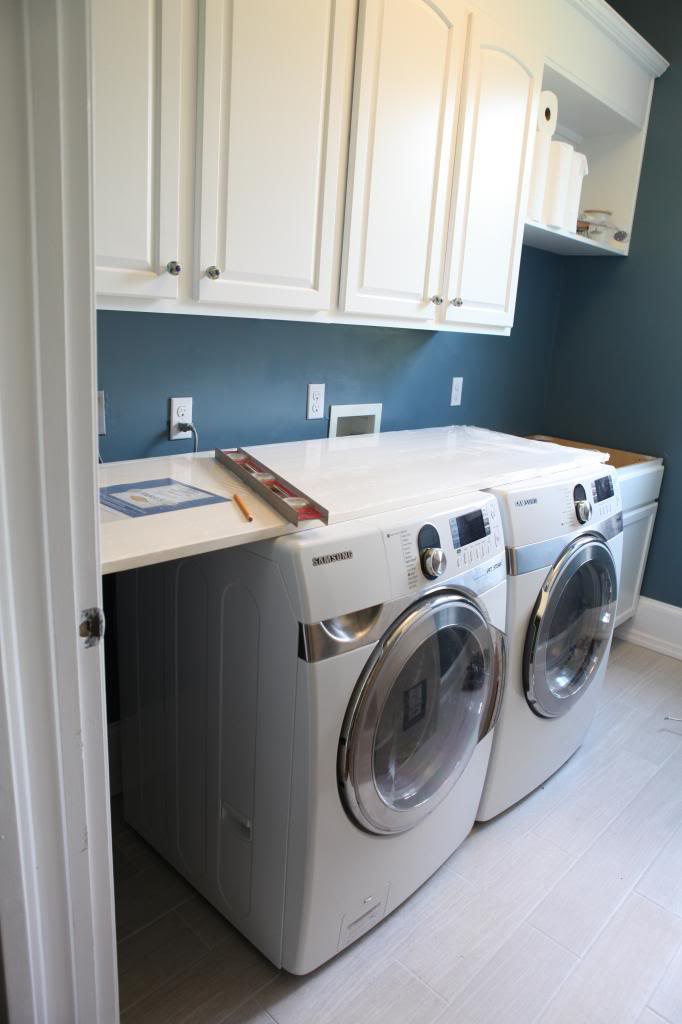
These edge glued panels are great for projects but we didn’t want to use it for our countertops because they weren’t deep enough. BUT they were really useful to have for the planning process.
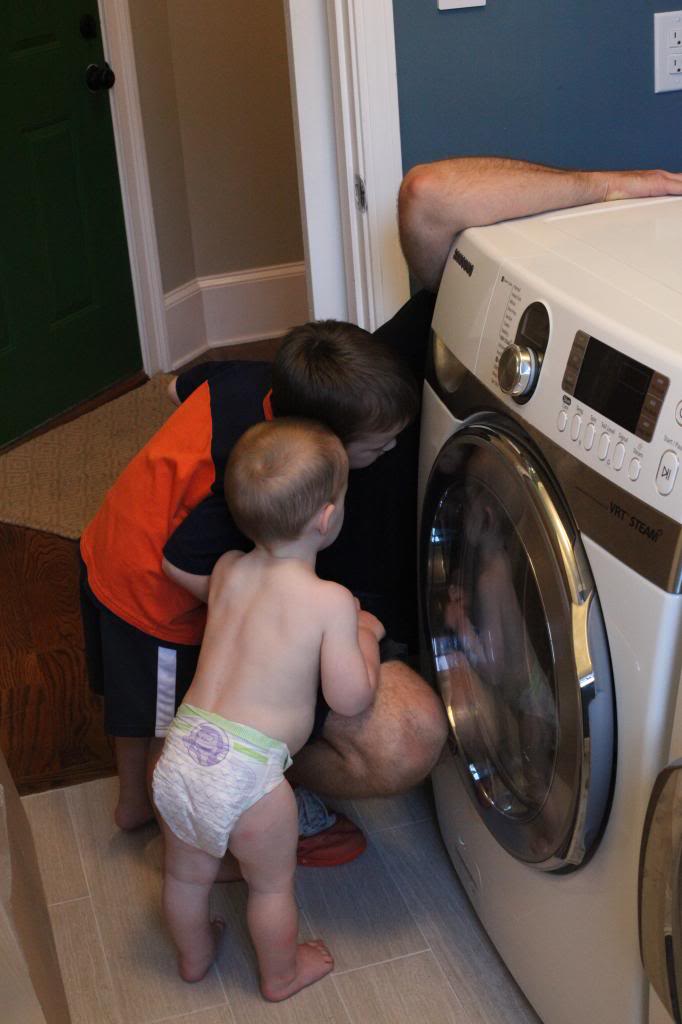
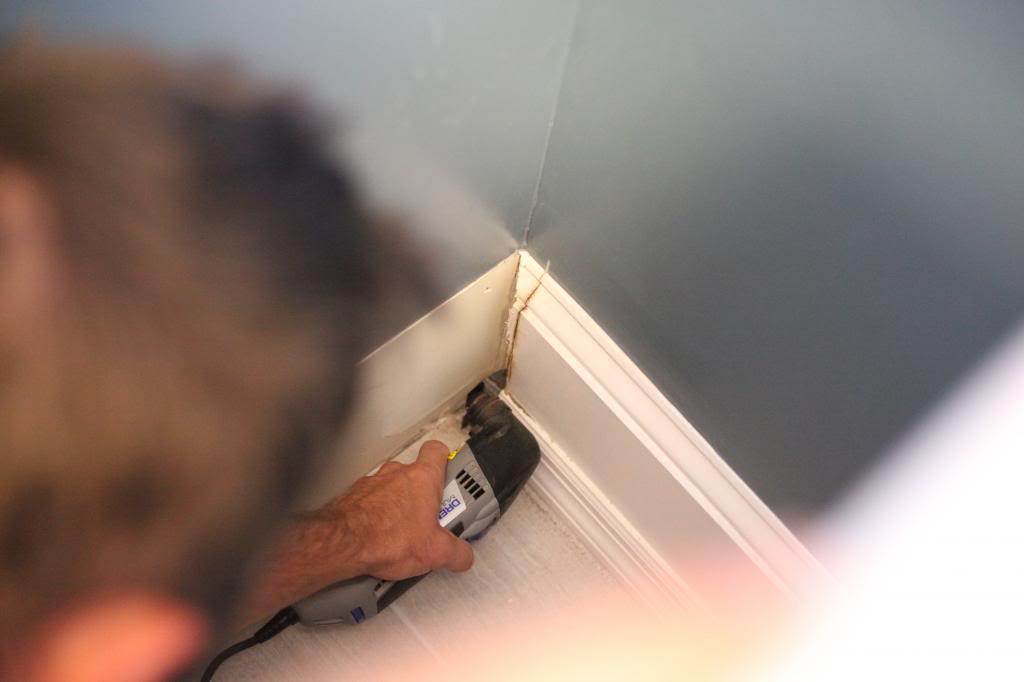
In order to build supports on either side of the washer and dryer, we first needed to remove the molding on the wall side. Jer used the Dremel tool again and this time it drew a crowd.

He also needed to trim the back piece so that our MDF would fit.
Ok…here’s what it looks like without all the throngs of diapered kids…
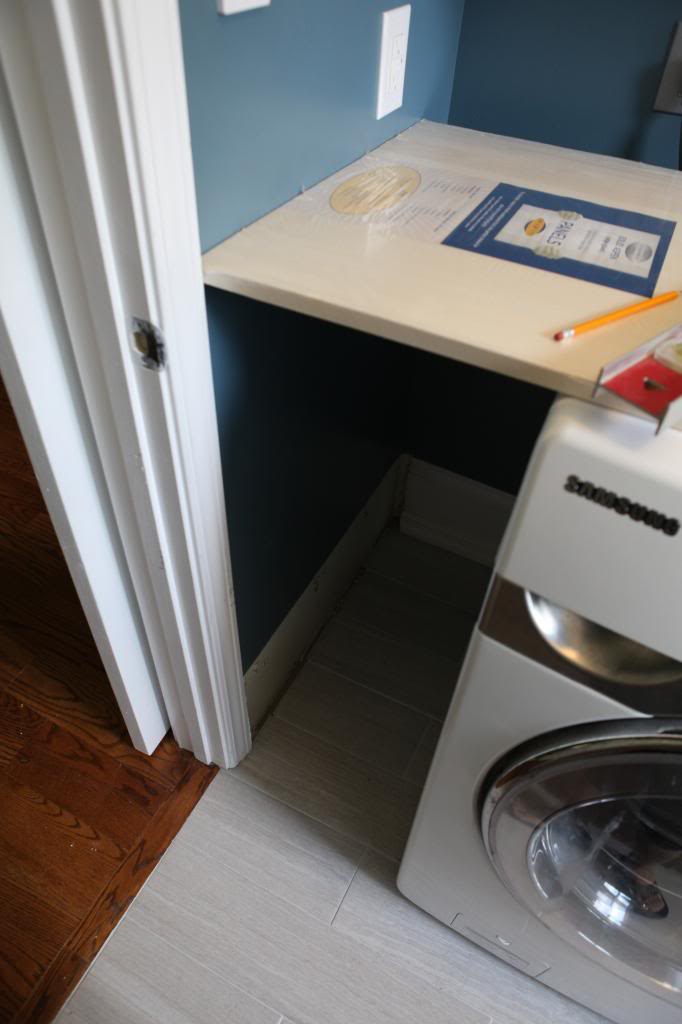
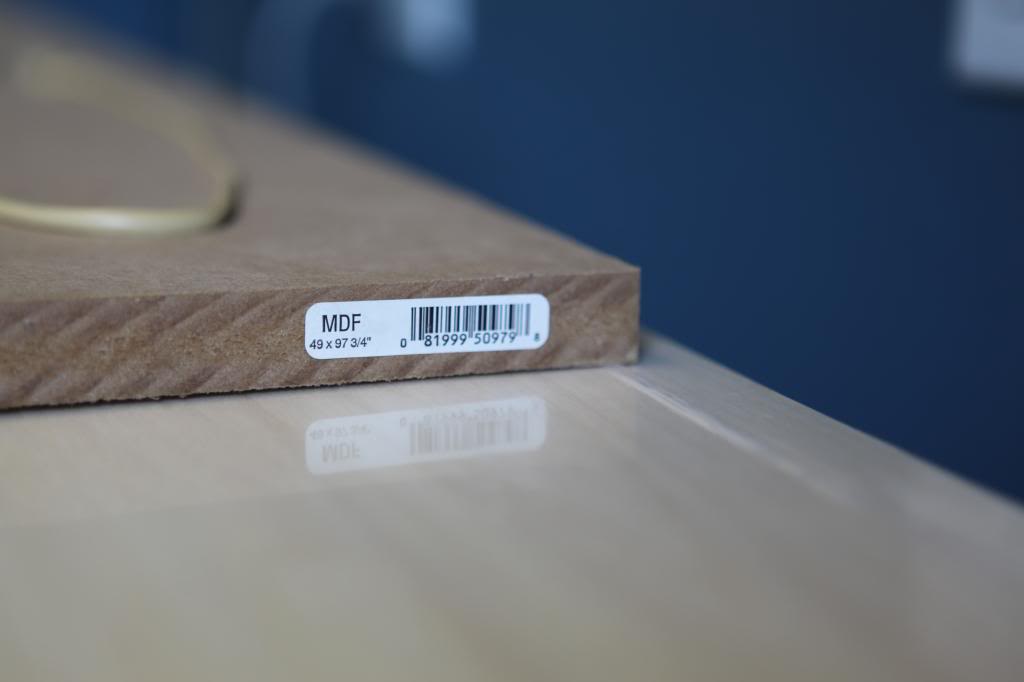
The MDF we chose was on the thicker end. We just needed a flat support piece for any future countertop to rest.
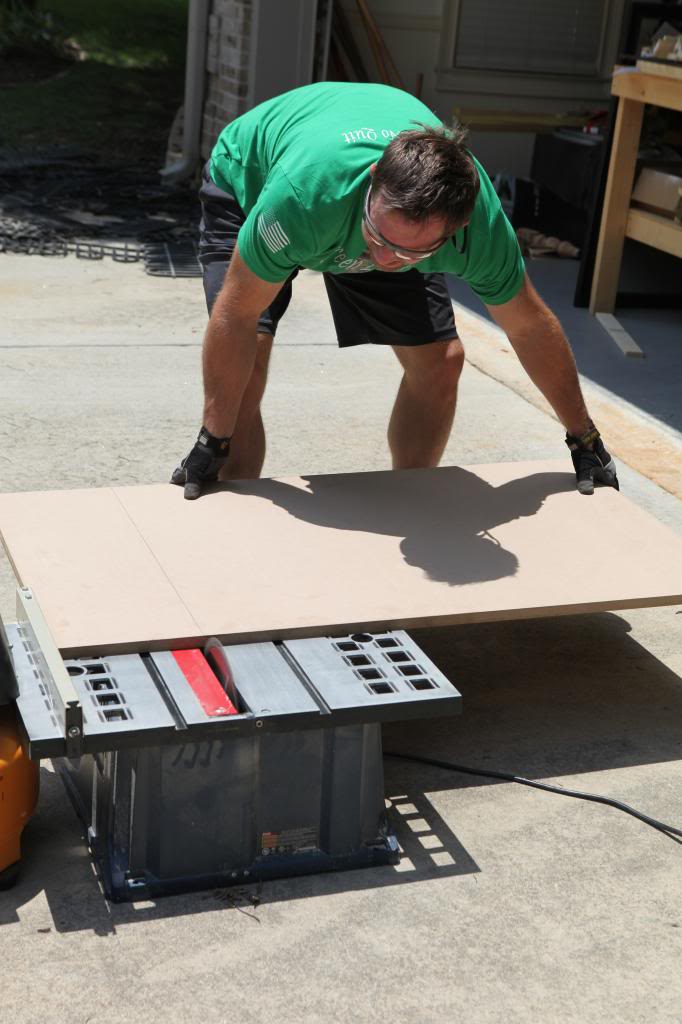
After measuring the size, Jeremy cut it with the table saw.
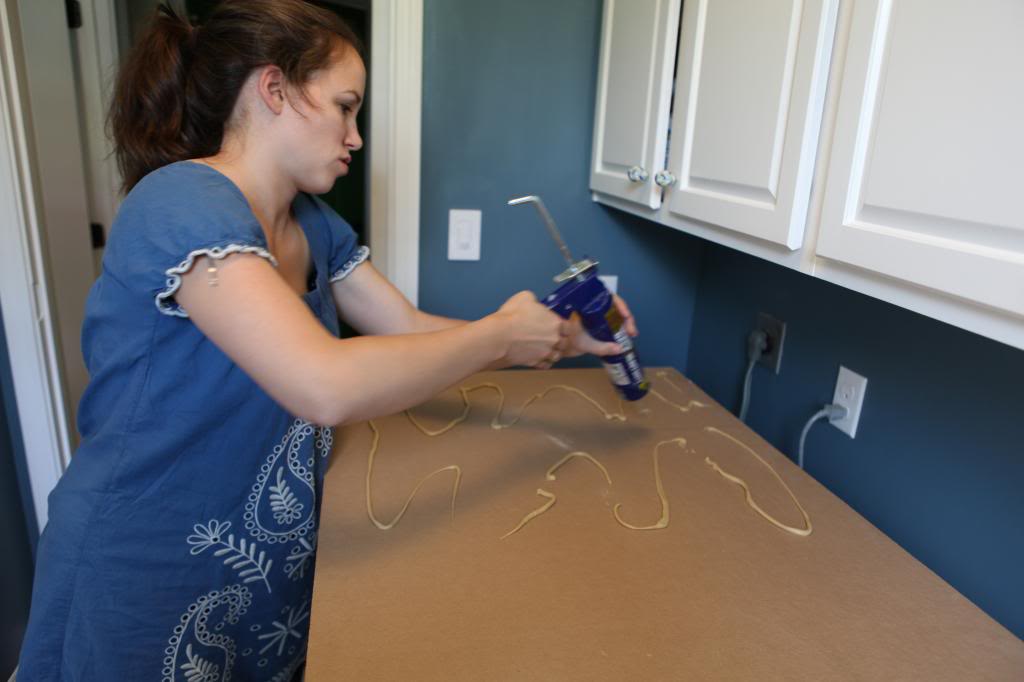
And I used construction adhesive to put it on the wall. Oh and did I mention I had a baby while this post progressed? Yeah.
Once it is in place, we could move the washer and dryer back over and tackle the other support.
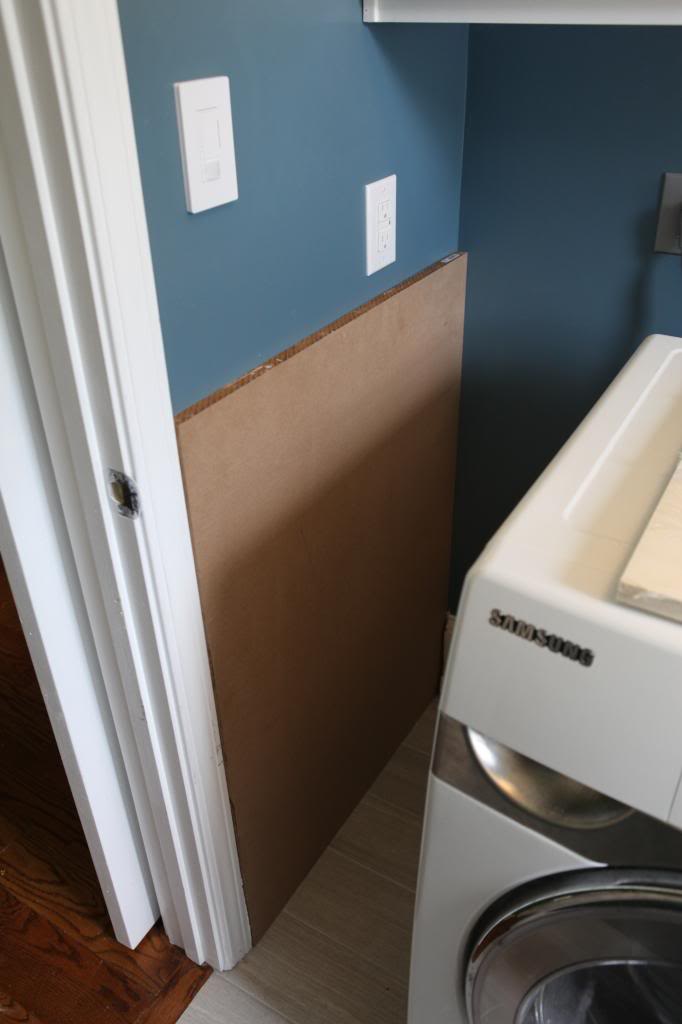
But first we had to screw in the cabinet to the wall. Otherwise, the support would be off.
After locating the studs and pushing the cabinet all the way against the wall, we realized that the back wall was bowed. So we needed to line everything up with a level and use shims to hold it in place.
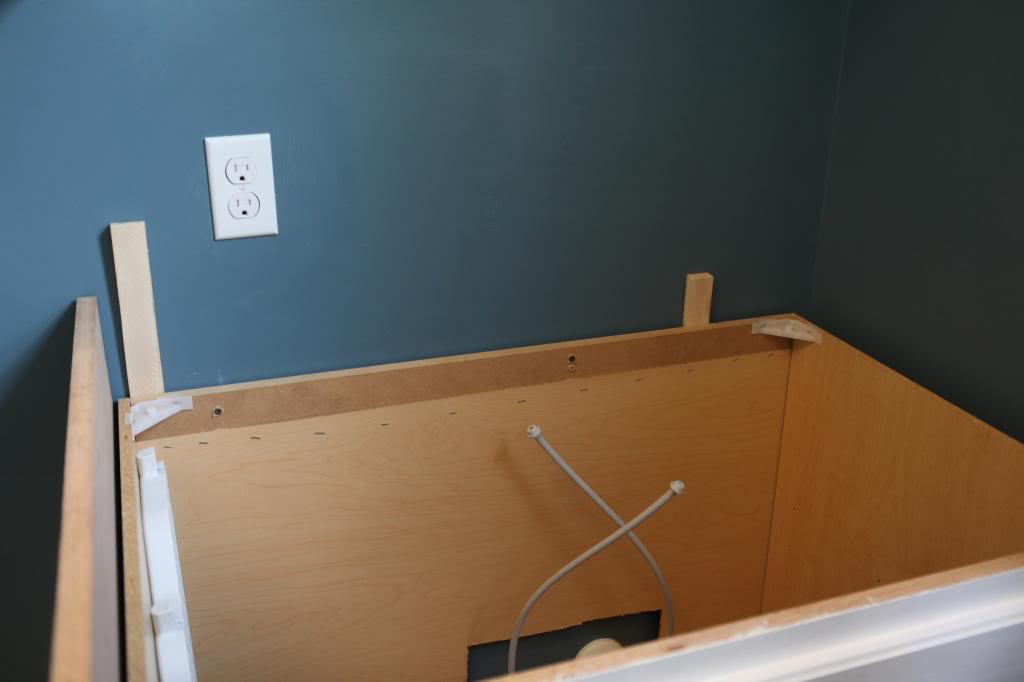
Generally speaking, when you install cabinets you want them to be plumb and level…so shims are gonna be your best friend.
I remembered how the cabinets were installed by a professional I saw one time, so I used them to wedge in the back, screwed in the cabinet and then scored them with a box cutter.
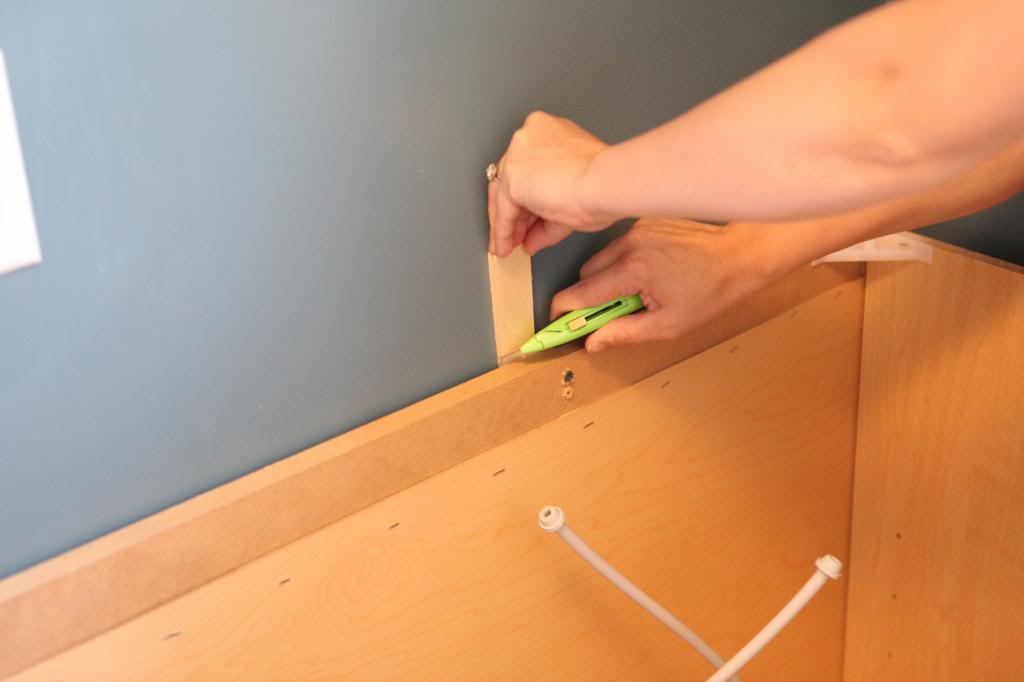
After that, you just snap the excess off and the rest stays in place, wedged between the wall and the cabinet. I have also read that you can align your shims with your studs and screw directly through them to hold them in place.
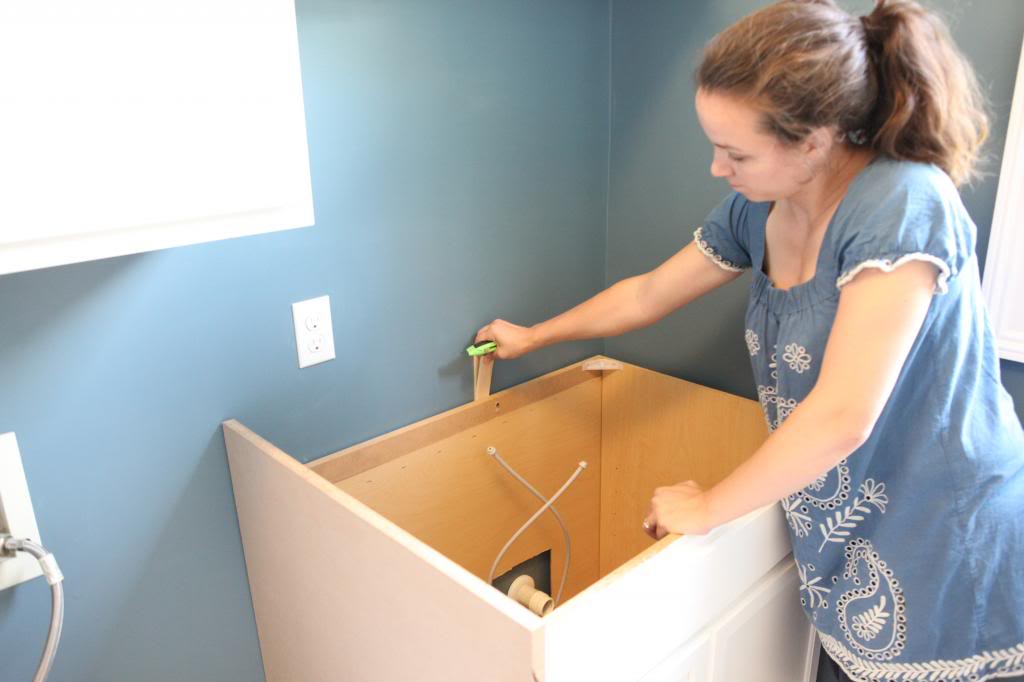
We used the scrap pieces to glue to the side of the cabinet so that our right hand support MDF would be aligned correctly.
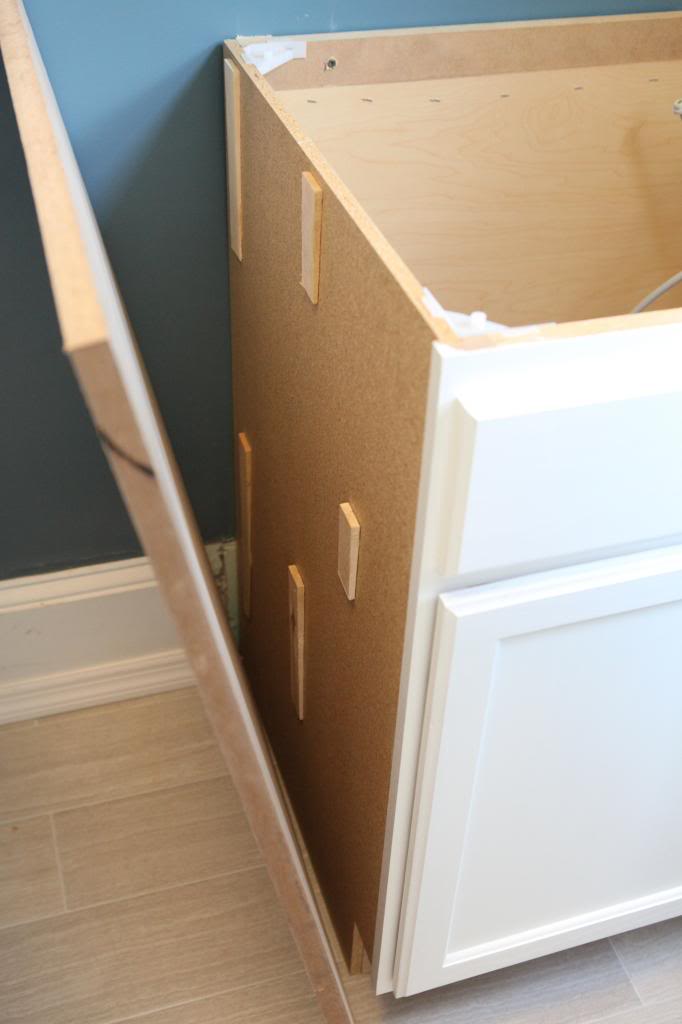
And that’s where it stopped. We went to Ikea (I showed you already what we saw while there) to get some butcherblock countertops but had a total airhead moment because we didn’t call ahead and they were completely out of stock. Large forehead meet open palm.
It might be for the best though because now we are thinking it might be worth looking at stone. Part of me thinks that marble would look awesome in here and would tie in the kitchen…but it’s SO pricey. We shall see. It never hurts to look, right!?
Check at your habitat for humanity restore! Ours gets stone tops in randomly and you can save a bundle just getting them cut to size! Also craigslist!
So are you going to raise the height of the sink cabinet so that it is the same height as the countertop above the washer and dryer or are they going to be two different heights?
I know it’s not super high-end but I think formica in laundry rooms are great. They are cheap, can be very big statement pieces and can be replaced quickly and easily if tastes change/you redecorate. I find they hold up well, they don’t have the heat and cutting issues with them like in the kitchen.
I/we are also currently working on our laundry room but it’s taking us forever to make a decision on a counter. I don’t know why it’s so hard to decide. One question though, we also have our drains and outlets located partly above the top of the washer/dryer, do you guys have a plan for installing a counter to hide those? That is probably our biggest hold up at this point. Every day is a new idea with what to do with those.
We did the same project in our laundry room. Cabinets, front load appliances, sink, and counter. We considered stone, but I was worried that if there were to be a leak or some great appliance calamity, we’d have to tear out a heavy stone counter to fix it. We ended up cutting a really nice sheet of wood to size (walnut plywood I think), stained and polyurethaned it, and added a nice lip to the front to class it up. It came out really well and everyone raves when they see it! It’s attached to support bars on each side so it’s easy to remove and re-attach without destroying drywall should the need arise. Just an idea! I wish more manufacturers would make deeper counters for laundry room projects like this.
Exciting to see what the laundry room will look like FINISHED 😉
Btw you can also check on the Ikea website what’s in stock in your local store.
Go stone! Go stone! I so cannot wait until we upgrade our for now kitchen countertops that we DIY’d to a stone.
http://houseofbennetts.com/2014/05/12/kitchen-before-and-after/
And with all the wet stuff in a laundry room, me thinks stone over wood? I think you should just start looking at stone, and post about it. You can still be non-commital after that point right?
DIY concrete countertop, perhaps?
We’re in the middle of converting a walk-in closet upstairs to a laundry room – oye – laundry rooms are more work than you’d first think, right?
Here are some of my inspiration thoughts for the space – loving the light tile you picked out – I think we’ll land up with something similar. http://lemongroveblog.com/lightbulb-laundry-moment/
Gosh Katie, I am impressed with your patience and diligence with this project. It seems painstaking- all the steps for the cabinet, etc. But important to get the proper result. Your laundry room already looks gorgeous. I love that teal color and the flooring. Could you possibly get some scrap pieces of quartz or another stone, that’s not as pricey as marble? Can’t wait to see it all finished.
Our laundry is in the basement. I am dreaming of a space like this. I cannot wait to see the finished product.
Looks like you need a basic long rectangle piece of stone for your countertop. Call every stone supplier in your area with your measurements to see if they possibly have a remnant piece left over from another job. I did this recently for a wet bar in my home….finally found a stone yard that had several partial slabs to choose from. Saved a lot of $$$. However, with detergents, bleach, stain sticks, etc. plus the mess a slop sink attracts, perhaps you should consider quartz or-gasp!- Formica?
Aw! I want to see what you ended up getting!! 🙂
Amen. I totally agree…why don’t they make deeper counters?!
xo – kb
If we find a stone, we are gonna probably move them. If we stick to butcherblock, I have another solution 🙂
xo – kb
I think your counter top space will be great in your laundry room. We don’t have any space in our laundry room so we overflow into our dining room to fold clothes and then have clean, folded clothes sitting there for a couple of days on our dining room table. I like your nice washer and dryer set too.
You’ve done so much though, don’t get down on yourself. Sometimes you just have to take a step back and look at how far you’ve come!
Looking good! What are you planning to do with the space left over under the counter? Open storage like shelving or another cabinet? Trash can or laundry basket? Hide and seek spot? 🙂
Ok, I was kind of confused about what you were doing with the counter top, cabinet, and sink, but I get it now. You would like a counter top over the washer/dryer and a sink/counter besides it. Got it!
Whatever you end up with, I’m still totally crushing on your floors. I LOVE that tile. I wish I had a laundry room other than in my basement. I wish you’d drive your adorable family up to come tile my kitchen and back-splash when the time comes…
Formica makes a laminate (FX180 series) that looks like Marble and is way more wallet friendly! It also might be nice to to be able to remove the counter top in the future if you ever have to replace a washer and dryer ?
We used the Formica marble laminate in our kitchen and most people don’t know the difference until they touch it! You can see our kitchen in progress here – http://www.al.com/living/index.ssf/2014/01/huntsville_couples_merrimack_m.html
Laundry room is looking great so far 🙂
We have Ikea butcher block on all of our kitchen counters and I LOVE it!!! I did all kinds of research before we had them installed because I was worried about water messing up the wood and making it look really bad over time. It’s been two years now and they still look great. I actually wanted ours to be a little bit darker than the blonde colored wood that Ikea sells them so I stained them first, well first I used a wood conditioner, then I stained them. Wait, first I sanded them then I did all that stuff. Then lots of people recommended this stuff called Waterlox to seal them. I applied several coats of that, and they look awesome!!! Would totally recommend Ikea Butcher Block for counters.
We want to do a removable cabinet that looks built in but can be taken out in case of emergencies!
xo – kb
SAME THING HAPPENED TO ME! We want a folding counter/shelf in our laundry room so trotted off to Ikea to get the butcher block/wood counter… waited forever (which was great on my preggo back), only to be told they didn’t have it. Methinks they should have a stock check line APART from the kitchen design line. JUST A THOUGHT
Annnddd, now our project is stalled as we finish a bathroom. And nursery. And have this baby. Luckily ours can be finished with a slab from HD, as it’s a thinner counter and not cabinet-deep.
We did something really similar, but painted our wood to look like stone and beveled the edge. And yes, ours is on small hidden supports, and in 5 years we have had to remove it three times, twice for plumbing issues and once to clean out lint and whatnot behind it. And we have been SO thankful that we can either remove the wood and reach almost everything, or pull out the appliances and leave the countertop. Can’t imagine if we would have done stone what we would have done when our washer was leaking!