Let’s take a poll. Who has a hard time giving a gift to your dad?
Go ahead. Raise your hand. We are all doing it.
Well, here’s a little gift idea that is perfect for those dads out there that have a love for tech toys…a wooden ipad holder!
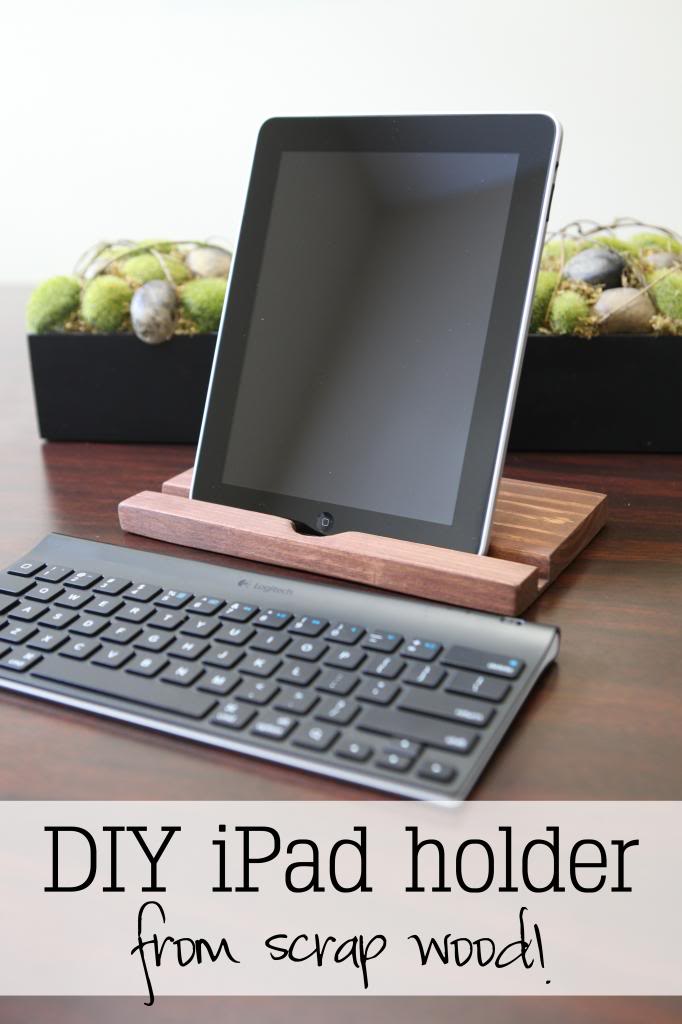
Oh yeah, did I mention that this sucker was cheap? As in scrap wood? As in didn’t cost me anything?
Yup. I am a champion of cheapness. And my father-in-law is probably gonna love it. the iPad holder that is. not my cheapness. although he probably appreciates that frugality in a daughter-in-law. is that a good trait to have in a daughter in law? I don’t know. I don’t have one. A daughter-in-law that is. not good traits. I have at least two of those 🙂
I could ramble like this all day.
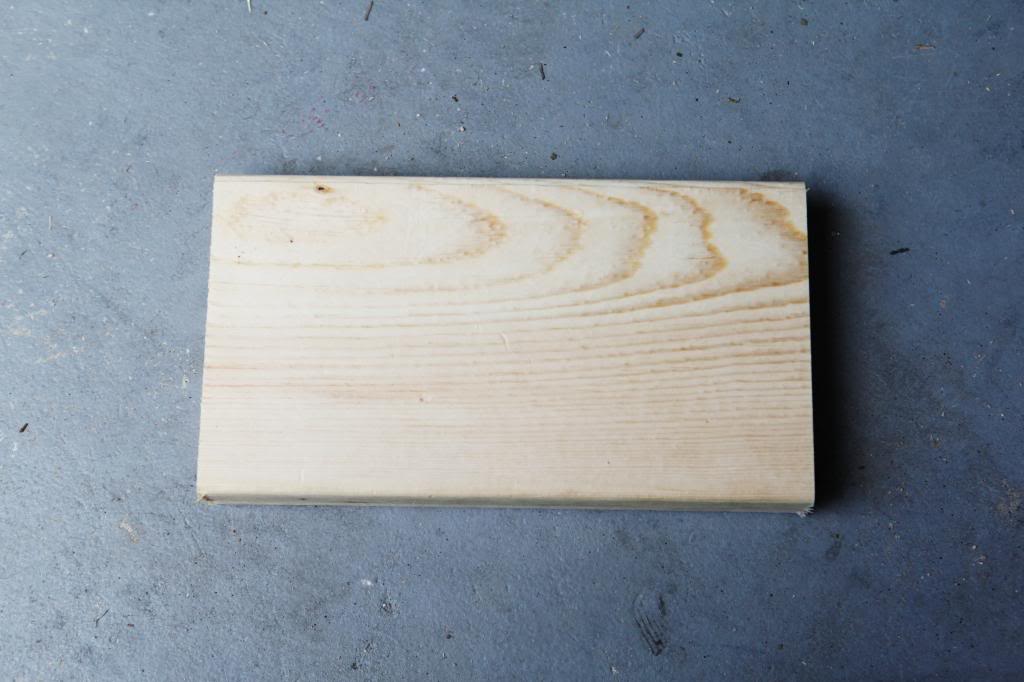
Instead let me show ya how we made it. First it required a scrap 1×6. This is actually 3/4″ by 5 1/2″ so don’t get confused. My piece here is ten inches long.
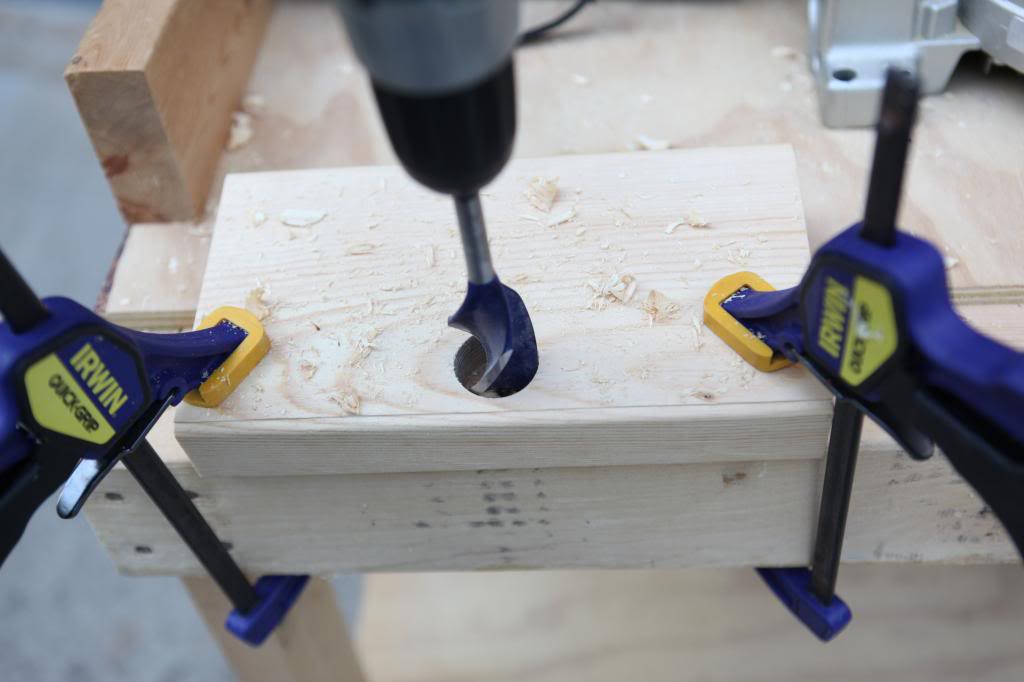
Using a 1 1/4″ drill bit, we drilled a hole partially through the board at the center about one inch from the front. If you try this project at home, it’s important to drill this hole first and don’t go all the way through.
Then you will use a table saw. You could use a circular saw too if that’s what you had but this was easier for us.
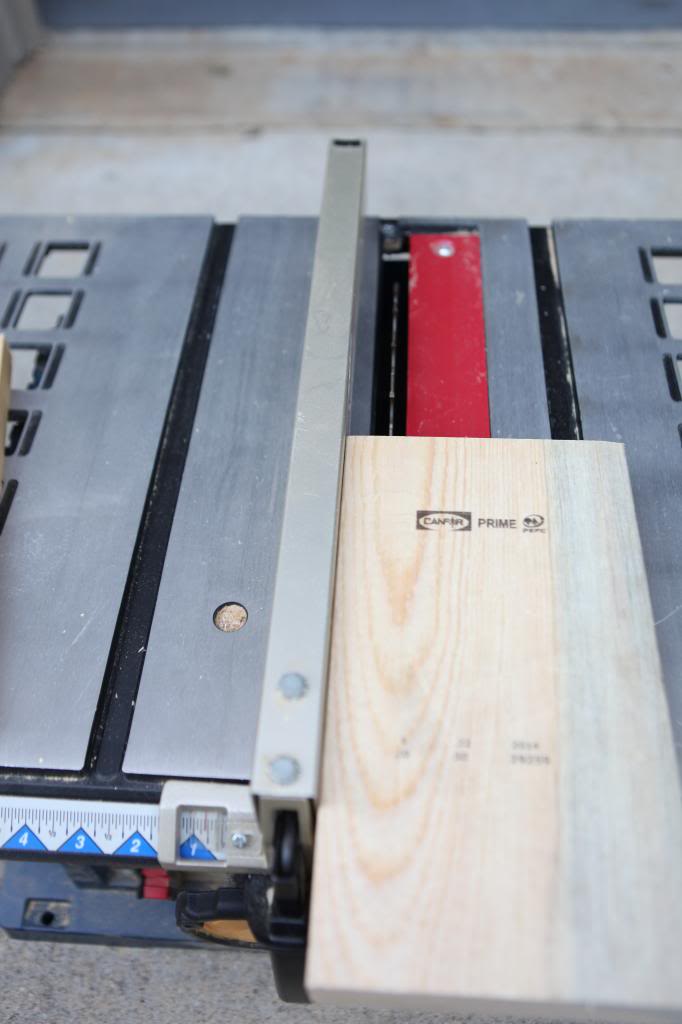
You want to adjust your blade so it doesn’t go all the way through the board. You only want it to be about 1/2″ high so that it leaves some of the board bottom.
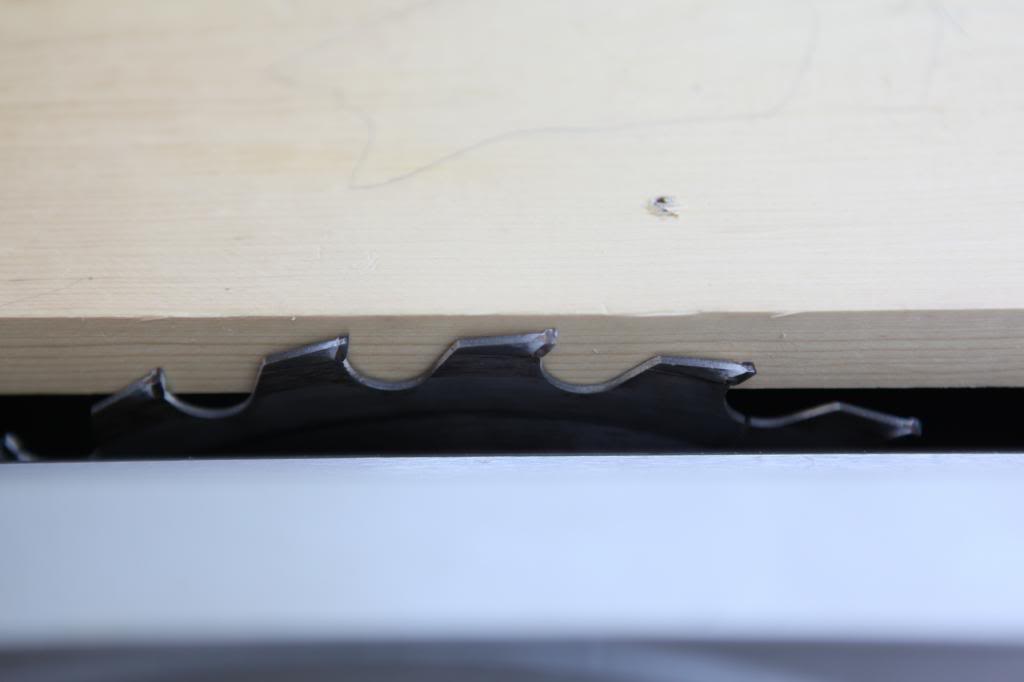
Move your guide so that you leave about one inch of board on the front. Lay your board hole side down and start slowly cutting out your ‘gully’. That’s what I called it. You can call it whatever you like. You may be fancy and call it a ravine. or a valley. or ditch. whatever you name it…it’s gonna be where the ipad sits and so it needs to be at least 1/2″ wide.
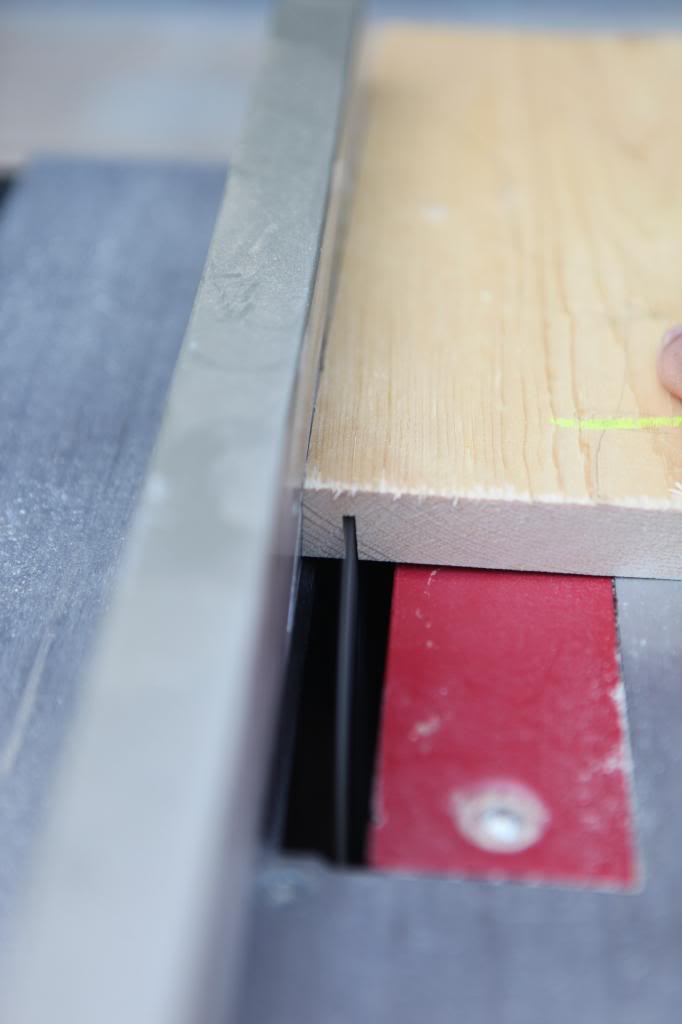
How do you make the gully a half an inch wide when the blade is only…um…a blade width wide?
Keep on cutting. (Kardashian family motto! or is that Keep on Kutting?)
Anyhoo…just keep moving your guide over a blade width at a time till you have your gully two blade widths thick…then three…then four.
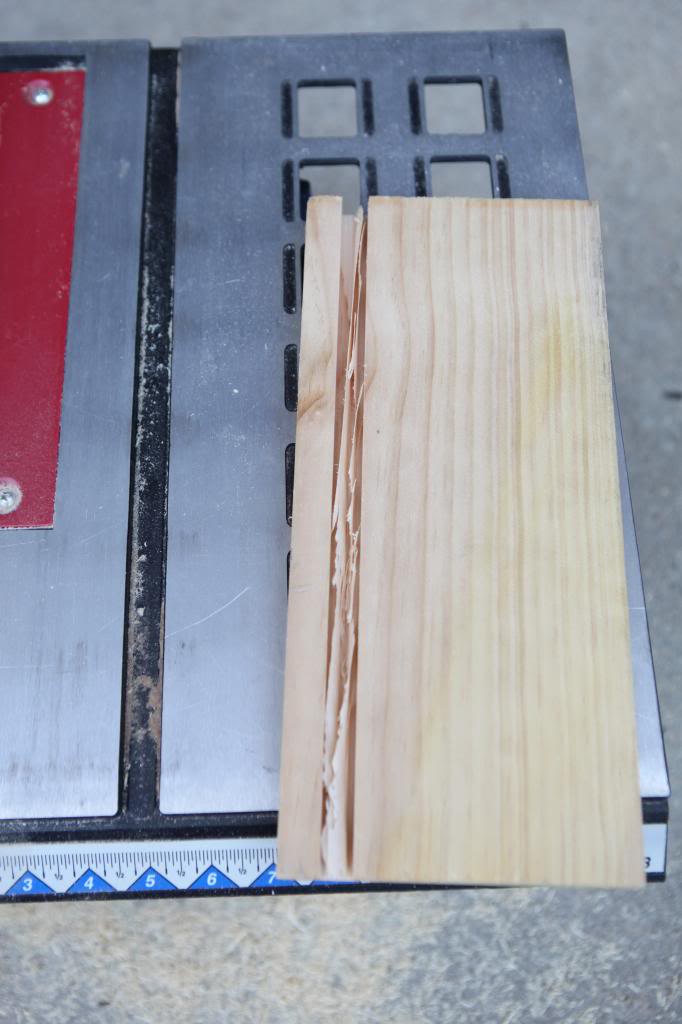
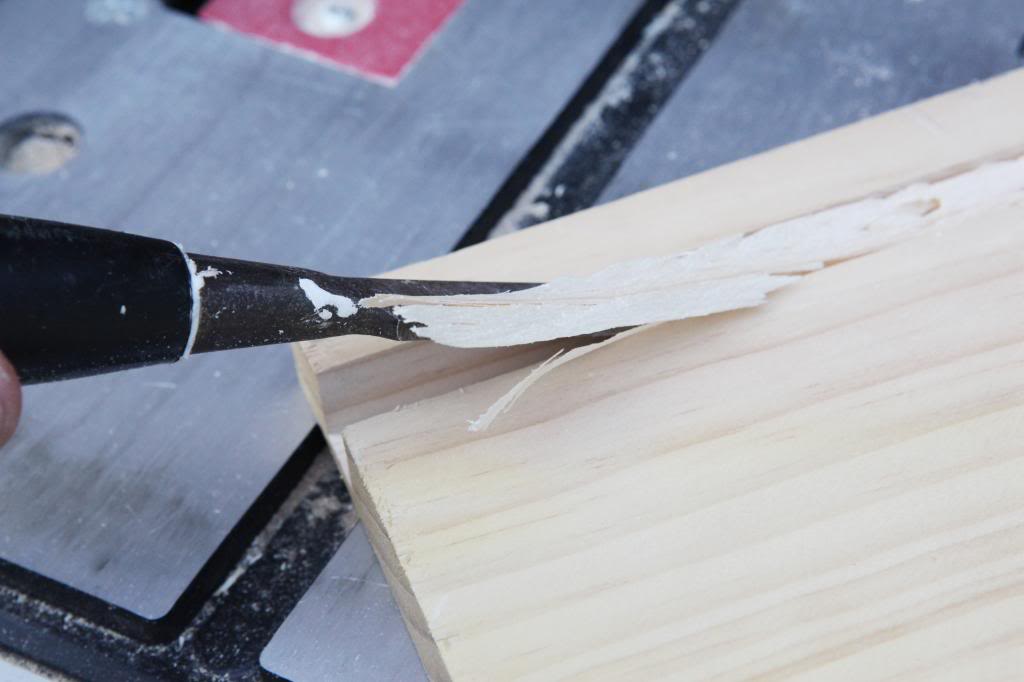
The extra wood can be scraped out with a chisel.
When you are done with the cutting part, it will look like this…
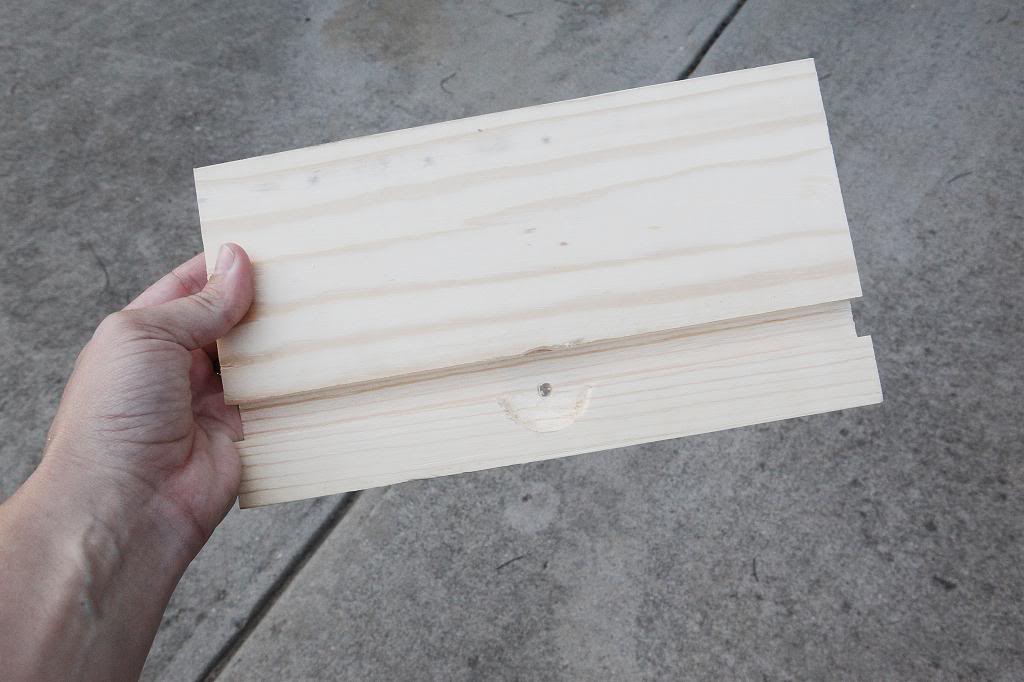
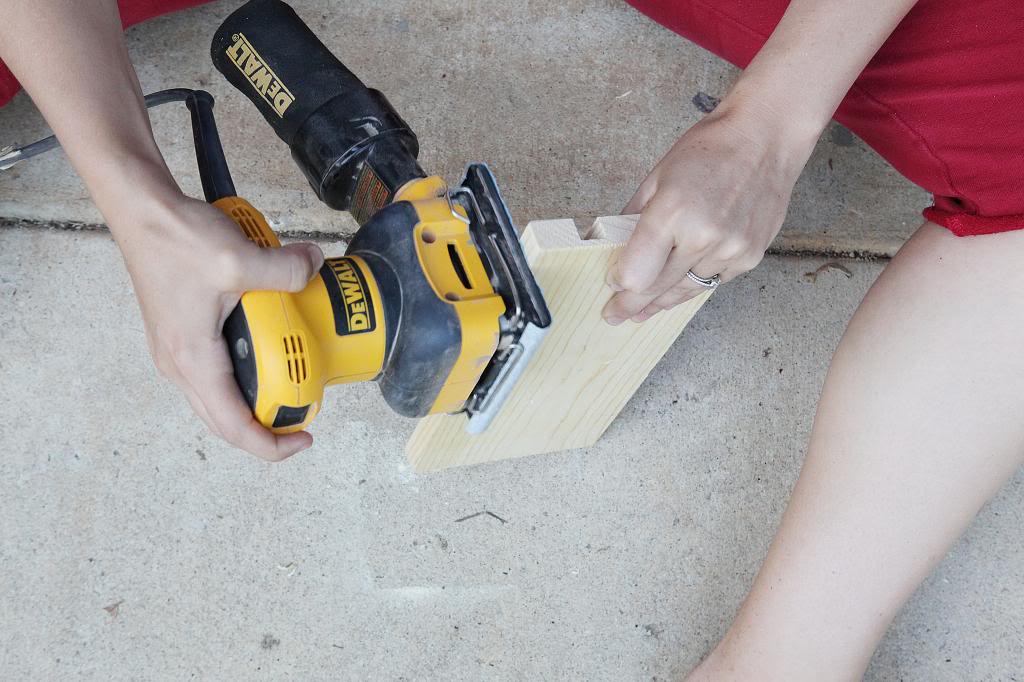
Time to sand all the edges and the sides. You want to make sure it’s really smooth to the touch so start with a low grit sandpaper and work your way to a finer grit.
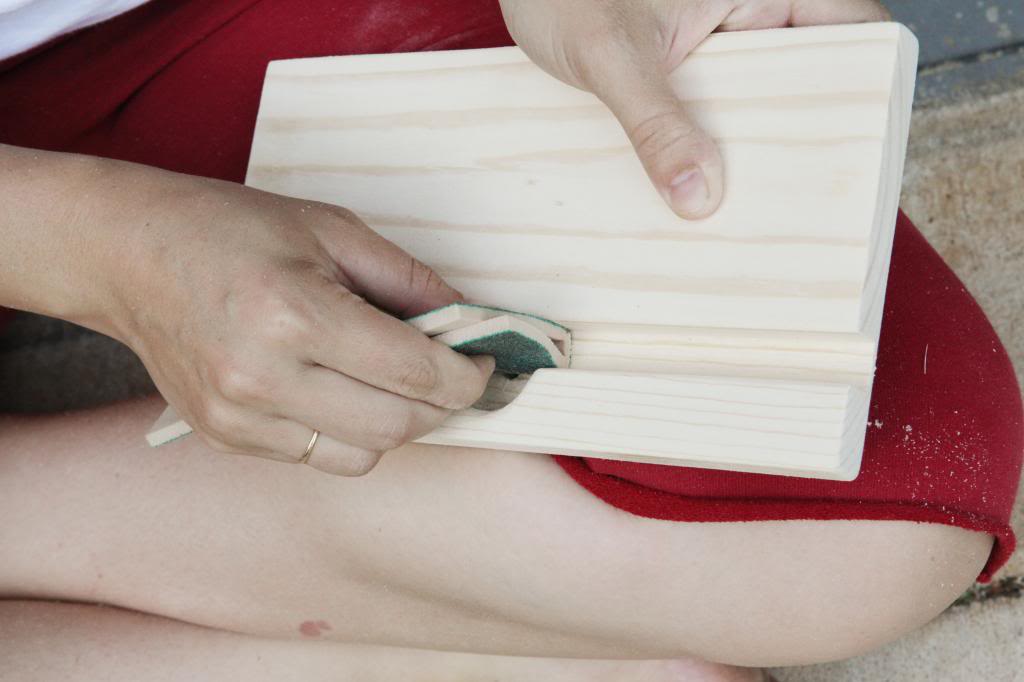
I was able to really get the gully smooth with a foam sandpaper that I shoved in there.
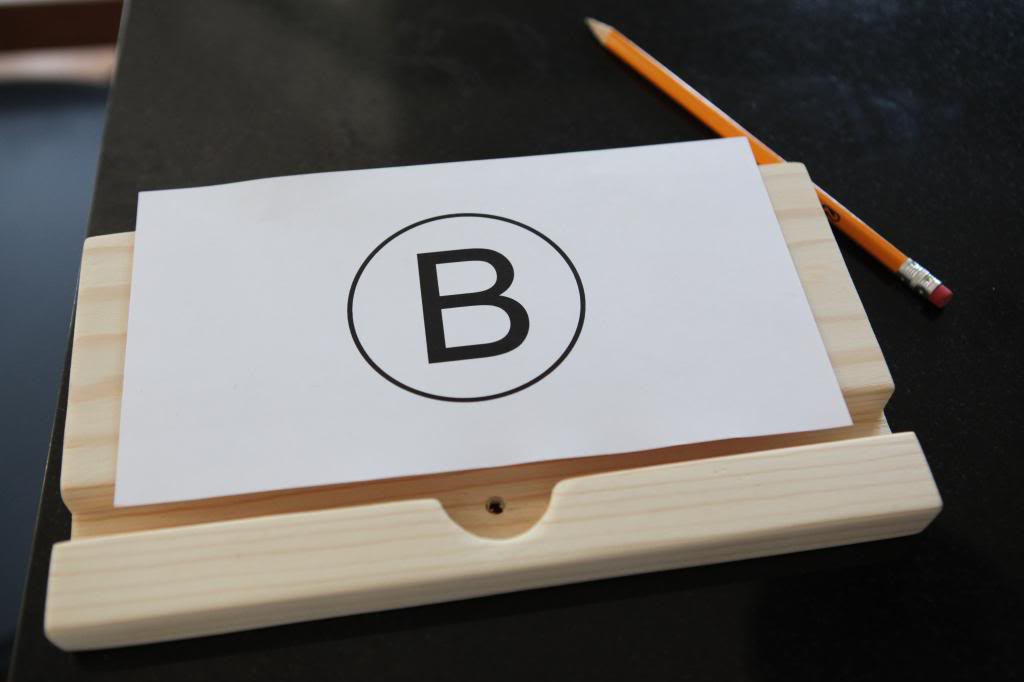
Since this was for Jeremy’s dad, he suggested ‘branding’ it with a B and a circle so I obliged. I simply printed out a simple B that I liked to the size that I liked for the center of the board.
Then I started my transfer-the-letter process. This is really simple way to transfer letters. First you put your paper upside down on a glass table and put a flashlight on the floor underneath it. Take a pencil and trace the image and fill it in really well with lead. You want the image to really be dark with the pencil so go over it a couple times.
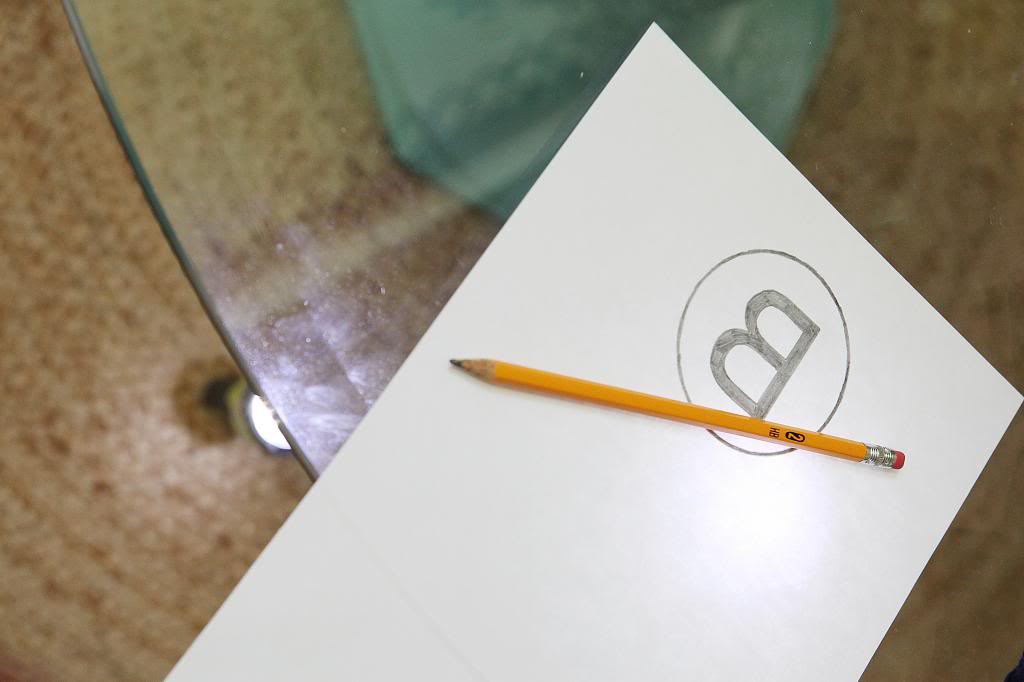
Then place your image where you want it on the board and tape it down. I then used a Sharpie end to rub the printed side HARD. You want the lead on the opposite side to transfer onto the board. Then you can fill it in with paint or ink or what I did…
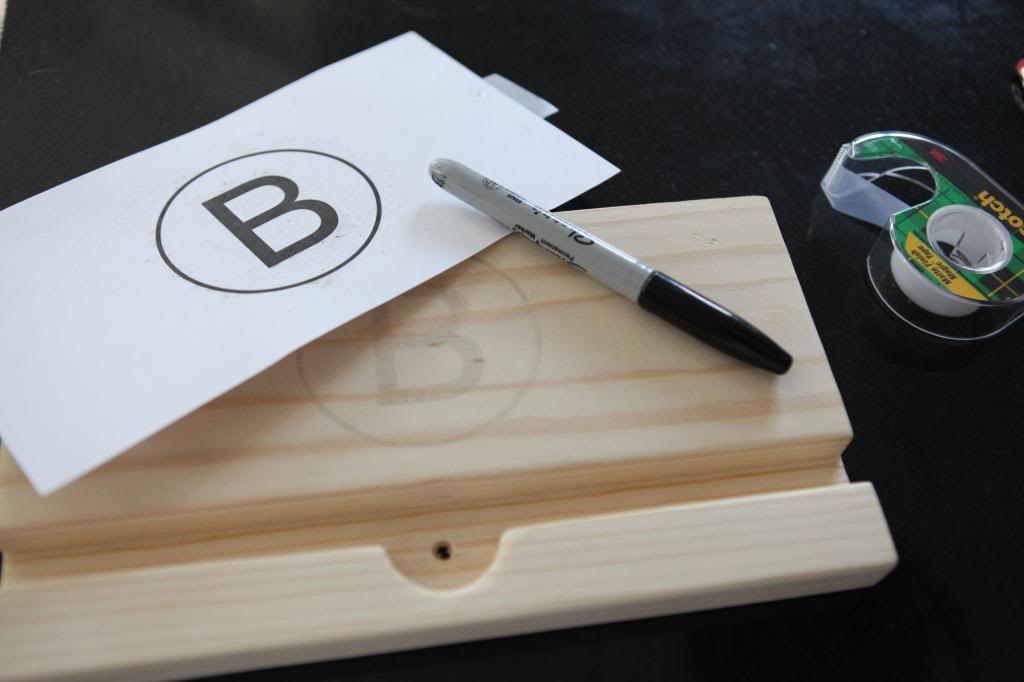
I burned mine.
Using a Versa-Tool (it’s a soldering tool that has interchangeable tips) I made mine look like it had been branded.
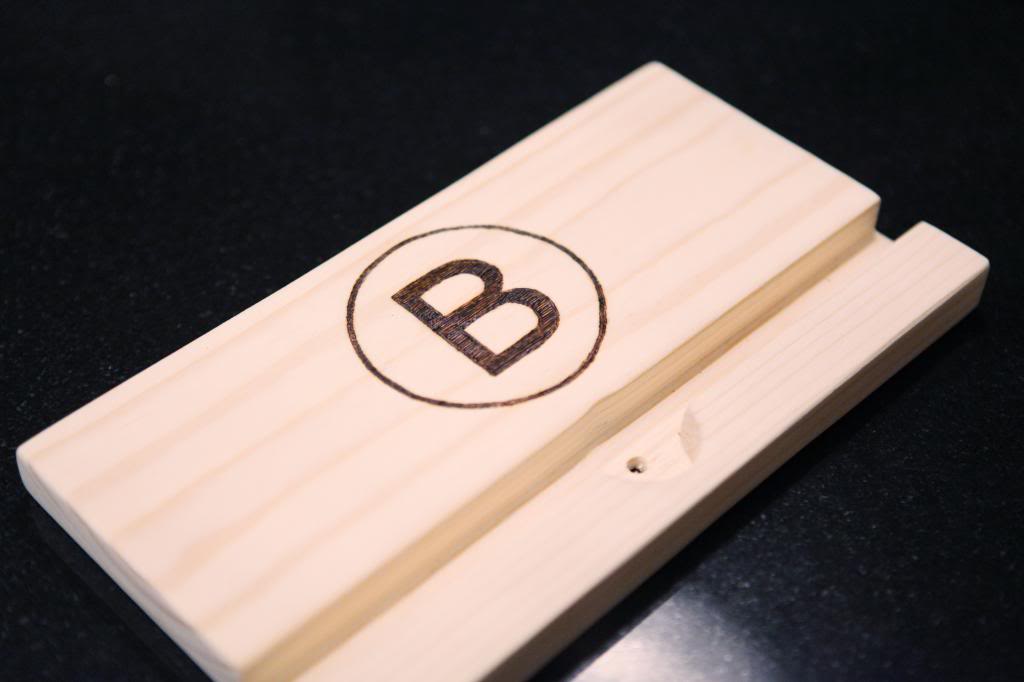
After it was fully charred, I started to stain.
I used Rustoleum’s American Walnut because I didn’t want it too dark. Right now my favorite stain color is Kona but I didn’t want it to be so dark that you couldn’t see the B.
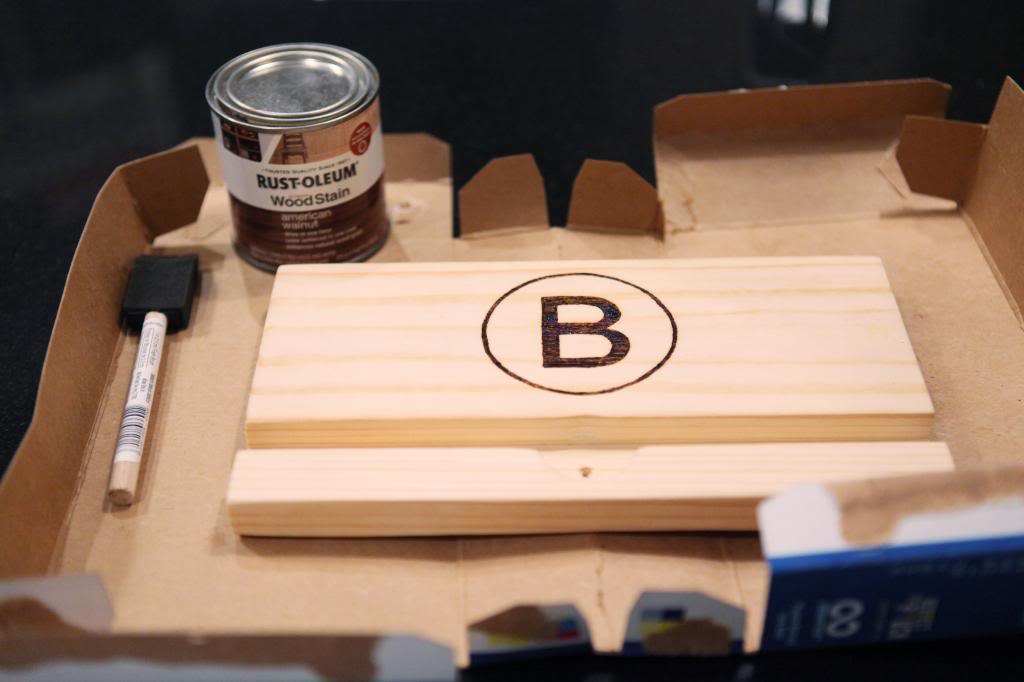
Just cover the entire piece with a bunch of stain, let it sit for five minutes and paper towel off the excess. It’s a good idea to finish it with a poly or a varnish too. I used a spray poly in satin…but a higher sheen would look nice too.
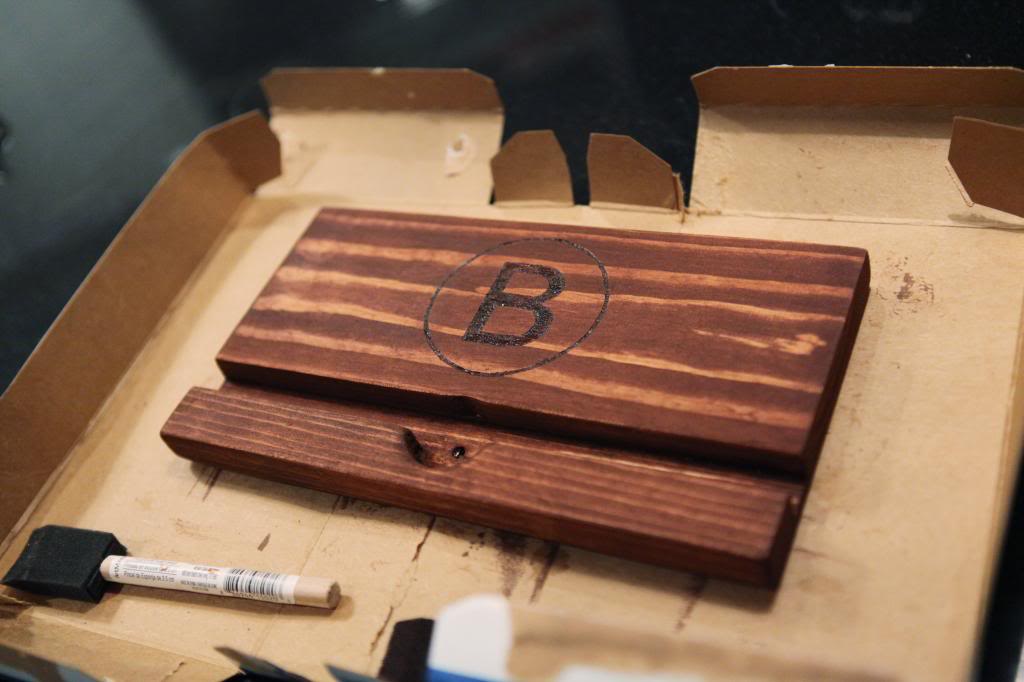
At the end of the day, I had to drive to my dad’s office to see if this bad boy would work. We don’t have an iPad so we went off measurements online…not knowing if it actually would hold the device or if it wouldn’t fit or if it would spontaneously combust (just checking if you were still reading).
The suspense was unreal.
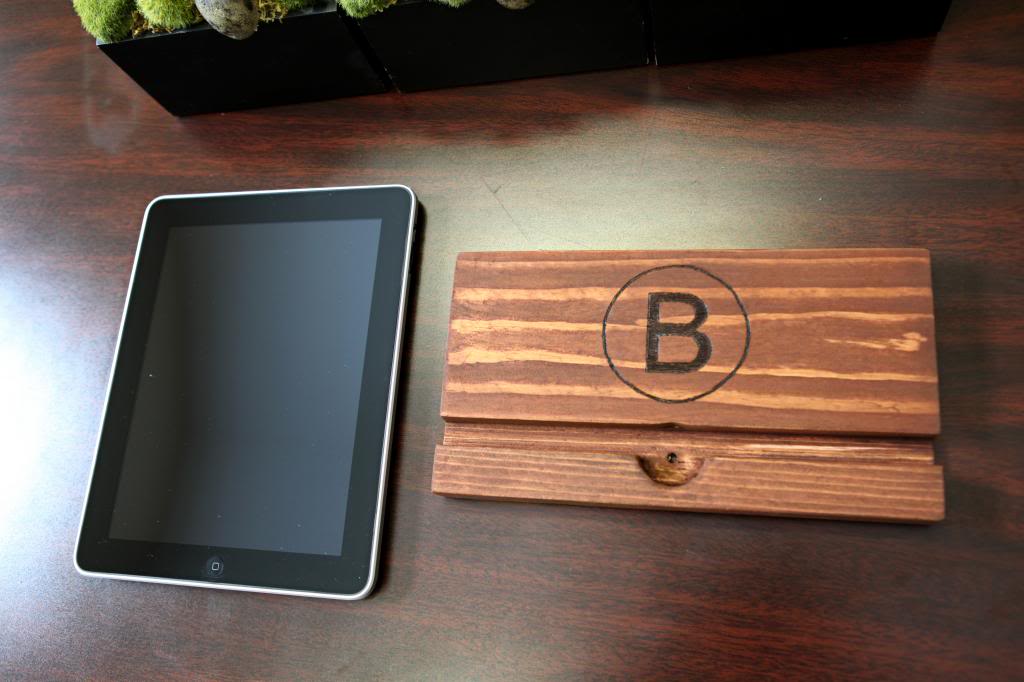
::holding breath::
SUCCESS!
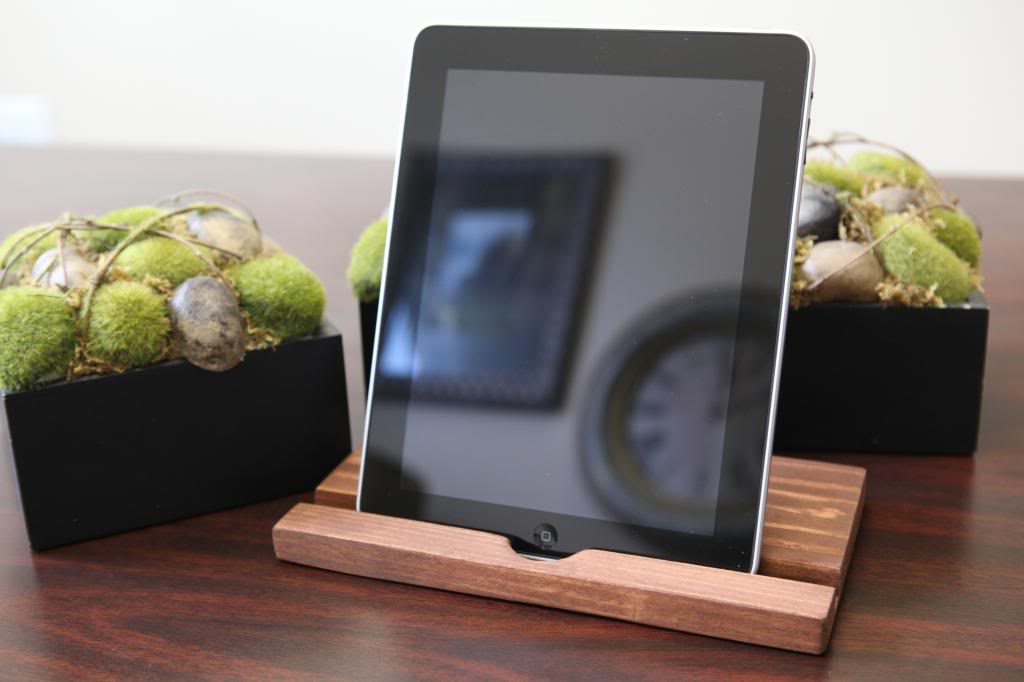
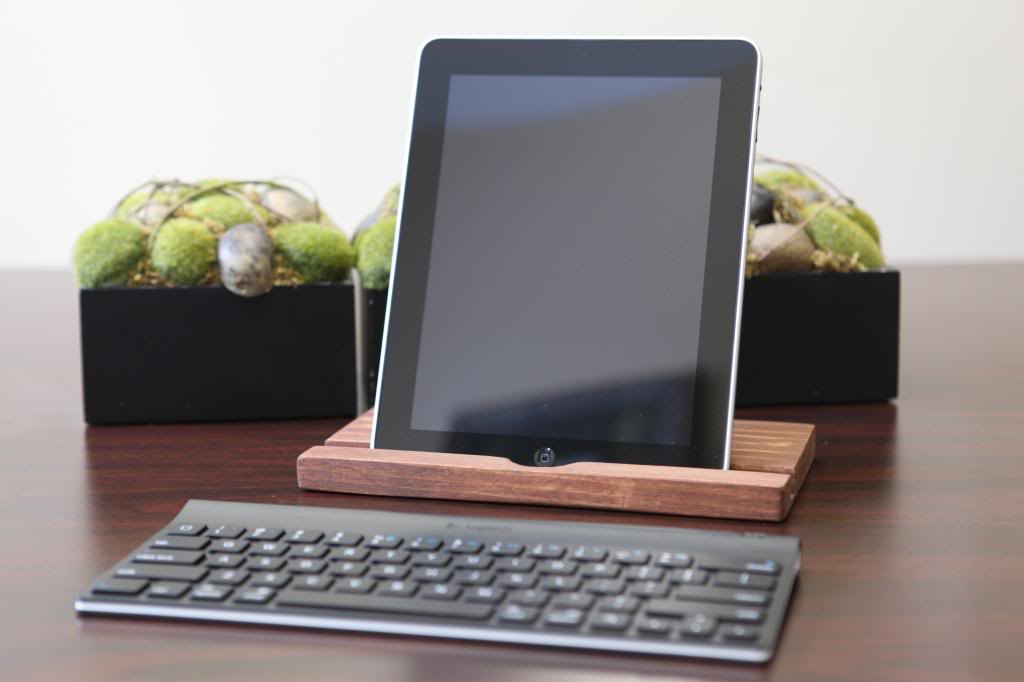
The iPad sits at an angle in it perfectly and the board acts as a counter balance to hold it upright.
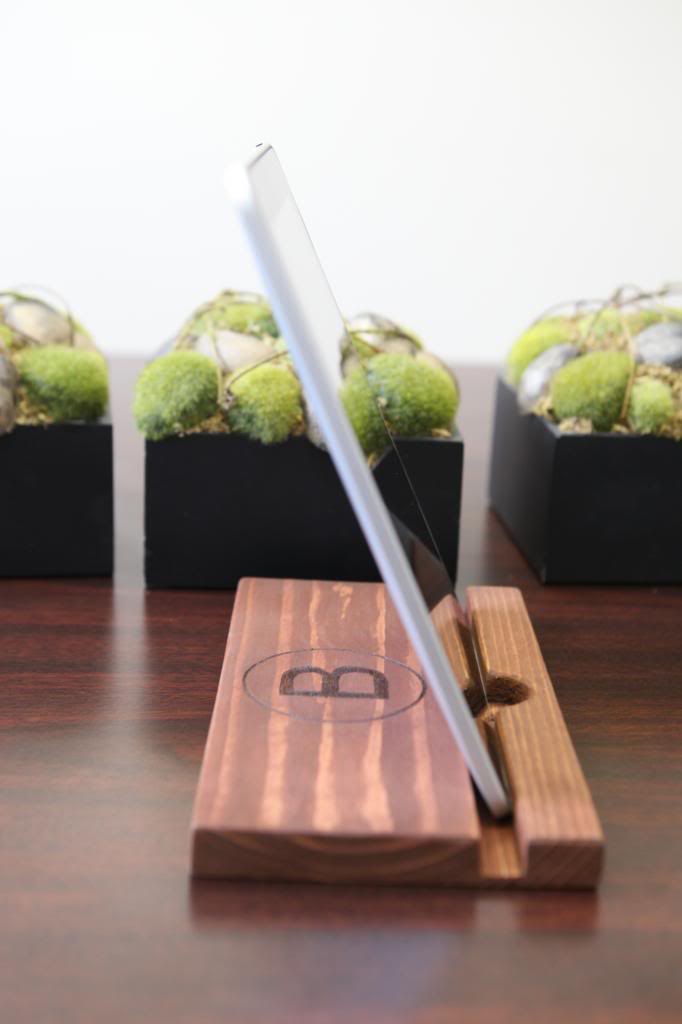
My dad saw it and said that it would be perfect to use if you had a travel keyboard for your ipad…then he whipped his out and showed how.
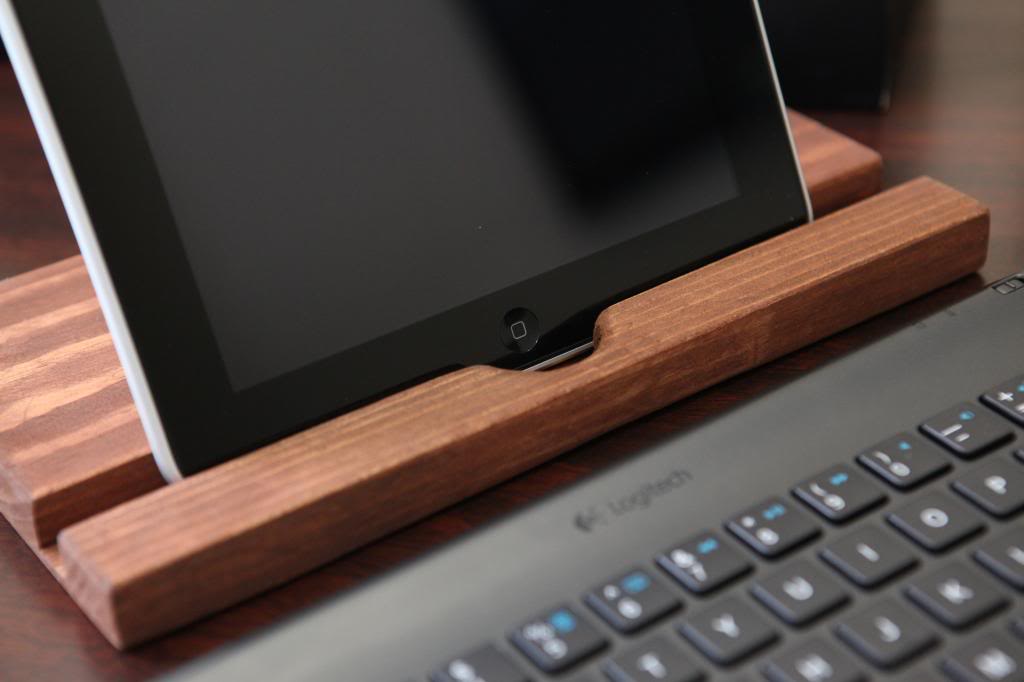
Remember that round hole you drilled out? It’s for the on/off button. Two cheers for easy access! #thatswhatshesaid
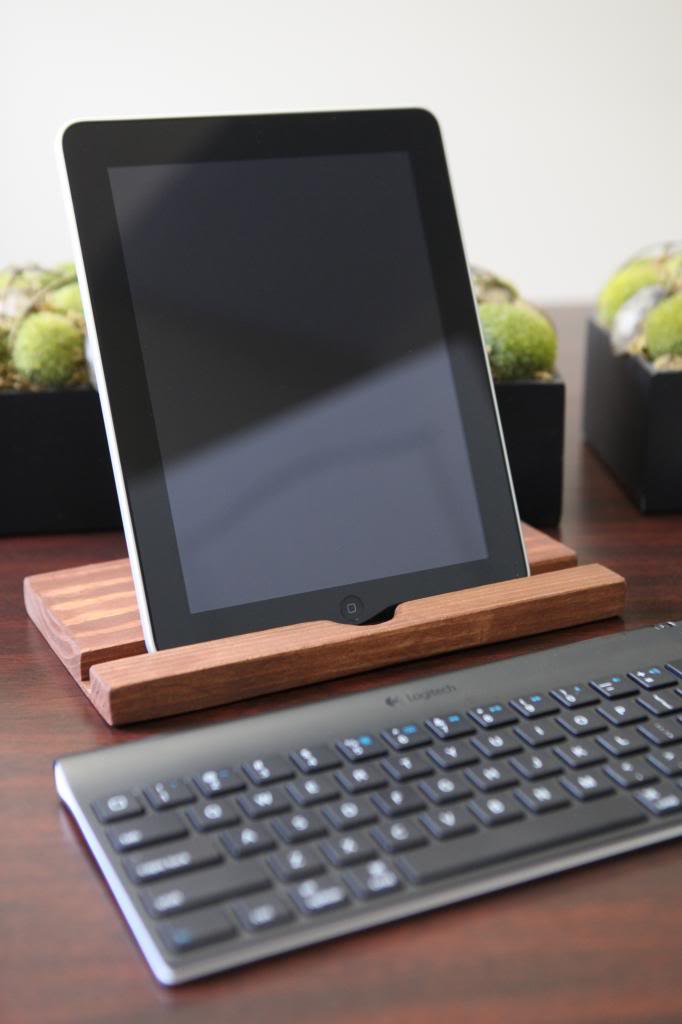
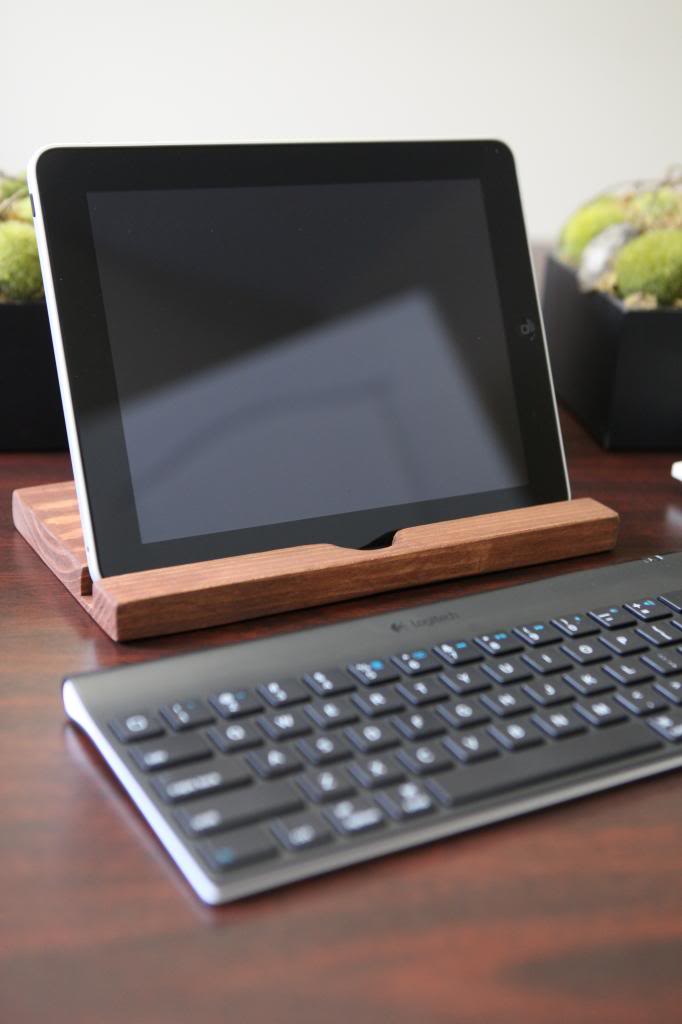
And it fits the iPad both vertically and horizontally.
Yup…if this bad boy could sing, Iggy’s “I’m so fancy” would be it’s theme song.
The best part about this project is that it can be tweaked a bazillion ways till Sunday. I think we might make another one and have the little boys paint it. It would be awesomely fingerpainted for Father’s day!
That is awesome! Good job. I think I’m gonna need one of those! Killin’ it lately KB!
that’s brilliant! thank you so much for sharing 🙂
sharon @ shasummerwine.
This is fantastic! Great work Katie 🙂 I was thinking of trying to build a cornhole set and have it painted by Sunday with the help of our kids but now I am thinking, simpler is better 🙂 Thanks for the great tutorial.
This is a really great DIY! Also like you say the possibilities to customise are endless!
Very cool, Miss Katie! I would have been totally stuck with working with the home button. Probably would have broken the iPad. Nbd. Ya know.
Have a great fathers day!
Sarah
http://www.sarashsdaybook.wordpress.com
This turned out great! So creative. I would love to receive one!
Thats is a great looking ipad holder. Love it!
Yep, I’ll take one of those… should I just send you my address?
Oh my goodness! Brilliant! I’m not a dad (obviously) but this would make a great “I think I’m awesome so I’m making this for myself” gift! 😉 Thanks, Katie!
Awesomesauce!!! You did it again:)
this is an AWESOME idea. seems like the kind of thing those two boys your family is friends with (forget their names…) could market and sell!
my husband is practical beyond reason…i got him berries… http://www.thekriegers.org/2014/06/for-the-dad-who-doesnt-need-a-tie-and-already-has-a-personalized-photo-mug/
Can you just make me one and send it my way? Way too cool!!!
Katie, I thought maybe you missed my comment so Im asking again. Can you link me towards the chocolate milk/craft post you did awhile back? I thought it was for Vday but I could be wrong and not for the life of me can I remember what it was called- or even what the brand of milk was!
Thanks!!! 🙂
Why didn’t I think of this? Oh wait, I have no woodworking skills 🙁
Liz @ http://www.shoppingmycloset.com
I love it!
Fantastic idea! If you had a dado blade for your table saw, you could carve out the channel in one pass, too!
Very cool idea. You have me thinking…………craft show……
Great idea!!! I can’t believe you made it without having an iPad on hand to check if it would work. Playin’ with fire and winning, I tell ya!
too good! doesn’t it fall back….the wood doesn’t look very chunky?
But it seems to hold it…
U should easy it..i would have bought it 🙂
This is awesome!!! Way to go!
Oooo! That is a great idea! As is the holder itself!
Love.this. I can’t wait to add this to my hubby’s to do list. ; )
this is an awesome project!
What an idea sir’ji! You’ve made you dad proud!
So did he like it?
I don’t know yet! We had to mail it 🙂
xo – kb