Weston had a little pink car.
One of his favorite outdoor activities was just pushing this little pink car around till he was blue in the face.
No offense to any pink car owners out there…but seriously…my kid does not sell Mary Kay. (although he could…with that complexion and those twinkly little eyes, he’d have those little ladies buying anything that he was selling.) The toy was screaming for a makeover. CODE PINK! CODE PINK!
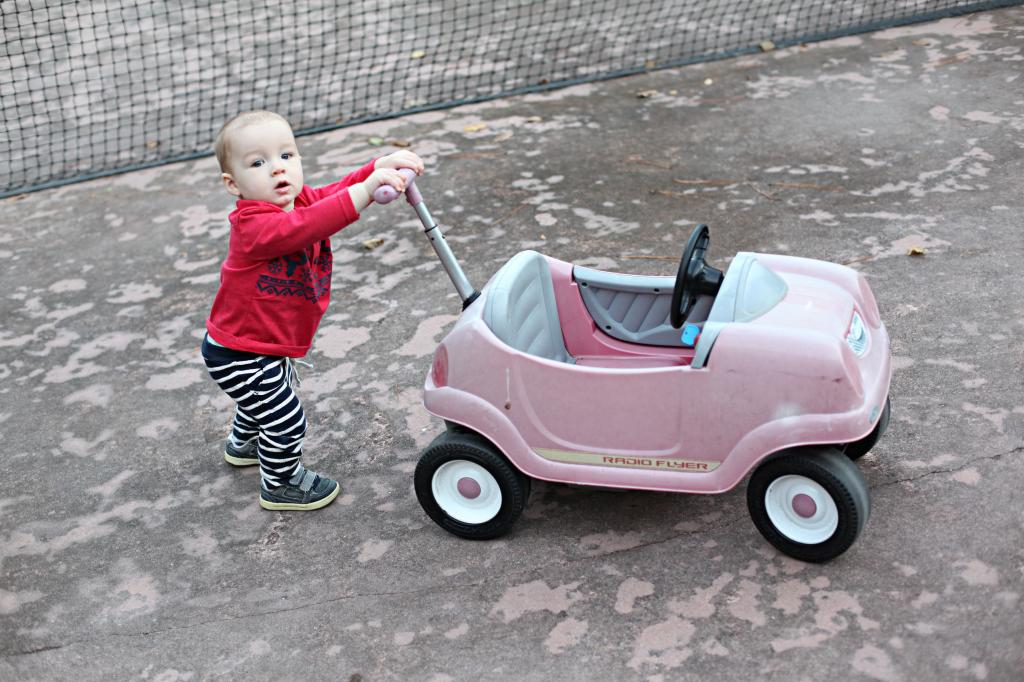
The newer versions of this car run about $120 online…which is a WALLOP of a price tag when it comes to plastic. But I do understand why…the push rod handle adjusts to a longer length so that both kids can play with it and adults can push their little one around without becoming the hunchback. It also has buttons that really make noise (like a little radio and blinkers) plus a pull-out basket on the bottom for the little ones to rest their feet (and not entangle them in the wheels or get caught pushed back underneath the car itself when you are pushing). And you are also paying for the Radio Flyer brand name.
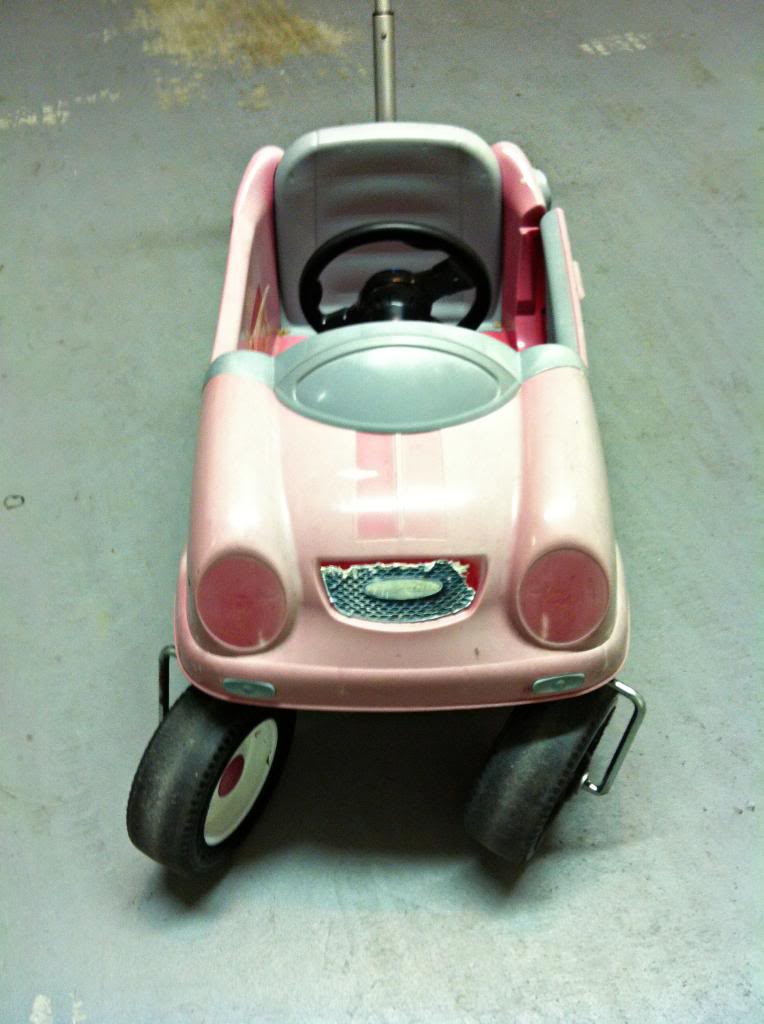
But this particular car had seen better days. It was originally gray and red with sticker details all over it. And now the red had faded to pink and the stickers had all but rotted away.
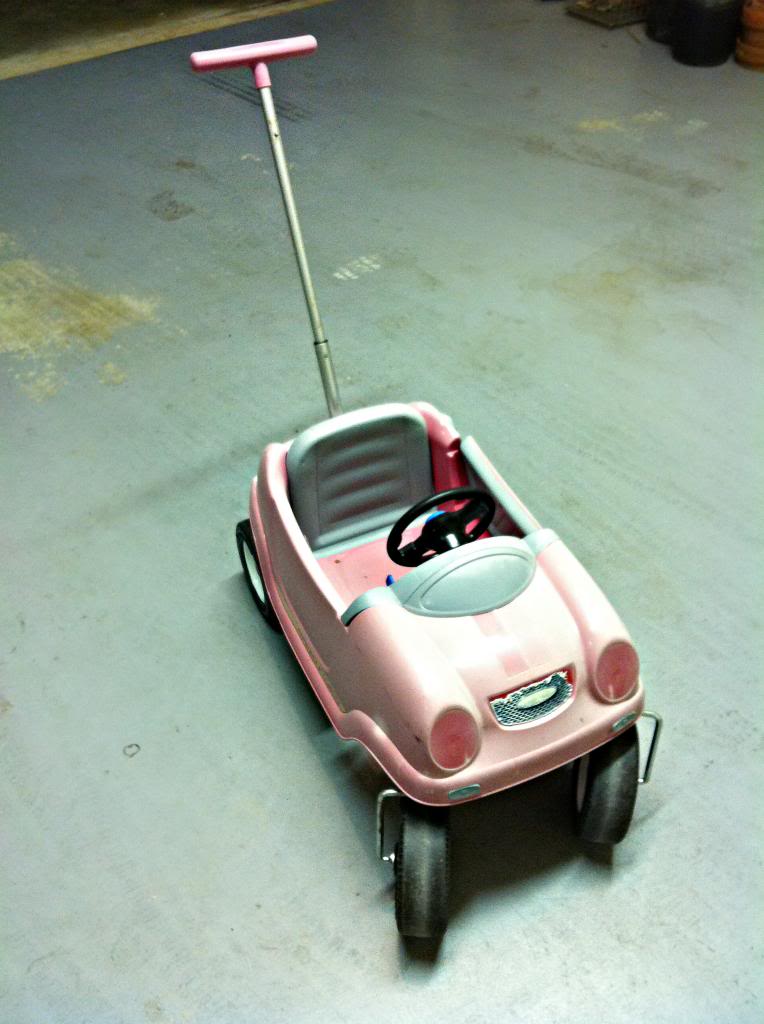
Since most of the stickers were long gone, only a little residue was left and I was easily able to spray some of my De-Solv-It to remove anything on the surface. I used a pan scraper thing to make sure there was nothing there and wiped it clean with a paper towel.
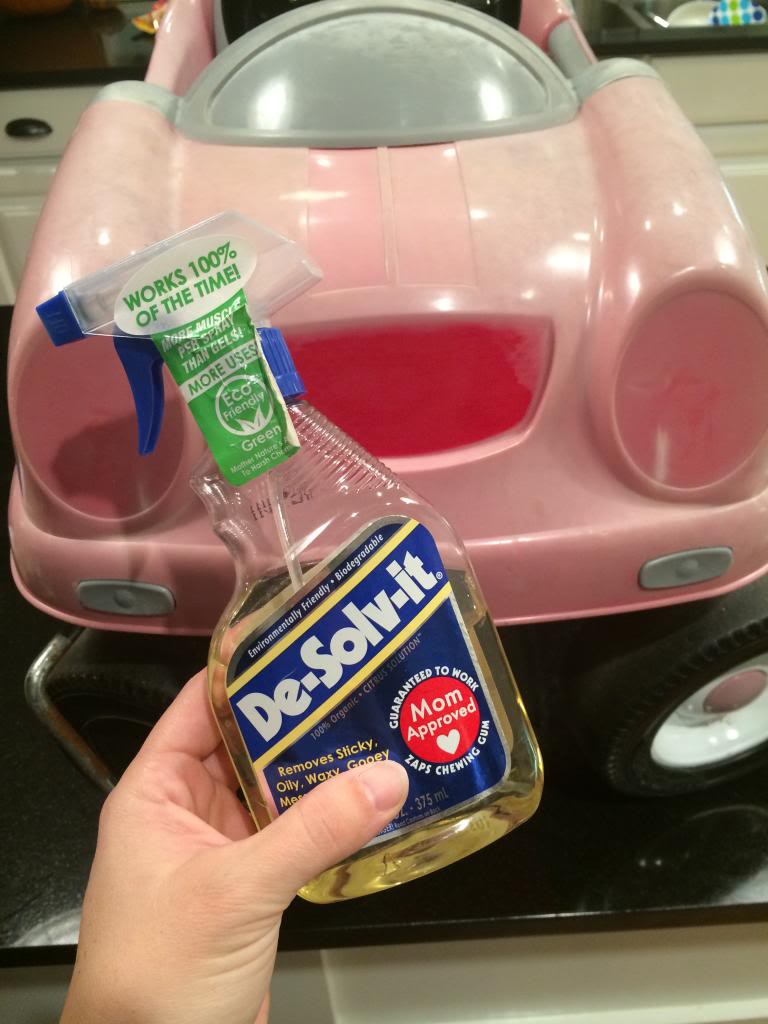
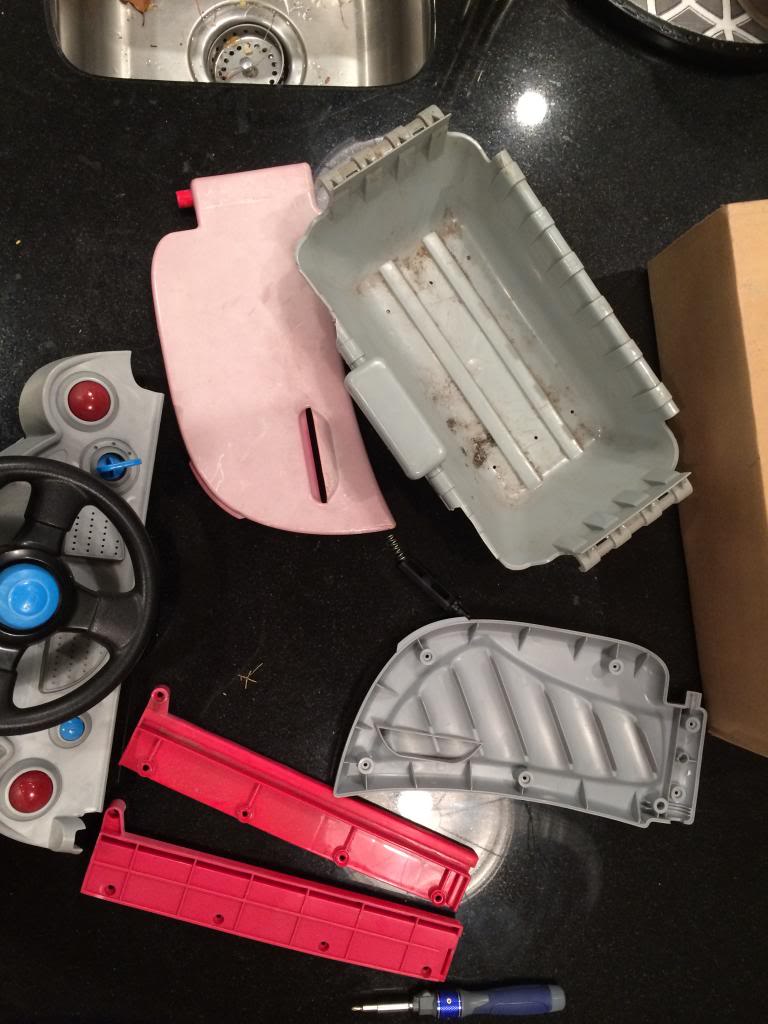
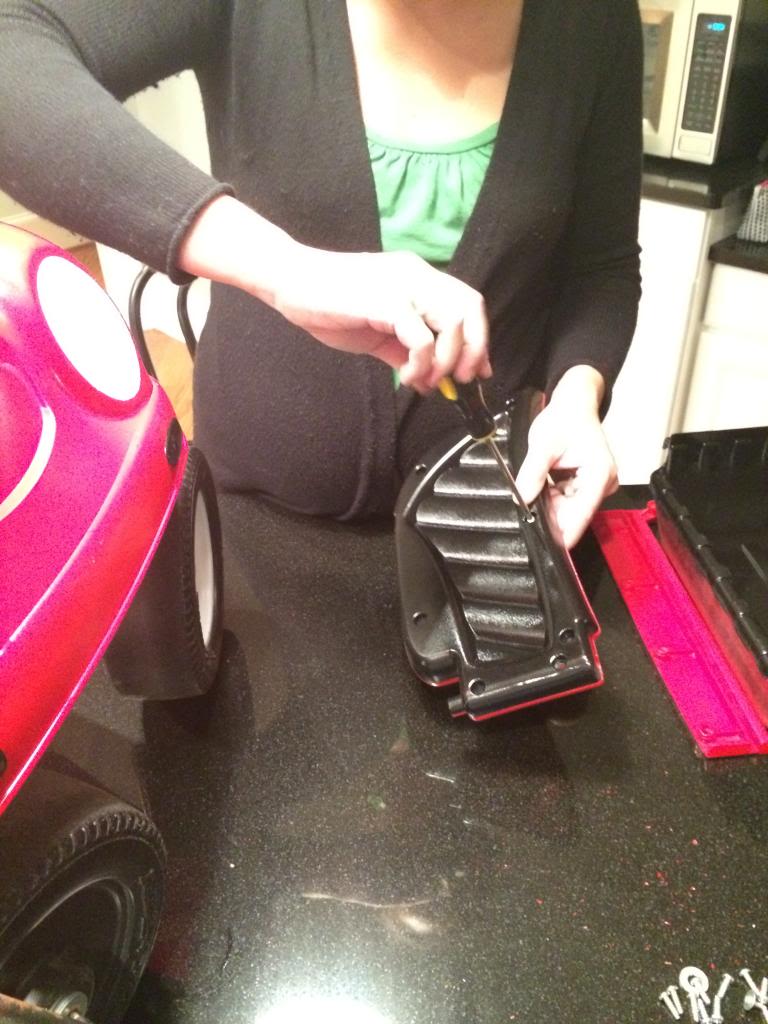
Then I started unassembling. It didn’t fully disassemble (much to my disappointment) but for the most part, the bits that did come off, I cleaned and got them ready for a makeover. (see how the unexposed parts were still red while the stuff that saw the light of day turned pink?!)
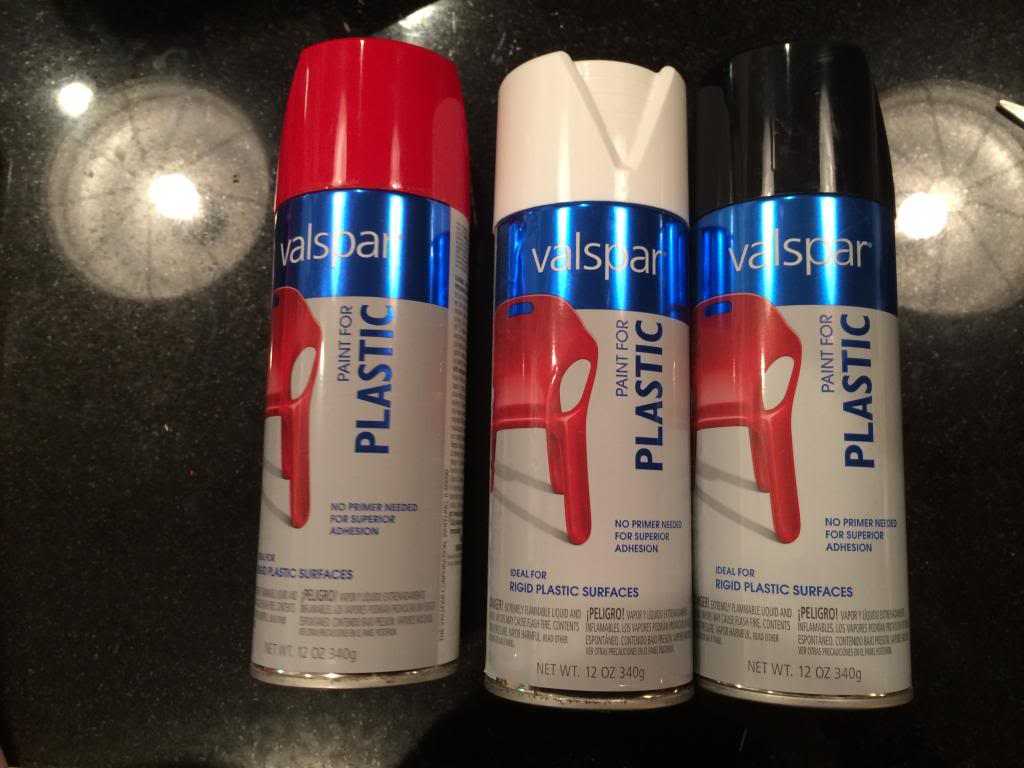
The rest of the car also got cleaned and I whipped out the supplies I needed for the paint job…namely three cans of colored spraypaint and one can of clear gloss topcoat just in case. In this project it’s really important that the paint is made specifically for plastic or you can check the label of your own paint and see if it just requires a specific primer.
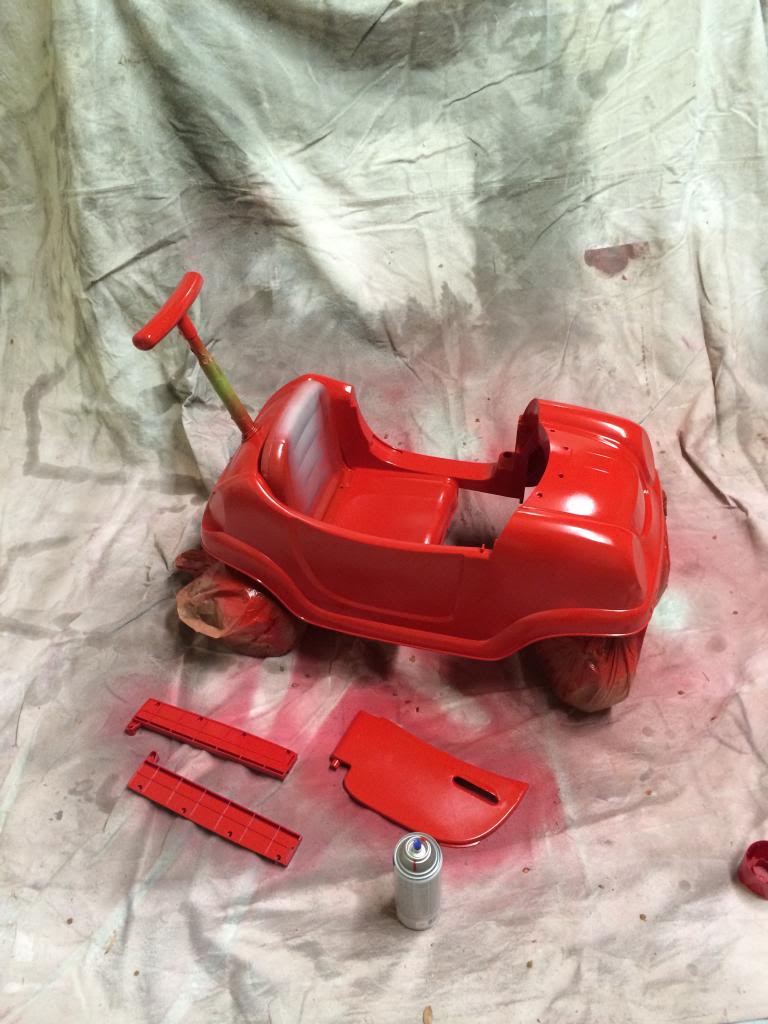
Since we have been having some really cold nights and we knew that this would require a TON of uber-thin coats, we set up a spray paint station in the garage and just lifted the door for extra ventilation and then closed it whenever the item was drying. I began with taping off certain things (like the metal rod for the handle) and bagged other areas (like the wheels that could not come off).
After three thin coats, I did the taping for the black bits….anything that used to be gray was now gonna be black. The best tip I can give you is use loads of tape, utilize an x-acto knife to trim away anything or push bits of tape in crevices, and do a “edge coat”. An edge coat is when you have already painted something one color and another color could bleed onto that…so after taping, use color #1 to do a light spray on all the edges…making that bleed impossible and your lines super crisp.
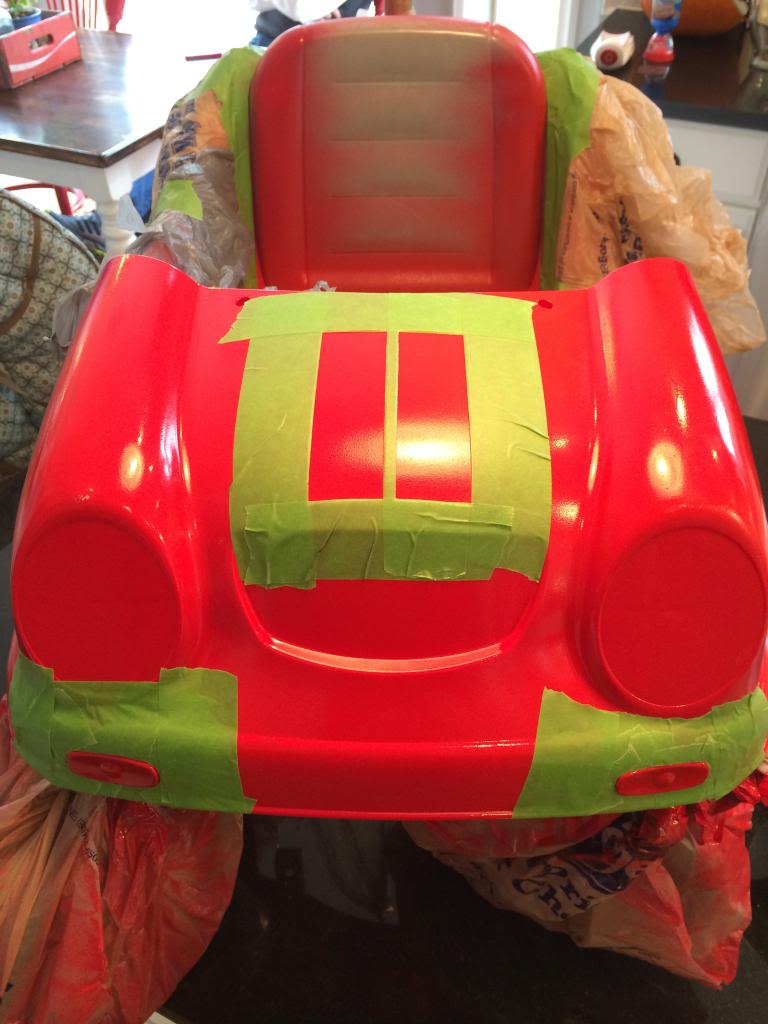
After the black was done, I started removing tape for the next color – white. I decided to paint racing stripes (the original had racing stripes stickers) and white headlights so this was definitely the easiest step because the areas were small.
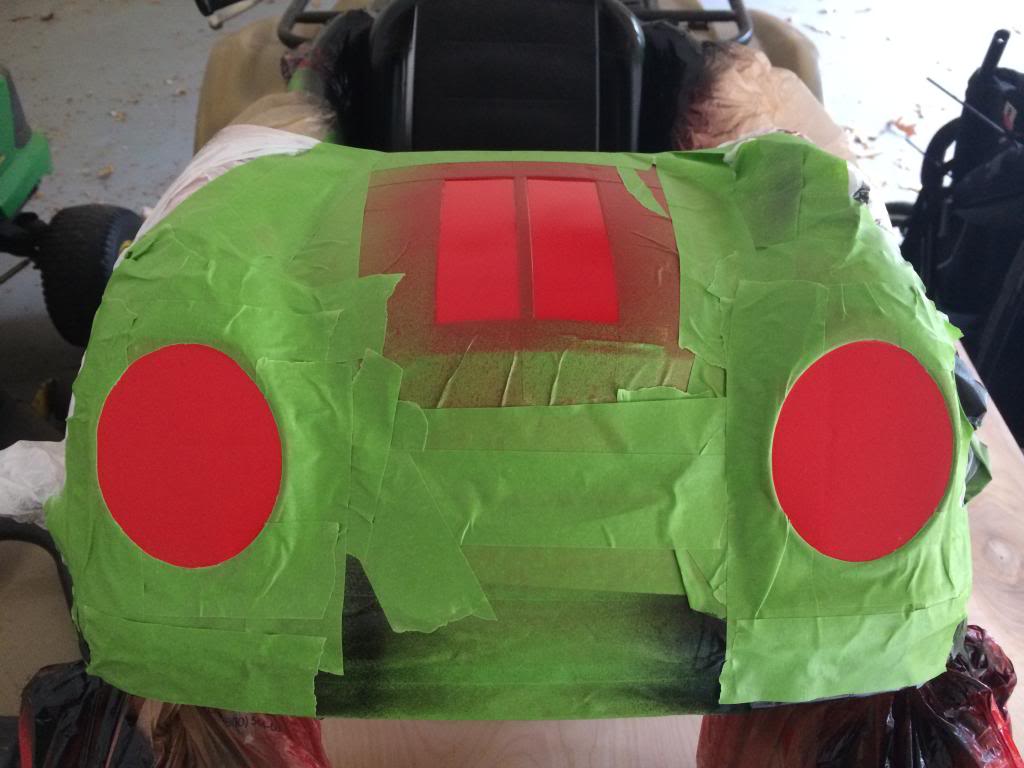
After several coats and sufficient dry time, it was time to remove the tape.
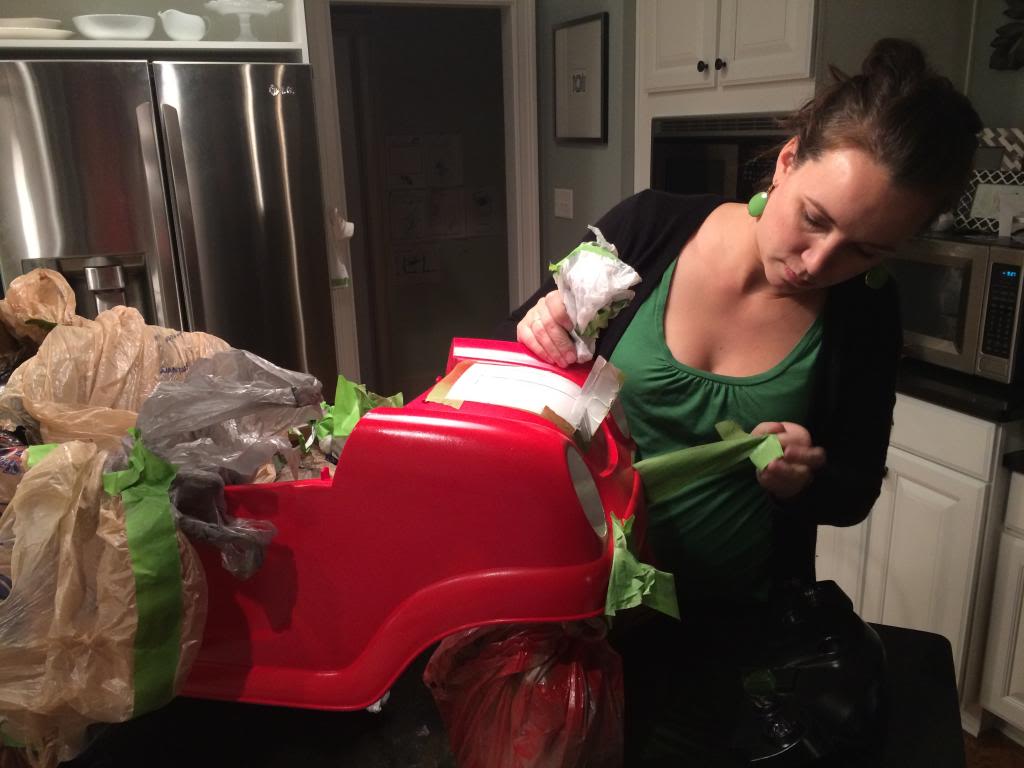
Then I did one coat of gloss top coat on everything (I did leave the steering wheel off completely and the dashboard buttons taped off because I didn’t want to have a leak of paint onto the electronic bits) and then started reassembling.
In the end, my less-than-five-dollar thrift store car turned out to be quite the sporty little coupe.
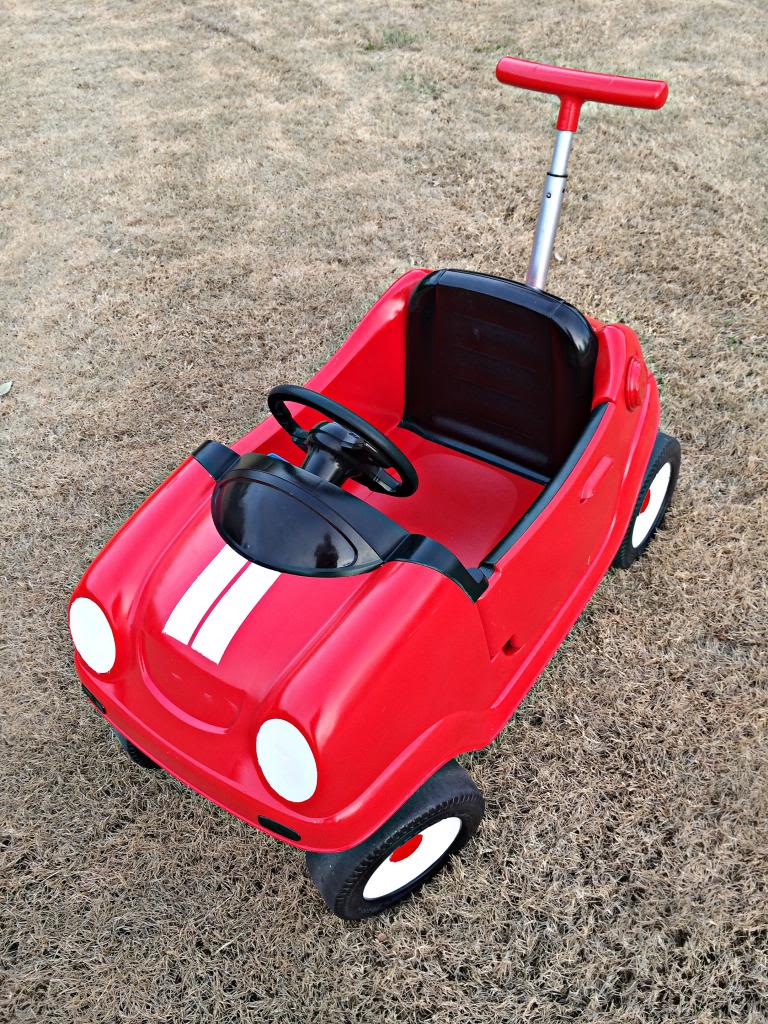
The before and afters are enough for me to think about starting painting real cars…..no….that’s a lie…but my little brother does paint wheels and I am really excited to show him this. He’ll probably ask me why I didn’t chrome something out or give him spinners or something.

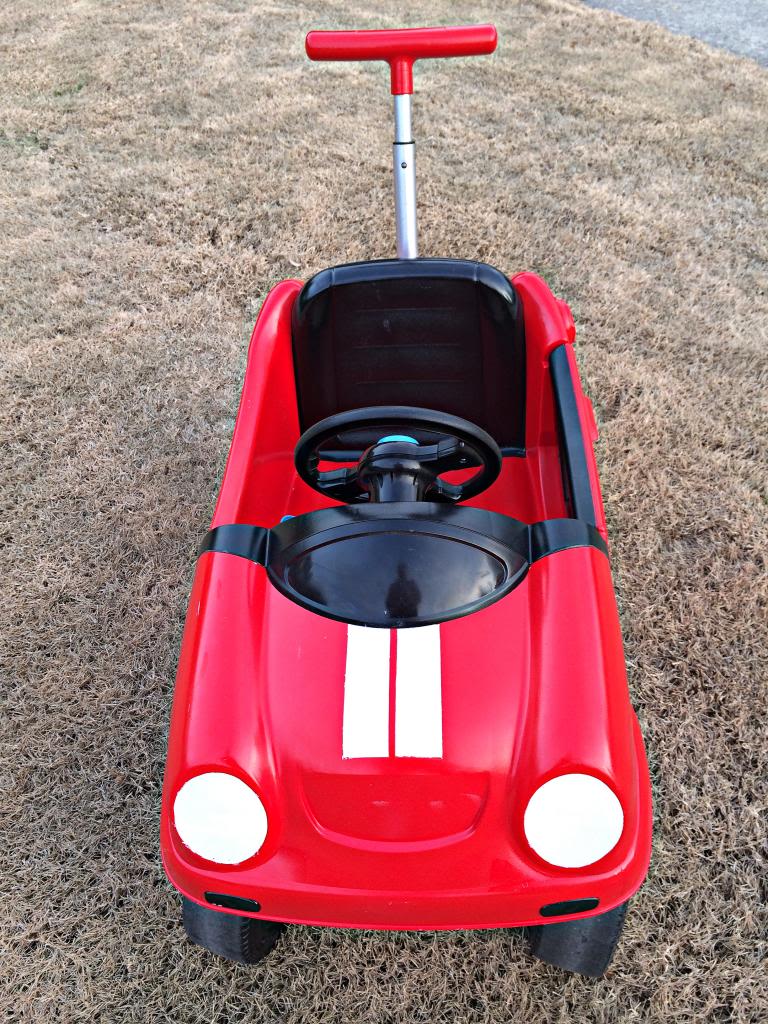
The cost was about $21 total…$5 for the car and then a little over $16 for four cans of spray paint. A huge savings of a hundred bones if I were attempting to buy it new vs DIYing. Now to find a little license plate that says “We$ton”


So how did he react when we gave it to him for his birthday?
Perfect. Actually it was a much better reaction than I hoped for (considering the car wasn’t really new to him…just the paint job…and do babies really realize that kinda thing?!)
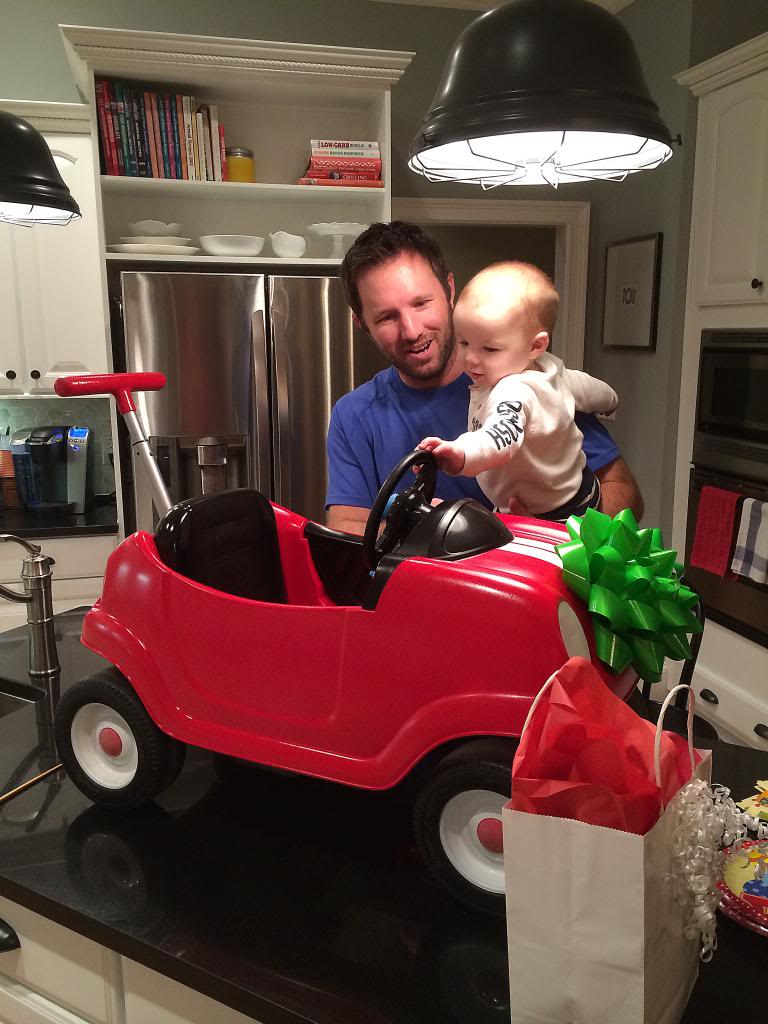
He was really into it. Figuratively and literally. (ignore the food on the shirt…he got to try a mini oreo…not his thing apparently).
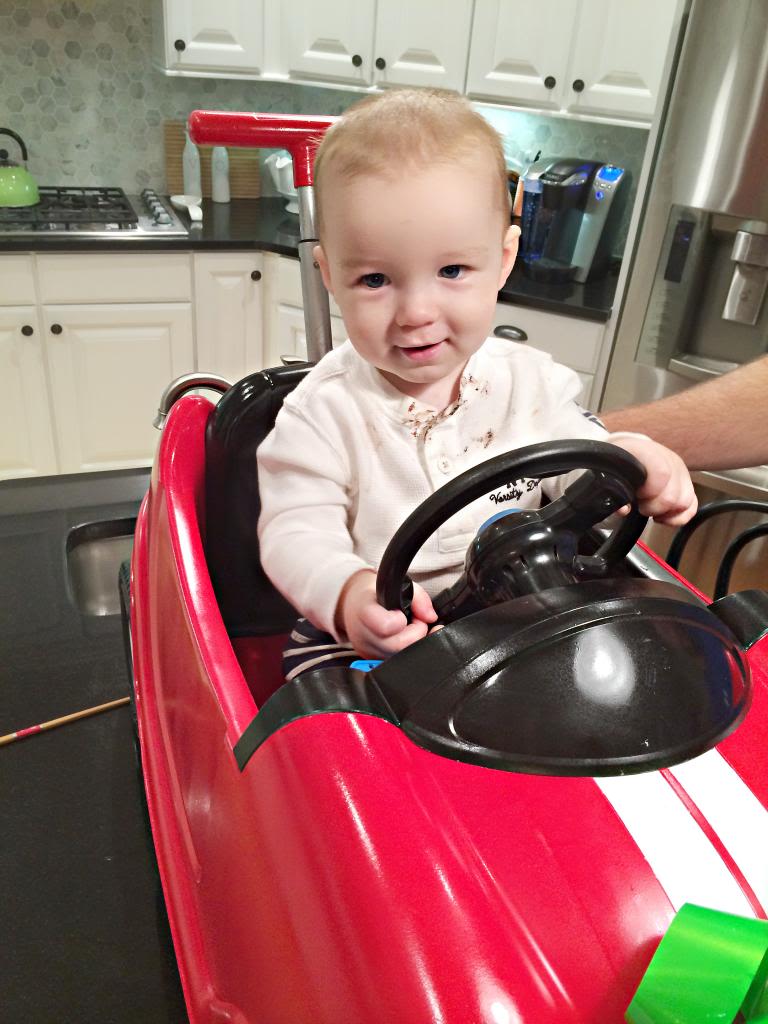
I just can’t believe my little guy is already ONE! And I know that if he were talking, he would tell me that I was the best mom ever for giving him a brand new car on his birthday. Remember that Weston….because it’s not happening when you turn 16. Just sayin 🙂
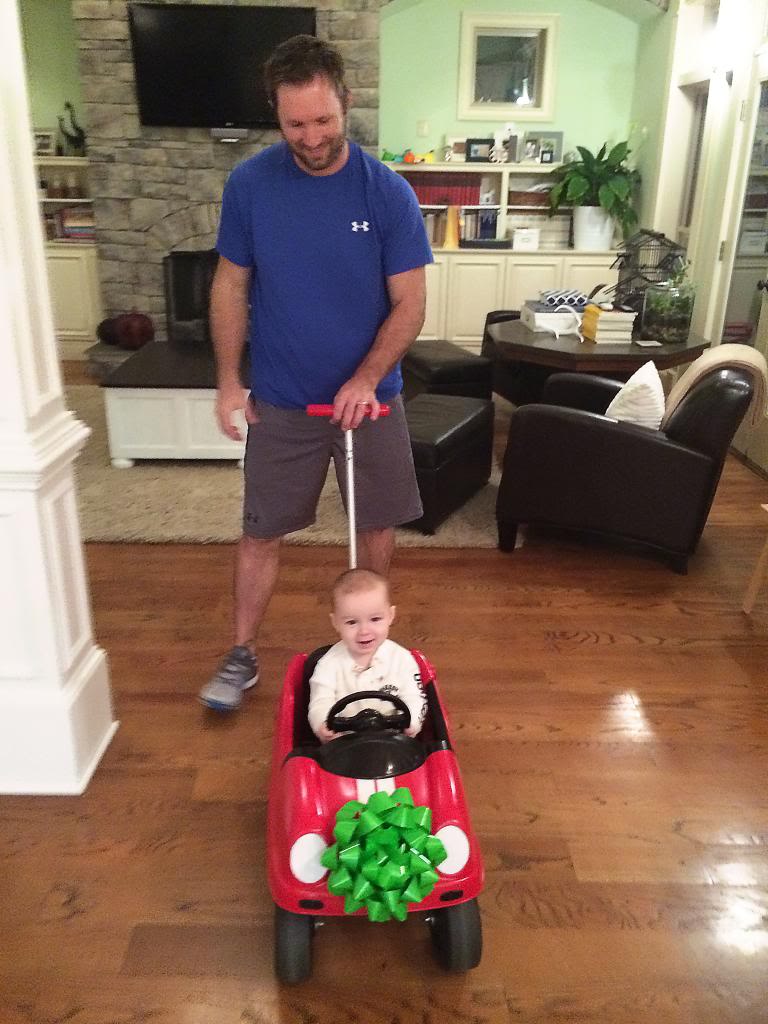
I LOVE THAT YOU DID THIS! You go girl!
Amazing transformation! I love the paint job (and Weston is super-cute too!)
Love it!! I especially love that you weren’t afraid to give him something shiny and new… that wasn’t new. We’re big fans of that around here. Can’t wait to see what you do for the boys for Christmas!
We have not one but two faded crazy coupes. I’ve been dying to do this but wasn’t sure if it would hold up. Have you heard anything either way (or have previous experience)?
I’ve seen a bunch on Pinterest but I haven’t followed up with anybody to see if they say how it holds up.
xo -kb
Great job! My parents bought my daughter the expensive version for her 1st birthday years ago and it’s great. The music has three choices and in true toddler fashion, she played more with the music than driving the car. I love your version, the black is awesome!
Thanks. It looks awesome. I should have included that. Pardon my manners. 🙂
Giving you MAJOR props on this! Feels so good fix up something!
This is awesome!!! It looks brand new!!
AMAZING- this looks SO good! What a deal too- I love it. I love the pics of Weston in it too- adorable 🙂
What a difference! Great job!
Looks fantastic!
Love the car! Happy Birthday Weston!!!
Weston is ONE!?!?!? How can that be?? Happy Birthday to that cute kiddo 😀
so cute! I turned an old cozy coupe into a cupcake car and my daughter loves it! It was such a fun project too. Happy birthday to your little man!
We did this on a play set and the paint started flaking within months. It was super cute, but was a lot of wasted effort and paint for us. I sure hope your car lasts longer, because it is adorable!
This came out awesome! And it’s so great that all that plastic didn’t end up in landfill!
Your 2 boys are the cutest things ever! SOOO precious. Keep up the good work Mom!
Happy Thanksgiving to you and yours.
🙂
pure Mother love…….it must have been a tough job but you did it all for him..he will remember and smile…..and you saved something from a landfill and more plastic in the world and money you can redirect…..oh yeah I could go on
well done Moma, so proud of you
How cute!!!
Wow, Great job! And you are right, he’s such a cutie the ladies would buy Mary Kay from him! 🙂
OMG!!!! You did such a great job!
I love this, and I pinned it. My mom has some old plastic outdoor toys that I am verrry tempted to spraypaint for Christmas now and give to my boys.
I so so love this!!
oh my gosh that’s so stinkin cute! Best. Mom. Ever.
Adorable!
I saw those posts on Pinterest too and tried it out on a Little Tikes wagon. I used 6 cans of Rustoleum pink and purple and sanded it before applying the paint. I also used a clear coat. It was so adorable and my daughter loved it. I was so sad that the paint almost immediately started rubbing off and then it started to chip within a few days. I called Rustoleum and the customer service guy pointed out the very fine print on the back of the can, “Doesn’t work on Little Tikes.” He said it’s because Little Tikes puts a chemical into their plastic to make sure that you can’t re-paint it. My biggest Pinterest fail ever 🙁
You did a great job !! It turned out awesome.
But you know what I noticed ?? That after all this work you put in; there is no pictures of you and Weston with the car.
We moms ( including myself) do EVERYTHING and who gets the glory to be in the picture is Dad…. Because AGAIN we moms are doing EVERYTHING – and also documenting the moments.
After all the planning, the dream, the coming together of the final product YOU DESERVE a beautiful picture with your precious driver Weston. Please include it in post.
Who Agrees ??
That little car looks incredible Katie!! Good work and happy birthday Weston!
Awesome! Happy Birthday Weston… I noticed no mention of Frog Tape which made me realize we’ve been missing FT Fridays, is that over?!
LOVE the red/black combo! nice choices! Can you come to my house and help me? I have all kinds of projects I need to finish!! ; ) Nikki
Looks amazing! Weston seems very happy with his snappy coupe.
I purchased a second hand Little Tykes plastic playhouses at a kids sale for $50 (opposed to $250) and colors are faded. We plan on painting it to match our house in the spring. I’ve read different results on others blogs. I’d love to know how the paint holds up.
What a true labor of love with amazing results. Weston’s looks are changing. They get big so fast. What an awesome makeover. That would be a great thing to do for kids at Christmas who are less fortunate. You get together with some of those friends of yours and make it a party. Tell them to bring 1-ply toilet paper. Less chance of clogging up the pipes!
Love the new paint job! I’ve been curious about using spray paint for plastic as well; it’d be great to hear how this holds up for you.
Happy Birthday Weston:) The car came out adorable. And even if the paint ends up not lasting like some people have mentioned….he will have outgrown it and baby number 3 might like another color:)
Wow! It turned out sooo good! Nice!
I’ll be sure to follow up on this…I do wanna note that we keep all the little toys like this stored in the garage so it might be different than a toy that stays outside all the time.
xo – kb
Yup! Our partnership with FrogTape came to a close and we still love the product!
xo – kb
Ours so far is holding strong in the first week…so maybe not all plastic is made equal 🙂
xo – kb
This is awesome
This website needs a LOVE button. 🙂 What a great transformation.
Oh my gosh, so cute! I love that he just adores his “brand new” car! 🙂
Oh My God! I was really surprised to see the changes. It has been changed into a new gorgeous car. How did you manage it? I will definitely appreciate your quality. And I am always in great dilemma to reassemble anything. It is my great drawback. Really a great work, keep it up. And I hope you have a happy day.
Looks wonderful
WOW WOW WOW!! I am so totally impressed! It looks amazing and Weston is BEYOND adorable! Happy birthday, big guy!
wow wow wow – fist bump! I love seeing old run down toys get a new life (that’s honestly better than the first one they had . . . kind of like toy heaven 😉
On a slightly un-related note, your kitchen just looks fab in the background (another fist bump). Would you mind doing a f/u post on how things are holding up, thoughts now that you’ve been living w it for a while, what you might do different, etc.? My master plan for my house has been to paint our builder-grade honey oak cabinets just like you did (I even have the graco sprayer) but we had a painter-man at our house last week just to give a quote and he said ‘oh – I wouldn’t paint those cabinets’ and my heart sank. So not in the budget to get new cabs & there’s really nothing wrong w/ them. So, would you still paint them? sand them down like you did? Spray everything (even the frames indoors)?? Thanks a ton in advance.
Love the car but really really LOVE the look on your birthday boy’s face.
Wow, the before and after are amazing. What a huge difference a little spray paint makes. It totally looks brand new. I love it!
This gives me high hopes for salvaging my own little Radio Flyer from childhood! That one is old and metal, but I’m still hoping I can bring it back to its glory days.
http://jax-and-jewels.blogspot.com
LOVE this so much! What an amazing transformation. I’ve never seen anyone actually tackle anything like this, great idea!!!
Whoa! Crazy. I didn’t know they did that.
Uh oh, will Clara have to fight Weston off now so she can sit in it and listen to the radio? It is one her favorite Bower House activities after all. 🙂
-John
I cant wait to see Weston’s 1st birthday party! You always throw such cute ones for Will. I love the car too; it came out amazing!
THAT’S RIGHT! I forgot! I guess she’ll just be the blonde with the hot red convertible 🙂
xo – kb
Brilliant! What a transformation and a real delight for Weston by the looks! Nicely done KB
I’ll definitely add that to the list of posts to do!
xo – kb
This looks great, though I want to point out…. your budget breakdown is a little short. I know you get free frog tape as they are one of your sponsors, but that stuff is expensive. Given how much you put on the car in the pictures, I’d say for the rest of us, you would have to add $10-20 in tape!
I broke out a new roll for this project so I do want to be honest…this took less than a quarter a roll…so yes, I did neglect to add that into the cost so you can add about three more bucks in!
xo – kb
Yeah!!! I am on my way to Home Depot!!! Got a toddler bed to redo!! Pink to race car red or maybe Blue. Gonna have some fun. Thanks for this post. Happy Birthday Weston!!!
I’m wondering how this has held up and how did your toddler bed turn out Jane? I have two pink beds to turn into boys beds and my husband doesn’t think it will work!
I suffer from debilitating fatigue and am awestruck people can do things like this. I love the closeup picture of that baby in the car. I realize this post is old but kudos to you and what a lucky child.
Thanks Janet 🙂
xo – kb
I loved this! I’m looking to do something like this for my nephew and this is a great inspiration!