I’m on a pumpkin kick. Like if pumpkins were the crisp ocean air, consider me Daniel son one-legged on a wood pier.
Since I already did the easy painted+sharpie pumpkins, I was contemplating the other really simple ways to decorate a pumpkin that I have seen before. That’s when it happened. I realized that I had never personally decoupaged a pumpkin and it was high time to check that off my pumpkin bucket list. Yes, there is such thing as a pumpkin bucket list…don’t judge.
The fact is…there is nothing new these days. The only thing new is the experience to you. So this is definitely something that has been around for AGES. I mean…I think my mom did this one year…but not just me and my lonesome…so I wanted to give it a whirl. Hopefully these simple and easy ideas are just a good reminder to us all that bloggers and Pinterest and some 23 year old designer (are there pumpkin designers? there should be.) fresh off the art school truck didn’t invent these things…we are just all trying our hand at them and that is a good thing. It’s like if one person ever jumped out of a plane and we all saw photos of it on the internet and then we were all like well-geesh-can’t-do-that-its-already-been-done-before and threw our hands in the air….well, we would all miss out on the dirty underwear that comes with skydiving. Catch my drift? (yes, that is also a detergent pun.)
So here is my attempt at gluing random stuff on a pumpkin.
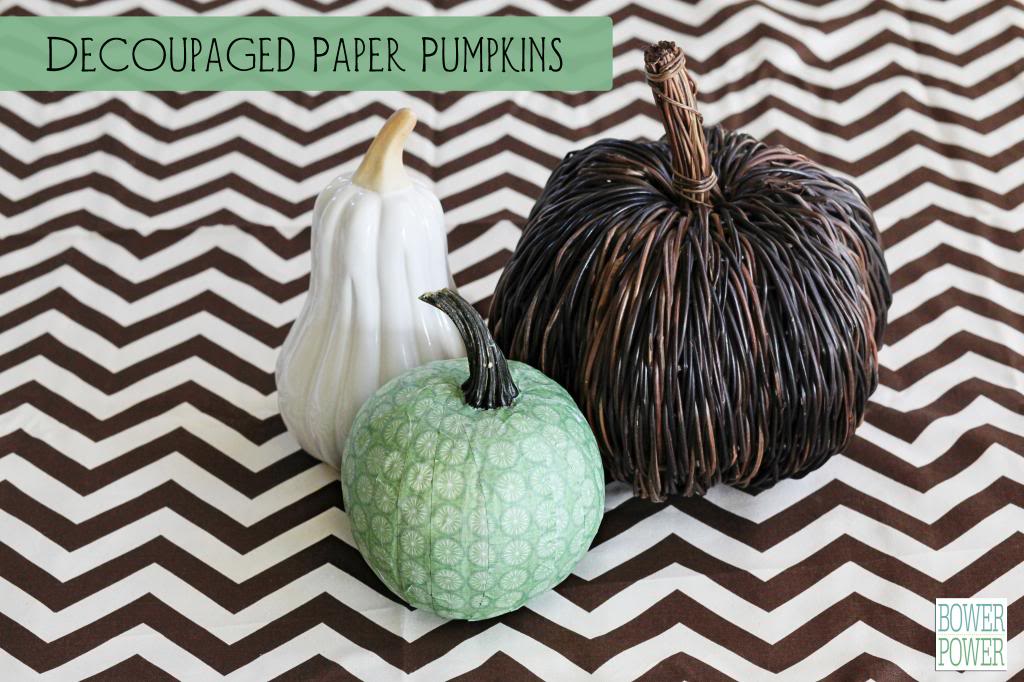
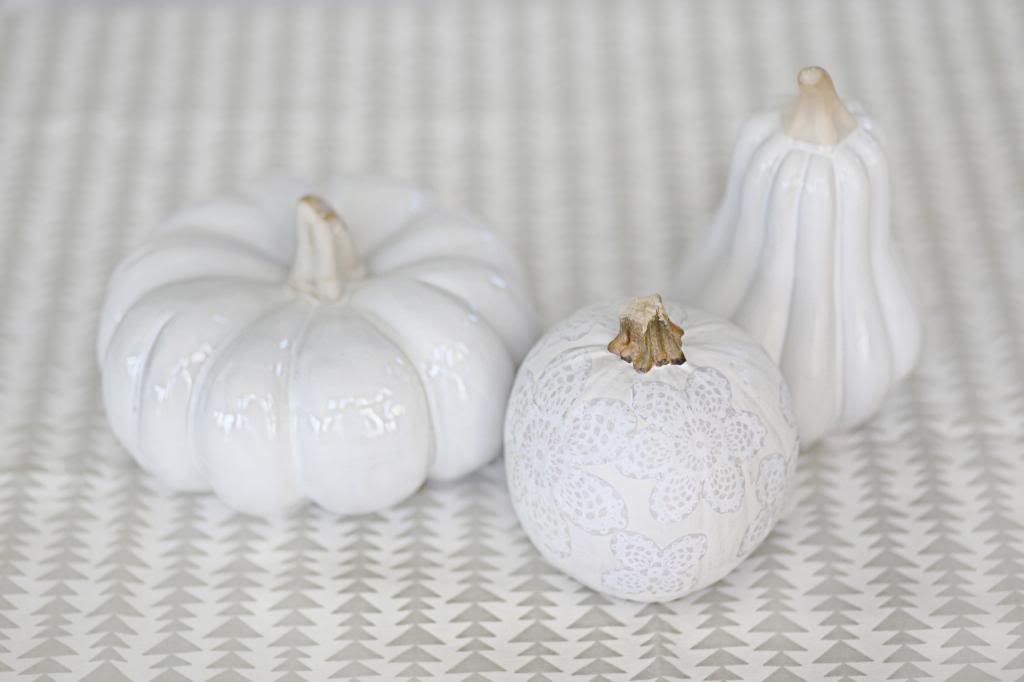
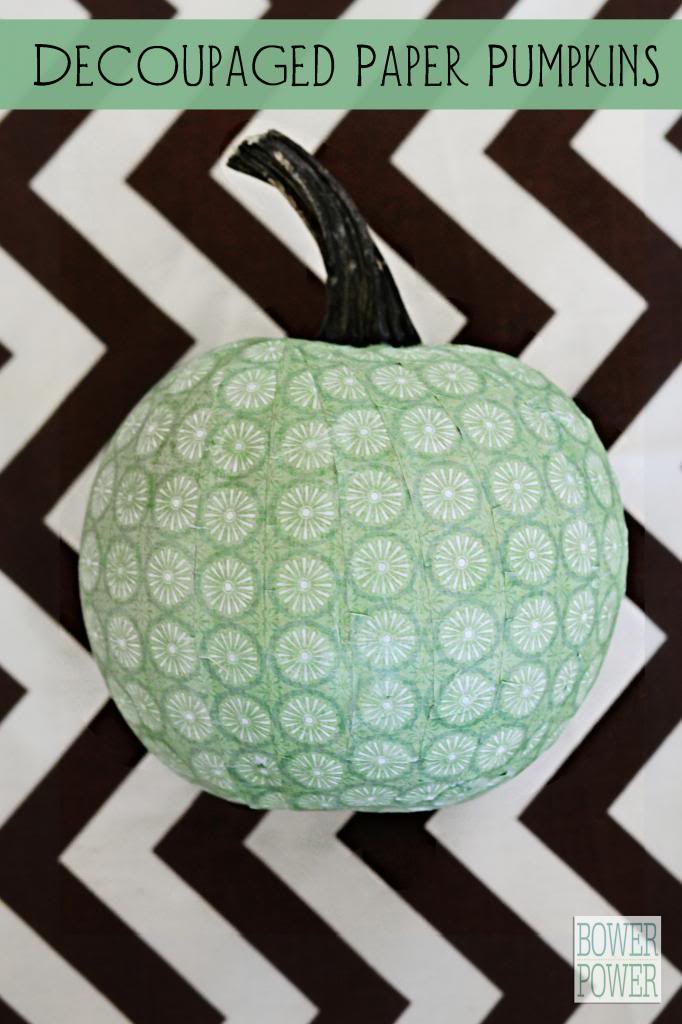
I did two different versions…one fully covered with scrapbook paper (get the post title now?! paper? paging? ok…it was a stretch)…and the other was painted and then had cut out pieces of scrapbook paper applied kinda like stickers. I’m really into doily’s right now…so this is kinda like the easy way to make it look like a slew of mini doily’s is on the pumpkin.
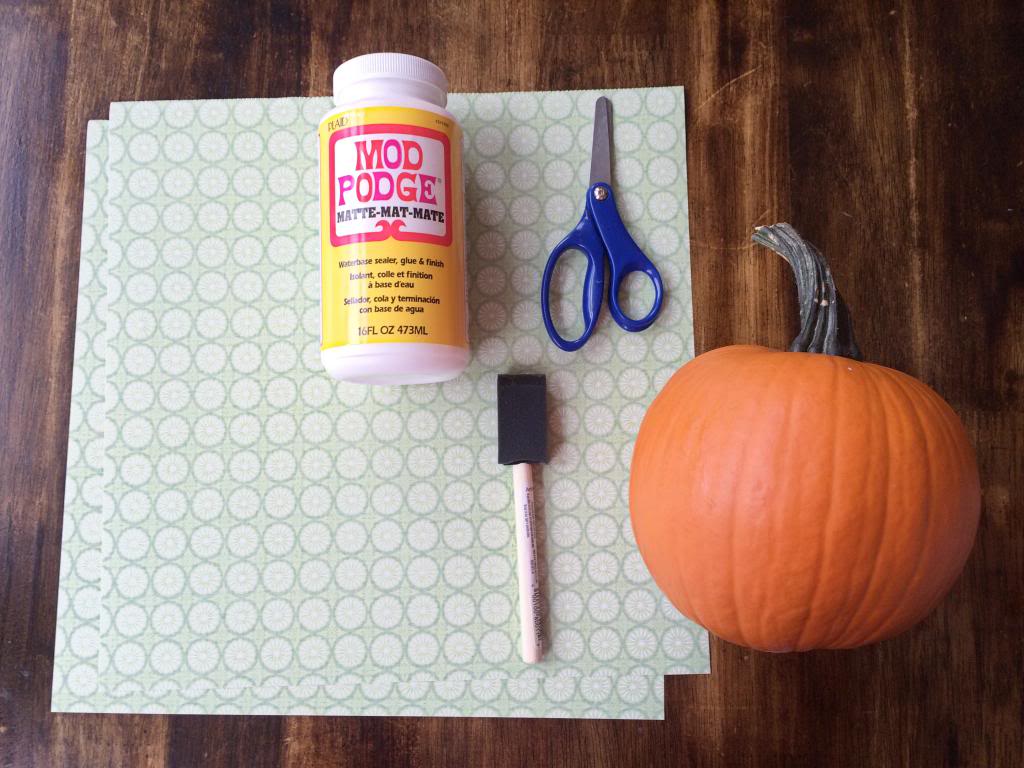
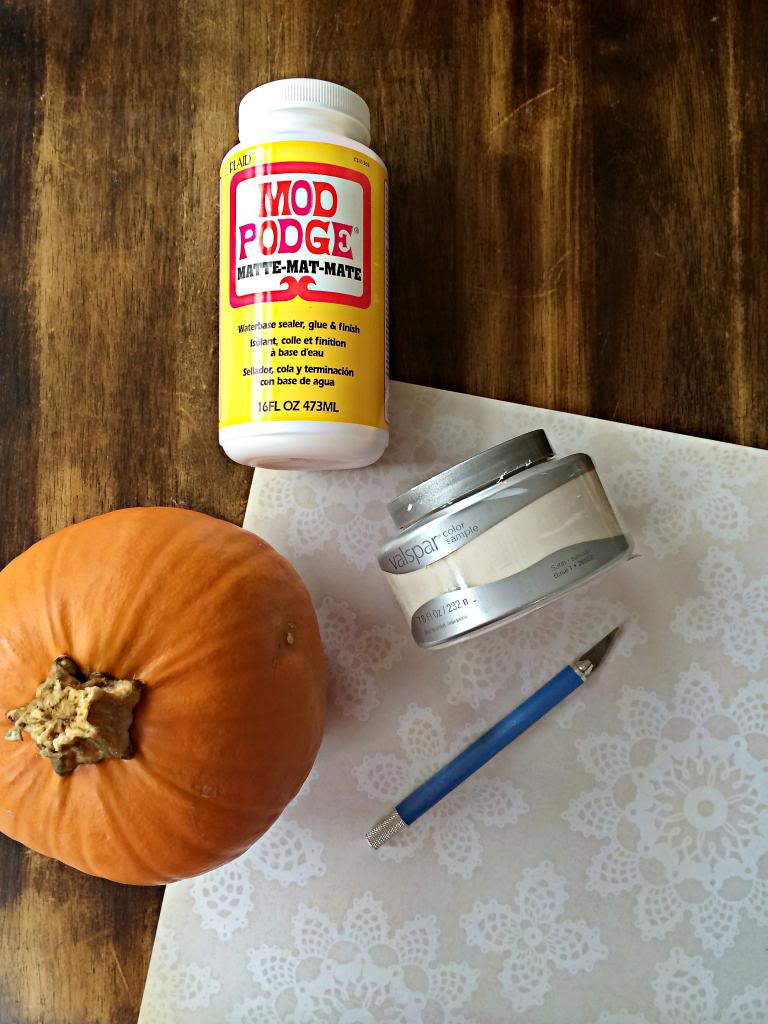
First I gathered my supplies….paper (I used two pieces for the fully covered kin), Mod Podge or white craft glue, scissors, a foam brush, a pumpkin, water, a small disposable Tupperware dish (empty Cool Whip containers work great! and they are really delicious to empty!), and an X-acto knife. I realize that half the stuff I have listed isn’t pictured….I got over it fairly quickly…hopefully everyone out there does too.
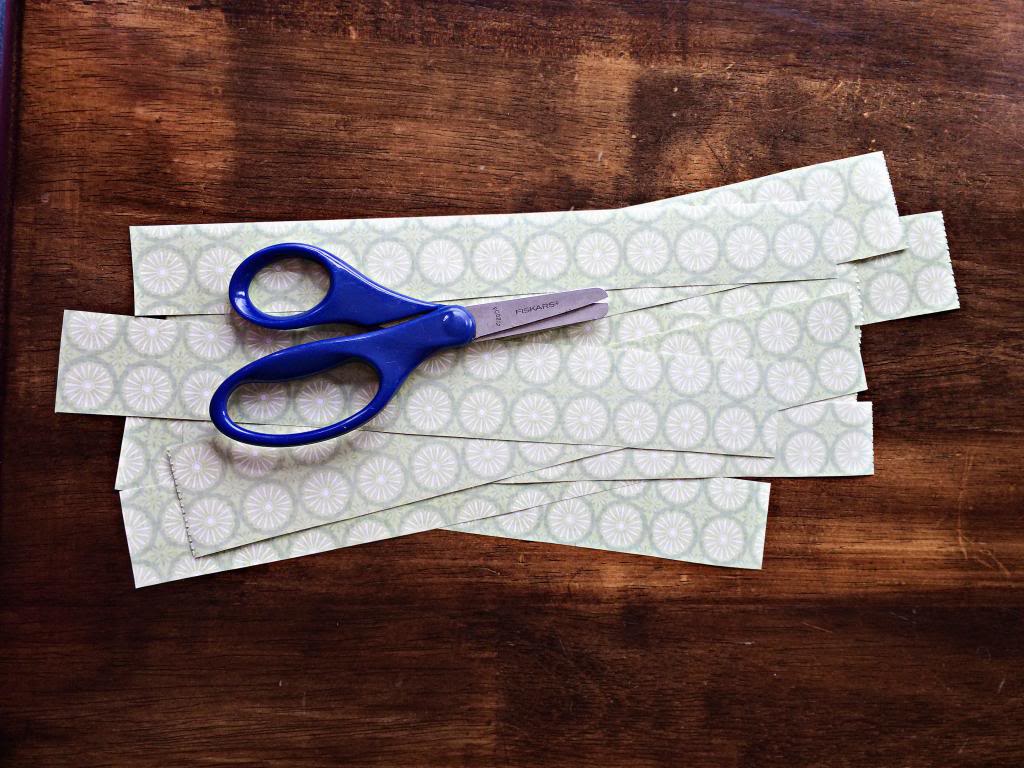
First I cut my paper into strips about an inch to an inch and a half wide by ten inches long. My sheets of paper were originally 12×12 so this gave me roughly a dozen strips per sheet.
Then came the fun part….decoupaging. Say it really dramatic…like Jim Carey would….it helps with the funness.
I took about three strips at a time and dunked them into the decoupage mixture (about half water, half mod podge) and let it get good and wet. I do about thirty seconds each. While they are soaking, coat the area that you plan on putting your strip with straight mod podge.
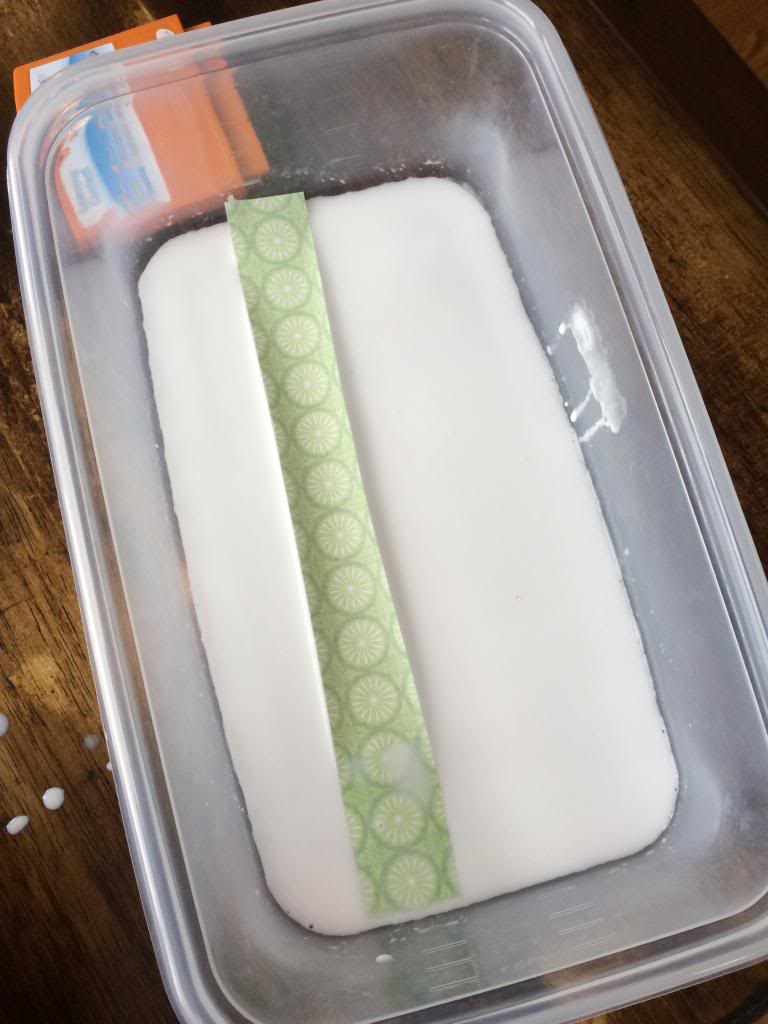
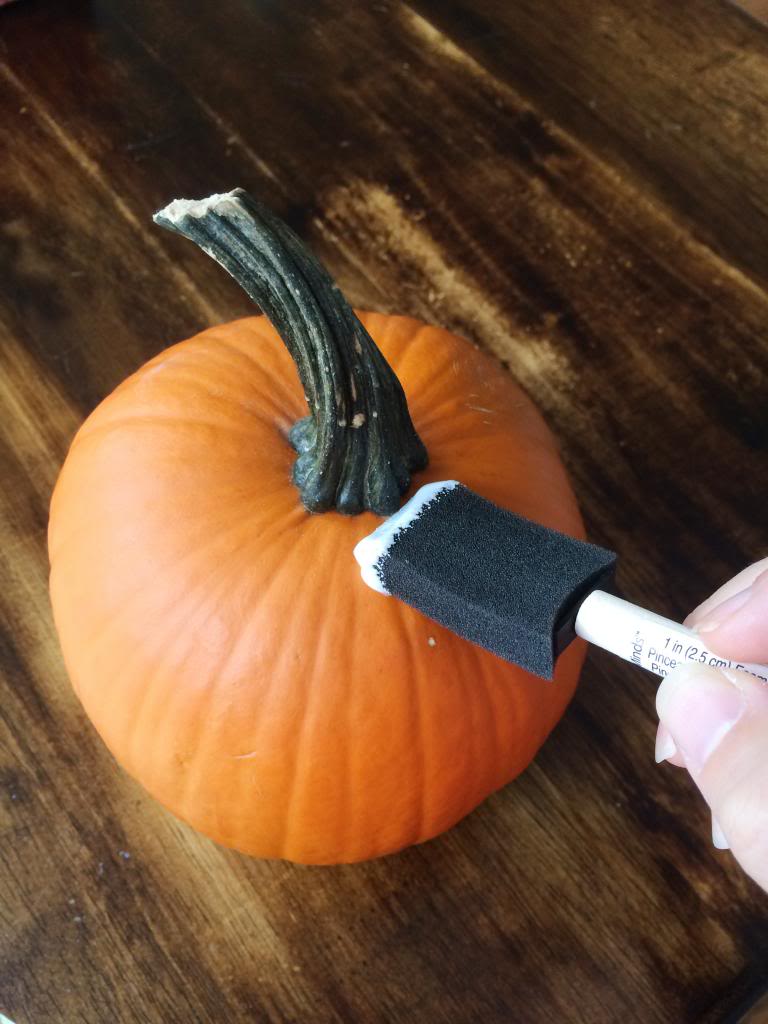
Then you want to lay your strip of paper down…I overlapped about 1/4 of an inch. Also, I learned this about half way through…when it comes to repeat patterns (like mine is circles right next door to one another)…you want to line up the pattern in the very center of the pumpkin and not worry about the part near the top and bottom. As long as that is covered…it works.
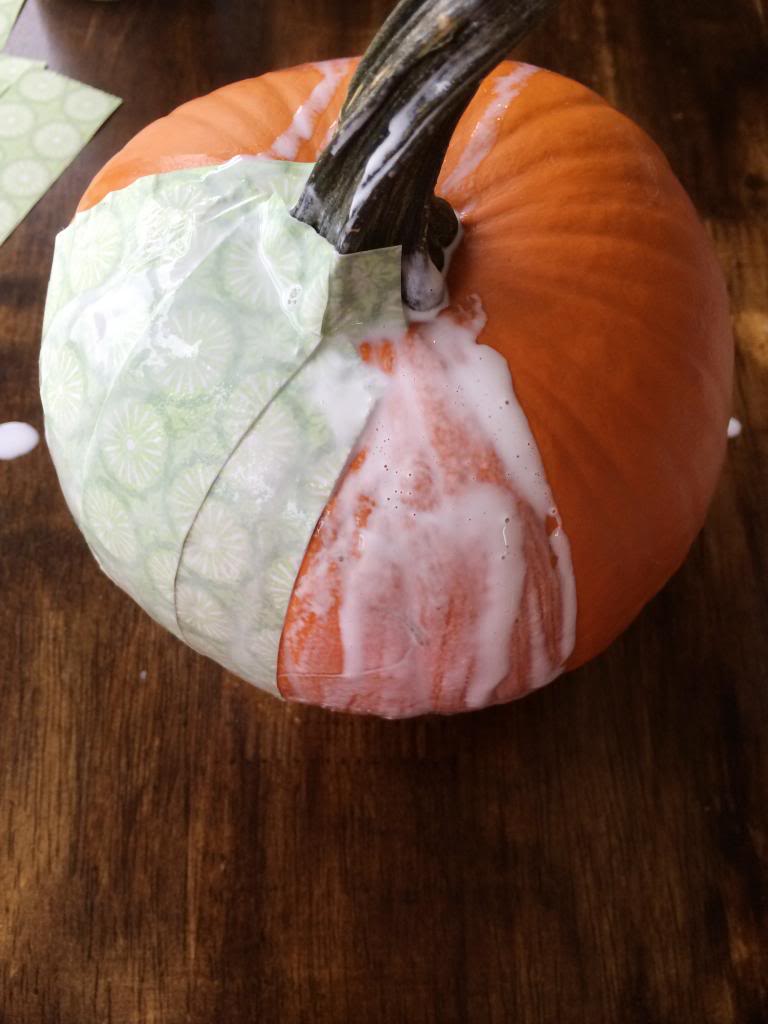
It is gonna get really messy…so if you are Mrs. Clean…this project may not be for you. Unless you are like the kinda Mrs. Clean that needs to clean something so you put stuff out just to clean it up…this is definitely for you then.
Keep smoothing the paper with your fingers throughout the process. Even if something looks like it has gaps or is not sticking…just apply a little more mixture with the sponge brush and go to town smoothing gently.
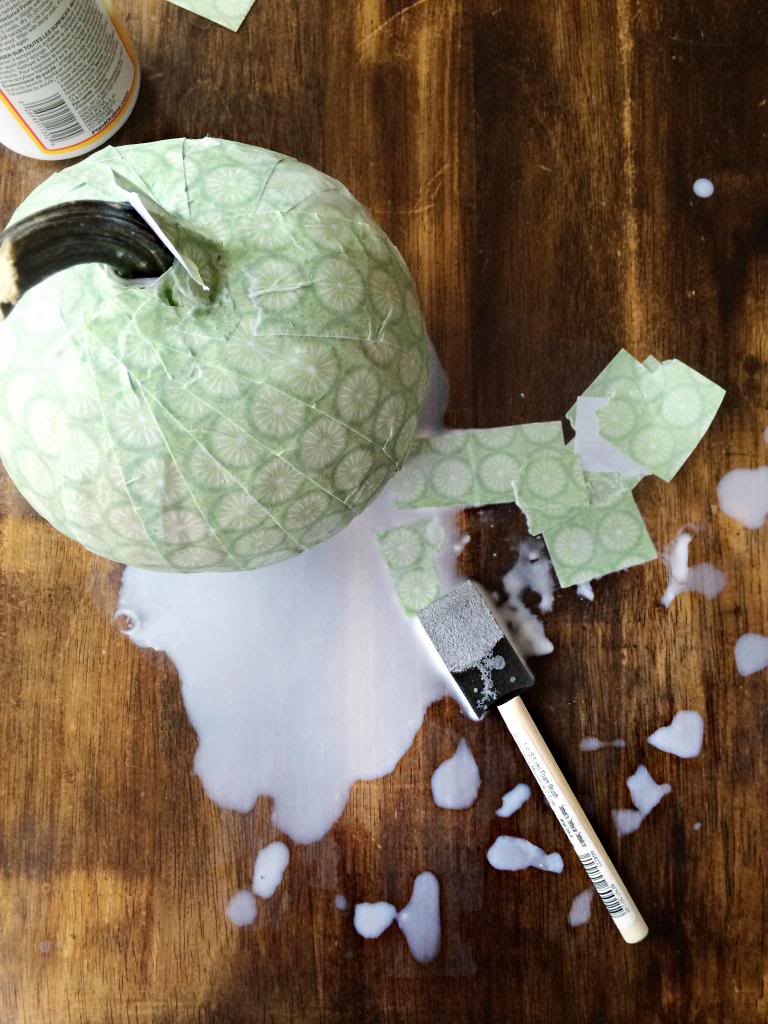
The part near the stem was really messy with the overhang, so I just smooshed (that’s a technical craft term) the paper into the top and cut it with my x-acto knife. After I was done with the trimming, I simply squeezed some more of the special decoupage juice over the area and let it settle into the gaps.
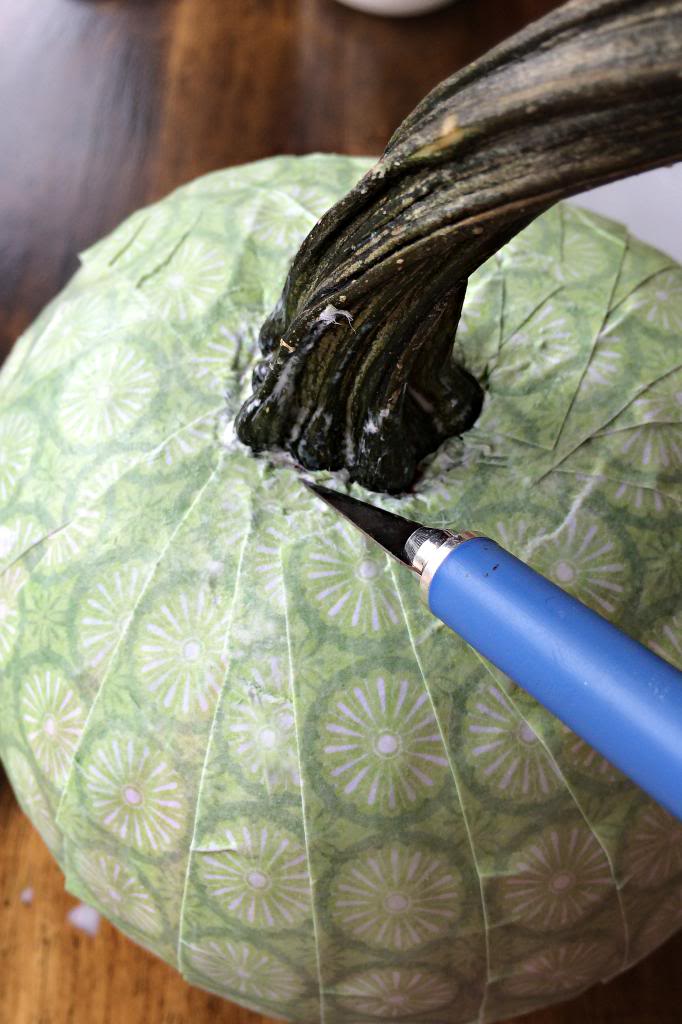
And there you have it….one fully papered pumpkin!
Now let’s recap my doily version…supplies were pretty much the same except I used a scrapbook paper that already had these cute little lacy designs on it. I also needed a little paint and a brush…ya know, cause that’s how you paint a pumpkin.
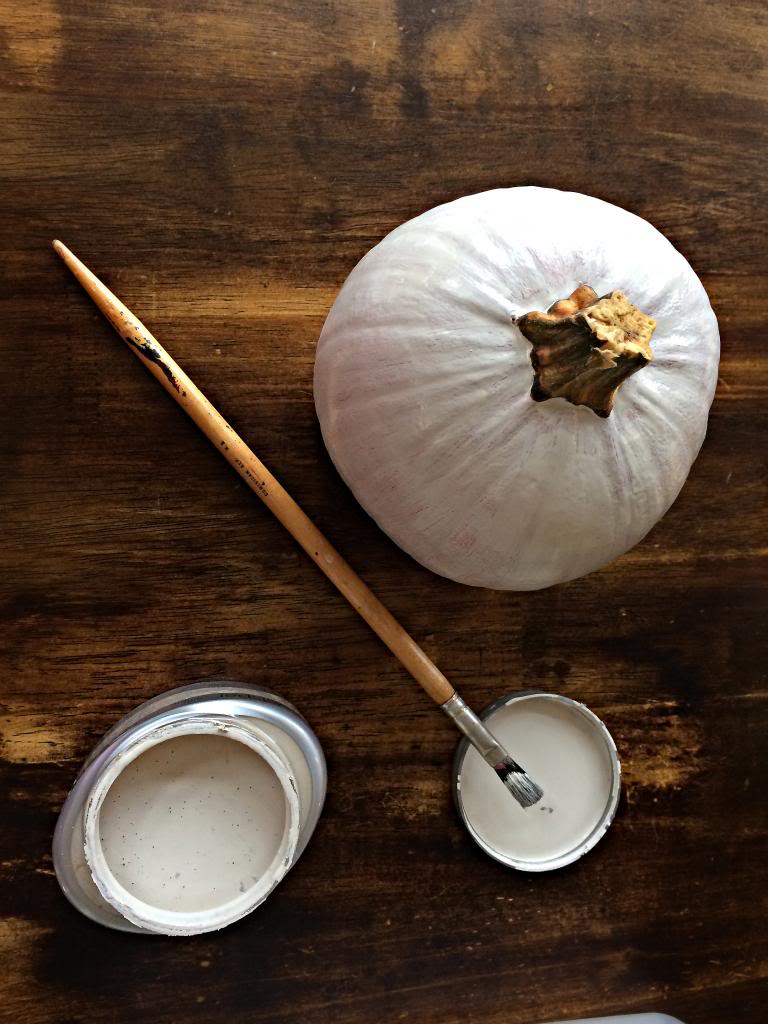
I painted the pumpkin with two coats. While that was drying, I cut out the lacy designs with scissors.
The thing I’ve found with this version is that rounded edges do the best and if you clip between the ‘petals’ just a tiny slit, it helps everything lay a little bit smoother.
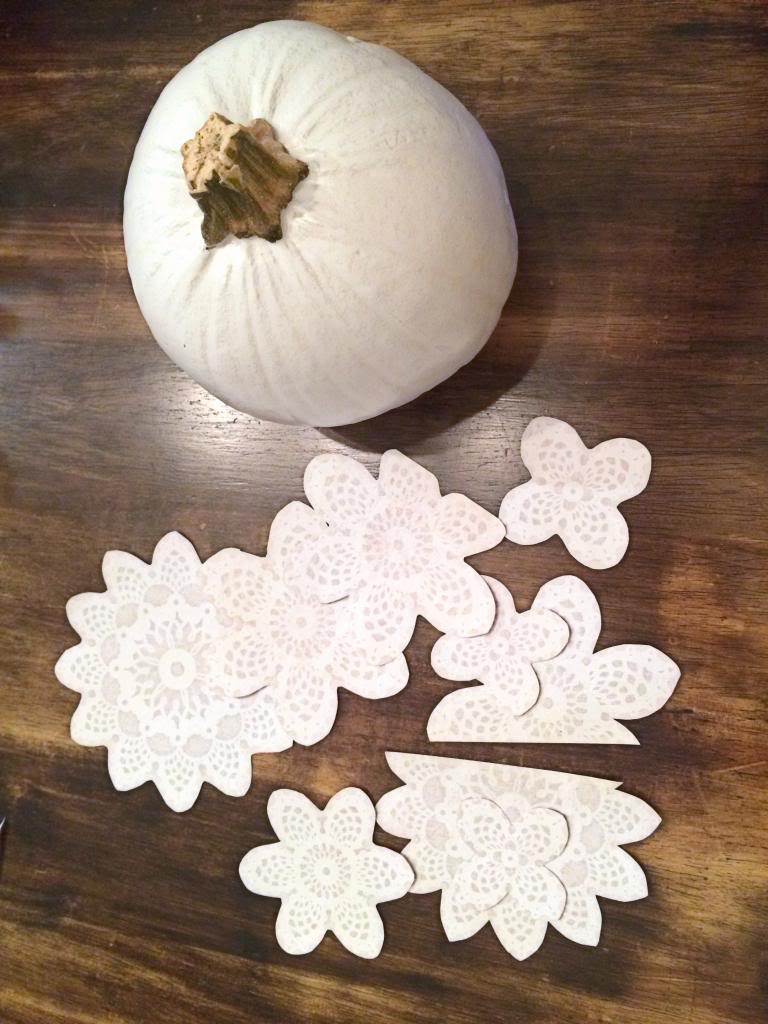
I did a random layout design…nothing too planned or perfect. It overlaps in places. It leaves empty spaces. It is just like a bag full of doilies spilled onto the floor and ka-blam…
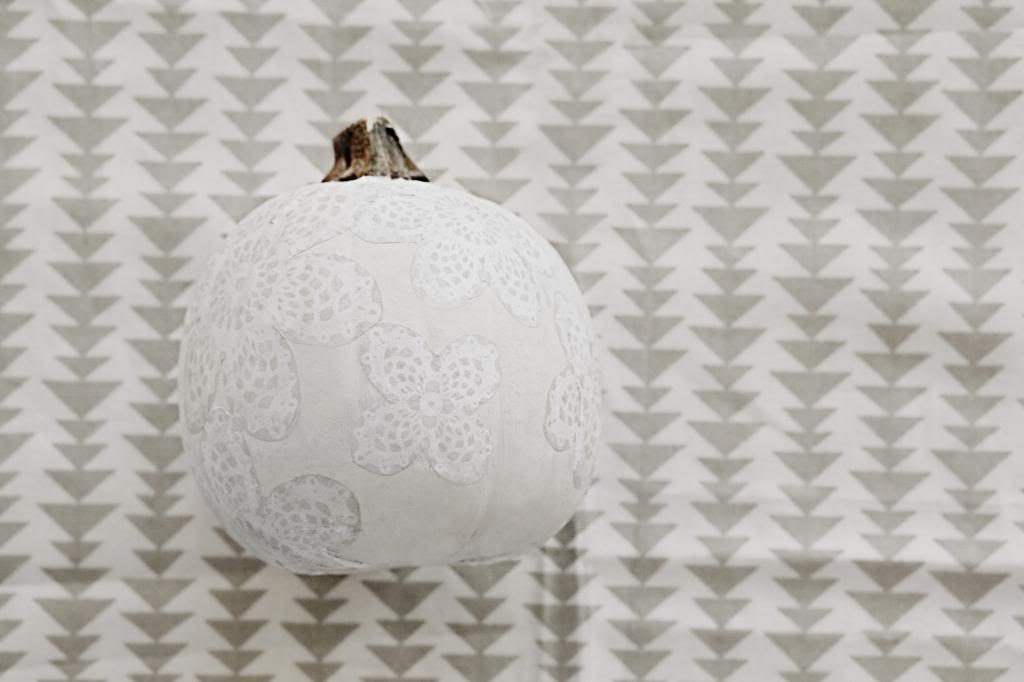
That is one of the little projects I’ve been up to lately. What have you guys been doing? Pumpkin painting? decoupaging? karate-kicking gourds?
I love them! Super cute and I totally agree just because someone else has done it doesn’t mean you shouldn’t put your own little fingers to the challenge.
So cute. Love the white lacey one! I’m with you UBsessed with pumpkins
Love these! I’ve never used modgepodge. I might need to…stat.
Love it! Had to LOL at the little pot of paint…you must’ve got your free 8oz of Valspar postcard! I’ve been stocking up…I got one, the hubby got one, my daughter got one…pretty soon I’ll have enough to paint a room…a really tiny room!
Cute pumpkins! Especially the white one. I love white pumpkins, but somehow managed to come home from the patch with two giant orange ones… We may need to pick up a couple more so I can try this out.
They look so great!! I love the idea of doing something like 🙂
I love the decoupage pumpkin look! I want to do this to faux pumpkins so that they’ll last from season to season. I’m getting ready to carve pumpkins this weekend and I have no idea what designs to use this year.
http://jax-and-jewels.blogspot.com
We did something similar-ish this year, but it’s still all of the way done. We made the most of our natural resources (sand) to create the pumpkins. I’ll be able to share them soon, and (of course) all that I learned with dry vs. wet sand and ModPodge on pumpkins.
I’m sitting on the edge of my seat now!
xo – kb
Where did you get that wiry looking pumpkin? That’s a cutie!
My best, Lynn
Oh I love these! For those of us more into purchasing that crafting, where did you get the adorable dark brown wicker-y one in the first picture? 🙂
I think Target but it was last year.
xo – kb
Target…but it was last year I believe.
xo – kb
I’ve seen them at TJ Maxx and Marshalls this year, too!
Katie,
I’ll share it next Monday. We’ve been in the midst of doing yard work for 5-7 hours a day, because the previous owners of our house left it unattended for 18 months. The yard was a total nightmare, and we haven’t let our super fast runner daughter (just a few weeks younger than Weston) out in it on her feet because there were so many toddler traps. (Greenhouse removal= a whole other set of lessons learned! Pond removal starts soon!)
We’re also working with Rainy Season starting soon (November is the rainiest month in coastal Washington). While the sun shines, we work outside. I’m hoping to “plant” a music garden next summer.
All of that means that, sometimes, pumpkins sit in the sunroom awaiting finishing touches and posts stay in “draft” mode a bit longer than anticipated. Other crafty projects stay stored in my head while I make a mental list of things to look for at IKEA and say things like, “today, I will work on a non yard project for just 5 minutes.”
Surely you understand, maybe, right?
Thanks for your patience and encouragement!
Wendy
Very cute! Also, I love the fabric in the background of that last picture! Any idea where it’s from?
Totally off subject– but I check your blog way to many times a day to see if you have announced if baby love is pink or blue!! Will you be announcing this or it is a surprise? I’m way to nosey I know. 🙂
I got all the fabric at a discount store that sells remnants (sometimes they only have two yards or under of each scrap).
xo – kb
Just waiting till we tell all our family and friends. I know lots of people want to know…so the first chance I get, I’ll announce it!
xo – kb
They look so cute Katie!!! Thanks for sharing:)
Steal my love – I would pick some fun prints /accessories for my boy’s new bathroom.
I know exactly what you mean. EXACTLY. I have so many one sentence drafts that it is kinda ridiculous 🙂
xo – kb
Great idea! I love the doily looking pumpkin!
This is putting me in a crafty mood and I’m not even a very crafty person! You need to do a Fall Pinterest Challenge!