Disclaimer – This is a sponsored post brought to you by Walmart+. All opinions are 100% my own.
One of my all time favorite treats are Oreo balls. I actually shared the recipe for them on my blog over ten years ago (!!!) and they are one of the easiest and most delicious treats in all the land. Seriously. You may gain five pounds just reading this post. Consider yourself warned.

I REALLY wanted to try them with the mint Oreo’s that are crazy addicting….and I figured out how to make them EVEN easier….with the help of Walmart+.
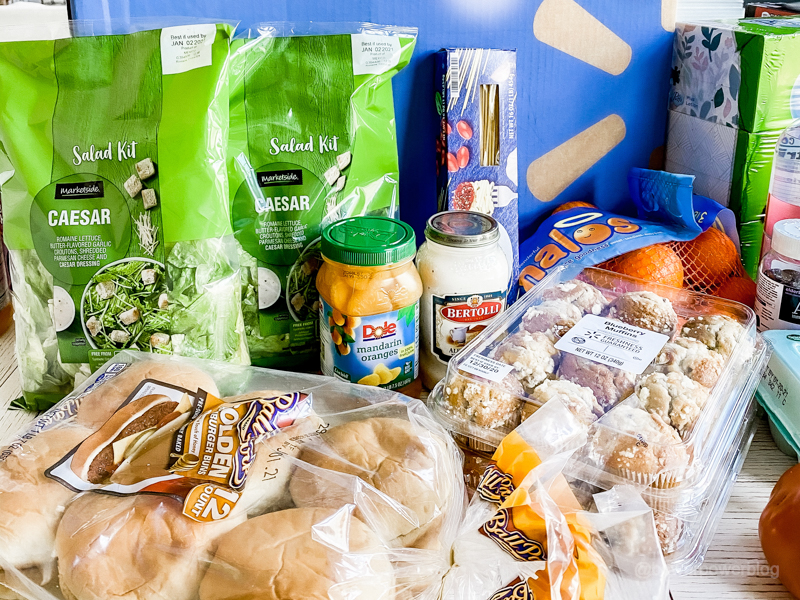
For those of you that don’t know – I started trying out Walmart+ this year and it’s been such an amazing help for our busy family that I can’t rave about it enough. I’m gonna guess that most of you have ventured into a Walmart before….but now they have made it even easier to get your hands on items from their store. Walmart+ is a membership with amazing benefits – like free delivery from your store on orders $35+ (restrictions apply), same everyday prices you know and love! I have found I save money and time using my Walmart+ membership to get my groceries delivered to my door! And we can definitely all use those two things a little more 🙂
PLUS – Walmart+ now includes Walmart+ free shipping, no order minimum (excludes oversized/freight & Marketplace items) on items from Walmart.com! Yup. Things are looking way up!

sherpa top – slippers – leggings
So here is me – craving some Oreo balls – late one night – jumping onto my computer to order everything I need to make them the next day! Plus – I did quite a bit of grocery shopping while I was at it….because apparently these kids gotta eat! Also – I stocked up on my favorite gummy vitamins.

sherpa top – slippers – leggings
My groceries were delivered while I ate treats in my comfies. And I could just play with the kiddos while everything I need for Oreo balls was delivered right to my door. I also got a new food processor so that I can make a bigger batch for my bigger crew. ALSO – I tackled the mint ones – and yes….they are just as delicious as we imagined.

So I know that you are all wondering how I made them and how to get that Walmart + membership. Here is the link to more information for finally making life a little sweeter in your world…..
CLICK HERE FOR WALMART+ MEMBERSHIP INFORMATION
And strap on your Spanx – here is the step by step process for Oreo Balls.
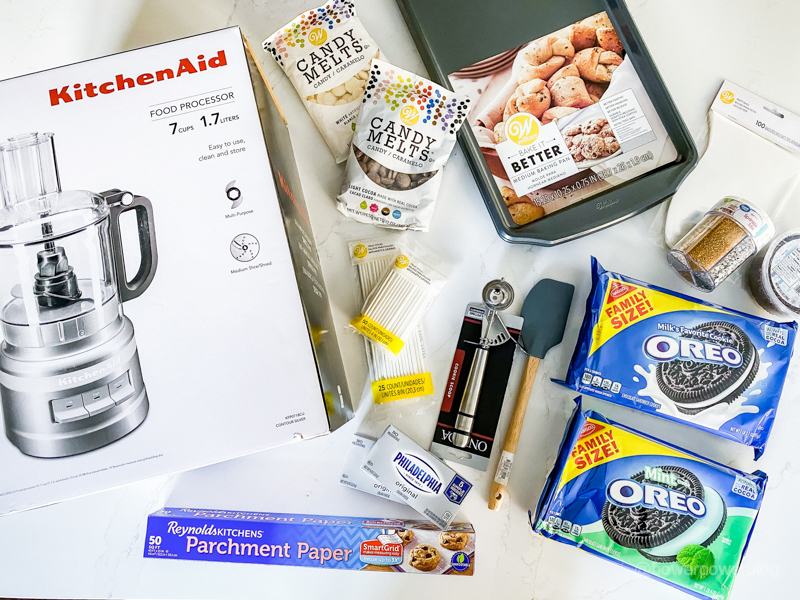
First – Gather your needed items. I used the following:
- Oreos
- Cream cheese
- mixing bowl
- cookie sheet
- parchment paper
- microwave safe bowls
- food processor/chopper
- spatula
- candy melts
- cake ball sticks
- sprinkles
- fork/spoon
- treat bags (optional)
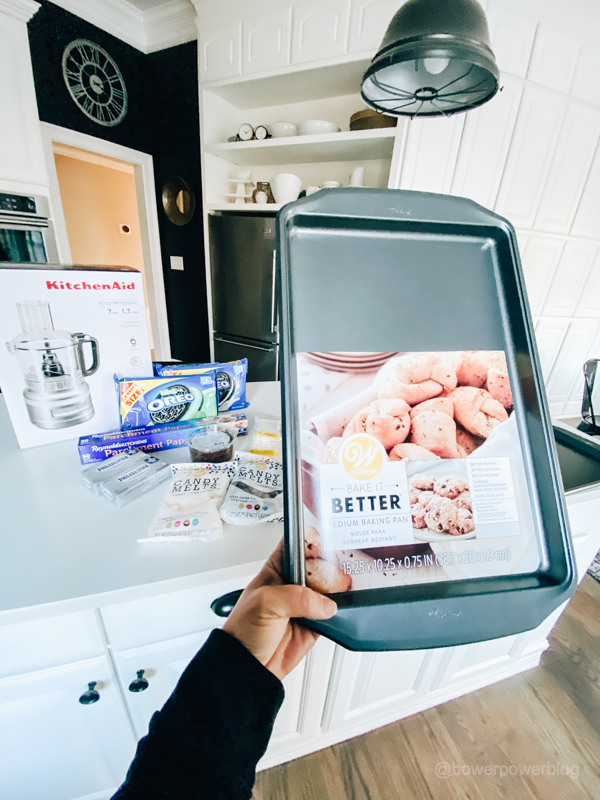
Prep your cookie sheets with parchment paper.
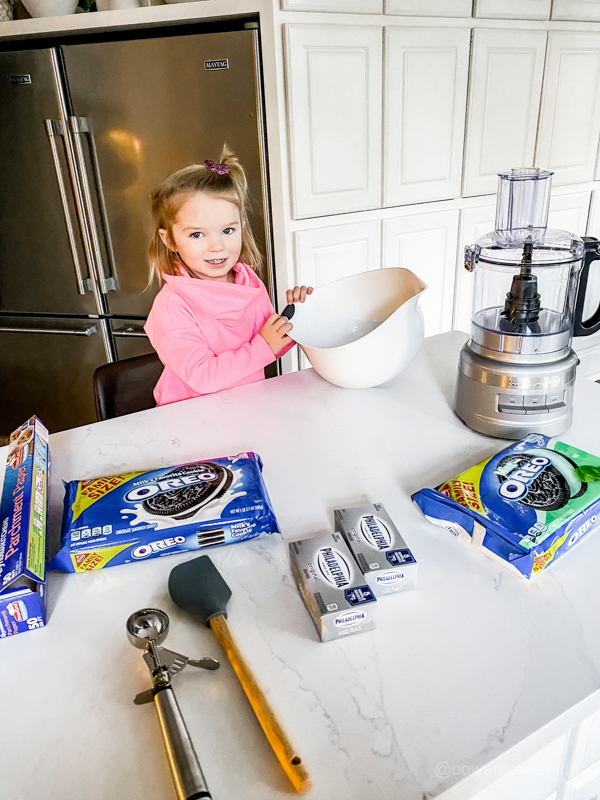
Then grind up your Oreos in the food processor.
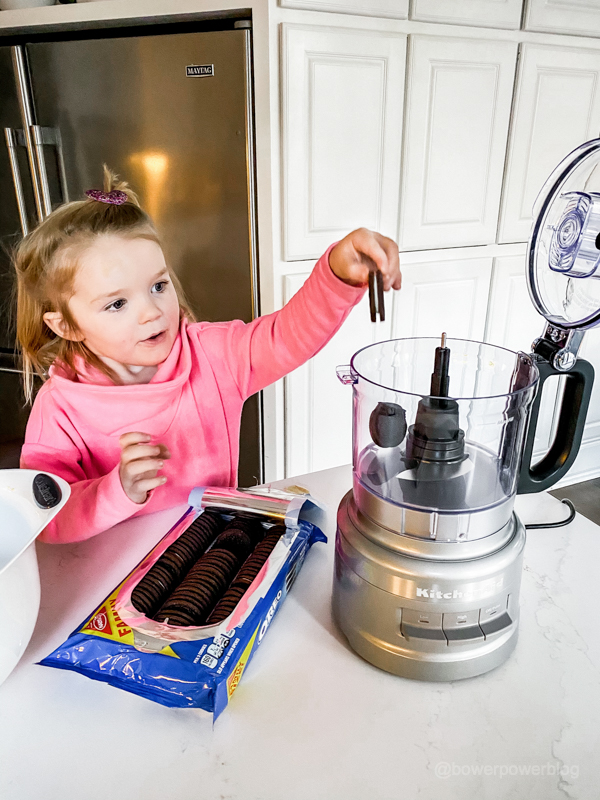
Ella loved helping.
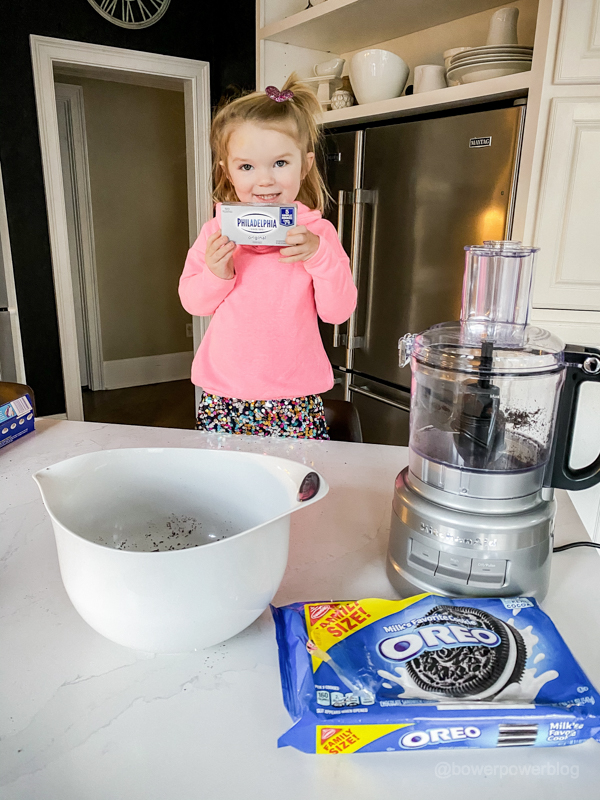
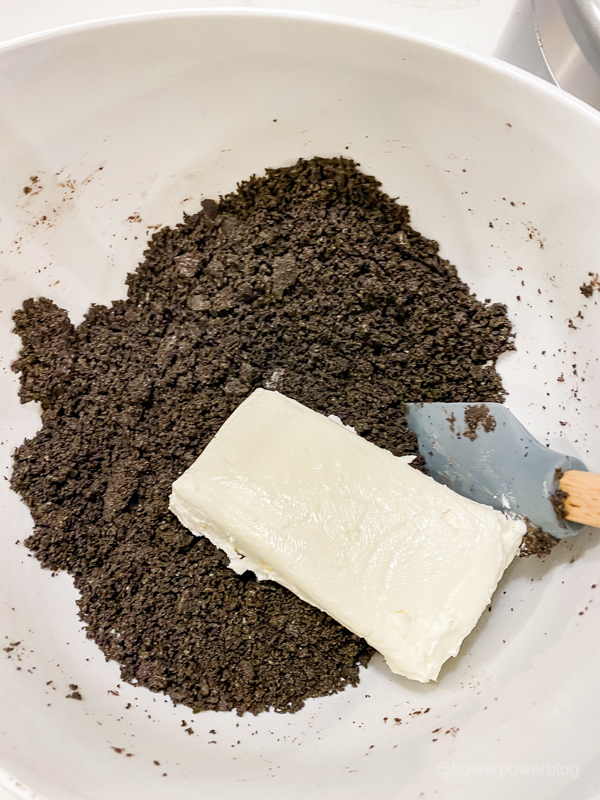
Pour the crumbs from an entire package of Oreos into a bowl and add one package of cream cheese to the crumbs.
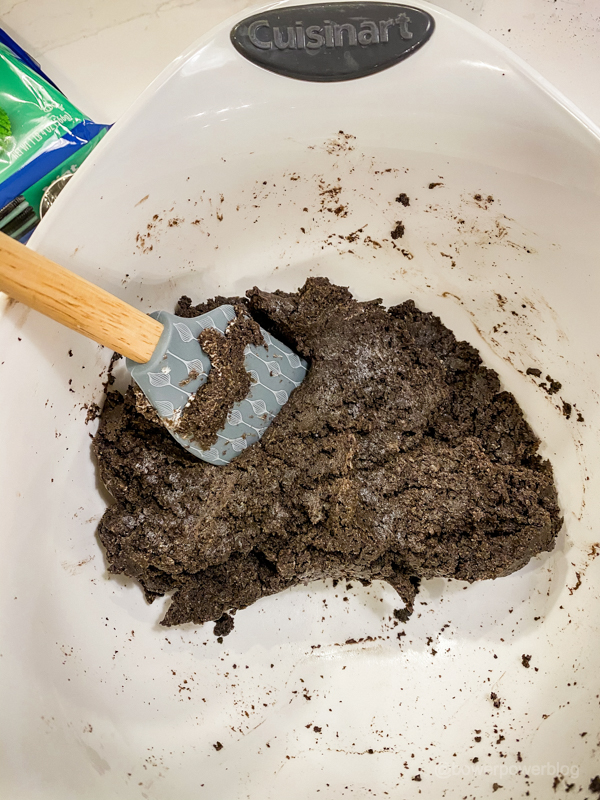
Mix REALLY well.
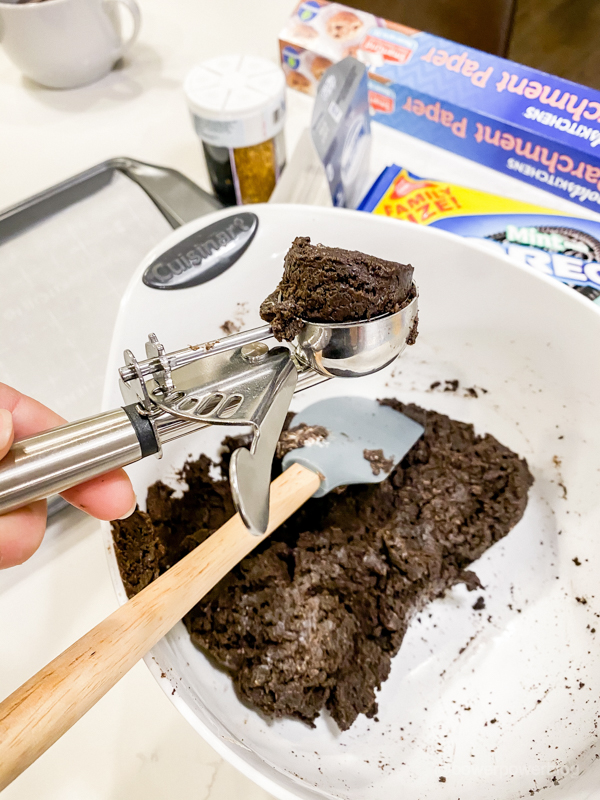
You can use your hands to make small balls of the oreo mixture but I used a cookie scoop this time and it worked great.
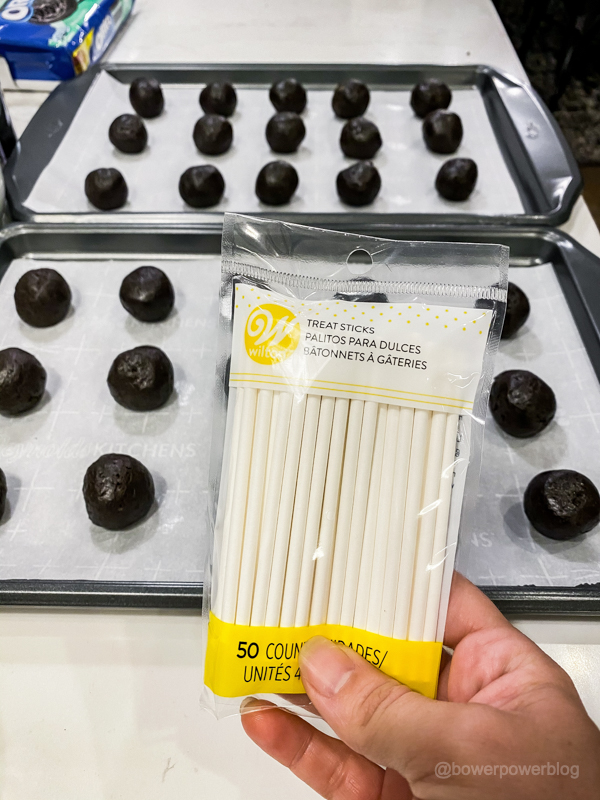
If you are wanting to make them into a hands-free dessert, then place a cake-pop stick into the center. I like both versions.
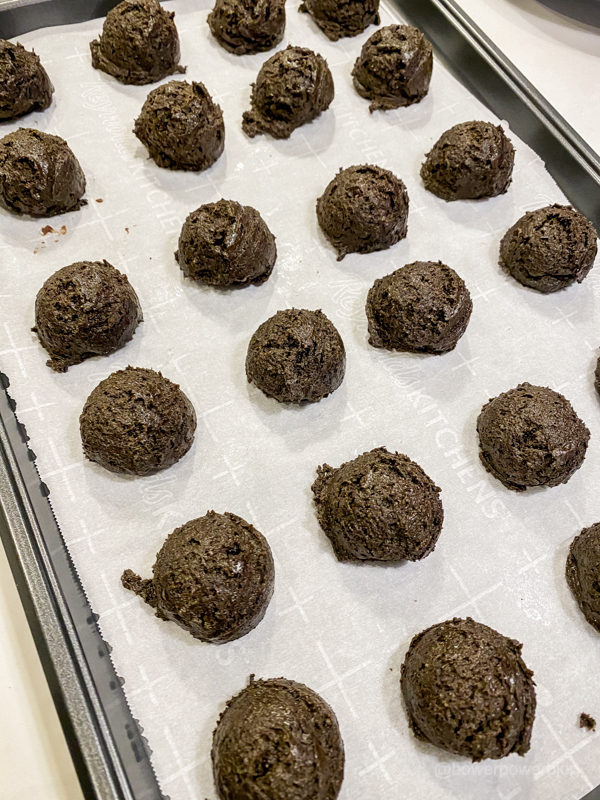
I put my uncoated oreo balls into the fridge at this point so they firm up.
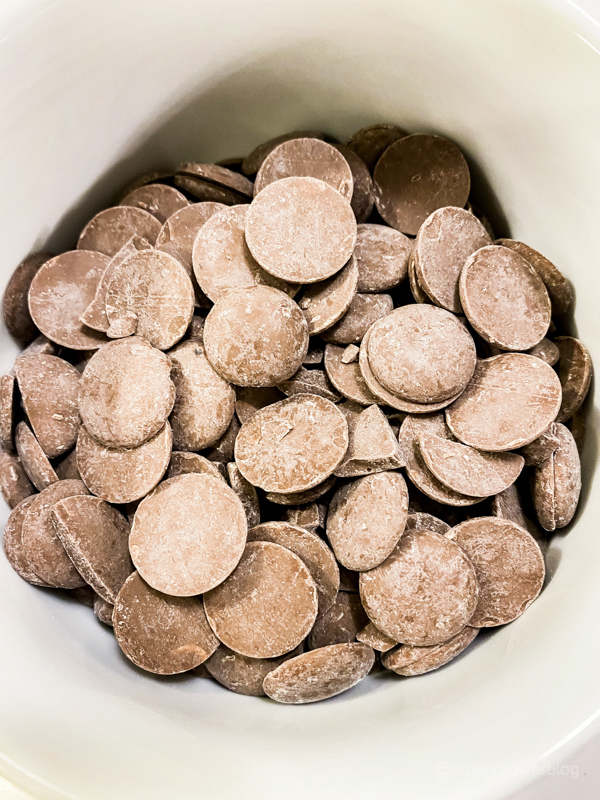
Once they are chilled, you can melt your candy melts (chocolate and vanilla) into bowls. I do it in the microwave 30 seconds at a time….stirring in-between.
Then dip your oreo balls into the melted candy coating and place on the cookie sheet again to harden.

You can decorate with drizzled candy coating and sprinkles!
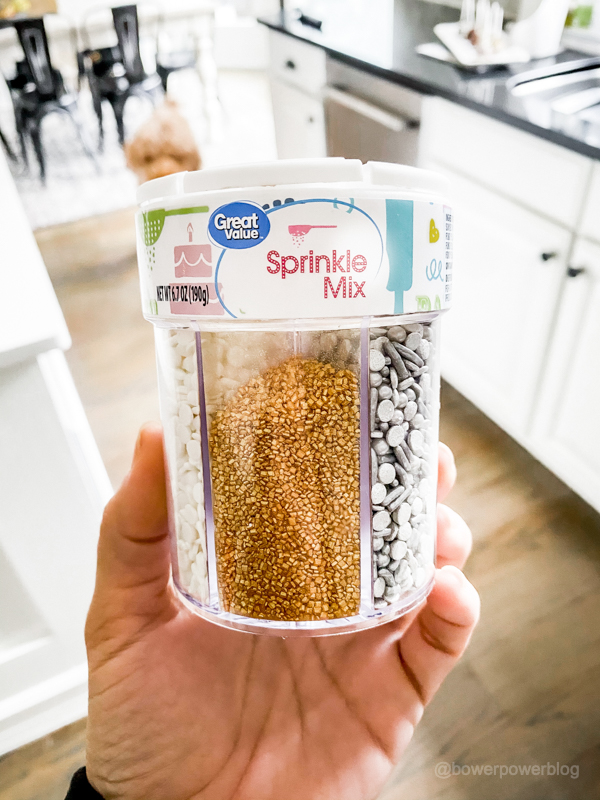
This is my favorite part of the process because I can pretend that I am on Food Network.

The ones with the sticks work really well for the treat bags!

But nothing beats placing them all out for loved ones to enjoy!




The best part is that I could guarantee smiles and happy kiddos and didn’t even need to leave the house! I would say that’s a win!
