This is a sponsored post written by me on behalf of Canon. All opinions are 100% mine.
It’s that season! Time to eat too much, give generously and celebrate all the goodness this last year has held. I know 2020 has had it’s moments that absolutely nobody would consider “good” but finding the glimpses of joy, of happiness and of bliss are exactly what fuels the Christmas spirit. After all, its a season that celebrates not what we get but what we already have! And this Christmas I wanted to make photo ornaments that celebrate the happiest moments of my 2020 year. And of course, I will walk you through all the details on how to make your own rustic DIY photo ornament!
GATHER SUPPLIES
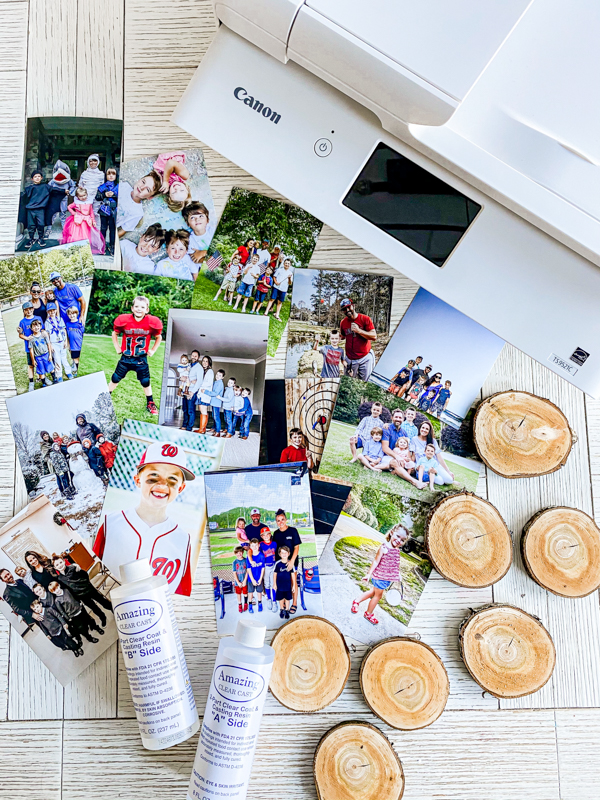
For this project you will need some really simple supplies….
- PIXMA Crafting Printers
- Canon 4×6 semi-gloss Photo Paper
- Mod Podge
- Wood slices
- paint brushes
- hot glue gun with hot glue
- scissors
- twine or ribbon
- clear epoxy
- mixing cup and stir stick
- heat gun
- drying rack
PICK PHOTOS
Like I said, I was looking to celebrate the best parts of 2020 with my ornaments. So being together with my family was a huge part of that. Sometimes shifting our perspective is all we need in order to see the beauty right in front of us! So I picked moments that were special – Weston catching a fish, LJ making all-stars, the little boys playing football, our family going to the beach, etc. I printed every single photo with my PIXMA TS9521C on 4×6’s so that I would have a variety to choose from.
TRACE AND CUT
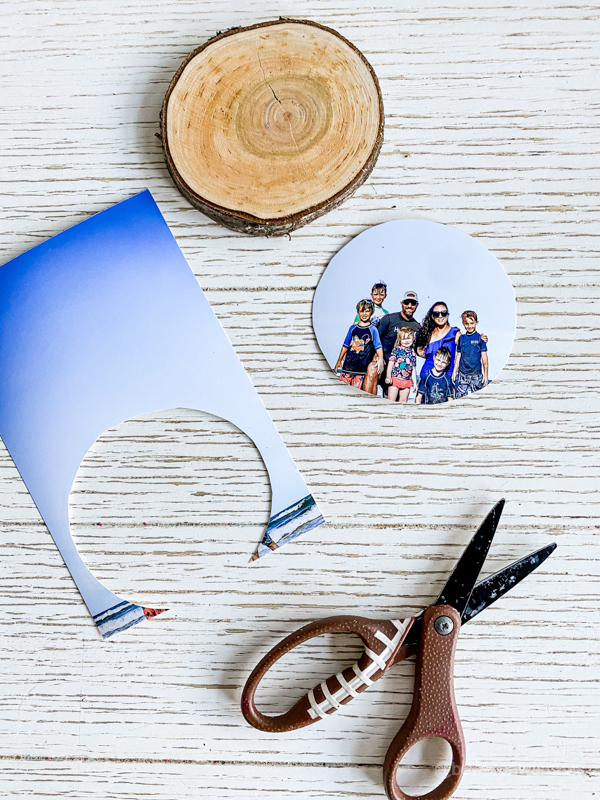
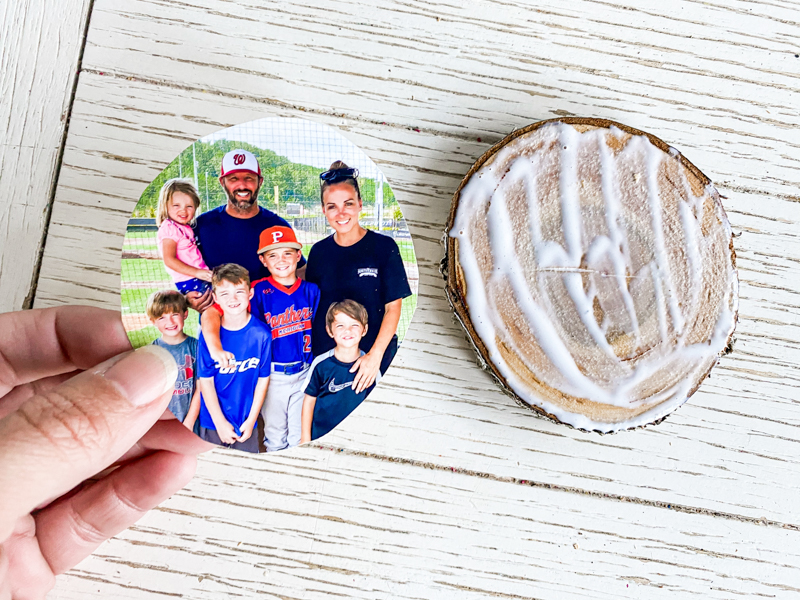
The next step is tracing the wood slice onto the front of the photo. You want to cut the photo smaller than the wood so keep in mind you don’t want to cut off any important parts of the photo.
ADHERE PHOTO TO WOOD SLICE
Generously put Mod Podge on the wood slice and adhere the photo. It will need some time to dry so allow it a few hours.
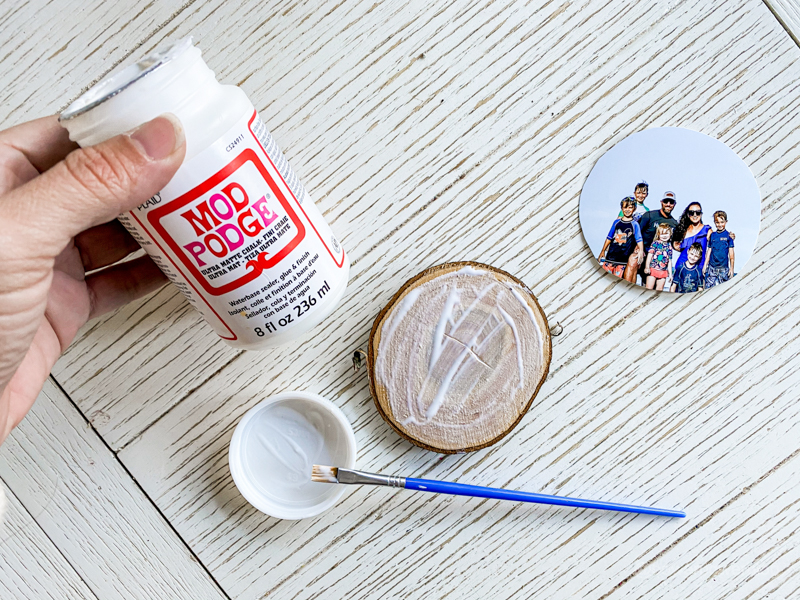
I highly recommend making sure the wood slices are very dry before gluing. I popped my slices in the oven with low heat for a while to get them extra dry.
MIX EPOXY
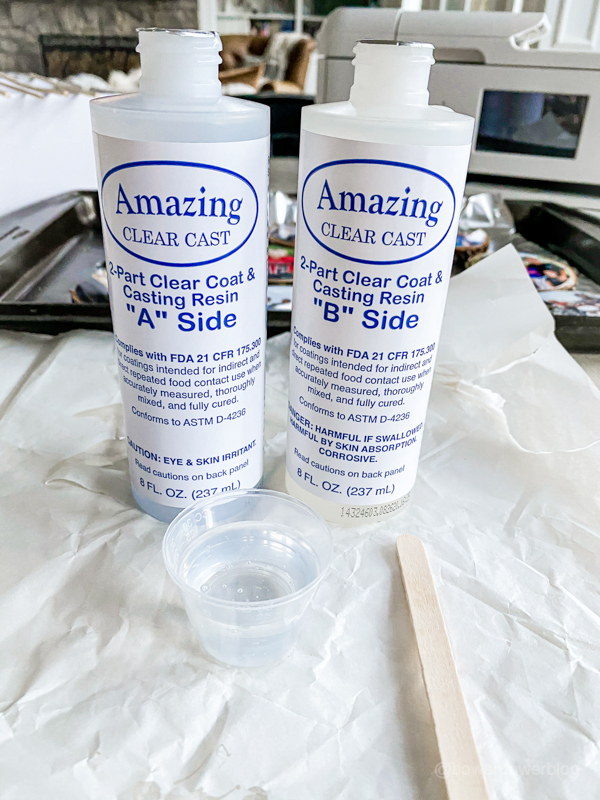
This was my absolute first time working with epoxy and it was so fun! I loved it! You mix equal parts of the resin (Part A) and the hardener (Part B) and stir VERY thoroughly. The tongue depressor works GREAT for this!
APPLY EPOXY
Set your wood slices up on a spot where they can dry before pouring epoxy.
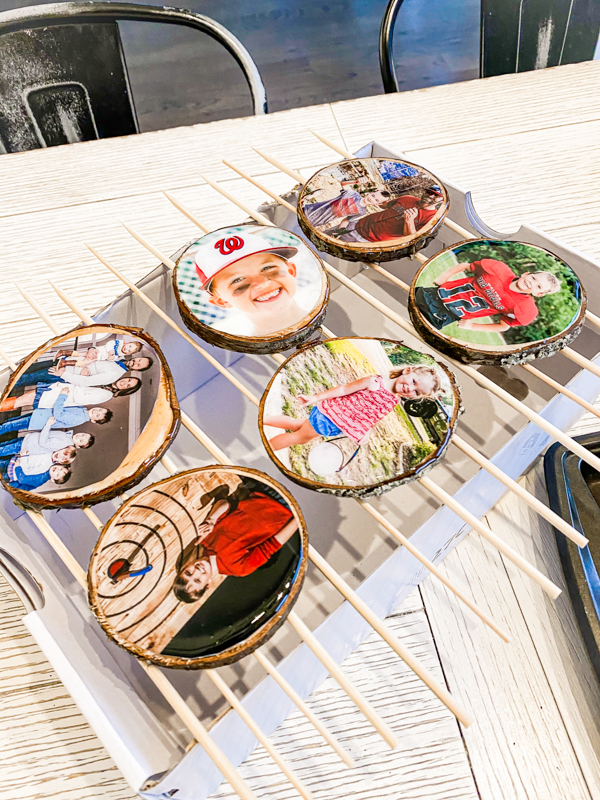
I made a handy-dandy rack for my wood out of some skewer sticks and a shoe box.
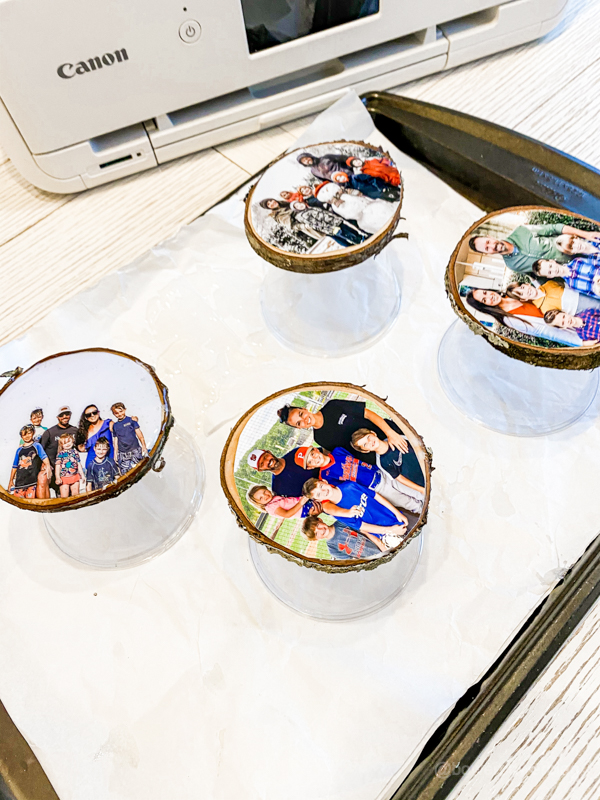
Another option would be some scrap paper/cardboard and some upside-down-cups work equally well.
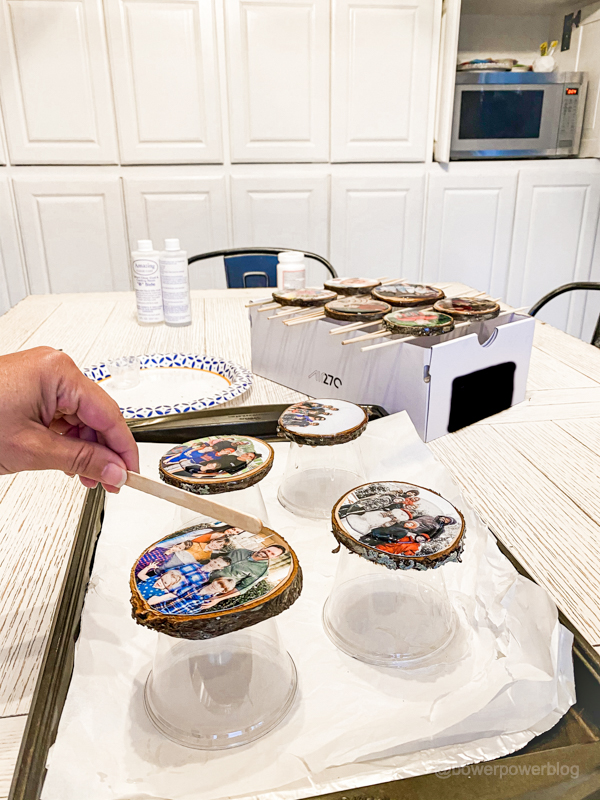
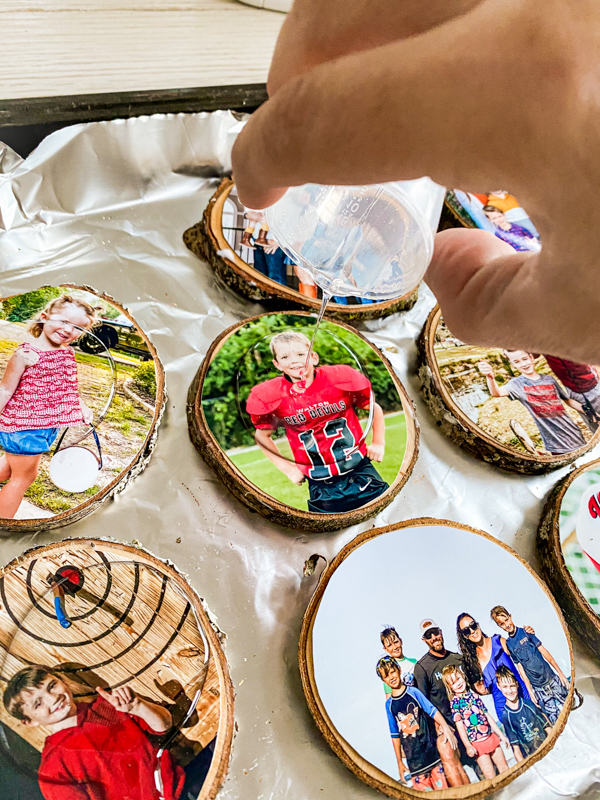
Then pour a small amount of epoxy on the face of the ornament. It will not spread to the edges without some encouragement so use your stir stick to make sure it covers the entire face and goes slightly down the sides.
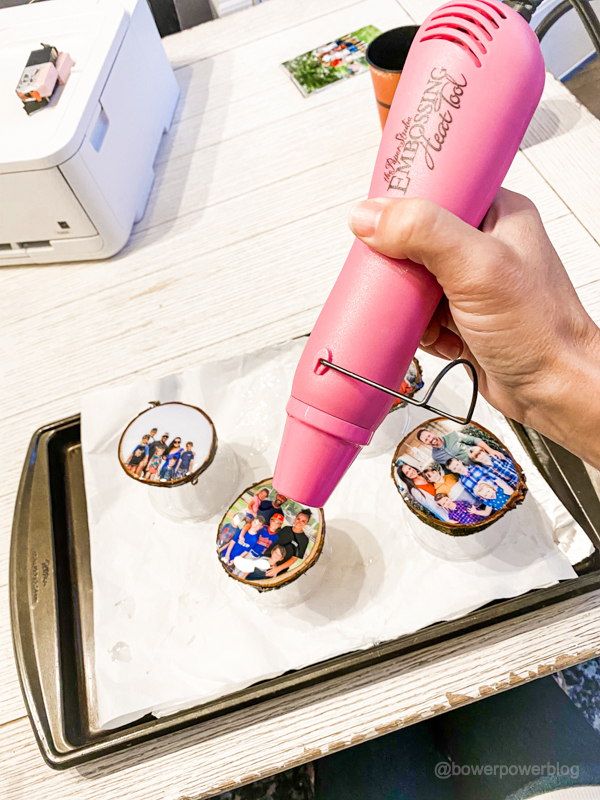
GET OUT THE BUBBLES
After a few minutes (or as long as it takes you to change a diaper, refill your coffee cup, put a load of laundry in and flip through a home decor catalog), it’s time to get out the bubbles in the epoxy!
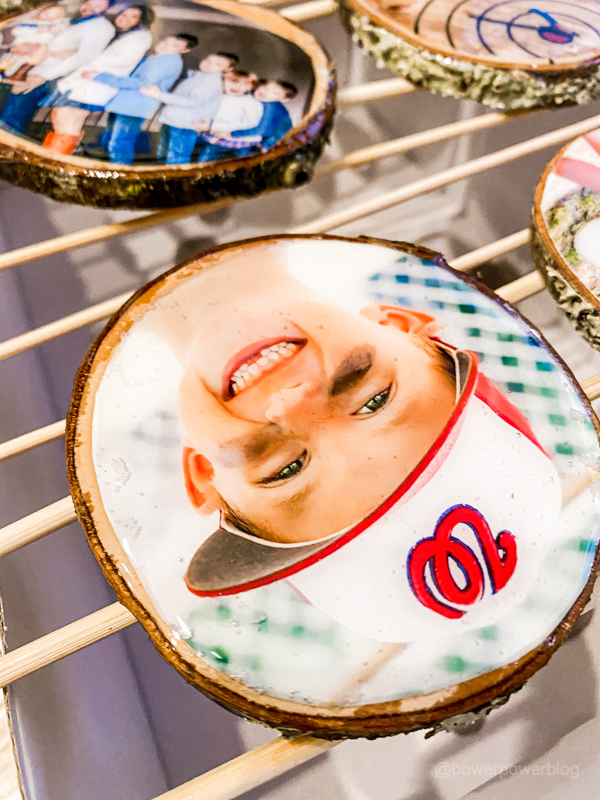
With a heat gun, you want to do small back and forth motions (circular motions also work amazingly!). The tiny bubbles will pop up to the surface and the result will be a super smooth and glass like epoxy photo ornament.
ATTACH RIBBON
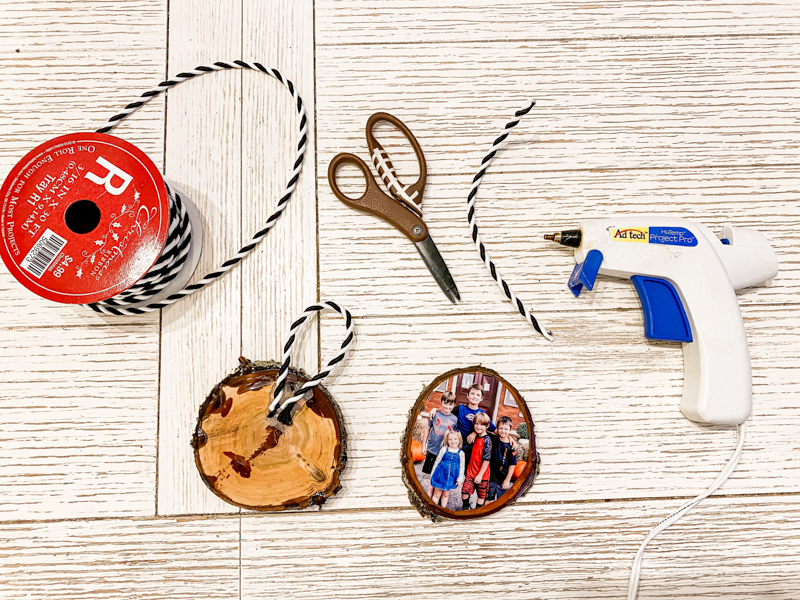
Wahoo! You are in the home stretch! After the epoxy is hardened and dried (this may take 24 hours) it’s time to put the ribbon or twine on the back. I just used a liberal amount of hot glue and put on the ribbon.
ENJOY
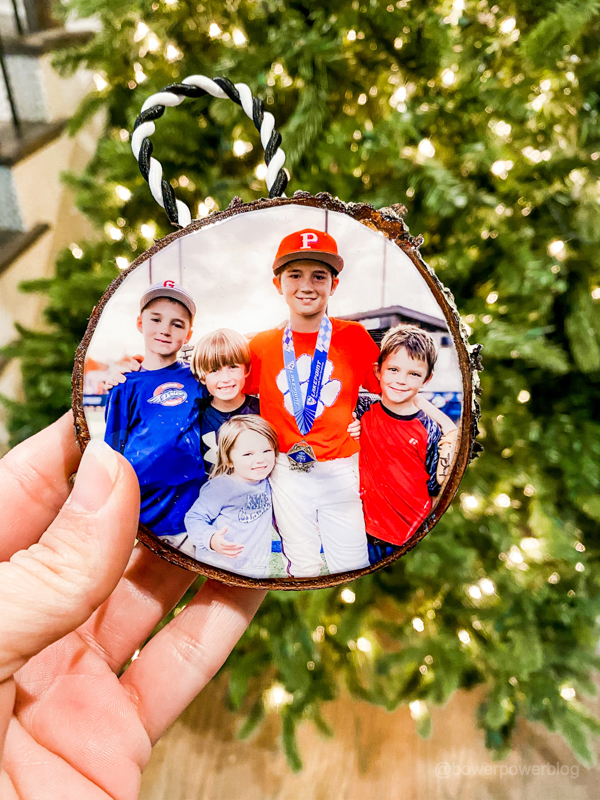
Wow! These are honestly just a sweet way to remember the best of 2020 and all that it held! I love the rustic edge which makes it feel very homemade and yet the epoxy adds a finish that feels richer.
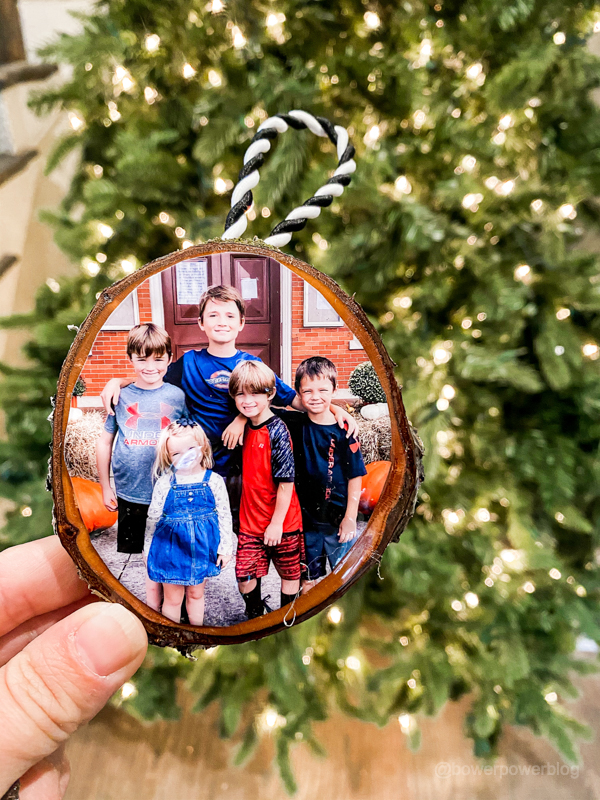
I love the mix of the two textures together. Plus – any ornament that puts a smile on your face is the way to really celebrate the christmas spirit!
