This is a sponsored post written by me on behalf of Canon. All opinions are 100% mine.
Ho ho ho! Break out the eggnog and the christmas cookies and let’s get HOLIDAY CRAFTING! I can’t wait to show you this adorable and super easy home decor DIY project that is a great idea as a super affordable gift! Let’s get our PIXMA Crafting Printers out because today we are making customizable wreath hangers!
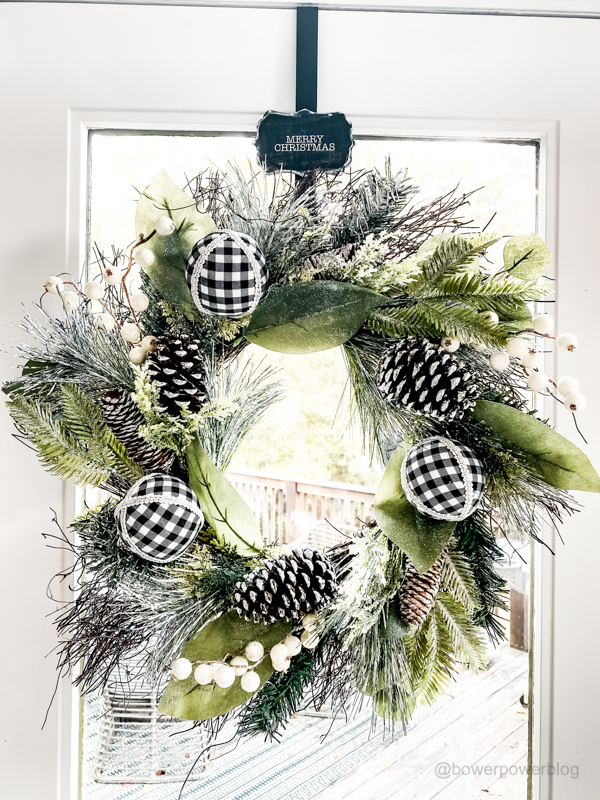
I’ve seen really cute customized wreath hangers online but they are crazy expensive. They can cost anywhere from $15-$75 per pop (and the crowd says BOOOOO!) but today I am gonna show ya how I made mine for a little under $1.25. I KNOW. Let’s do it!
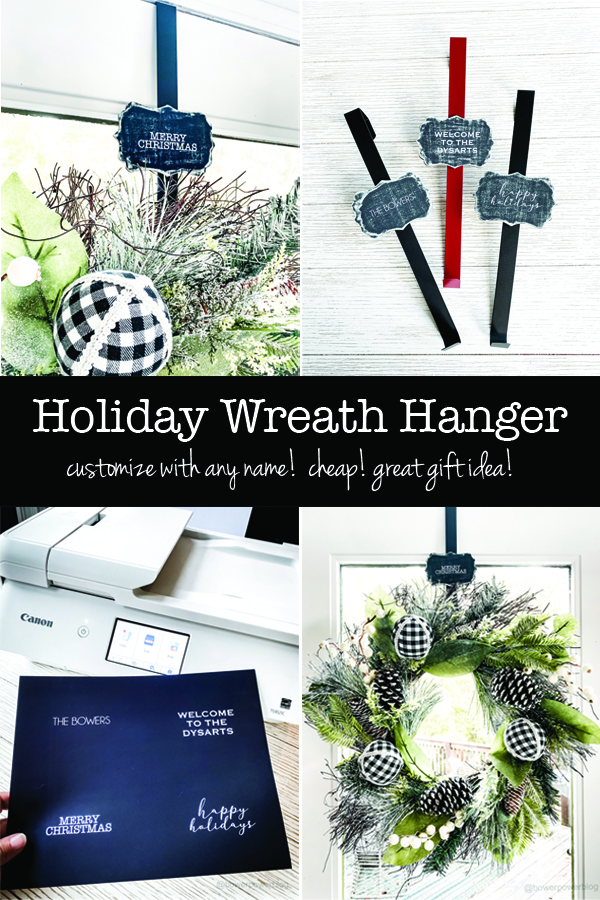
So the first thing you should know is that these cute customized wreath hangers are going to say ANYTHING you want them to say. So choose wisely. Also you will need your – PIXMA TS9521C, it’s the best….I have so many projects I do with mine and you can get tons of other ideas too online!

GATHER SUPPLIES
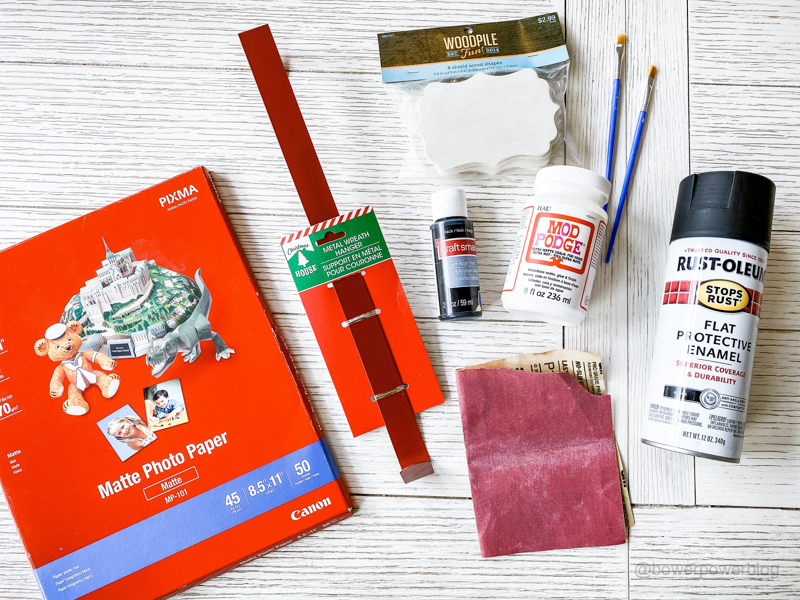
For this project you will need some really simple supplies….
- Canon PIXMA TS9521C printer
- Canon Matte Photo Paper
- $1 wreath hanger (got mine at The Dollar Tree)
- Mod Podge
- black acrylic paint
- paint brushes
- hot glue gun with hot glue
- sandpaper
- scissors
- Wood plaques (mine were $2.99 for 8 at Hobby Lobby but use the coupon for 40% off – making them $1.80 for 8)
- spray paint (Optional)
CREATE YOUR PRINTABLE
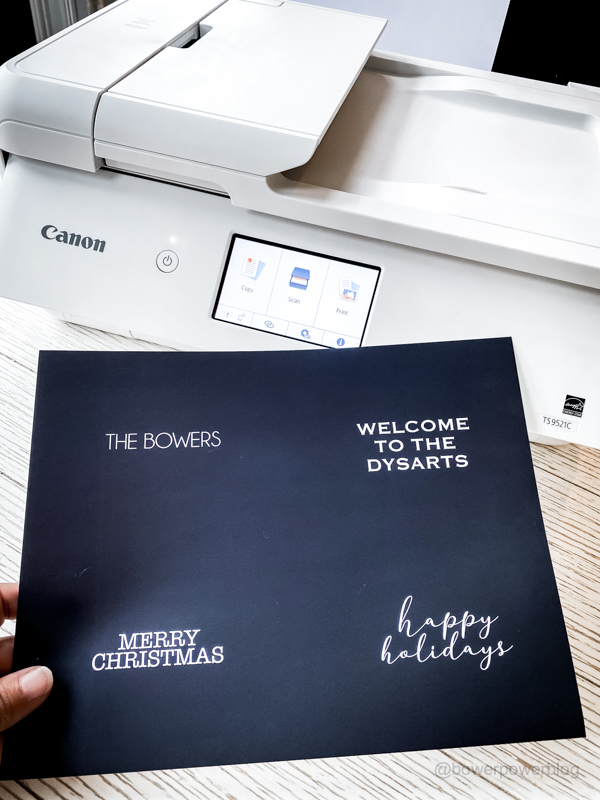
I created my print using photoshop but you could use any word document creator. Make sure you center your words so that you can have margin for cutting out the piece of paper. I fit four to a page. My favorite was the typewriter font (bottom left corner) but really any font you love will work great!

Using my Canon PIXMA TS9521C I printed my lettering on a piece of matte photo paper. It’s important that you use photo paper because it will look better than cardstock and it’s not as thin as other regular paper so you can use adhesive without messing anything up.
PAINT HANGERS (OPTIONAL)
Now is the best time to spray paint your door hangers. Like I said – I got mine for $1 a piece at The Dollar Tree – but these are very inexpensive and can be found at tons of places near the holidays. I liked the red ones but I wanted to try black so I sprayed three of them with flat black Rust-Oleum spraypaint.
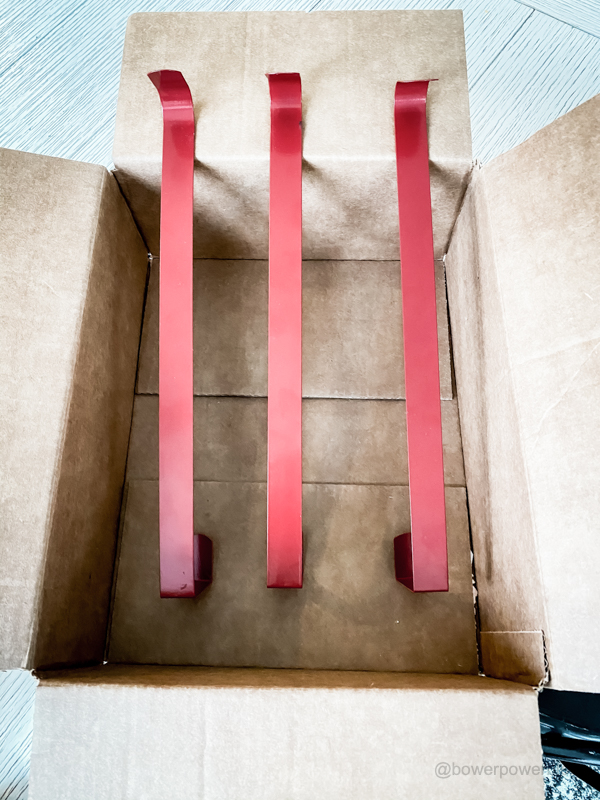
Remember that multiple thin coats are the best. Too much at a time and it gets really messy. That is a lesson for spray paint AND makeup 🙂 ha!
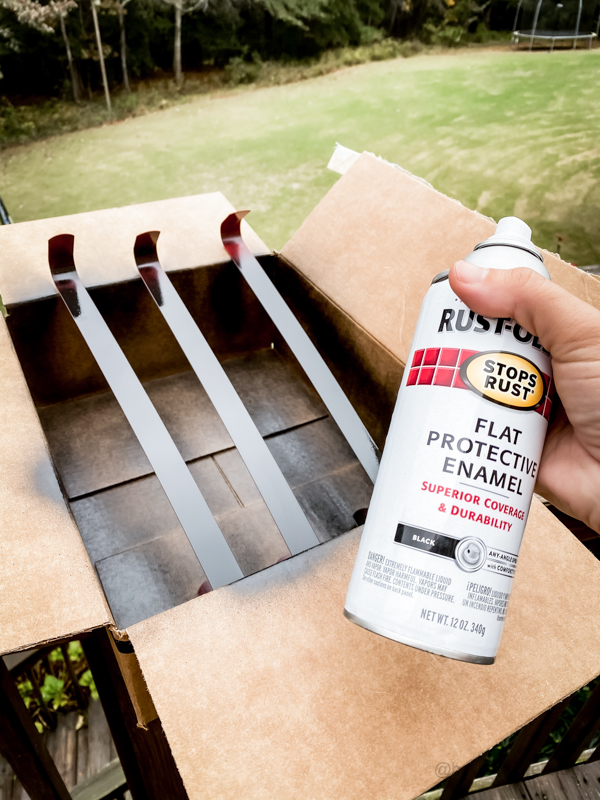
PAINT YOUR PLAQUES
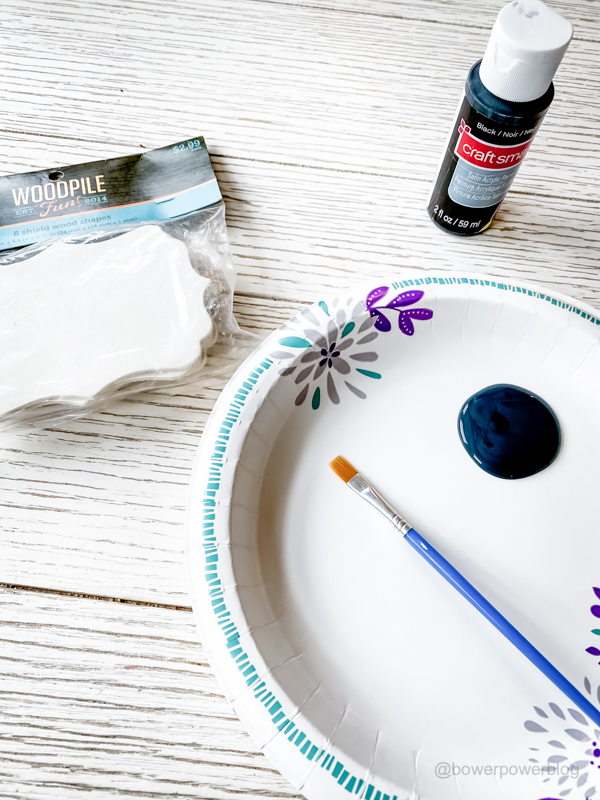
Your small wooden plaques come in their natural wood tone but I wanted to show how to make them have a chalkboard look. I’ve used this technique before (actually in another Canon Printer project – the Christmas stocking tags) and I love it! Simply coat all the sides with black craft paint and allow to dry.
CUT OUT
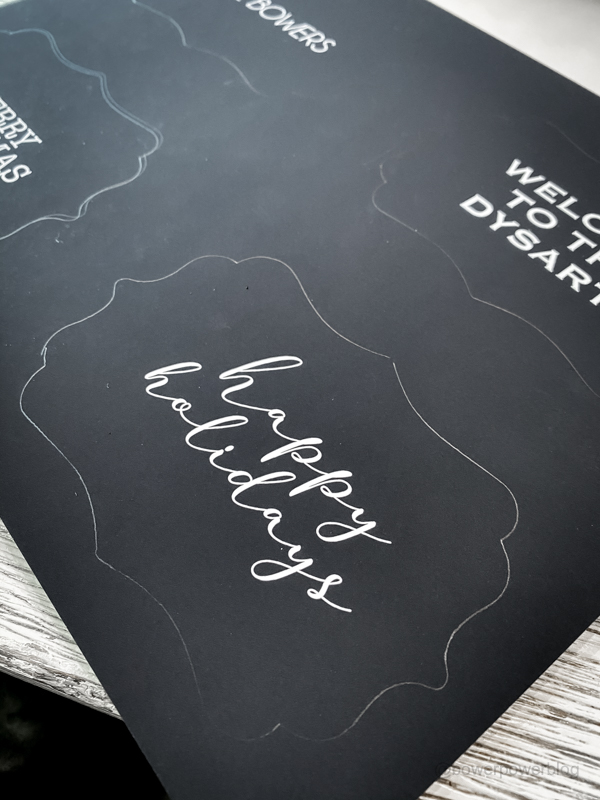
Cutting out your plaques is really simple. Since this was the most complicated cut out available I wanted to show a simple trick for getting it cut out easily. Simply place the plaque over the words (make sure you have the words plumb and level and centered on the cut out)….
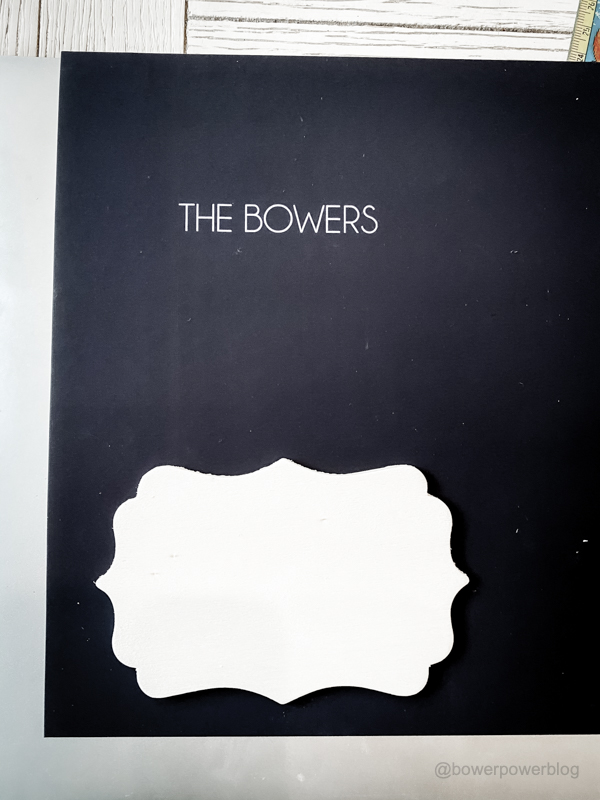
and trace with a pencil before cutting out!
PASTE & SAND
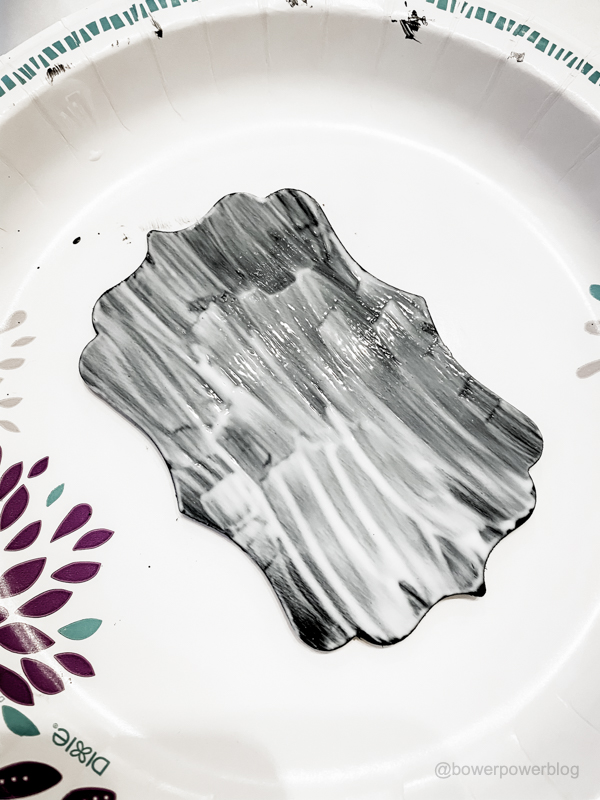
Apply a liberal amount of Mod Podge on the face of the painted wood plaque. Remember that this has to fairly evenly spread for the paper to not show the texture later. Now place your printed lettering paper on top and allow to dry with heavy even pressure. Using your sandpaper, sand any excess paper away from the edges. You will also sand the face very gently in perpendicular directions.
FIX TO HANGER
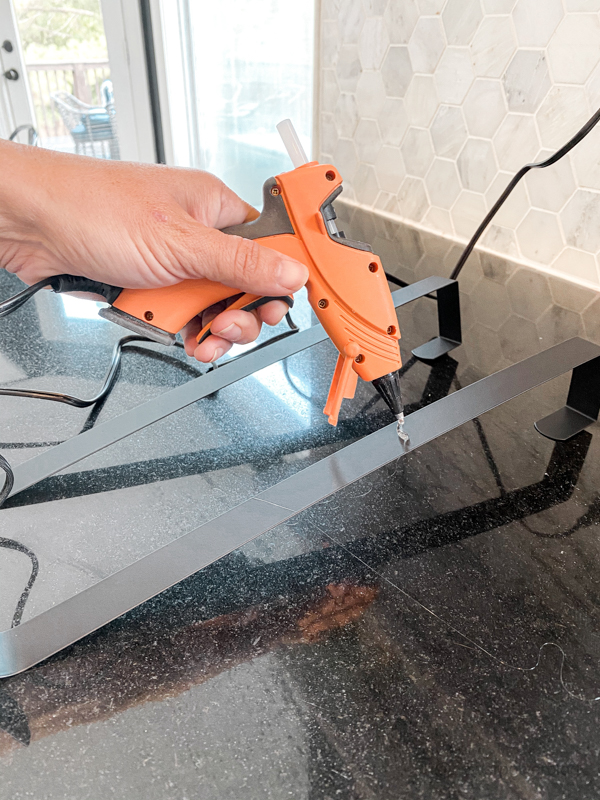
Time to break out the hot glue! I placed the hanger on the door with my wreath to get the perfect placement of the wood plaque. I preferred to have the wood piece glued 5-6 inches from the top so that is where I put the hot glue and then fixed the wood on top.
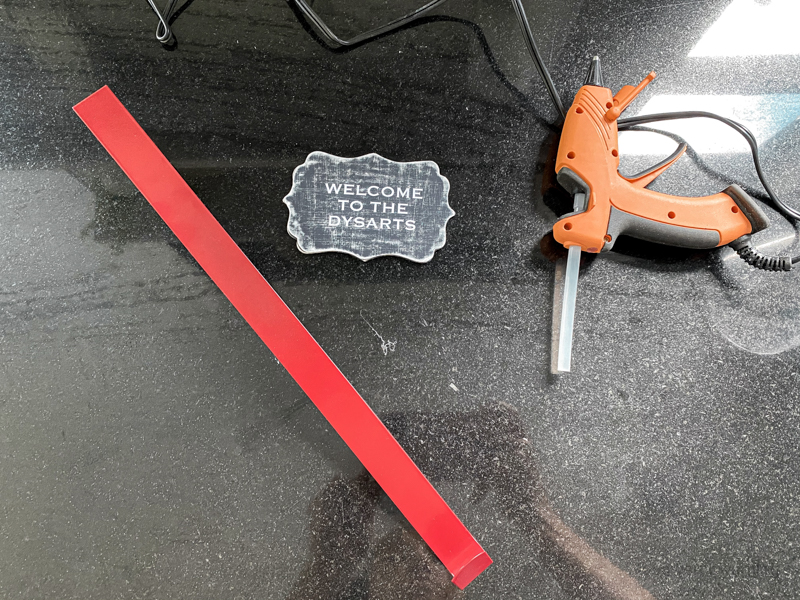
Remember that this will take a bit of glue to stay fixed as most times the door knocks around the wreath a bit….so I did a generous amount 🙂
HANG AND ENJOY!
You are DONE! Just hang your wreath hanger on the door and place your wreath on the hook! It’s such an easy and fun DIY and makes for GREAT teachers gifts or if you have to go to a gift exchange with LOTS of multiples – this is the DIY for you!
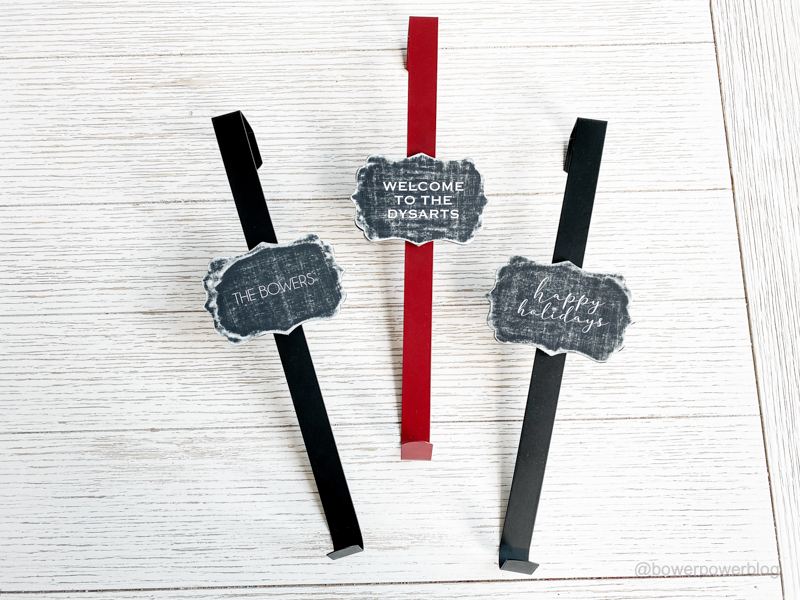
Plus it looks super cute in both black….

And red….

And I bet GOLD would look cute too!
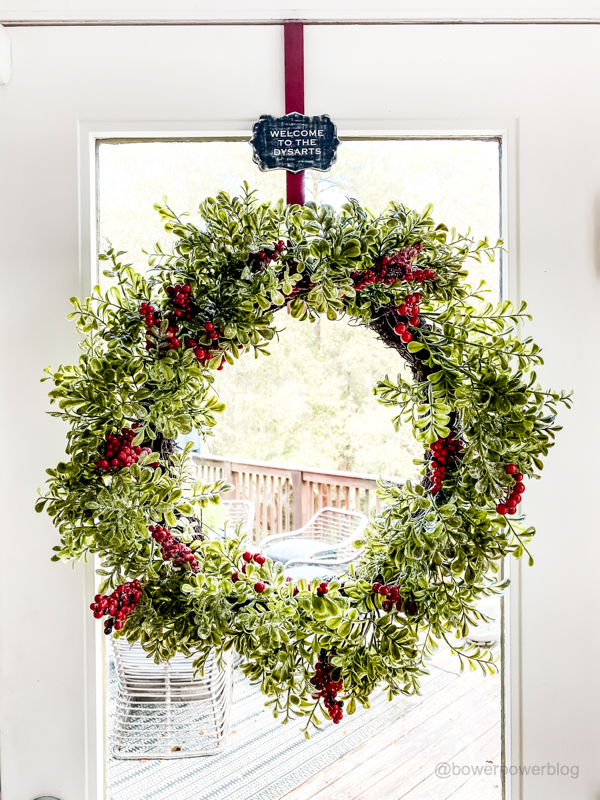
The best part is that this craft is completely customizable or you can use generic holiday messages for your gift closet so if you need something for a quick holiday present – this is the best idea!

Hope you guys enjoyed another Canon printer craft idea and I hope you have a wonderful crafty day!