I’m ready to share all the nitty gritty about the DIY floating deck and pergola that we built for the Haven Conference. Yay for all of you that want to build an indoor deck! (yeah. I get it. this is weird. but whatever.)
Obviously this deck is not meant for the outside (this was kind of like a trade show booth) but if you are looking for details on how we did this, here they are. If you are looking for an outdoor deck….here are the major changes you will need to make… pretty much all of it.
But in terms of a trade show booth – this is not hard. We had to build in our garage, transport it through two hours of traffic and then rebuild in a matter of hours. No biggie. Just giving birth to a giant 10×16″ wood baby.
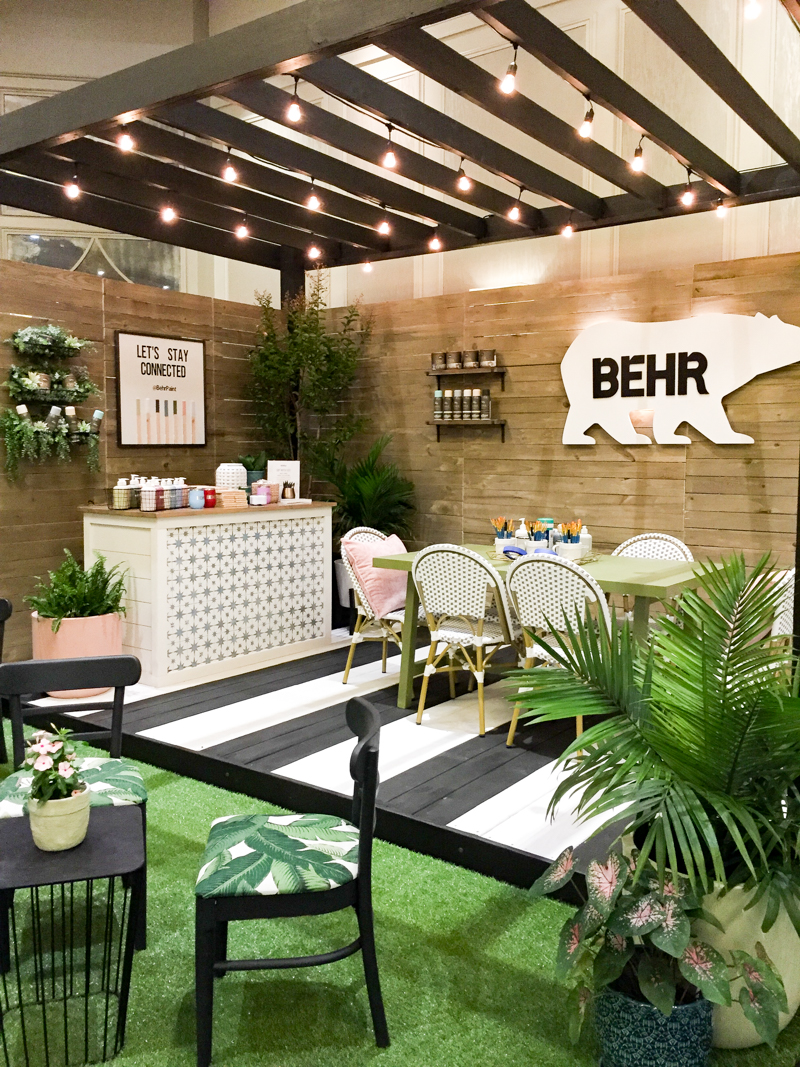
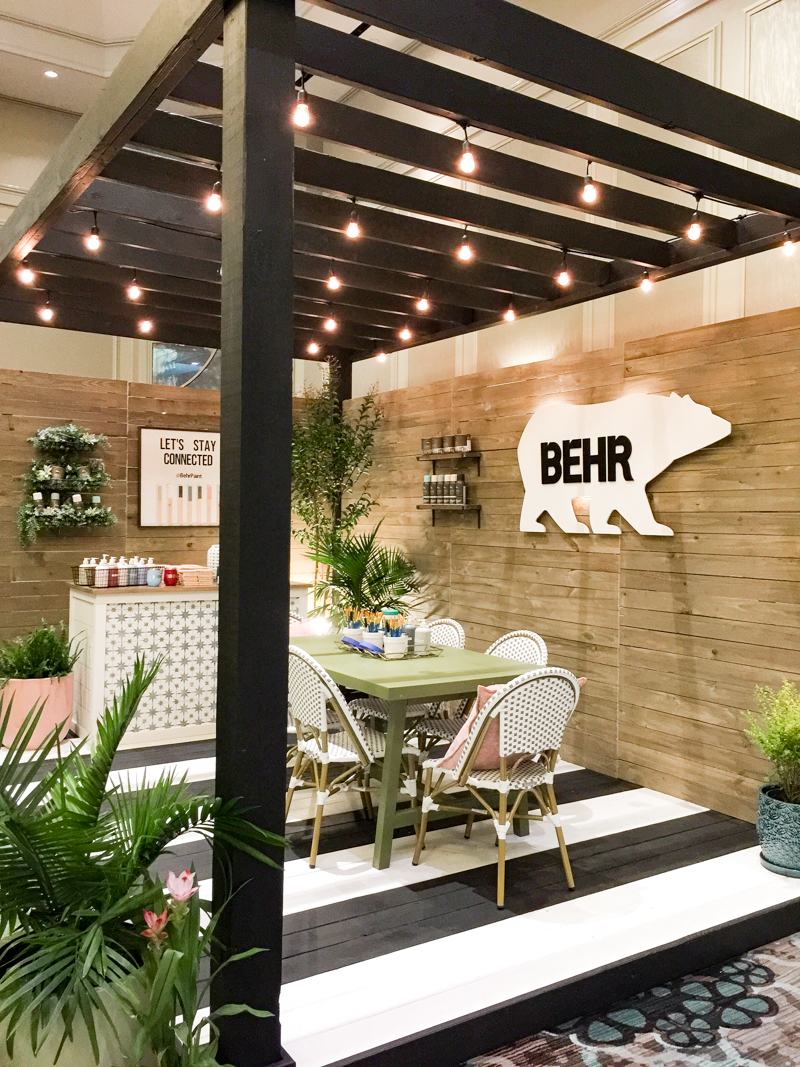
Let’s get serious though….when it came to design, we had been told Behr’s sponsored spot would have a 10×16 foot space to build the booth and they requested an outdoor entertaining space. They specifically asked for a floating deck with a fence, a bar and a table for the small craft that attendees could do.
We brainstormed a lot and came back with a deck/pergola/fence combo that would showcase the Behr product line (this has a lot more complicated discussions behind it….at Haven, brands are showcasing great new product releases and tried and true favorite products and want to create buzz around their items so we created a list of must-haves when it came to Behr’s impressive product lines. This strongly influenced the items and design we used.) I suggested a striped deck because I felt like the wide cabana stripes creates a strong outdoor feel and it gave us the opportunity to show their Behr exterior solid stain.
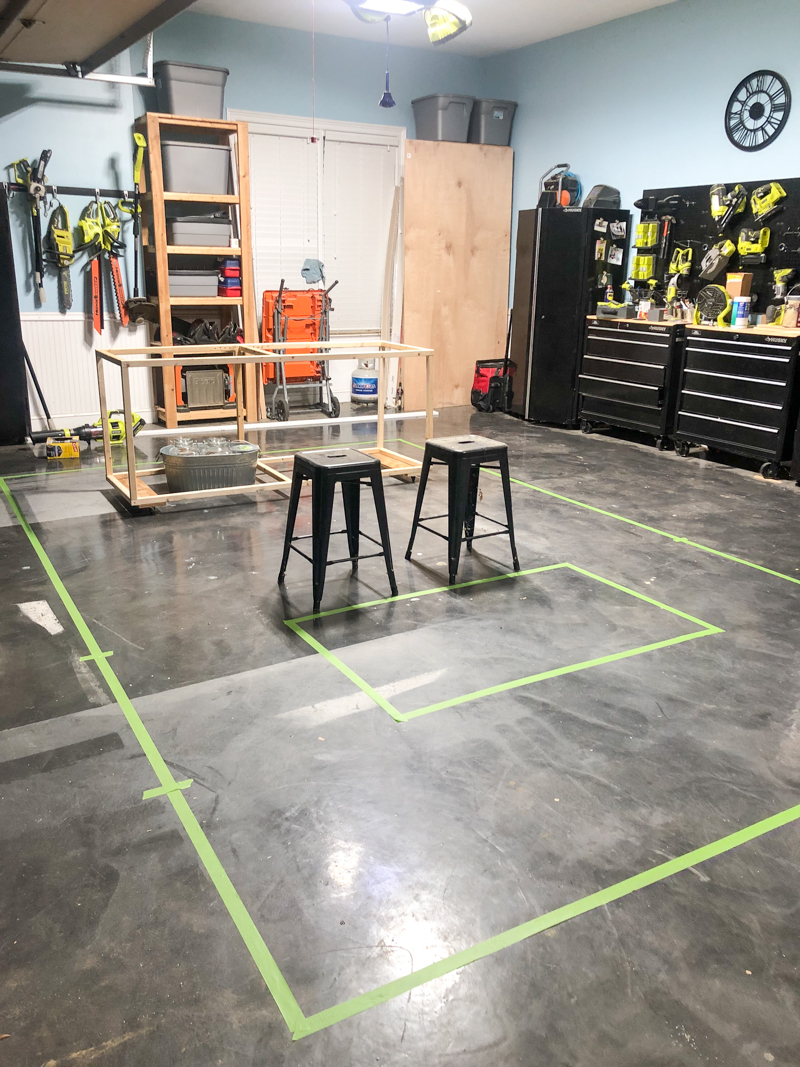
The first thing we did with the design is to map out the layout in our garage with painters tape. Planning it out is easy on a floor planner software but honestly I need to FEEL the space and be in it to understand how I want it to look.
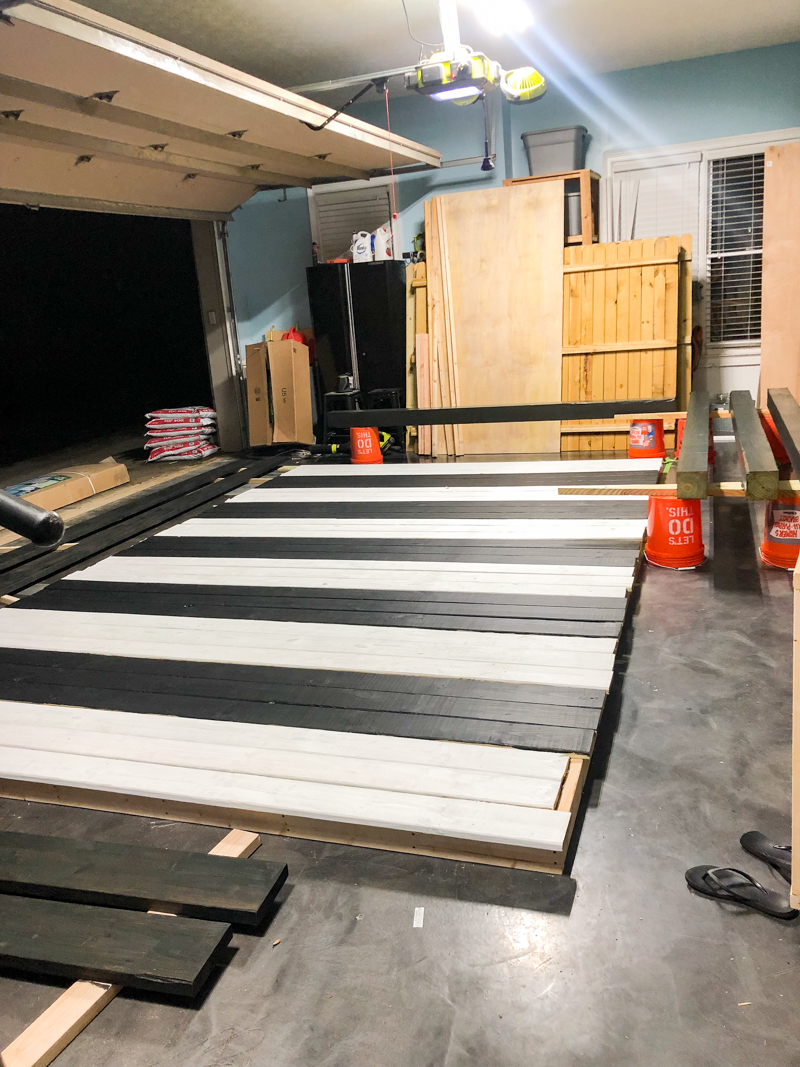
When it came to building, we decided that the deck had to be built in sections so that we could go ahead and stain everything and then take it in manageable sections to the hotel.
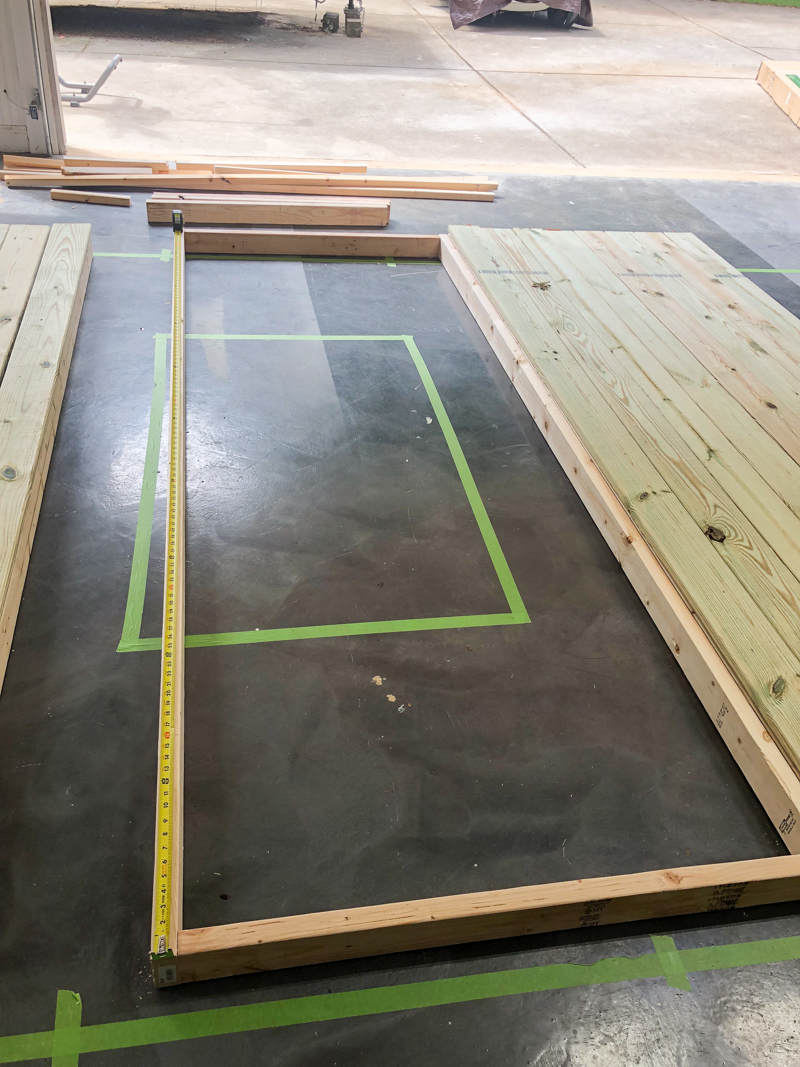
So technically we built four sections – three of them were 44″ wide and the last one was 60″ wide. All of them were ten feet long. We did this because we wanted to make it easy for us to attach MAJORITY of deck boards.
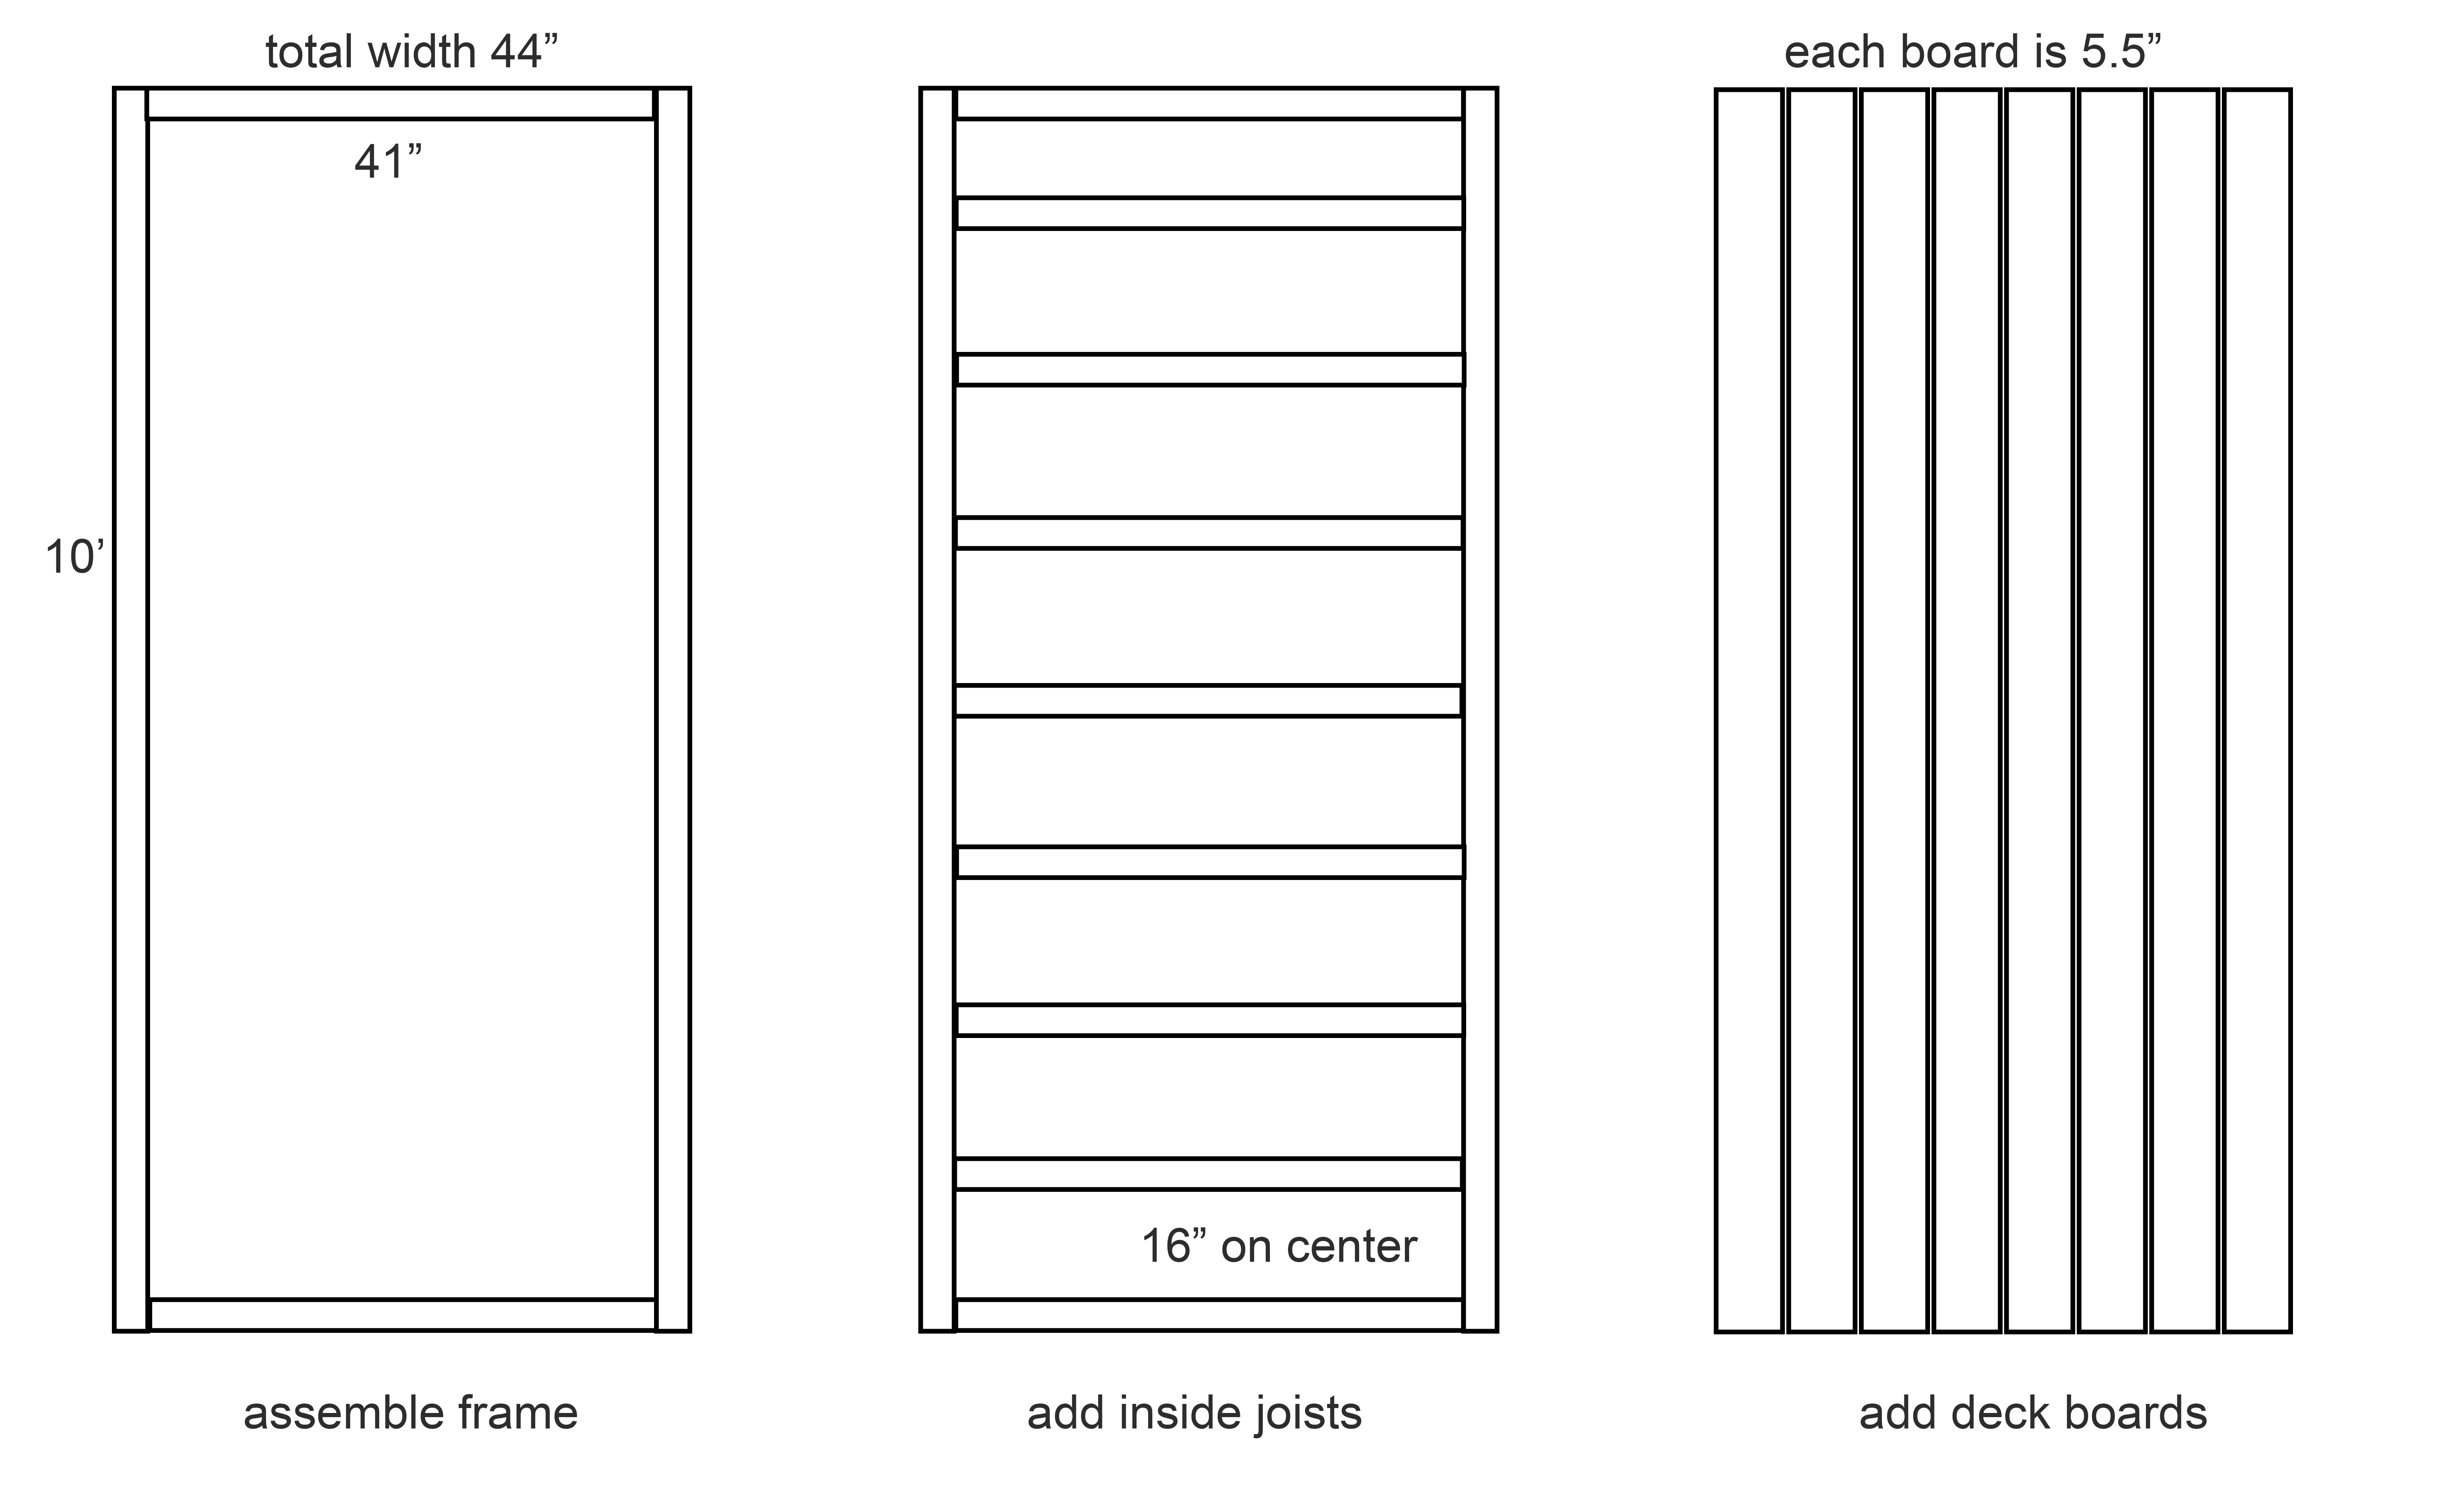
We didn’t attach ALL the deck boards because where two of the frames met up, we had to access the underneath so we could screw them together.
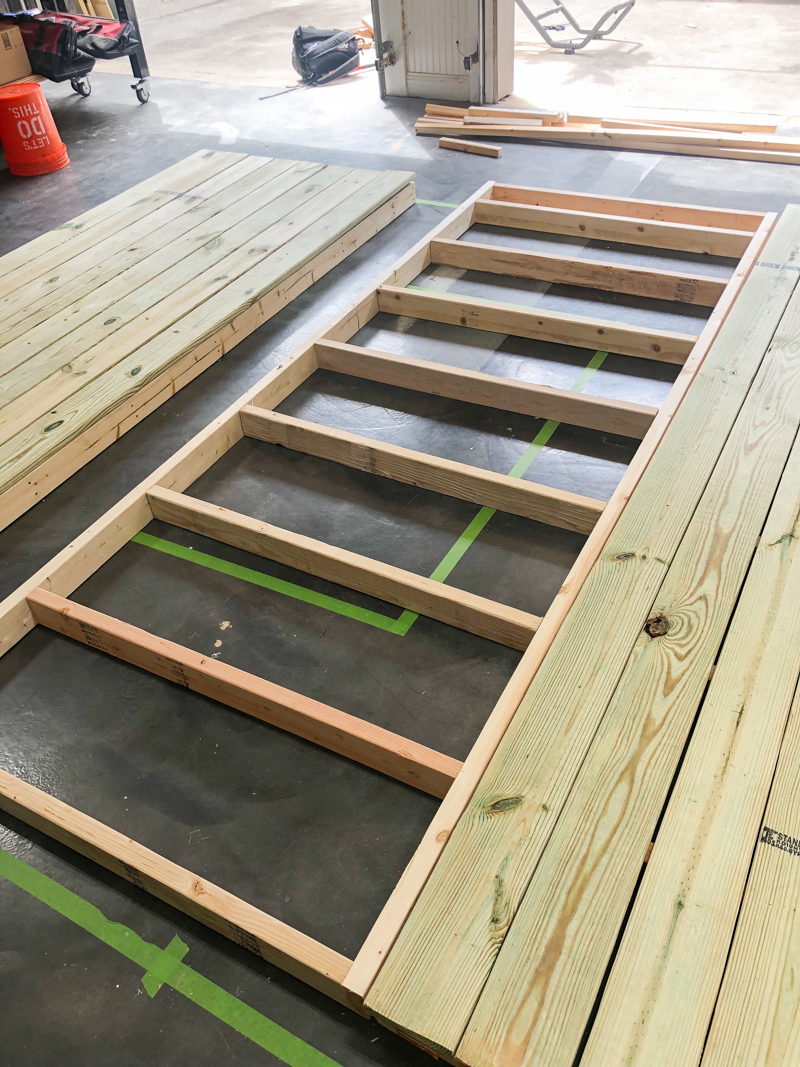
Also we allowed for no lip on the edges so that we could take another board and wrap the outside with a stained board.
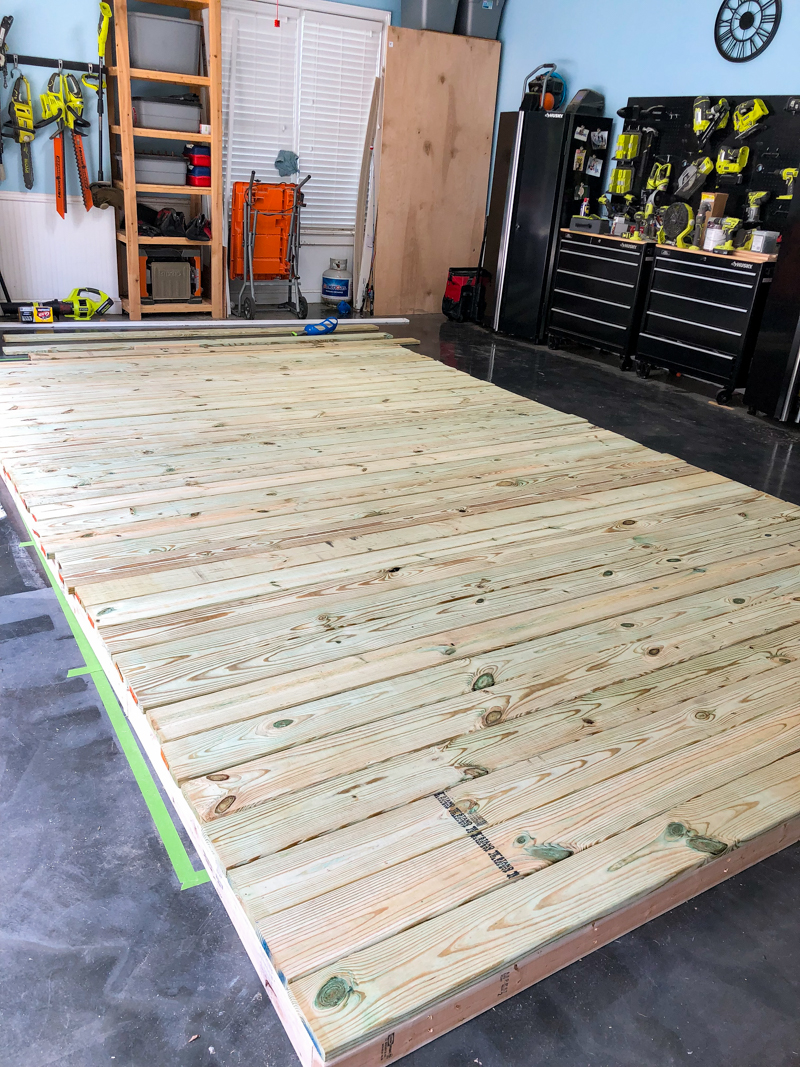
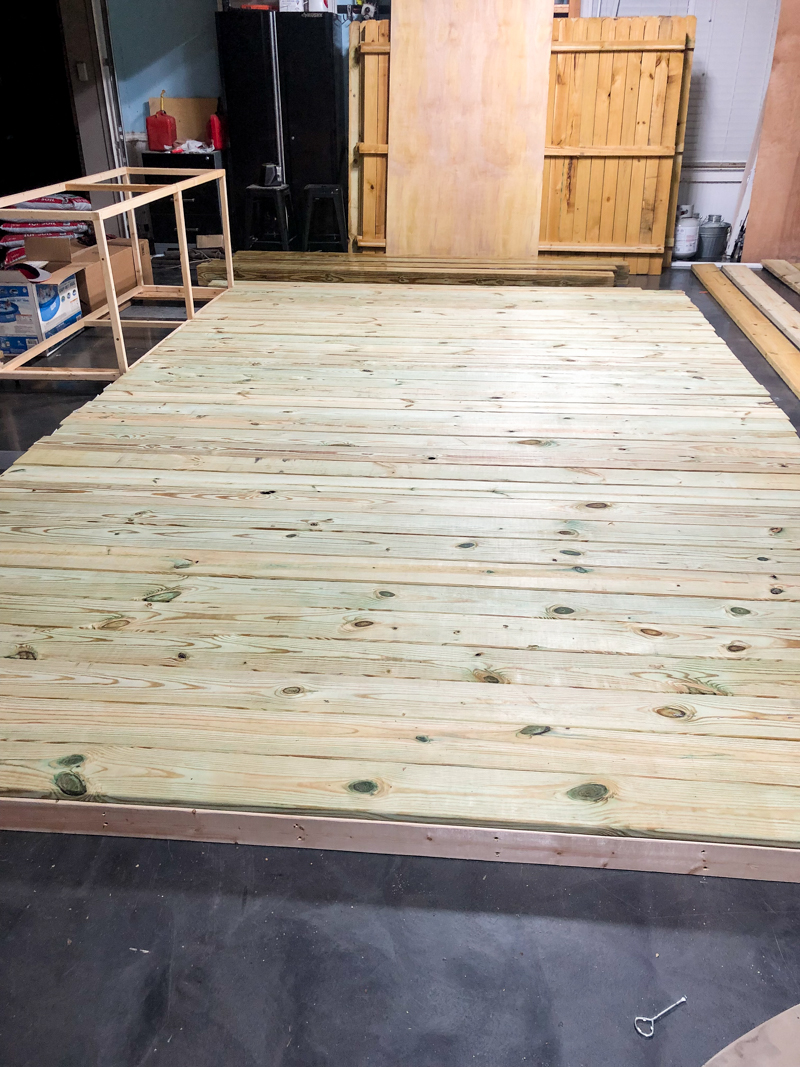
Once the basic deck was cut and laid out, it was time for stain.
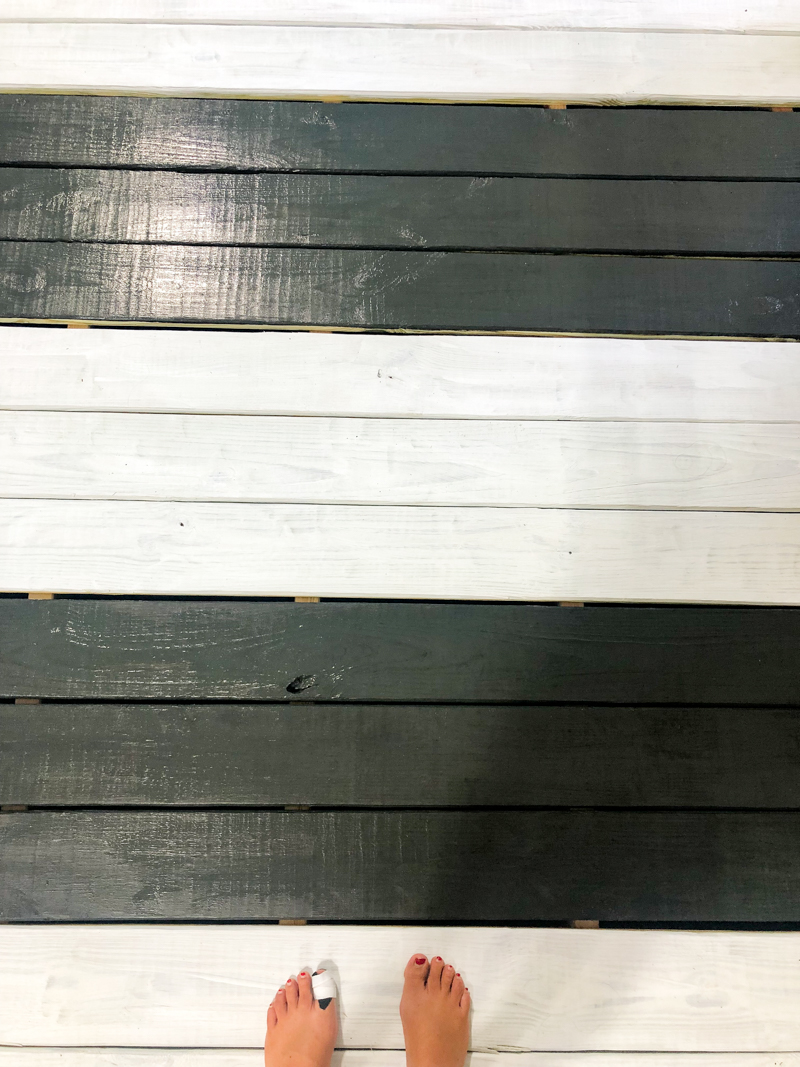
The white stain we used was Behr’s Premium Stain and Sealer in Ultra Pure White solid stain.
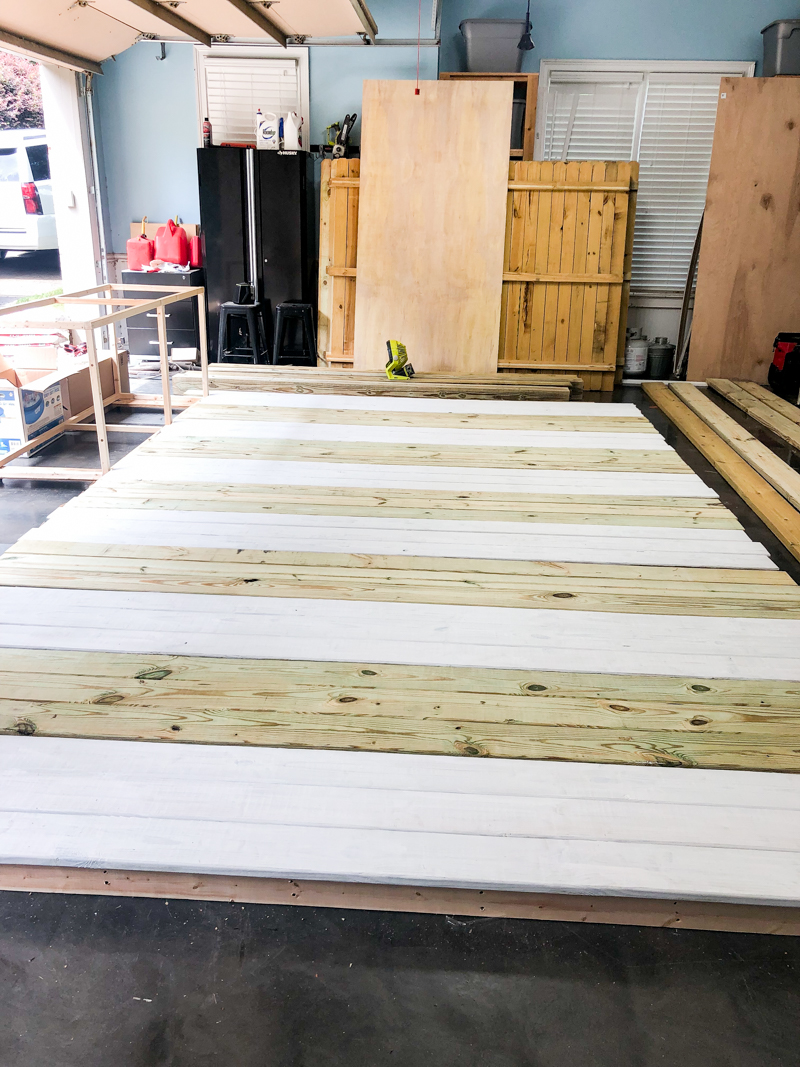
The black stripes were done in the color Slate. Guys…this was my first time using this stain and I was so impressed. It goes on like a thin paint and has such great coverage. I kept forgetting it was a stain!
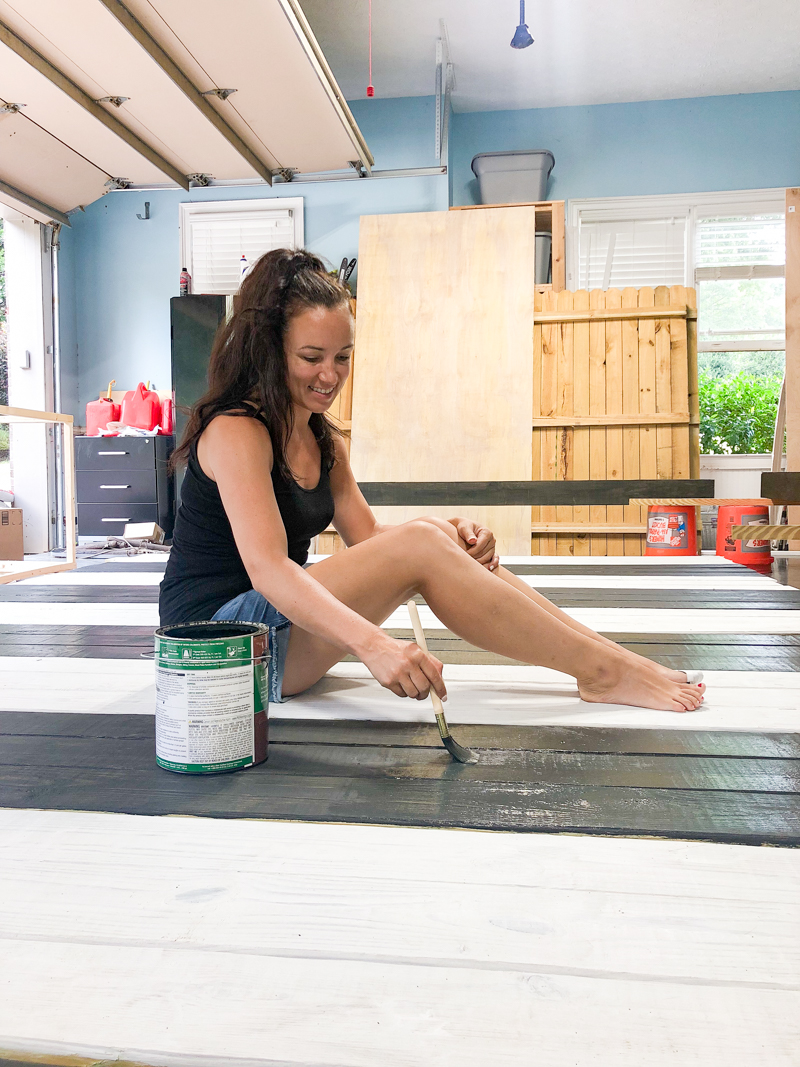
One tip I have is to buy these super cheap brushes from The Dollar Tree. They are the best place to get brushes for jobs like this. Also….make sure you wrap the bristles in a damp paper towel after the first coat, throw it in a ziplock bag and put it in your fridge to use for the next coat.
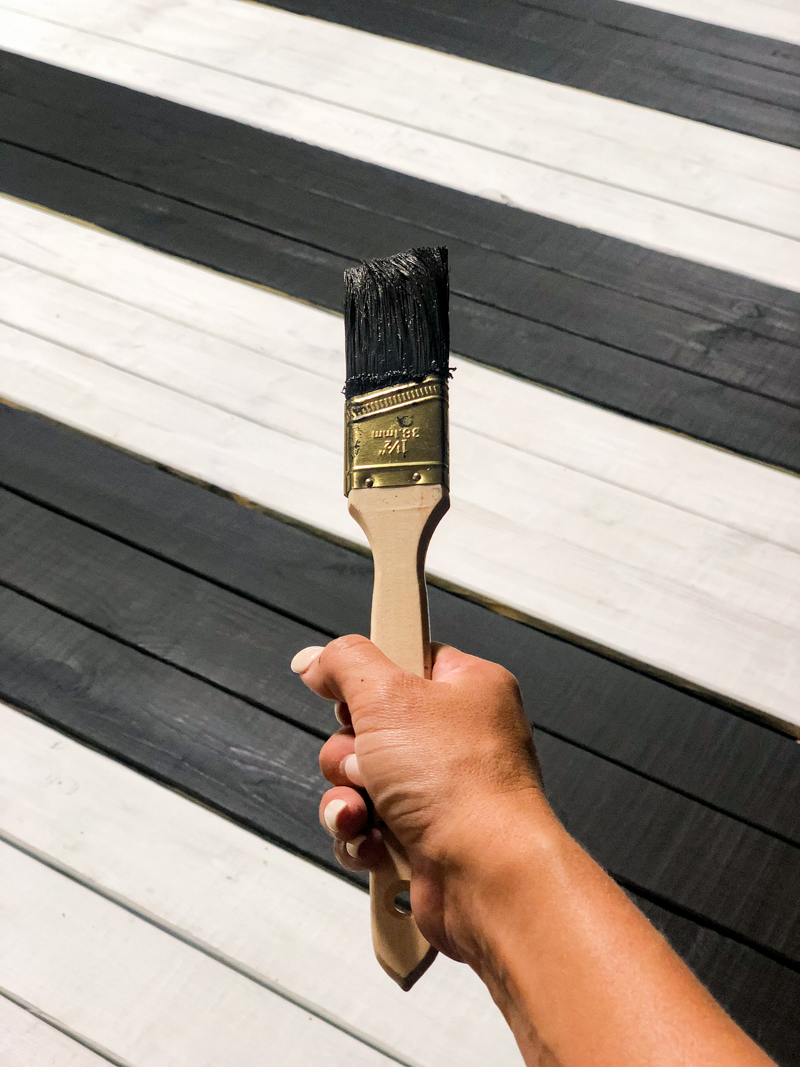
And here it is after the second coat….
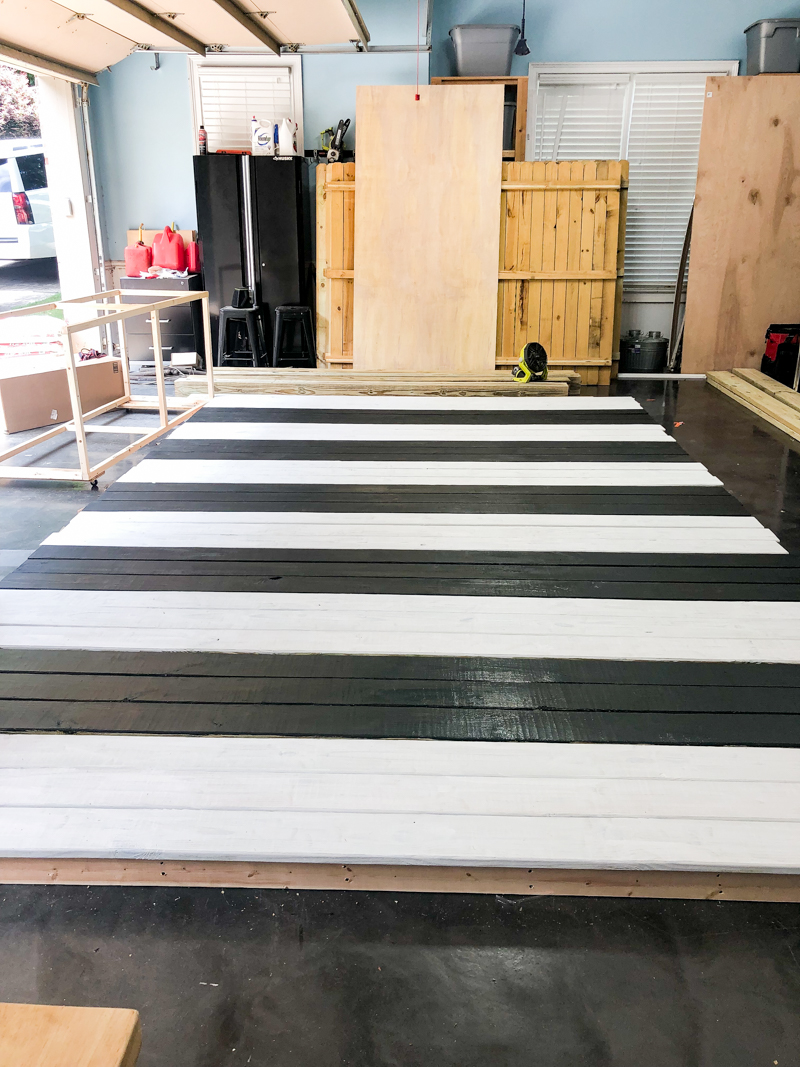
I waited to do the second coat on the white till the last day because I was afraid my kids would mess it up in the garage. They have been known to ‘decorate’ with chalk….so yeah…just waited.
During this same time, we also stained the posts and boards for the pergola as well as the board we would tack around the outside edge of the deck.
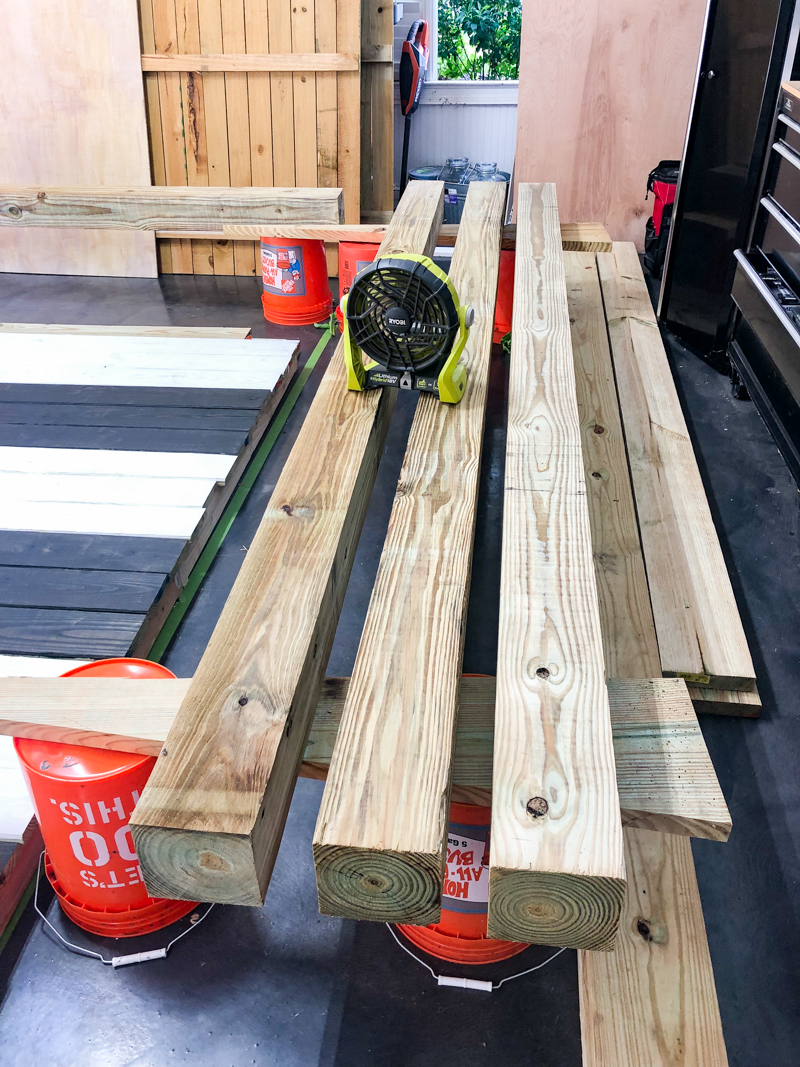
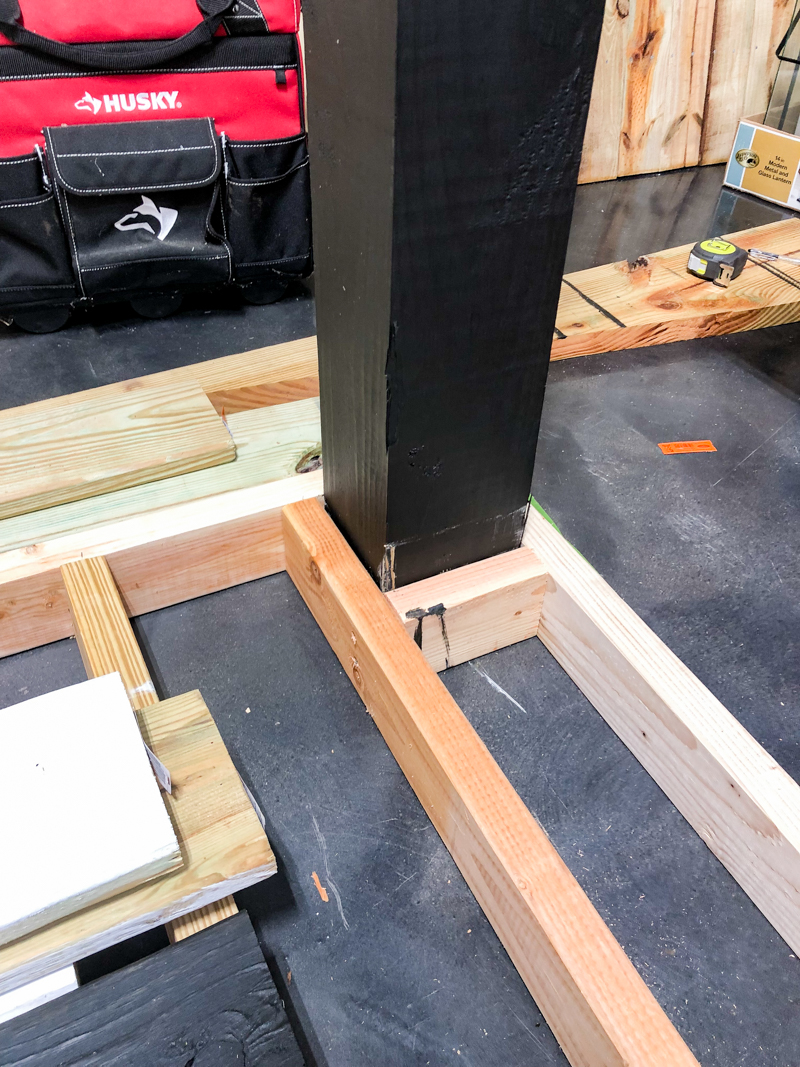
Speaking of posts….it’s also important to see how we put the posts in. We purchased 6×6 posts for the pergola. Since most of the time, pergola posts are going into concrete….we had to come up with a creative way to secure everything together with no concrete.
On each corner, Jeremy added an extra ‘joist’ and a smaller piece that would secure the post in place. Then the posts were lag bolted into the frame. It worked! After some shimming and once we secured all the upper framework, the posts and the deck never shifted or shimmied or moved even a little. The decking boards we jigsawed out to go around the posts and then trimmed it with 2x2s .
I’ll share more details about the pergola next but I wanted to show how easy it was to build this floating deck.
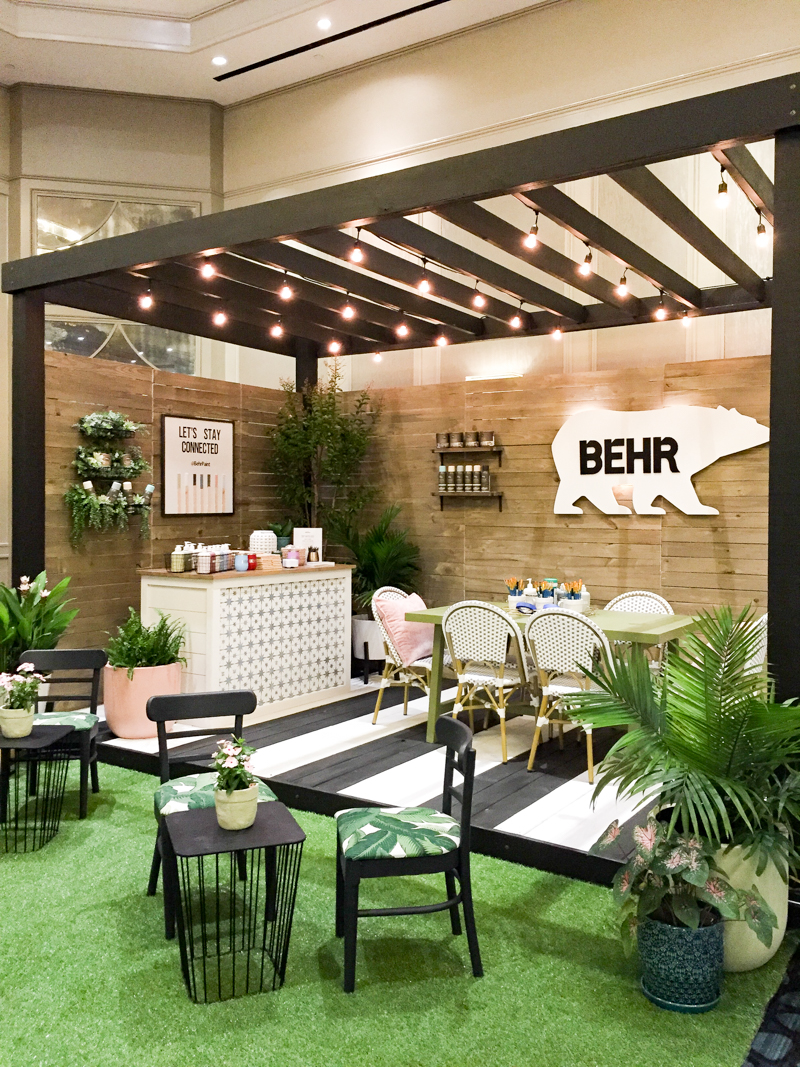
And I definitely want a striped deck now. I love love love the added pattern and interest and also – it was so easy even on a big space.
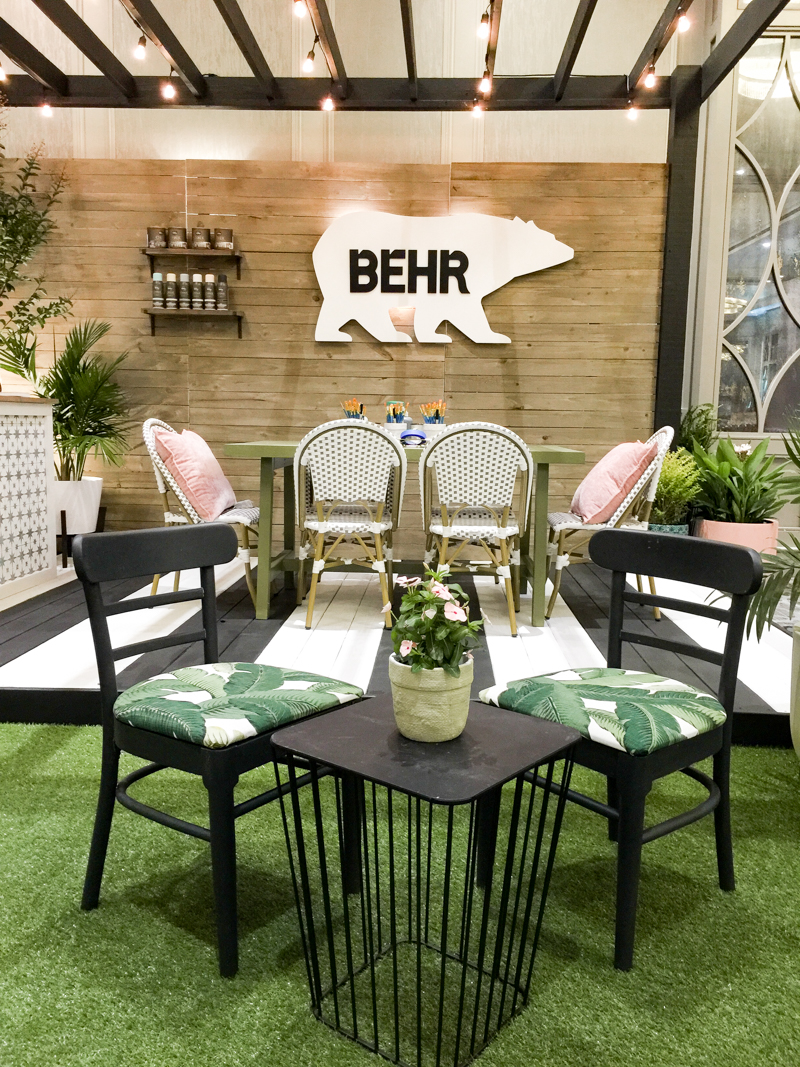
And if you do a striped deck…I’d love for you to tag me on Instagram so I can see it! Happy floating indoor trade show striped deck building 🙂