Slowly but surely I am planning out the living room and figuring it out. But after the Christmas holidays, one thing really bothered me. The mantel. I couldn’t figure it out. But then as we were putting every last garland and ornament away and wiping the glitter from Christmas away….it hit me. The mantel color just is too perfect. Not in a never-change-a-thing perfect….more like in a brand-new-and-never-was-exposed-to-a-child perfect. Moms you know the difference. Kids (at least my kids) tend to break in our home decor items. They make it a little more homey and lived in. But our mantel was not that way at all. And it had very little texture or personality. So it was time for a change.
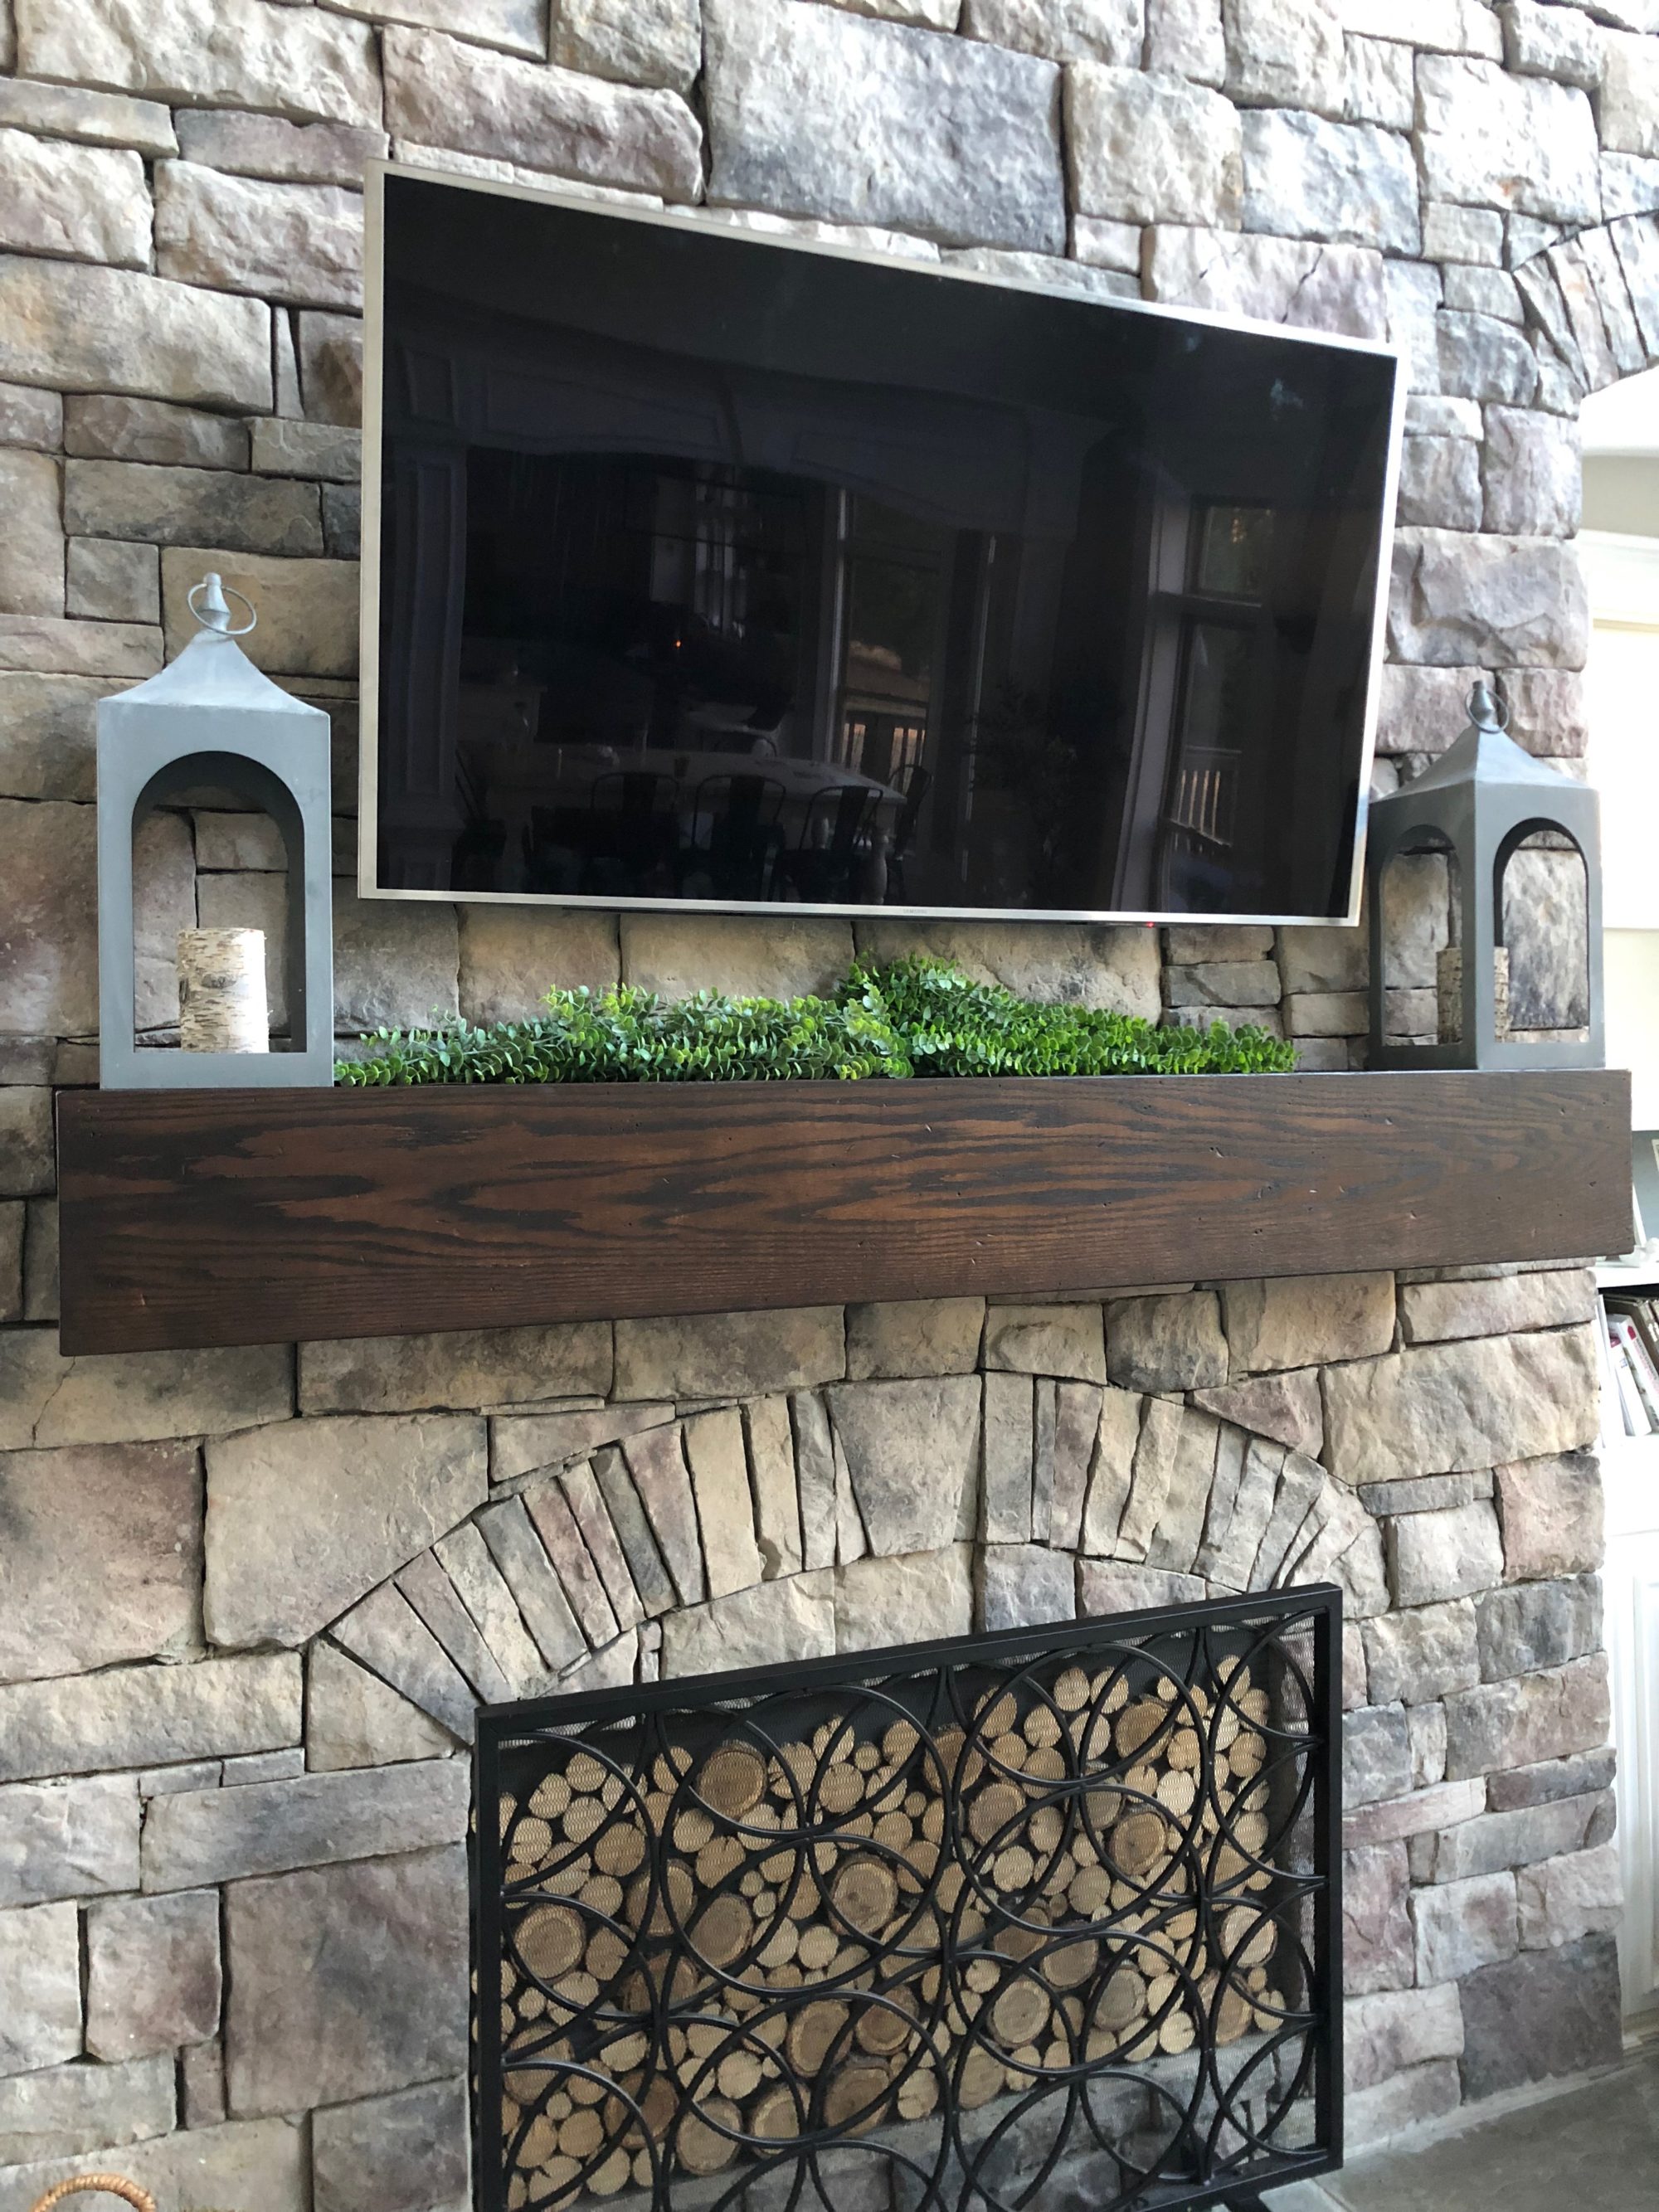
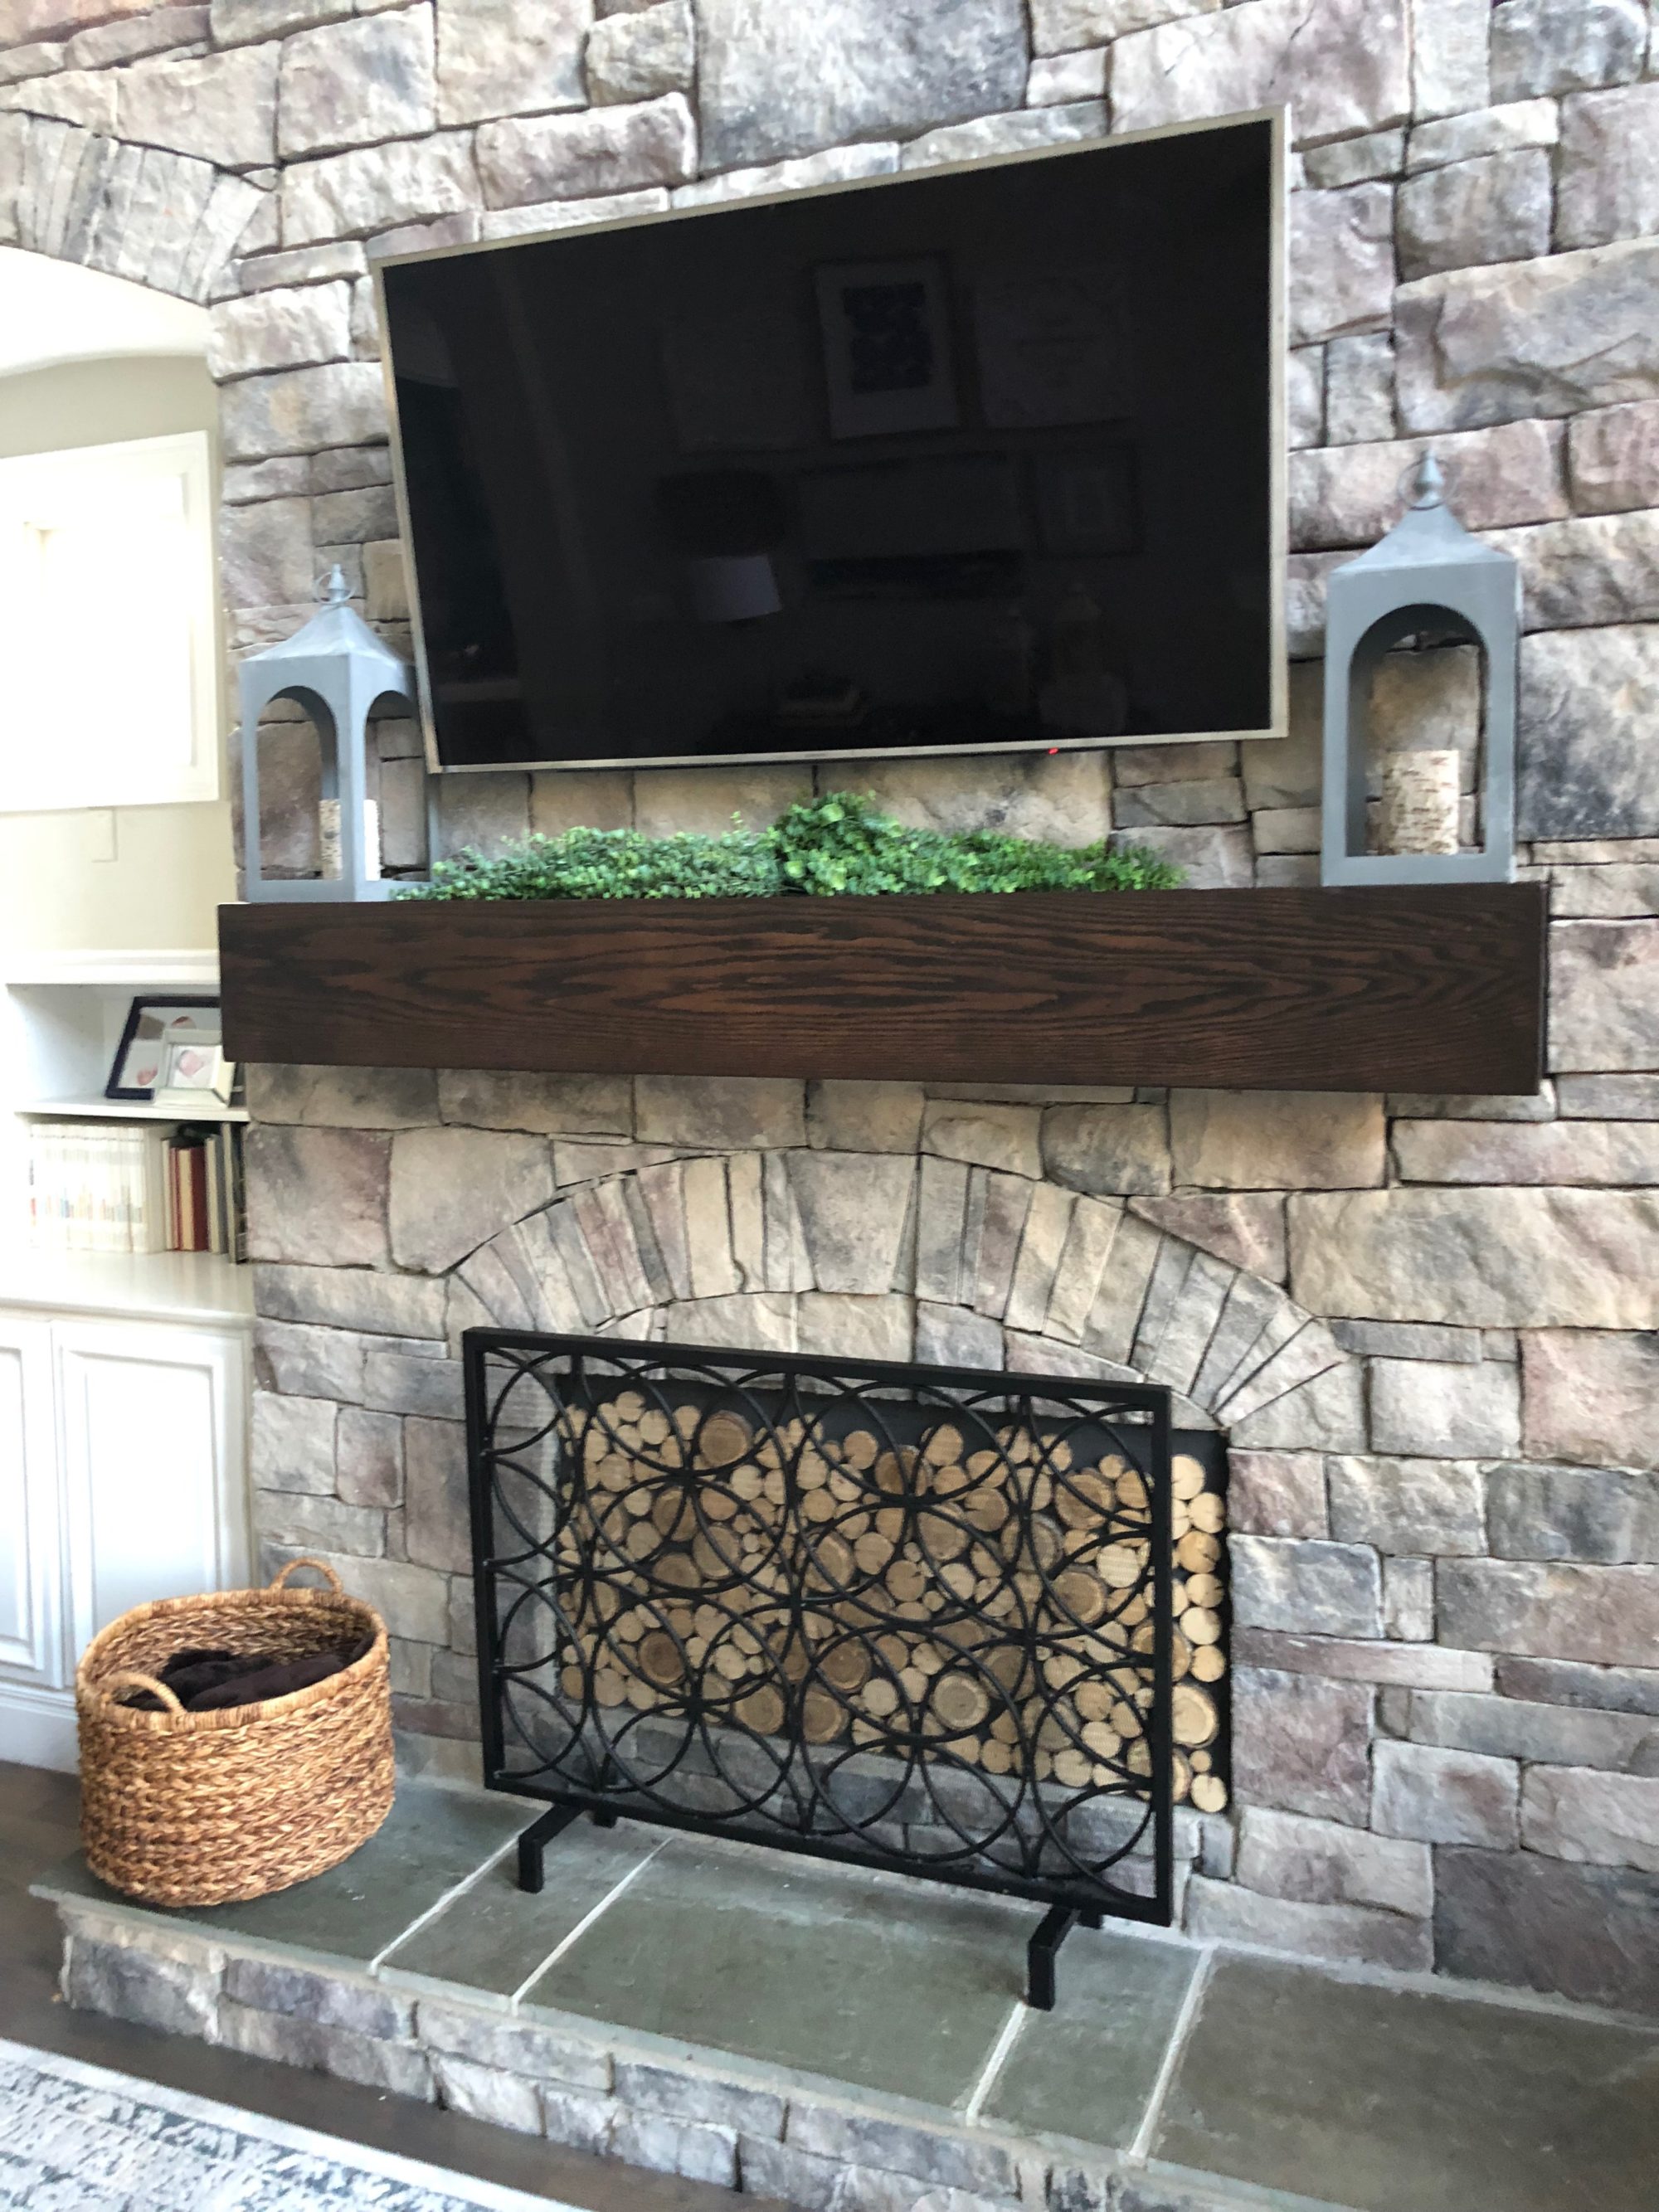
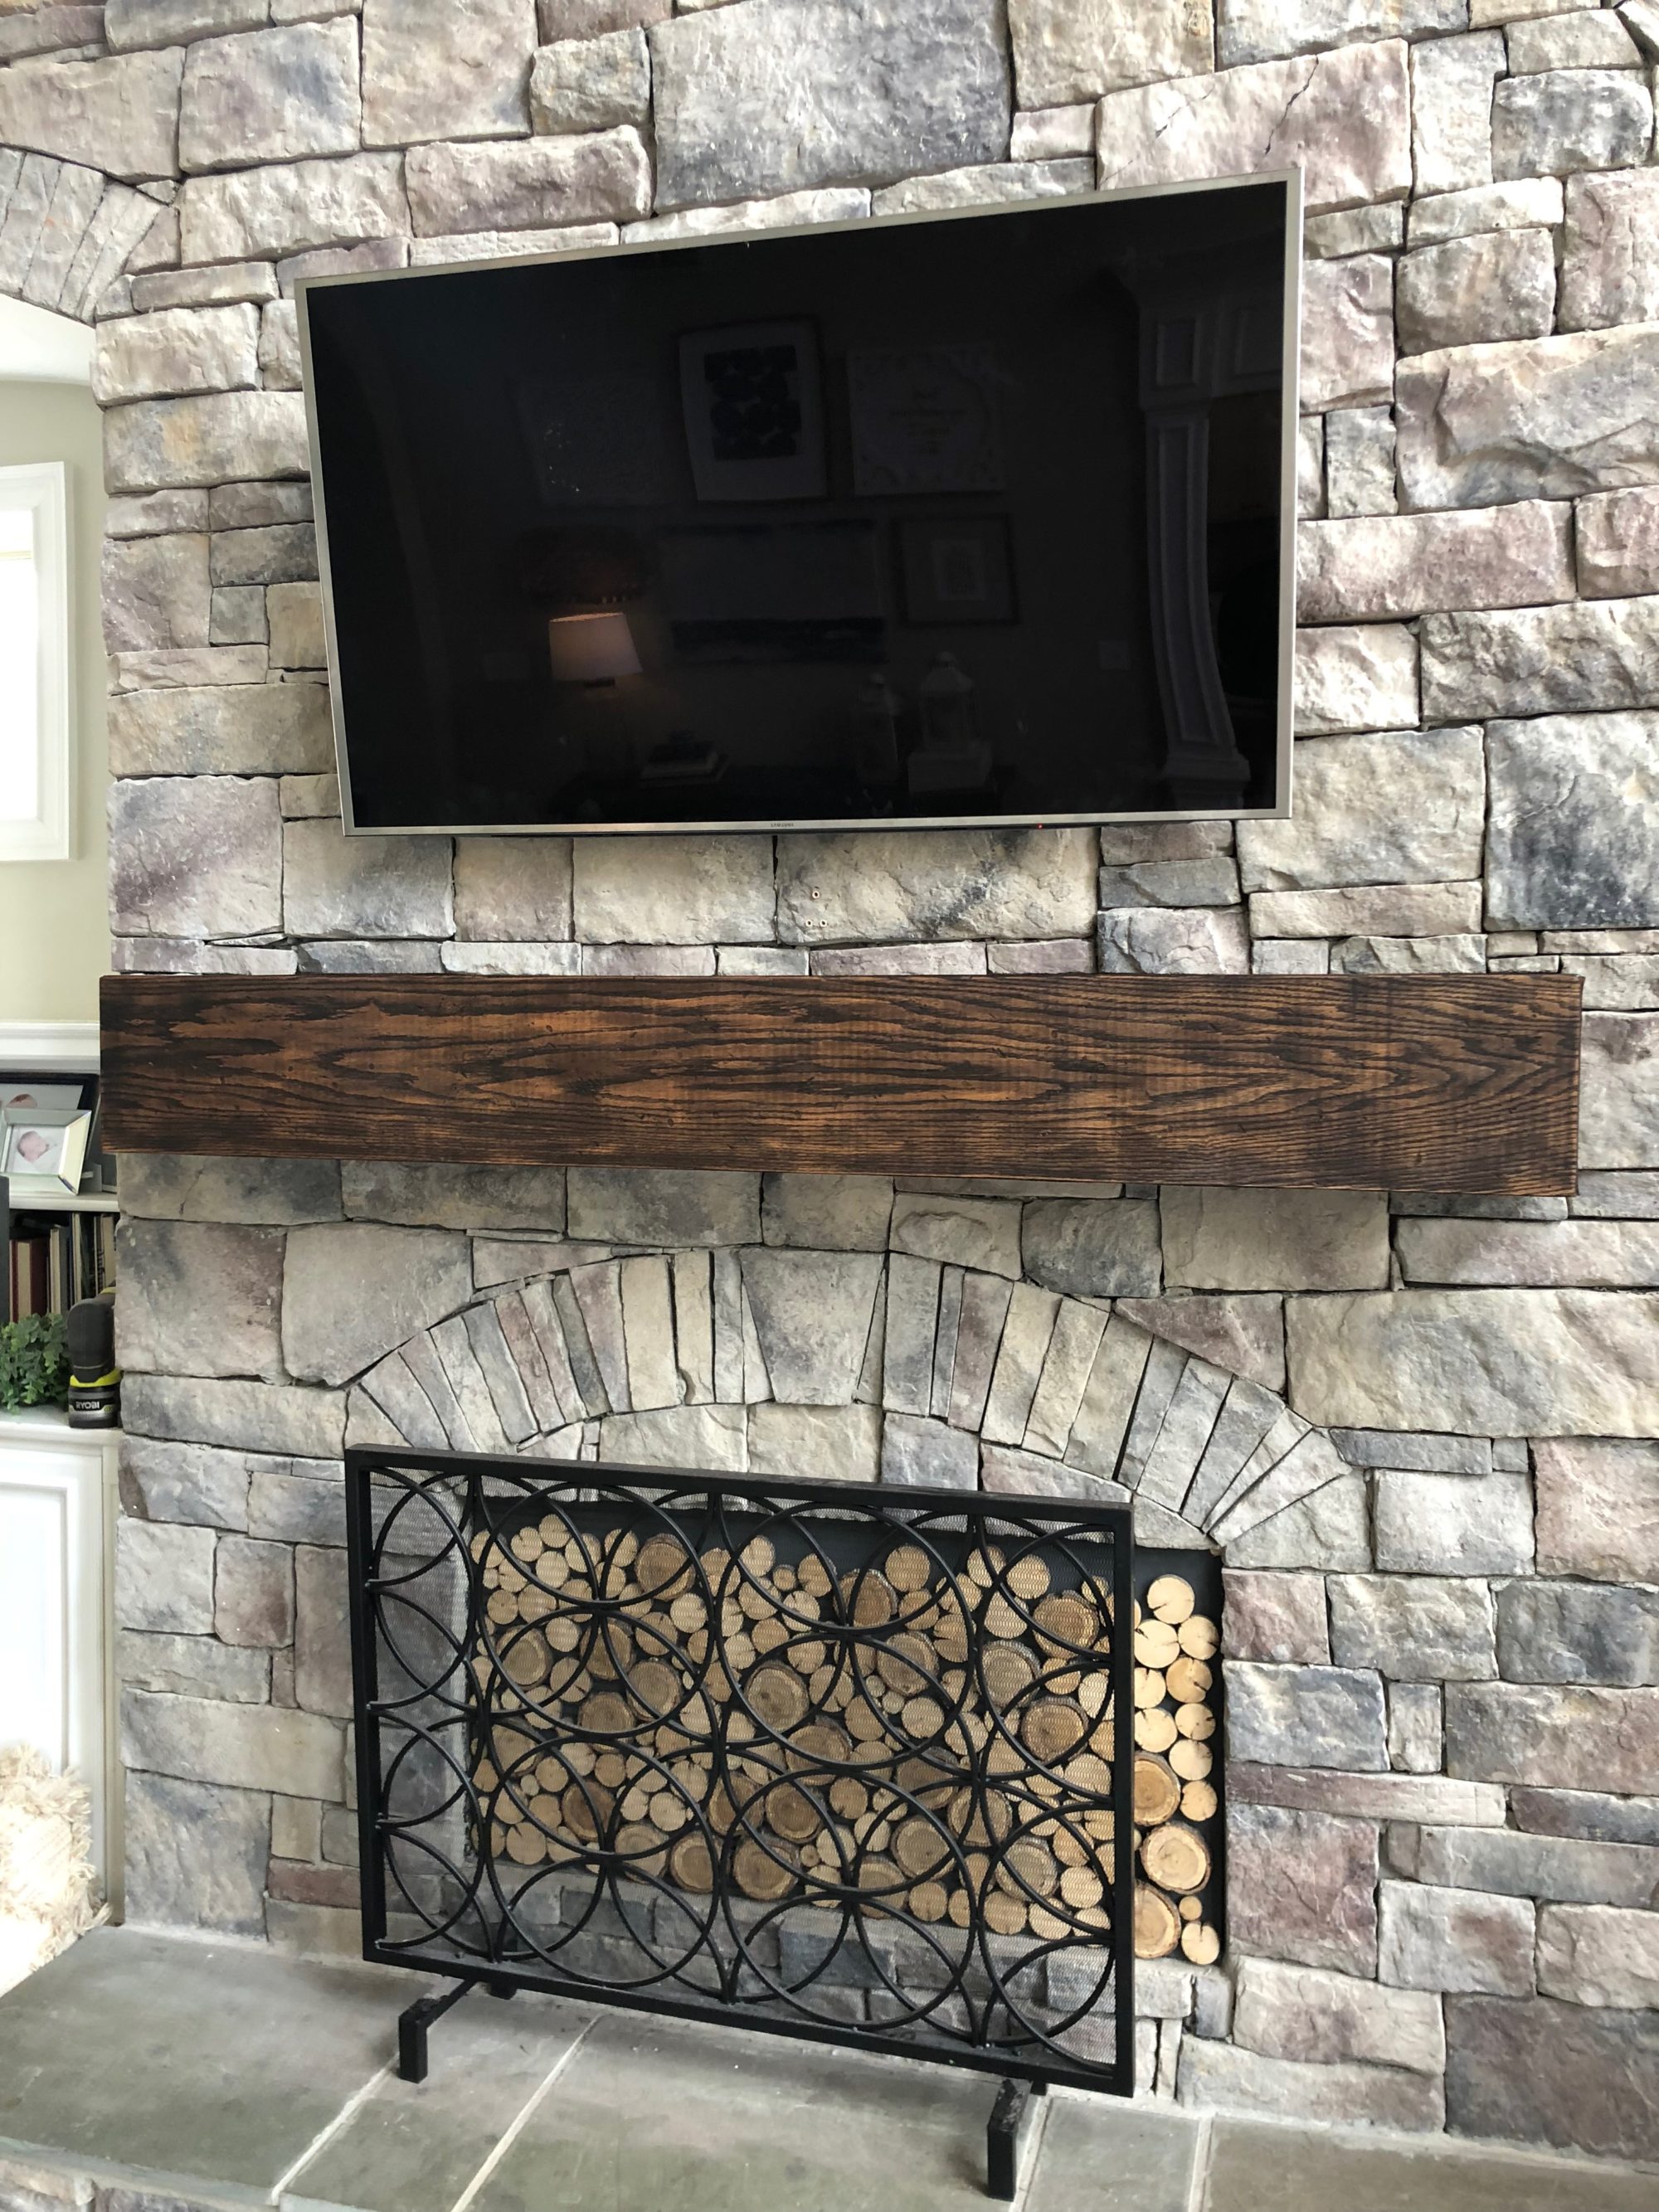
These are some of the before photos. You can see that it was beautiful….but I wanted something more rustic and that would go with our leather chairs that are on either side of the hearth. Guys – let me tell ya something….I had no idea how this would turn out….or what my end goal was….I just knew it was not this.
Step 1 – Sand
Using 220 sand paper I started to lightly sand the entire mantel. It is a veneer (not solid wood) so I had to be very careful not to take too much off. Veneer is basically like thick paper made out of wood that you can adhere to the front of boards to make them look like a solid beam. Veneer is very thin and can be sanded too much and expose that glue and ugly wood underneath. If you want to see it in action, check out this old post.
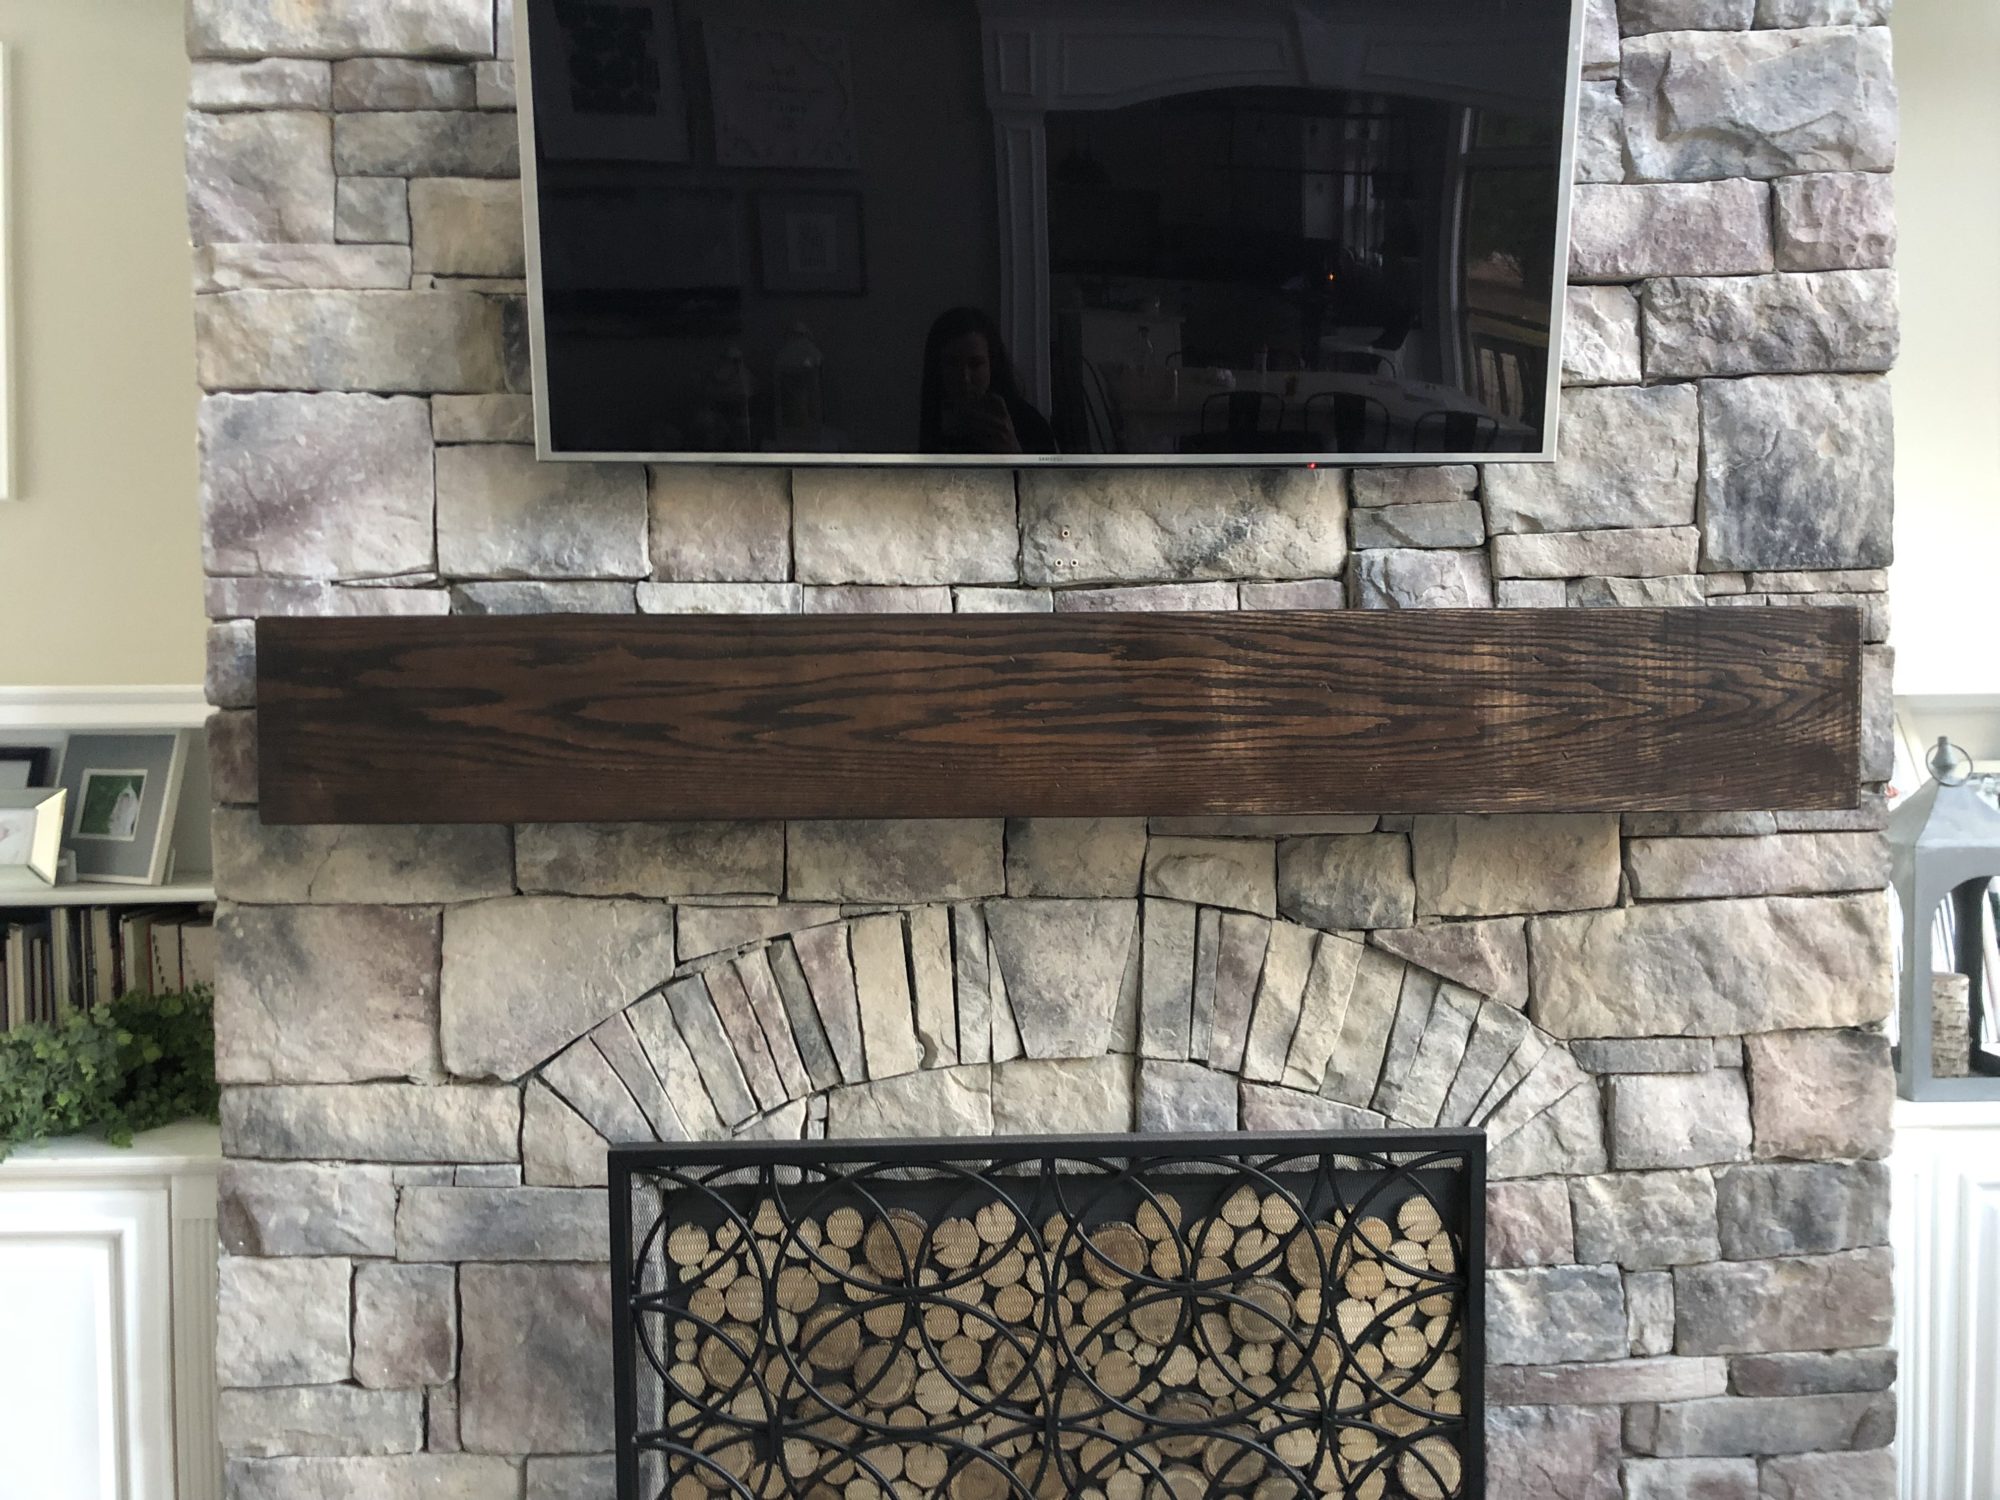
It was amazing how much texture it immediately added to the room.
Step 2 – Weather
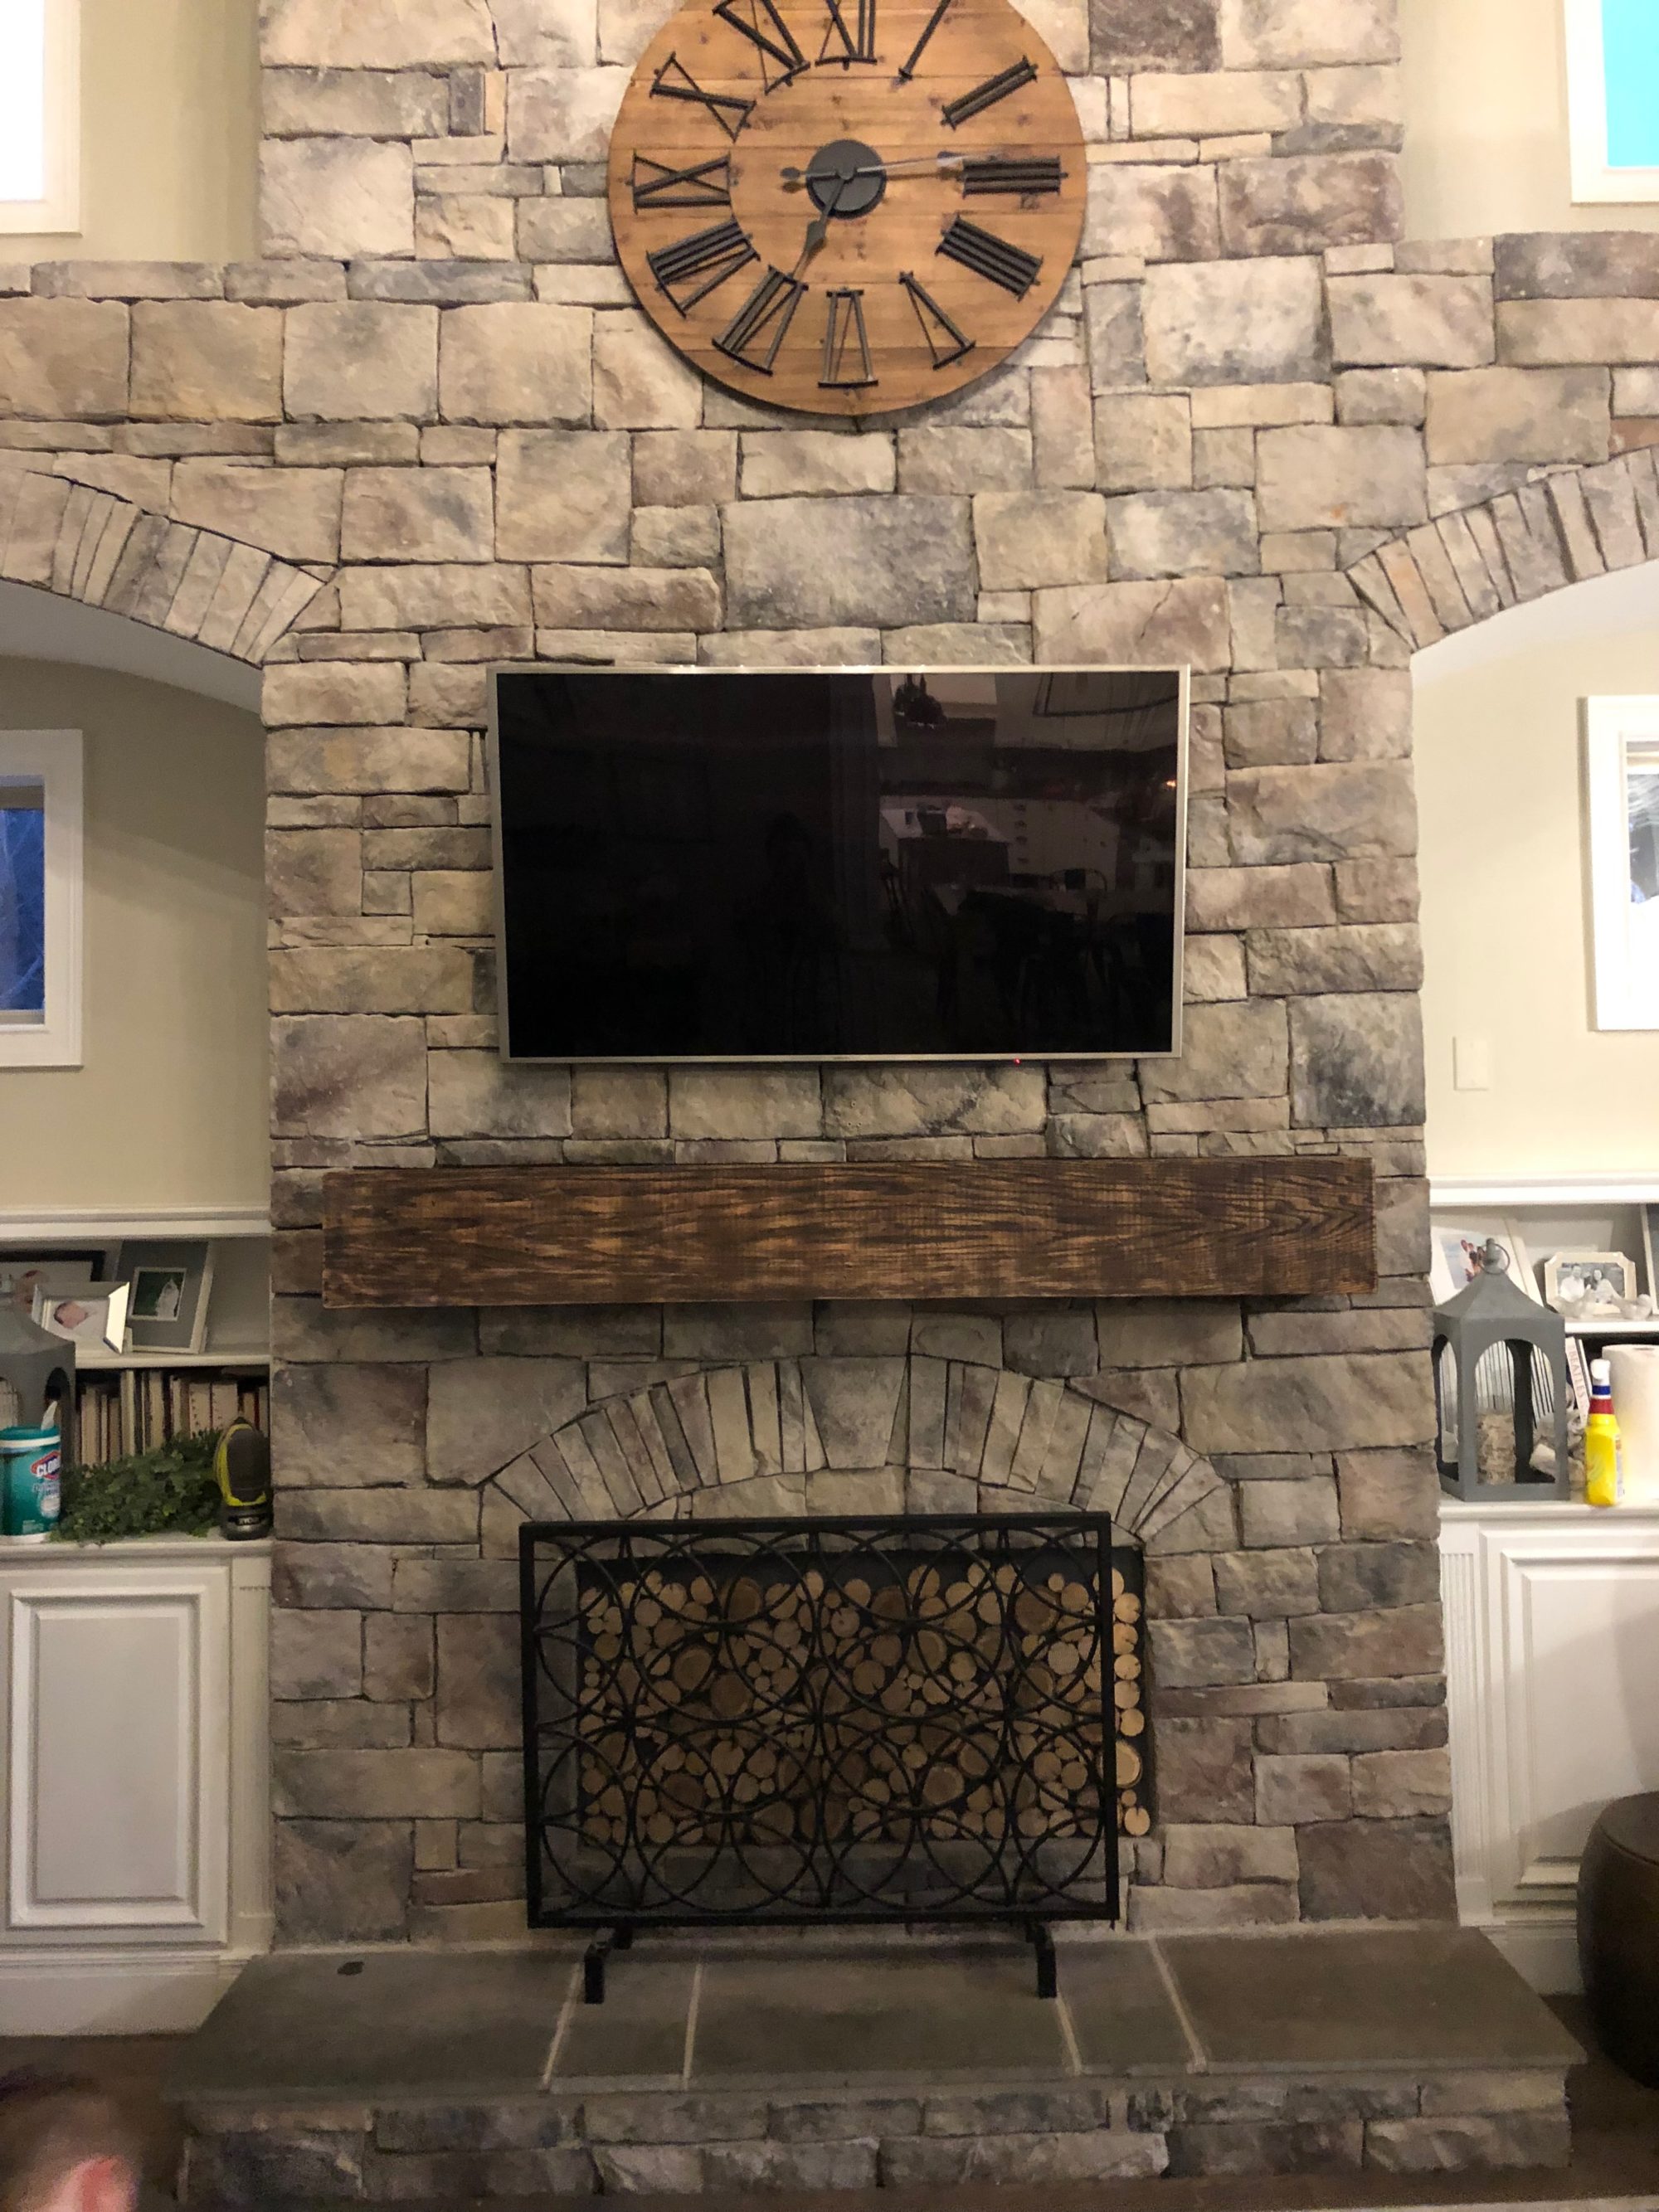
I decided that the color direction that I wanted to go was more gray and with a bit warmer vibes. Less red, more yellow. So I first added some of this Weathered Wood Accelerator to give the mantel more grays and weather it up.
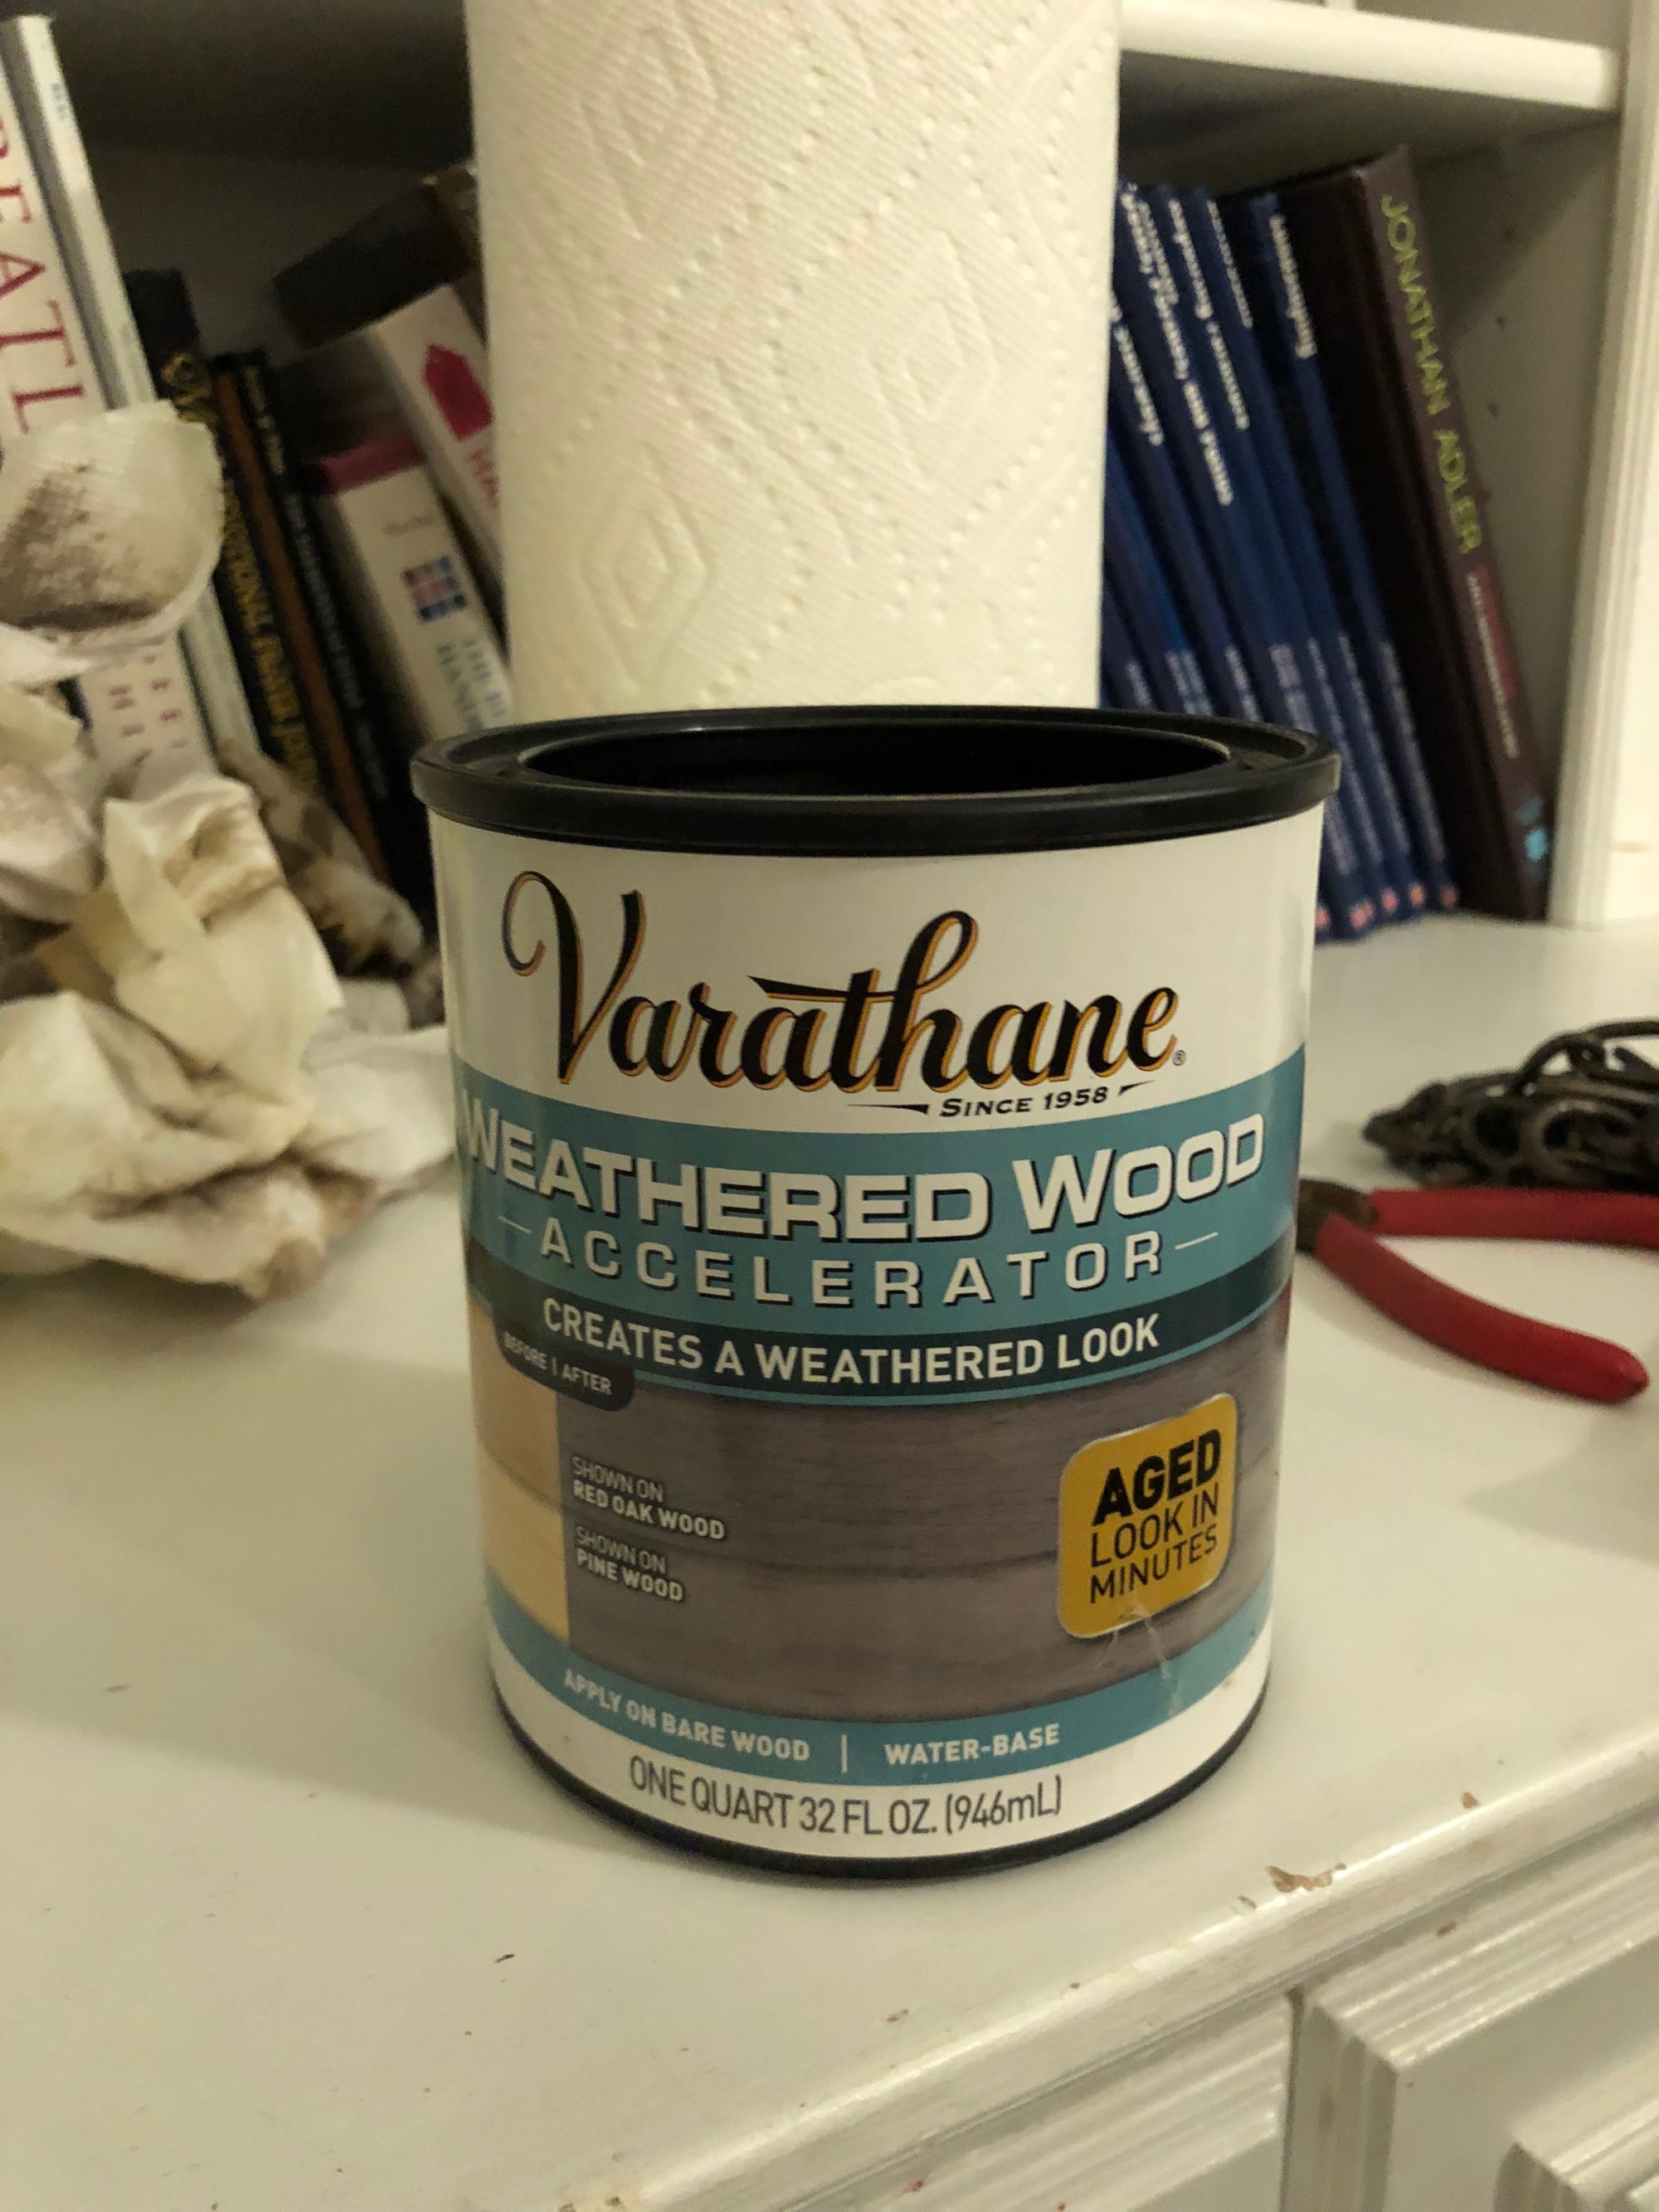
This was my first time using this Varathane product so I didn’t really know what to expect other than what the can said. At first it was just wet looking….
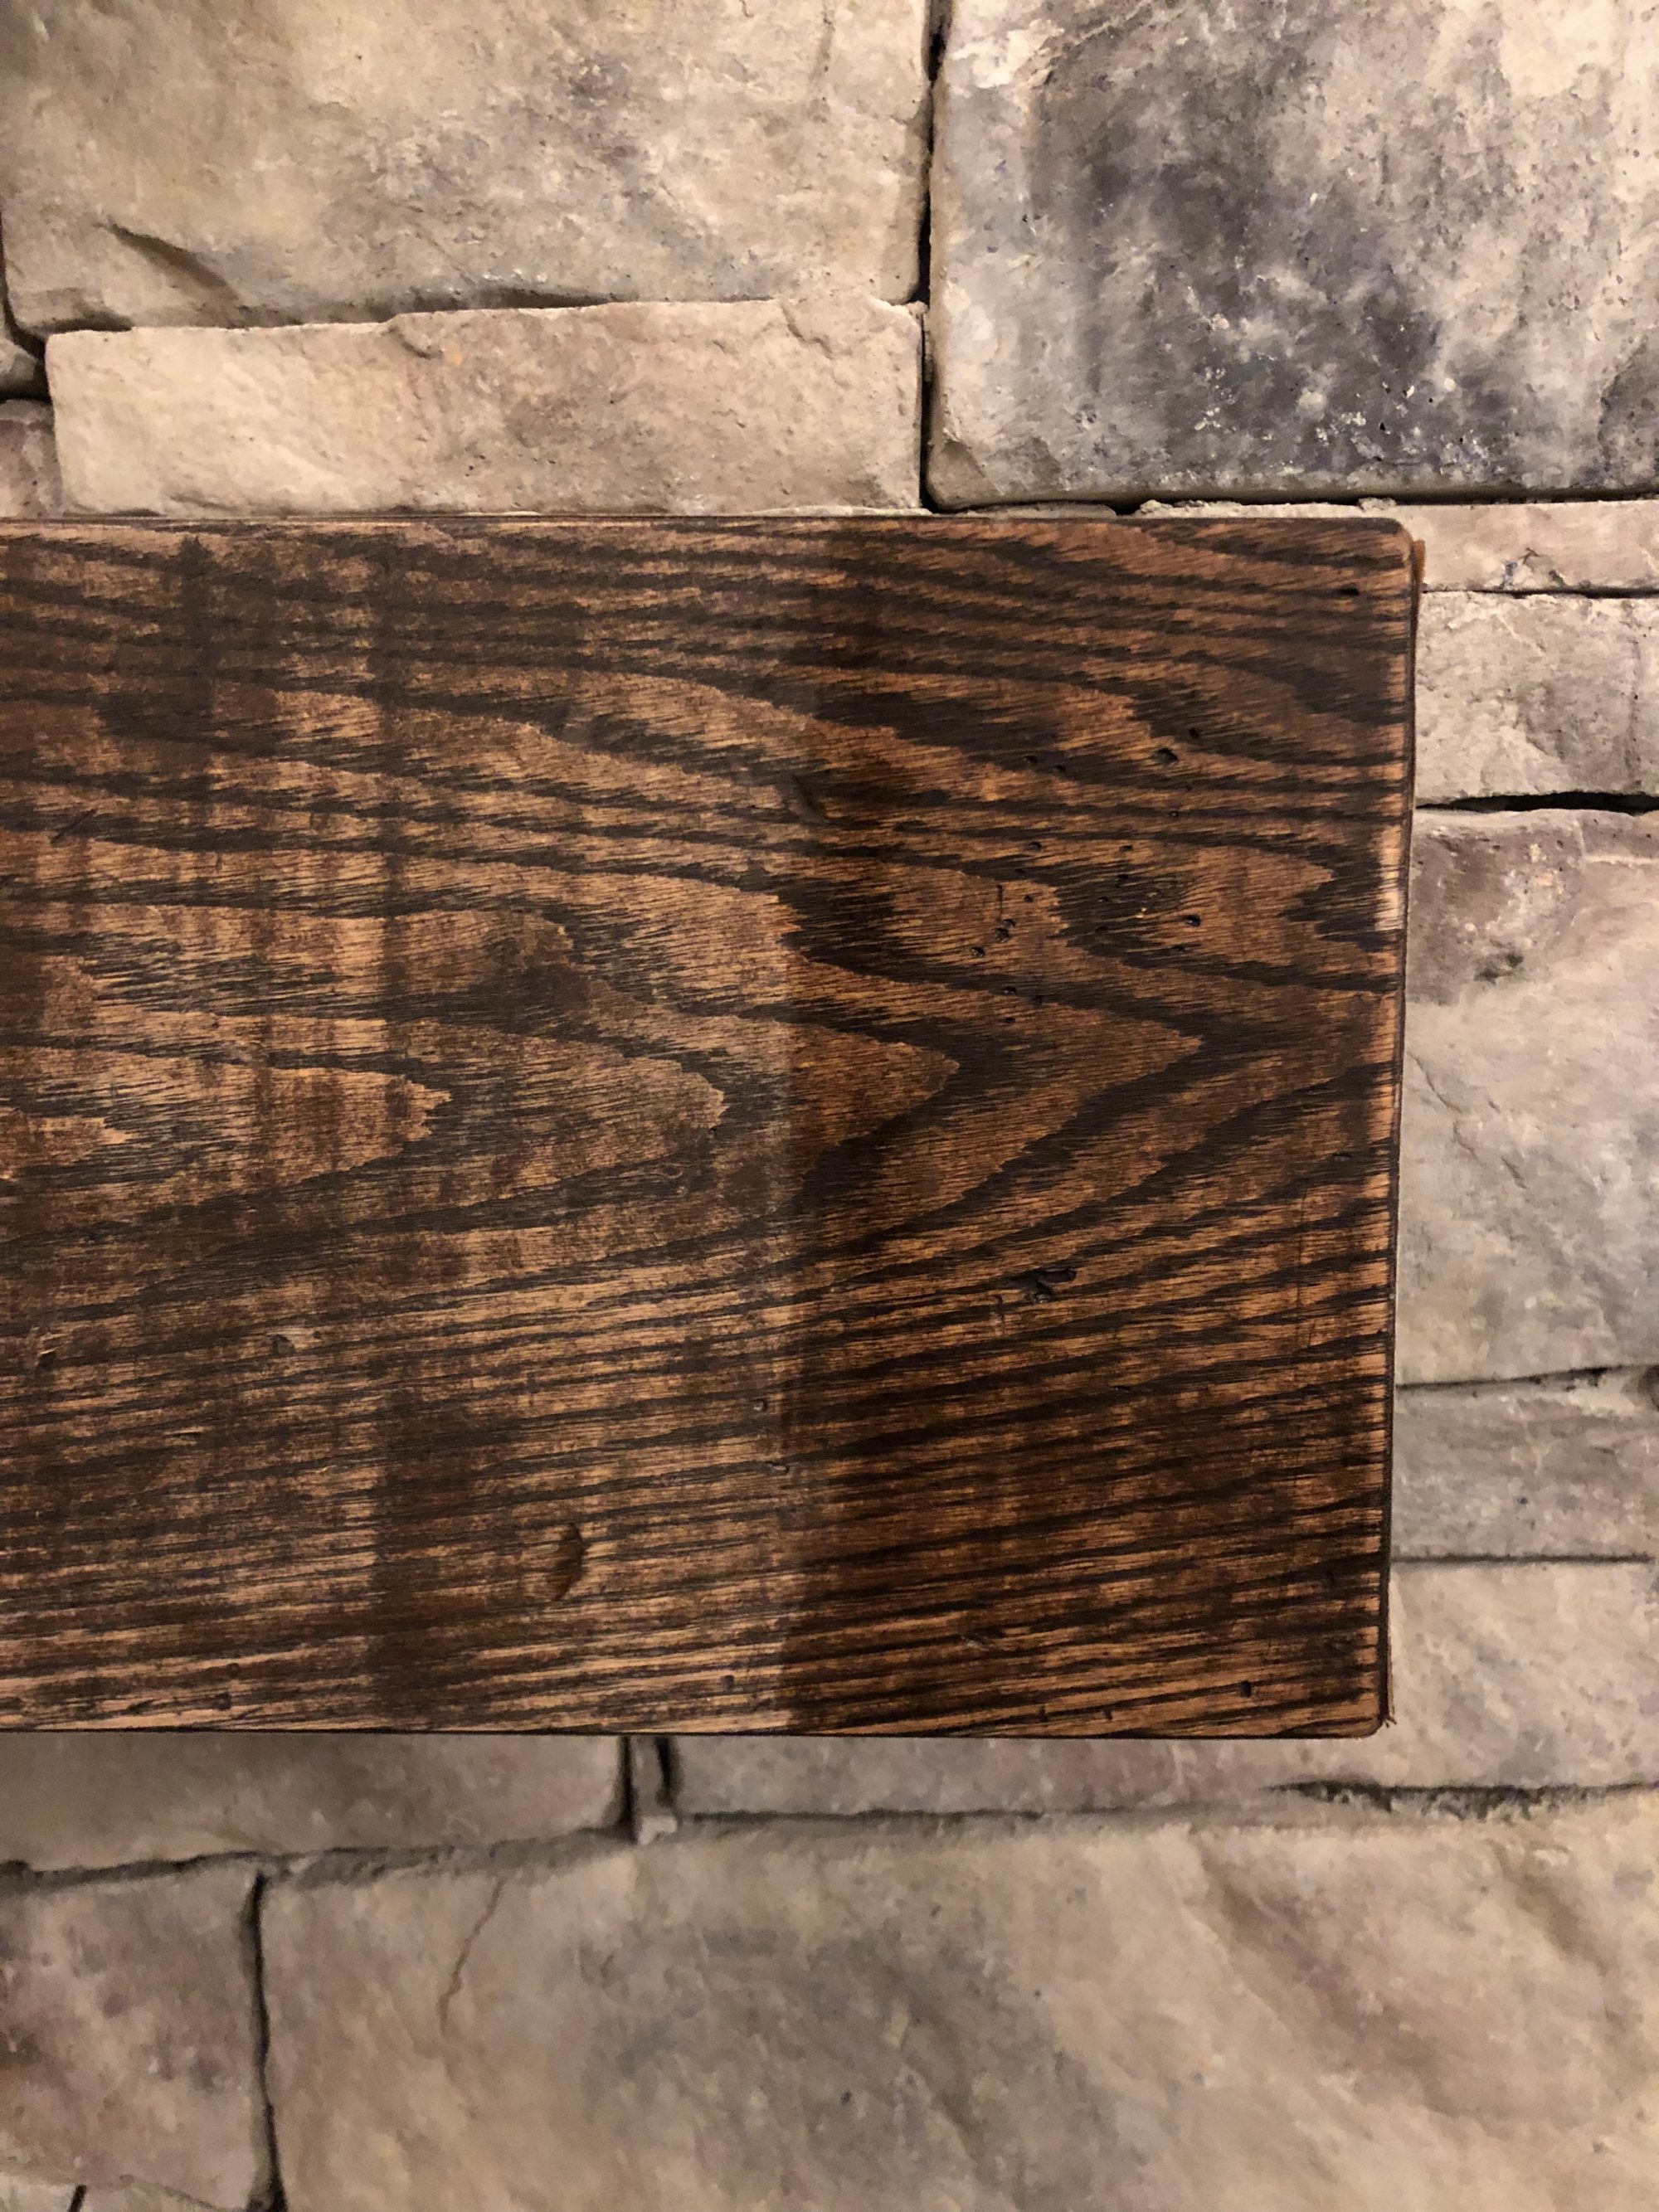
But then as it dried, it definitely added more grays. I waited till the morning to see the look in the light….
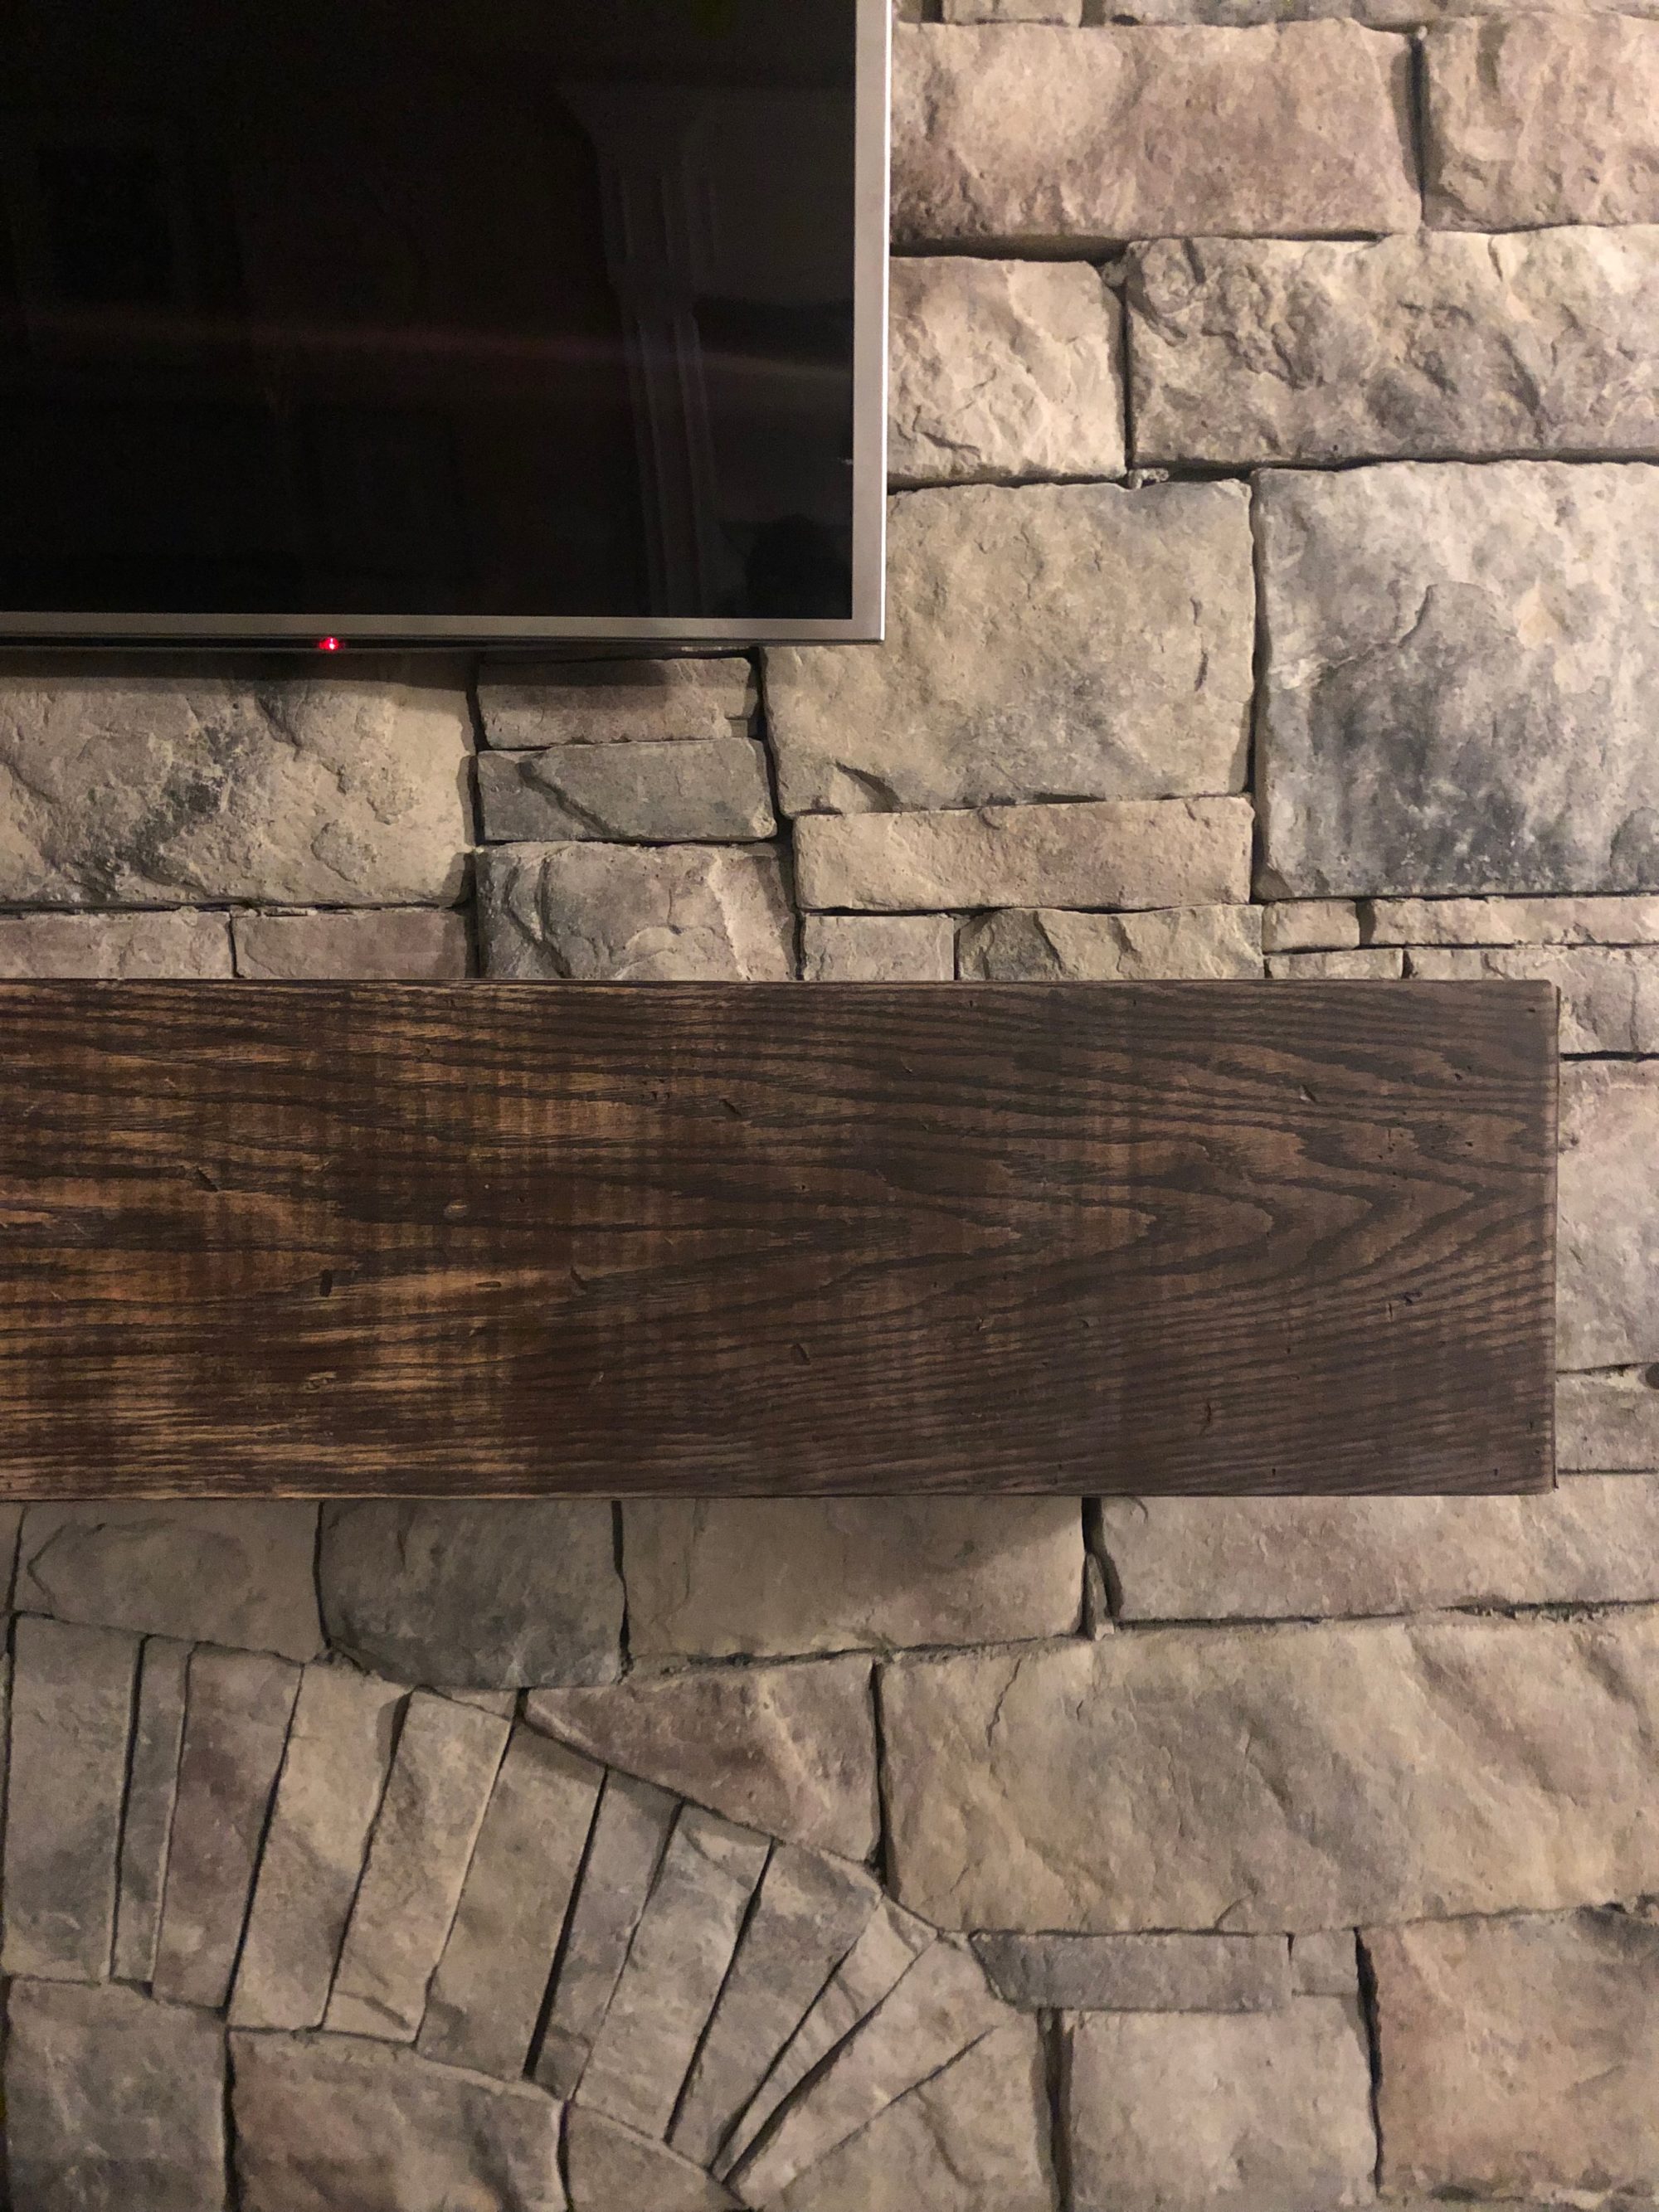
In the morning, I thought the gray looked a little flat so I decided that I should take off some of the gray and add in my yellows.
Step 3 – Sand again.
Step 4 – Add Provincial stain
To add the yellow undertones back onto the wood, I decided to add some provincial stain. I did one quick coat and rubbed off any excess. On the photo below the left side is after I sanded but before I added the Provincial stain. On the right is where I added the stain….
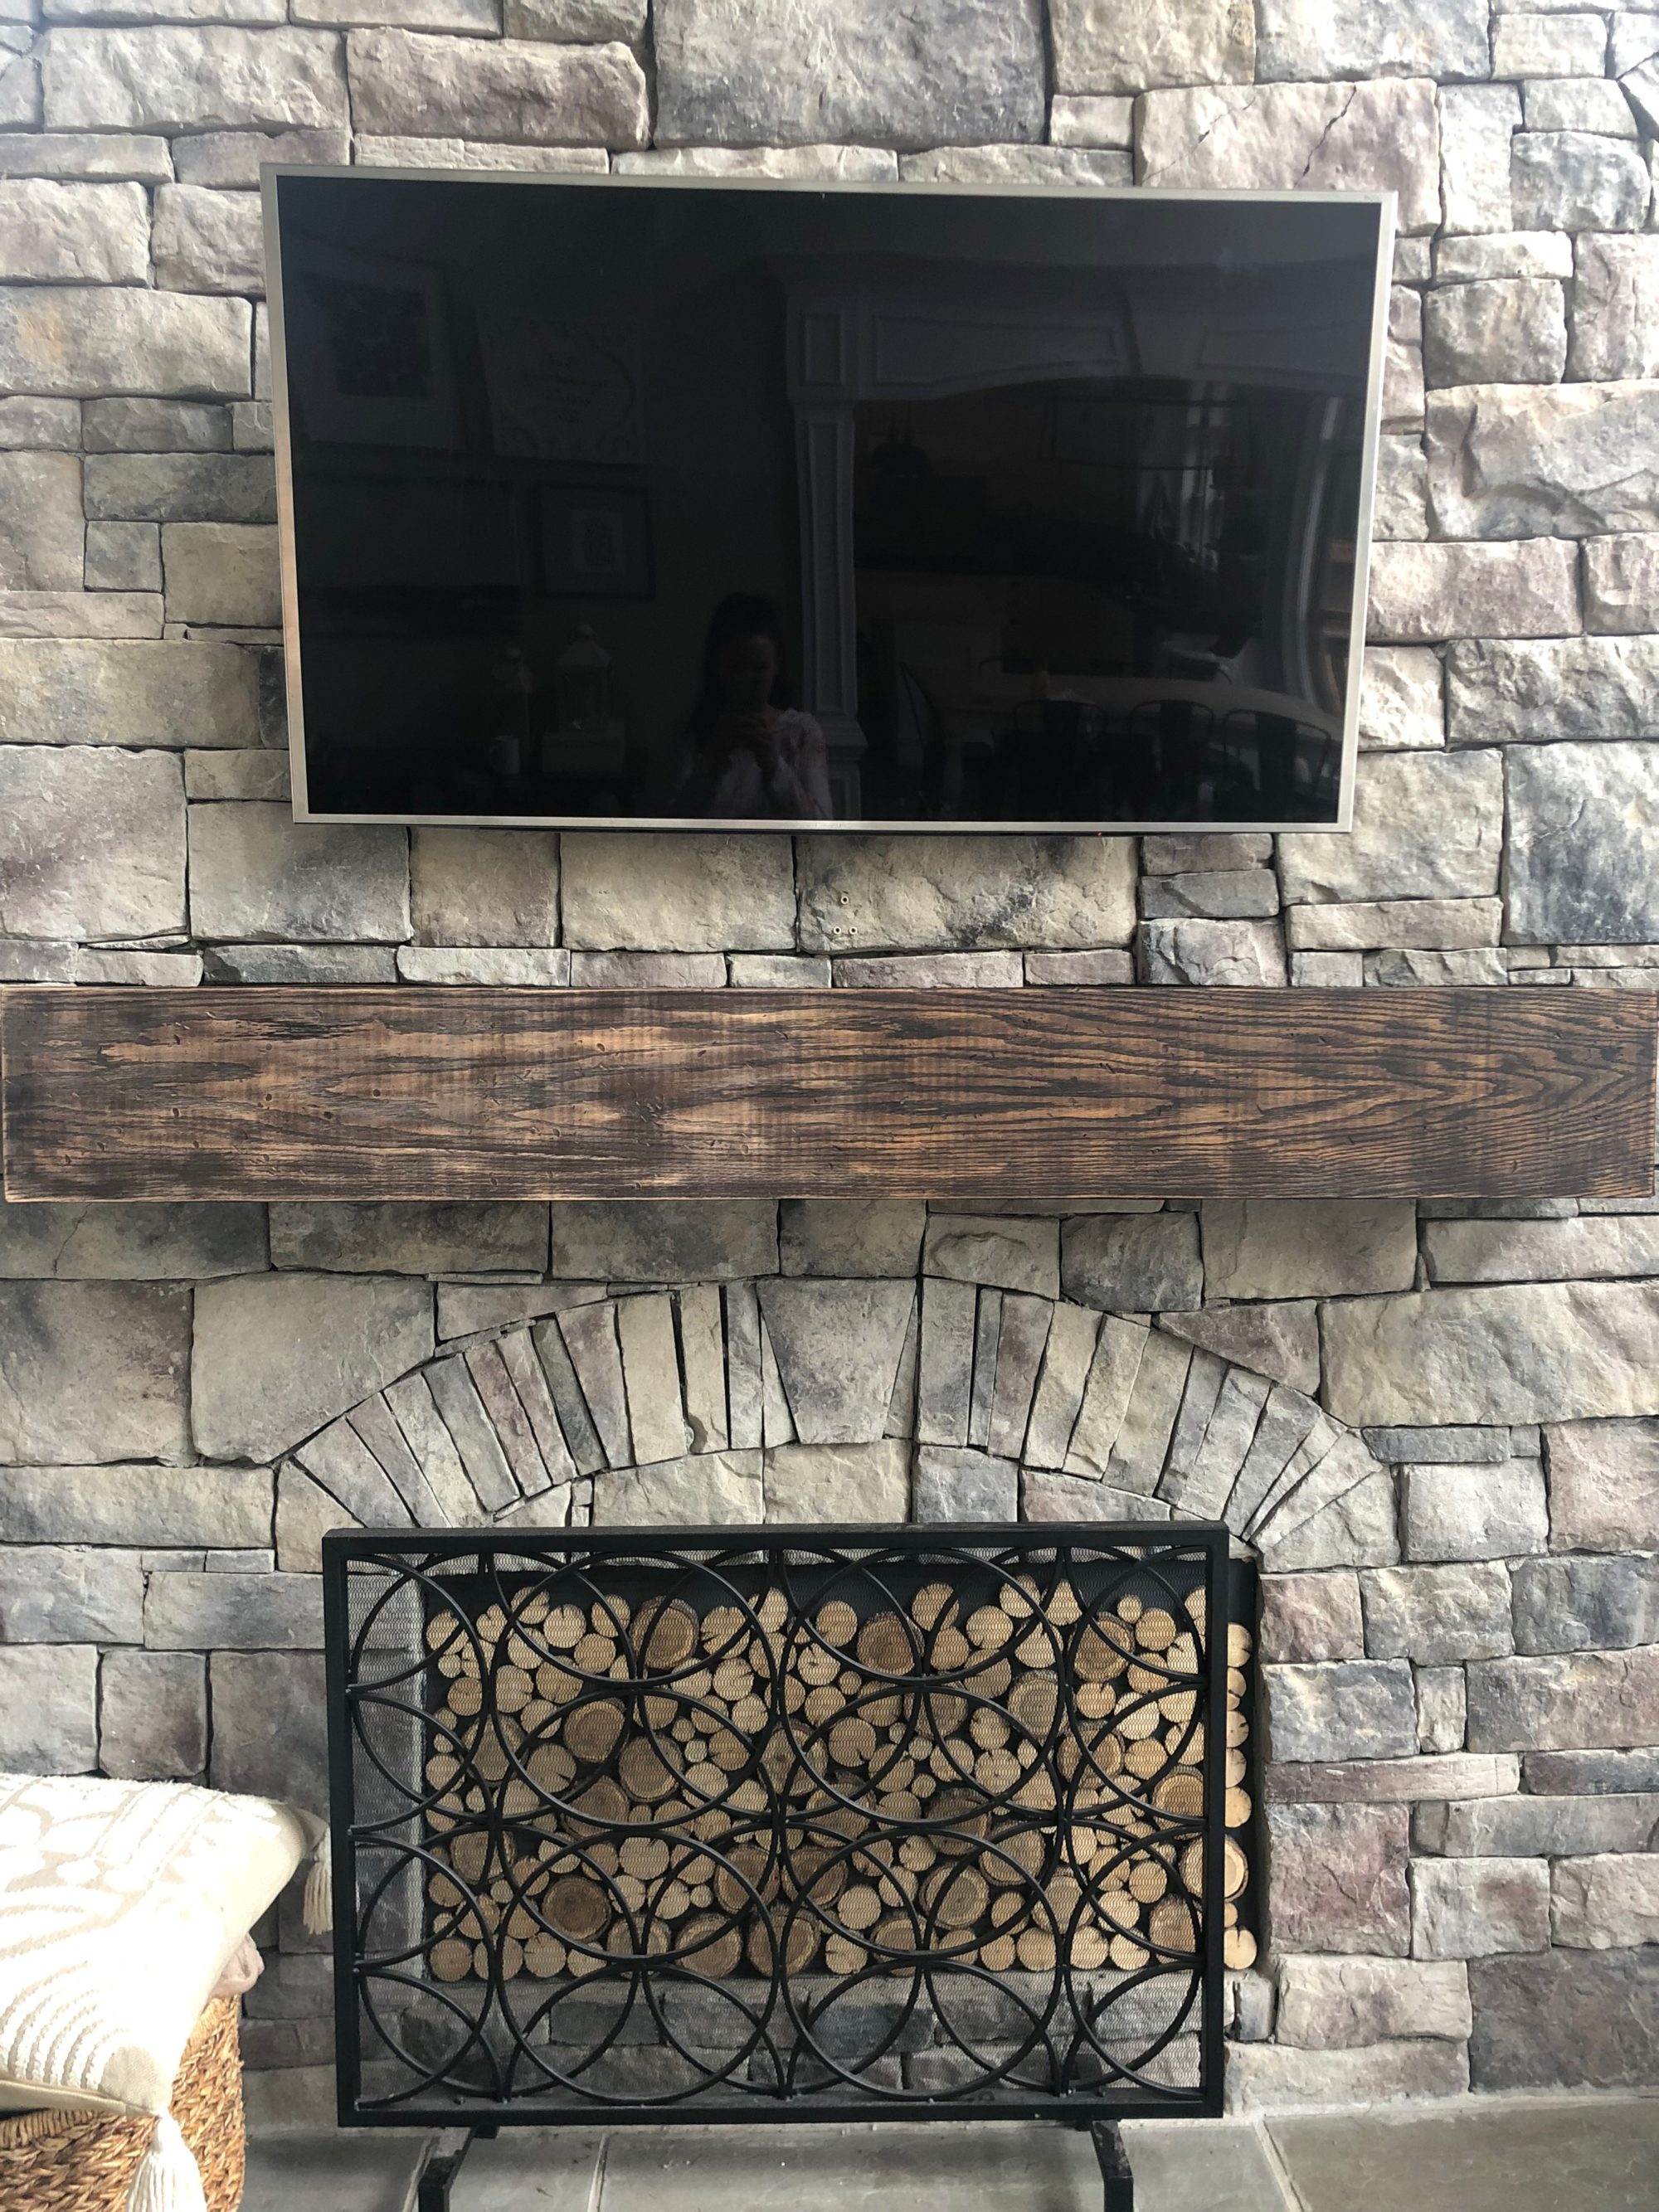
I loved the look but there was one final step missing….more distressing. So once again…
Step 5 – Sand. Again.
This time I took my sanding block and I hit all the corners and edges and added some distressing back into the mantel to give it that worn-over-time look. It was perfect! And in the fits-perfectly way this time
Step 6 – Apply Crystal Clear Poly
For the final coat I added a Crystal Clear poly (this is what I had and it’s like a polycrylic) so that it wouldn’t warm up any more but still have a nice protective finish. I did a matte finish so that didn’t reflect light (that looks too new to me!).
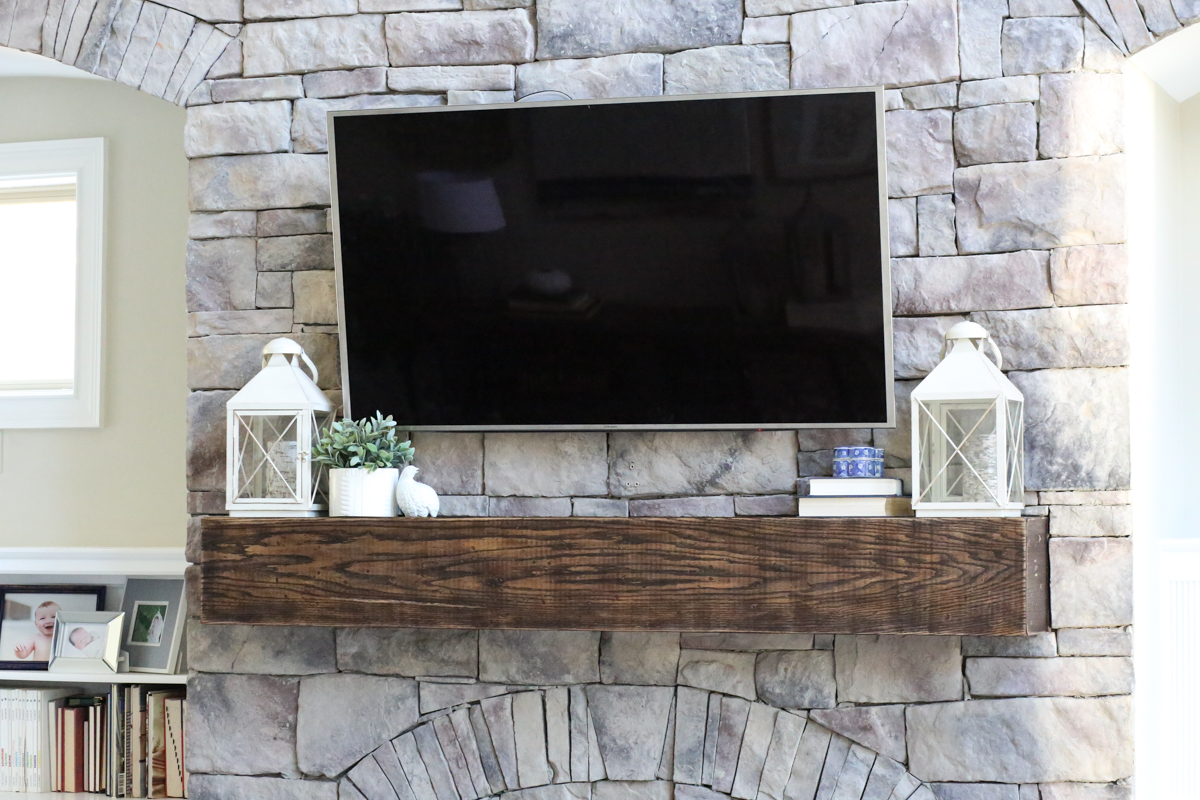
I absolutely love it and I think it plays so nicely with our leather recliners.
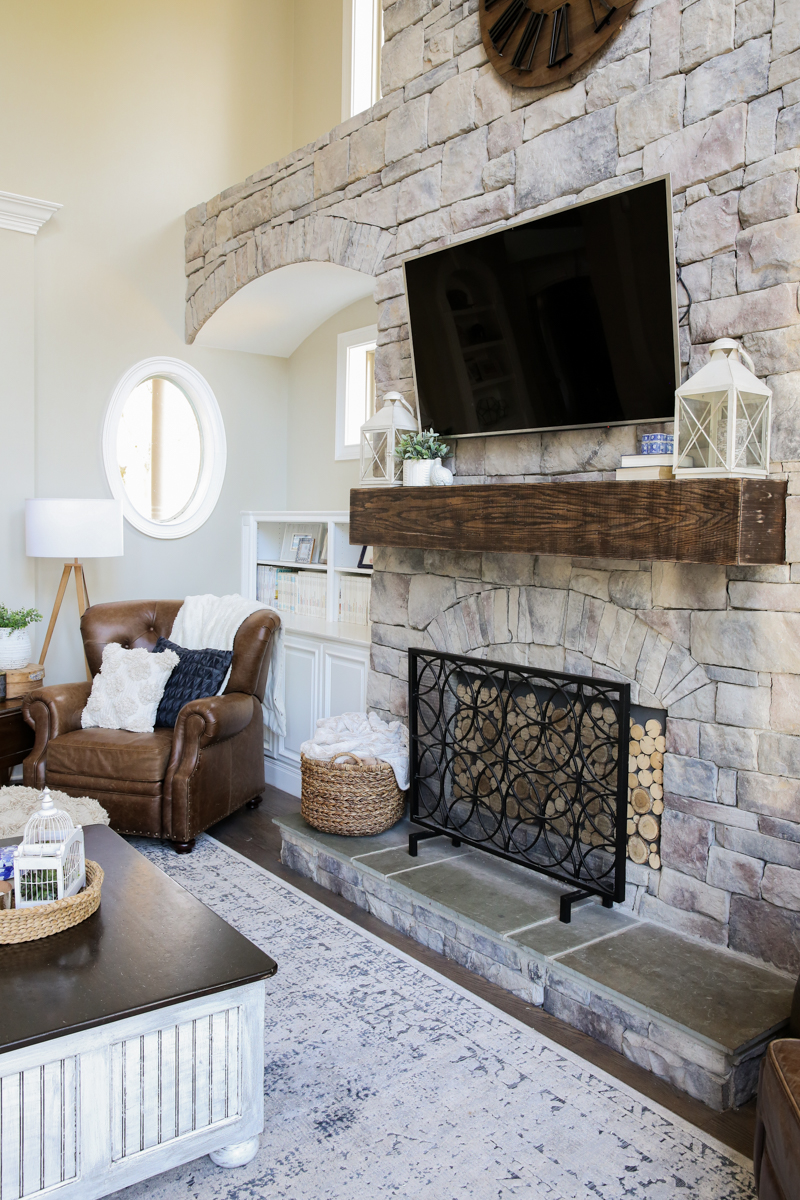
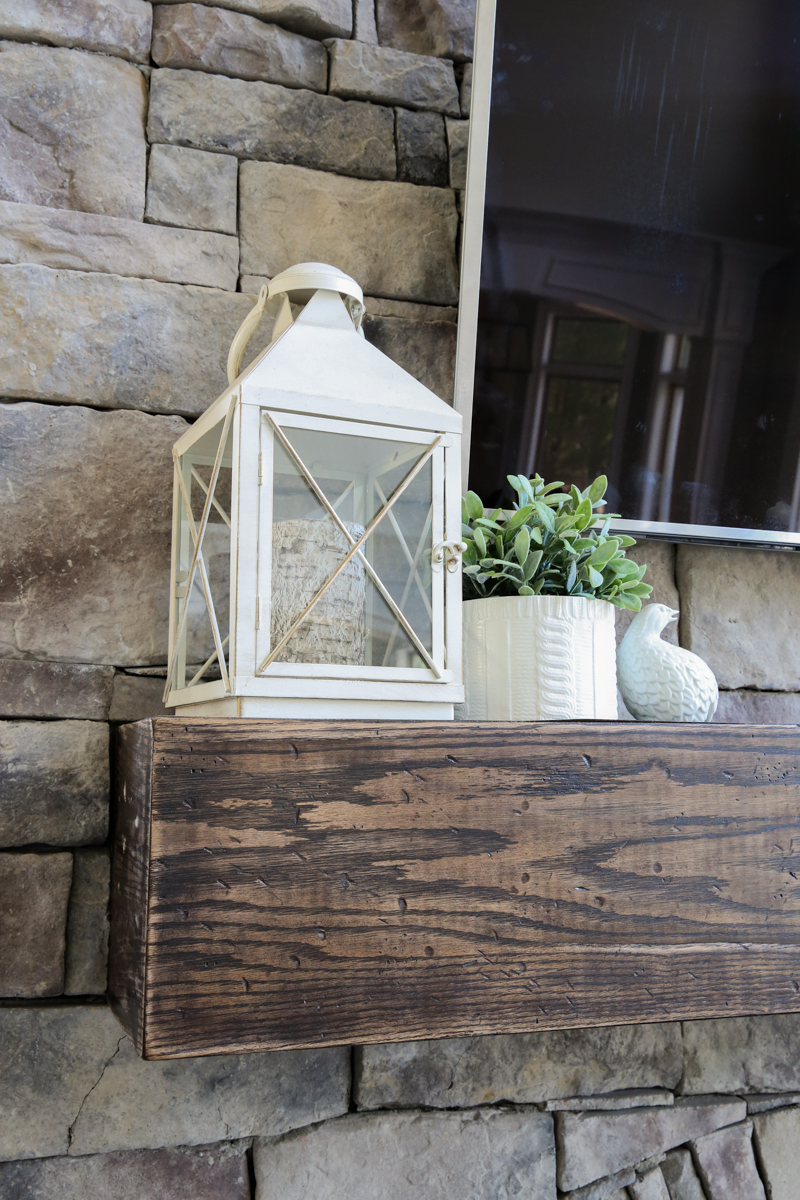
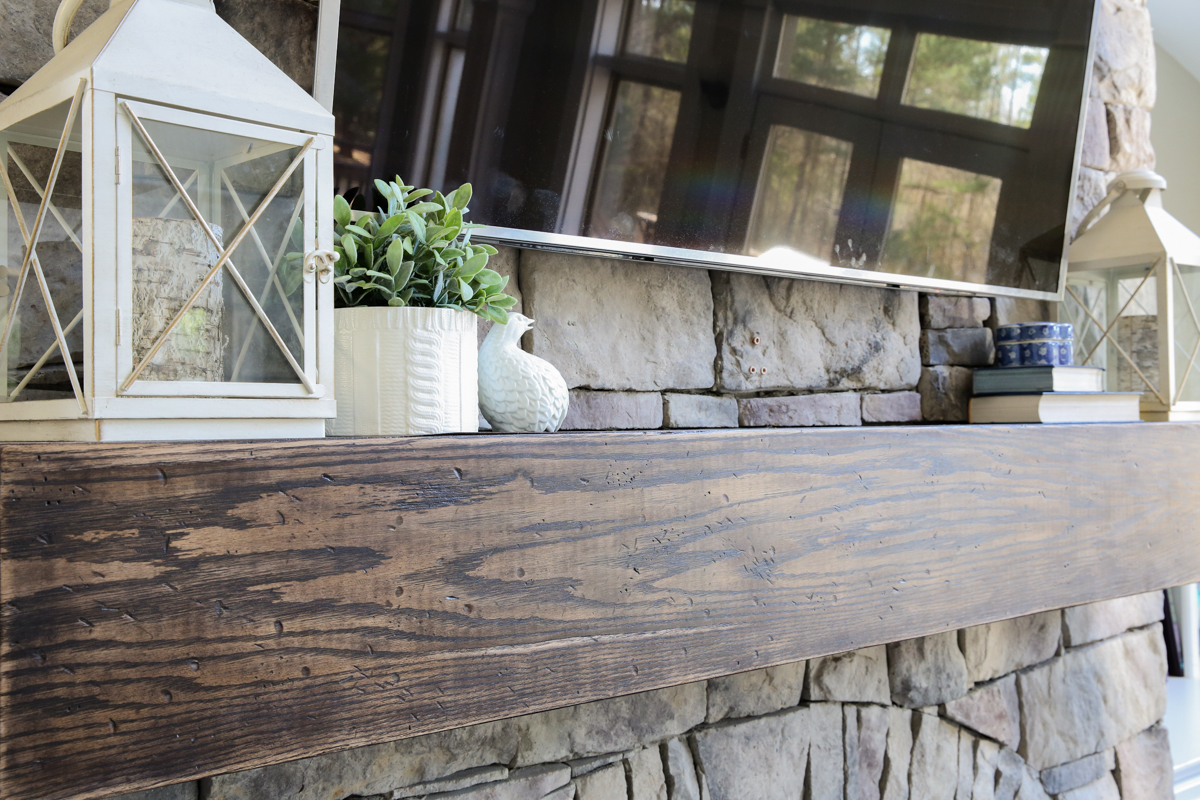
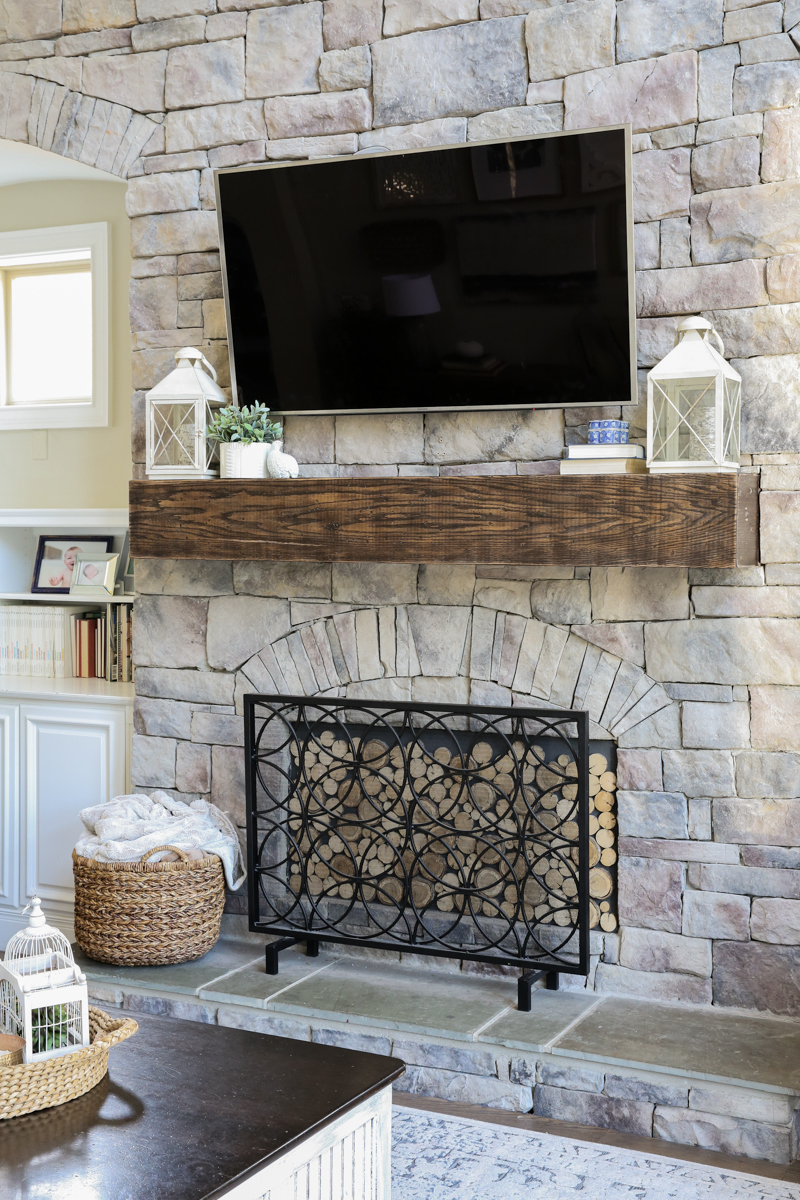
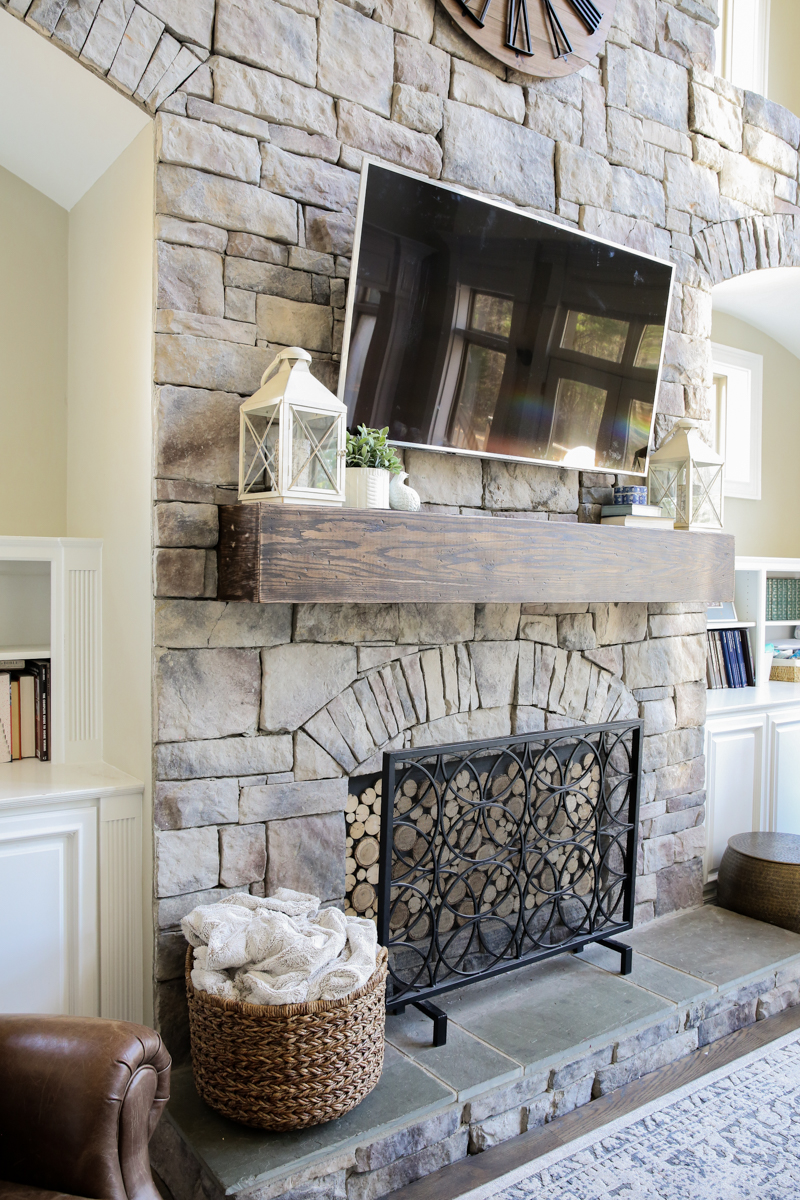
And now for the before and after…..
BEFORE

AFTER

It’s a subtle change to be sure (my mom didn’t even notice the change until I pointed it out and that mama of mine notices 99% of the home changes I make!) but one that I think works really well in our home. It doesn’t just go nicely with our chairs but it also blends a little nicer with the floors.
And speaking of fireplace….I think I want to make a few other subtle changes. I have never really LOVED the stone (I know I should but the heart wants what it wants) and I think I might do some research on how to change the color of them a bit. The pink undertones drive me nuts and I would just want something that goes better with our coastal tendencies. That being said – I have been exploring in photo shop ways to lighten the stones up and make them more light gray….
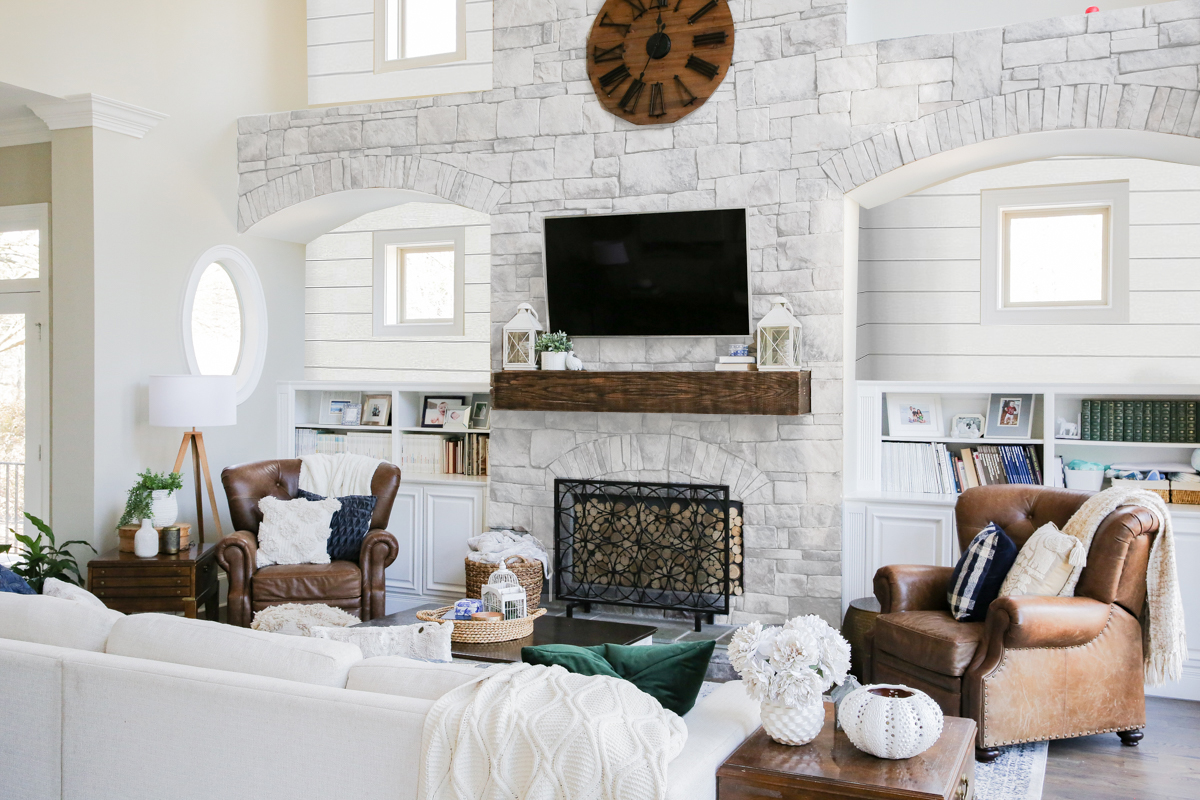
Also did you notice the shiplap above the built ins? I think this is definite MUST-DO. All that being said – I also need to redo those side tables and build the coffee table already! Also – what do you guys think of doors on the shelving? I think I’m over the exposed books and picture frames :/ The list is growing….not shrinking….oops.
QUICK LINKS
