We are fairly experienced when it comes to trying different types of flooring. We don’t install floors everyday but we have done our fair share of different types. In the past we have installed tile, hardwood floors, engineered hardwoods, and laminate planks. But one thing that is relatively new to the DIY world at large is Luxury Vinyl Plank (called LVP) and I was really excited to get my grubby hands on it! In my closet, we were removing the carpet to have a cleaner and updated look and I thought that it would be definitely worth checking out as an option. I am so glad we did because now I’m obsessed. OBSESSED.
If you are looking for more information on LVP, here is an article about our specific type that we purchased and it walks you through all the pros and cons of this product. It looks like wood, is ridiculously easy to install, is waterproof, and so easy to clean. Oh and did I mention that it’s affordable and virtually indestructible? Sounds like a winner to me! But I’m not here to convince you to try LVP….I want to talk installation.
Today I wanted to share with you tips on how to install luxury vinyl plank flooring and how we did it in our own space.
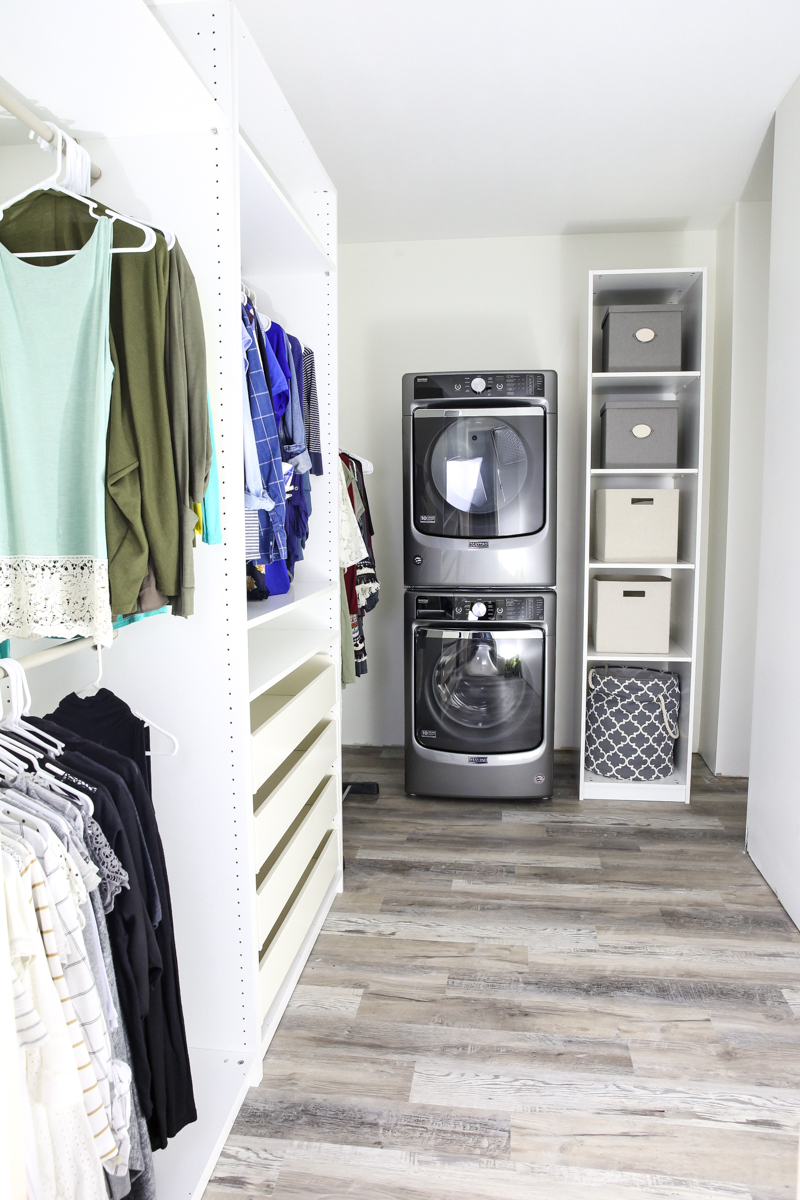
OUR CHOICE
I heard about Luxury Vinyl Plank flooring over a year ago but I never saw it in action until this past year when my sister and brother in law installed it in their basement. They are finishing their space down there and it is looking amazing. I hope to get to share it once it is done. The flooring looked so easy to install and they literally had no prep required! After a little research, I heard that some LVP has VOCs (no good) and so after I did some research, I found that I had nothing to worry about with Duralox. The brand is exclusive to Floor & Decor (one of our very favorite places to get tile!) so I headed over there and picked out this beauty. It’s called Highland Gray Salvage by Duralox Performance. It was $2.59 per square foot.
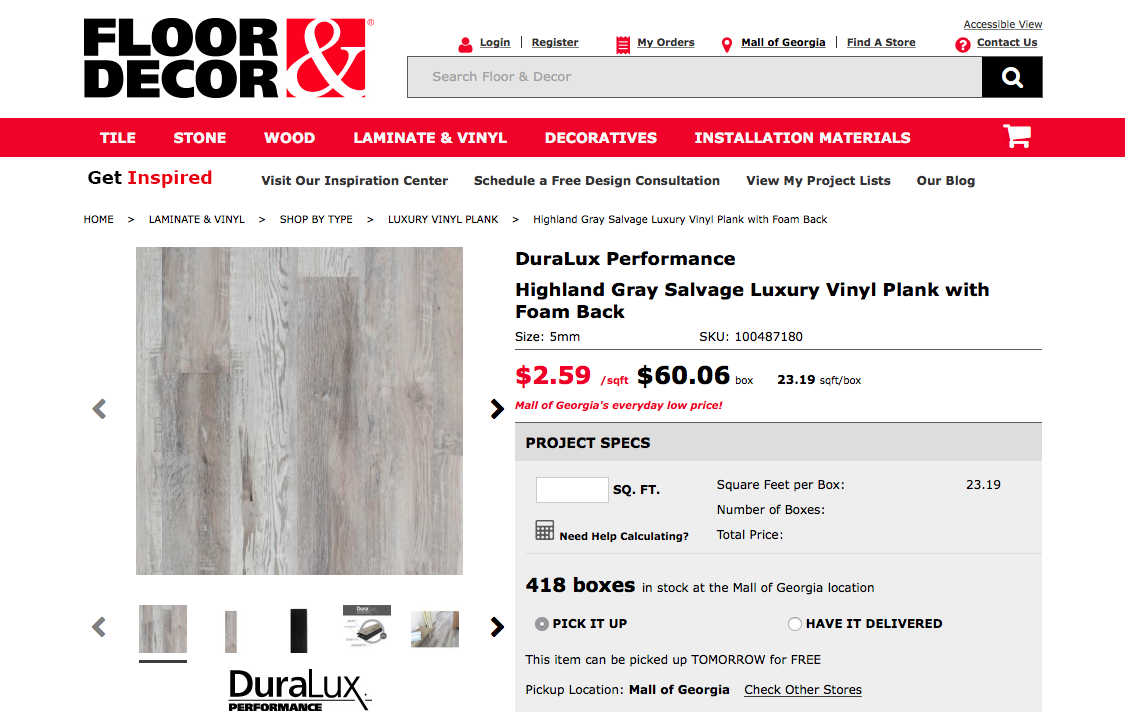
It has a lot of veining and variation which would be perfect for add personality. It’s also got warm and gray undertones so that works beautifully with the adjoining carpet.
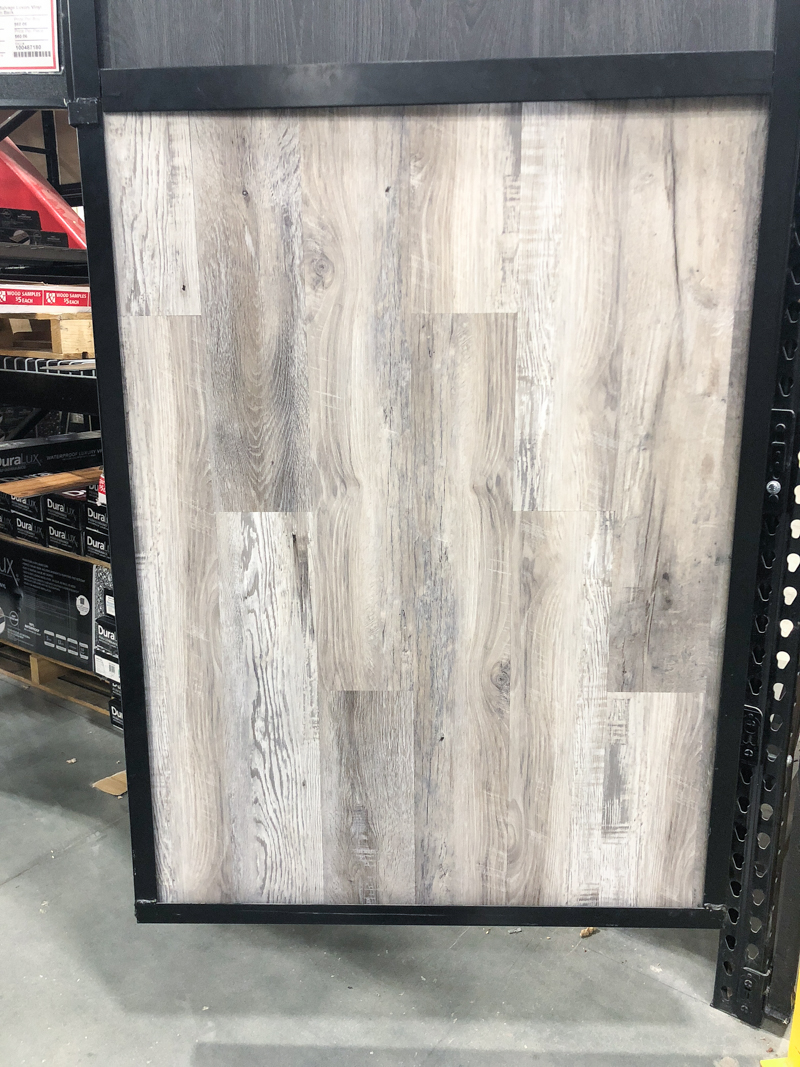
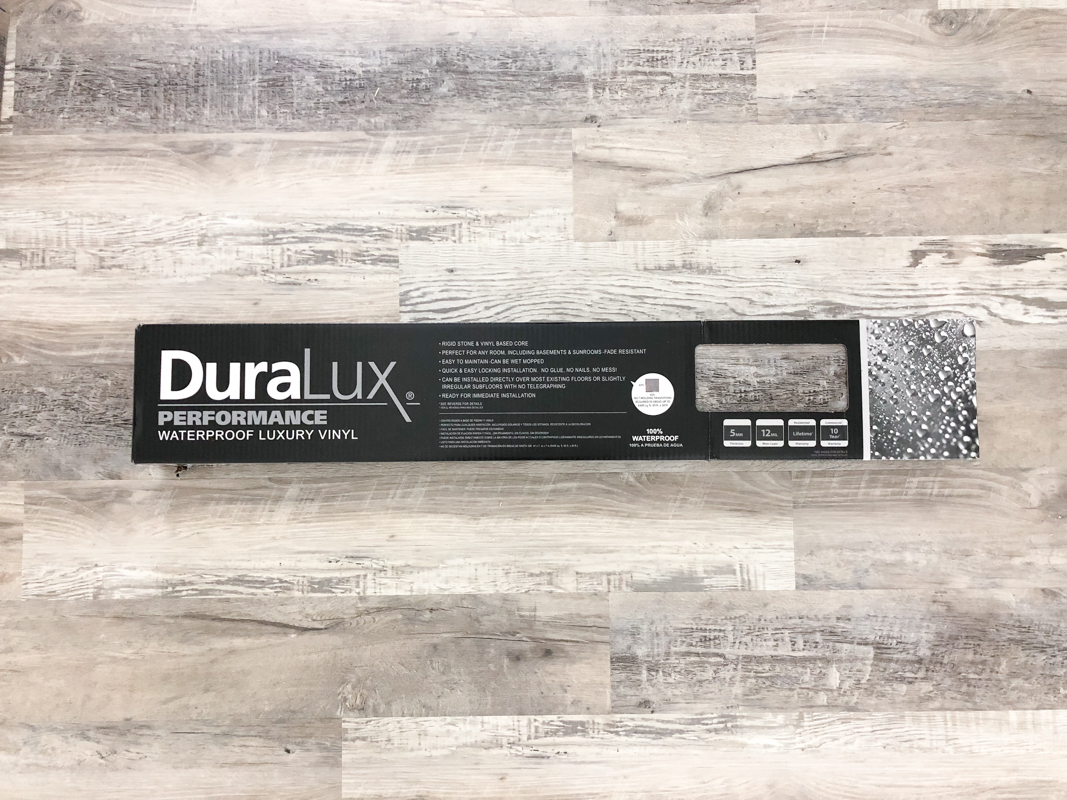
The other reason I choice this specific one was because it has a foam back. Most of the LVP has either foam or cork backing and this one specifically said that it can be installed directly over slightly irregular subflooring (which is exactly what we had!). That was just a perk because honestly I loved the color so much, I wouldn’t have changed my mind.
PREP YOUR SUBFLOOR
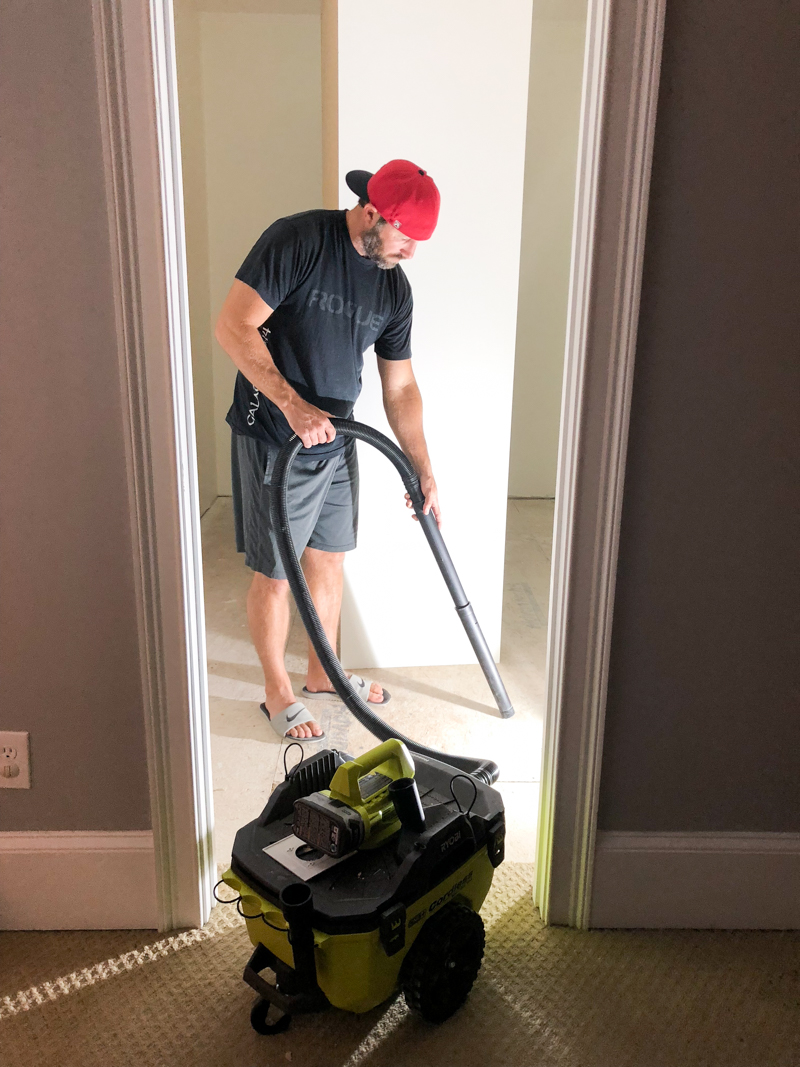
For our flooring, we had to remove the existing carpeting and clean everything. I wrote an entire post about that process here.
PICK YOUR STARTING POINT
I knew that our starting point would be the doorway to the closet but in case you are not certain, here are a few tips. First decide which direction your flooring will run. Also, you can choose which wall to go off of. Remember that all walls are not square so allow yourself some margin. It’s a good idea to do a dry run of where the planks would lay and if they run on the same seam as your subfloor, you may want to alter your plan. Speaking of subfloor, any squeaks (aka baby-waker-uppers) should be taken care of while it is exposed….you would hate to lay the flooring and then realize that each footstep is louder than a three year old. And we all know those can be LOUD.
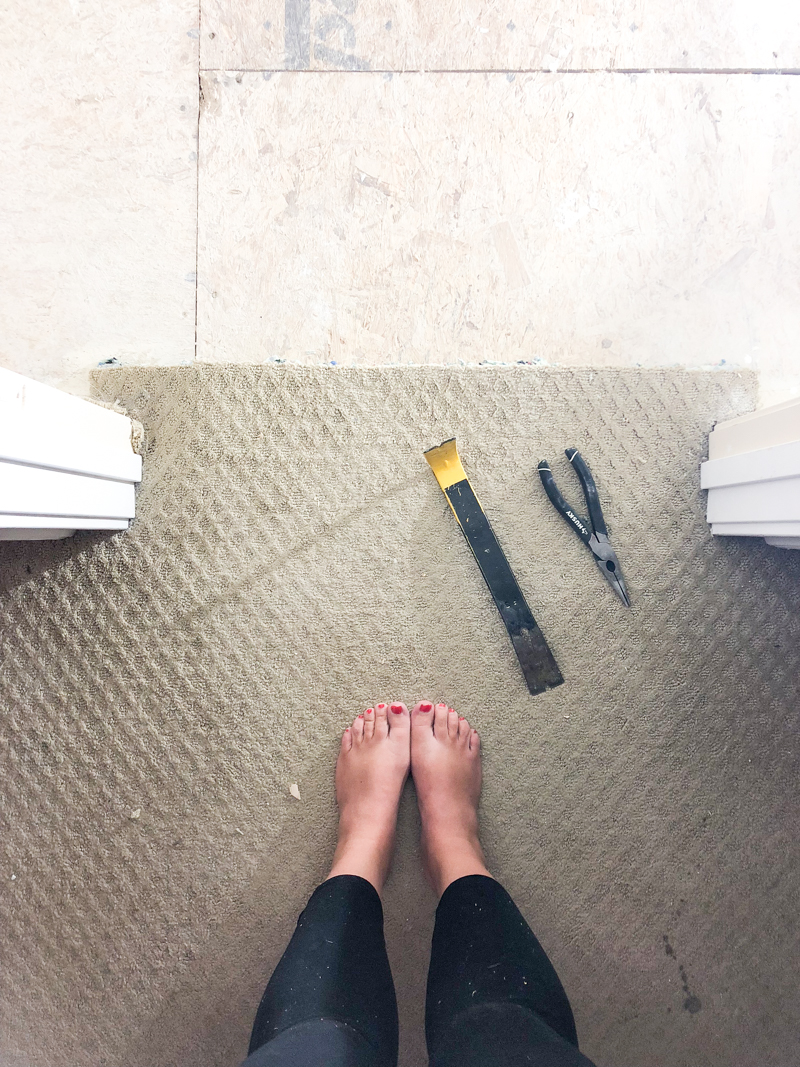
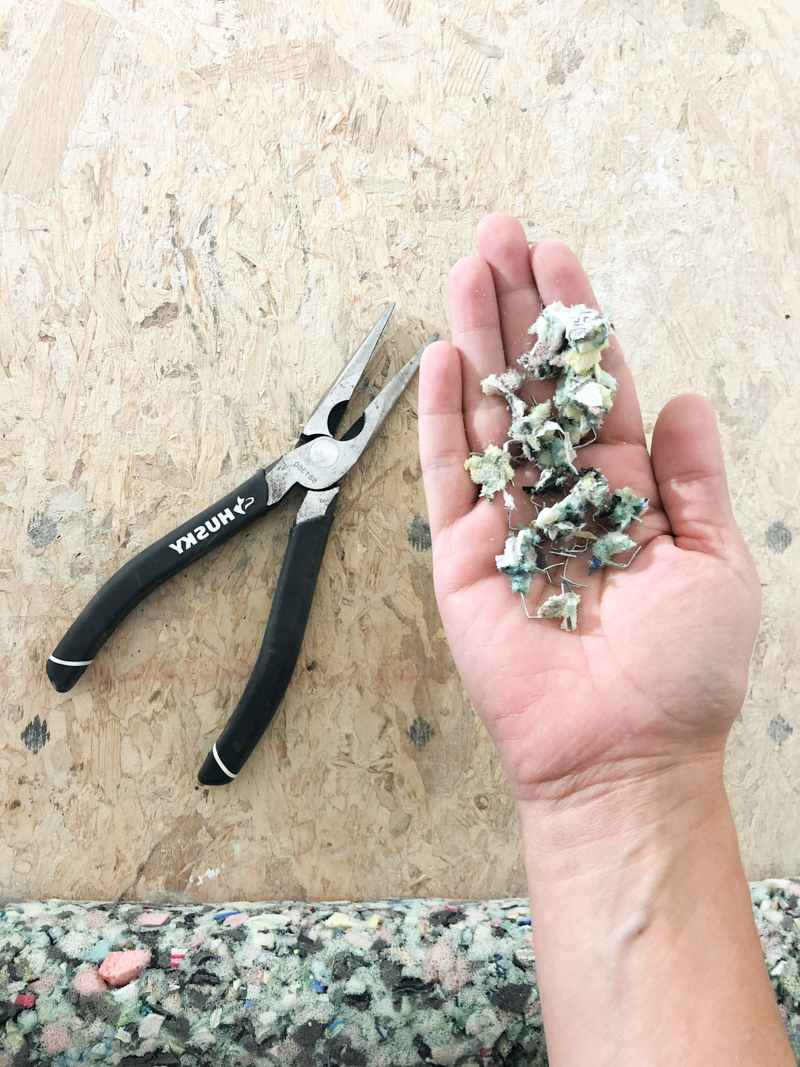
Also the floor doesn’t have to be perfectly smooth but it is a very good idea to remove any staples or protruding nails from the subfloor. It will make installation so much easier.
GET SUPPLIES
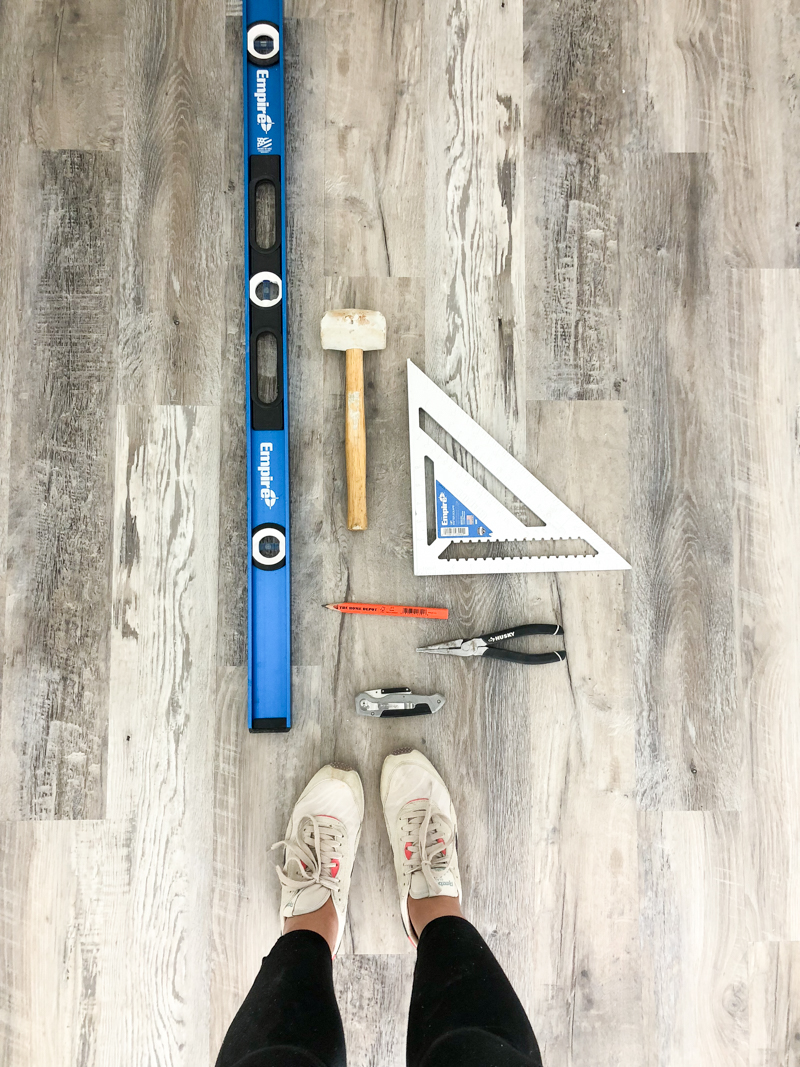
You will need a straight edge, a pencil, a rubber mallet, a razor, a pair of needle nose pliers and a triangle. It is also really helpful to have a table saw for ripping boards down but you can totally get away with doing it with the pliers and razor – so if you can’t afford it or borrow one, don’t sweat it.
LAY OUT THE PATTERNS
In our particular type of LVP the planks had different patterns. Some were darker, some lighter, some with knots, some with long faux cracks, etc. The point in laying this floor out first is to be able to pick the next pattern to make it look natural and evenly balanced. You don’t want all the same pattern together. You also don’t want light or dark bits that look awkward. Picking the next plank in your configuration is the HARDEST part of the installation process. It’s good to lay them all out and sort according to the type so you can see how you must mix them altogether for the most natural look.
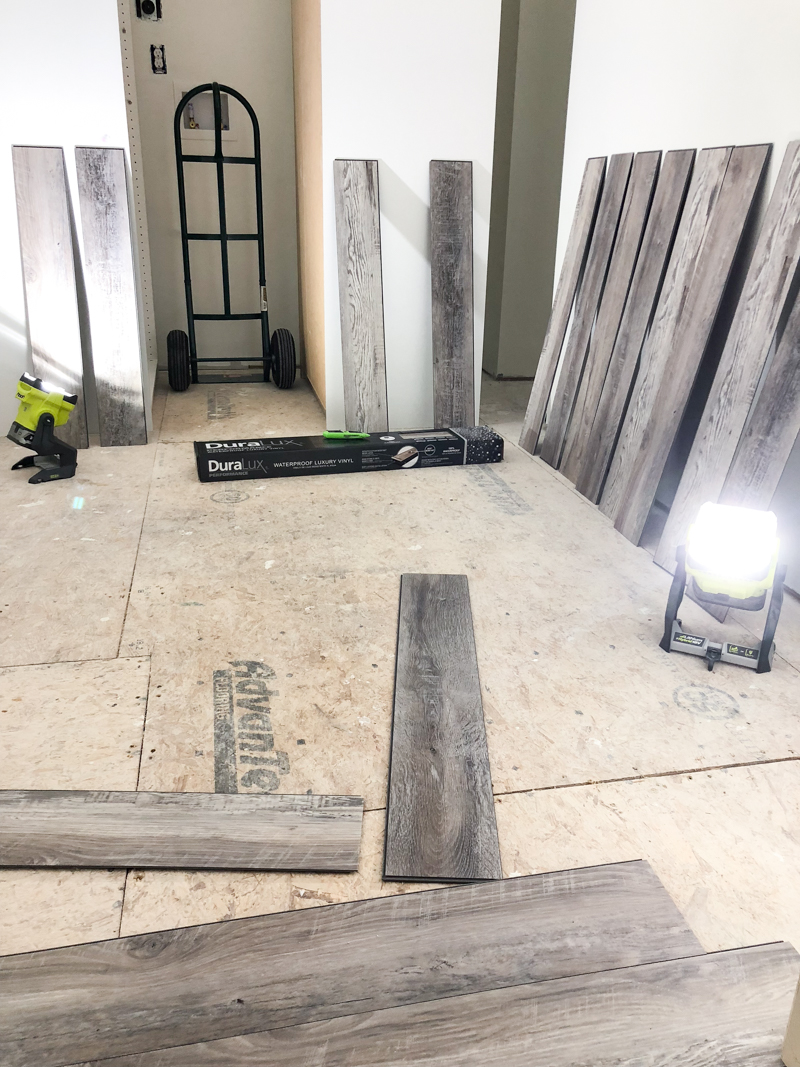
PICK YOUR FIRST LVP
The first one is the starting point for your pattern and for the rest of your flooring. We decided to lay ours perpendicular to the length of the closet and wanted the doorway to open to a single solid piece.
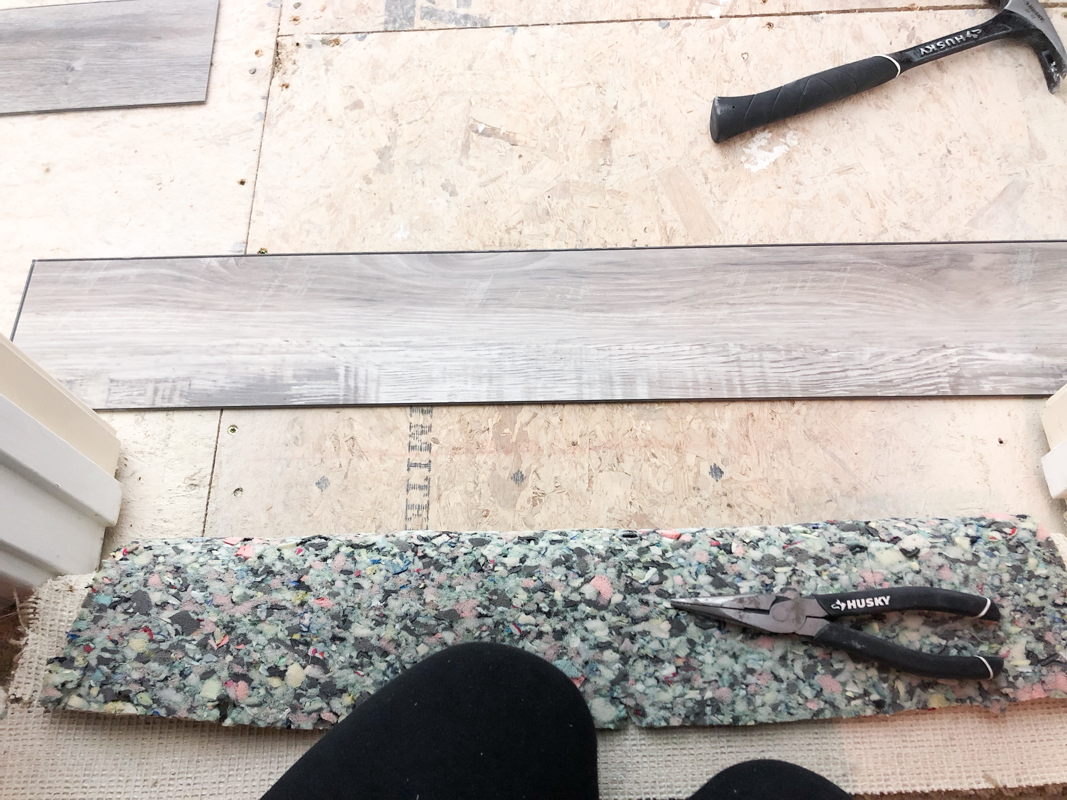
When we laid the first piece, it meant measuring on the left and cutting that piece to length so that the middle piece was perfectly centered.
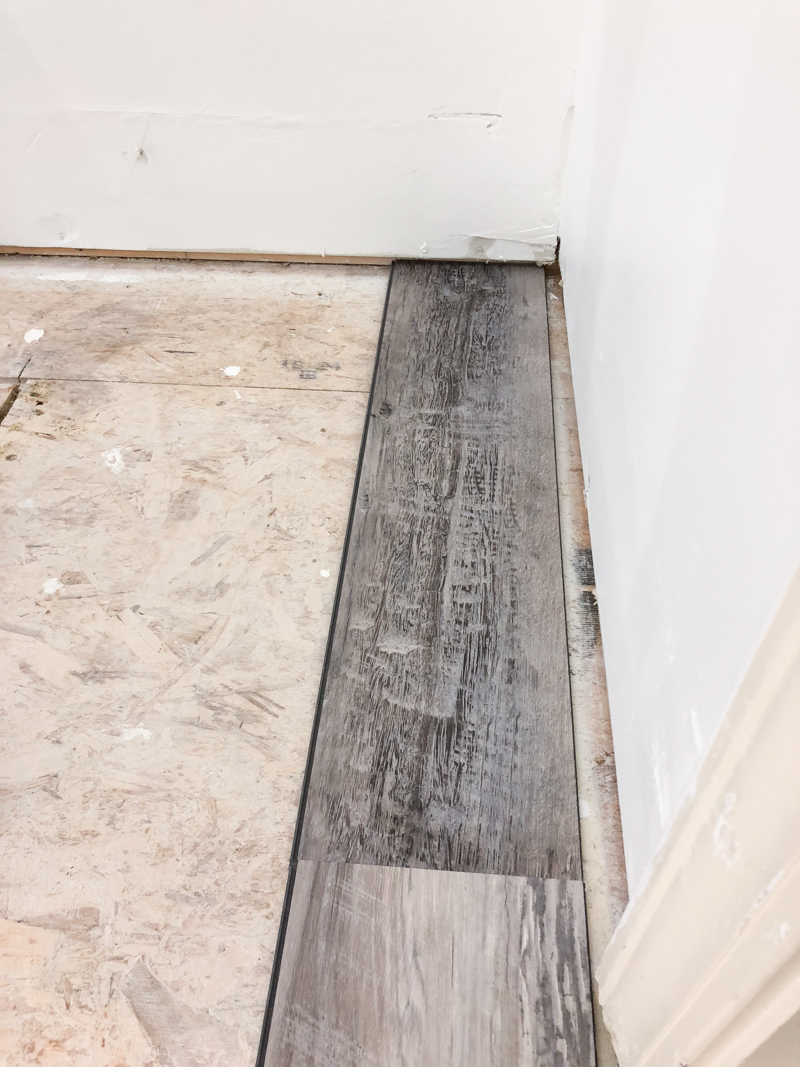
After laying the left corner piece and the center piece, the remainder was measured and we popped the third piece in place so that our first row was complete.
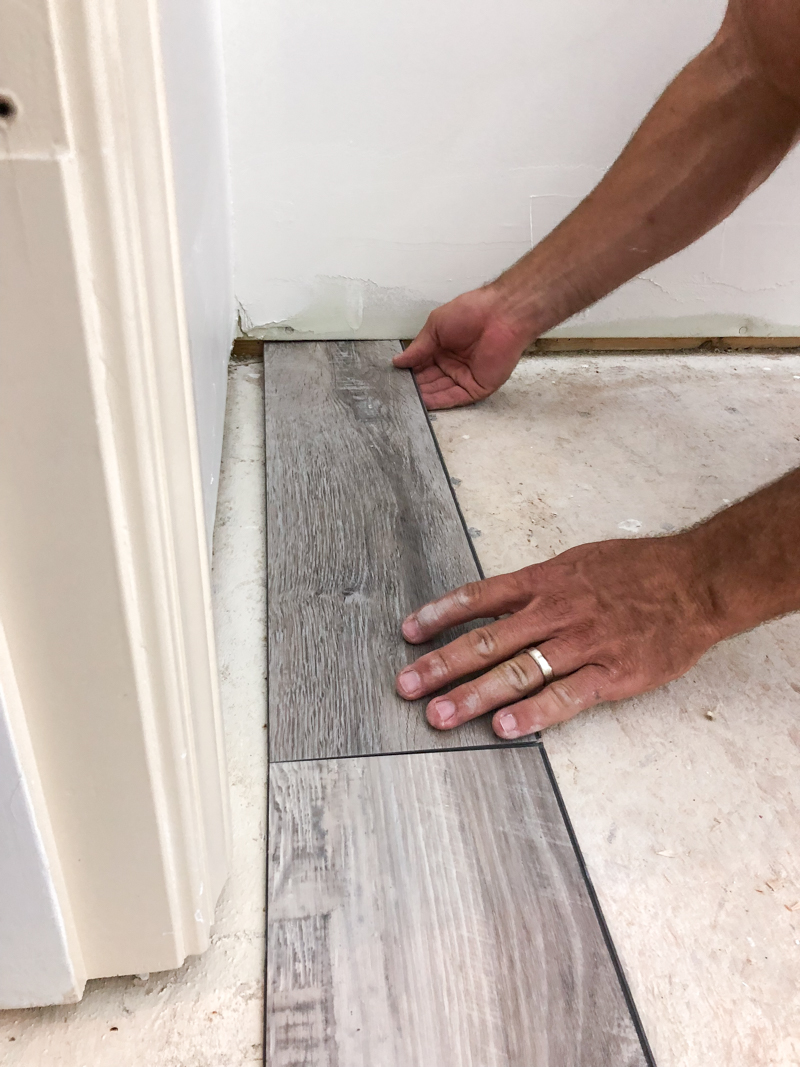
ALTER LOCATION OF SEAMS
The seams (where two planks meet on the same row) should be scattered so that you have no two seams on two neighboring rows next to one another. My general rule of thumb is 6″ spaces. As long as the rows have seams at least 6″ apart, then the planks look good.
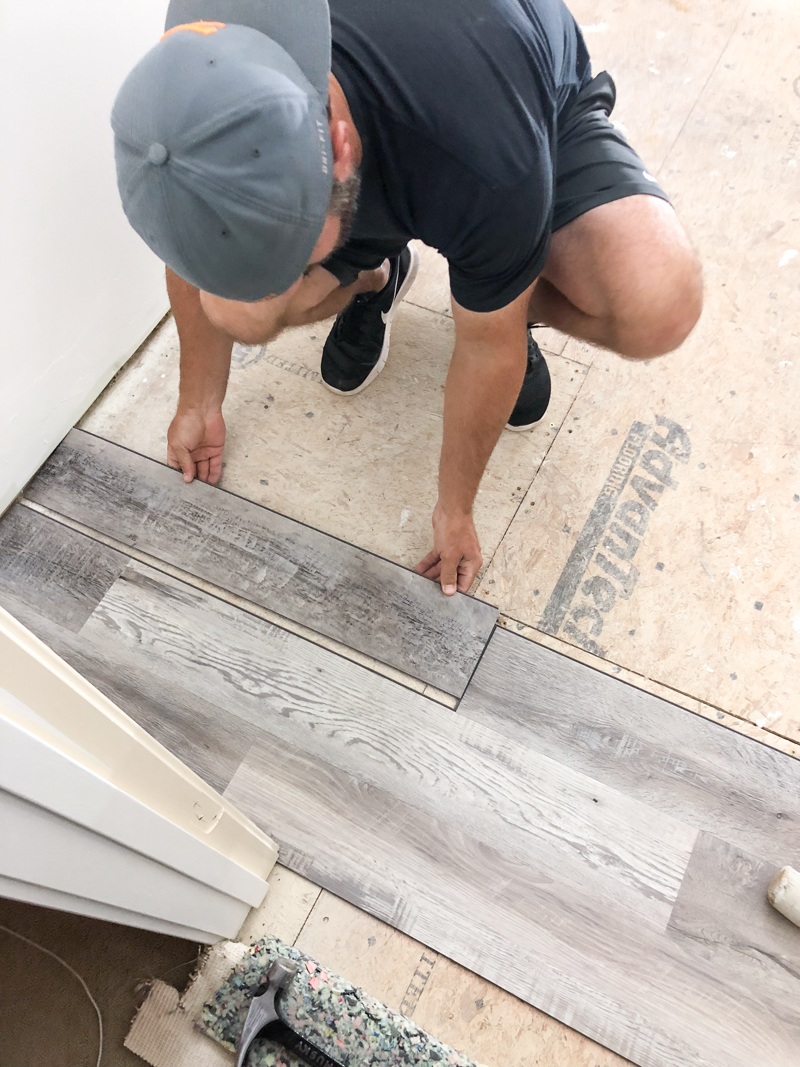
Of course, you can pick a pattern if you choose but we like the look that has seams all varied so that no little mistake is noticeable.
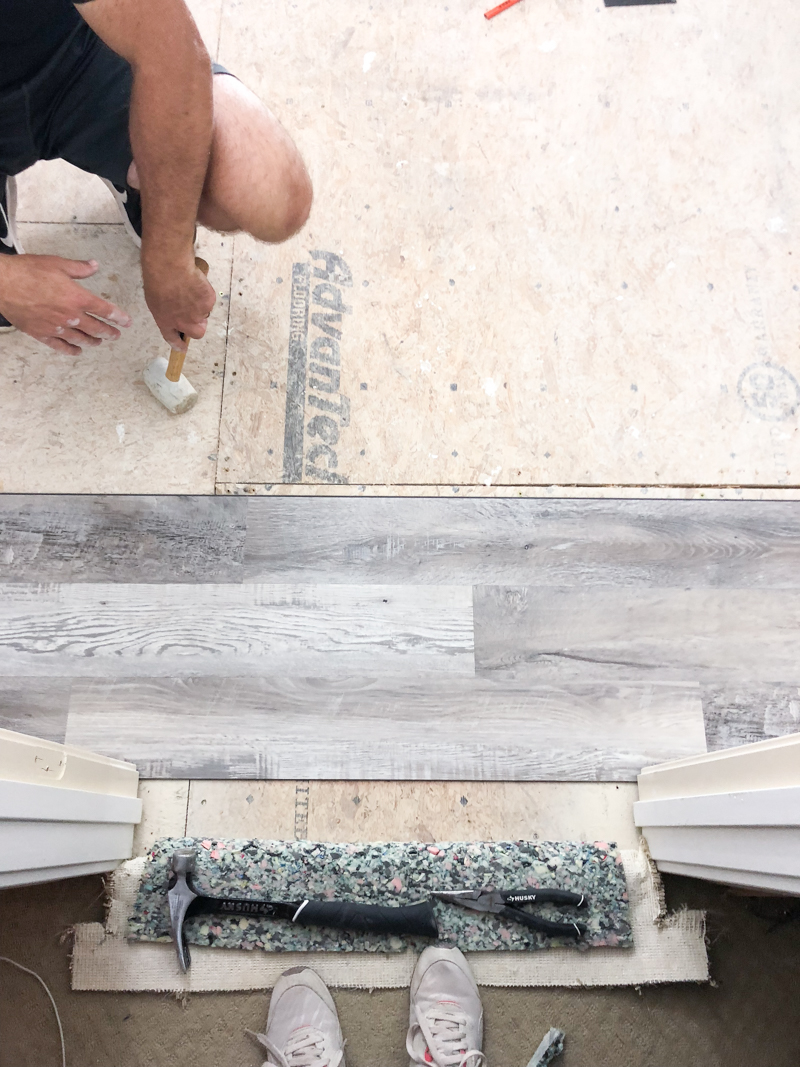
HOW TO CUT THE PLANKS
Cutting the planks is super easy. These are very thin and lightweight boards. When you measure the length of the board you need, mark it with a pencil. If you are measuring to the left of a center board and need an exact measurement, choose the board you want and then rotate it 180 degrees. Then lay it in place and mark the length.
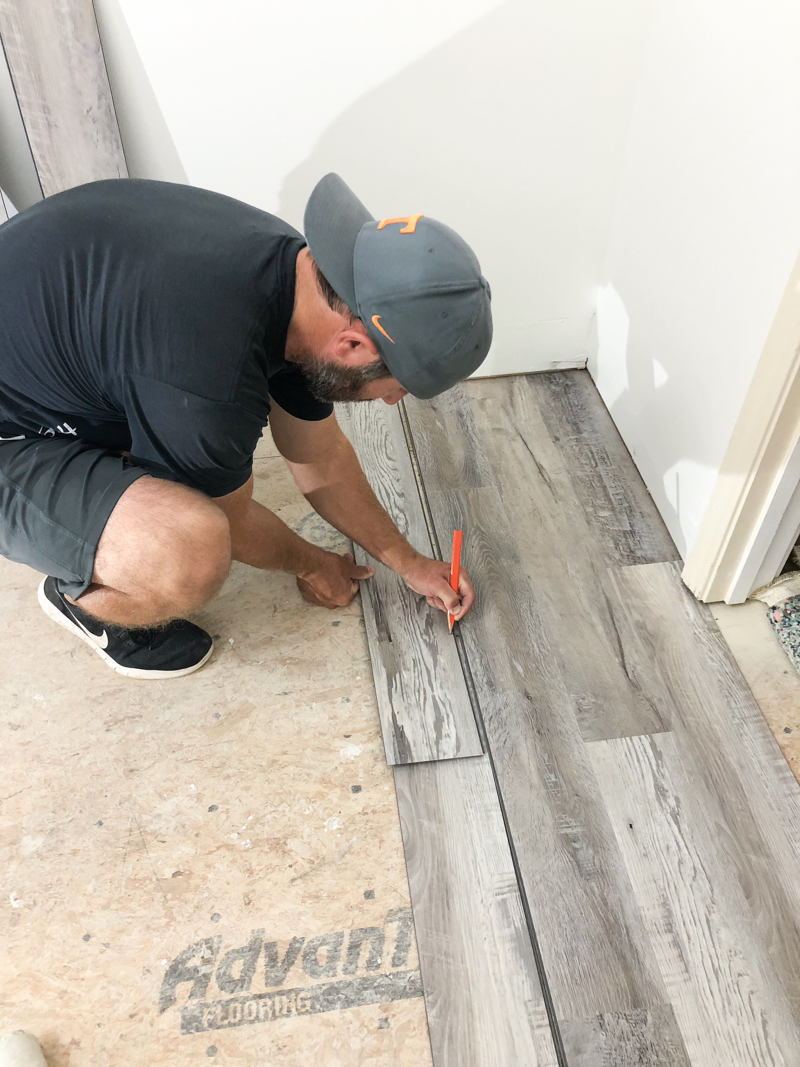
Using your mark as a guide, draw a straight line on the board or just align your straightedge.
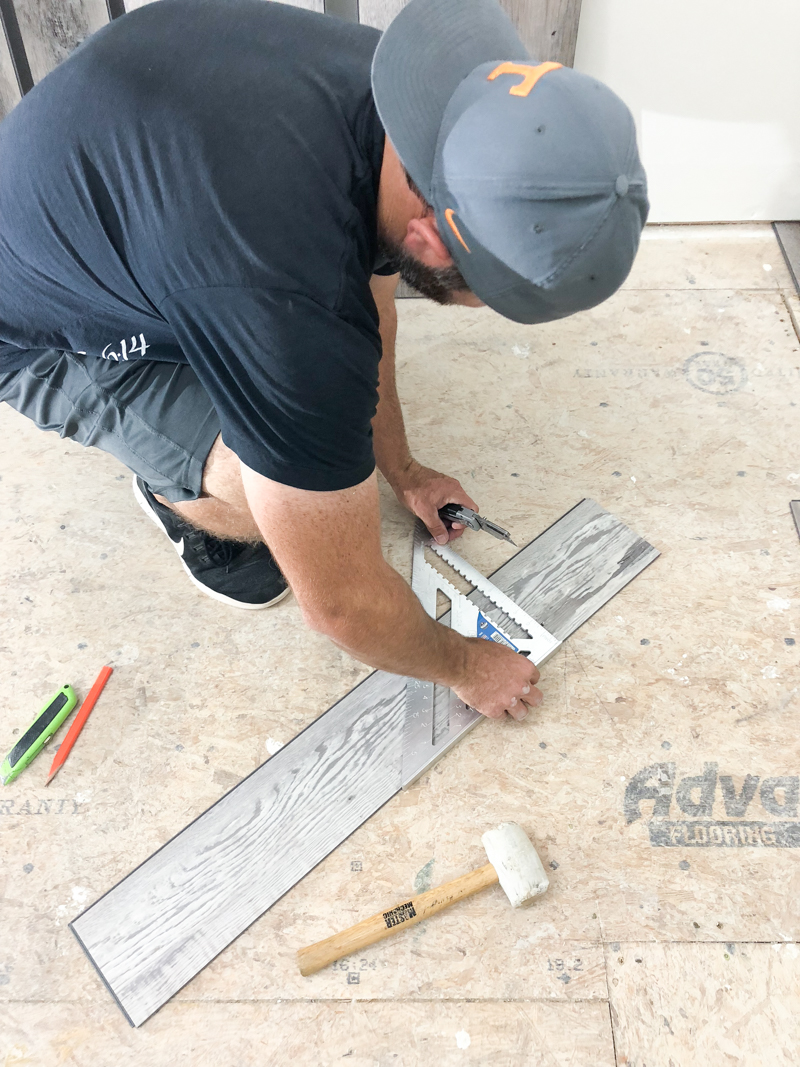
Using a box cutting razor or knife, cut the TOP of the LVP with several swipes and moderate pressure.
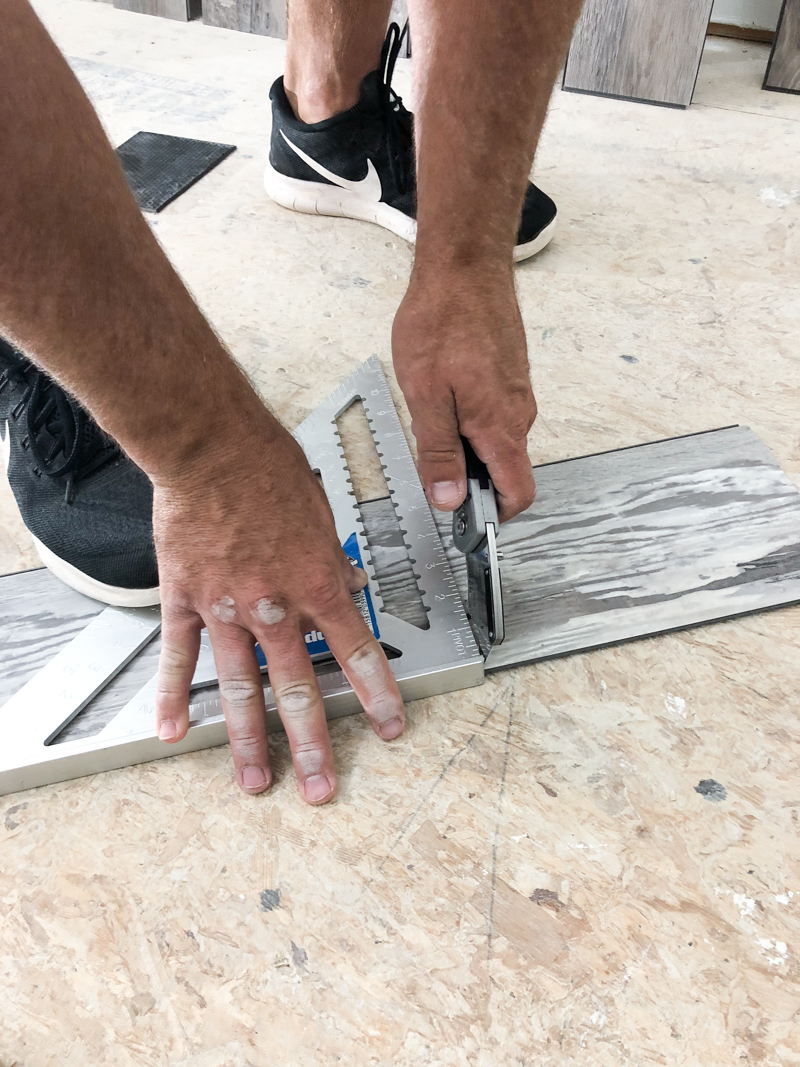
Then using your knee, you can pop the board and it will break along your serrated line.
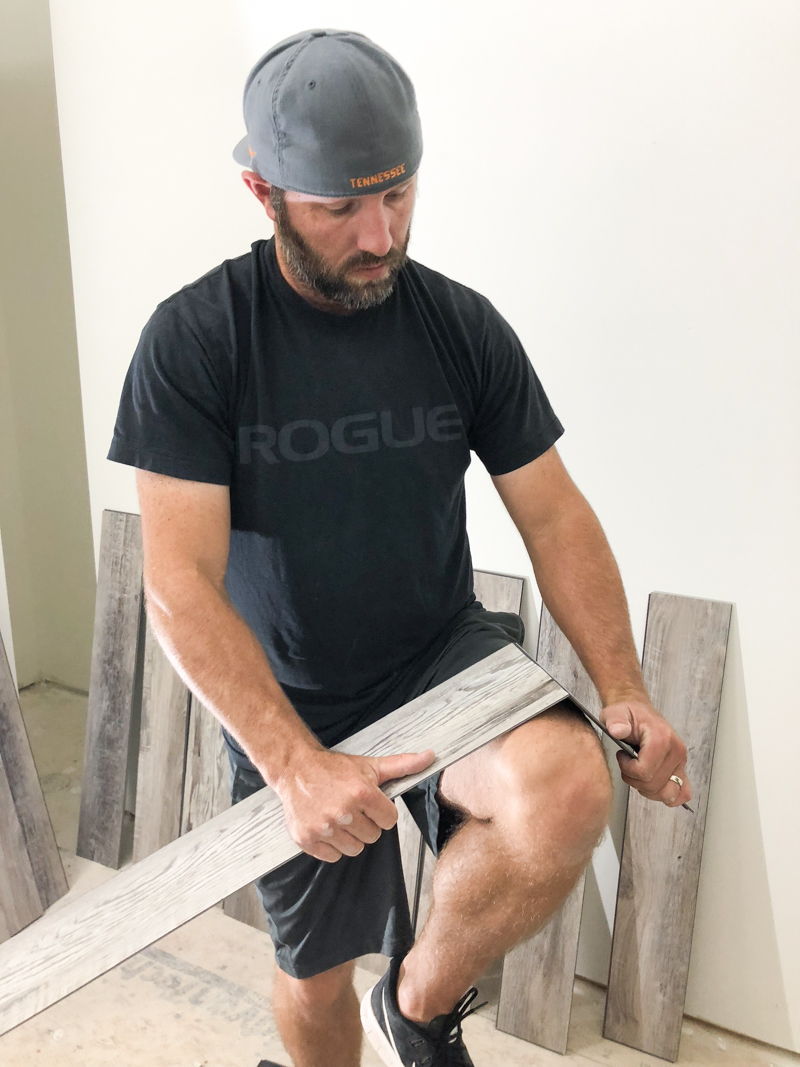
In case where it doesn’t cut all the way through the foam backing, you may have to run the razor down the line again. Now you have a perfectly cut board! No saws!
HOW TO INSTALL THE LVP
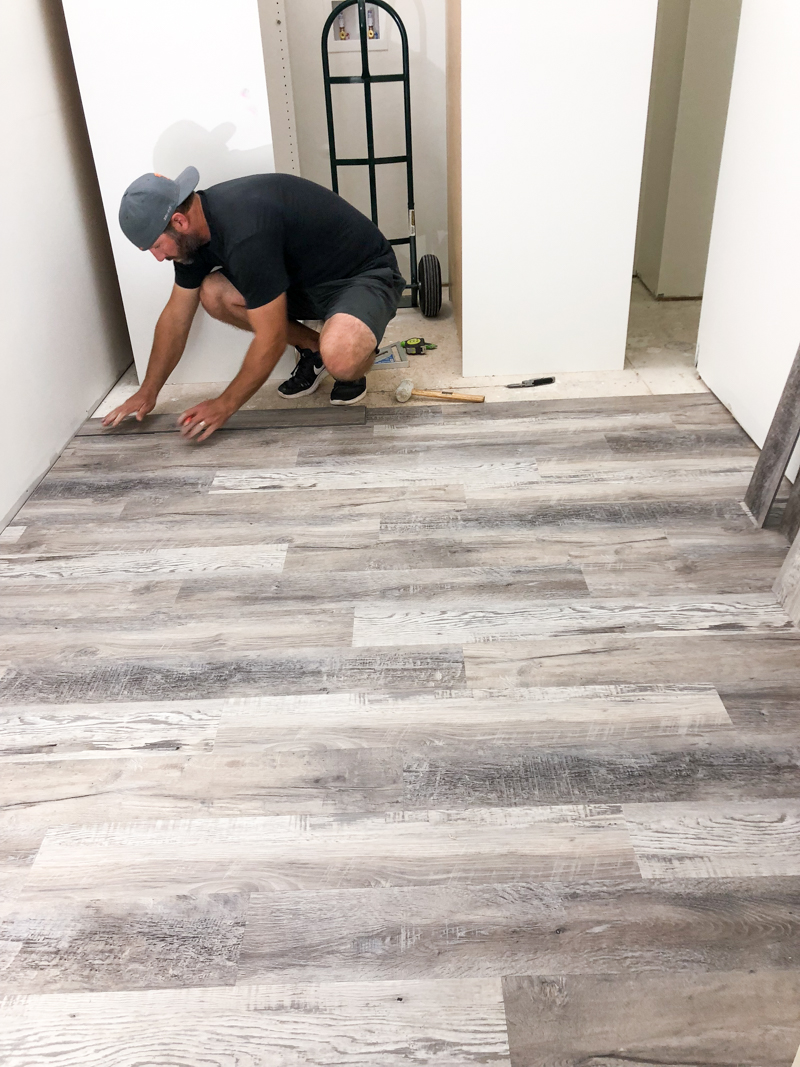
Installation of the LVP is a breeze. It has a locking edge that hugs it close to the neighbor and it is super easy to install.
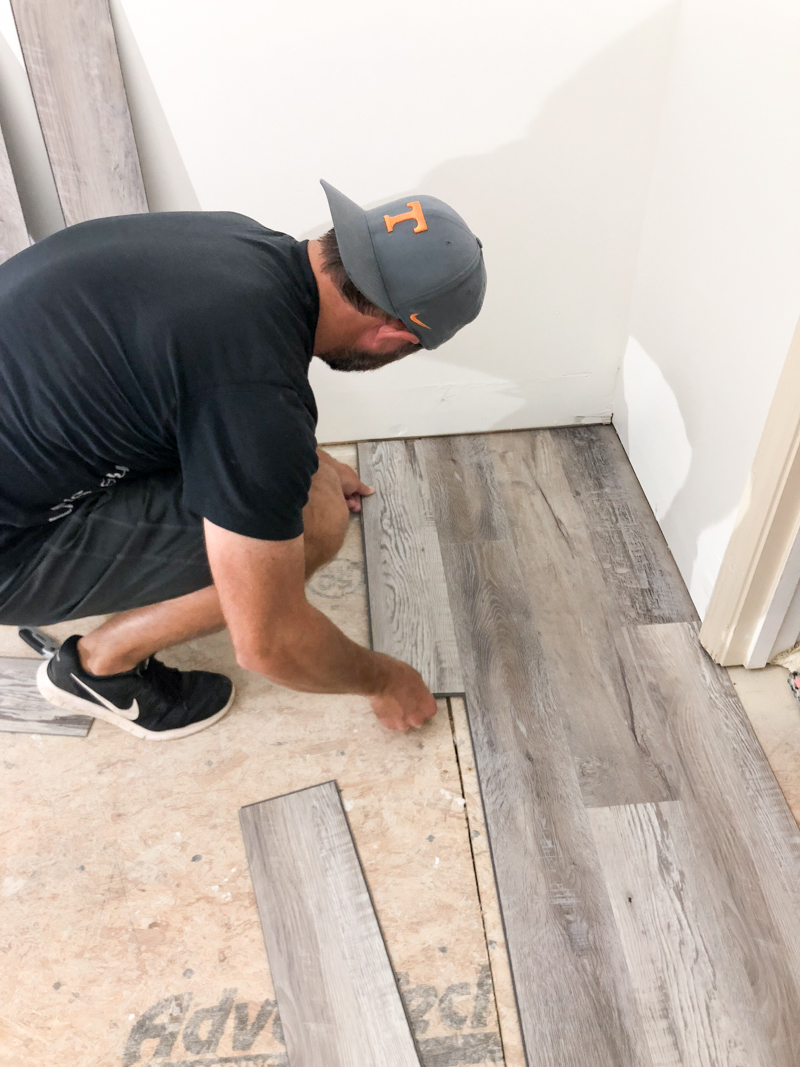
First take your board and angle it upwards at a 45 degree angle. Then place the top edge into the receiving edge of the board above it. We left a margin on the drywall side and that is a good idea if you are in a climate where temperatures fluctuate.
Get the board as close to the top board as you can before pushing down flat. We would use a rubber mallet to make sure it was a snug fit.
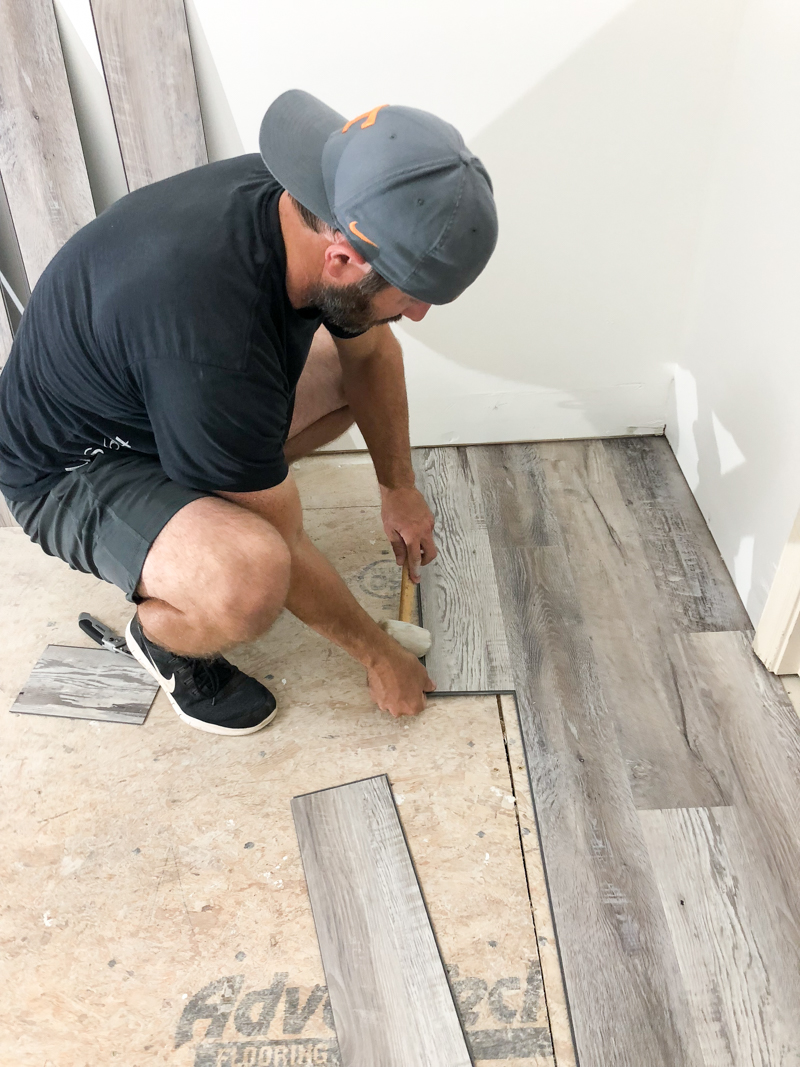
The next board in the row will have the same process. Angle it up 45 degrees, push the top in place interlocking with the row above and align the edge with the neighboring board. Then gently push down. Use the mallet on the bottom edge and the seams.
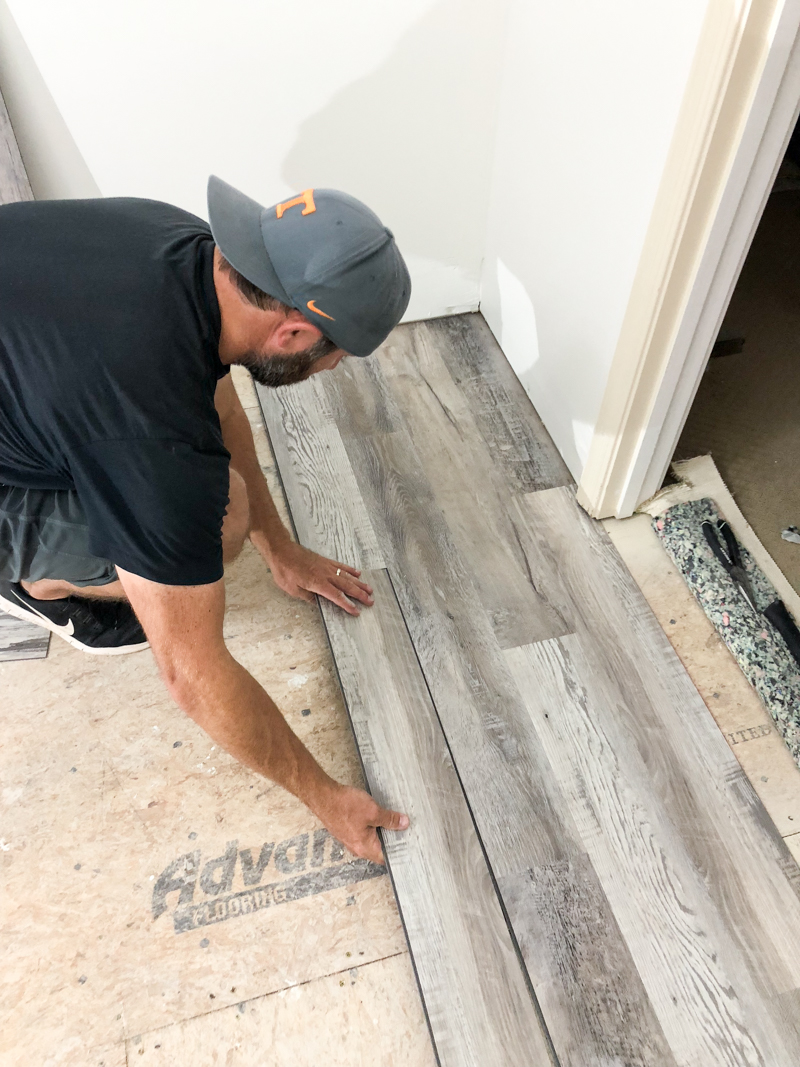
Most of our boards would be VERY close. HAIRLINE close. In the case they weren’t close, it would be due to us not using the mallet to double check that all seams were well aligned.
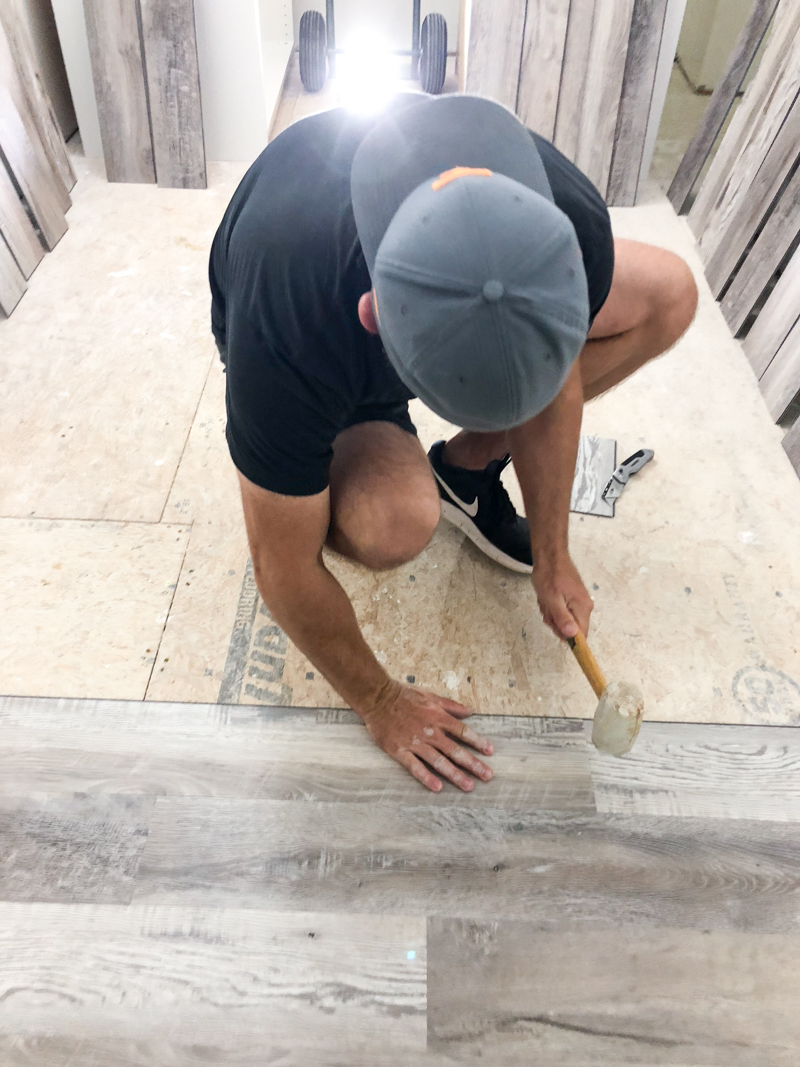
Continue, continue, continue.
One the best tips we have for you is that when you choose a plank for the LAST spot in a row, cut off the remainder and use it to start your subsequent row. If your seams are closer than 6″, then get one that works and save that remainder piece for the third row. Either way, you will create less waste and have less work!
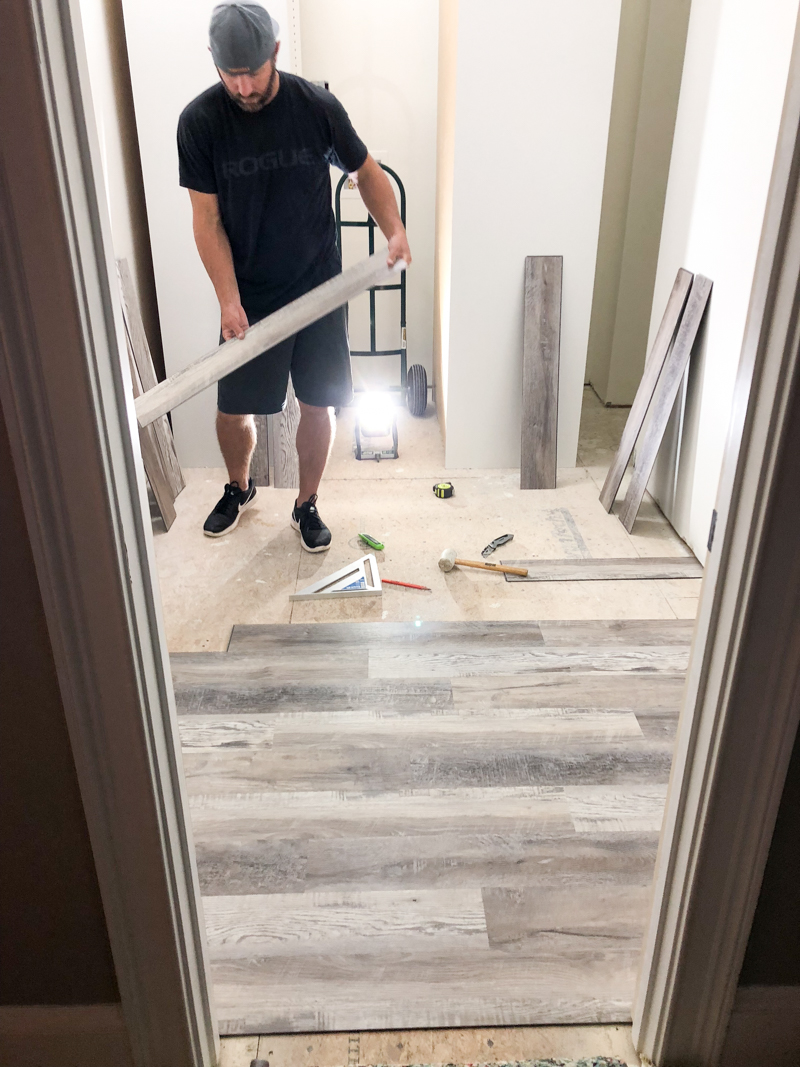
HOW TO CUT AROUND CORNERS
We have a very odd layout for this closet and we wanted to put the LVP over the entire thing (even if it was going to be wasted space) because it would hold the flooring in place better. That meant that we ran into a small bump out and had to cut corners. Literally. Figuratively this was not a shortcut 🙂
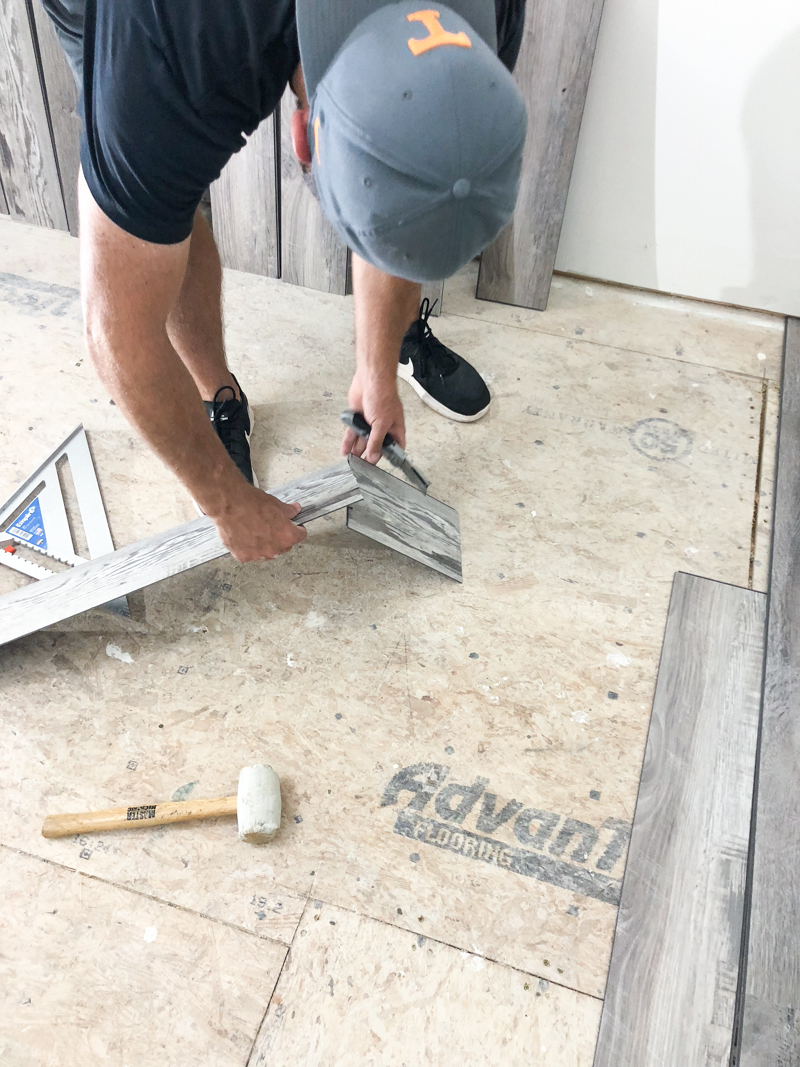
Part of the row here was going to be removed but we still needed the length and so Jeremy marked the section to cut out.
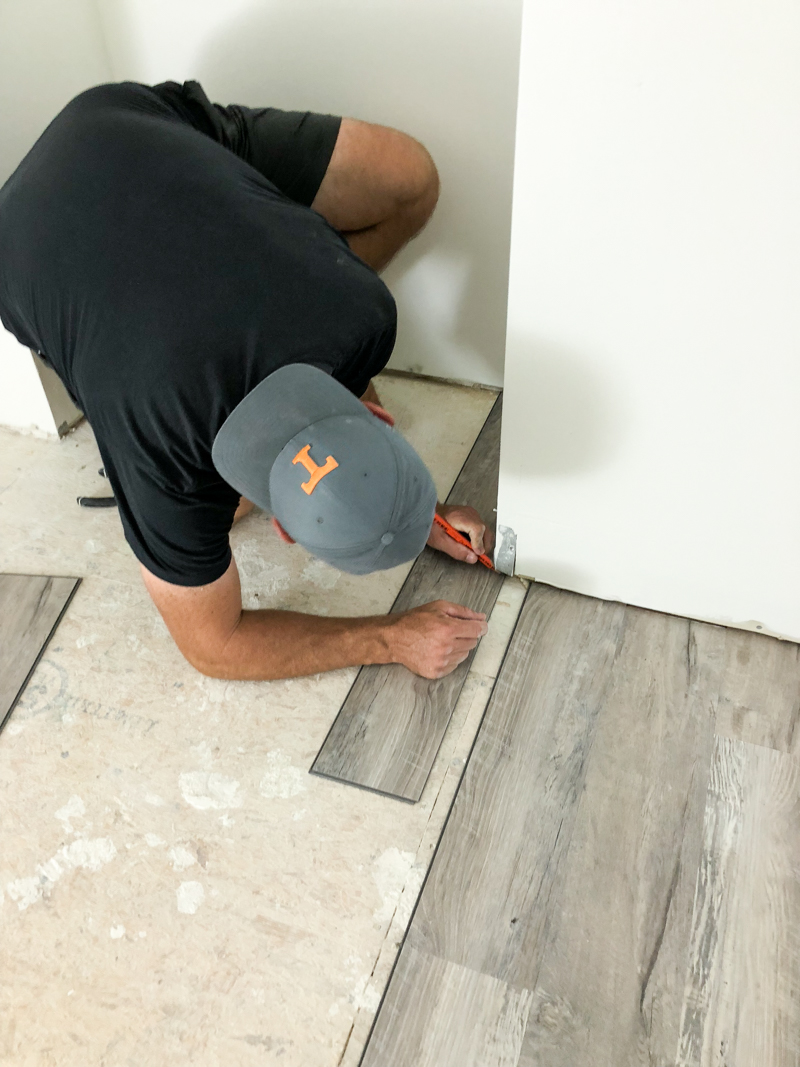
You have to mark the section lengthwise and widthwise.
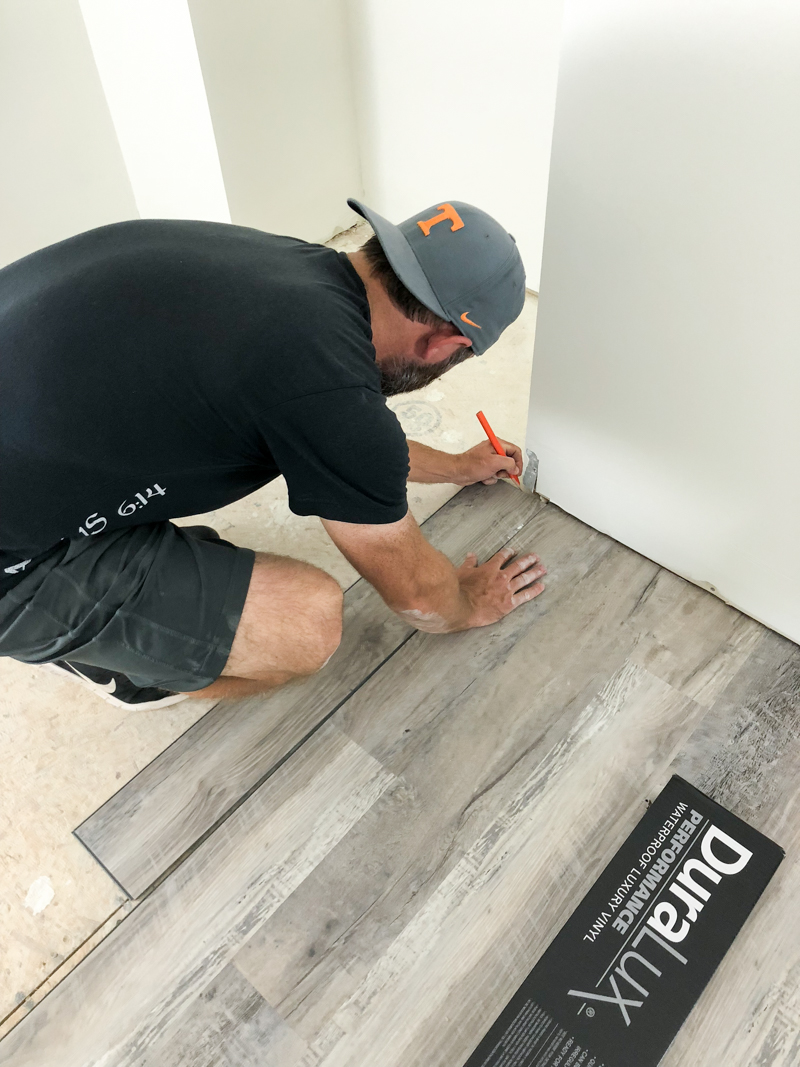
Then you score both lines. This will need several swipes of scoring. You can always cut this with a table saw but we were trying to figure out how to do it without power tools.
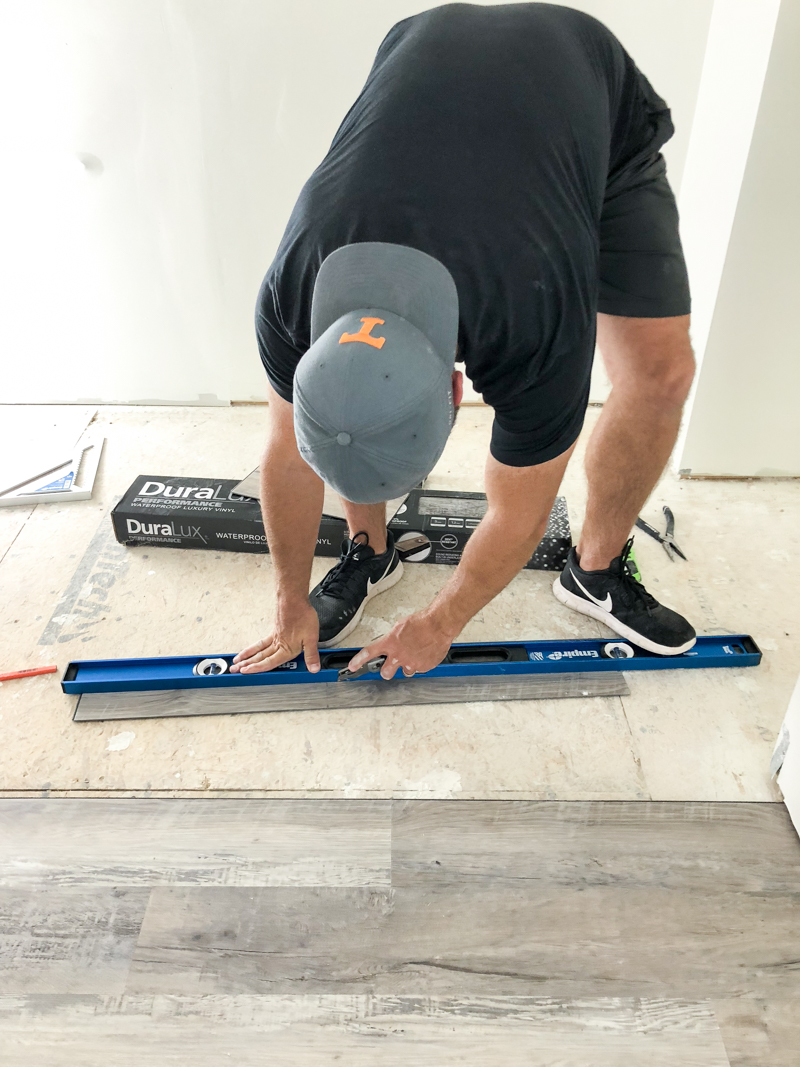
Make sure the scoring is on both the lines and then you want to grip the piece you will be removing with needle nose pliers and pop it LENGTH wise first. Our best tip is to lay it on the ground and stand on the part you want to protect and ply the long section up in little sections. Then once you get the length of it popped apart, use the pliers to grip to pop it widthwise.
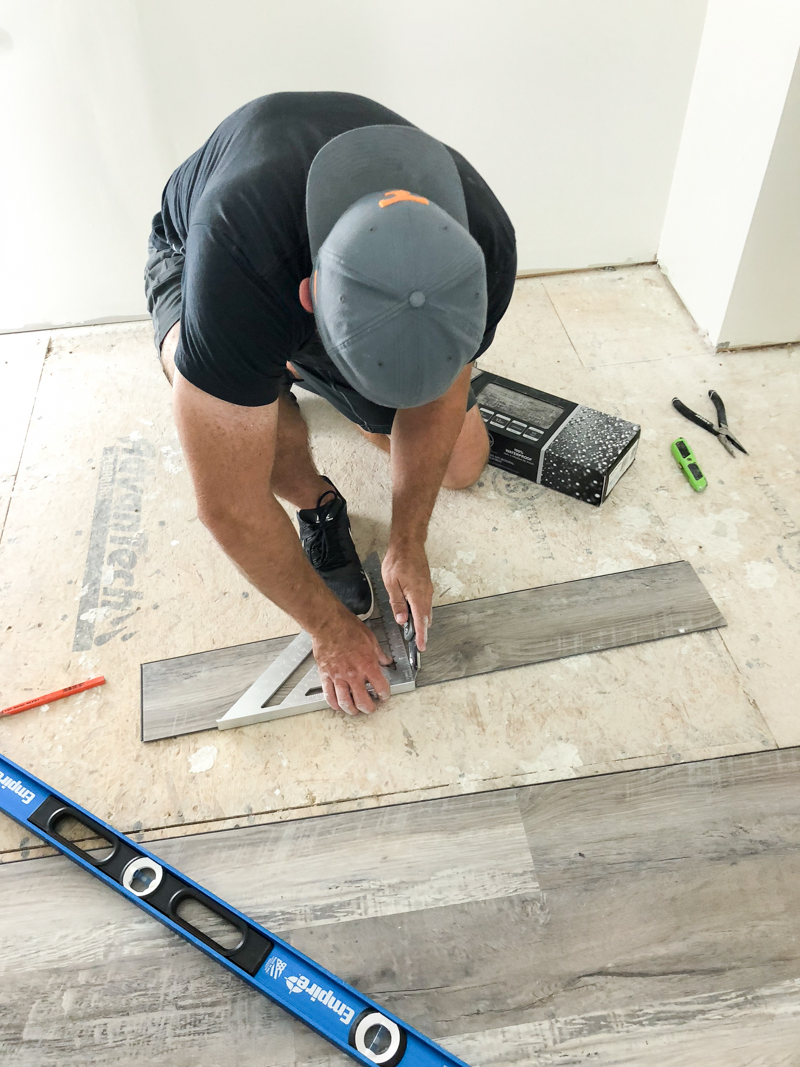
Honestly the best part about this whole process is that the price of installation. Most installations of flooring require at least one power tool and will take a long time. Both of those things you have to add into your overall budget. This requires SO much less time and tools are easy and cheap to obtain.
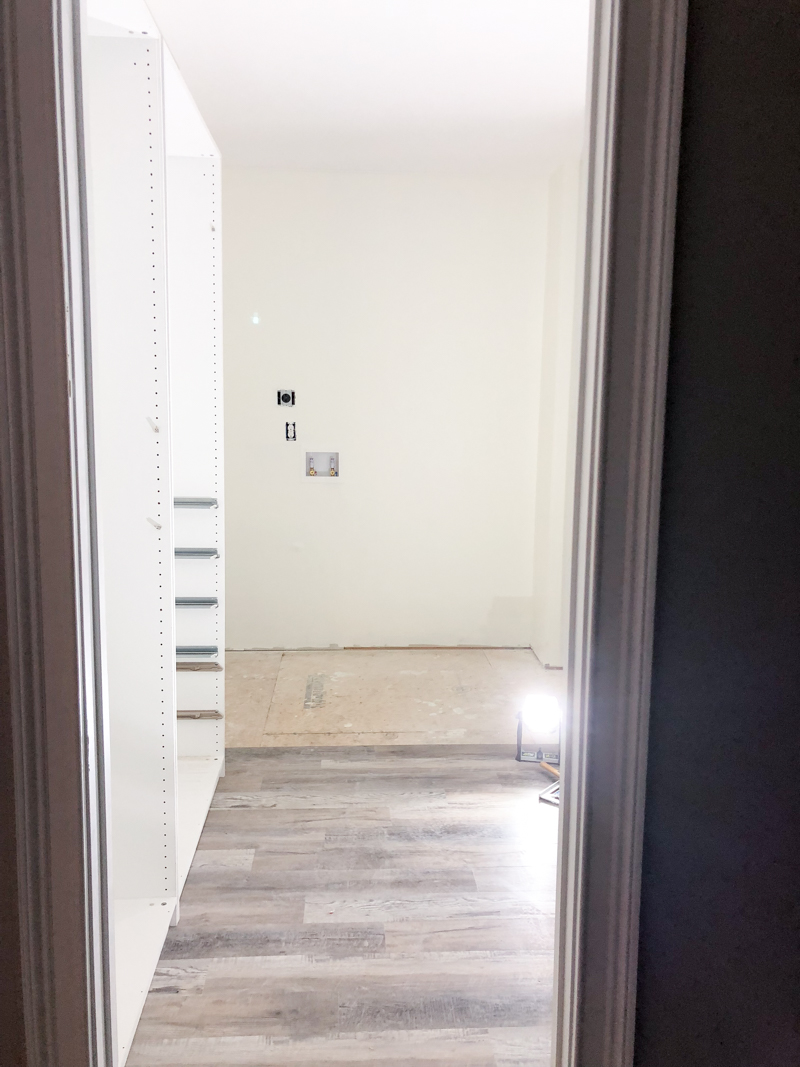
Overall we LOVE it and if we were doing a real room (not a closet)- we would add our baseboards over the edge and cover it with a crisp quarter round molding and it would look so finished. This room is getting built in closets so that is going to be an adventure all by itself 🙂
All that to say – I would love if you had any experience with LVP that you could share. It would be amazing to see tips in the comments if you had some insight! And if you have any questions – I would be happy to share what I know! Happy DIYing!
Looks great! We have linoleum in the bathroom and carpet in the closet, could we go right over the linoleum and into the closet (with the carpet removed) or is the foam not THAT forgiving?
I’ve installed a bunch of different click and lock vinyl floors and found the easiest way to pick the next plank is to find the unique designs you have and then make a pattern that keeps them separate enough. My kids had fun sorting them into their pattern piles with names like bird face, black hole, storm thing, etc. And then I made a map of what a 1-3 rows consisted of and just repeated that pattern over and over. It looks random but didn’t require thinking about every piece. Also for corners, I end up using tin snips to cut the pieces which worked really well.
It looks beautiful! I would be interested in your thoughts on using LVP for an entire main floor (instead of hardwood). We are looking for something that will last, can be cleaned, isn’t damaged by bits of water, can stand up to kids and dogs, etc.
Looks Great! Does it have a squishy feel when you walk on it? I’ve walked on vinyl before that has some give.
No. It feels like I’m walking on hard floors!
xo – kb
I think it matters what the height difference would be. I think it MAY go over it just fine (especially if a single piece straddles the transition between the two floors) but you would definitely need to test it first.
xo – kb
From what I have heard, I would think it would work well for that as long as you don’t use rubber-backed rugs or super heavy items like kitchen cabinets. If you just ran it up to the cabinets it would be fine!
xo – kb
We put LVP on our entire main floor (except bedrooms and bathrooms) when we built our house 5 years ago. I have a husband in a wheelchair, two kids and two dogs and it has held up beautifully. If it does ever get a scratch, we use a Minwax stain pen to camouflage it. Works like a charm. We have been really happy with our choice and also plan to use it in our basement when we finish it.
We had LVP installed a year ago and I am so glad I went with that choice as I had my heart set on getting real hardwood floors. We also purchased the kind of LVP that has the foam and it is so quiet. I can’t wait to add it to other parts of our home.
Our whole upstairs (except 3 bathrooms) is LVP, but we went through Costco. We’ve only been in our house 6 months, but we love it!
We’ve had LVP flooring for 10 years on our main floor (eat-in kitchen, living room, dining room, and hall). We have 3 kids and 3 large dogs and the floors still look amazing. I love them! These floors stand up to anything that we throw at it (except the knife that landed tip first – oops!).They clean well too.
I don’t have any experience with these, so no tips to share, but wanted to thank you for this post! I would love to try LVP!
My dad has this in his dental office and LOVES it. I’ve been trying to convince my husband to put it in our living/dining and hallways.
We were considering this for our entry way, right over slate tile that is there now. Do you think that would work? Or should we do some sort of leveling prep ahead of time?
Looks great! Thanks!
It all depends. I think if it was slightly irregular, it would work. But you would have to test it. The best thing is to buy a box, pop a few together and lay it in the middle of the space and walk on it to see if you like it.
xo – kb
It looks great, and this gives me enough confidence that I may be able to do this too! I think I’d like to try in in my closet first, and if it goes well, I’d like to add it to our bathrooms. How did you do the transition from the plank to the carpet?
We added a transition. They sell similarly colored ones at Floor & Decor!
xo – kb
I am a huge fan of LVP flooring! We redid our kitchen a few years ago and put it in there – it looks amazing, has held up exceptionally well to two little boys and a dog and due to the pattern of the planks, it hides the dirt extremely well!! We have since installed it in 2 of our bathrooms that we have redone and couldn’t be happier. I hope you like yours as much as we do ours.
We installed LVP at our lake house – the color is almost identical to yours and we love it! It is in the kitchen/dining/hallway now. We plan on putting it in the living room next. There is a pool table in there, so I’m not sure how that will go. The kitchen floor has been down a year with water, kids, lots of dogs, and it is still beautiful. Happy with our decision to use LVP.
Some brands many also be compatible with an underlayment that would help. I installed mine over a standard issue basic Lowe’s underlayment and it worked great. It’s an optional part of the process but I wanted a little extra temp barrier and smoother surface to work over.