One of my favorite things to build are planter boxes. It is because the ones in the store are usually so expensive and they are actually VERY affordable and easy to DIY. And it also helps when I have trouble resisting pretty flowers on clearance and a husband that doesn’t want me to become that crazy pot lady. You know the one. The front yard absolutely covered with garden beds layers in pots about four rows deep and each one has something half dead in it. Yeah. That could be me. Resident pot lady. So that is one reason why large planter boxes are so good! They are high impact and can be filled with lots of different plants so POTS BE GONE. (not all pots. I just want to make that clear – I still love my pots Jeremy.)
This planter is one that we put in the back yard and I love the fact that it is made easily of outdoor inexpensive pickets.
First here is the material list –
- 11 pressure treated pickets
- brads
- plastic planter box
- paint
- optional – hooks
Tools needed –
- miter saw
- table saw
- brad nailer
- sandpaper/sander
- paint brush
- screwdriver
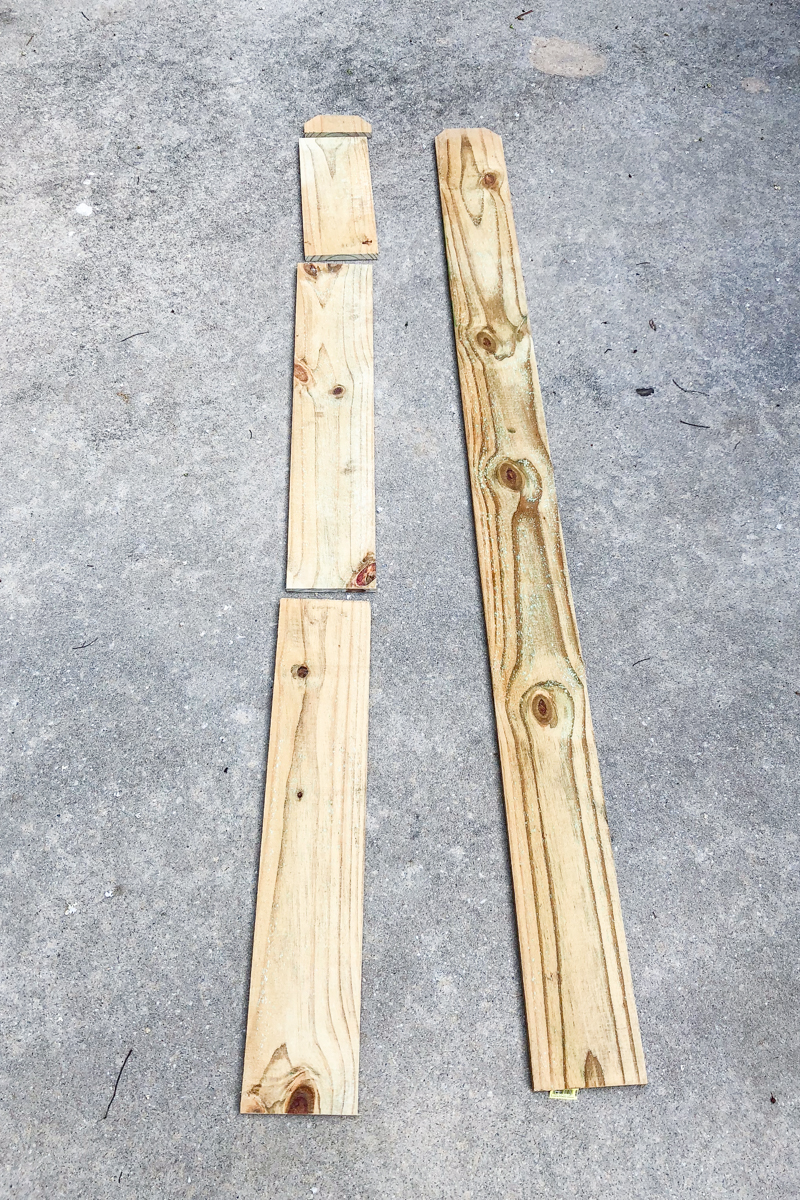
First you need to buy a planter box at your local Home Depot. Technically the tag said it was 27″ x 12″ but measurements were a little different. My box was 24″ x 9 1/4″ but it had a lip around the top that made it 26 1/2″ x 11 3/4″. That lip is going to support the box. The inside of your wooden box is going to have supports that the lip will sit on top of. So let’s go ahead and cut your pickets to length to create the rectangular wooden box.
(8) short side pieces at 12 1/4″
(8) long side pieces at 28″
***note that I cut mine too long and had to go back to tweak them after the photos were taken so if the photos look a little tiny bit off – that’s why. The measurements here are correct to support the box and not leave you with gaps. As always with wood projects – make sure you measure before cutting for YOUR project as minor adjustments in length may need to be made.
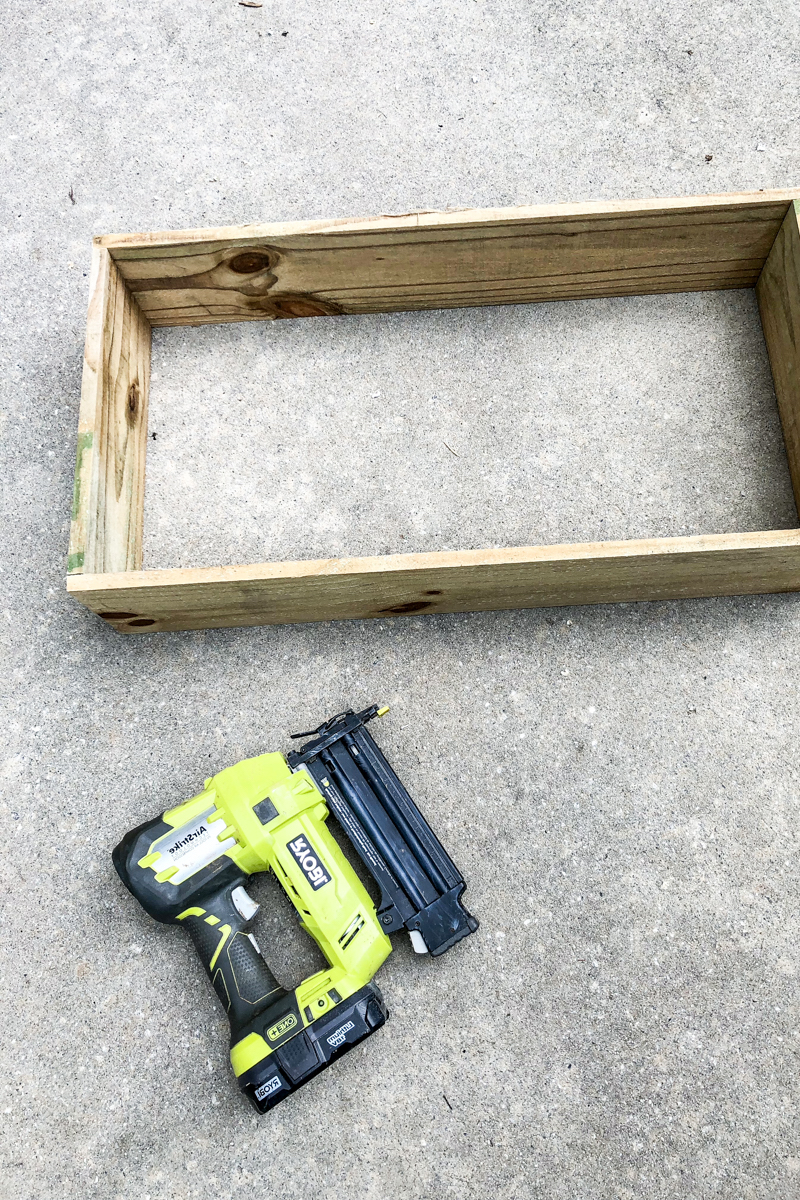
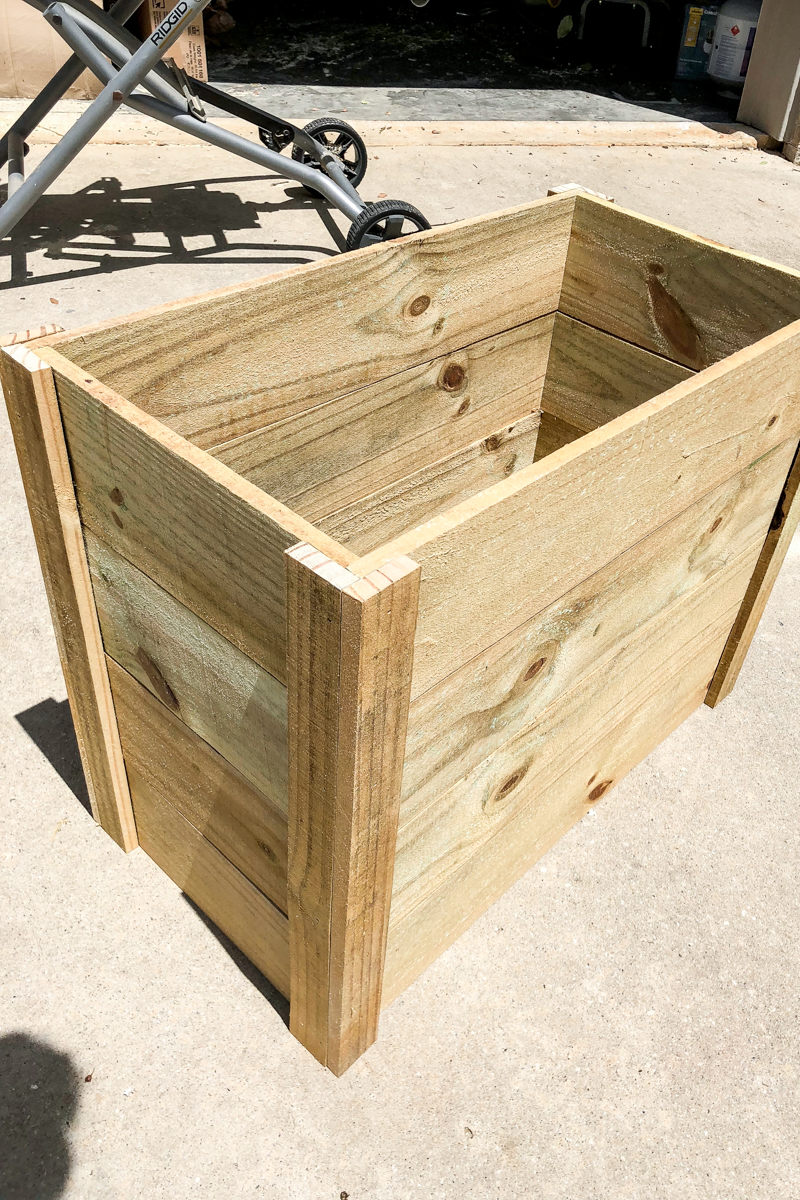
Then assemble the box. It requires you to have the long side overlap the short side and you drive in a few brads to secure them.
Once you have four of these boxes constructed, you simply stack them on top of each other. The planter box should be able to be nestled inside.
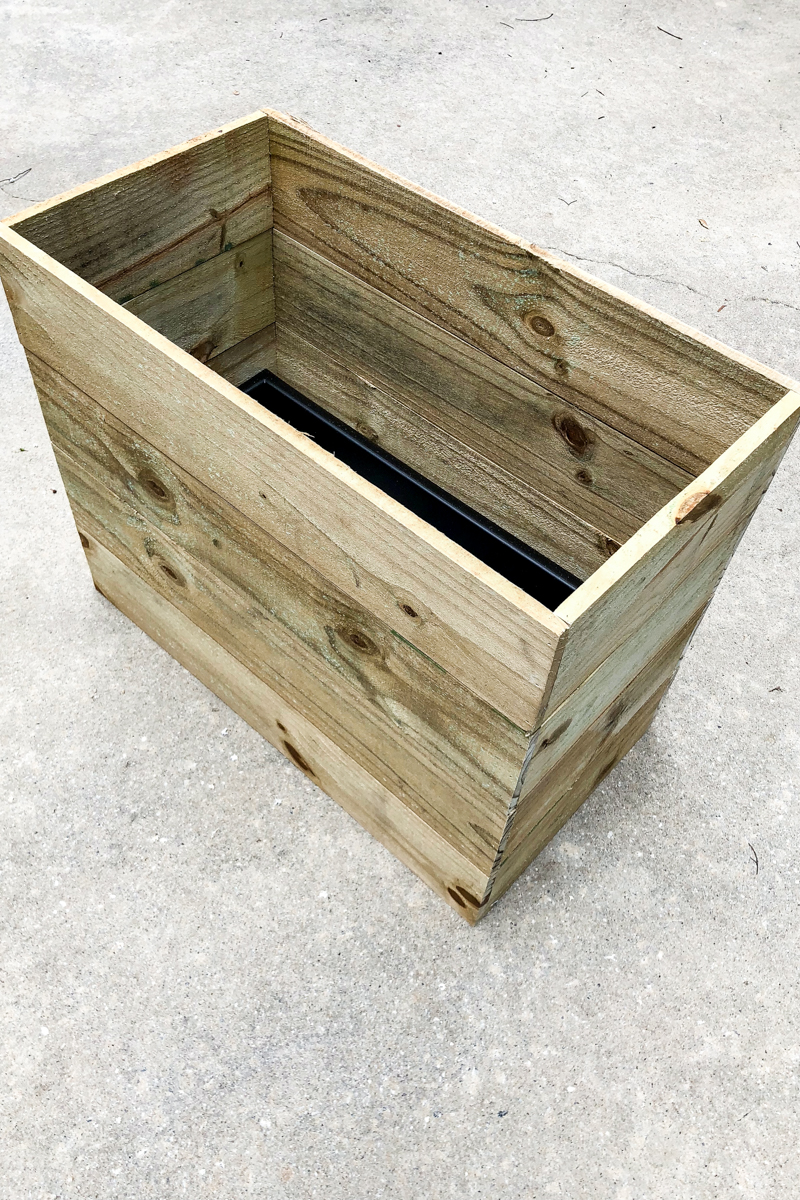
If you want to add glue to your joints, you can do that for extra reinforcement. In general, I have found planters don’t get moved around a lot or have joint issues so I just skipped that step. #lazywoodworking
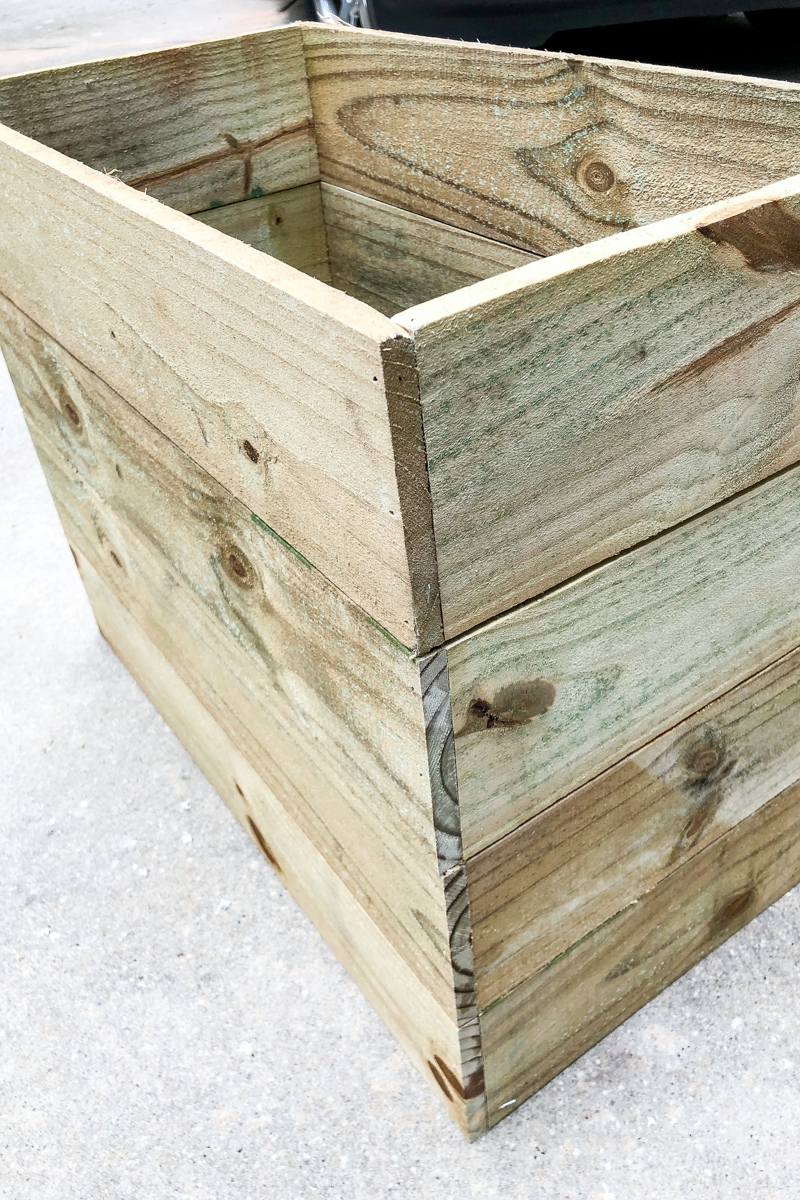
Now comes the part to get all four of these stacked boxes to stick together. You will need to take your remaining pickets and rip them down the center.
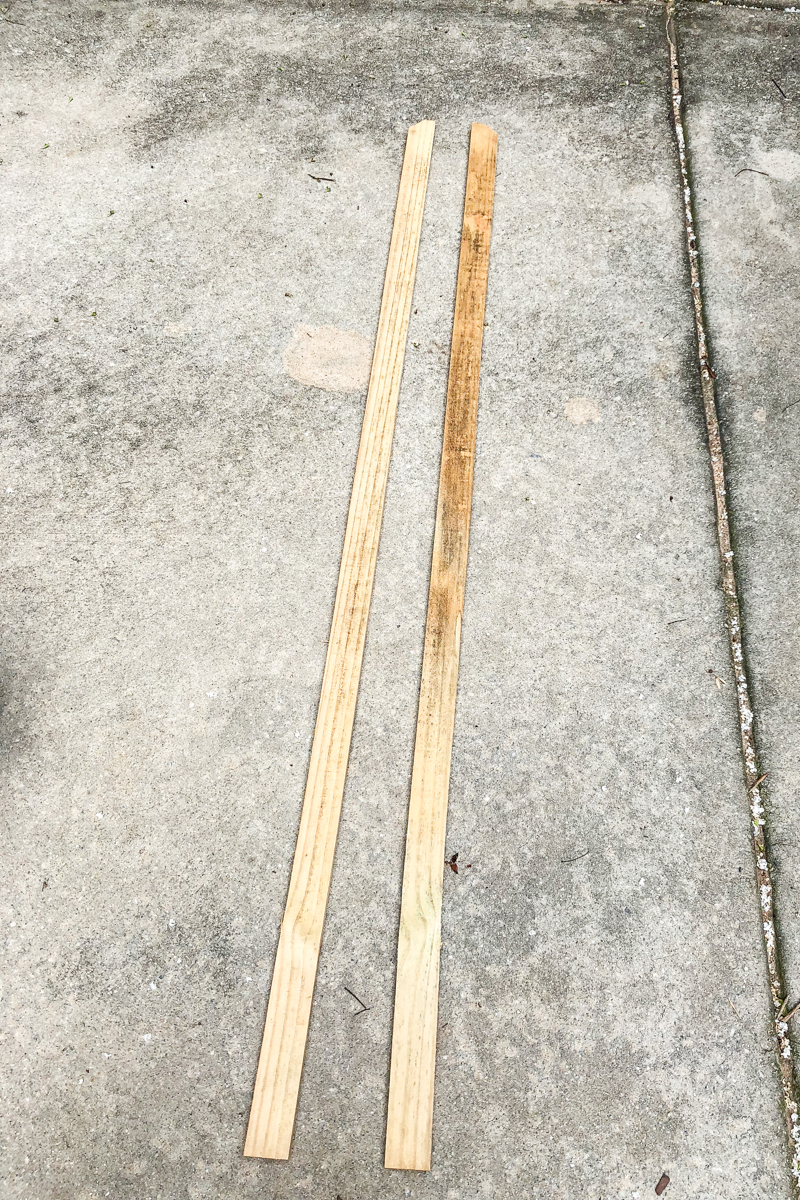
Then you will need to cut your side trim parts. These are 22 3/4″ long (note that sometimes with wood, you may need them to be a smidge longer or shorter just for warped boards – so measure your own length to be sure!). You will need 8 of them. These get attached to the sides and front of the planter box around the corners. They are the concealer of this project – covering up all the imperfections!
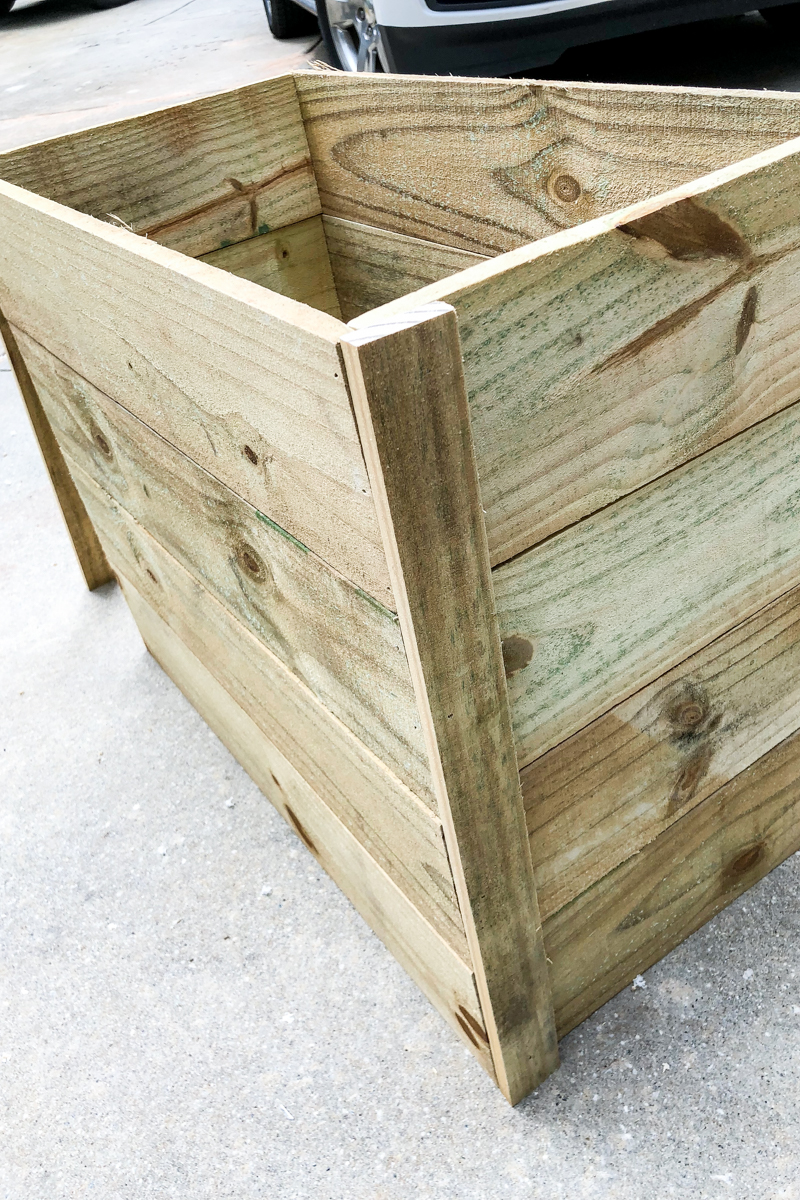
I attached the short side first and aligned it to be flush with the front and then attached the front side trim. Make sure when you are brad nailing these in that you attach it to the box wood and not just the other piece of trim.
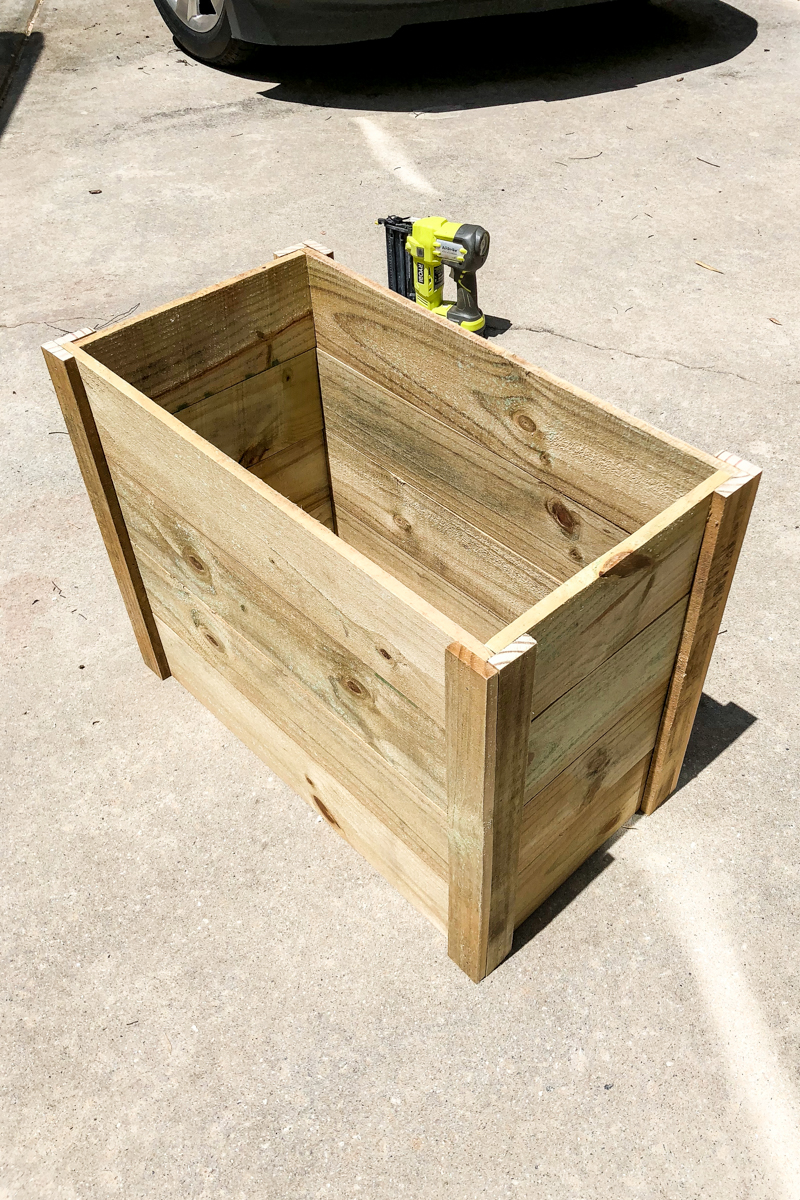
Now it actually looks like a planter! It can be picked up in one piece too….always helpful when things are actually not a reality show personality and fall apart when you touch them 🙂
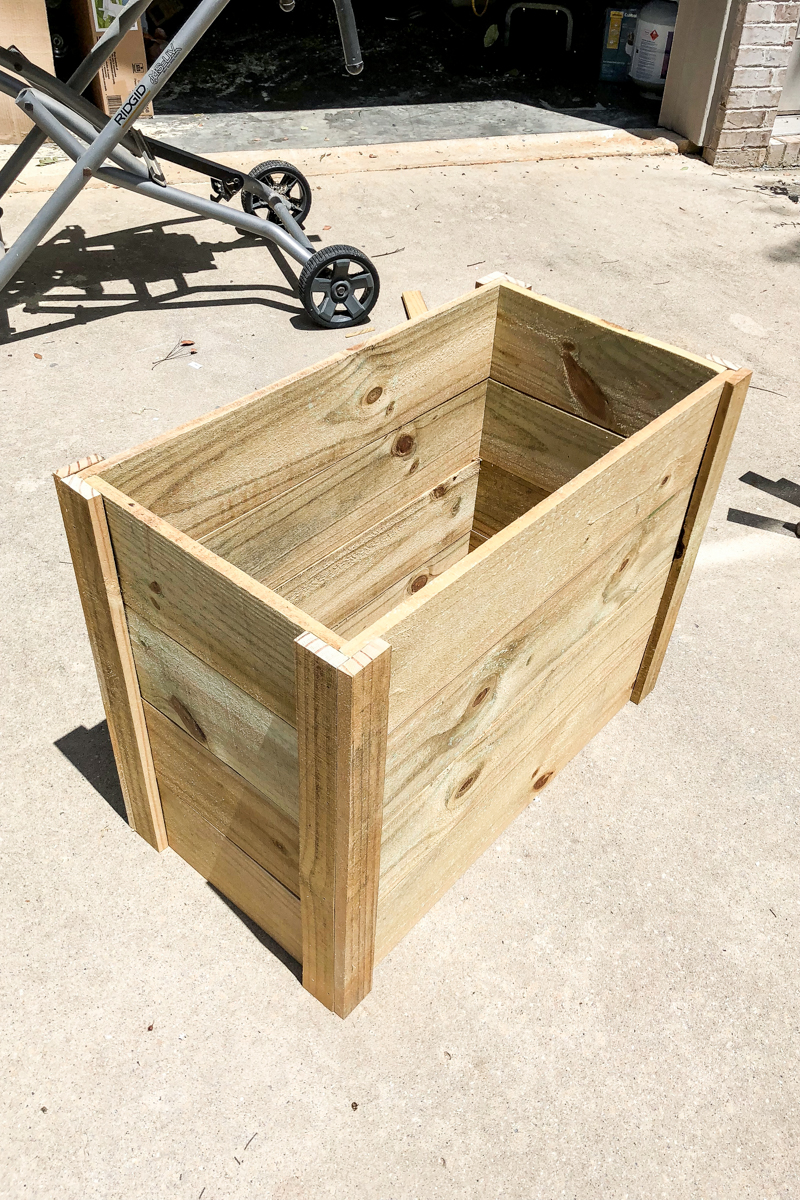
And if you want it to be extra sturdy, you can take a couple short exterior screws and go in from behind the joints in the corners to reinforce it.
Now let’s get that box in there! I figured out where I wanted the box to sit…roughly two inches from the top.
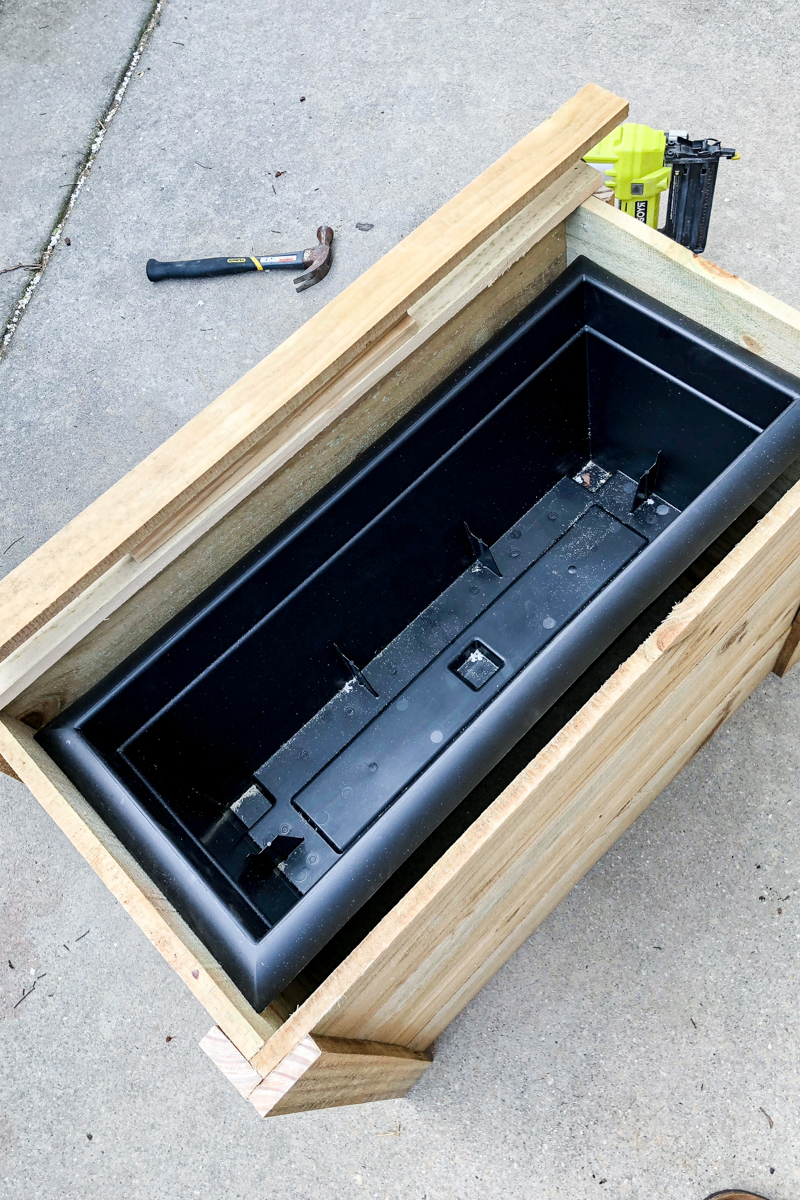
So the first thing you want to do is fasten your inside supports to the walls of the planter. I cut mine to be the following :
- (2) inside short supports at 11″
- (2) inside long supports at 26″
NOTE : these supports can be shorter if you are short on wood. I just used scraps. They don’t need to extend all the way to the corners – they simply need to be well fastened to the inside wall of box in the center to support the weight of the plants.
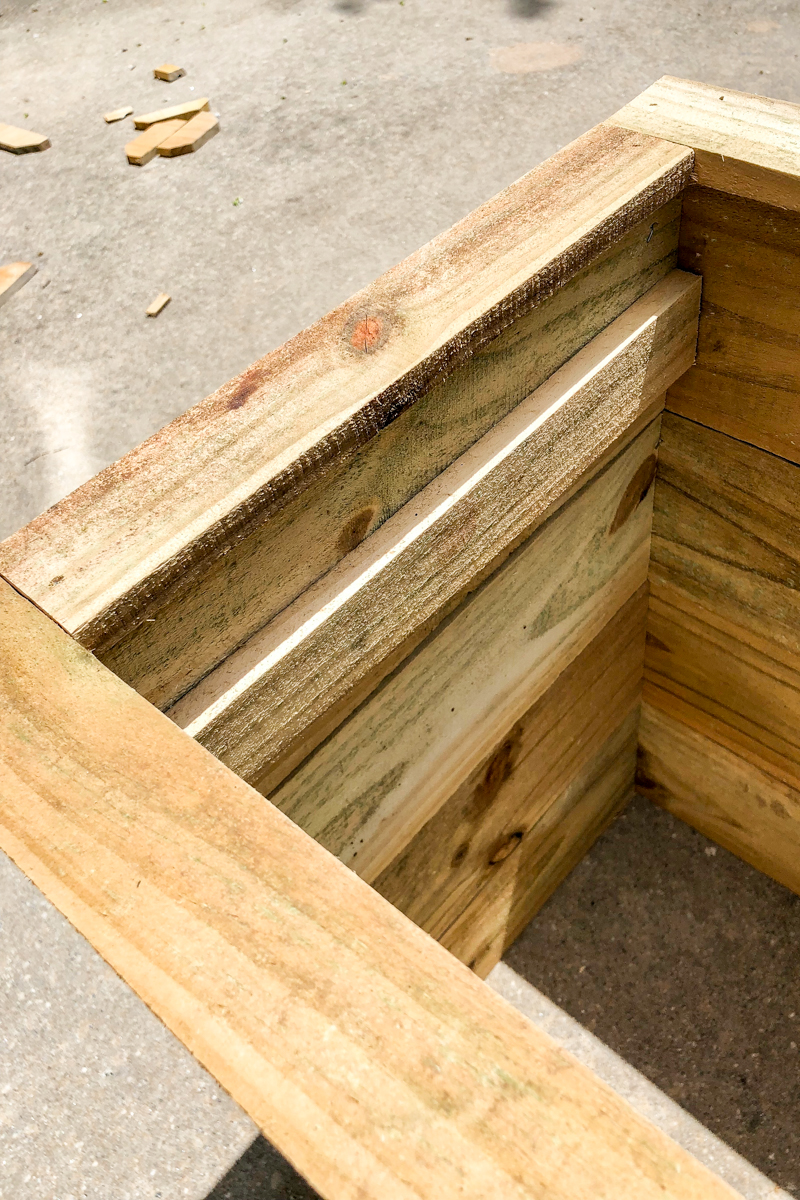
Then you attach those to the inside of the box. See how I put the trim cap on the box before putting the plastic planter inside? Don’t do that. It’s a pain in the tooshie trying to squeeze that in.
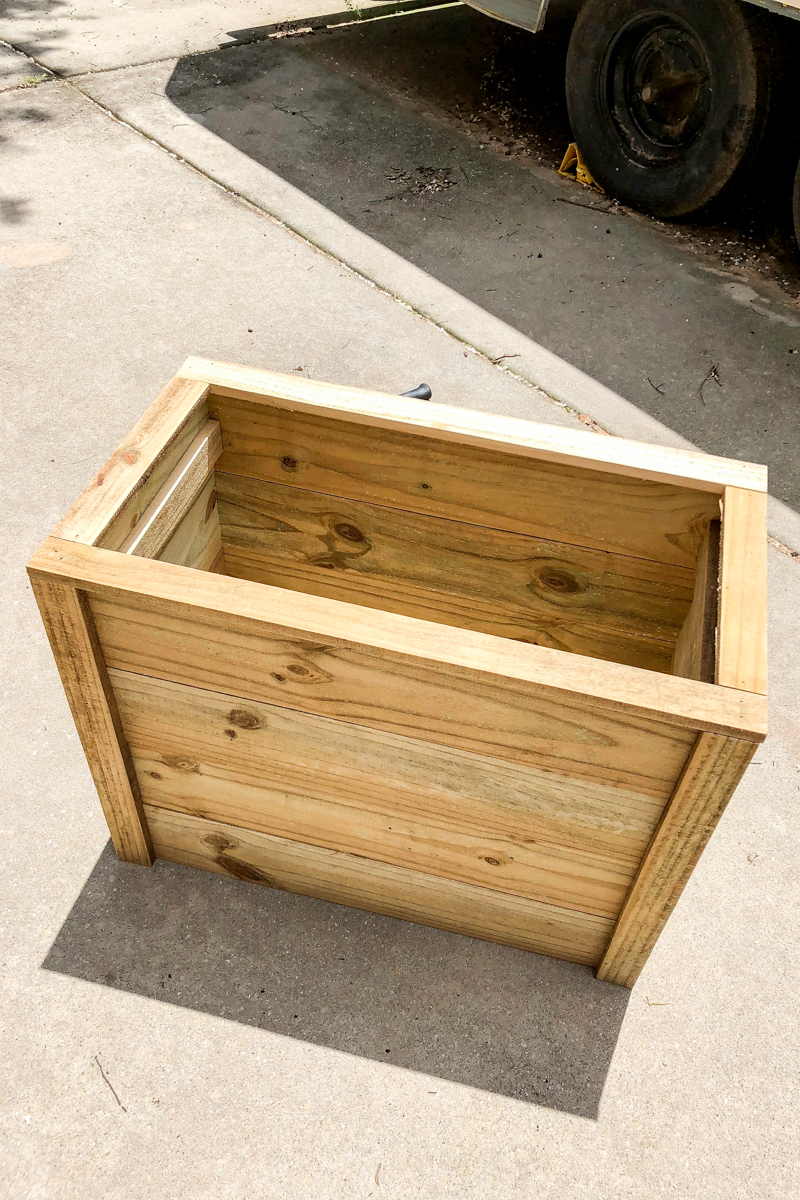
I finally got all my supports in place (all four sides) and put the trim on the top (secured with more brads). Those caps were
- (2) short side caps at 10 1/8″ – these were a little off though so I measured to length….which will be needed if your boxes aren’t perfectly square
- (2) long side caps at 29 1/4″
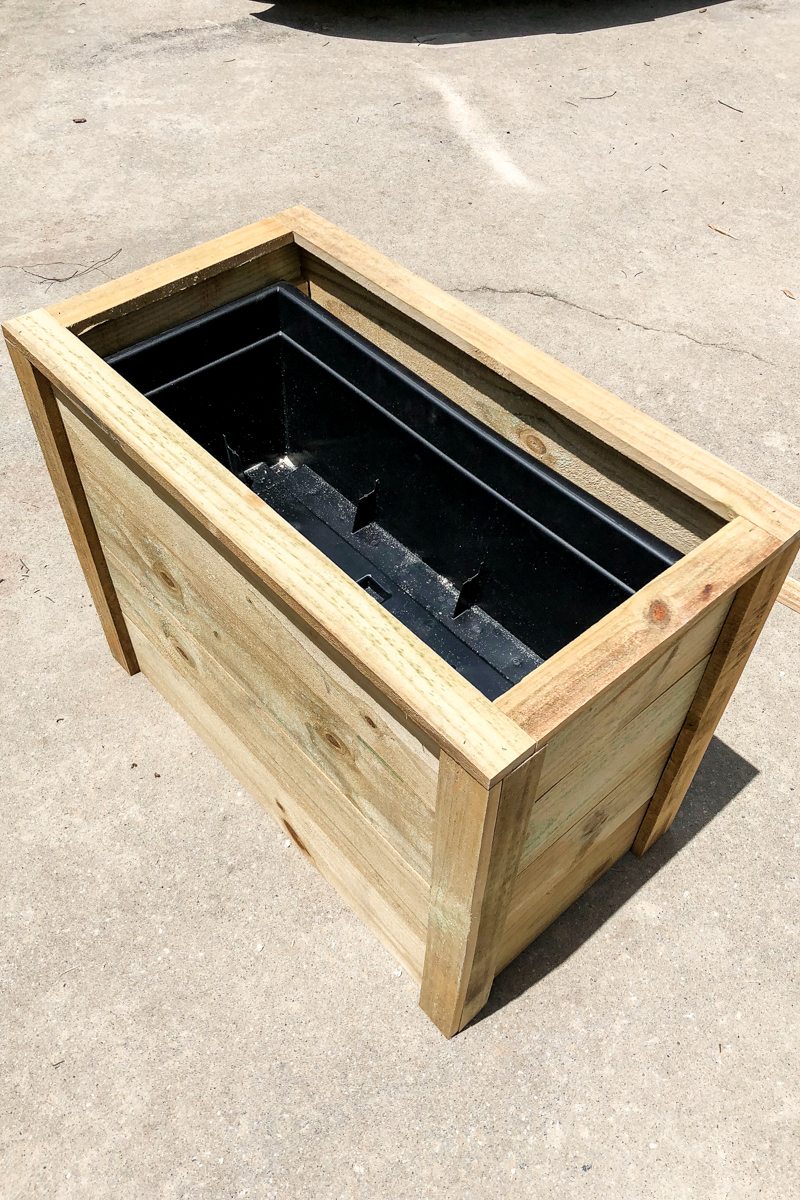
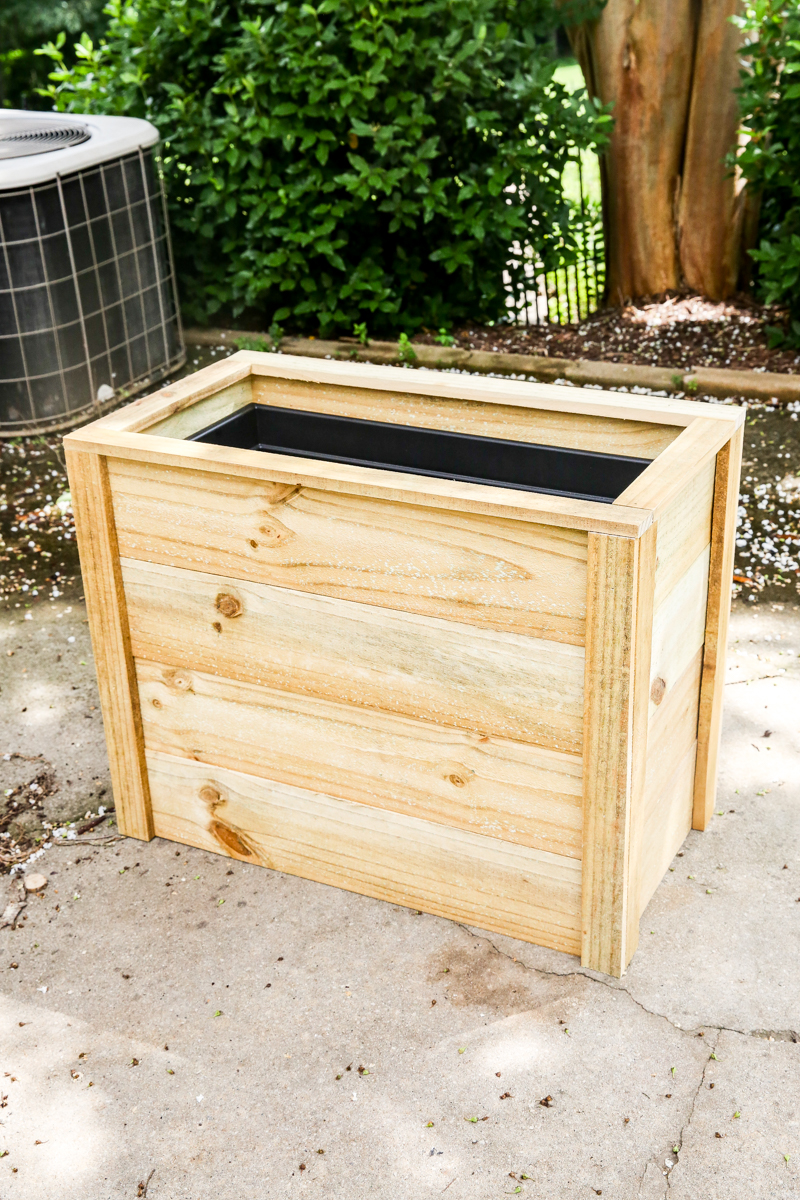
And there we have it! A perfectly rectangular box with all the potential in the world! It could be stained, painted, filled with pumpkins, the world is its oyster!
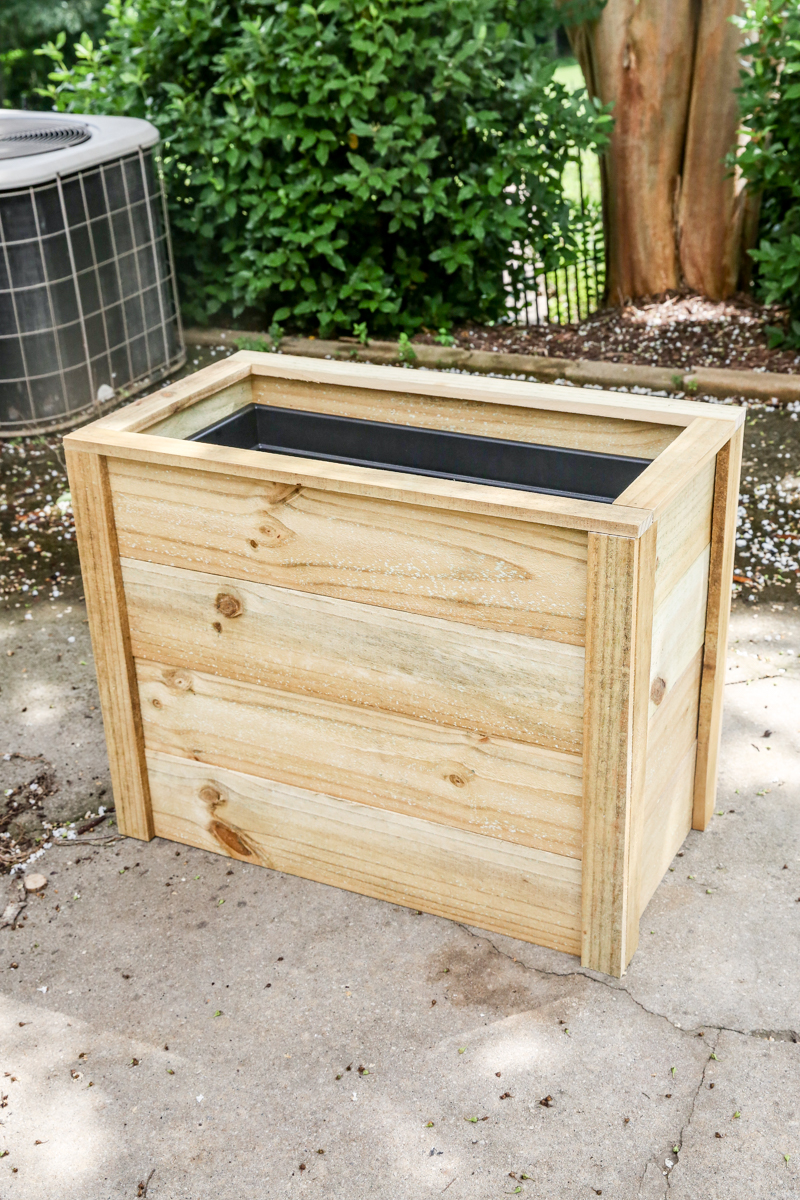
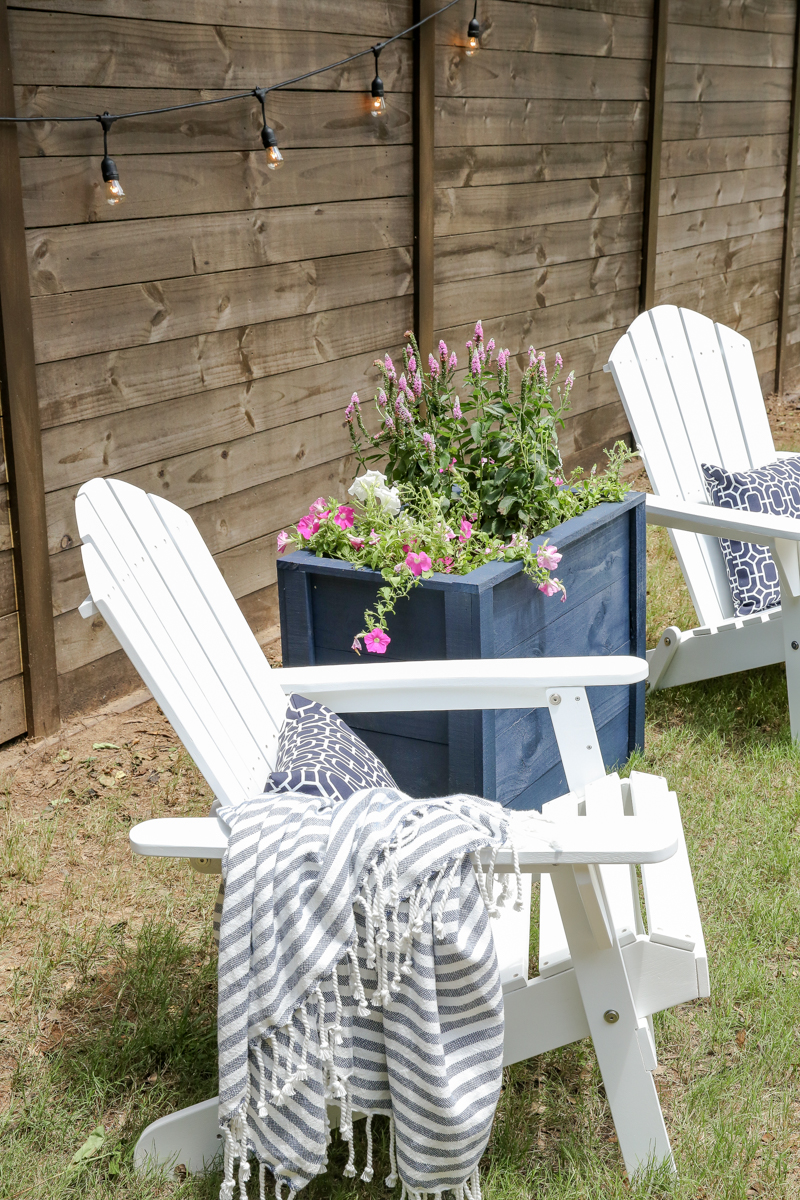
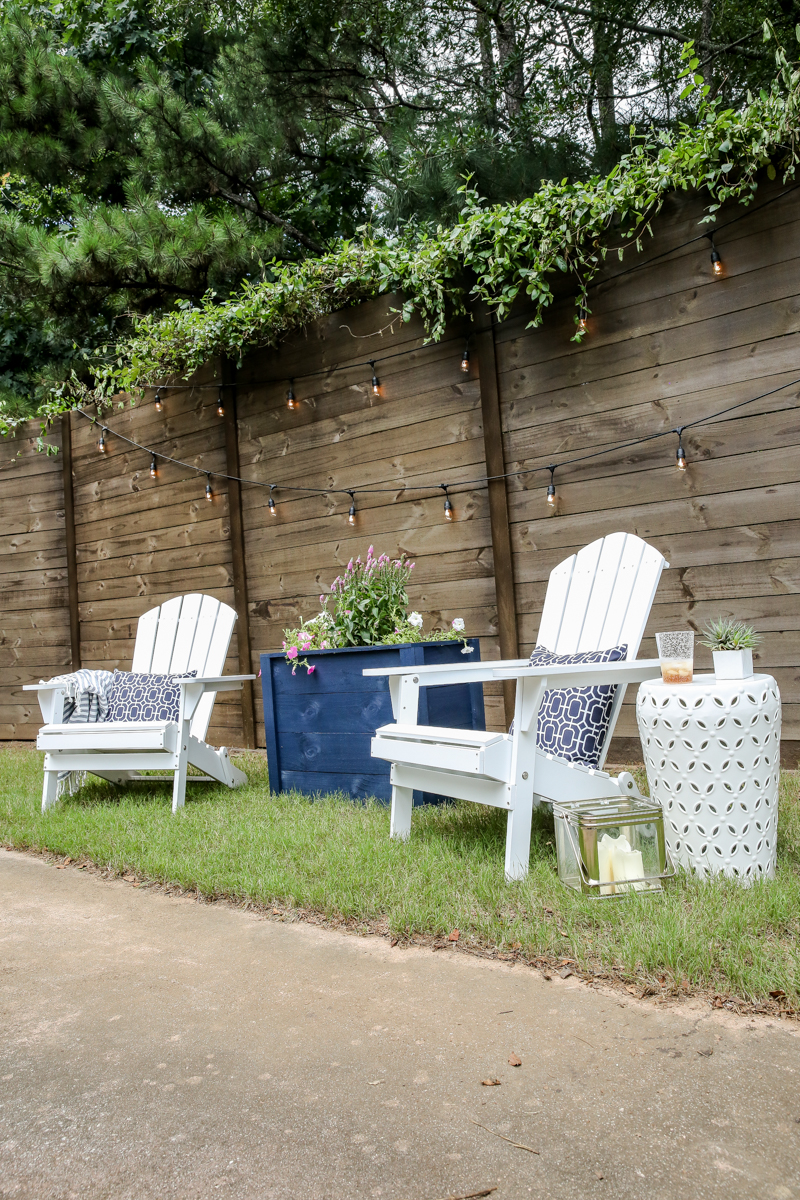
I decided to have it down below in our backyard and I have an ongoing theme down there with blues (hey katie – spoiler alert. Blue is an ongoing theme in your whole house ;))
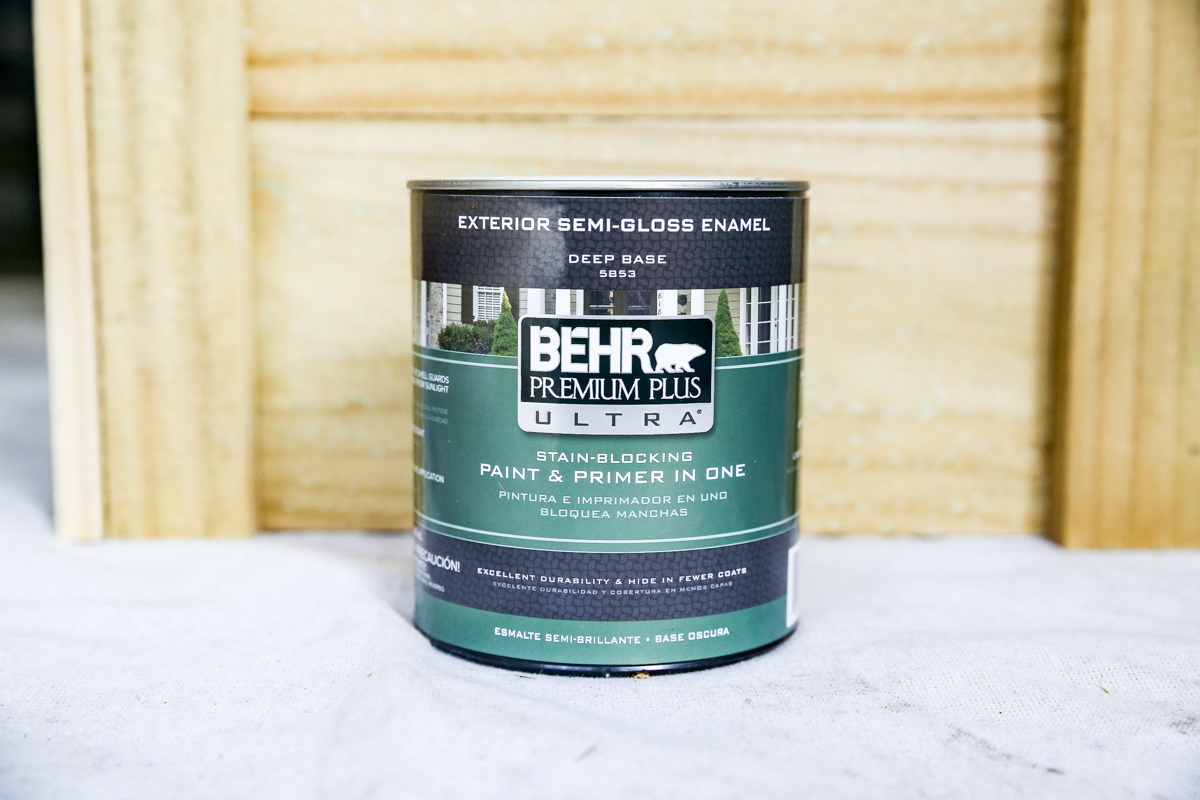
I went with this rich navy blue color with the BEHR Premium Plus Ultra Exterior Semi Gloss paint and LOVE it.
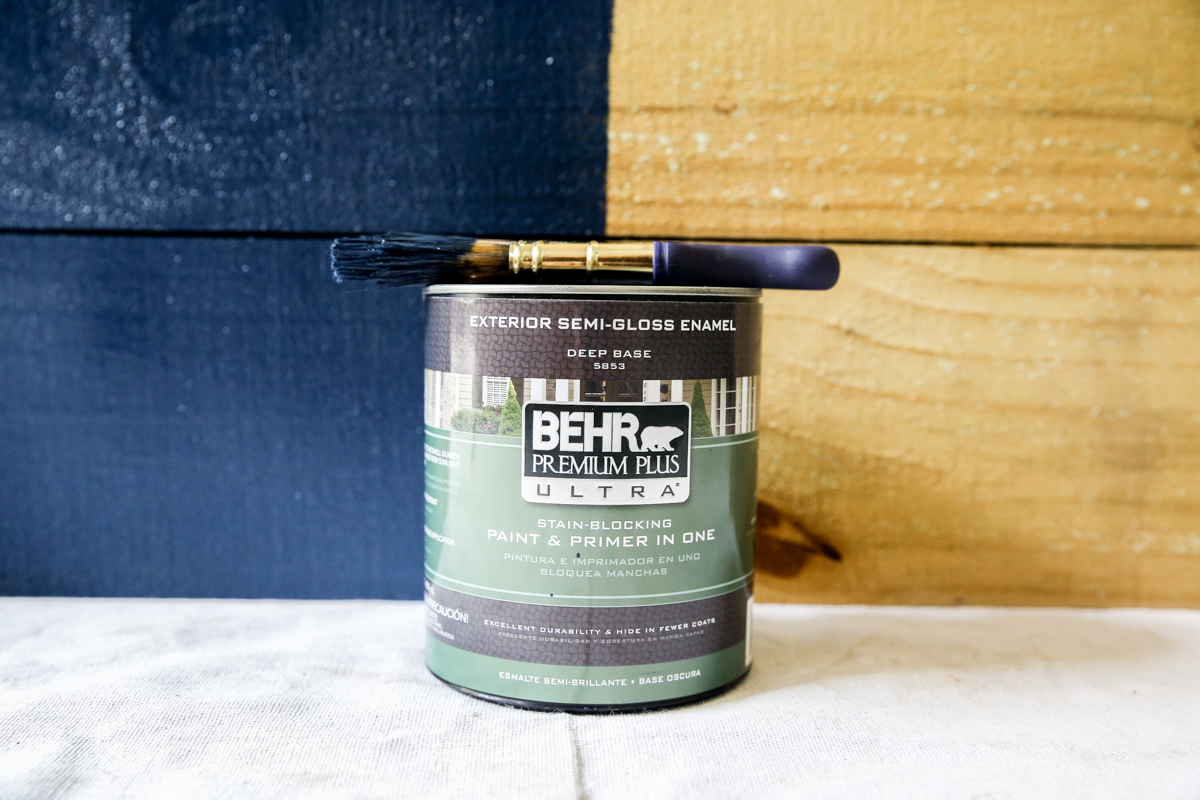
After a bit of paint and some flowers in the planter box, we went from this…..
To this….
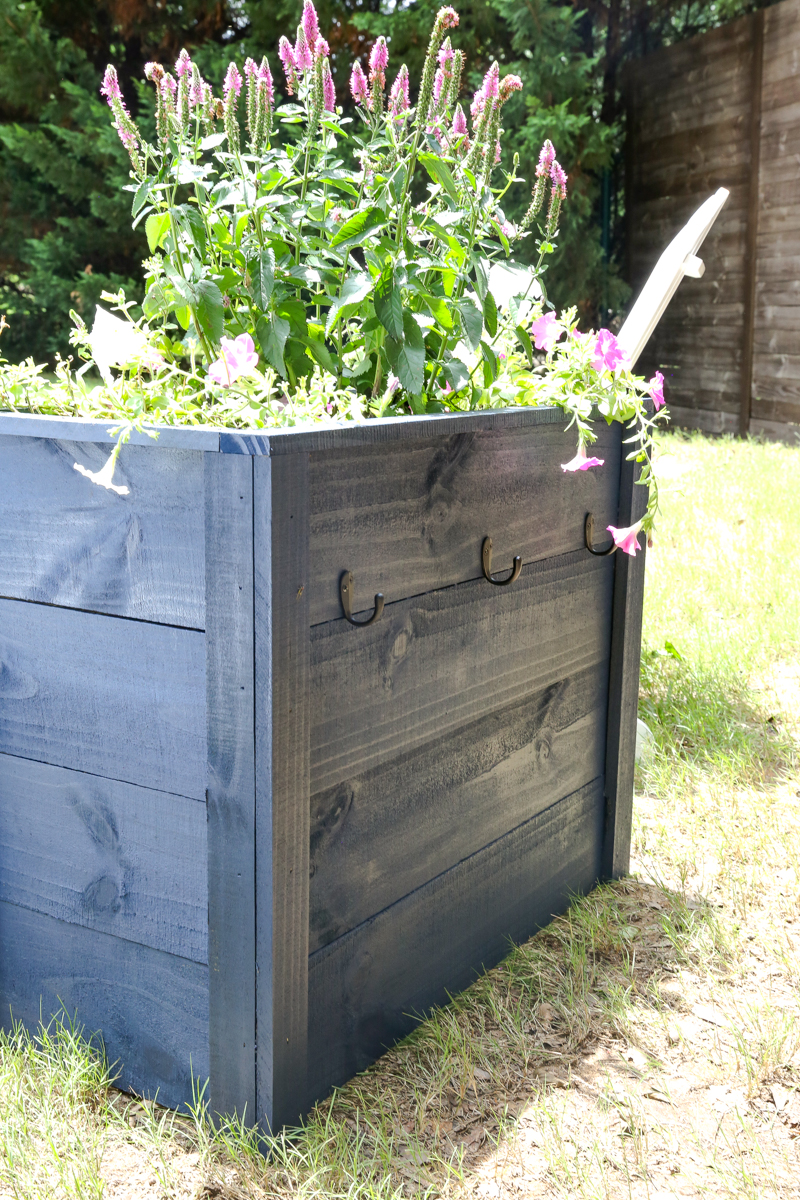
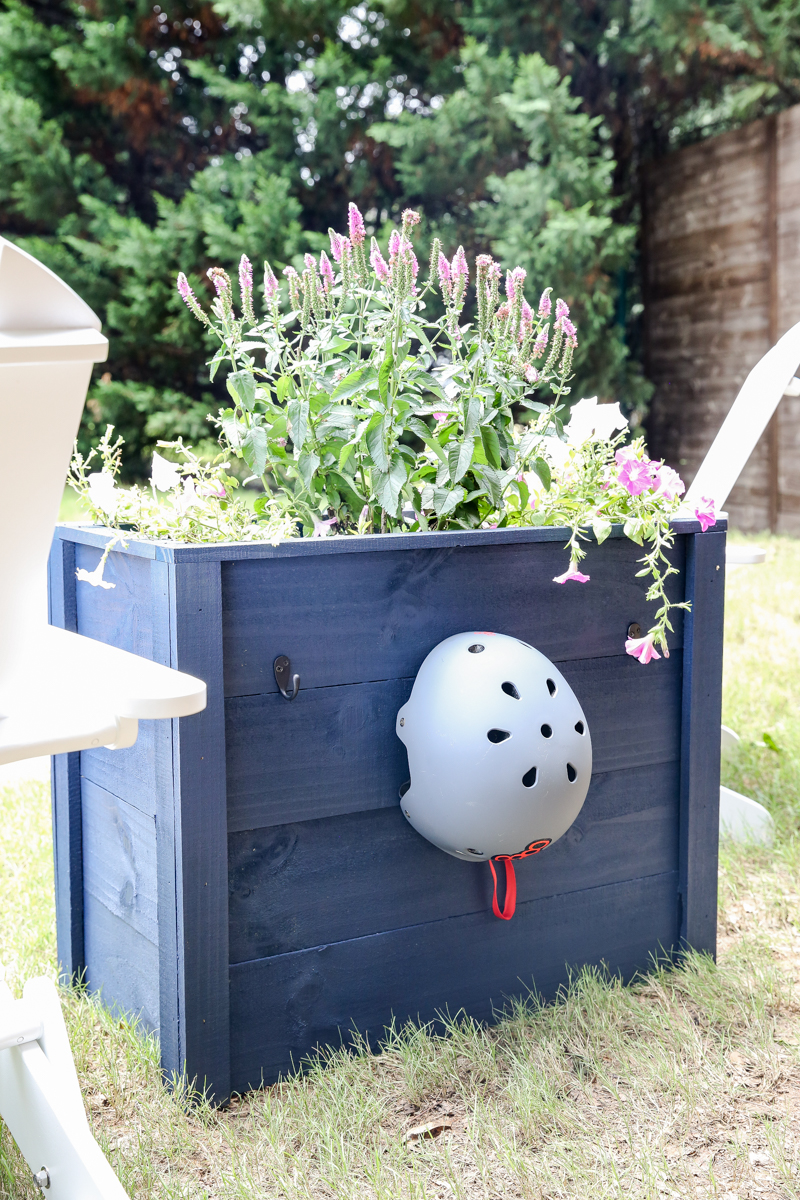
And just for kicks on the backside, I added a few hooks. Because let’s be honest – we like hooks on just about anything and everything. We are hook people.
I use them for hanging up helmets and for hanging my water bottle and for my gardening gloves and even my kids shirts when they inevitably get wet and gross 🙂
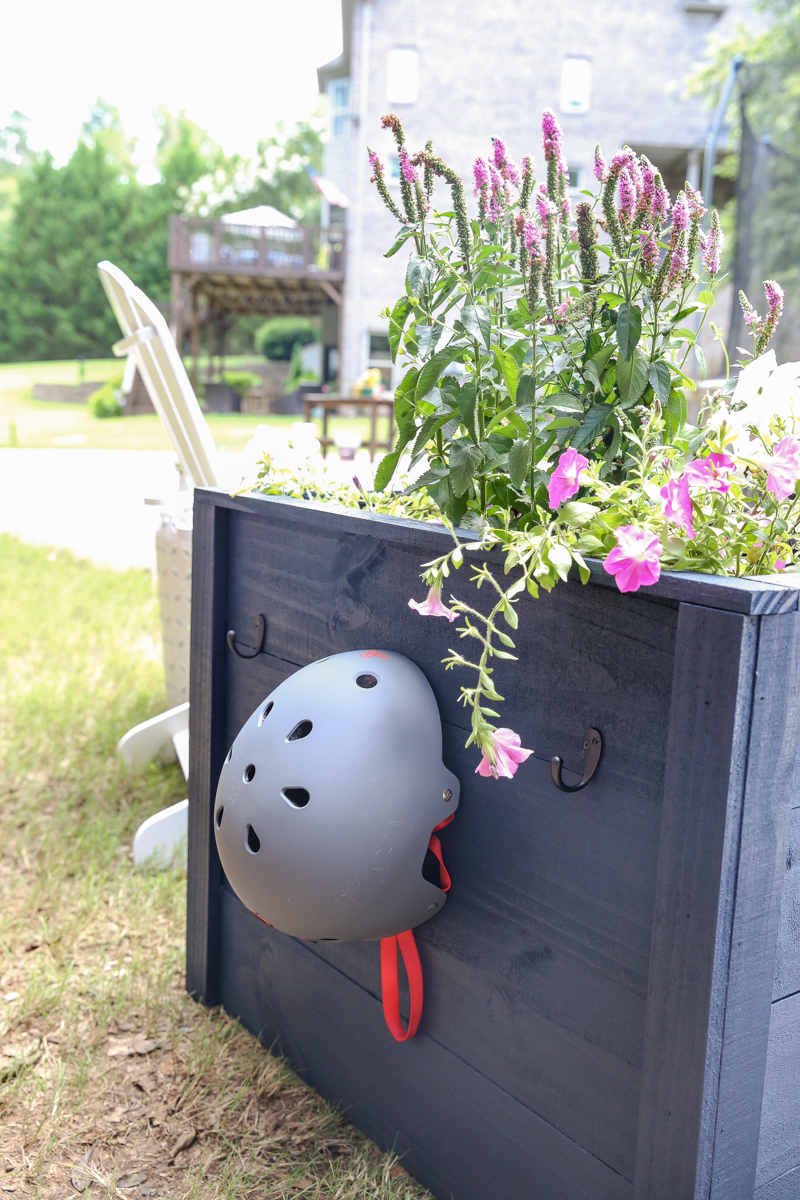
But the idea here is to make a planter multifunctional. You can add a bottle opener if that is more your jam. Or perhaps a flip out shelf if you need a spot for a drink. The point is – this planter is low to the ground and perfect to pull double duty as a pretty AND functional item.
Happy DIYing!
And DON’T FORGET – if you do decide to build this, let me know! I love seeing completed projects!
Katie, do you operate the table saw yourself? I bought one several years ago, but I’m apprehensive (ok, scared) to use it. I have no issues with a miter saw, jig saw, etc., but that table saw is another issue. Can you give me some tips? (I’m a 72-year-old retired grandma who builds lots of stuff — just not with a table saw.)
Oh Frances – it is super intimidating….I totally get it! But you are an inspiration! I would definitely get a push block and a featherboard if you feel the slightest uncomfortable. There are lots of great options out there that increase the safety and make it easy!
xo – kb
Such a great tutorial but the idea of a bottle opener on the back is the stroke of genius I needed to actually make this happen!
Great instructions! The final finish is just awesome.