Welcome to wood flooring week! This week we are hoping to walk you through all the ins and outs of our first foray into refinishing our wood floors. Exciting? YES INDEED. Wood floors cover 95% of our first floor and all of our stairway and an upstairs hallway. Basically you can see wood flooring from every room in our house and that makes it prime real estate for a makeover. Changing the color of the wood flooring can dramatically change the vibe and look of our house and literally I COULD NOT BE MORE EXCITED.
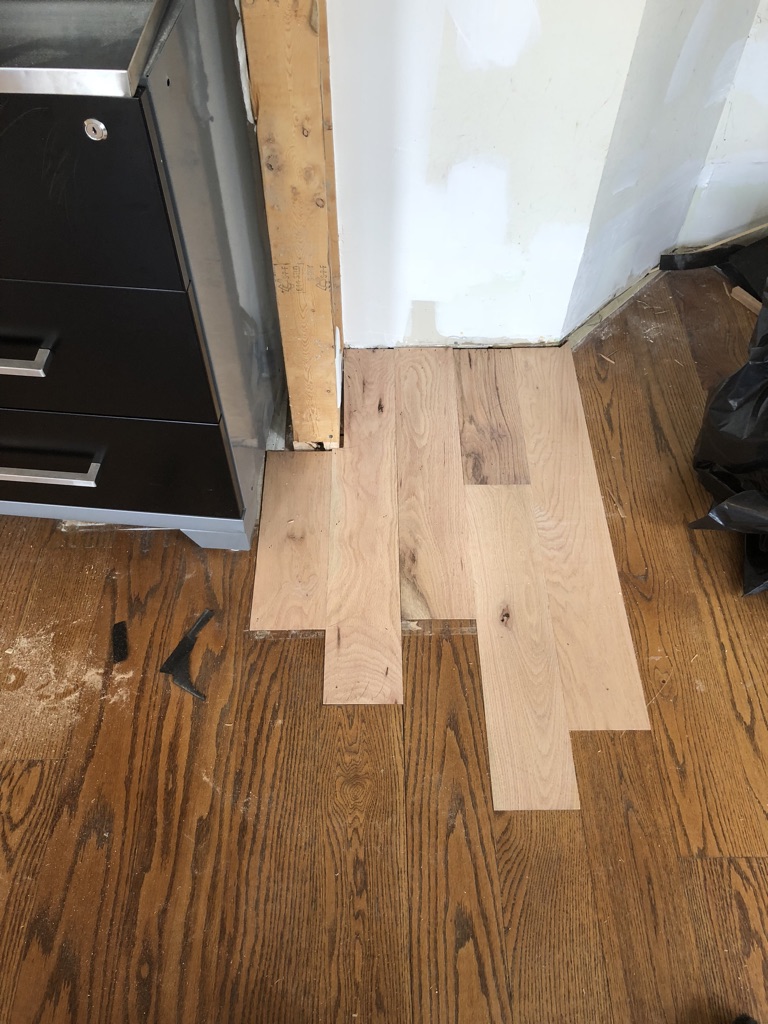
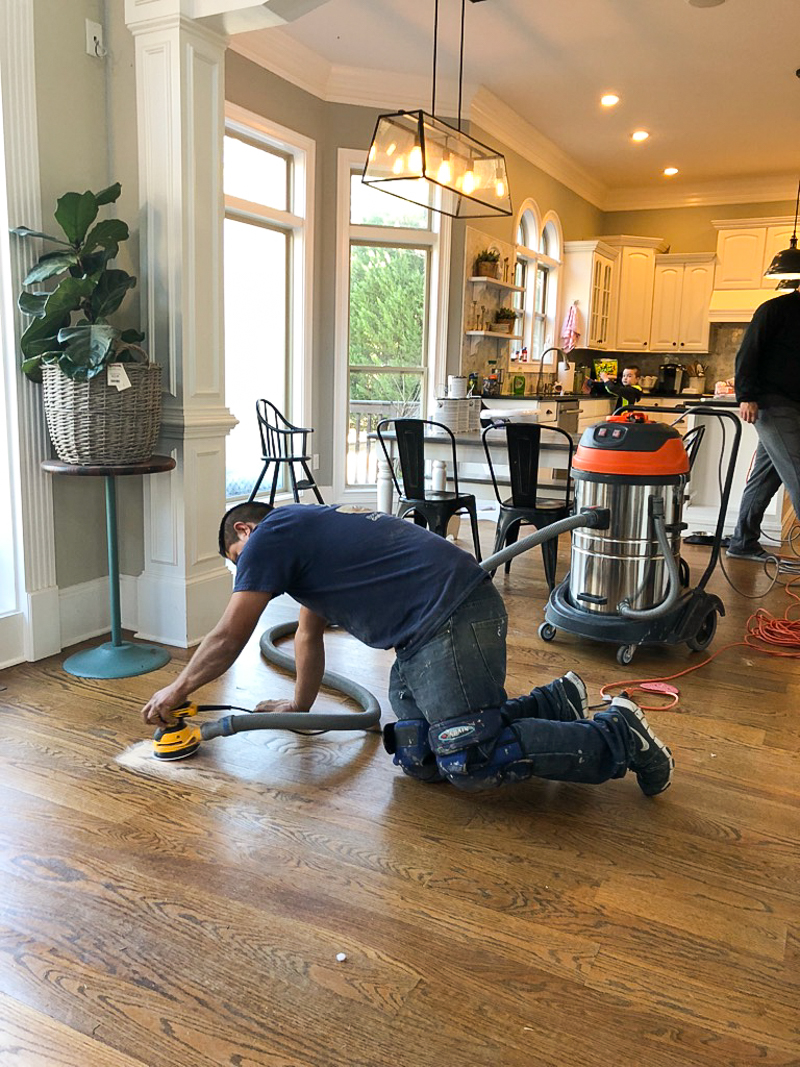
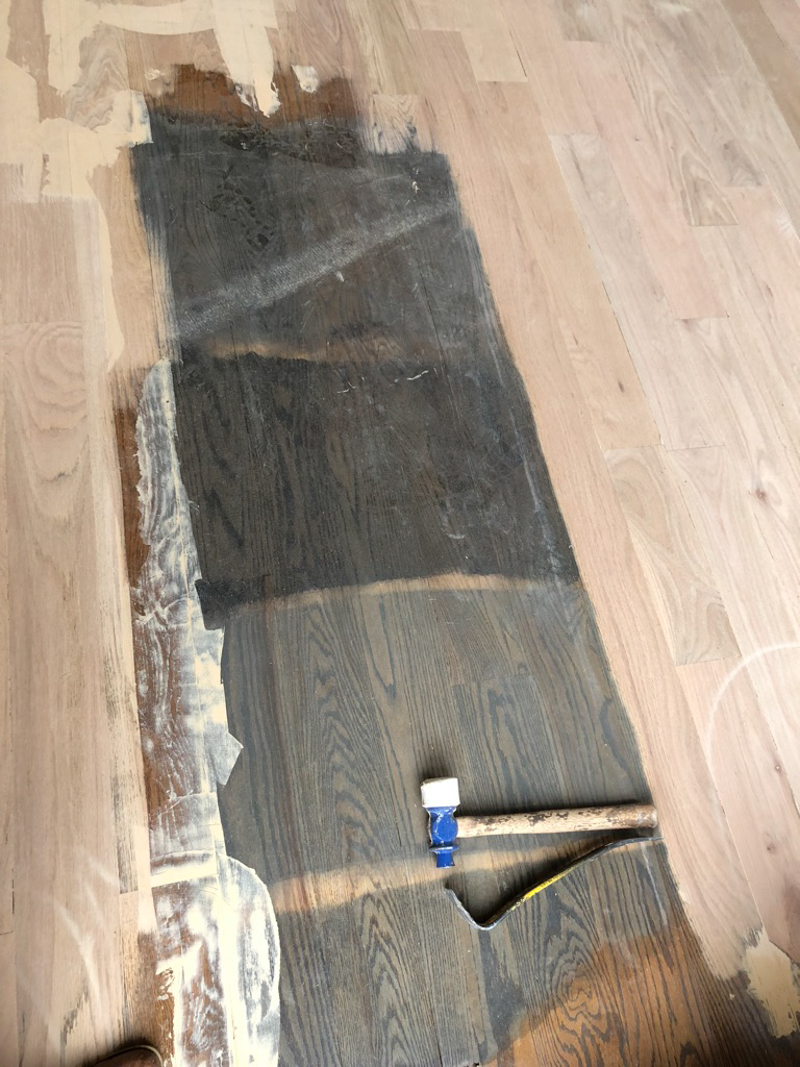
So as you may remember from this post, we are reinventing the pantry area in our kitchen (almost left the “r” out of pantry which would be a hilarious typo). When we tore out the old, there was some patchwork that needed to happen. Diego was the man who tackled this for us and we quickly realized that if the price was right, we would need to have the floors refinished. After some negotiations, we figured that it was high time to take the plunge and the rest is history!
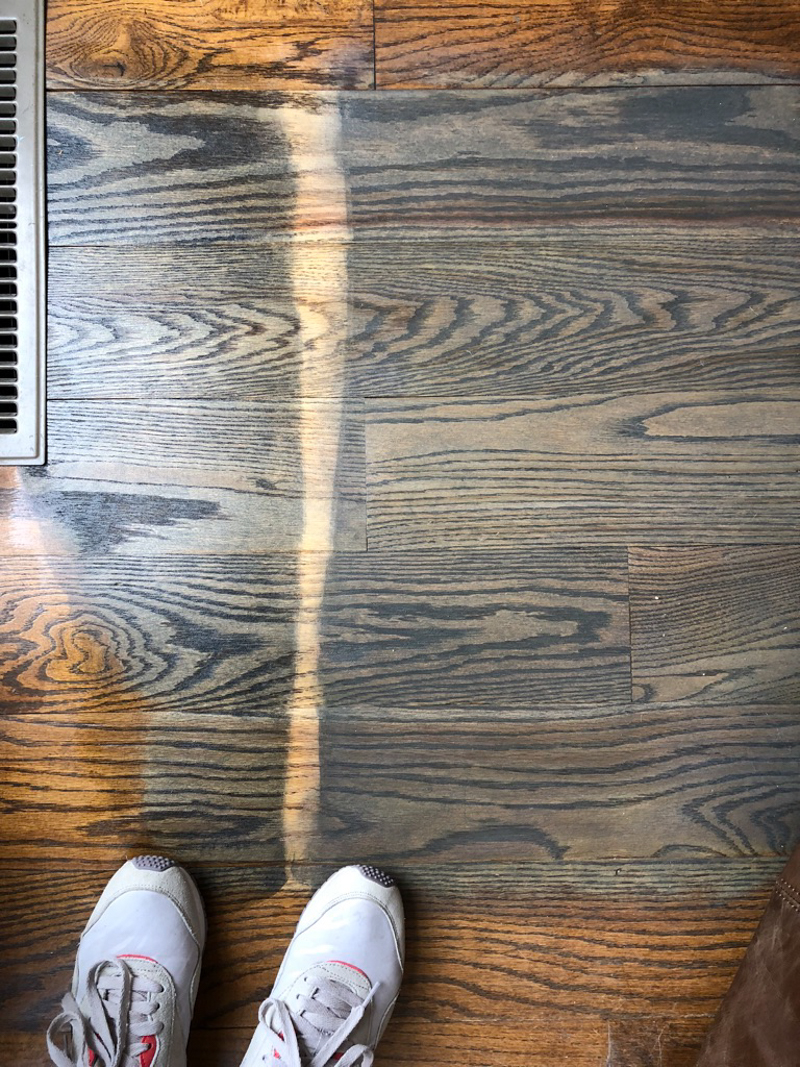
The patchwork area isn’t the only problem area for us….more on that later this week. You will definitely see how it wasn’t just one area that justified refinishing 🙁 AND we have always hated the color. It was just too orange for our preference. Add some warm white lighting to the mix and they would get aggressively orange. Then add our fairly neutral home into the mix, the floors were like a bright orange stop sign against all this neutral backdrop.
So now that we established some back info, I’m sure you understand why I was adamant that the new color be absolutely PERFECT. After all….moving EVERYTHING out of our first floor is no small task. There was no way I wanted to stain everything just to go back through and sand it all off again. SO if you are wondering how we picked our new color and our best tips for picking a color that works for YOU, this is the post. You are in the right spot.
TIP #1 – KNOW YOUR STAIN BRANDS
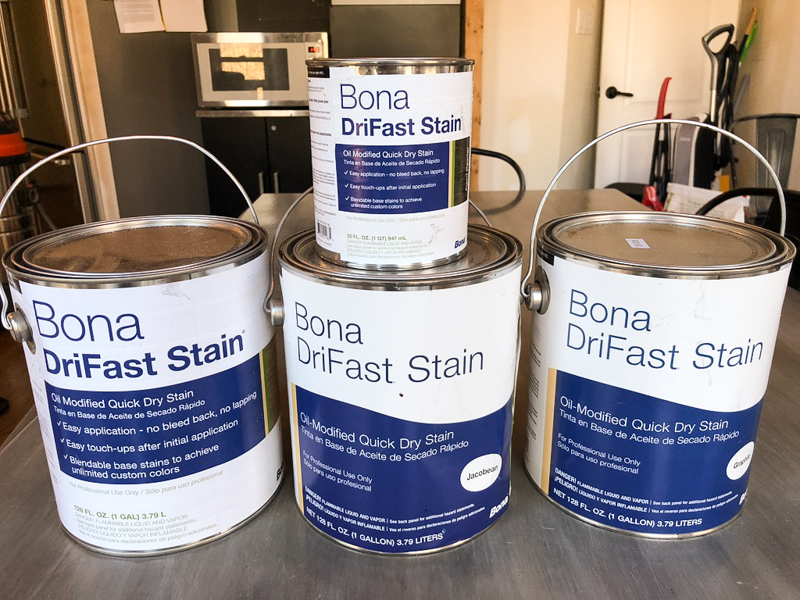
There are a ton of different types of different floor stain brands out there but they all have different types of stain and features that might fit your lifestyle, color scheme and needs. We needed a stain that would dry fast, be able to be custom mixed and had a base that would work with several different rooms in several different types of lighting. We talked to a guy at the flooring supply store before landing on the brand we knew would fit us well.
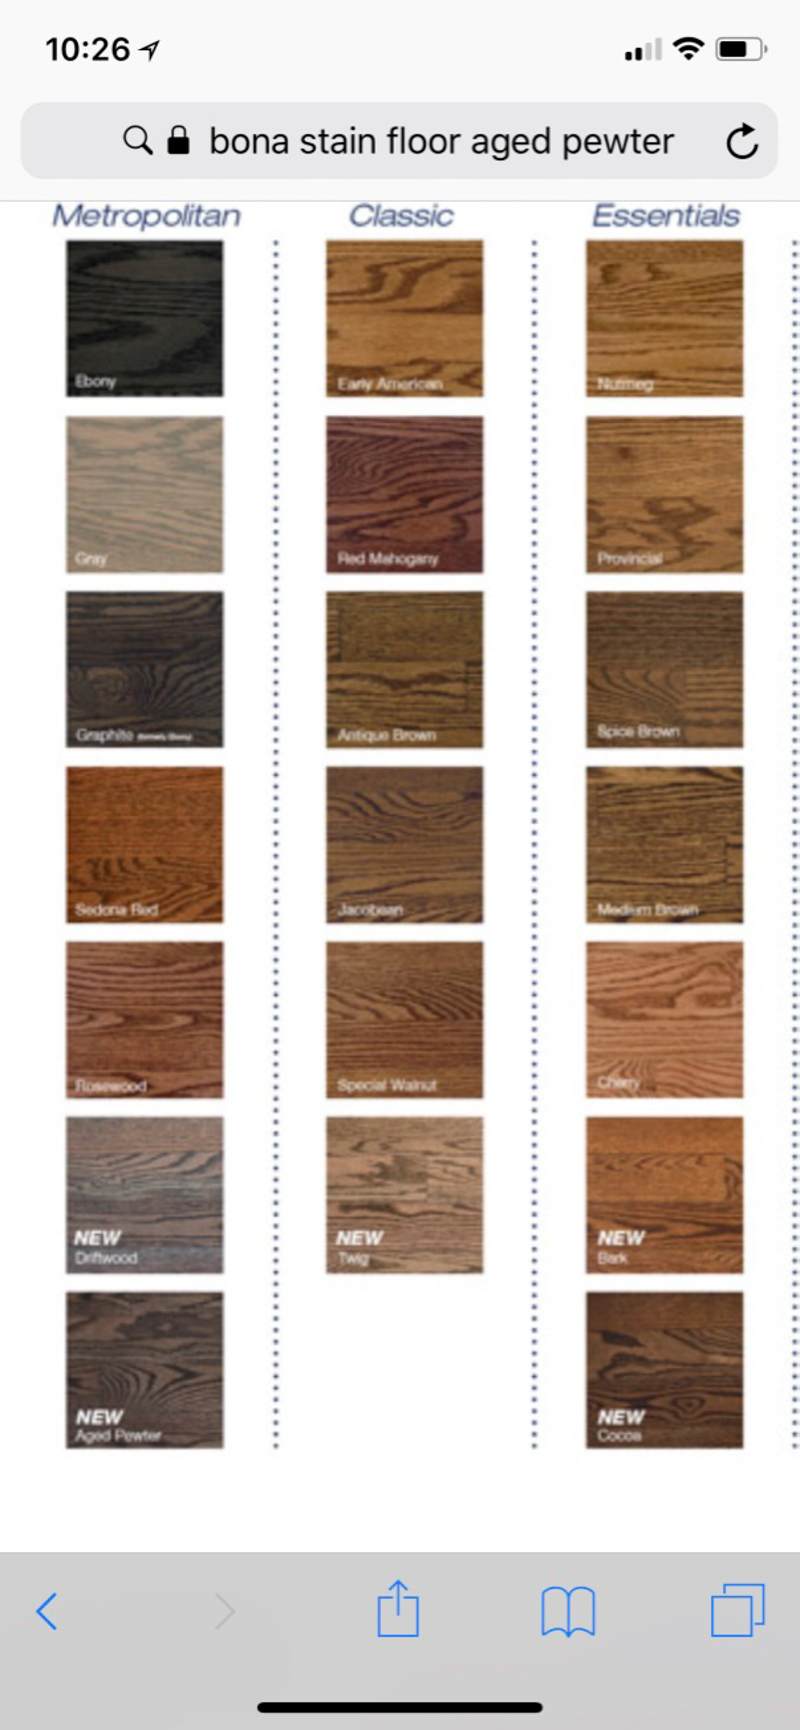
In the end, we did choose based on color first, dry time second and fell in love with the undertones of Bona’s Aged Pewter. It wasn’t too warm, too gray or too trendy. It just felt like a good mix. BUT we also wanted to be sure to try them in our house because things can look different in different lighting situations.
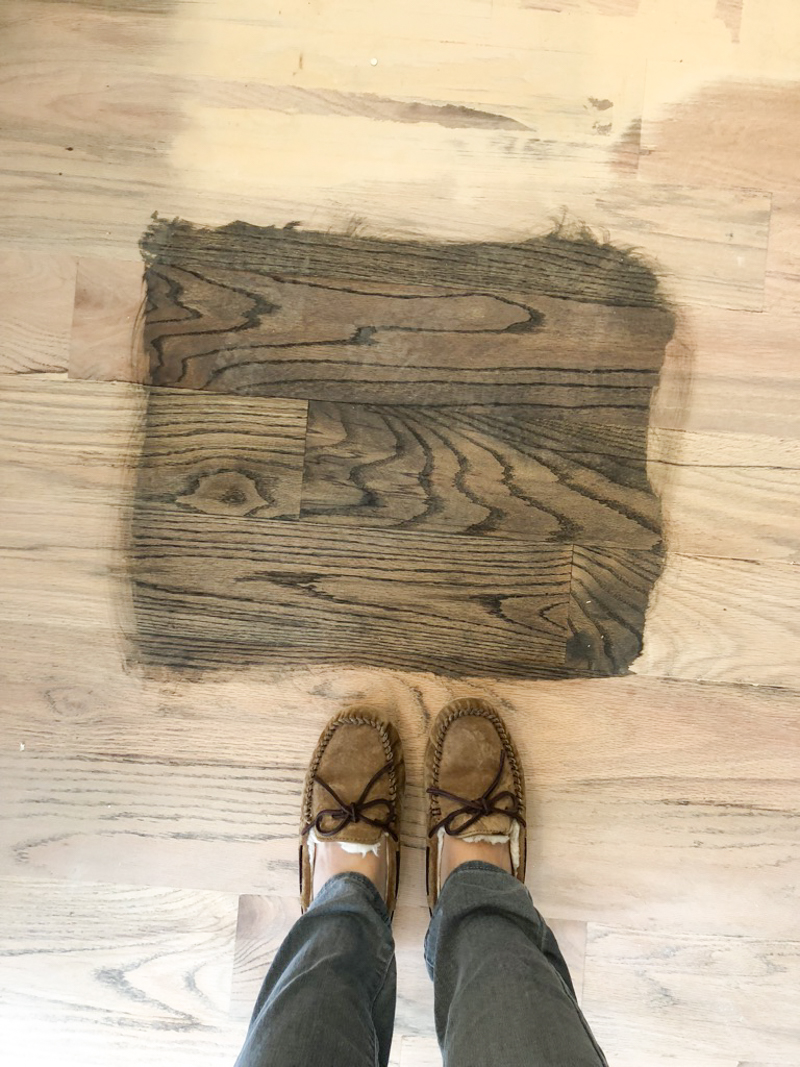
We have red oak floors that basically make everything look a little more red.
Next came a crucial step –
TIP #2 – SAMPLE ALL THE COLORS ON A BIG SPACE
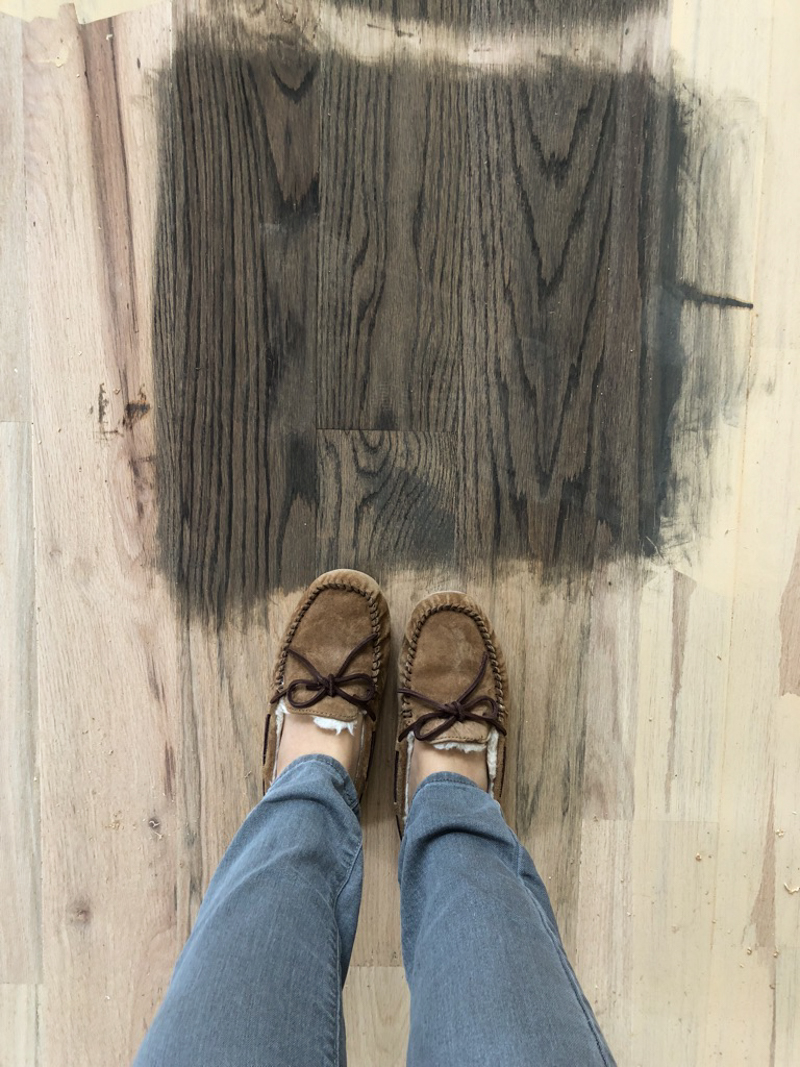
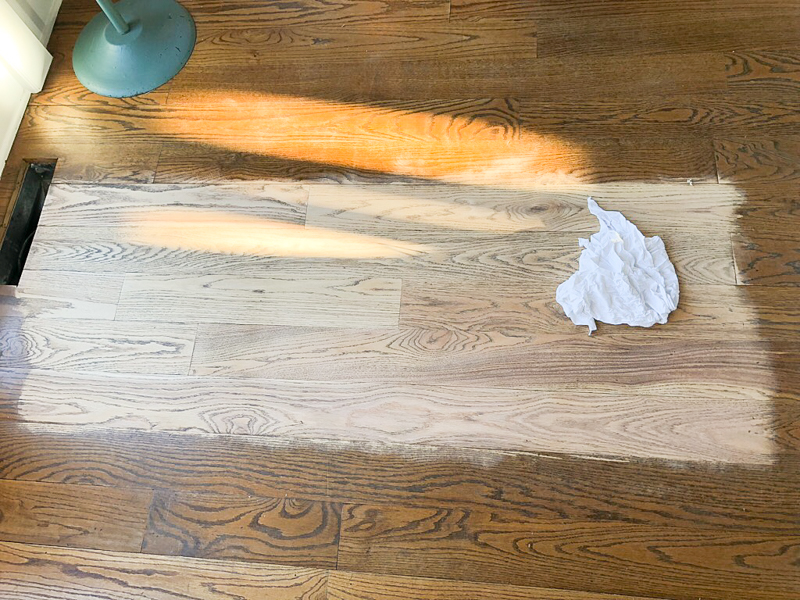
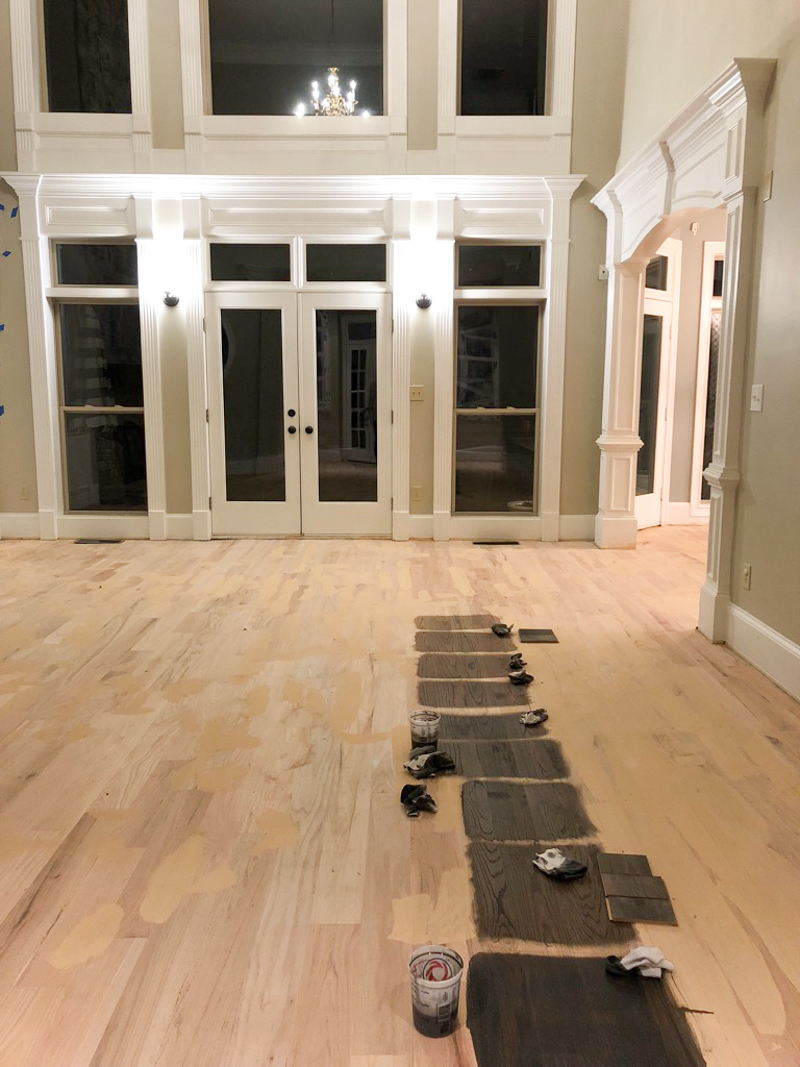
The key here is the size that you are sampling. The stain can react differently to different boards – that makes a huge difference in the end so make sure your samples cover a big space. Make sure to mix your stains very well before sampling them.
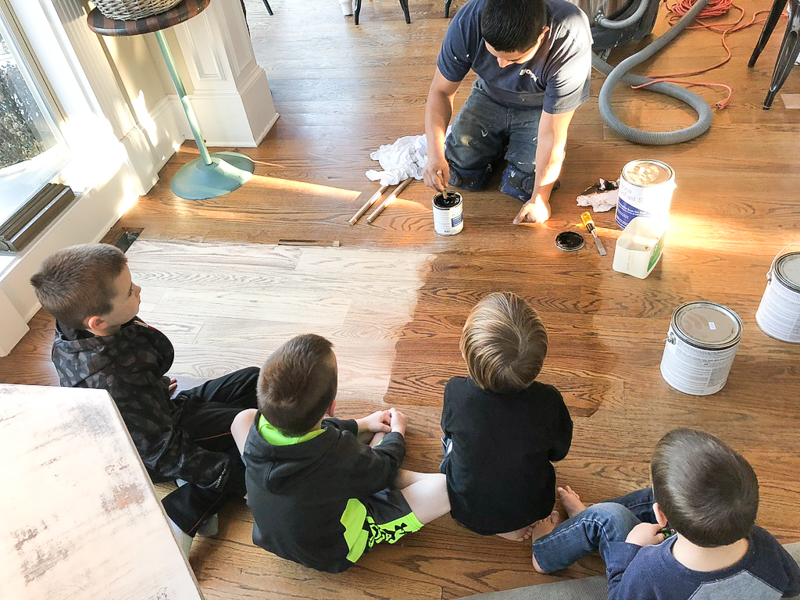
Diego went through our top three choices for undertones and in the end, we still liked the Aged Pewter.
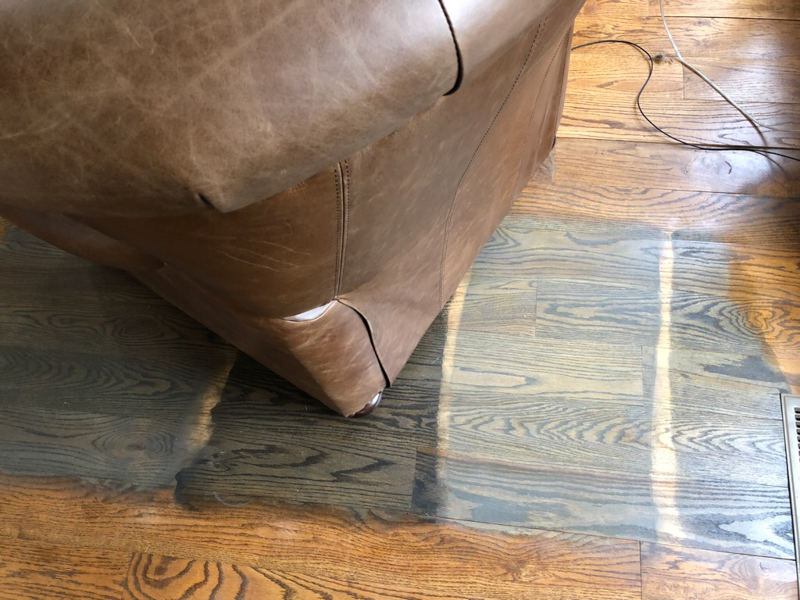
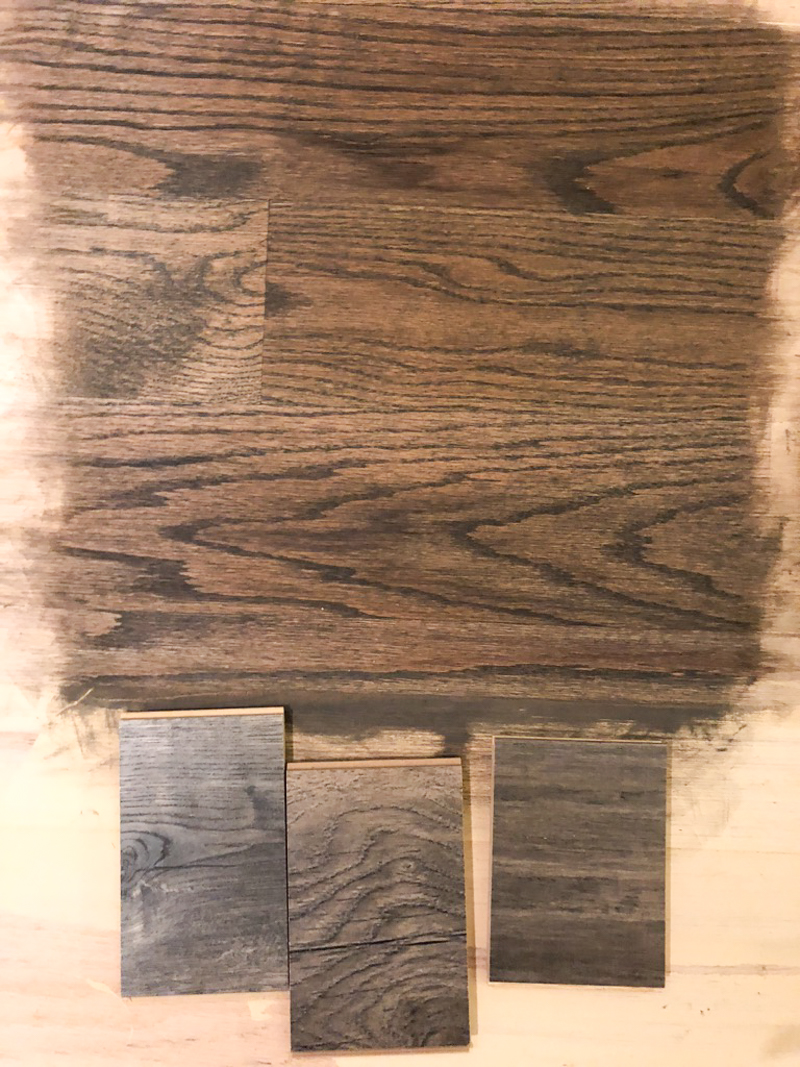
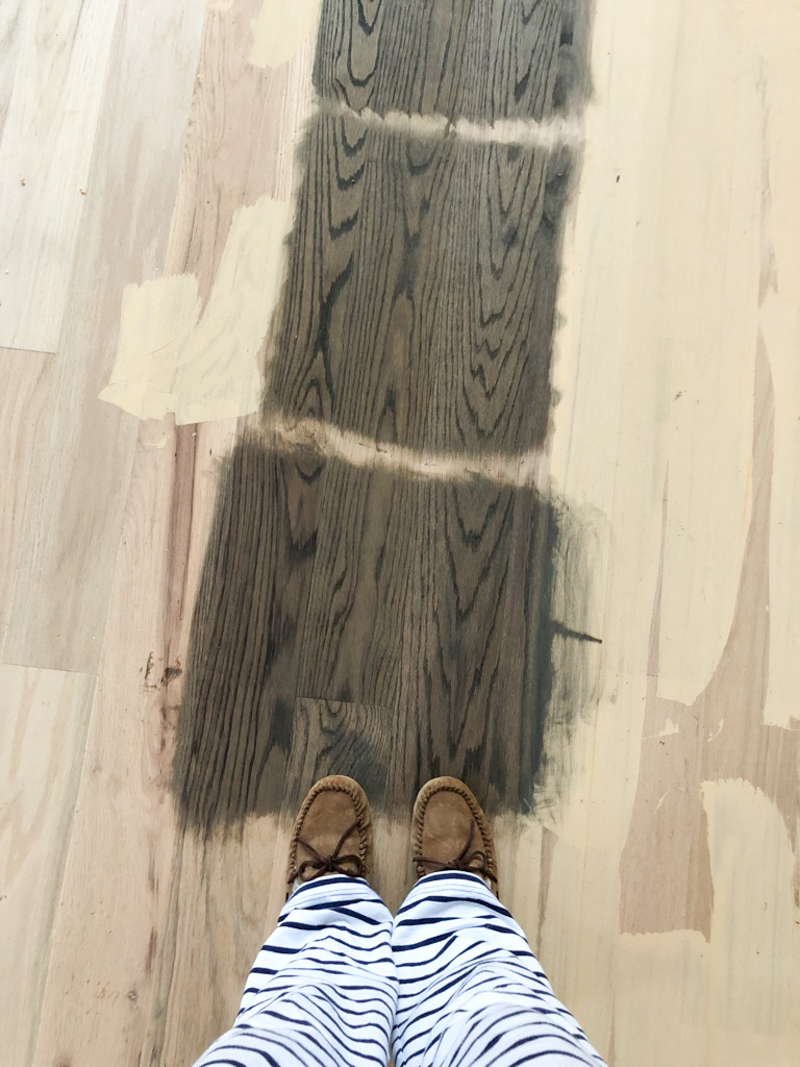
Aged pewter is the one on the far left (mixed 1 to 1 with Bona Gray….still too dark) and the two on the far right in the photo below (mixed 2 to 1 and 3 to 1 with the Bona gray to lighten it). Unfortunately we didn’t like the fact that the Bona gray, although did a great job of diluting the color, it also made the stain look hazy. (under the chair leg is Bona Graphite for those wondering)
But we loved the darker grains and the variations of color. Red could pop through a bit, as could more grays and more brown. We just needed to be sure though.
Those four samples lived there for a while we tried to figure out our game plan.
TIP #3 – FIND INSPIRATION ONLINE
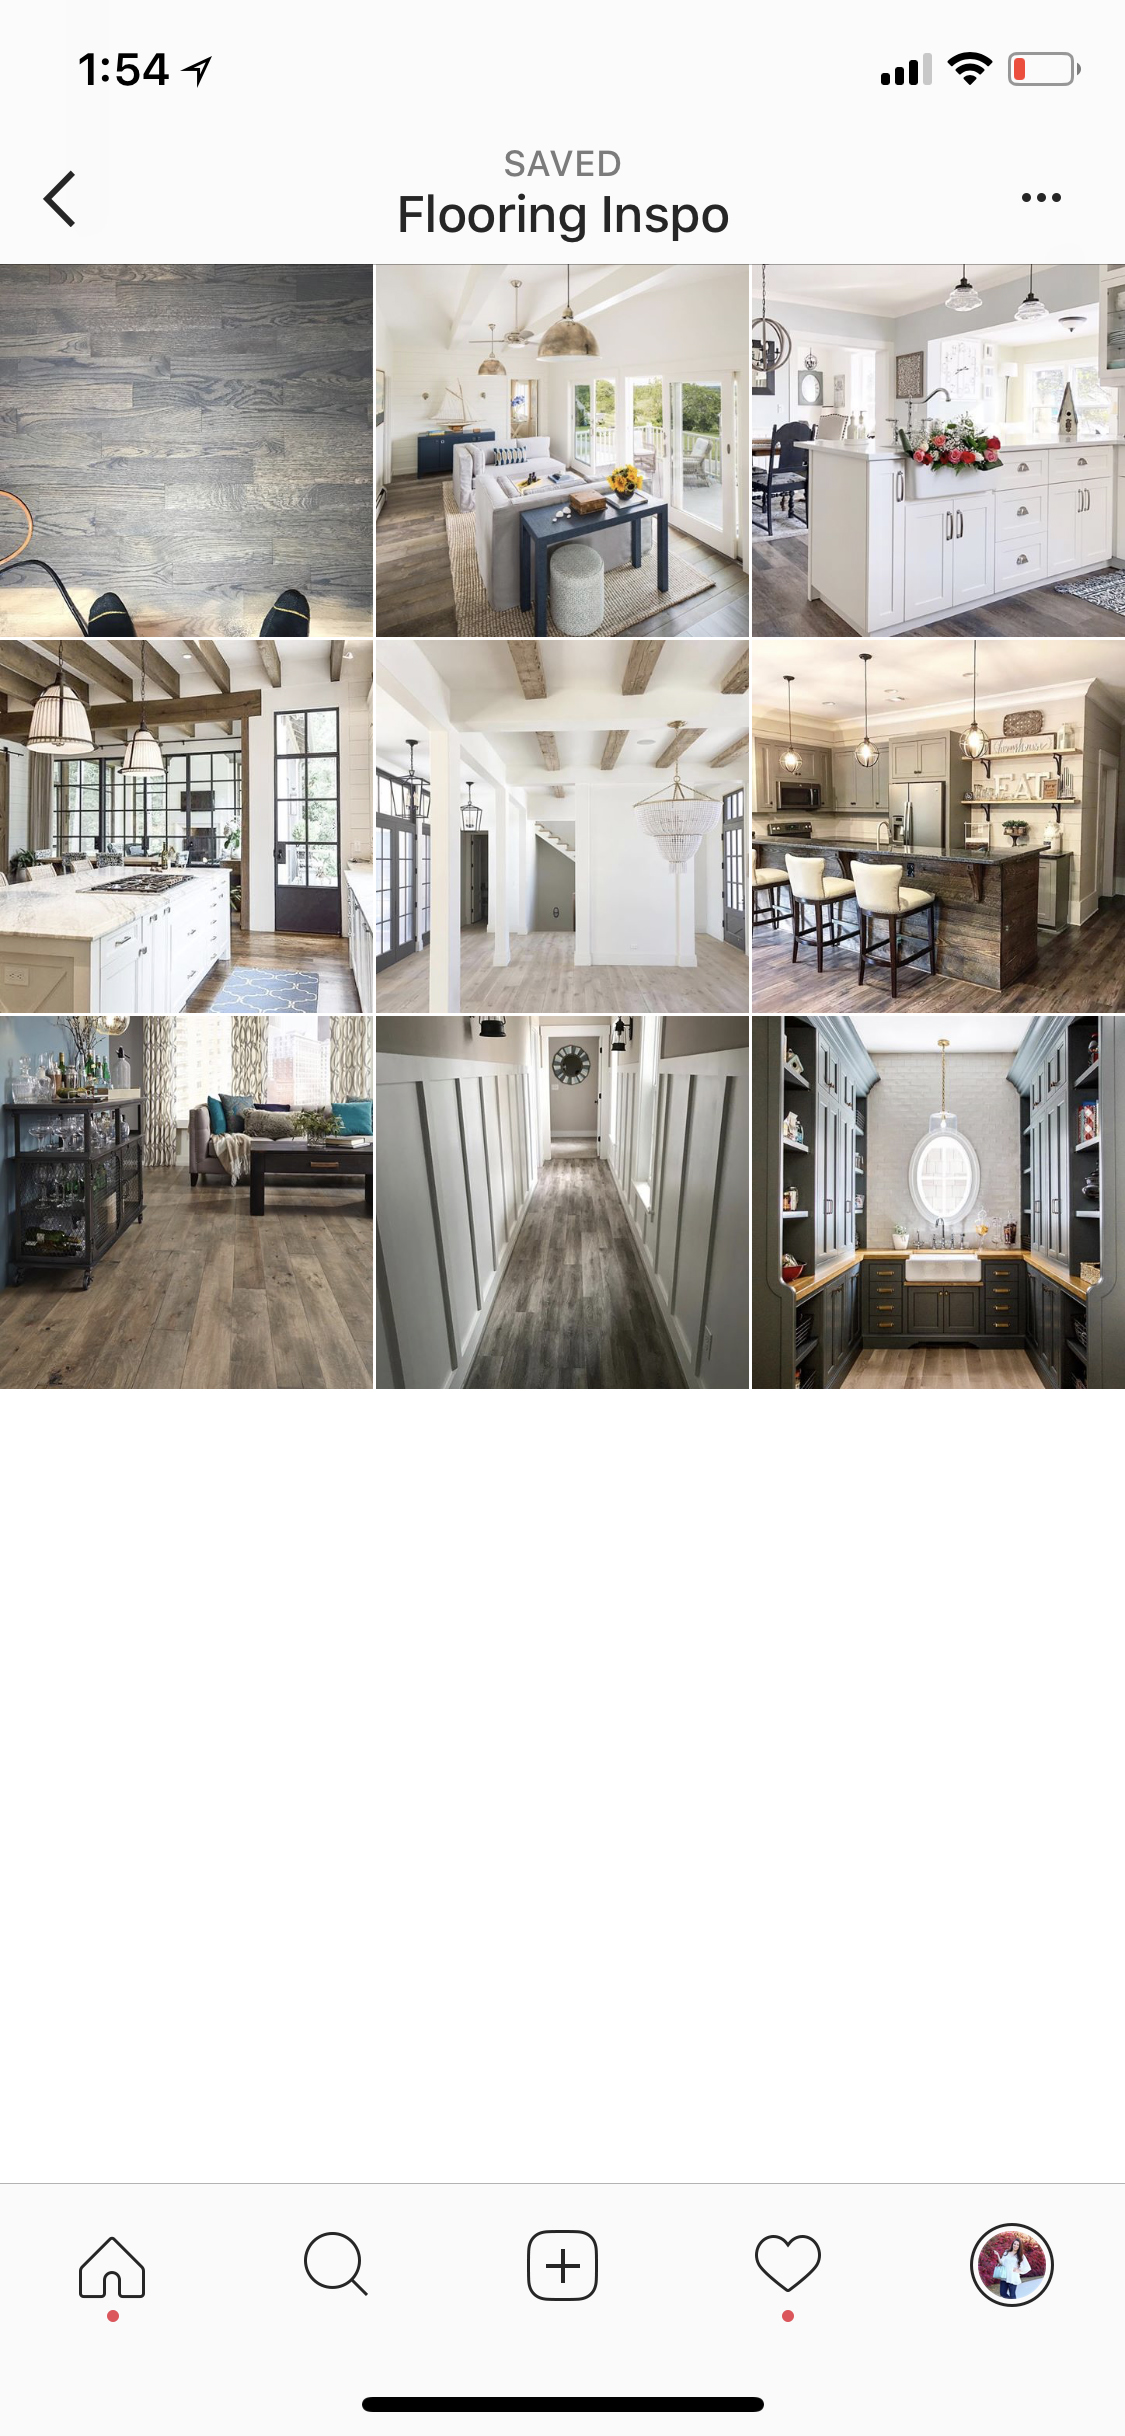
Part of my problem is that when I see things, I like them. I don’t know if that is just a personality thing or that I don’t really know what I love or that maybe I just see potential in everything. Maybe I’m just confused 🙂 Like I’ve said before – I’m not a professional. But the one thing that really helped when it came to picking out a color was looking online or on Instagram for inspiration. It helped me stay focused on the goal at hand. And I was able to see the ‘big picture’ (even when it was only about 2″x2″). I really loved being able to create a category on Instagram (creatively named “Flooring Inspo”) and save pics that seemed to be close what I was looking for in my own life. These were all in one place and I could see common themes – like medium tones, varied coloration and depth of stain, and even that I was drawn to the more gray/brown look.
TIP #4 – USE FLOORING SAMPLES TO GUIDE YOU
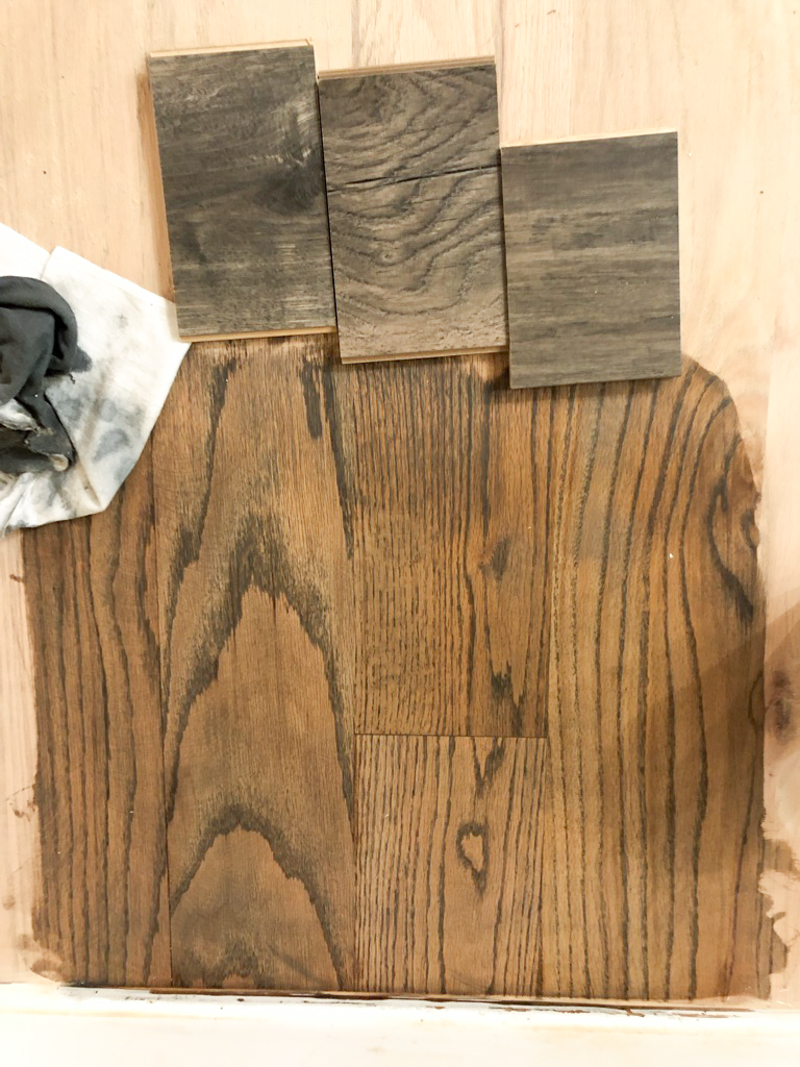
Since I had established what look I was going for with my inspiration photos and the brand I wanted to use that had features that would work for our process, now it was just time to actually FIND the color. But remember how different stain looks different on different wood in different lighting? Yeah. Felt like a needle in a haystack. So what I did was realize I needed a constant. I needed a piece of flooring that was DONE that I could carry around and compare in different lighting. So I ran to The Home Depot and picked up three different flooring samples that were in the color family that I loved. Those samples became my guide. They were close to the inspiration photos (CHECK!) and I was determined to find out what stain in Bona could be custom mixed to establish those colors.
As I mixed my stains and tried them out in different areas of the house, I could carry my samples with me to the other rooms and see exactly how close they were to being my desired color. And that leads me to my next tip….
TIP #5 – TEST IN DIFFERENT ROOMS IN DIFFERENT LIGHTING
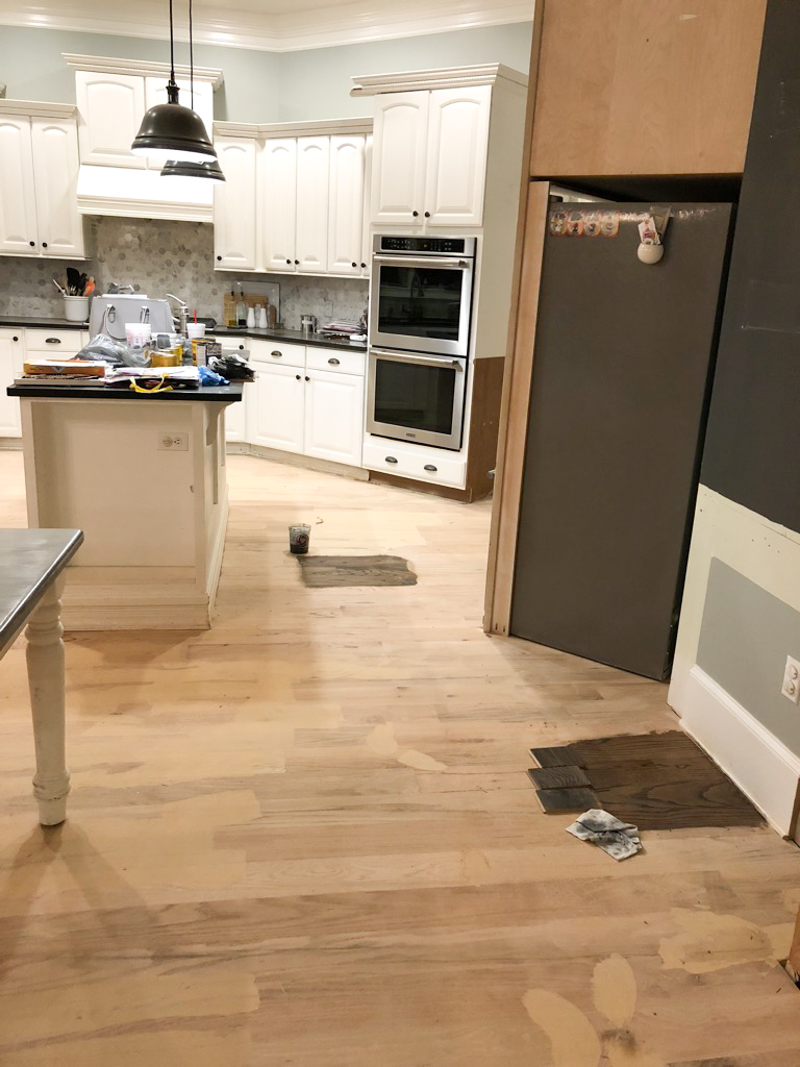
The color stain you love in full daylight might drive you nuts in your rooms with only tungsten lighting. And you may love it against your rugs in the dining room but realize it looks terrible with your cabinetry. The key here to find a color that you love in different rooms and in different lighting situations. It’s very important to test your stains in multiple areas.
TIP #6 – TEST YOUR COLOR AGAINST WHITE
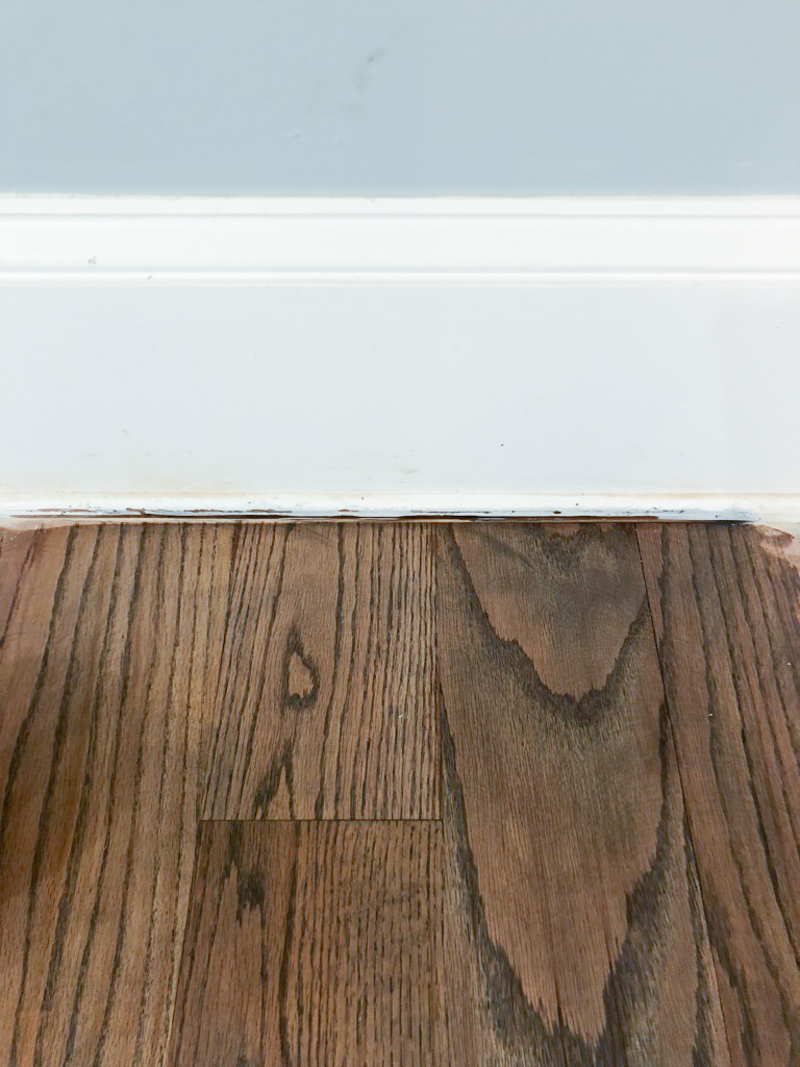
This may sound crazy but white to me is the ultimate baseline. Once I put a flooring sample next to white, I can quickly see whether it will be too dark, too light or too warm or too cold. My moldings are all painted white and that makes them a universal guide in our house. I took several pictures of the stains against the floor trim to see how it would hold it’s own (cropping out the other colors that could influence how your brain processes color is very important).
TIP #7 – REALIZE THAT OTHER THINGS WILL AFFECT THE COLOR
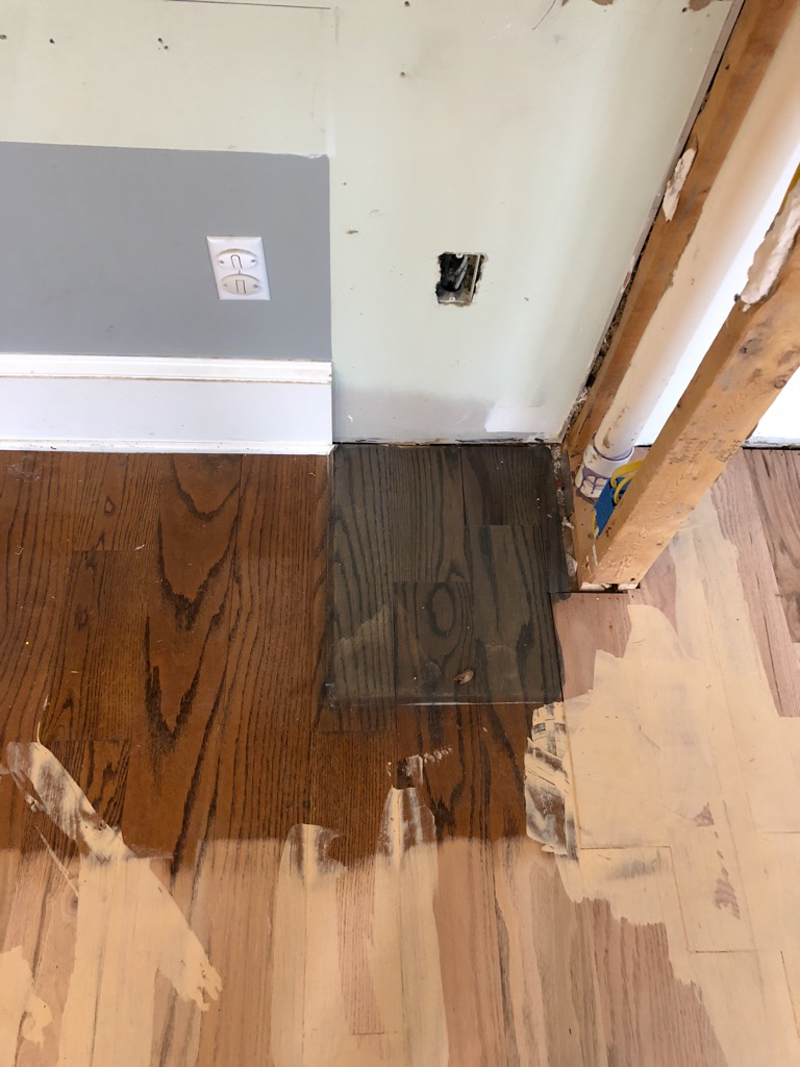
If you sample a color on raw wood and it is next to a red, the color you are sampling will read differently. If you are sampling a color and it is next to a painted wall, it will read differently. If you are sampling a color and then put a sheen on top (like a poly) it can change the color and the way your brain processes it. For example, we tested the SAME COLOR in two different spots and took pics. These are unedited and this is how differently the same stain appears differently according to differing factors (surrounding colors, lighting, etc.)….
TIP #8 – MIX, MIX and MIX SOME MORE
I knew I liked the undertones of the Bona Aged Pewter but I didn’t want it to be so dark, so I grabbed some measuring bowls at Home Depot and some different brands of lighter gray stain and tried to figure out the PERFECT gray brown stain for our red oak floors. Having marked measuring cups and a whole slew of rags was like a message from heaven….it said “mix and you will find it!”
In the end, I mixed 5 parts Minwax’s Classic Gray to 1 part Bona’s Aged Pewter and it was the right color combo. The classic gray isn’t anything but a dilution to the Aged Pewter which has the pigment in the color that we love.
And yes, I wear these slippers all the time. In fact, I’m even wearing them now. #theslipperlife
After you mix your colors (and remember to stir the cans of stain (no shaking!) REALLY well before the mixing process. The pigment can settle to the bottom and it can alter the end result. The final result is testing your color with the finishing process on top….whether that is oil based or water based poly. Those can alter the stain color and you want to be sure you love it in the end!
Hopefully you will find the perfect color for your own floors and I hope you share them with me because there is nothing I love more than a good before & after! Speaking of….y’all want to get this party started? Come back tomorrow to see the before photos of this flooring adventure and I’ll walk you through the process of the staining!
Perfectly timed post! We are moving next month and having the floors refinished and I am just getting ready to meet with the contractor. This post was so helpful!
Were your floors previously site finished or were they installed pre-finished? This looks like SO uch work! I’m sure you’re glad to have it behind you!
When we moved in, they were already site finished. It was only evident because when we removed some cabinetry, we found an unstained area of flooring!
xo – kb
My husband and I are working on plans to build a home in rural northern MN (i.e. LOTS of snow, LOTS of dirt tracked in). I have always wanted hardwood floors and am willing to make the investment but we are worried about kids and dogs. We have a very active toddler plus one on the way plus two dogs. Everyone I’ve talked to has told me that kids and dogs will RUIN hardwood so we’ve been considering putting in something like vinyl plank flooring as a “for now” flooring, let it get wrecked and then replace it with hardwood when the kids are older. I’m having a hard time with that decision since it feels like we’d be throwing money down the drain in our supposed to be forever home. It would also mean moving all the baseboards and trimming all the door trim when we go to install new flooring which is no small task. But on the other hand I would hate to spend the money on hardwood and have them look terrible within a year or two.. Anyways I just wanted to get your thoughts on the durability of hardwoods with your crew of littles and a pup? Did you guys use a specific poly or wax on top of the stain? How is it holding up so far? I would love love love update posts in the future on how you guys stave off the havoc that comes with raising little boys.
Dang it Katie…you were one week too late with this! 😛 We just got our floors refinished in our new house. Did you use water-based poly? Our contractor didn’t offer that option but holy moley have the fumes been terrible. We still haven’t moved in because I’m not comfortable exposing my dog to the house right now.
Everyone who is refinishing their floors: talk to your contractor about fumes, and make sure your windows open! (every one of our 28 windows in our 1600 sq ft house was painted shut, so it took time inside the fumey-home-of-death to get a few open which made a huge difference).
Still can’t get over this transformation! You chose wisely!!!!!!!!!
I just pulled up my carpet and the floors are really nice they was already stain i want to restain them a little darker i dont wont to sand them please help me