Disclaimer – This post is sponsored by Canon. All opinions are 100% my own.
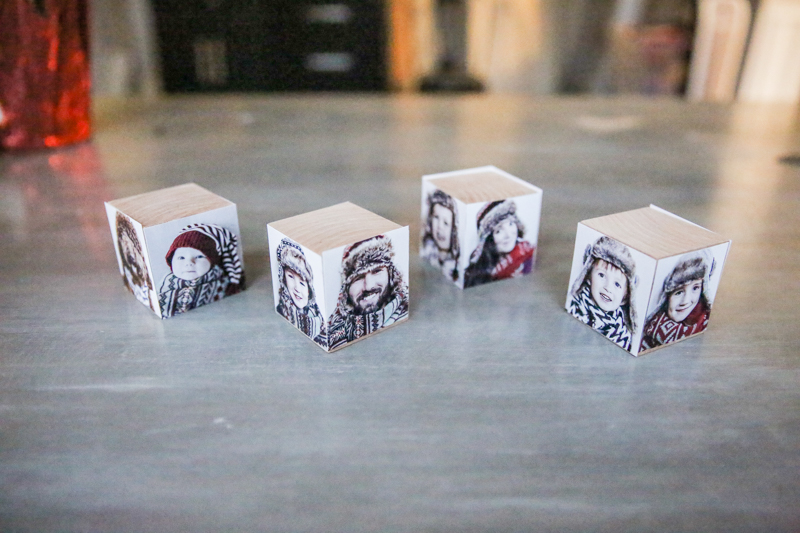
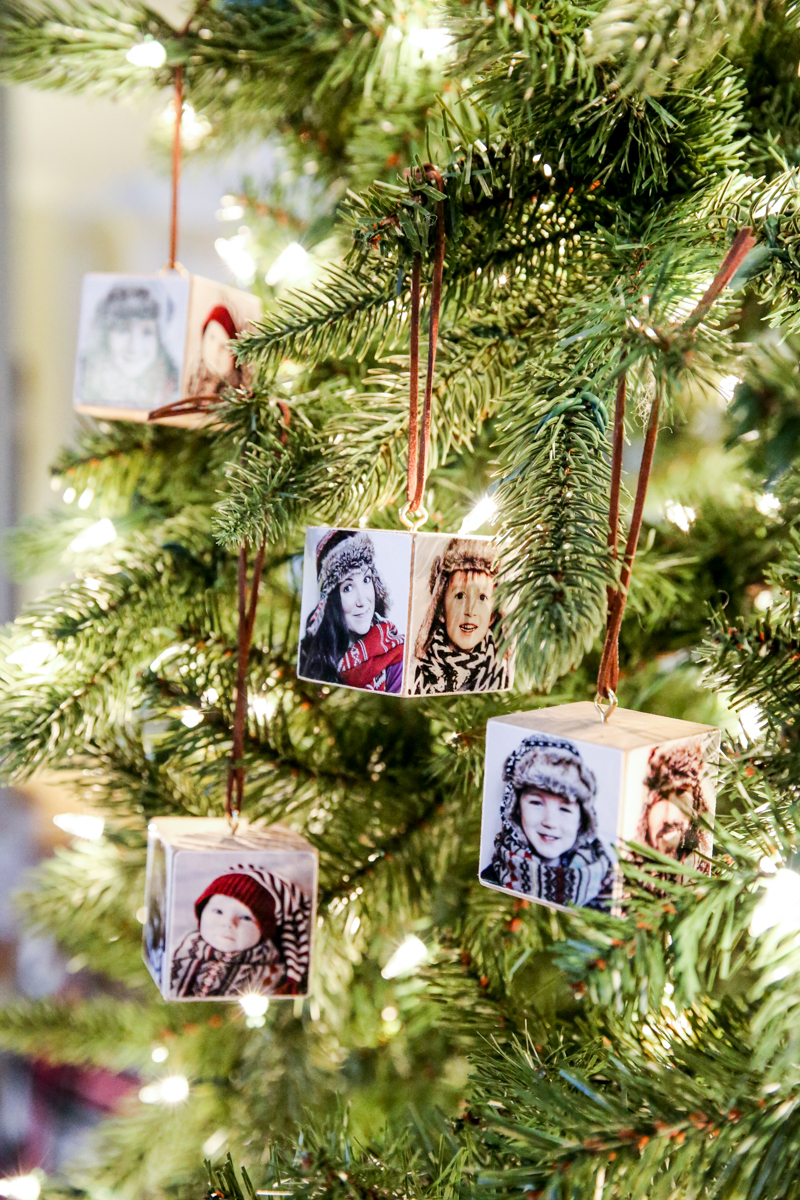
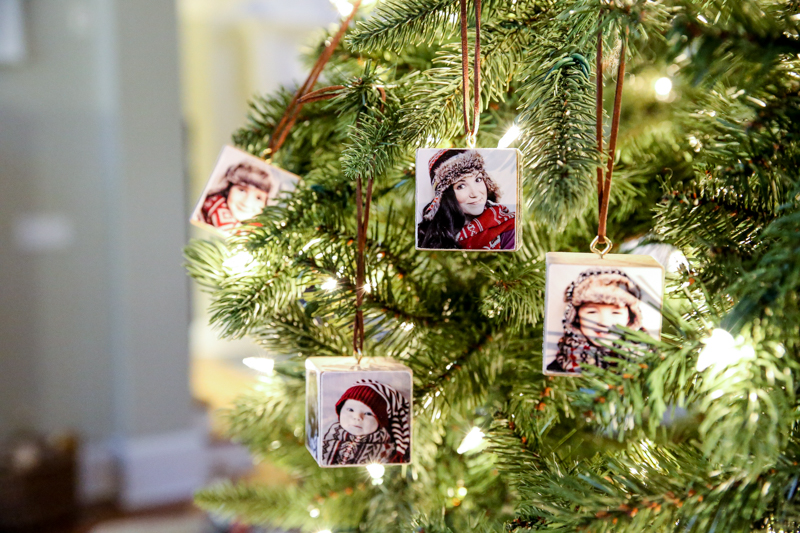
The very very best Christmas ornaments are the ones that hold a million memories. They transport you to another time or place bringing a smile to your face and recalling a very vivid specific moment….which is exactly why photos are so popular as ornaments. Pictures can do the same thing – they speak a thousand words right? And what is better than one photo? FOUR! So that is why these wood block photo ornaments are the perfect ornament to make this holiday season!
Each side of these wood block ornaments holds a sweet blast from the past and I’m here to share how to make them! I think that this quick craft would be a great party idea for your next girls group or craft night. They would also make a great gift for grandparents and teachers. Since you can personalize the sides it is a sweet, fast and personal gift that will be loved for years to come!
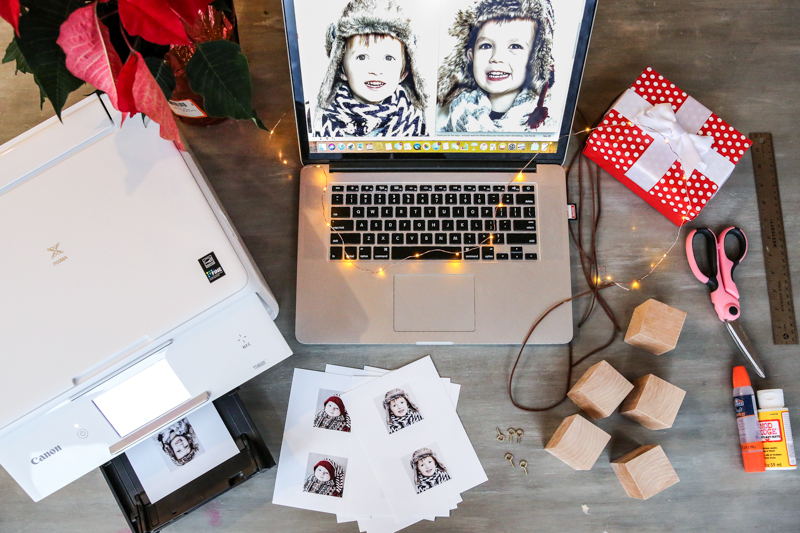
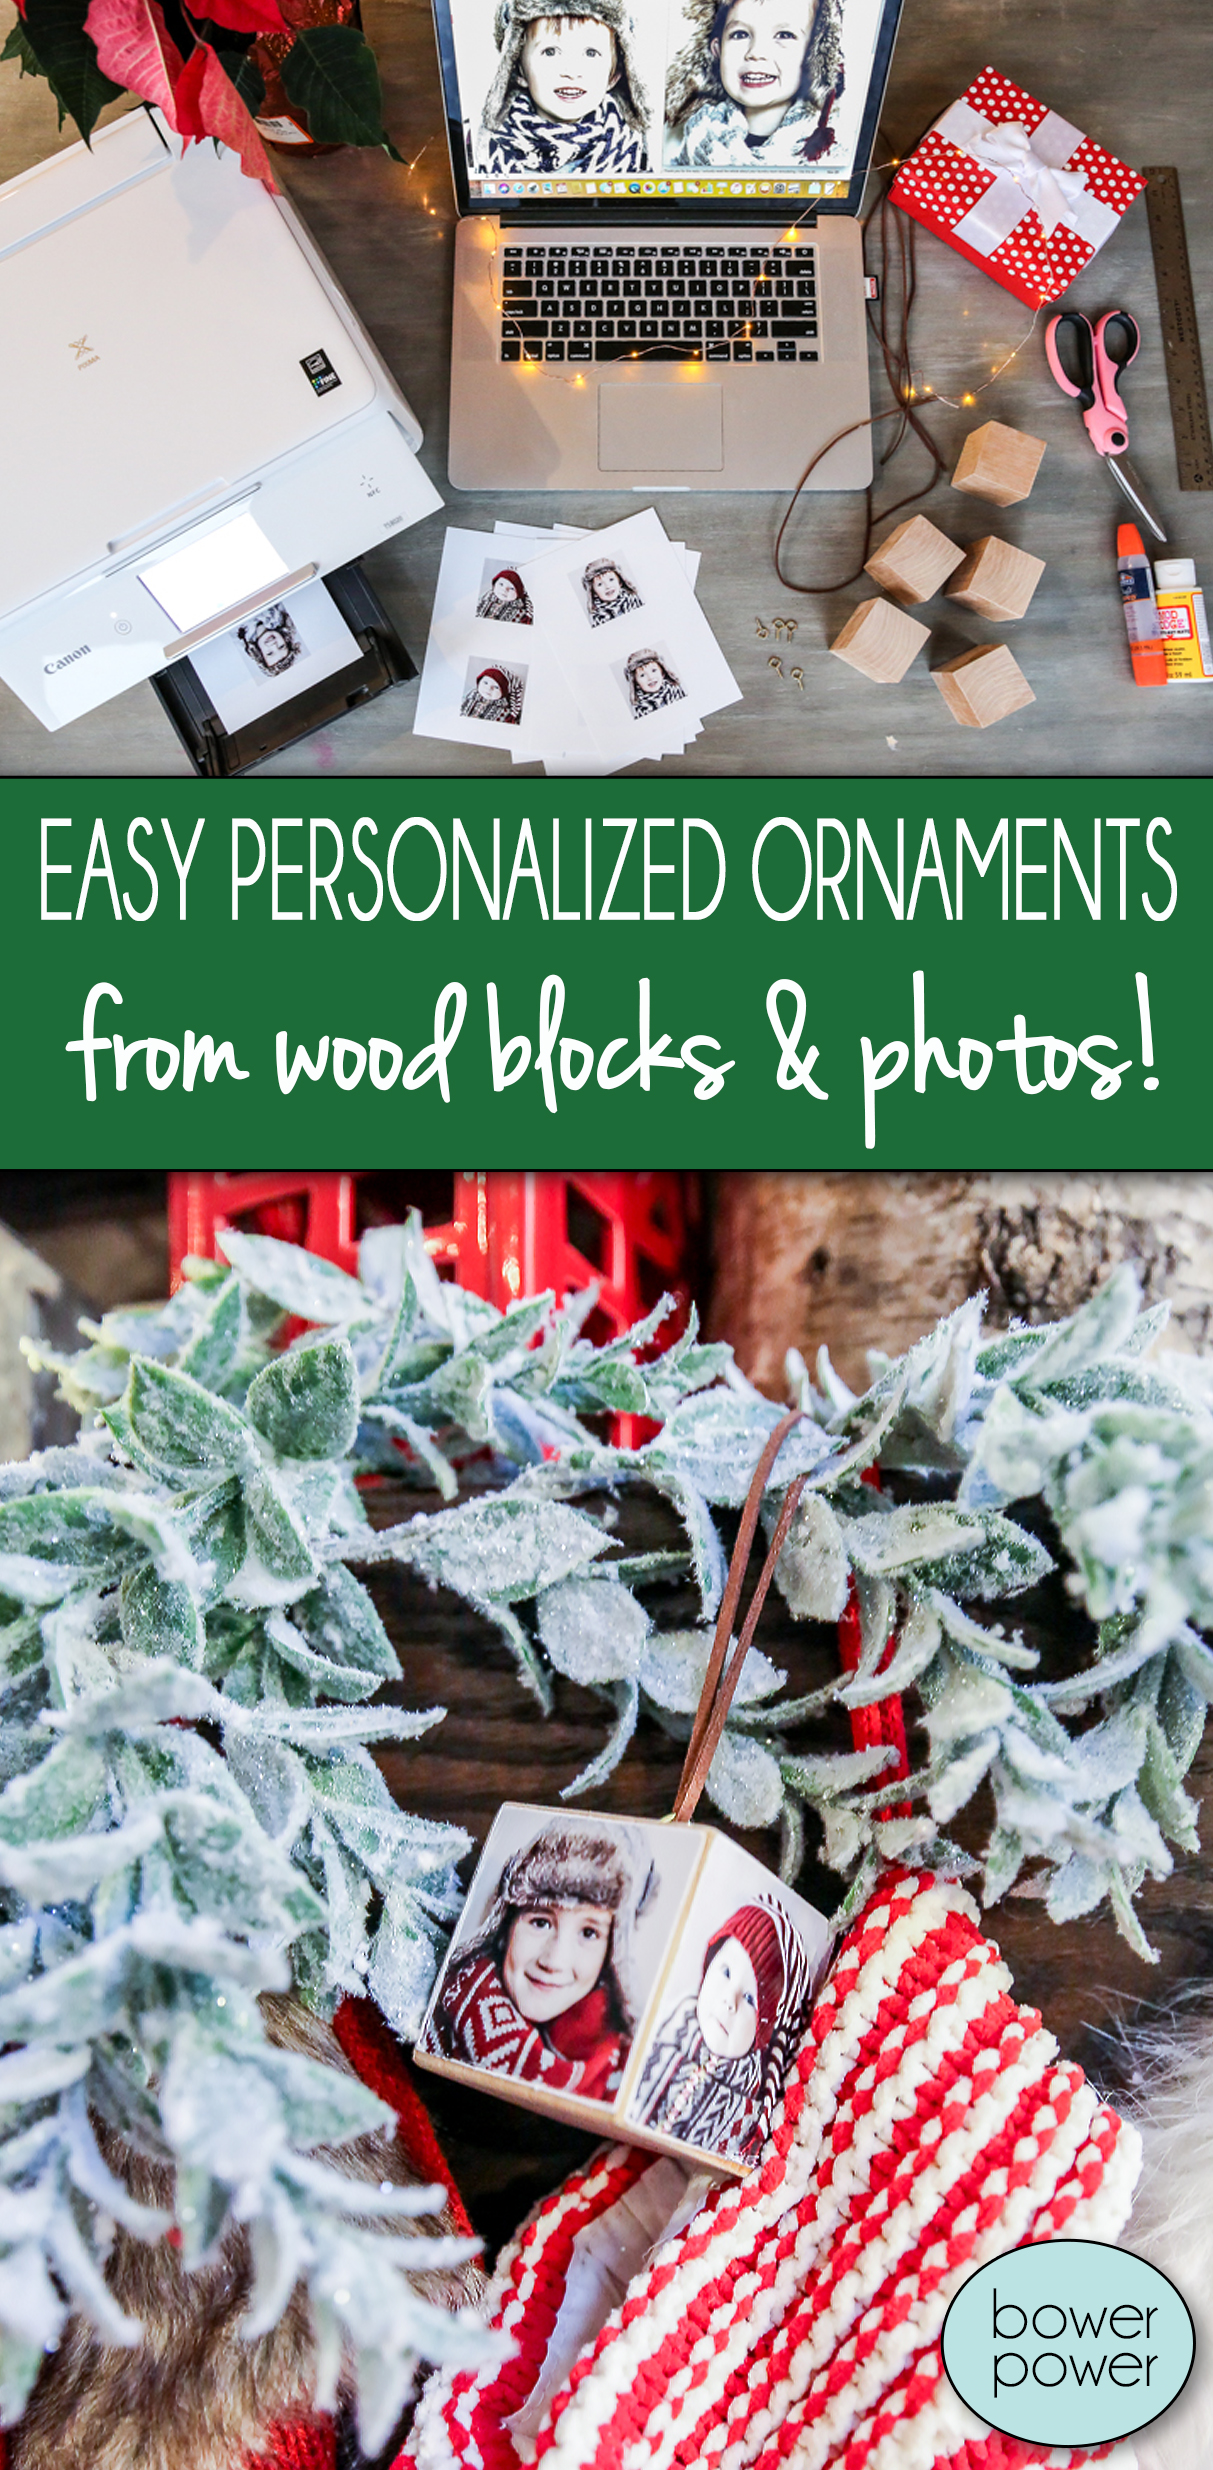
First gather your supplies. The first thing you want to do is print out your photos. I used my Canon TS8020 wireless printer and semi-gloss photo paper. The quality of prints is really important to me and that is why I choose to print at home…if you send them to the store, you just never know how many reprints it will take and how much time it will eat up.
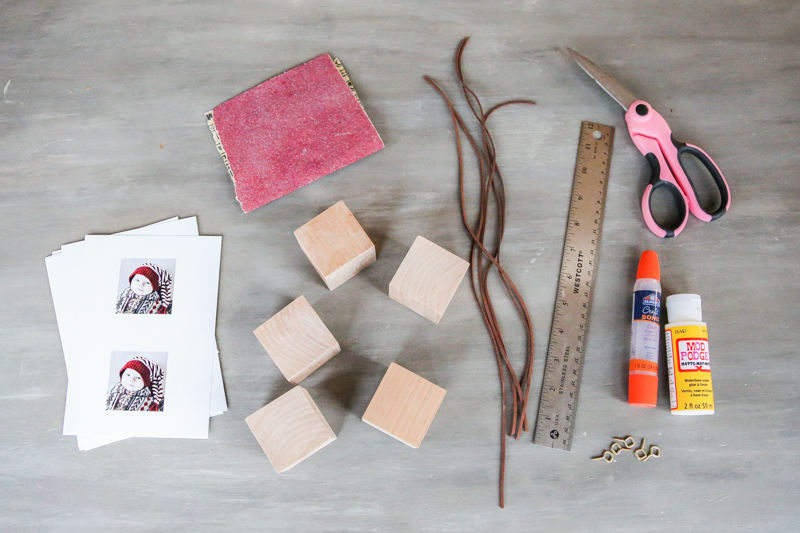
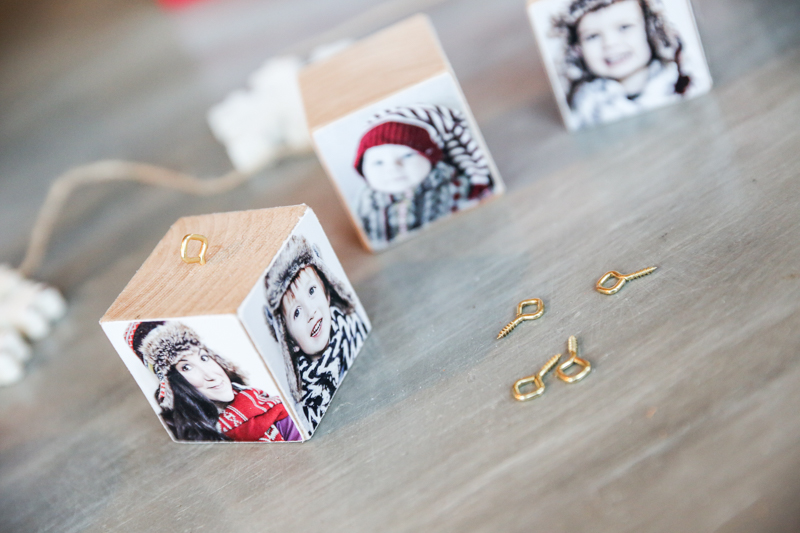
Besides your prints, you need some sandpaper, scissors, some eye screws, a bit of craft glue, leather cord, and wooden blocks. You can buy the wood blocks at the craft store or you can cut up a piece of lumber at home. I went with the 2″ square blocks that I cut at home. Since I had the cord at home already too, this didn’t cost me anything but if you had to pay for everything, it would cost less than a $1 an ornament.
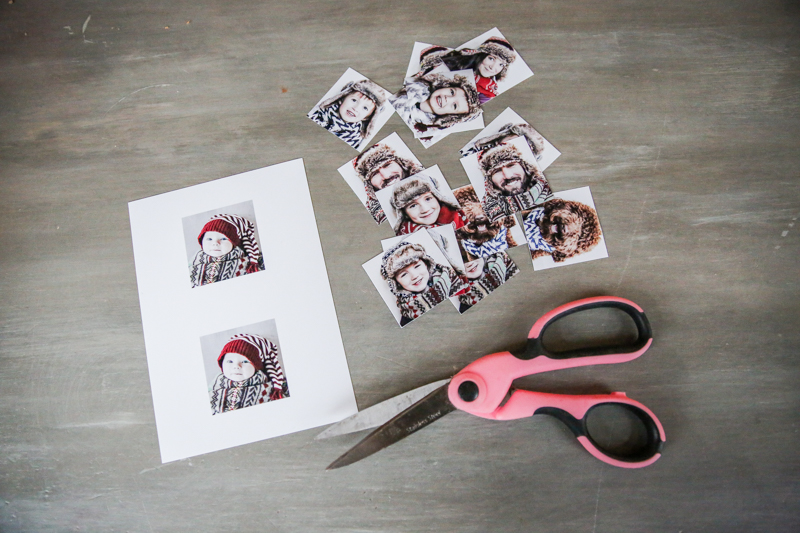
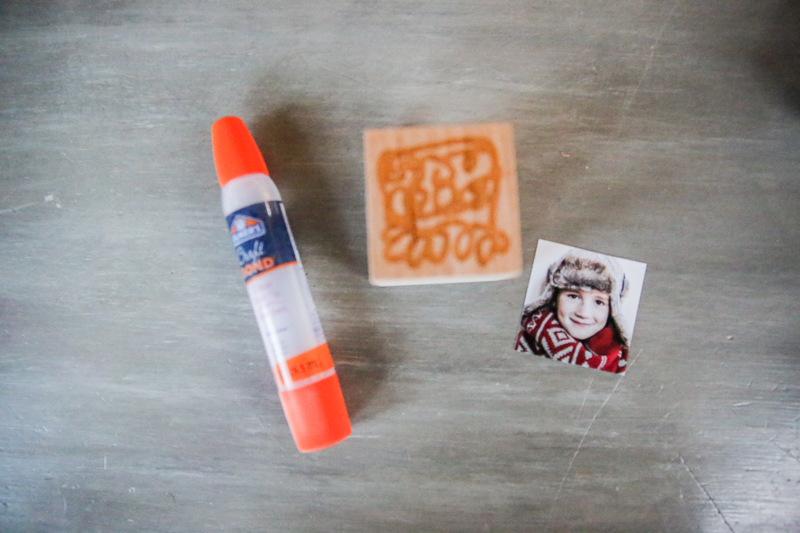
First cut your pictures into 2″ squares.
Then glue them on each side of the wooden block with your craft glue. Make sure you get the edges. I didn’t the first time and had to do some touchups later. #sonofanutcracker
Then leave these to dry. I left mine overnight because it was easier to tackle them the next day but they generally are ready in about an hour.
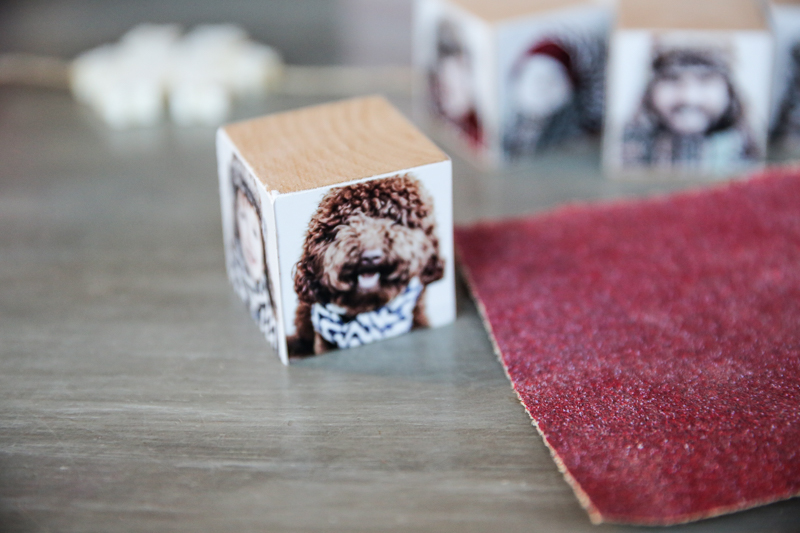
Now when you glue on the blocks, some of the edges are going to be a little imperfect….the picture may be too long for the edges and overhang.
Break out the sandpaper and lightly sand the edges to get this worn and custom look. And if you want these babies to be more durable, you can top them off with some Mod Podge or clear acrylic sealer.
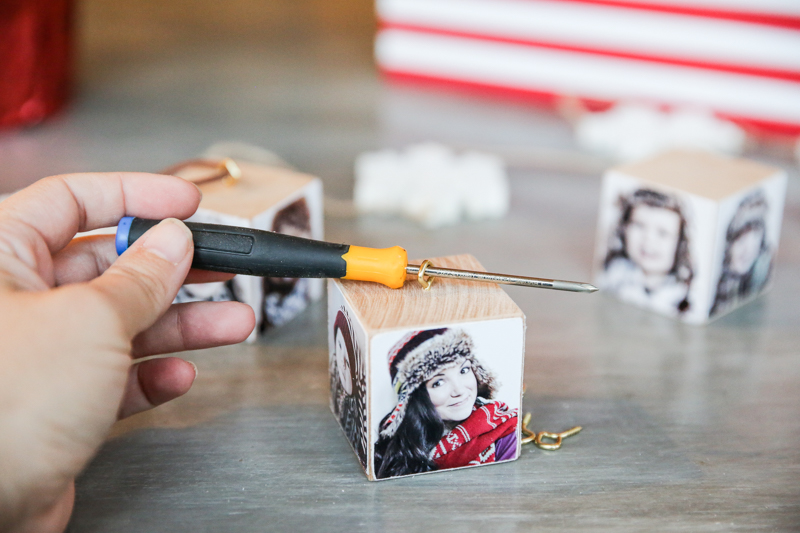
The eyescrews are easily screwed into the top….
But if you have trouble with pinching small things and twisting, then use a small screw driver to twist it into the block.
Loop the leather into the eye and tie off the end and BOOM! You are done! So easy!!!
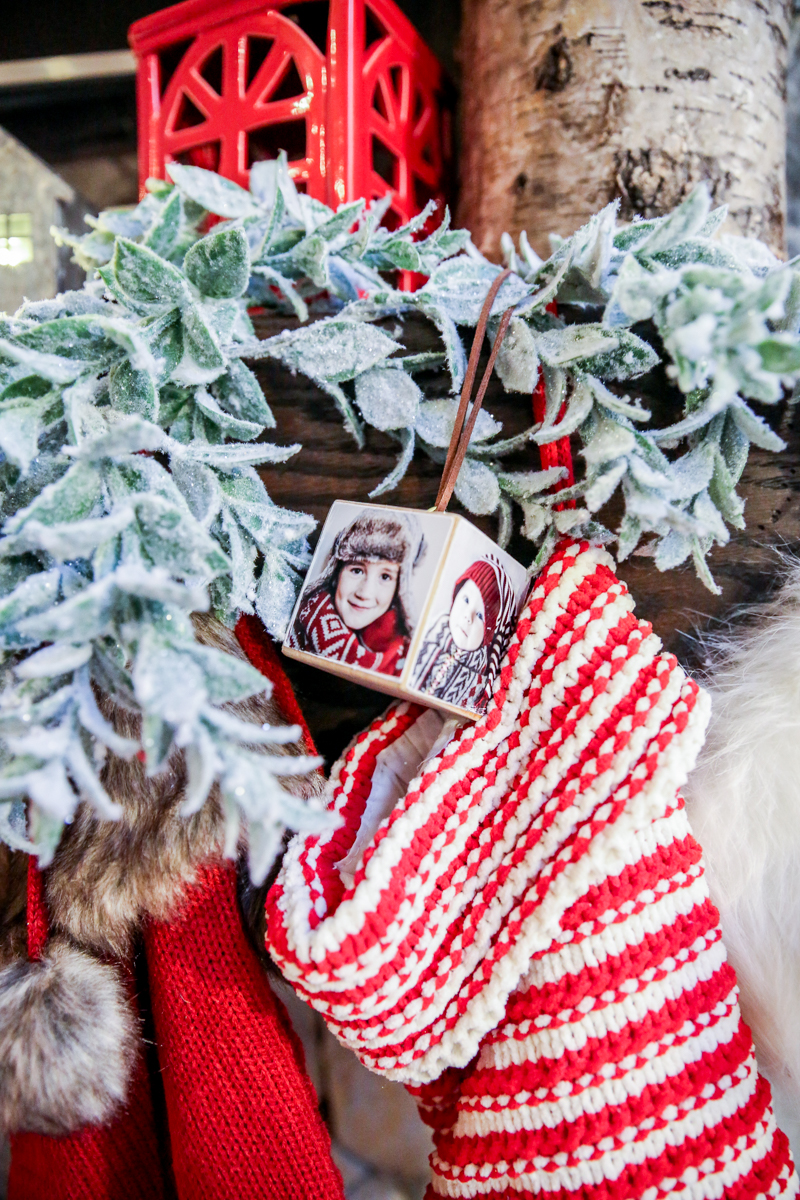
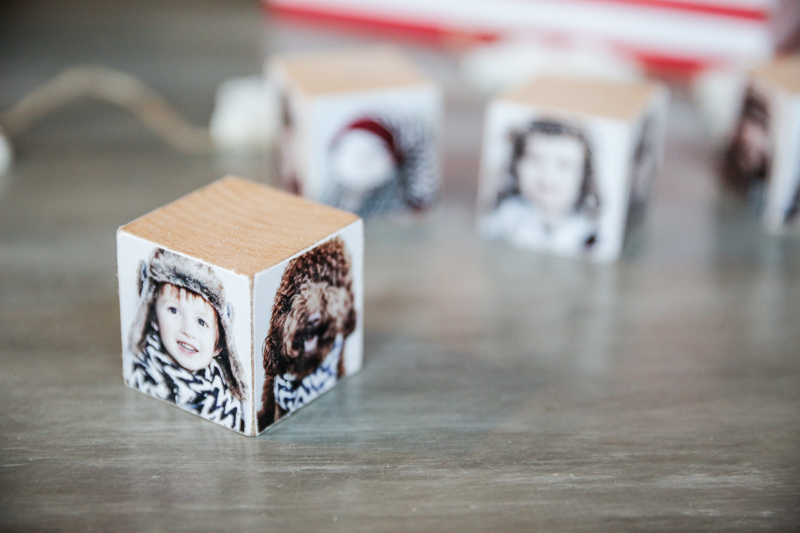
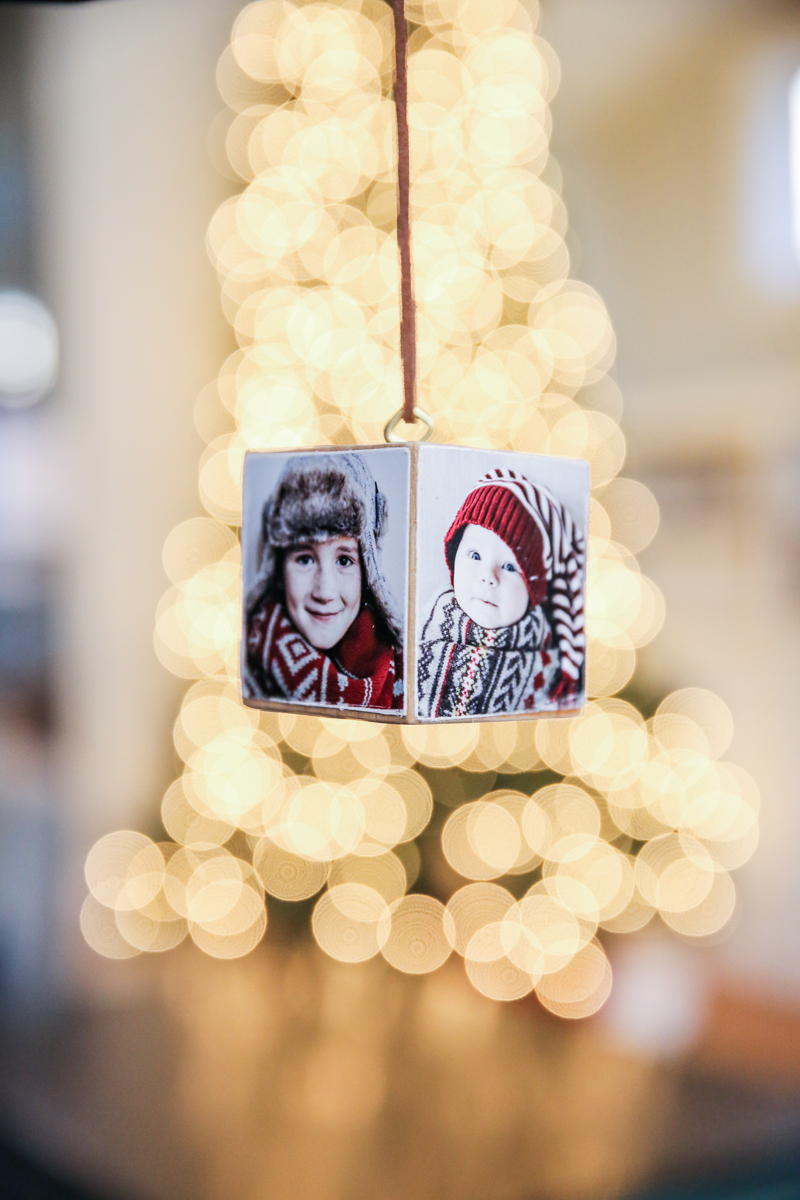
The best part is hanging the ornament and seeing it spin. The photos are like a little surprise with each turn!
I like hanging them on the tree but I think I would make the leather cord a little shorter if I kept them here….
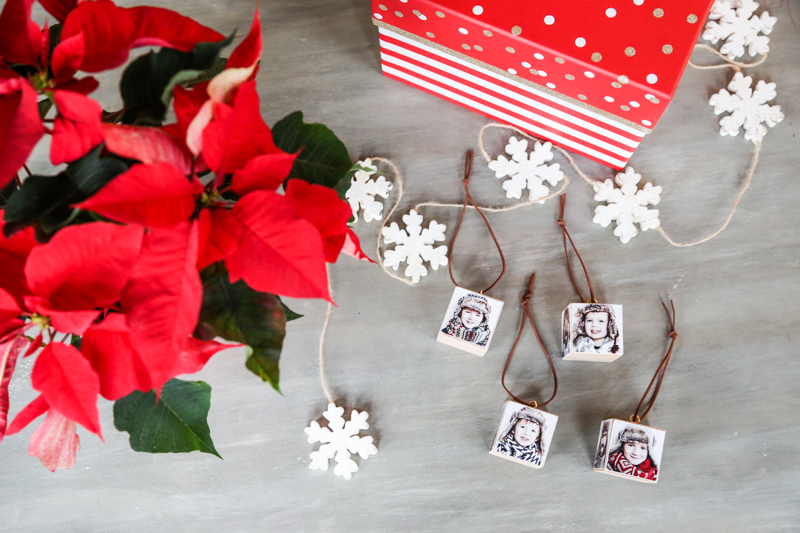
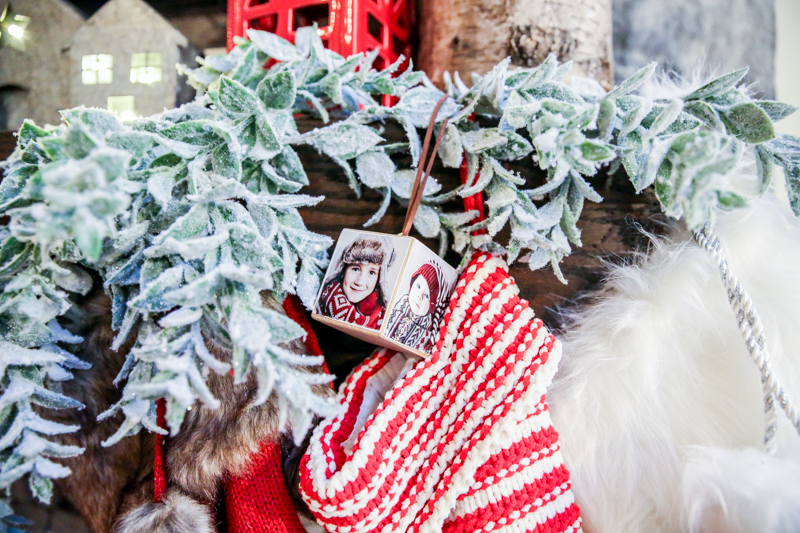
My favorite spot is with the garland and my kids stockings. It adds such a personal touch!
Speaking of personal touches – what are your favorite holiday crafts that are super personal? Are they the homemade kindergarten ornaments? Or the photos with santa? Or perhaps you make cookies that you take extra time to box up just perfectly for friends and neighbors? This is one of my favorite parts of the season – the personal bits that show up on special items and I’d love to hear what you do to spread the Christmas cheer.

I love how you got the whole family in scarves and hats to do this! Some seriously adorable photos!
This is really cute!
OMG! SO CUTE! I’m imagining doing this every year to watch how everyone grows.
I LOVE these, Katie! I like your fur hat themed photos too!
Hi Katie,
I’ve been reading your blog for years and I think this may be one of my favorite projects you’ve ever done.
Love these!!! I’m definitely make for our family.
Thanks!
I do these, but do modge podge over the whole thing. It makes them more durable and professional looking.
My favorite personal Christmas crafts are the ornaments we have created from a slice of our tree each year. We have somehow been doing this since our first Christmas together in 2005 and now have 10 ornaments (if I’m honest with a couple more to make). My husband slices of part of the trunk before he puts it in the stand, I print a family picture which has grown to 4 kids now, drill a hole and string a ribbon and voila! A wonderfully personal ornament. I add the year on the back but try to leave some of the rings of the tree showing. Merry Christmas!